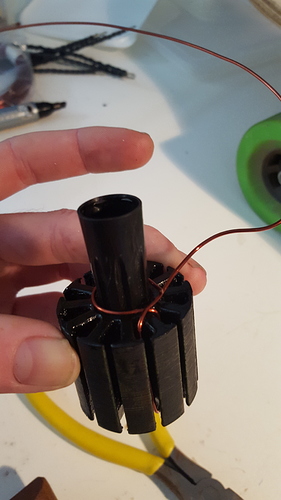
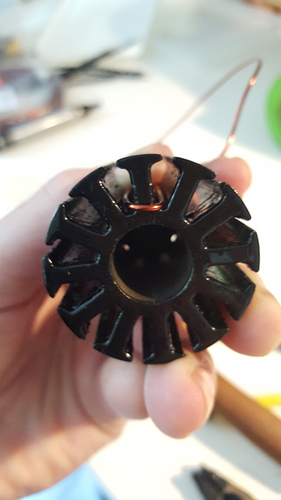
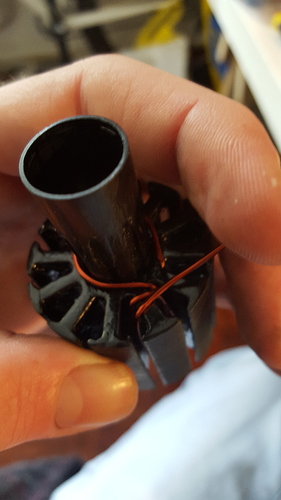
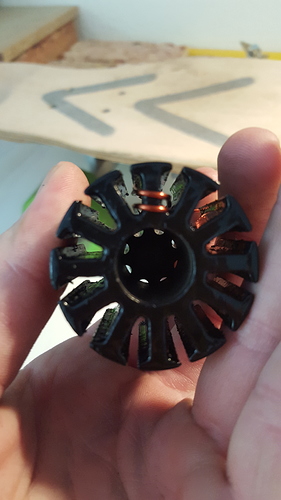
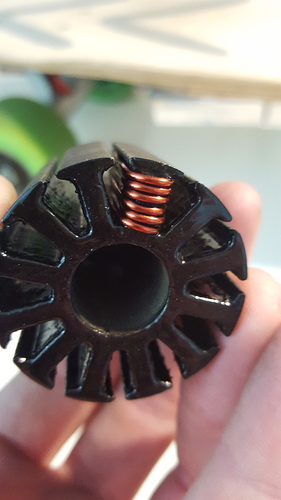
Haha. It’s not all that bad. $5 in wire and as much for the paint and a couple of hours work. Worth it considering I already have the motors which you can’t seem to buy, and I enjoy fixing things. Would have preferred it if they didn’t break in the first place though, if I’m honest.
It’s not fixing but upgrading and will keep cooler and all the phases can be made to have a more balanced inductance. If u do the windings really well, lining them up and keeping it even you’ll get better inductance and can go for a fatter wire: I’ve got a bunch of 90kvs in name, they all are 30 turns of the same thickness wire, but the variation in inductance on my LC meter is large… do a great turn and you can get more inductance, need fewer turns, and can therfore use a fatter wire. To anyone who doesn’t know. And that’s how u get a great motor.
Okay so the Rustoleum was a failasaur. This morning when I checked it out (supposed to be fully cured in 24 hrs), it was still ‘wet’, ie, it just peeled off and was soft and doughy. Don’t ever use that stuff for this application.
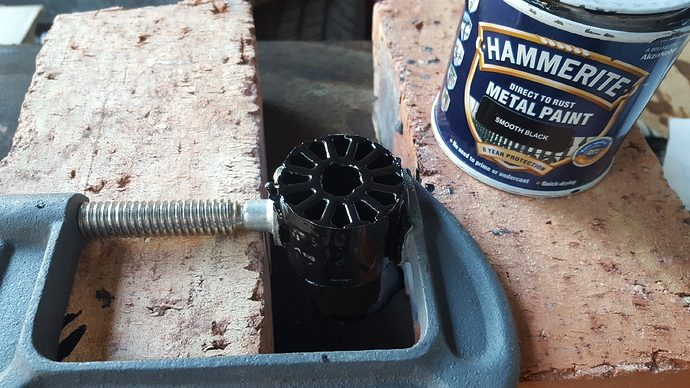
On to new things. I scraped off whatever I could of that, and got some Hammerite metal paint. I read the data sheet and it can do up to 150 degC peak and 80 degC continuous. I figured that’s good enough, and it would be super easy to work with.
Out of the can it was a bit thick, so I thinned it down with about 1:25 of acetone, which according to the Internet works as a thinner.
Dipped the whole stator in the tin and left it in there for a few seconds. Pulled it out and set it to drip dry, rotating it every 10 mins or so.
I might give it another coat. Will see how I feel about it.
I like this stuff. I think what I’m going to do when the windings are on and the motor leads are connected is just dip that end again and be done with it. Should be waterproof enough. I also kind of like the look of enamelled copper through the open end of the cage.
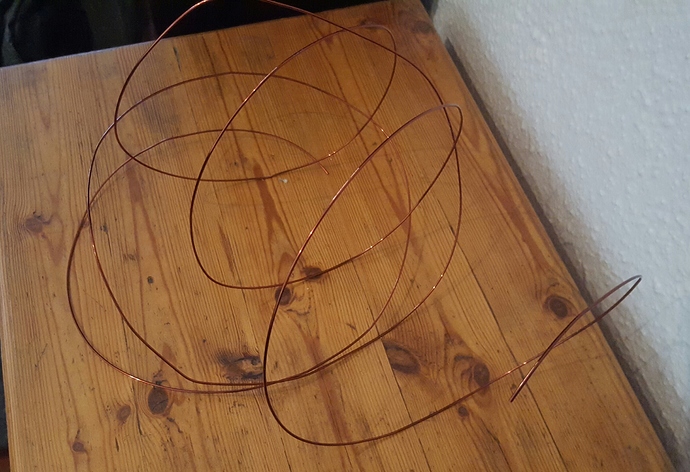
Twisted motor wires.
Because my shop only had 1.55 mm silicon, and also why the eff not. And I’m bored waiting for this paint to dry.
They look kind of cool though. And will be a bit more flexy.
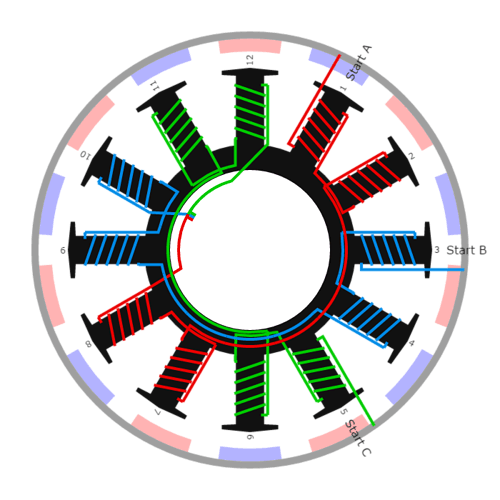
So my winding scheme is going to look something like this:
Except it will have 6 winds per tooth instead of 5. It was generated by this handy calculator. bavaria-direct is a great resource for rewinding BLDC motors.
I’ve debated going with 7 winds instead of 6, depending on whether I could fit them in, which I probably won’t be able to. But that will drop my Kv to around 192 with the Wye wind, which is probably going to be a bit low for this motor, considering I’m probably going to be running it at 8s as is my current setup.
Try this stuff…
Looks good. Will try it next time. The Hammerite seems to be doing well. It’s also quite fuss free to dip, and it seems to work quite well for this sort of thing.
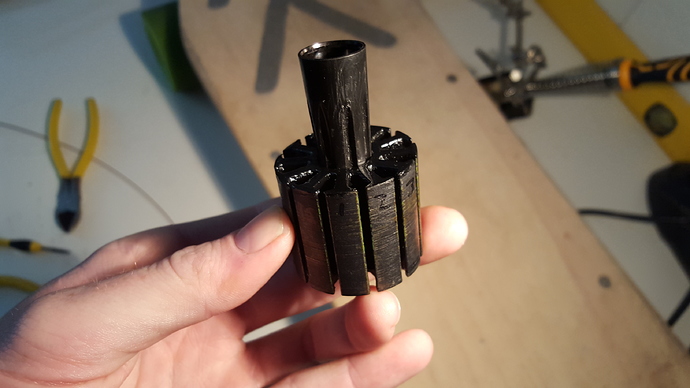
Stator is now coated.
It’s not ideal, but it will work. Learned some things for the next one.
Wire trimmed to more or less the right length for one phase and ready to go. On to winding!
Can you take pictures of each winding you do? So we can get a step by step
Thanks buddy
I’ll take photos of each winding on the first tooth, and then of each tooth’s winding from there on.
Thanks! I’m a ghost follower of this thread lol as I’m sure a lot of others are too
Wound 2 teeth and found a short to the stator. Back to the drawing board re. stator insulation. The Hammerite also cured too soft and rubbery. I think I’m going to dip in laminating epoxy thickened with a bit of enamel paint. That should do it.
This is one long hard mission. Hopefully I’ve learned enough to make the 2nd motor easy.
I’m going to get some slightly smaller wire too. 6 winds hardly fit and it’s a struggle with this thick wire. My hands are destroyed already with blisters.
I feel your pain man, I used 1.4mm (1.45mm with insulation) in my rewiring. Tip is to use small pliers with some tape on the ends to get the wire to bend nicely along the teeth without having to pull too hard.
Square wire maybe!? They say it’s better…get more copper in fill all the little voids.
I’ve heard that there are eddy currents in the windings and I’ve heard not.
Regardless, if I were to be able to have my dream winding… It would be flat and thin like a sheet of metal. A heatsink already.
Will an inner winding create more inductance than an outer winding?
I used pliers, a small flat-head screwdriver and two small sheets of plastic 1.5mm and 2mm thick. Just be careful with hard edges on the pliers and screwdriver, change the tape on them regularly, otherwise you risk nicking the insulation. Doing it once or twice on the outside bends isn’t a big deal as long as they don’t connect with each other.
Maybe flat speaker wire would work?
I looked it up but just see that it’s wire to get to the speakers and not really wire in the speaker right? It’s really way on the fringe of performance and you’d want the stator gaps between the teeth to match up the wire exactly. U can get more copper in that way but it’s really going overboard. I’m interested in the flat wire more so because I think, maybe, maybe, if the center of each winding is where it’s flux is concentrated, then u could have a winding that would go way beyond upwards and downwards…a flat widing that would transfer heat away. But immpretty sure that the wire’s end turns are useless for creating inductance. If somehow the windings can be cooled a little motor could do everything
Unfortunately there isn’t much in the way of flat or square wire in South Africa. I decided I’m going to go with the current wire and diameter that I’ve got, as I definitely should be able to fit it on if I’m careful. It’s just a matter of working out a technique.
I coated the top and bottom of the stator with nail enamel sponsored by the girlfriend. I figured I’ve already put too much gunk on this thing and dipping it laminating epoxy is going to add too much material and make winding an issue.
The tools I’m using:
I put a pen lid in the top of the stator to use to wrap the wire around when I’m moving between poles.
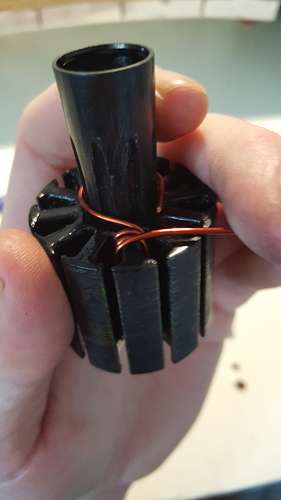
First turn:
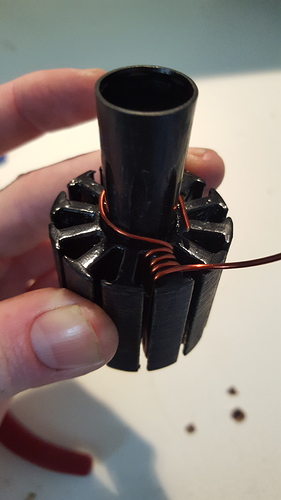
Second turn:
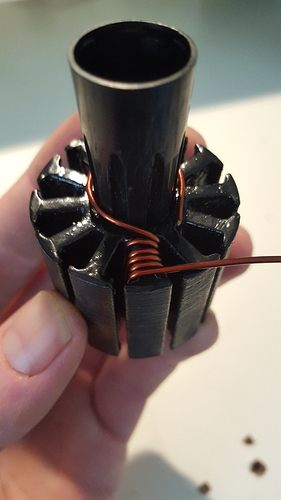
Third:
Fourth:
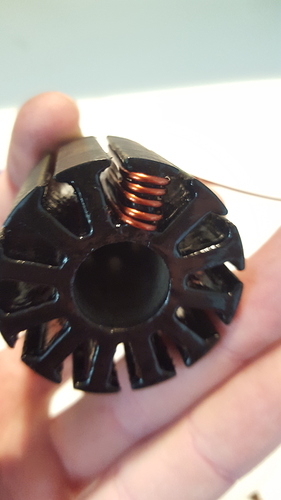
5th:
6th:
I’ve heated up the wire and stator slightly in the oven to about 50degC to soften the wire a bit. The method I’m using to wind is to take the wire and wrap it round half a tooth, pulling it tight with the taped up pliers. Then I use the taped up knife and slot it between the opposite tooth and the wire to lever it against the wire all along it’s length to make sure it’s bent flush against the tooth it’s being wound around. I then wrap it around the other end half of the tooth and repeat. When it gets to the 5th and 6th turns, I use a taped up screw driver to press radially on the coil on the end of the tooth (ie towards the centre hole of the stator) to compress the windings and bunch them up nicely so I can fit the last windings in.
Unfortunately like the clutch plate I am, I wound the 2nd tooth in the same direction as the first, so I have to start again, as reusing this bent wire isn’t going to work.
More soon.
Looking good so far!
At least you didn’t mess up on the last tooth like I did, had to rewind the other three, that was fun 
