Yeah, the blue line would be parallel to the ground

After much consideration and searching troughout the forum and the esk8 Universe for weeks, I finally decided which wheel pulleys I wanted to use on my build.
Considered lots of alternatives, 3D printed pulleys, ABS, Nylon, Carbon-Nylon, 100% infill, with 3 screws, with 6 screws, with retainers, with no retainers, with sprockets, with half sprockets, with no sprockets, generics, dedicated, aluminum, with nut inserts, etc, etc, etc…
Finally I came to my senses and decided that the best option for me, since I was using an Evolve truck and MBS 100 mm wheels, was to use the same proven Evolve (own 97mm, ABEC 97 & 107mm) wheel pulley and simply shaved the nylon sprockets to a reduced size to fit in to the small MBS hub openings, and that’s what I did with amazing results.
The Evolve wheel pulley is designed specifically for the Evolve truck, so why go elsewhere to get this Generic-Frankenstein bolted-retainer nightmare-plastic pulleys from hell, when you just may adapt an existing dedicated wheel pulley (with sprockets) from the same brand to use in this not-so generic MBS 100’s wheel hub (??)

To the right the original unshaved Evolve 38T wheel pulley; on the left the same wheel pulley almost completely shaved to a reduced sprocket size and ready to fit into the MBS wheel hub.
- (Observe how left wheel pulley sprockets are proportionaly down in size, perfect to fit into the MBS 100 mm wheel hub)

Pulleys shaved to reduced proportional size by simply using an X-Acto knive. It was Barber time!
3 Likes


On top: side view of modified pulley and unmodified pulley.
- (see how I shaved the upper inner ring edge in order to make a perfect inside fit with the wheel’s hub outer edge)
Below: unmodified wheel pulley sprockets before beign shaved with a simple x-acto knive.
2 Likes


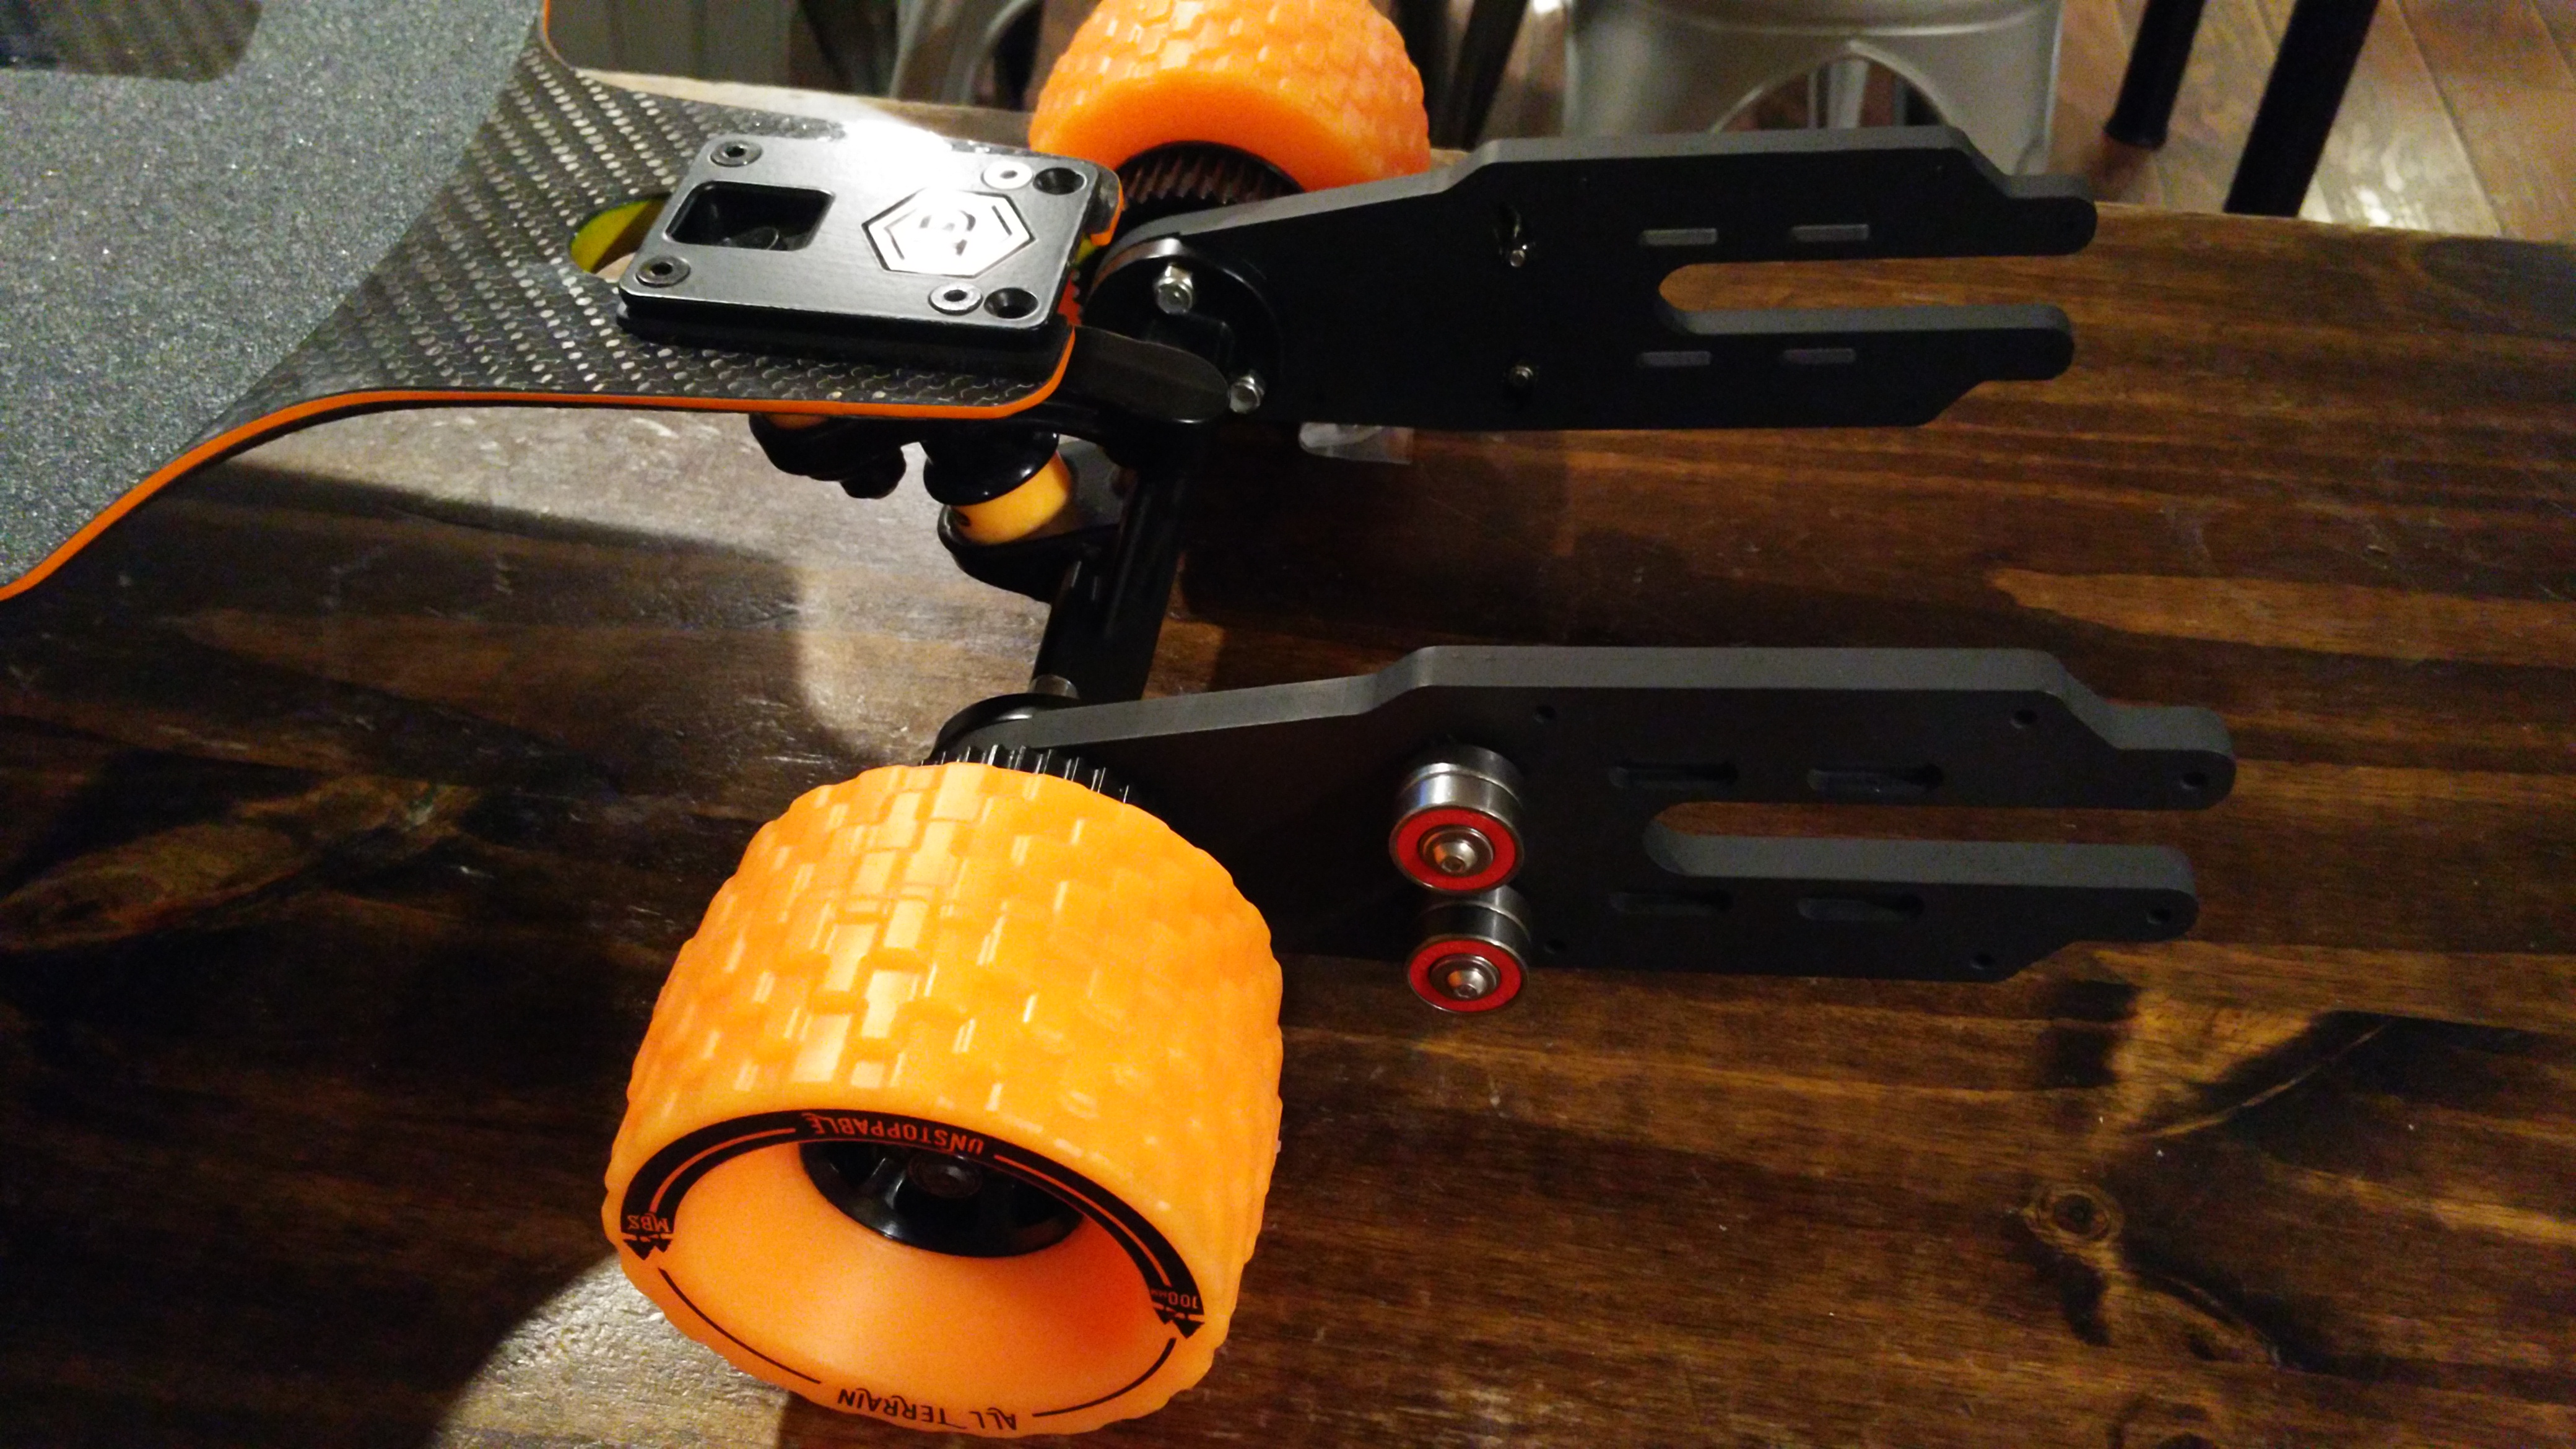
All set done. Now ready for @marcmt88 dedicated Evolve truck custom mounts!! …and awaiting assembly…
2 Likes
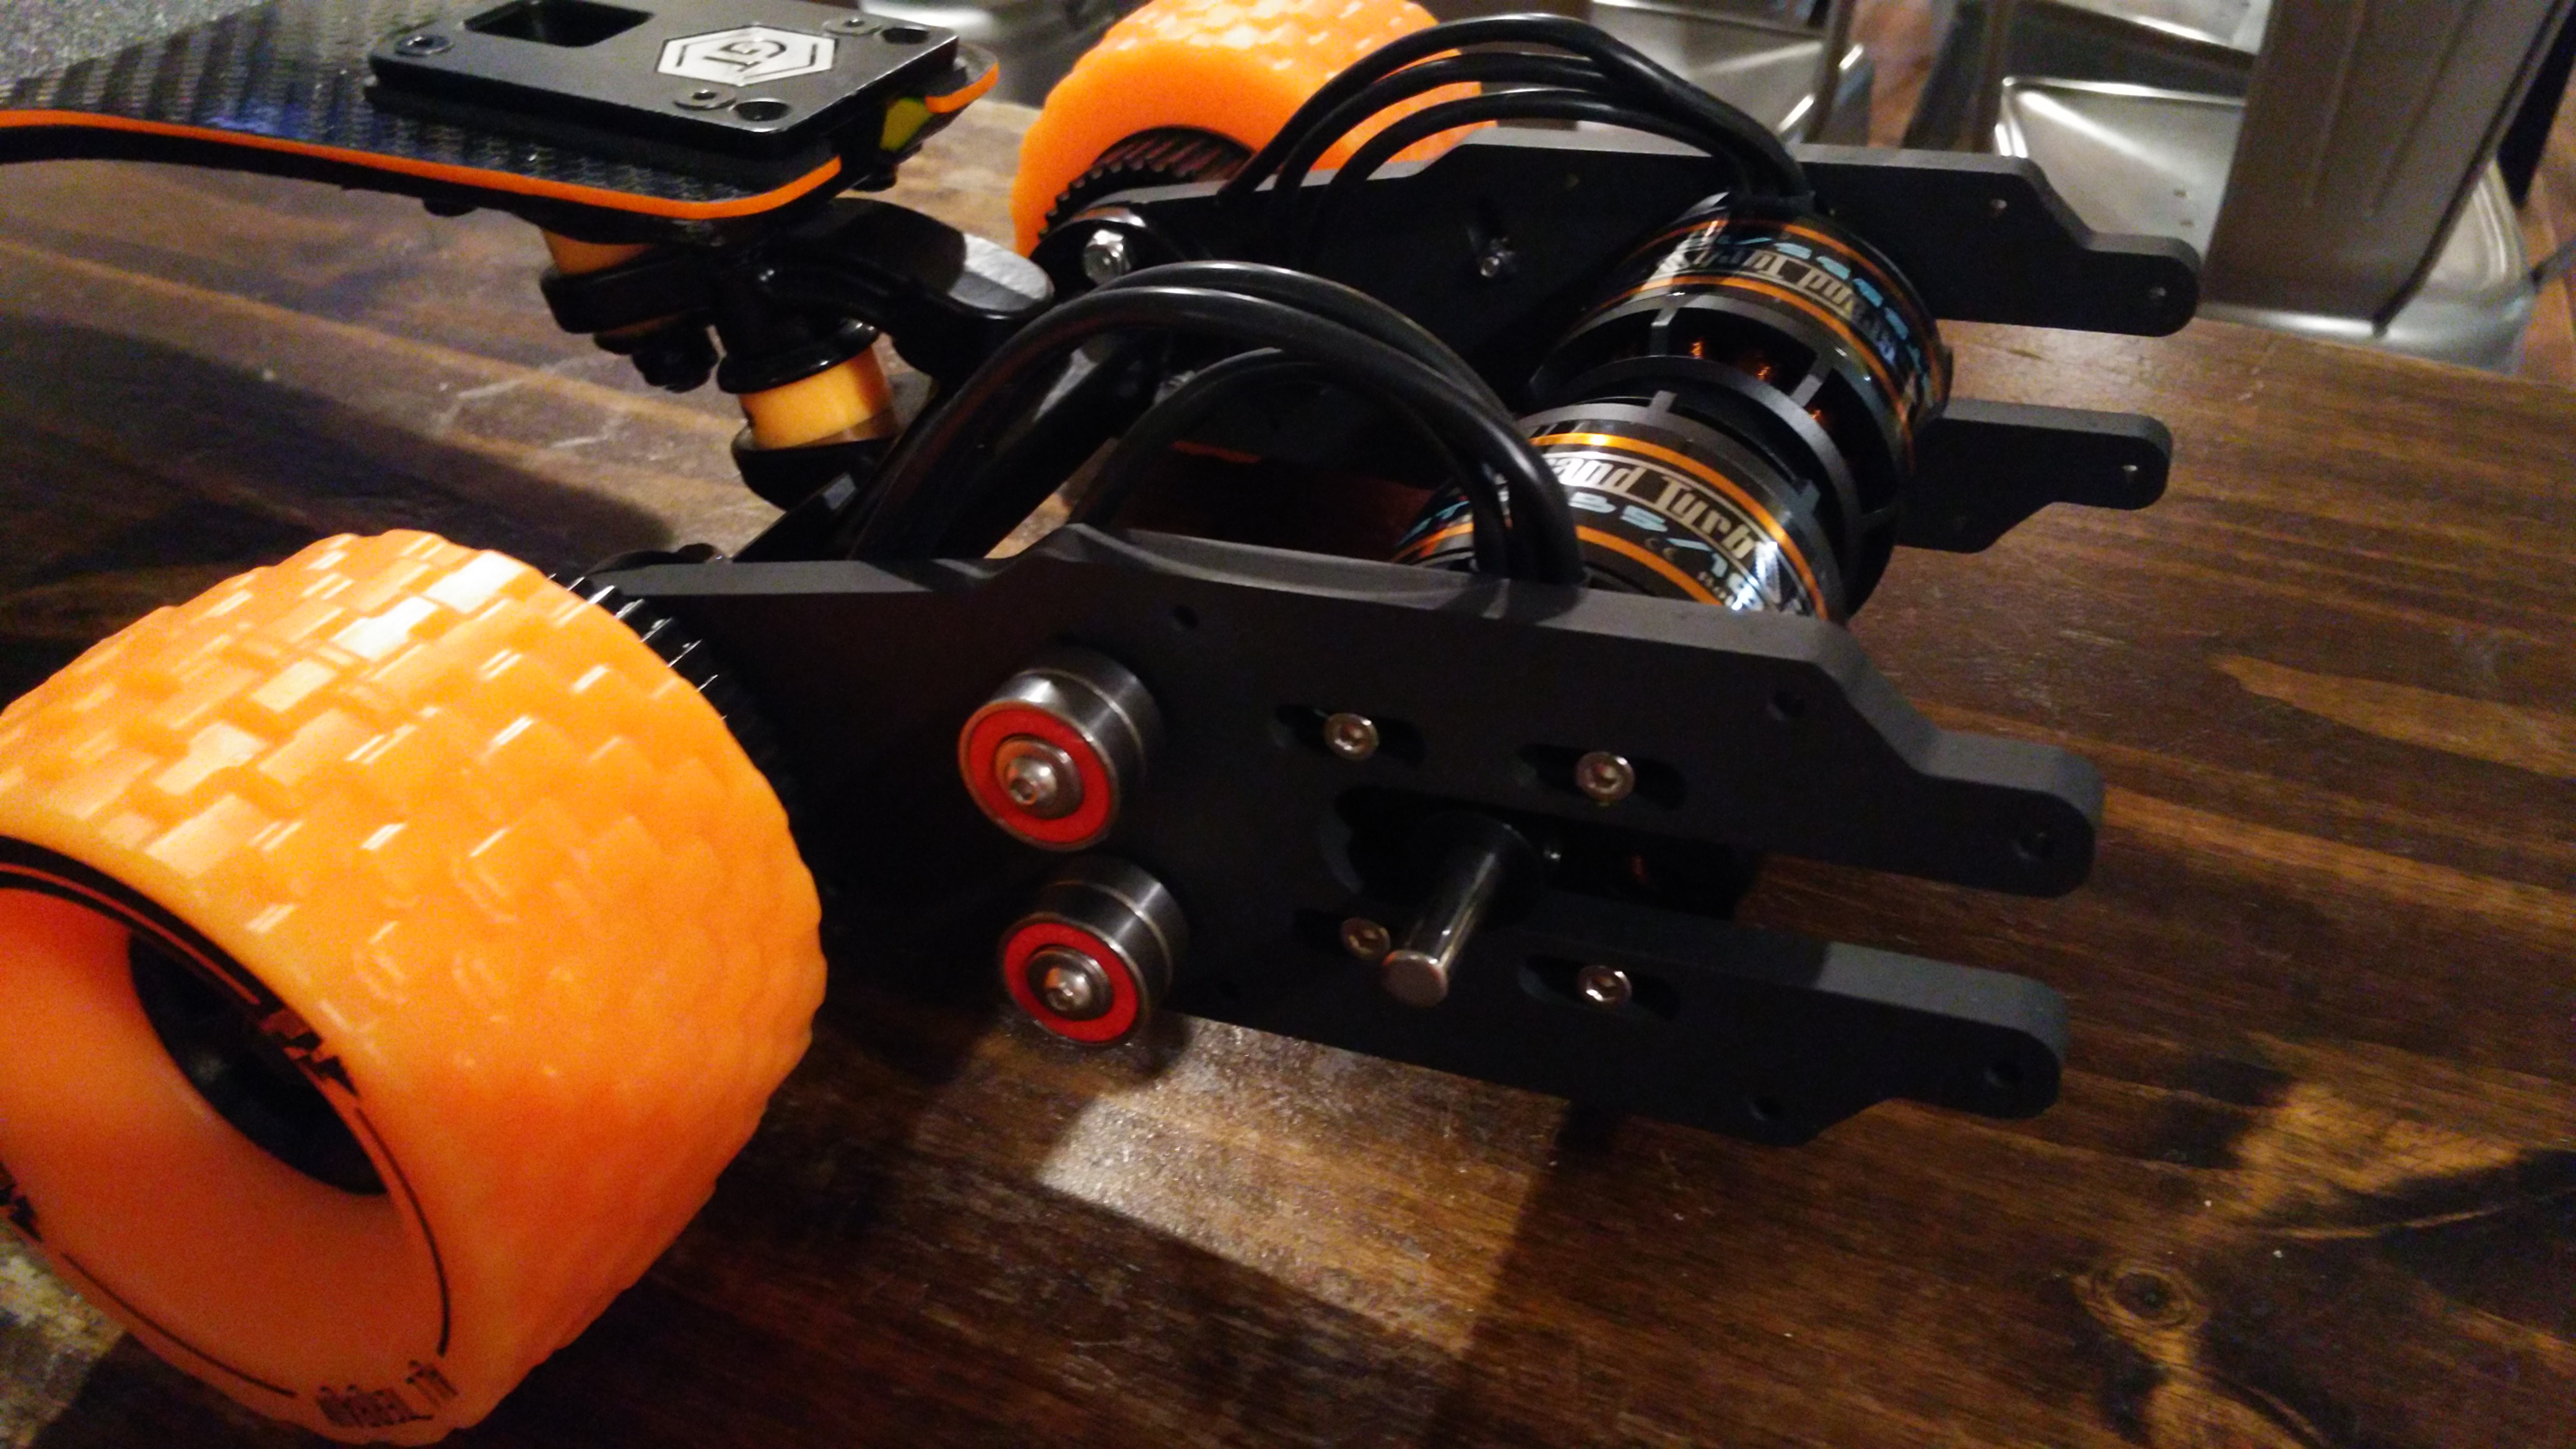
E-MAX GT 5335-10 motors (don’t get deceived, this are full 63mm x 72 mm Monsters) awaiting mount assembly…

1 Like

Janux 219 mm double idler mounts + bumper capacity from @marcmt88 for my Evolve Super Carve truck (many weeks overdue while awaiting stealth painting scheme)…


5 Likes
…(2) E-Max GT5335-10 motors ready for mount assembly…

- these are full 6374 class motors …for those still deceived by its inside stator denomination.

2 Likes
Like a glove. Thanks @marcmt88 !! The custom motor mounts and their mounting slots couple these somewhat unique GT motor mounting measures with engineering precision and superb craftmanshift. Custom job like no other. 


16 Likes
Have u completed the build please post.
1 Like
No man, sadly no. Working like hell lately. Enclosure seem like a huge undertaking, but I will solve it ultimately… more sooner than later (I wish). But I will post next strech (enclosure/electronics), hopefully, the last. 

1 Like
sweet looking set up man … I’m not a fan of the MBS as I prefer the 97 Flywheels but that thing should handle great … I plan on using Evolve trucks on my next build!
1 Like
HI, I saw that you designed Evolve GT trucks, can you send me the file? I use solidworks2017
1 Like


this is how i make my enclosures (and other things i need for prop work and castings…) so this is the part where u take the most time, the least amount of creases the less sanding and bondo u need… from here u wrap the tape in cellophane and make sure to keep it tight and keep your profile… from here you can get fiberglass matt or chunks and resin and start applying the glass and resin layer by layer until the desired thickness is reached, from there you let it cure and monitor it for warpage. You can take extra steps such as vacuum bagging but that is a process in itself and early on i didnt have a vacuum pump nor the supplies to do so… but i was still able to make my props w/o vacuum bagging
5 Likes
Cool man. Very creative. Yes, I have to decide which technique to implement with the dang enclosure. What are those 3D printed rims for?
For psychos 6x2 pneumatics
Have you got anymore picures of this process?
I will be making a dedicated post to explain it, keep ur eyes peeled