Hey man! Have you finished up that Chubby Unicorn build? Ridden it yet?
Haha, it is next in line but probably waiting for warmer weather. Just finished a new build of truncated Tesseract on carvon dual v2.5 hubs smaller board for taking on travel trips. Those hubs work better than I expected, esp on 12s. the
This! 
So my neighbors of the D’Lab just got there selfs a Vacuum form table and managed to repair their CNC machine. Time to design some enclosures 
I had an enclosure design just like this one with curves and everything. I used a program called Pepakura to turn my 3D file into printable pieces that you can cut out and glue together. It can take a long time to assemble all the cardstock pieces (nothing music/audiobooks can’t help), but it lets you get very precise designs out of the computer. Once you’ve assembled it, you can use fiber and resin directly on the paper model, or fill it with plaster of paris to get a cast for vacuum forming. This is the same process used to make prop armor/helmets. I’ll be posting photos of my personal build soon if you want to see how mine turned out.
2 Likes
This sounds very interesting! I am still not sure how you turn the paper model into a vacuum form though? I believe that the paper will be too brittle to hold the plaster of paris or holding the fiberglass.
I am not trying to ruin to ruin your idea by any means. I would love to know how to use this method. It sounds totally awesome!
Ideally, the designs are printed on cardstock, then coated with a layer or two of resin to harden it. I plan on doing a full write up as soon as I can on the whole process. No one seems to have used this method before for electronics enclosures.
Then it makes more sense to me. I am looking forward to see more of this! If you need some help, please let me know!
This is a great idea. I already got the plaster to use for the vacuum form, I wanted to make the negative mold out of wood. But cardboard will be easier to work with.
And that application looks very cool and has some nice use cases.
Thanks for the share!
Just 3D printed this enclosure and painted it the same design as the board! Let me know what you think.
I did mine with 20% infill in University with PLA/HIPS/ABS and didn’t have any problems with any of them. All painted and sturdy enough (Not any more sturdy than tupperware). Works well if you ensure your layers are staying together and such
1 Like
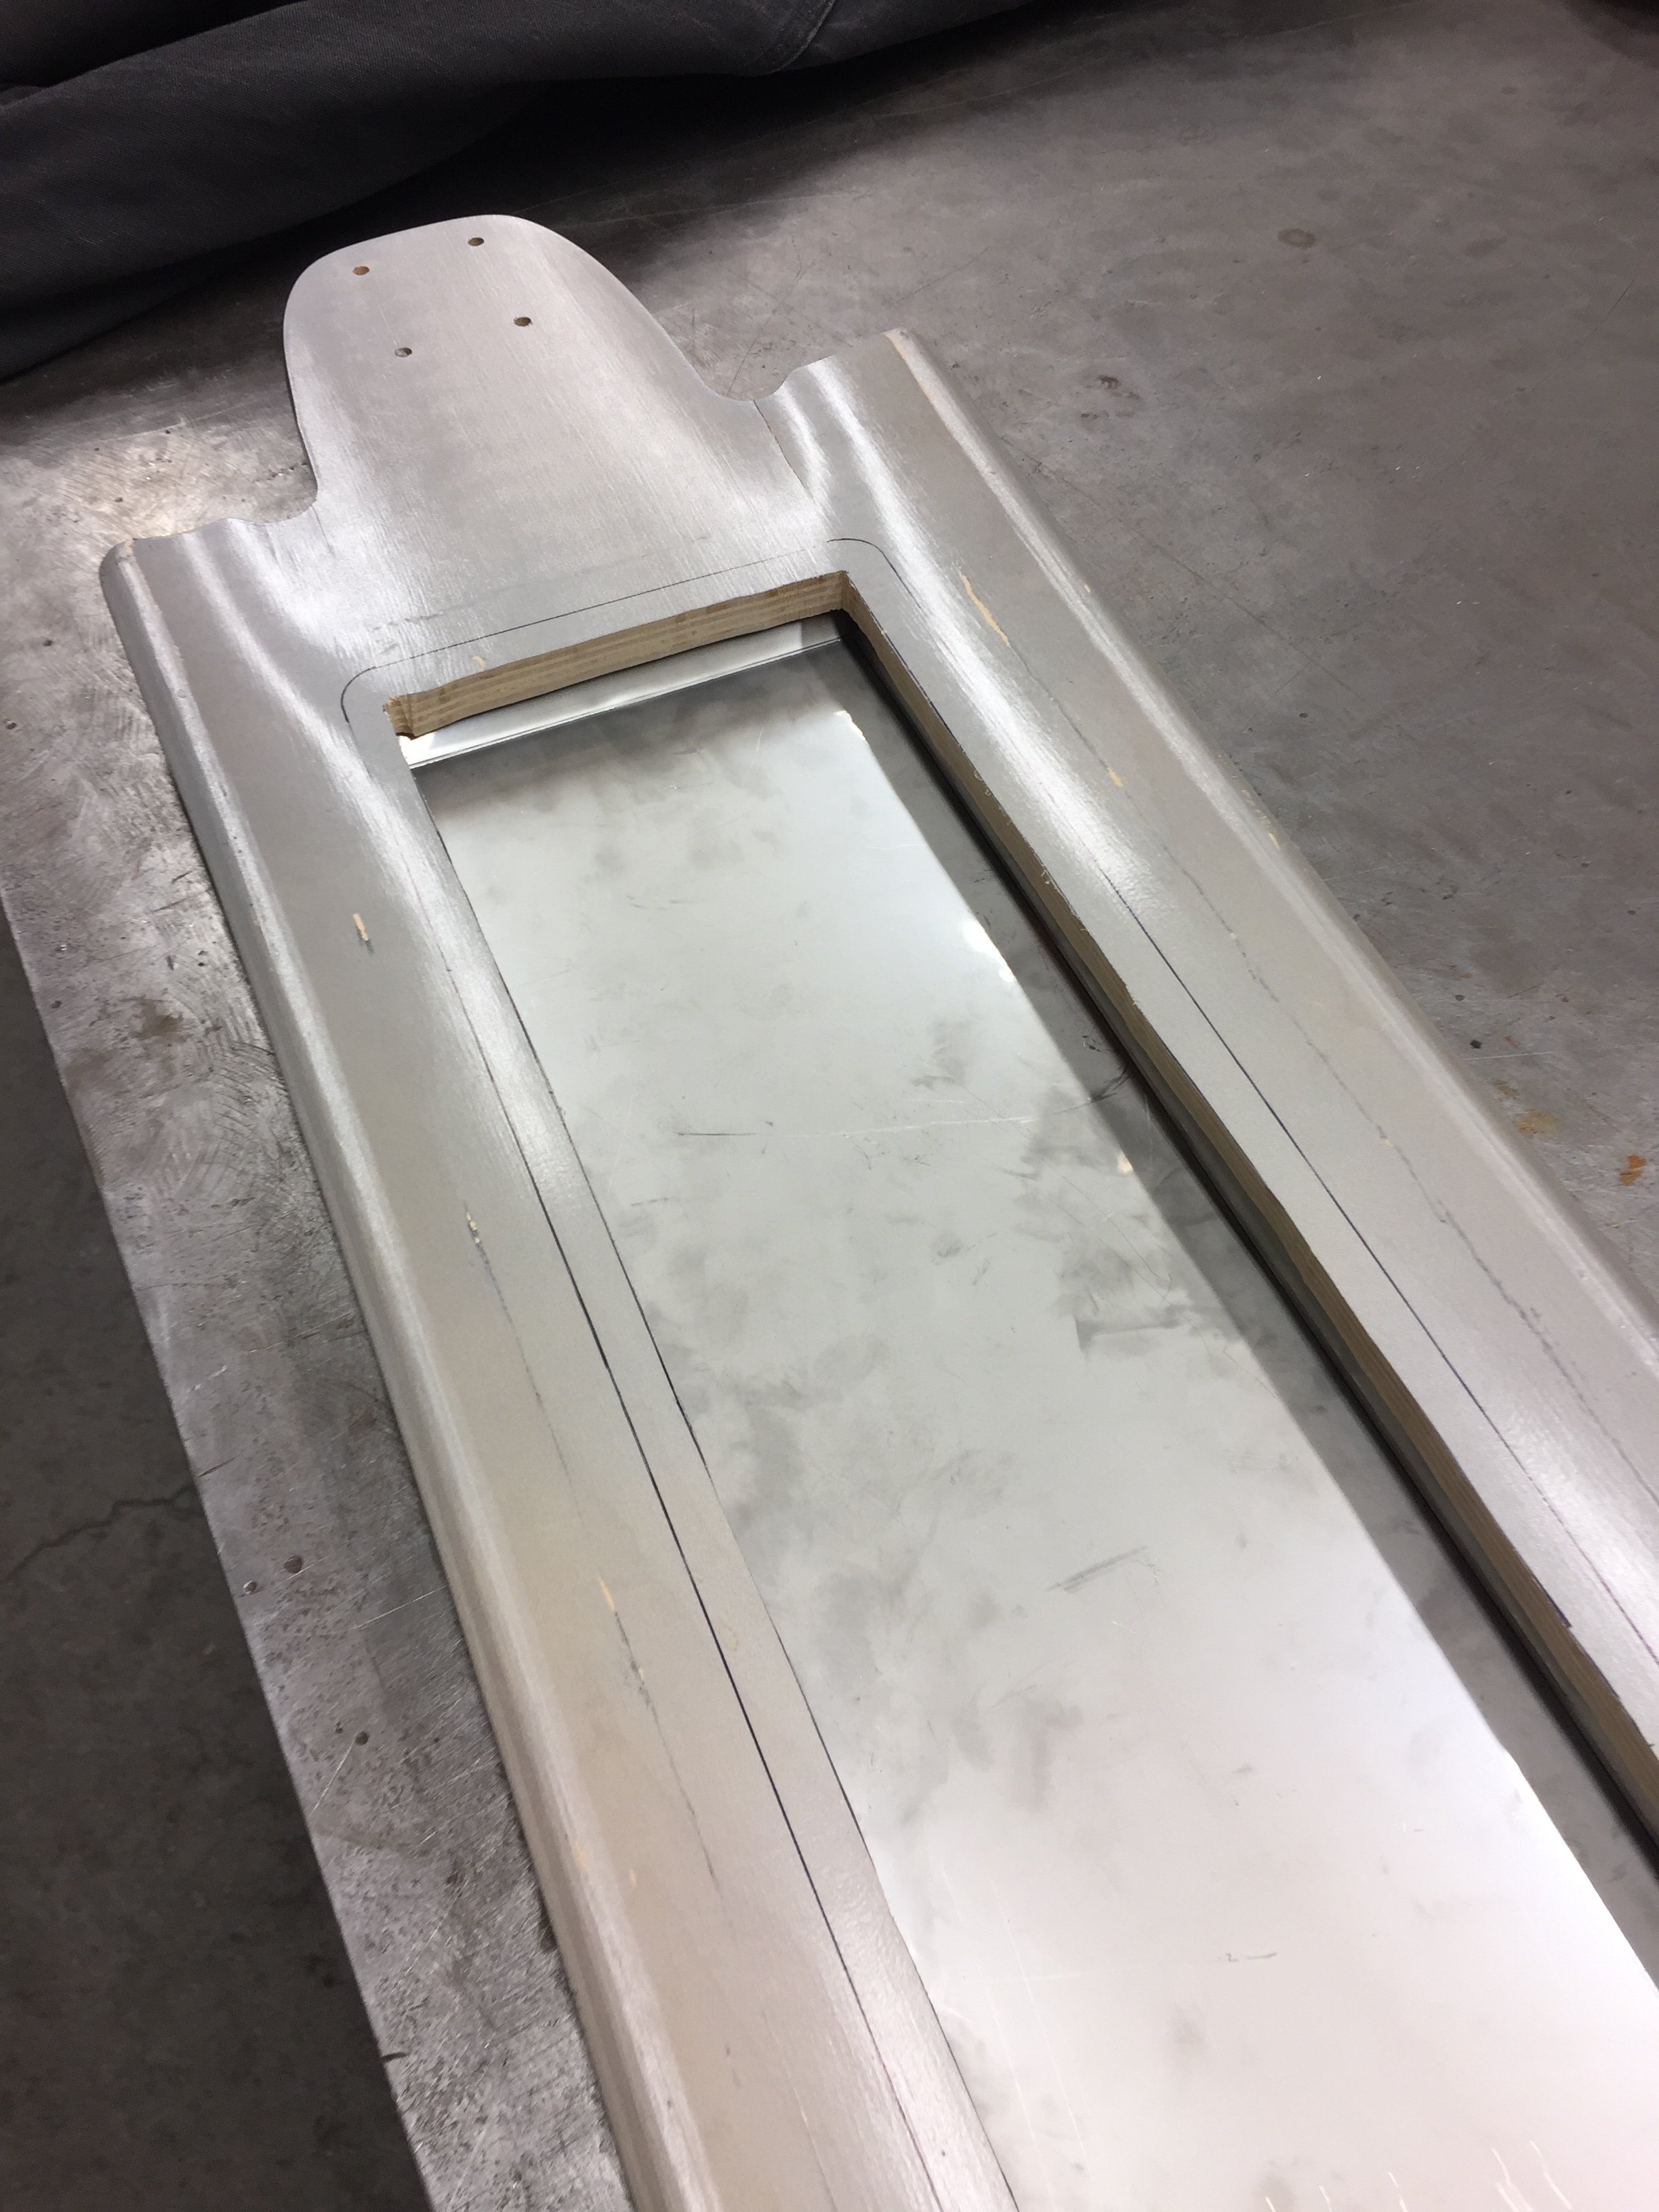


Lasercut 3mm plywood box, dyed black and clearcoated, using aluminium rails to give the deck rigidity.


Cut hole is for the ESC, which hasn’t arrived yet.
2 Likes
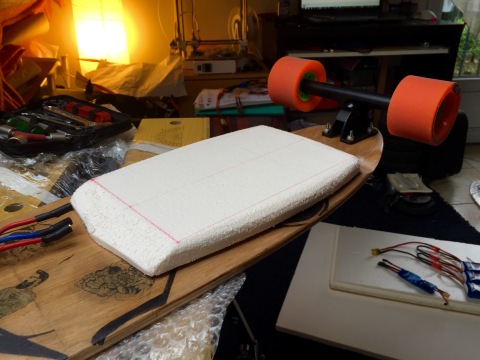
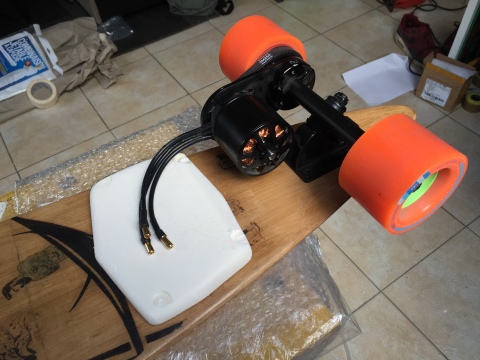
Some other inspiration tested year ago : fiber + t-shirt + 3D print on the mold 

Some steps :


Peace !
9 Likes

6 Likes
I did mine from fiberglass yesterday and it turned out pretty well, its not the best since i was too lazy to make some support for the fiberglass to stay in shape but after a night of drying im proud of myself hehe. This modelling is not eazy especially if its your first job with fiberglass
Photos or it never happened…
Will post them in a few hours
Good to hear it’s all coming together.
1 Like
