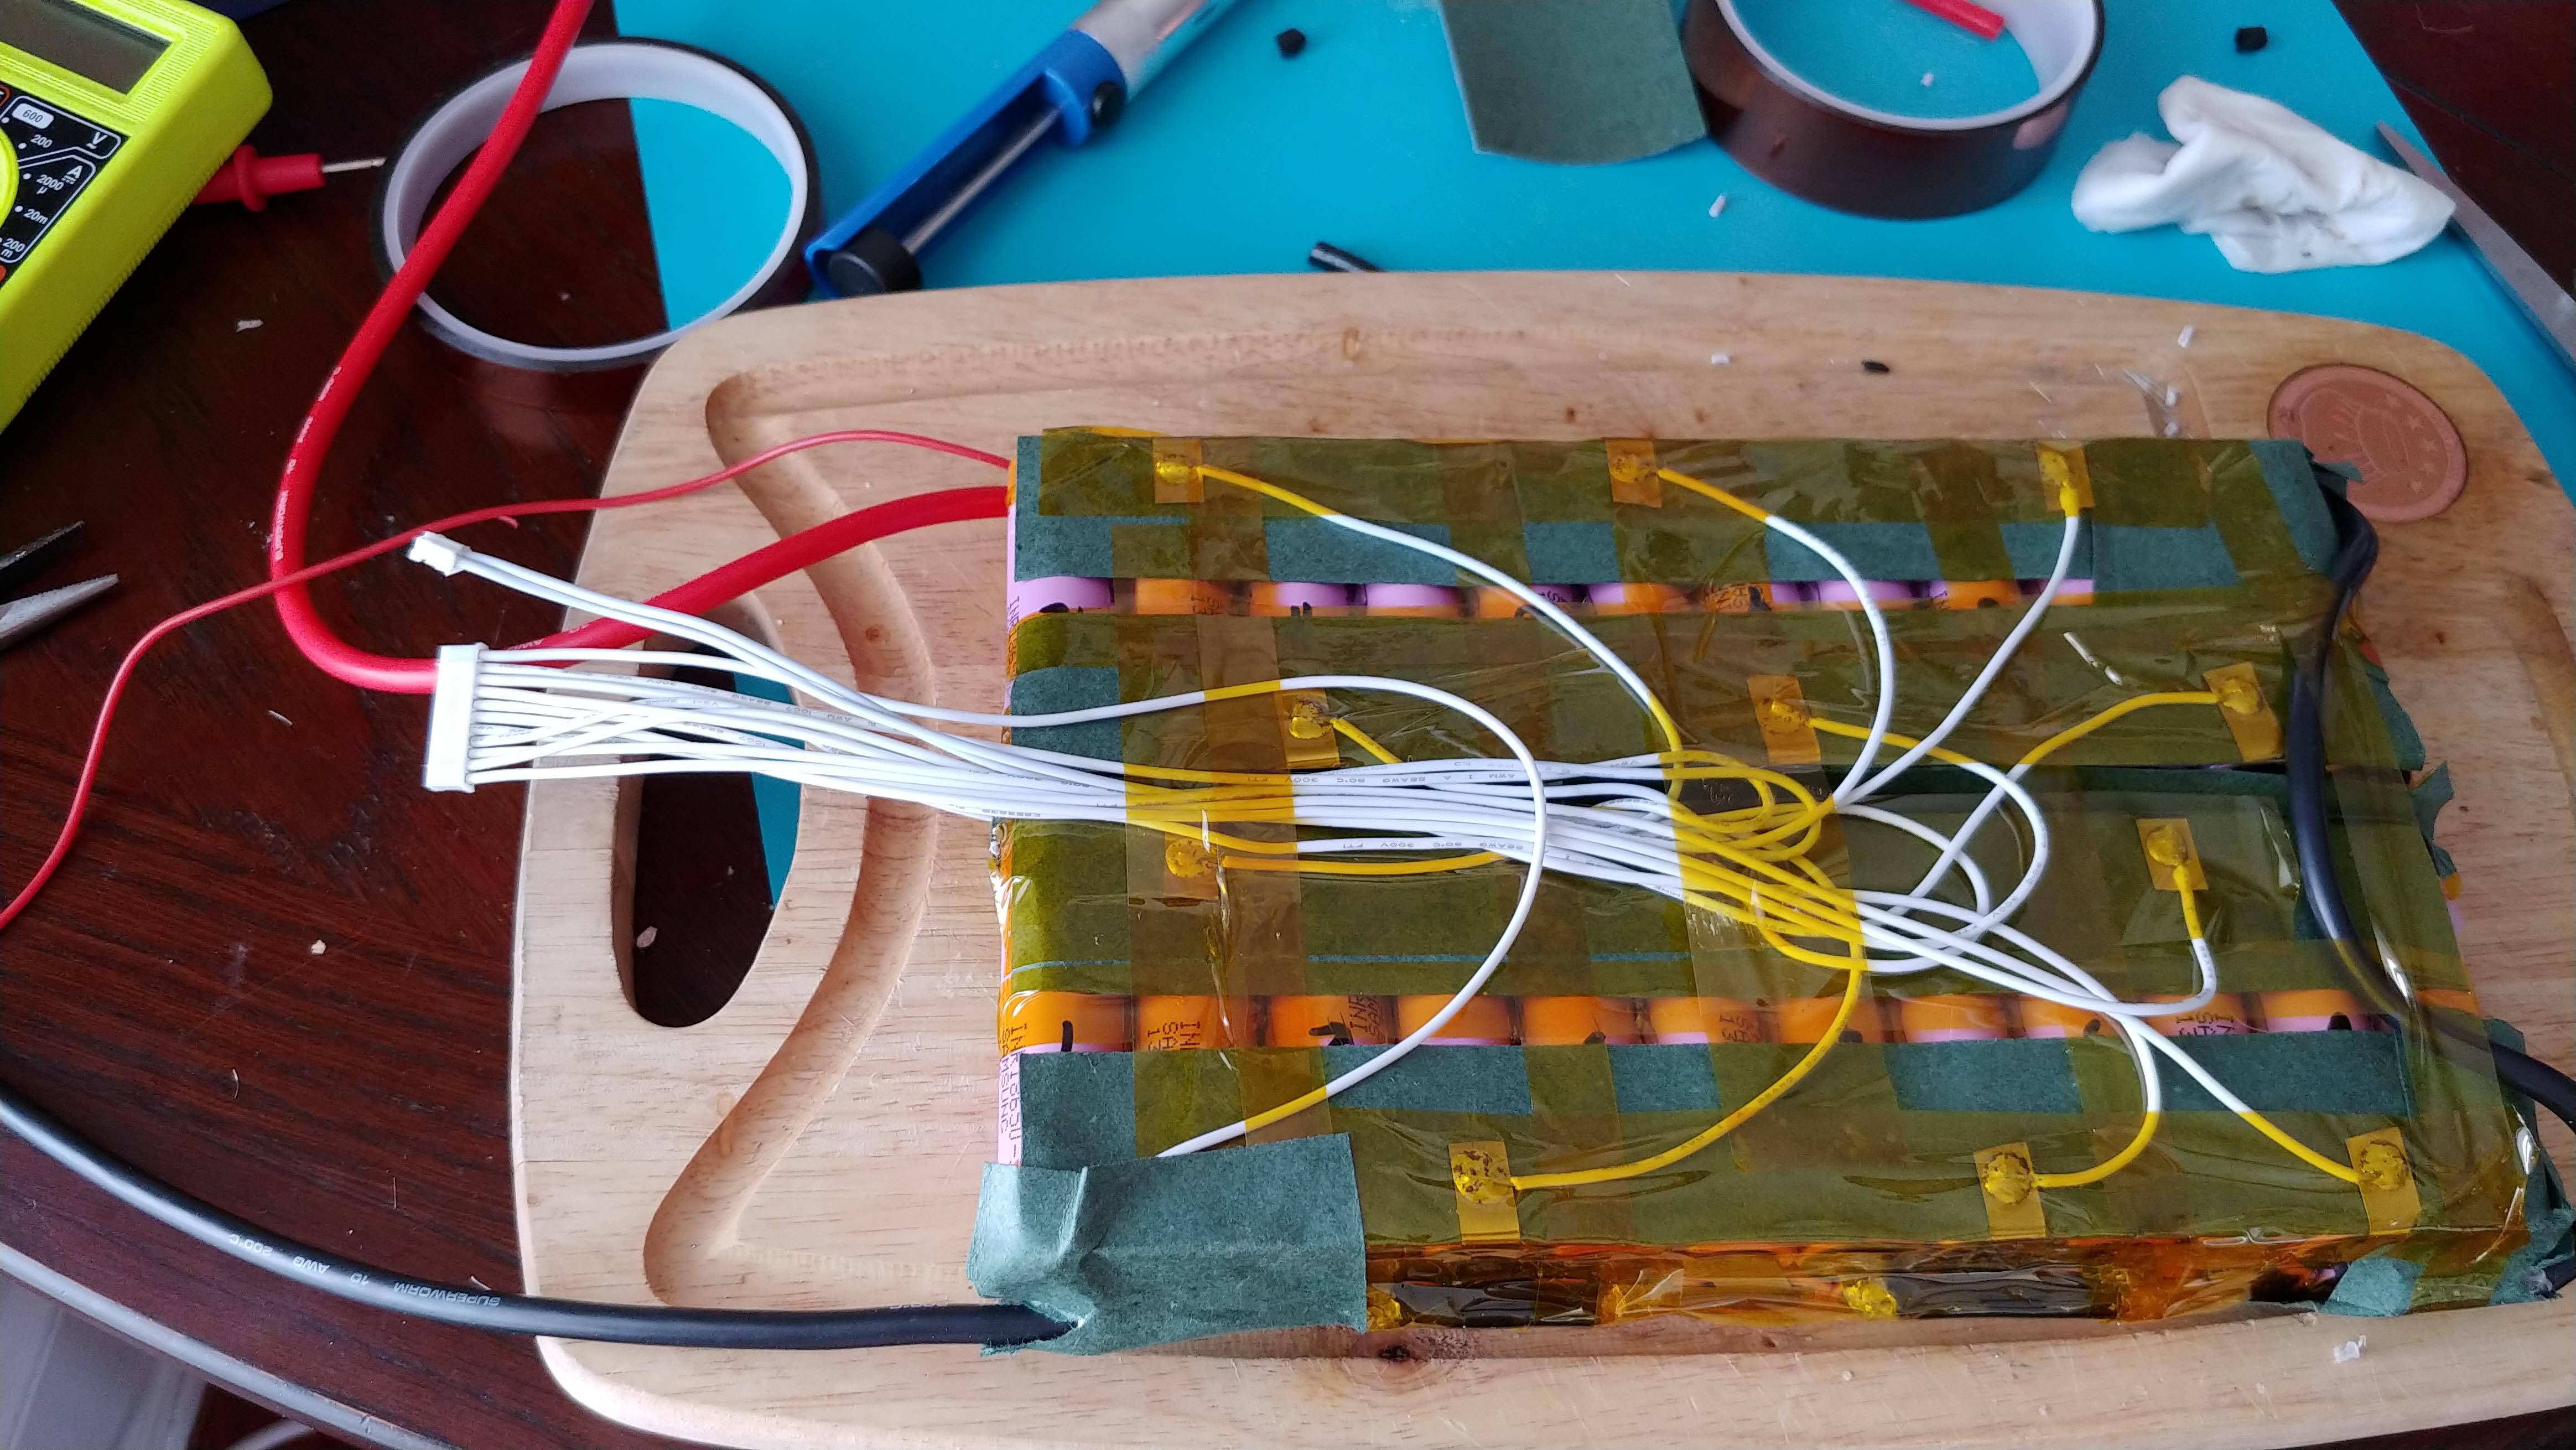
Rate my battery build - 12s4p 30q

Just wrapped this up…literally… this is probably my 5th build and probably my best one yet. I def have all the tools and materials and feeling like enough of the experience to possibly offer entry level services to people if one happened to be interested but more interested in what others think of my handy work this time.

I had a 6p brick of 30q cells from my e-bike that were barely used…so I ripped it down and de-burred everything. This time I used .15 x 10mm nickel and used 10-12awg wire across series connects for max ampacity.

After using strip this build I feel like nickel belt is quicker and if using silicone wire across series connects then whats the point of doubling up layers or using wider/thicker nickel?? Ill keep that open for discussion =)

i like to start with my longer strips first… 0825181000_HDR-2

then do the smaller strips

0825181025_HDR-2

then add the wire across series connects 0825181157_HDR-2 0825181157a_HDR-2

tack on tabs for balance wires… 0825181352_HDR-2

0825181352a_HDR-2

Fish paper under the balance leads 0825181355_HDR-2

some kapton across the cell tops/bottoms 0825181410_HDR-2

added my series connect from block 1 to block 2… 0825181446_HDR-2

cover the inner ends with more fish paper and contouring around the silicone wires for mild offset when sandwiching the 2 together… 0825181451_HDR-2

tape the 2 together and make sure things are lining up properly… 0825181500_HDR-2

add balance wires…cover with kapton… added main negative wire… 0825181535_HDR-2

added main positive wire… 0825181559_HDR-2

couple strips of shrink wrap length wise to snug things up… 0825181606_HDR-2 0825181609_HDR-2

sexy black the rest of it… 0825181610_HDR-2 0825181613_HDR-2

added bms wires… charging wires not pictured suring assembly pics 0825181801_HDR-2

ready to rock once I get an e switch and time to feel da boost.

thx!

11 Likes

Looks good. I would personally not have the nickel for series connection if I already have 10 gauge silicon wire to make the pack more flexible/tolerable to vibration. just make sure to wrap it in neoprene foam.

1 Like

I’d give it a 9.9 out of 10. Only concern would be the number of welds. Have you attempted to break/remove the spot welds to test their integrity

Looks a bit like your soldering iron didn’t have enough power? Also, not so a fan of those sharp edges but other than that looks fine.

image

2 Likes

I would reccomend making a lot more welds Nice pics btw :slight_smile:

3 Likes

I think the same. I make a Minimum of 6 welds per cell. I fear vibes. The pavements i ride suck so i am not confident about fewer welds. None of my packs failed so far. But that’s my case. I guess 2 welds per is ok for good roads.

Yeah I test all my welds before moving on giving em a test yank with my soldering tweezers… After ripping down the 6p that this pack was before I’m confident because it was a fucking PITA to get all the nickel off in the first place =P

3 Likes

Welds look good and solid but the series connection soldering looks under temp. soldering to a flat surface needs a little splay going on. A little spread, not a lot but a little. If you want something to grip under load imagine a hand trying to stop a slide. Fingers spread. just a little splay. not a lot but some. Scary shit though soldering the top of a battery. The more spread the less the heat to one place though. Otherwise spot on build and safe to go public.

You forgot to use fish papper between p-groups, this is the main cause of fire, if the hot glue gets loose and they rub until the cell wrap wears out you will a pretty nasty short.

Everything else looks perfect, but the devil is in the details

2 Likes

yeah most were better than others, probably just the pic at the time, but the adhesion was def solid… i give em all a solid pull to make sure as well and could basically lift the respective pack off the table gripping right at the solder point if i wanted to… im always touching the surrounding nickel as well to test for any major temp rise as i solder… I try n keep it as cool and legit as possible =)

Awesome - Thanks for this picture guide of your build.

I have taken the plunge and begun buying all the equipment to start my build and it is threads like this that truly help in the ‘lessons learned’ process.

Despite being an engineer and competent at designing/building; batteries scare the shit outta me!

1 Like