Pirouette-Cachuète build log
Hi folks !
Better late than never, I share with you the build process started in february and (almost) finished mid-July. ![]() The key-word of this build was PERFORMANCE as I made it to go up and down bikes and ski slopes in the mountain.
The key-word of this build was PERFORMANCE as I made it to go up and down bikes and ski slopes in the mountain.
List of materials :
- Trampa Holypro 35 - Titanium Axle - Heels straps - Bags
- Etoxx v2 Mount
- 2x 5S Tattu 10Ah Lipo
- 2x Overion 6374 3550W 130KV motors - Sensored
- 10x36 ISO6b chain transmission
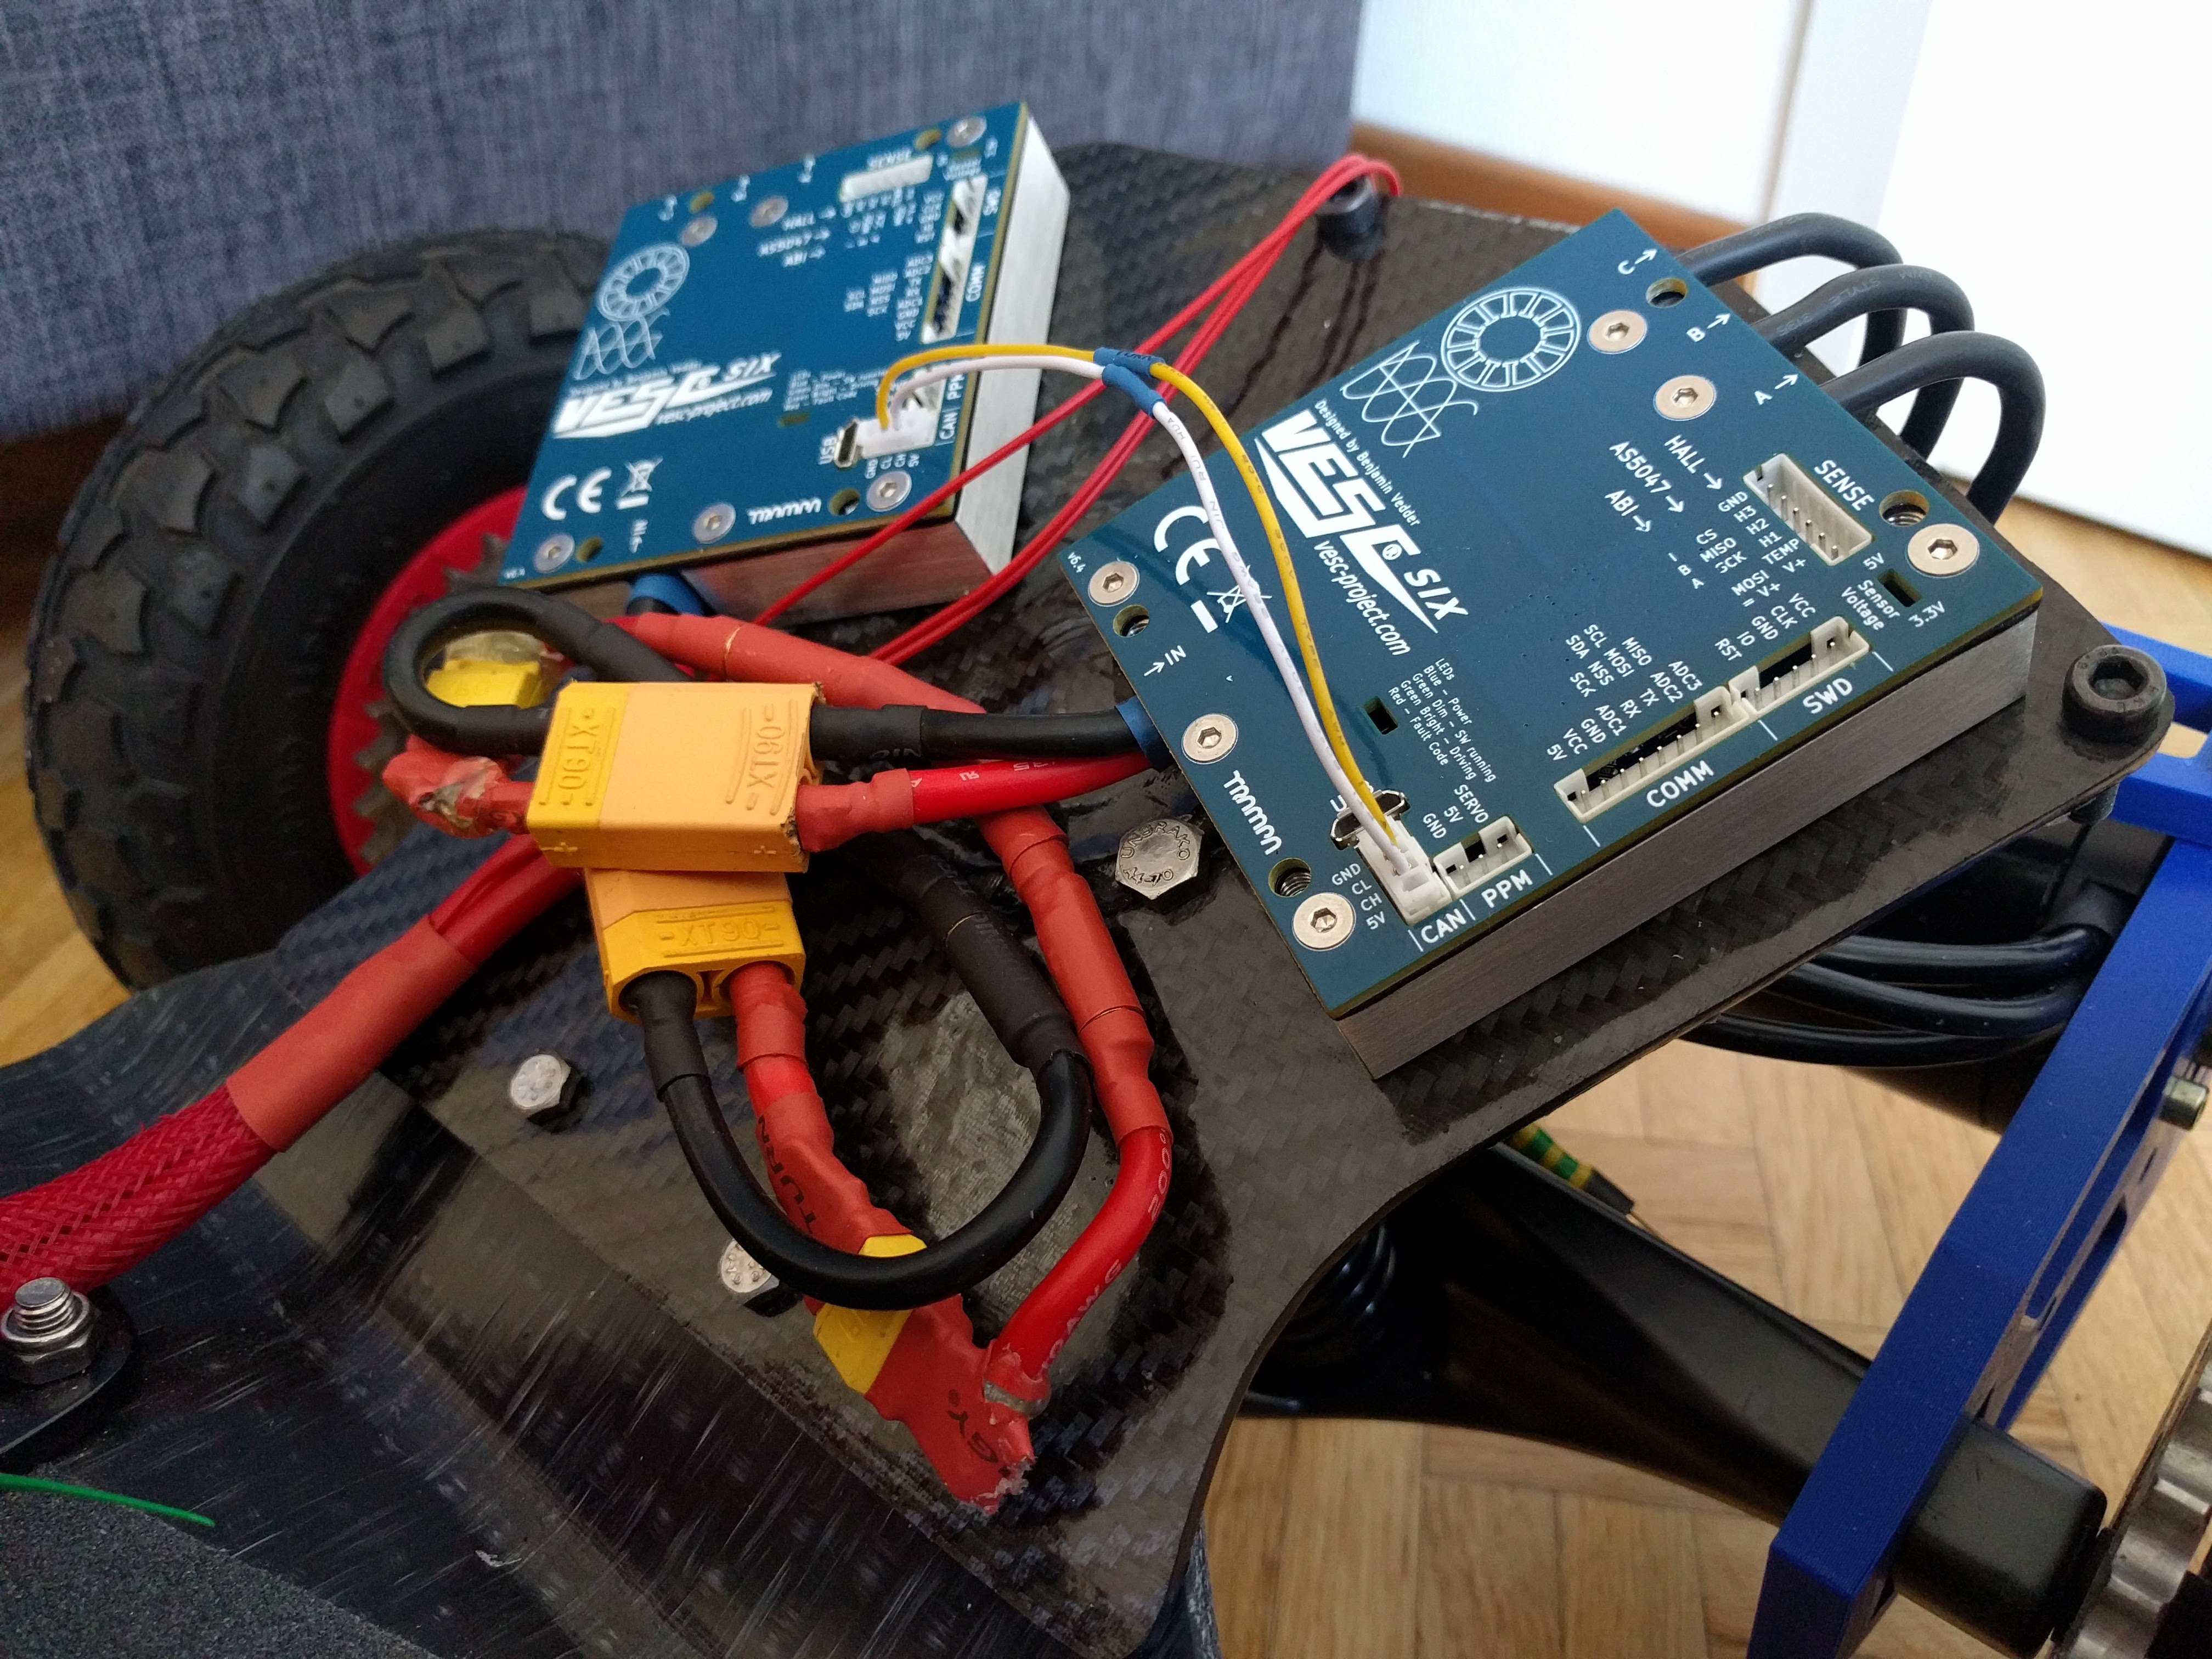
- 2x VESC 6 Beta
- Ultrabox 408 battery case
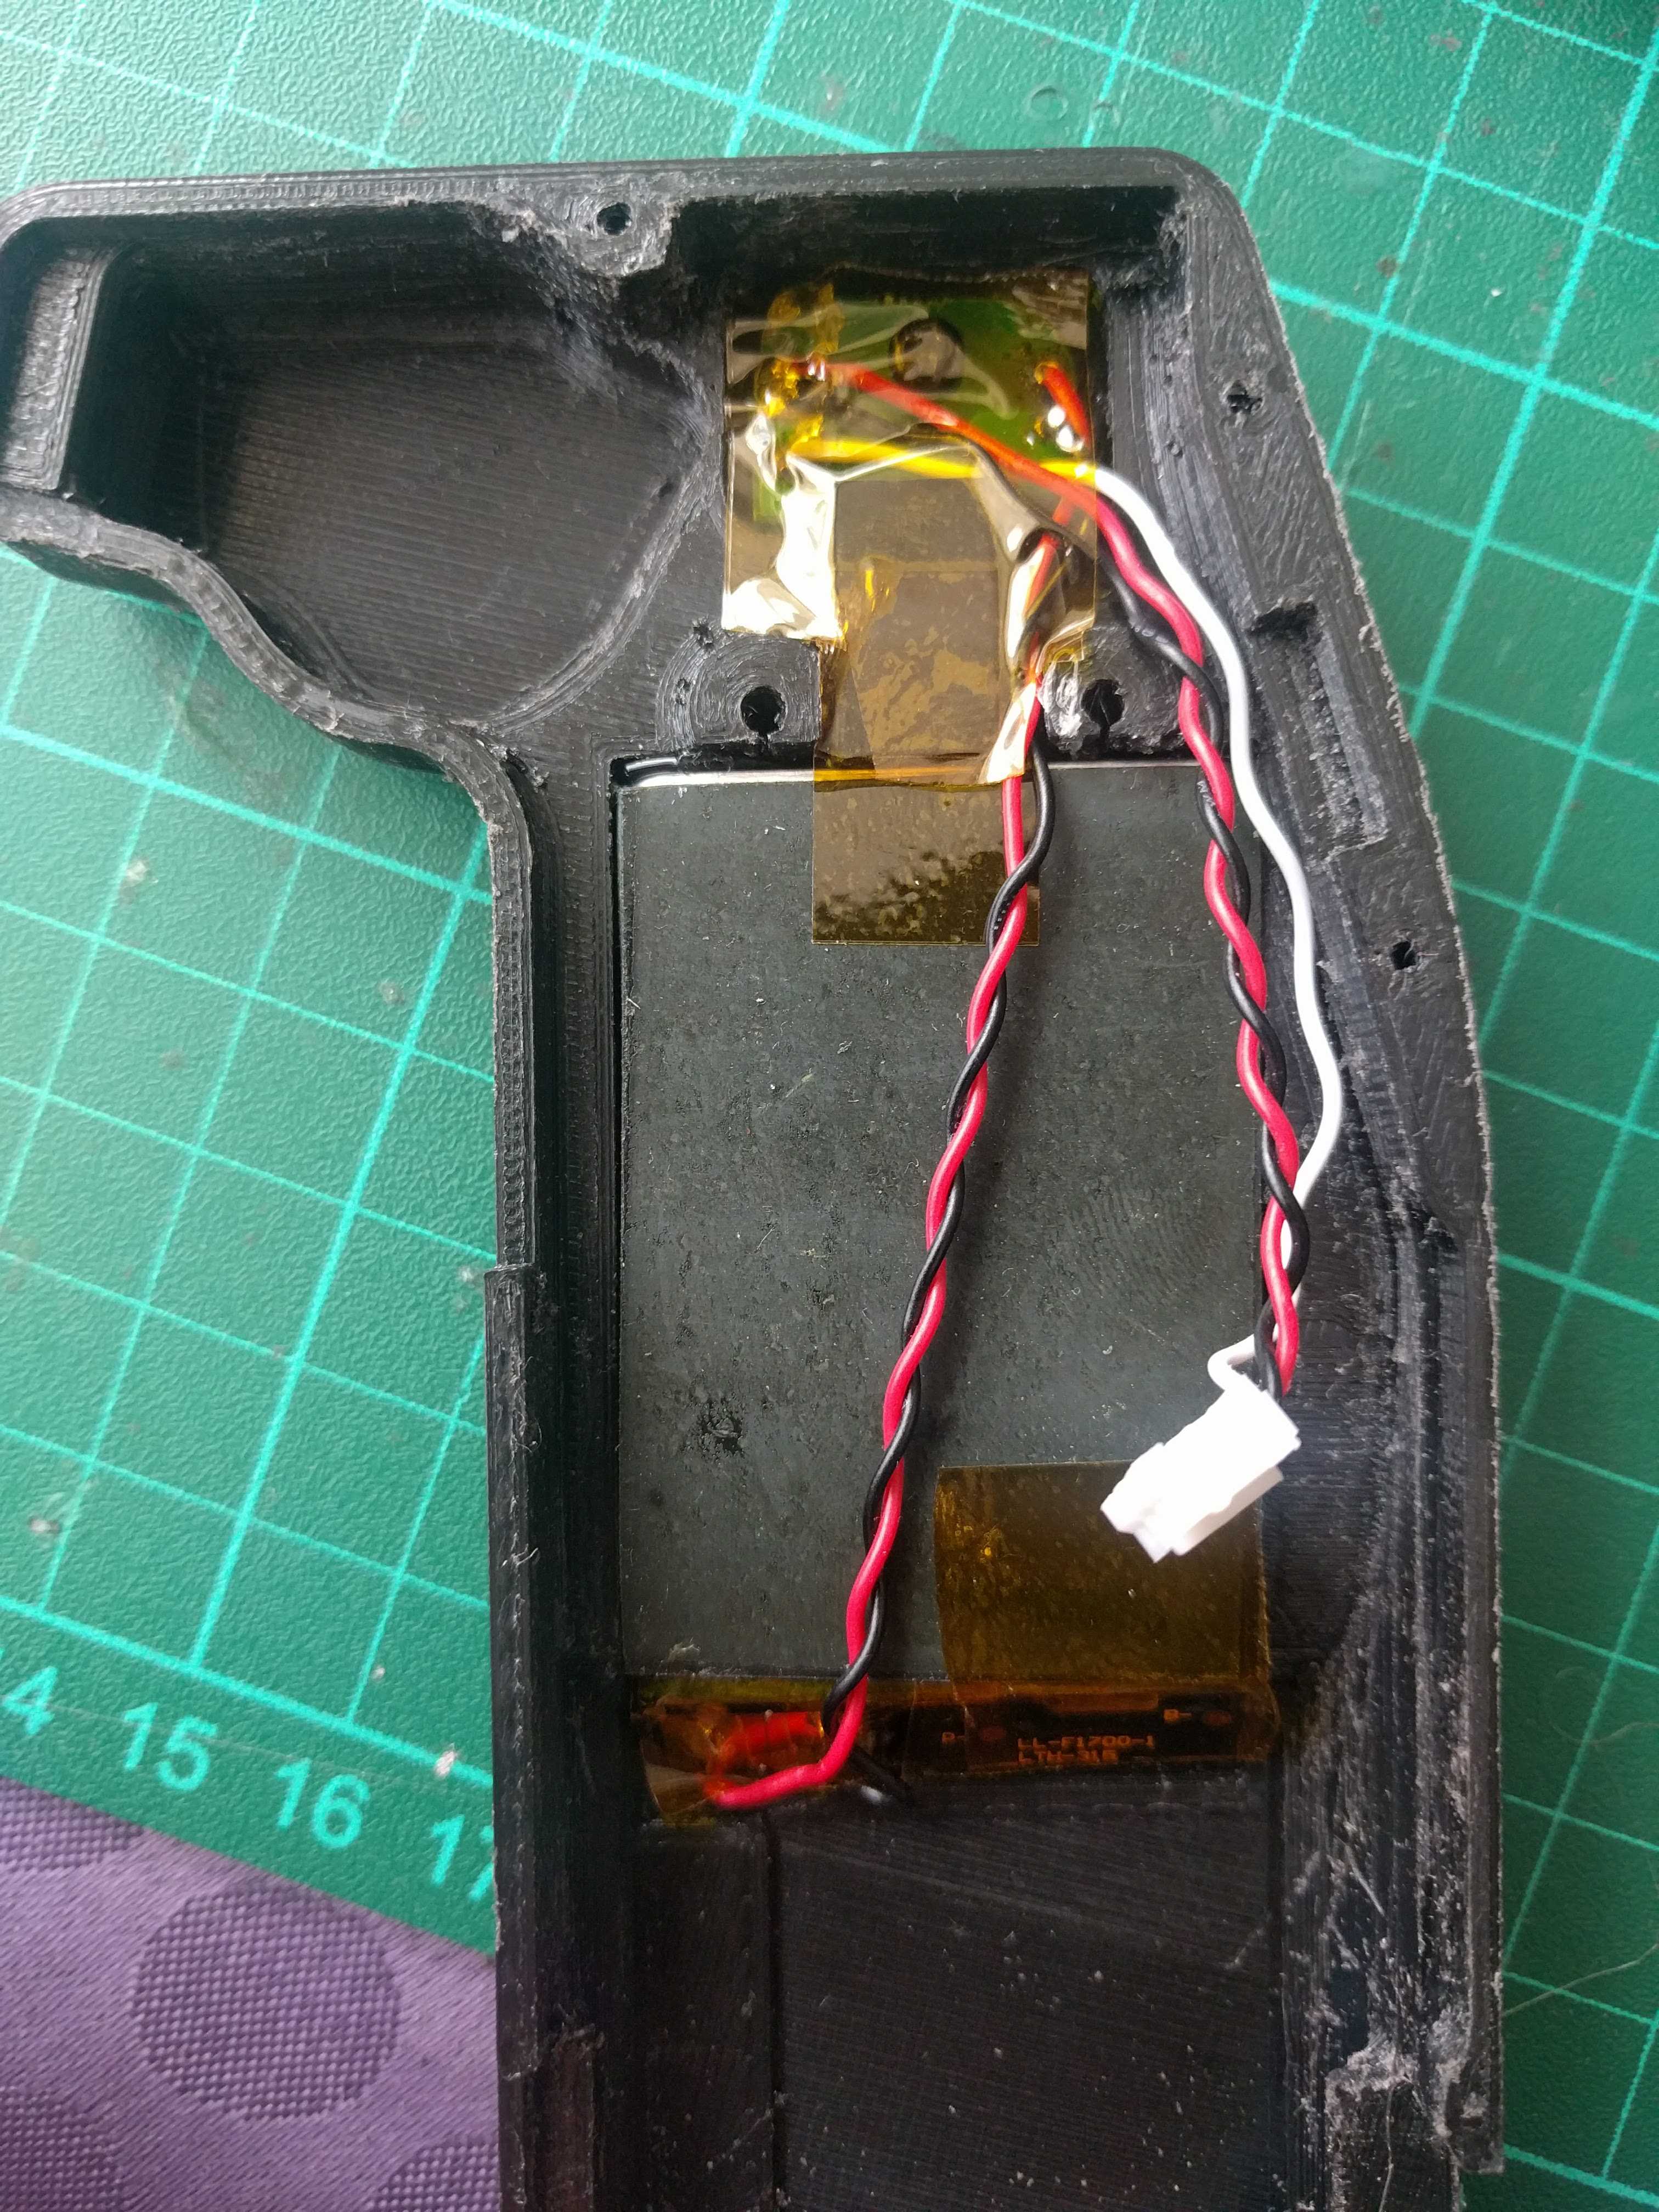
- DIY/3D printed electronic box
- DIY Arduino battery gauge/rearlight using WS2812 RGB leds
- GT2b remote with Mad Munkey mod
Once upon a time, a Trampa Holypro 35 titanium axle with heel straps (and some bags).

I bought a used @Nowind etoxx v2 mount I polished for fun…
No, kidding. This is fuc%#$ annoying, but needed for a delicious purpose, you’ll see later. ![]()

Battery box (Ultrabox 408) and batteries (Tattu 2x 5S 10Ah)
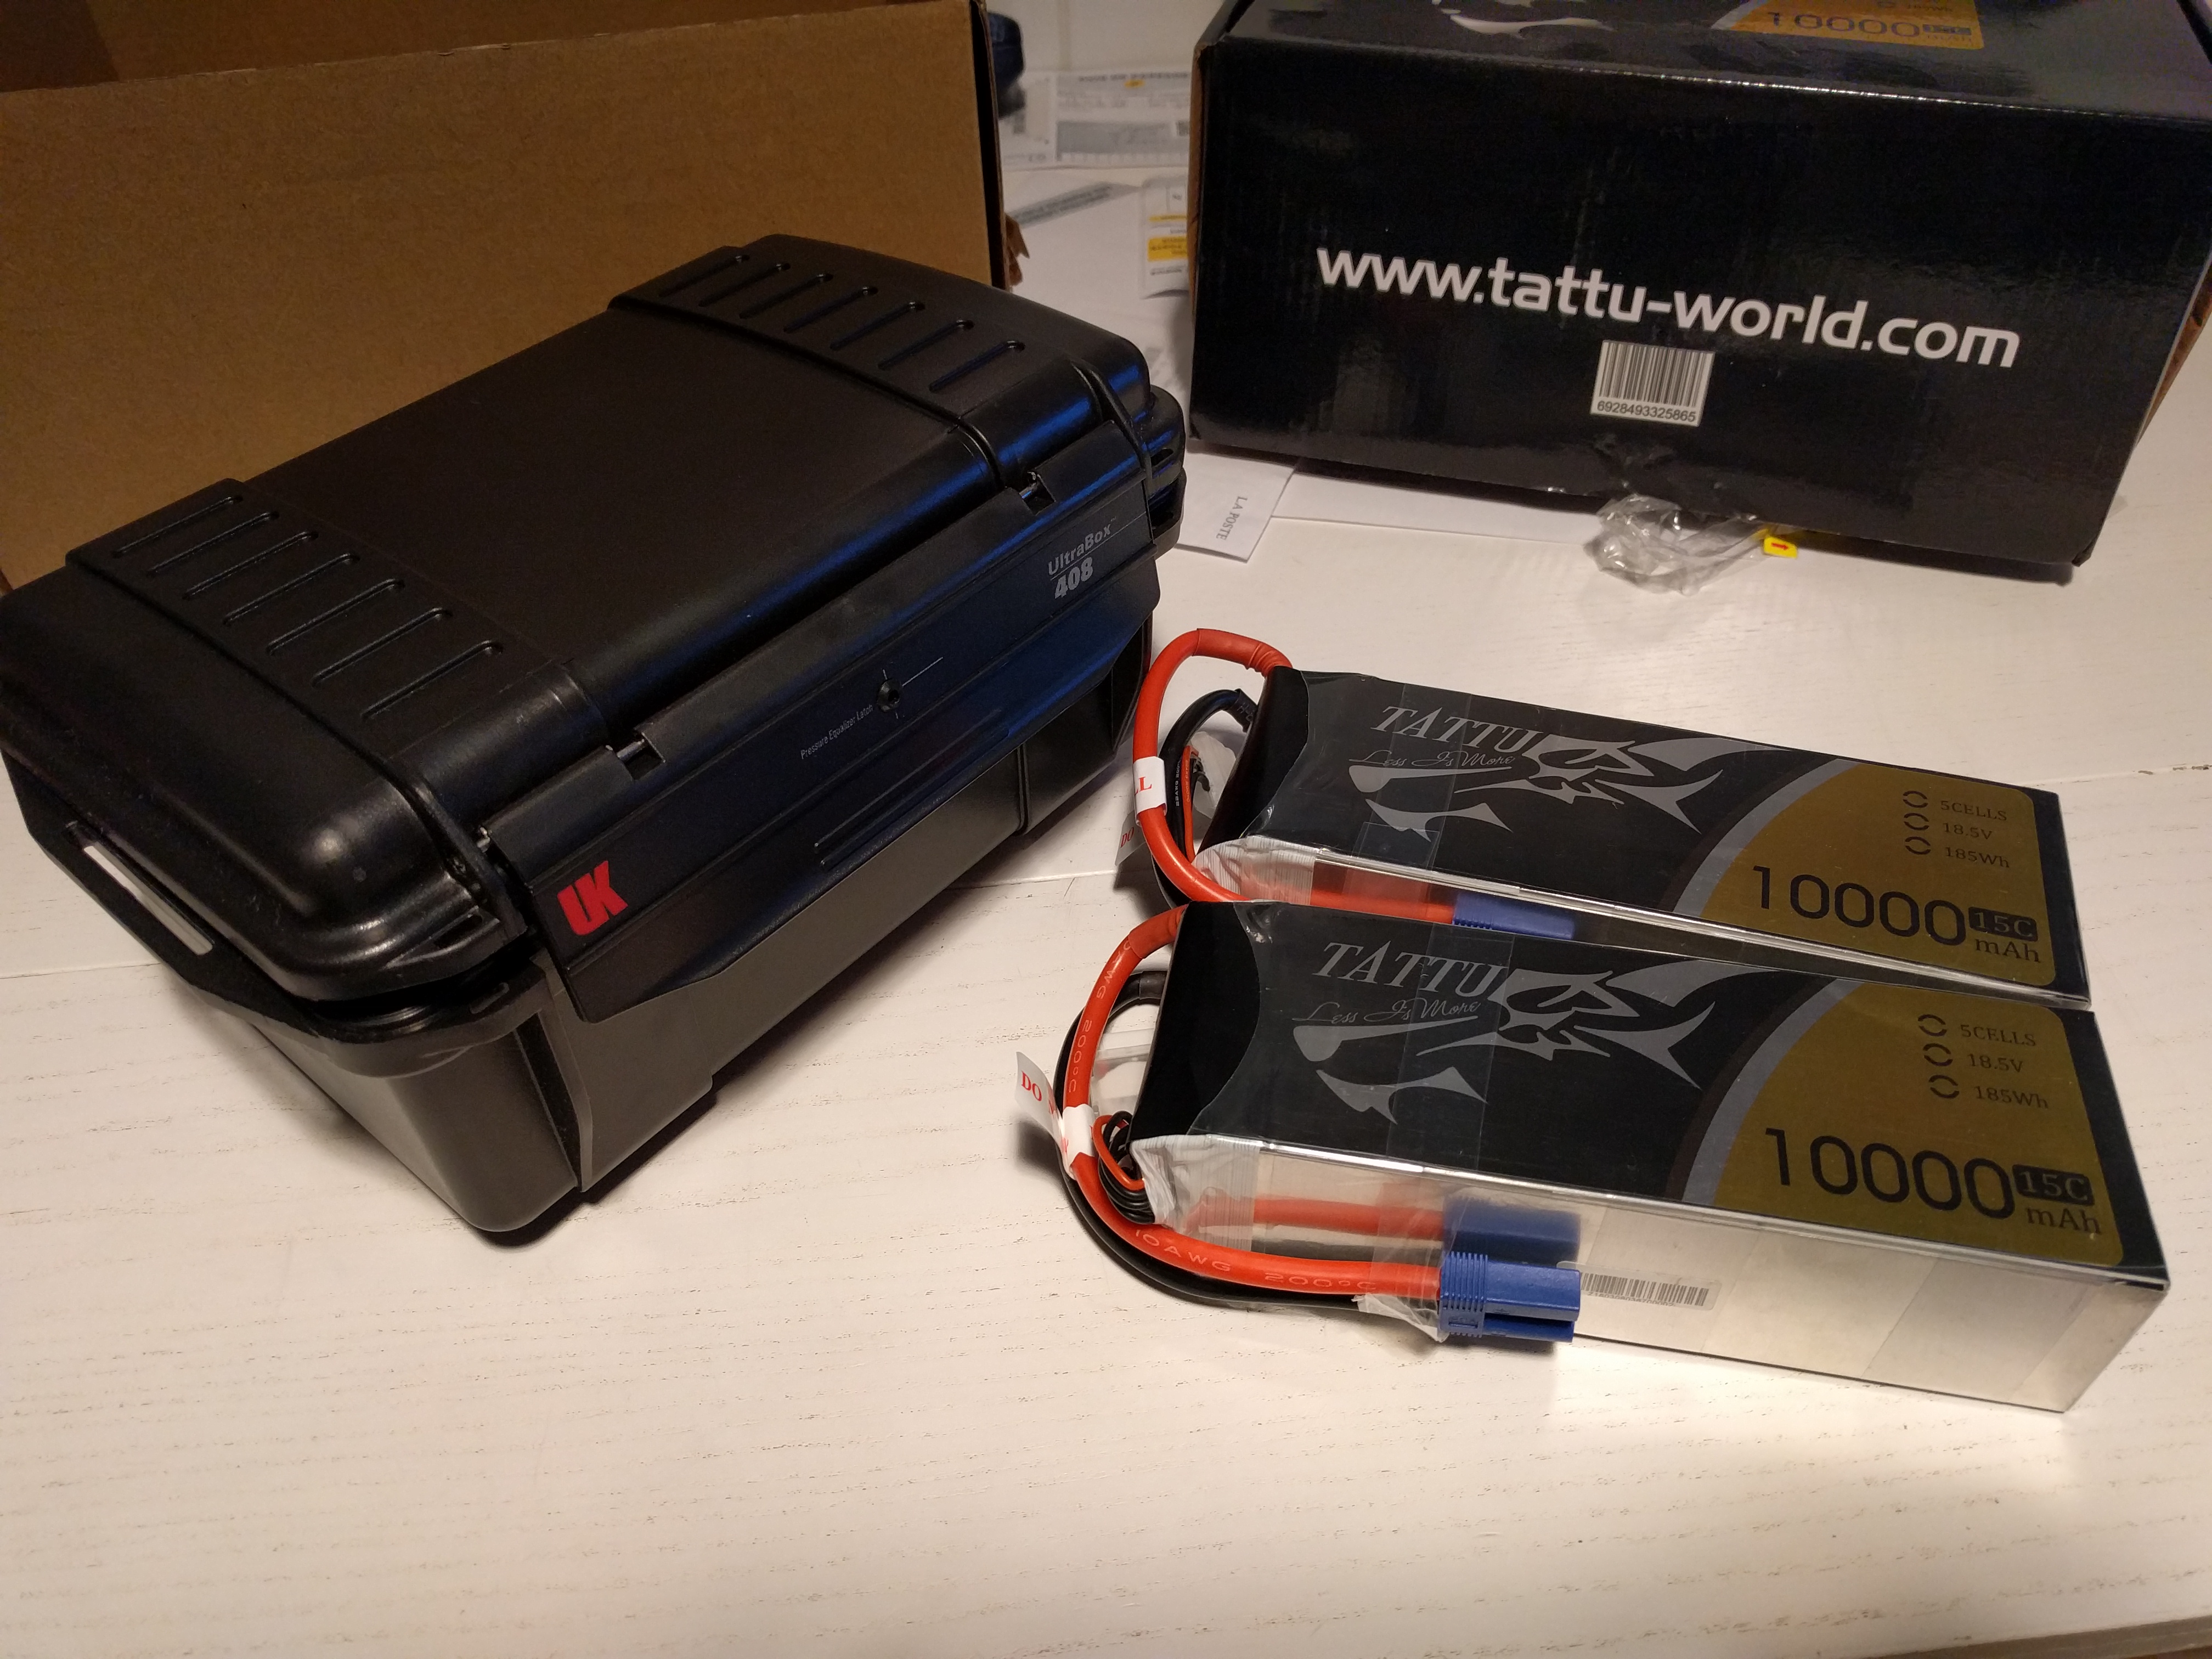
Pimped to hold strongly batteries while I ride like an idiot.

VESC 6 beta not released yet and the mount in a magic process, I needed to print them to go ahead with the rest of the build.

Wiring in 8AWG with spare wires for a future frontlight driven by the electronic box (all wires are red to be as discret as possible in the mesh guard)

Then, I received lots of love from Overion

with a (laser engraved) gift from Yann, the CEO of Overion (a reaaaaally nice guy).

Time to prototype then print the definitive cover of the electronic box with “windows” to let see the RGB LED ring gauge and brake light dimmed by luminosity sensor (controlled by arduino communicating via UART with VESCs 6).


The main part of this build for me was to create the carbon fiber 5mm sheet for holding all the electronics. I wanted it every strong to resist hard shocks while riding in the alps mountain (rocks, holes, cows, marmot, delicious fresh milk cheese…).
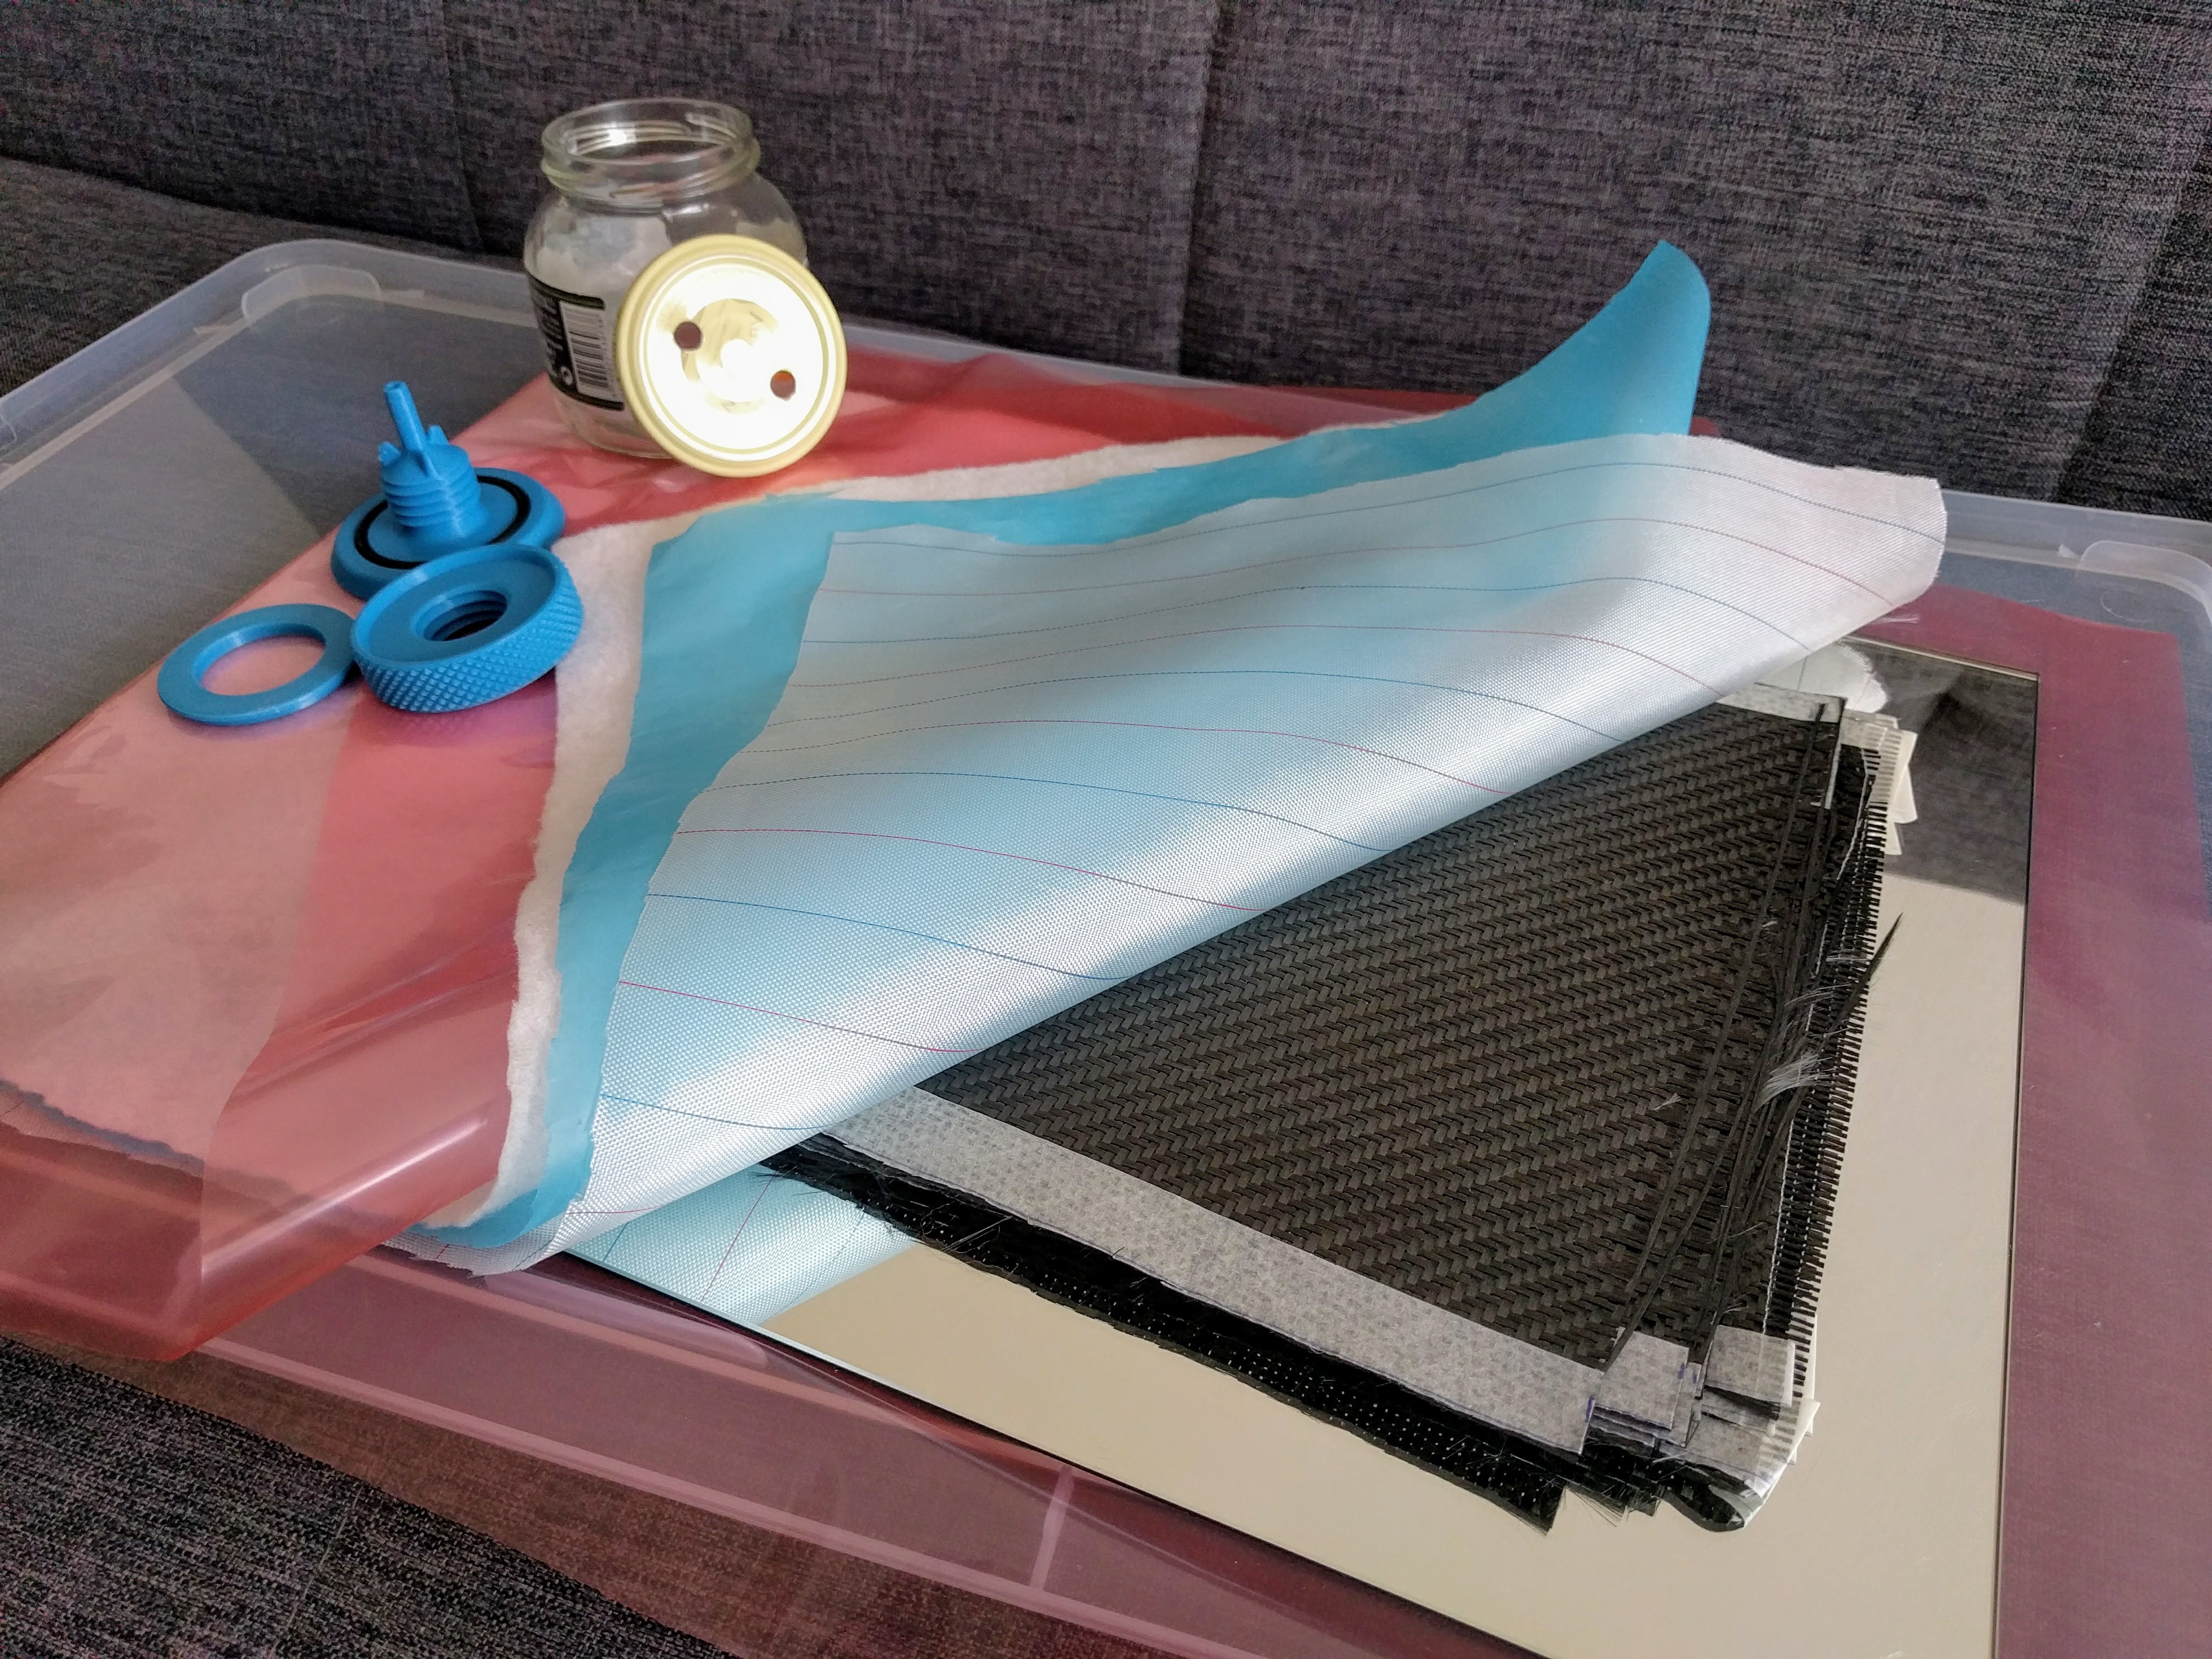

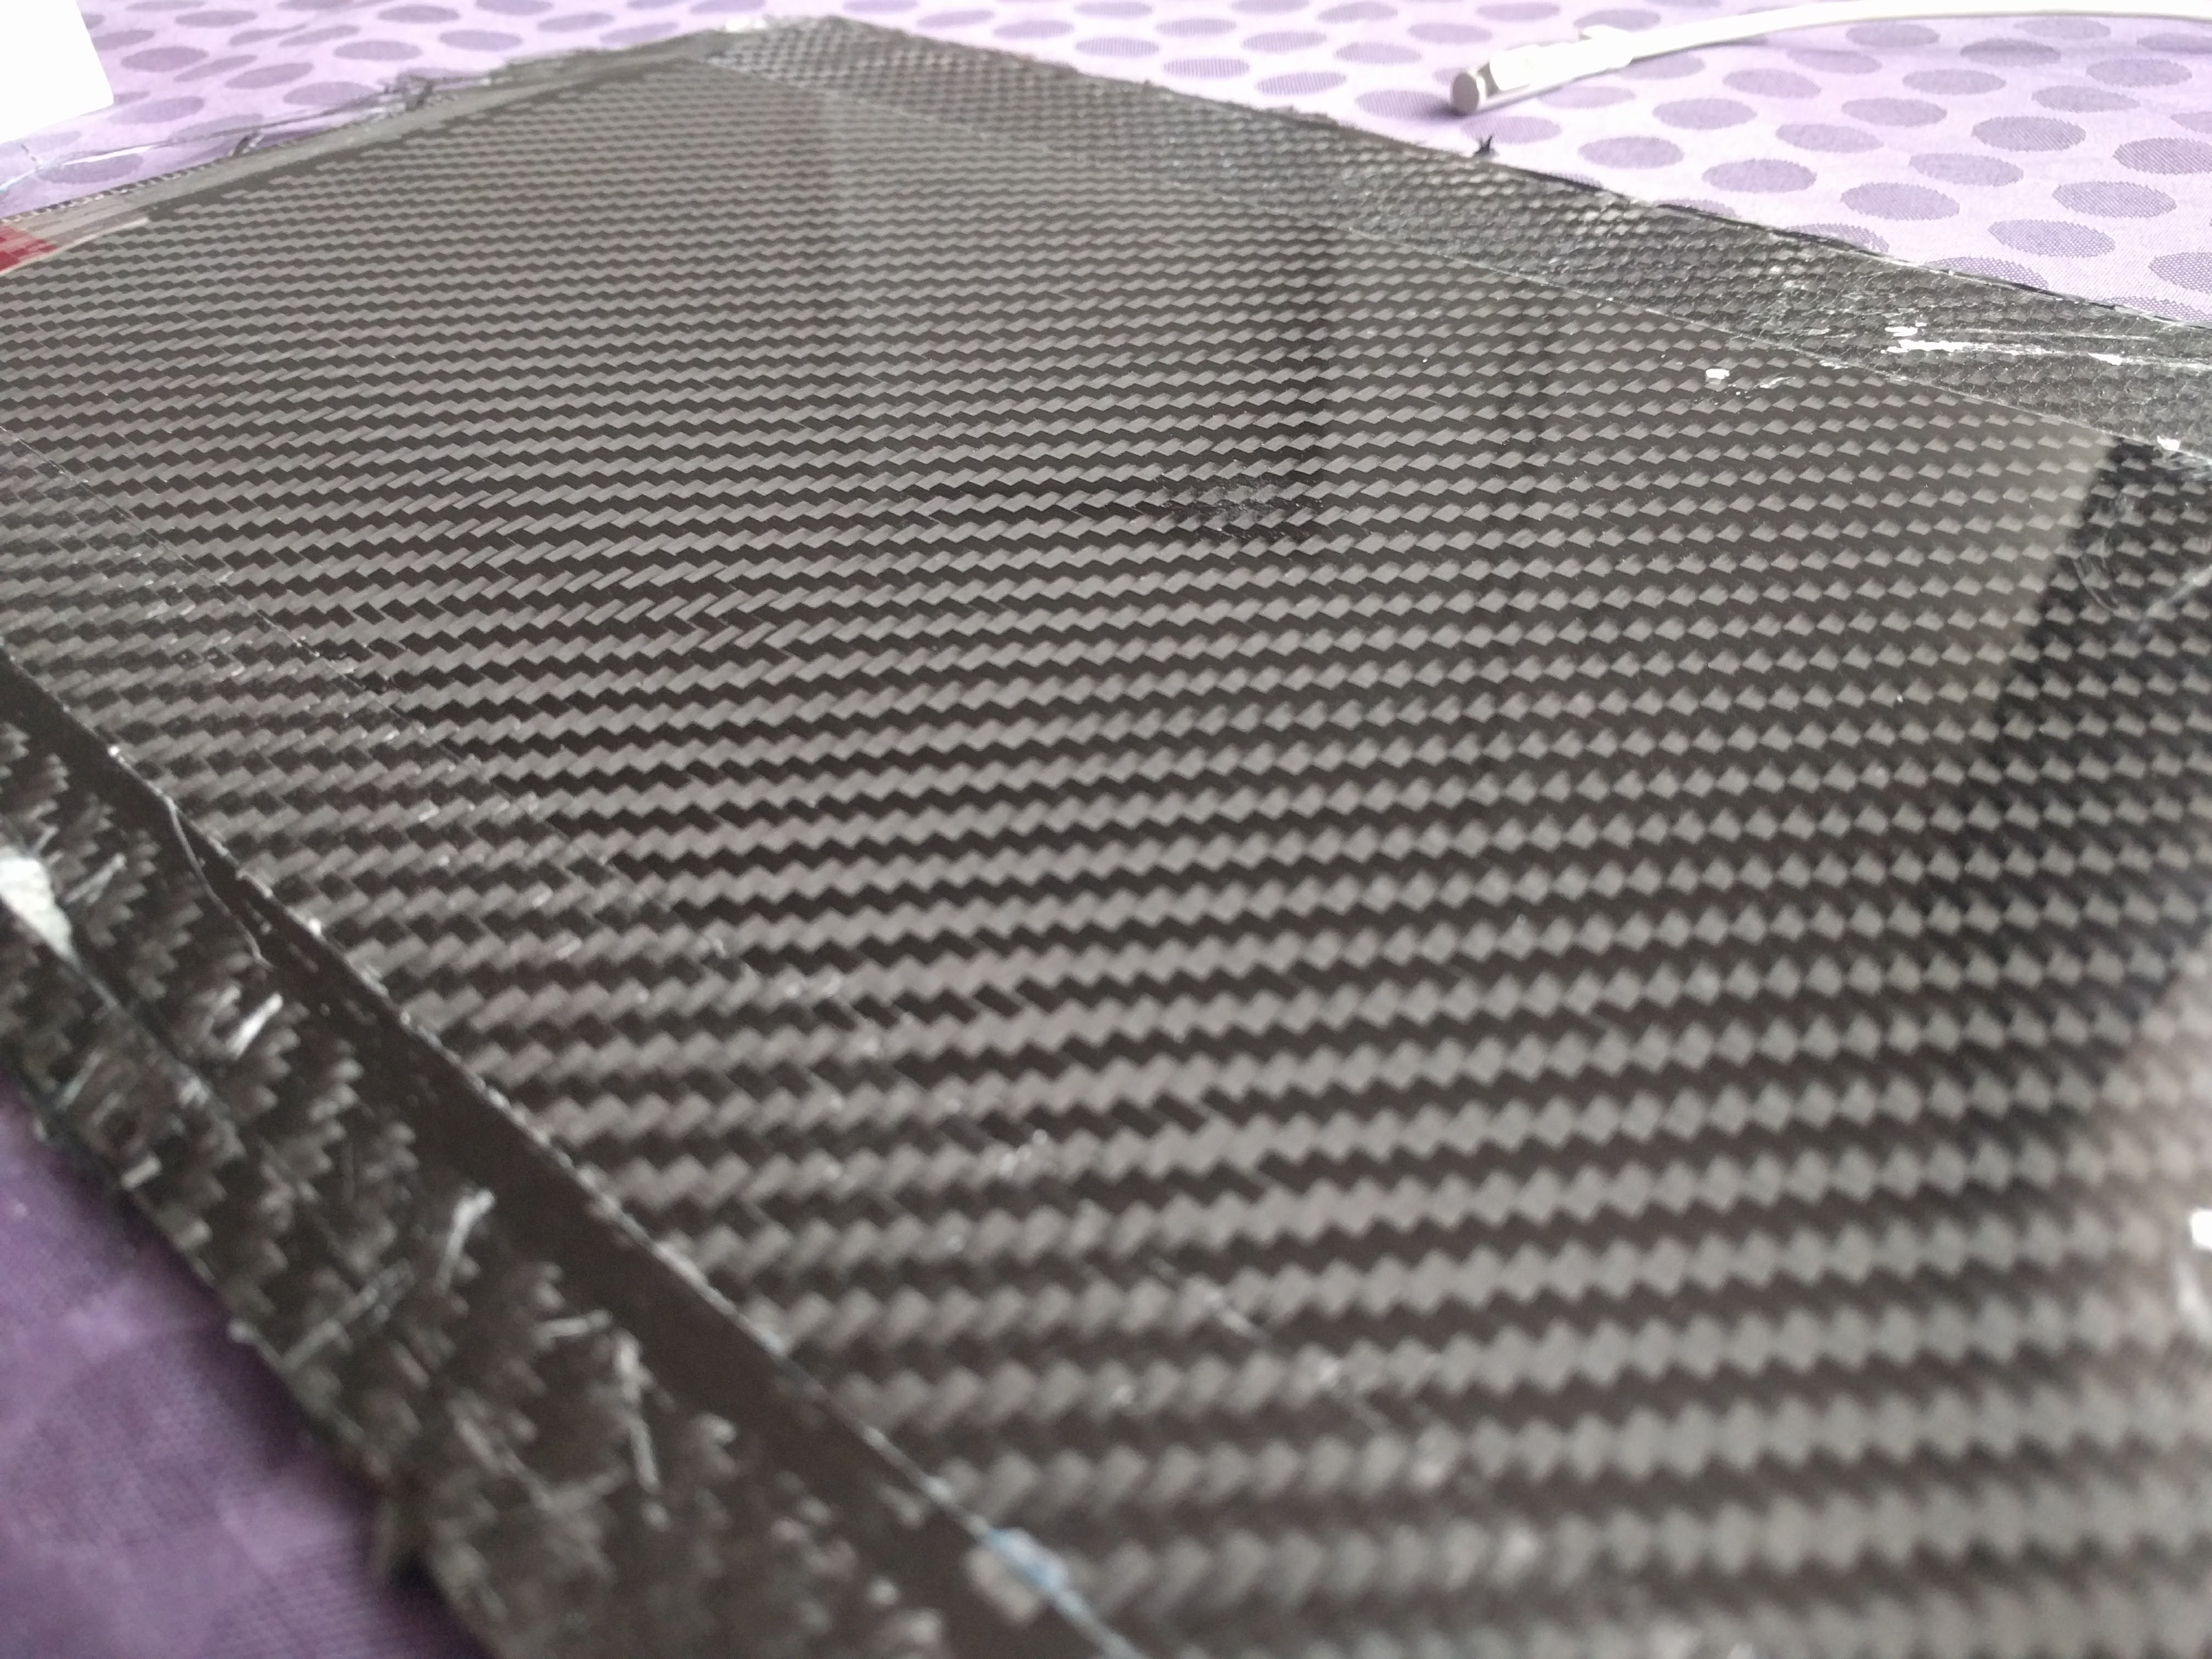
Scrap cuttings

VESCs 6 finally arrived.
I originally planned to cut squares in the plate to let pass heatsinks attached under the VESC cases. But first tests of others beta testers showed that case temperatures wasn’t high even with high currents.
So I decided to just add thermal paste to transfer heat to the whole plate which acts as a big heatsink. ![]()

I finally received the rest of the anodizied mount made by @Riako (thank you so much dude, you really really rock). Time to assemble everything and adjust ISO6b Overion pulleys alignment (with 100% infilled ABS 3D printed spacers)


As usual, no build withouta GT2b Mad Munkey remote (here while installing the CH3 button for activating lights).
Time to go testing in the street first (as I never rode a MTB before) Here with @Riako Darth Vapor prototype

 - First ride")
And finally, the “natural habitat” of this little monster

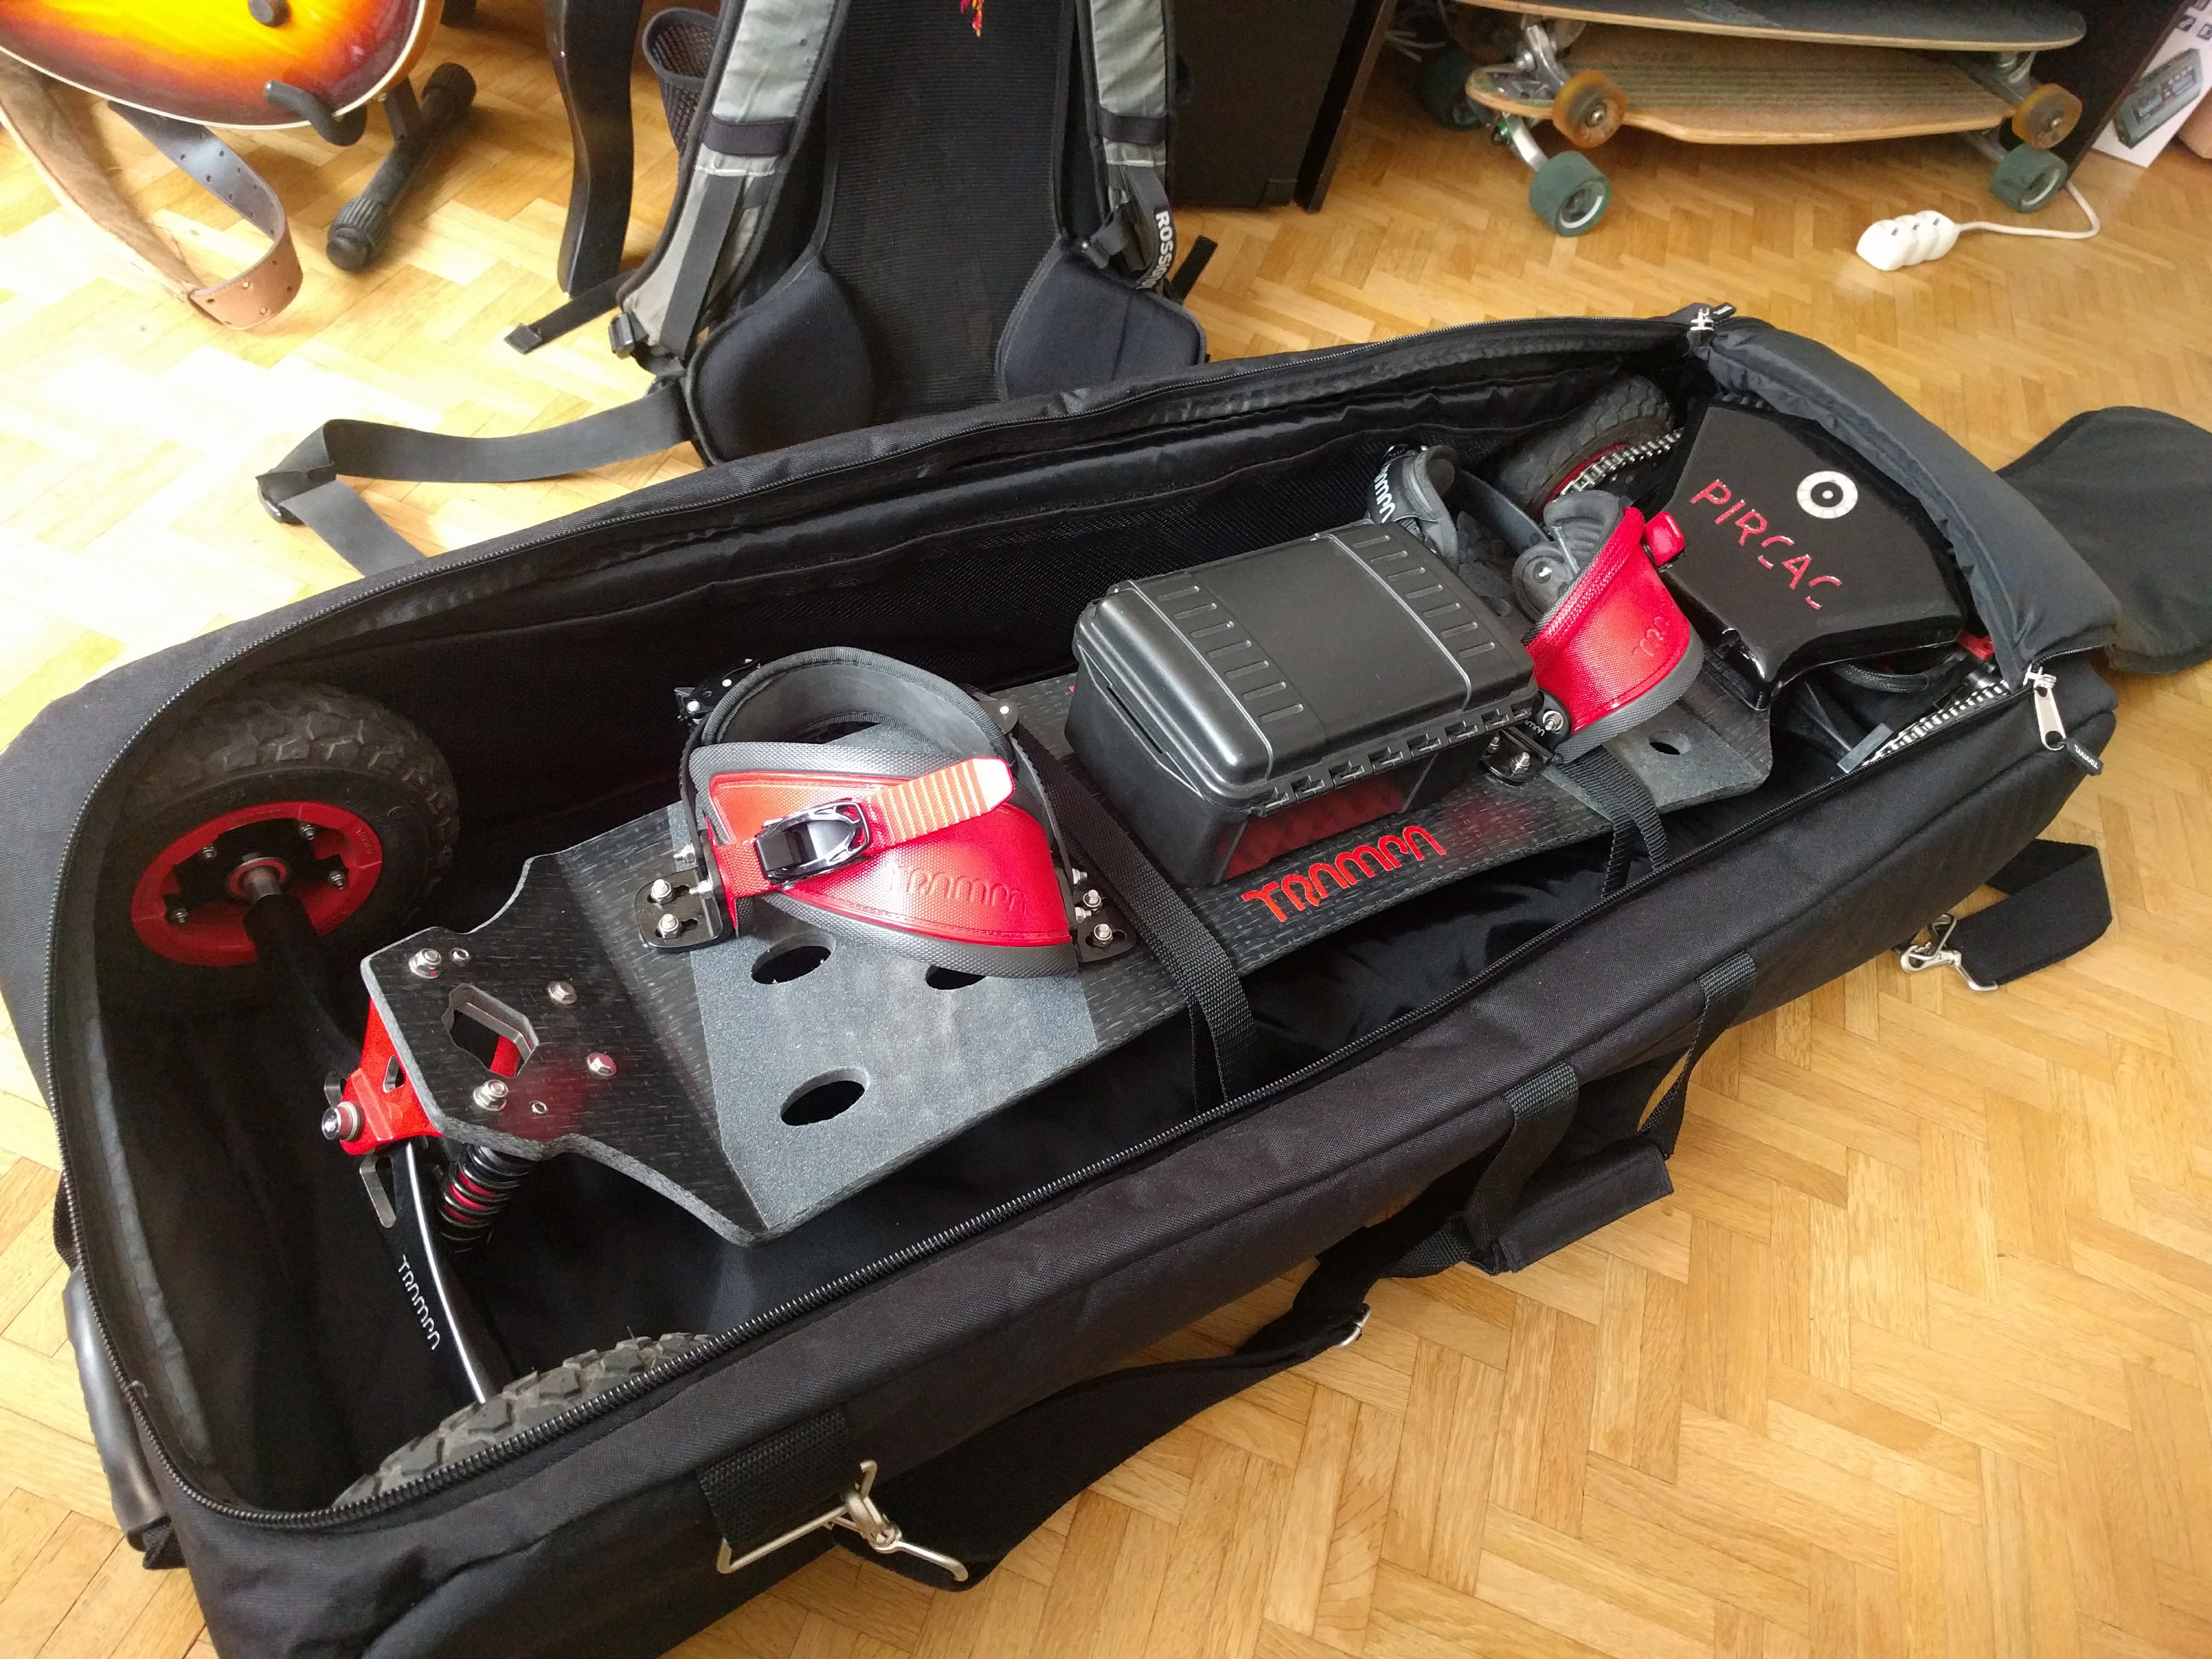
Bonus : the board fits perfectly with the Trampa board bag.
Perfect to carry it till the game area ! ![]()
I made it short but It took me 5 months, hundreds of hours, some fails and a loooooot learned again. It still misses the Arduino board (I’m still updating it and will make it DIY) but the prototype is fully working :

Thanks for watching !! ![]()
 ISO-6B …


 I really like the extra details you added, like ambient light sensor and the stealth front leds