Based after @whitepony’s gorgeous Carbon Jet Spud, I decided to build my own. For those looking for more, much more beautiful photos, check out his build. (linked below)
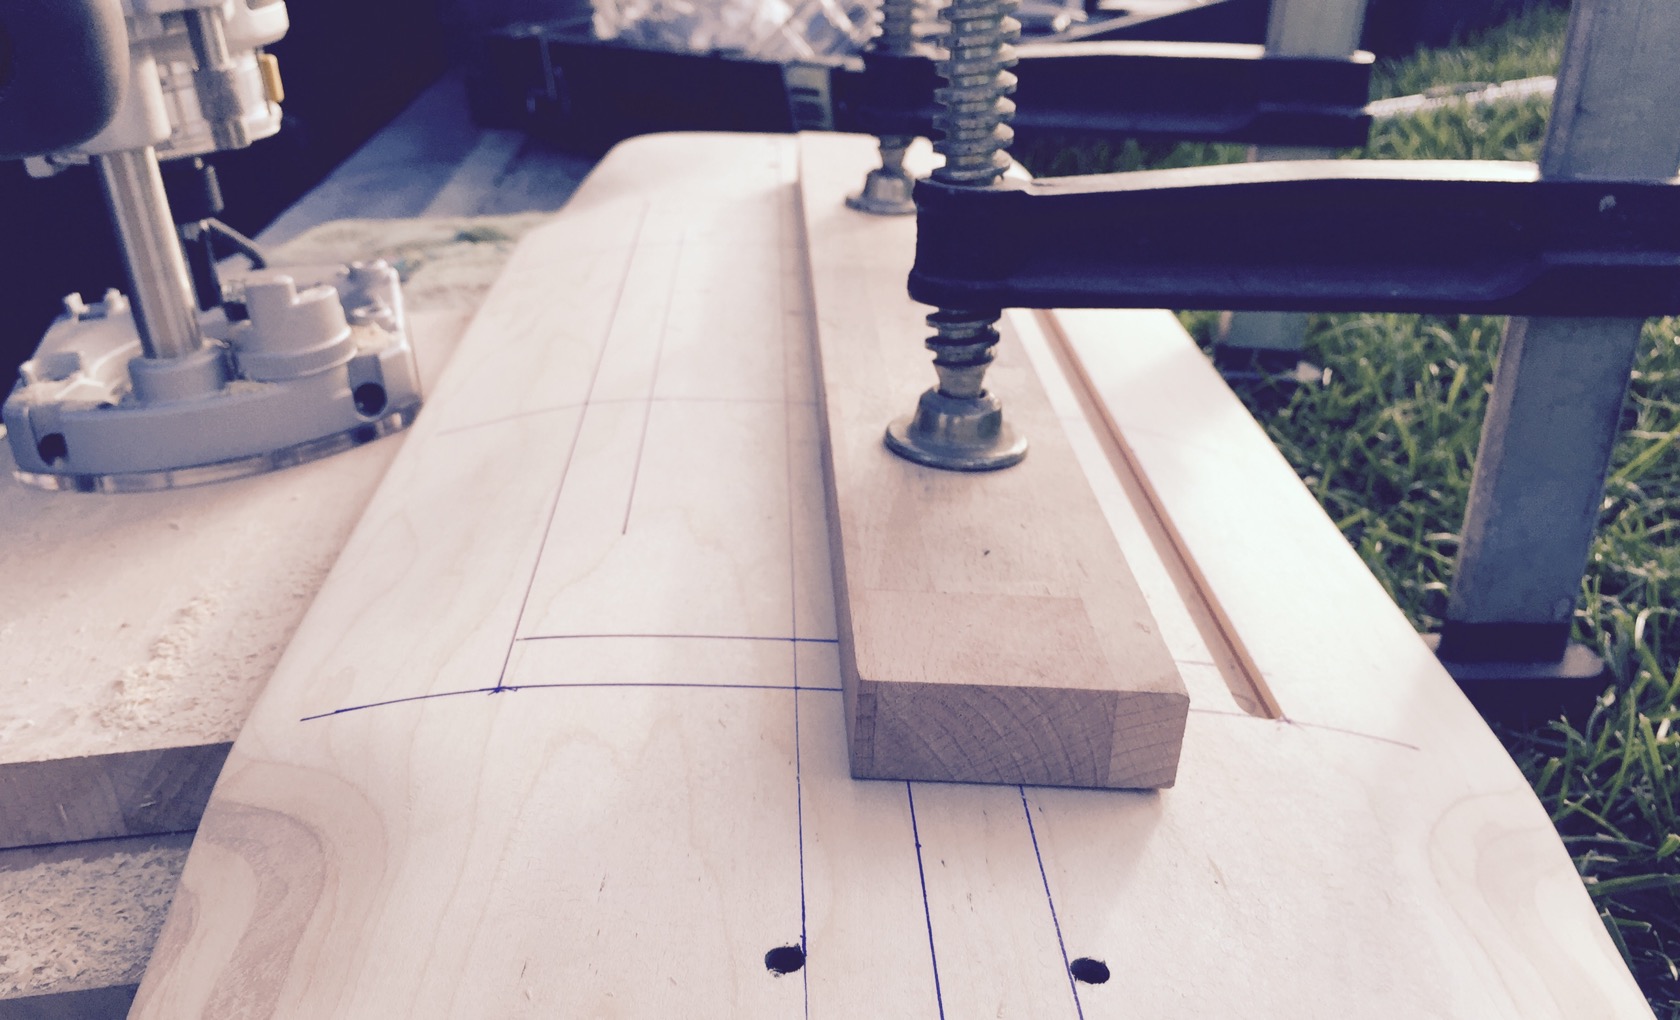
So, I’m gonna skip past most of the routing I did, since @whitepony did it better, mine ended up with a bunch of bumps and imperfections in it. (It was very ugly)
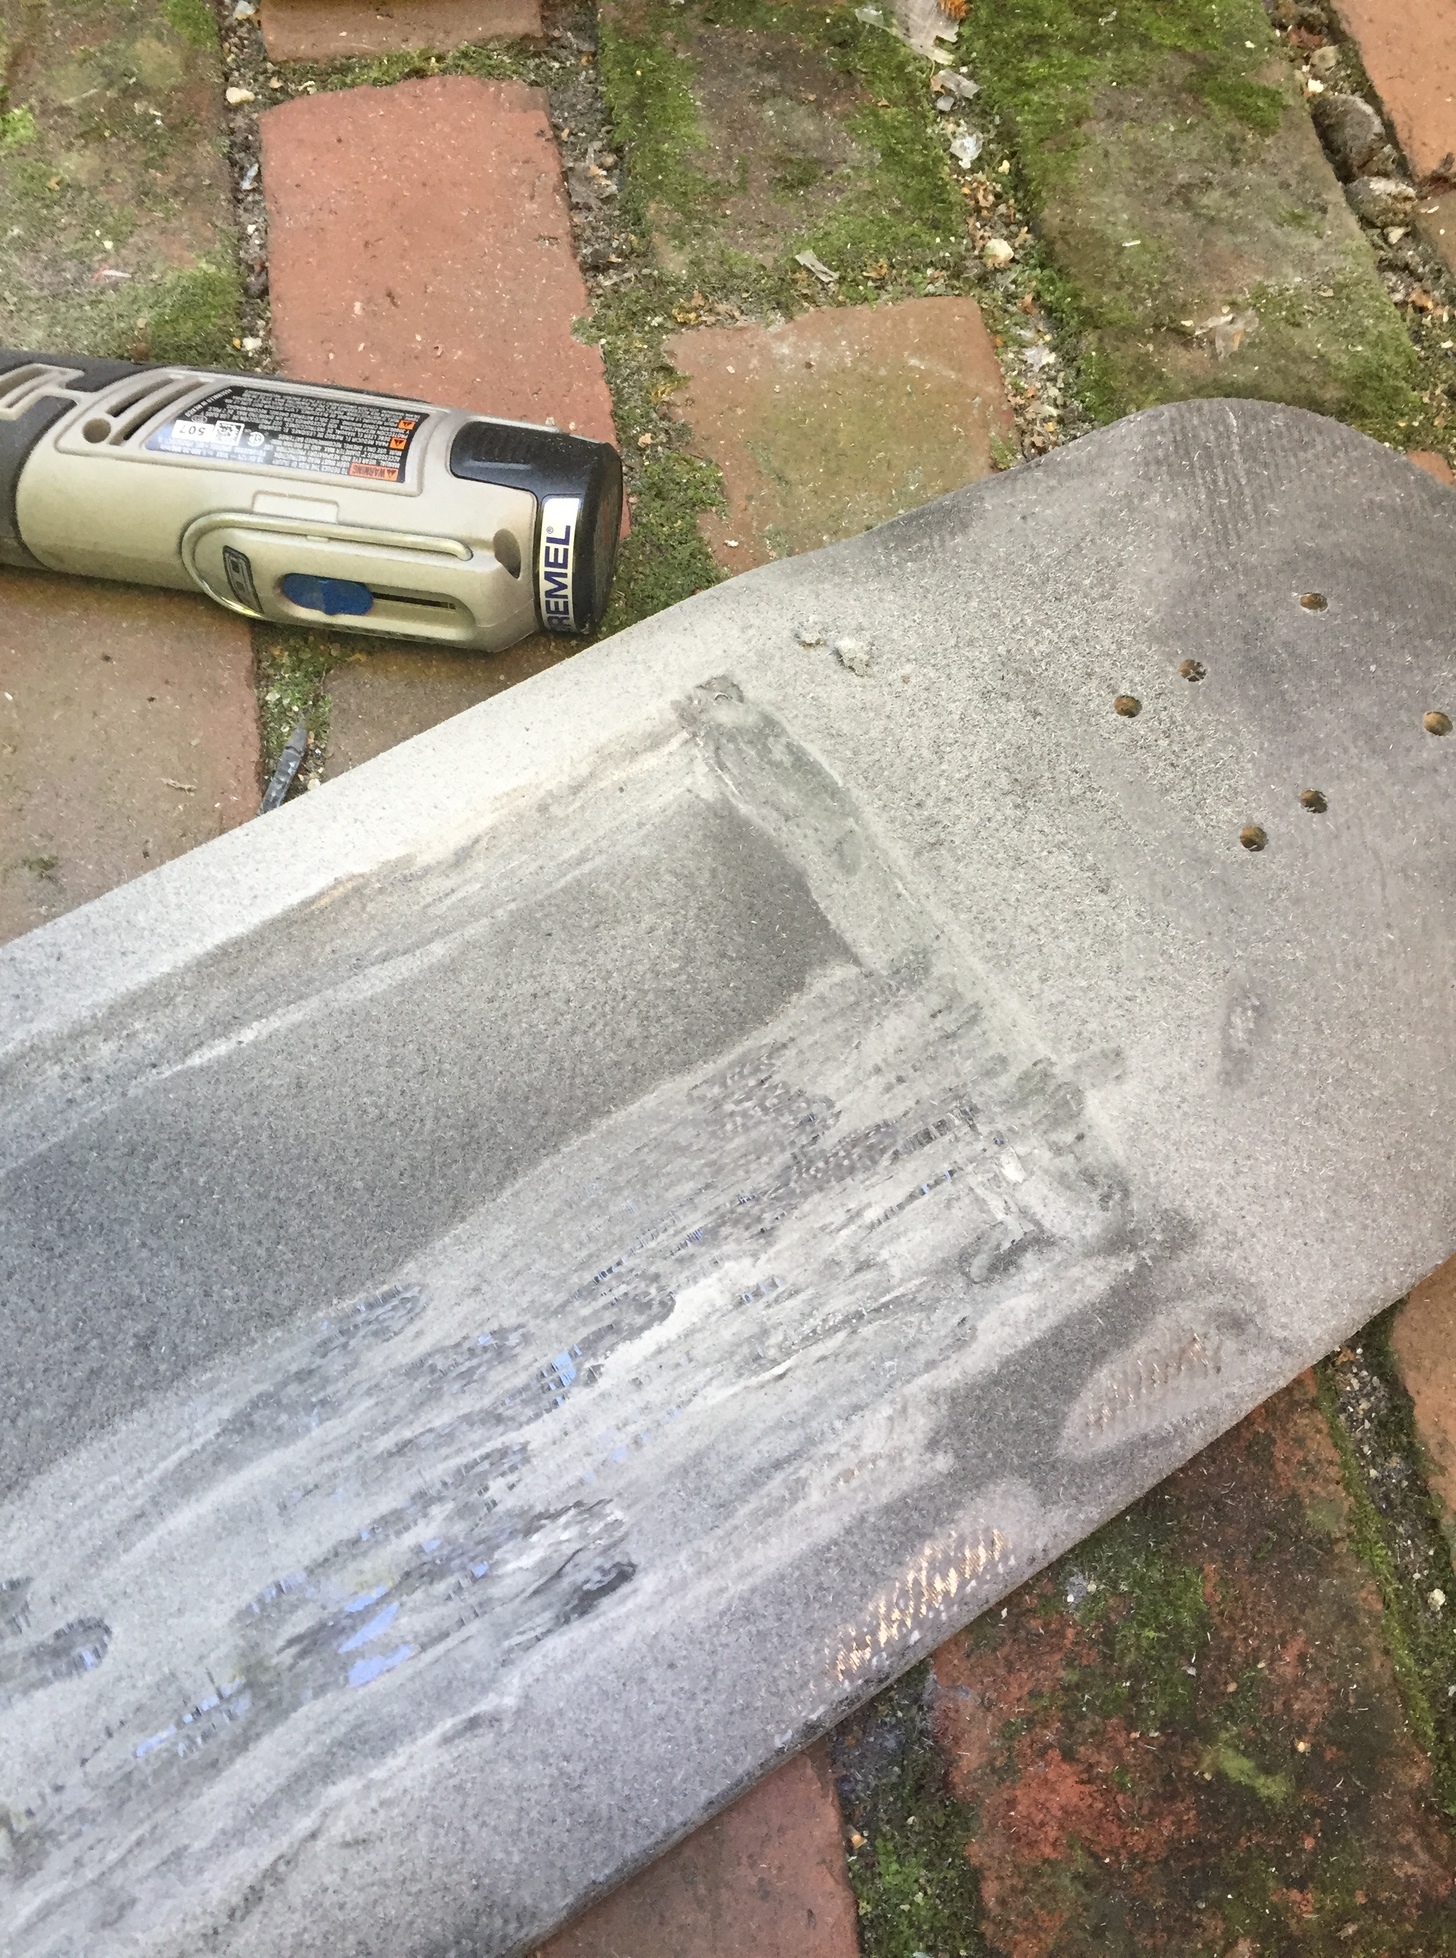
I basically just routed a slot in the bottom of the board.
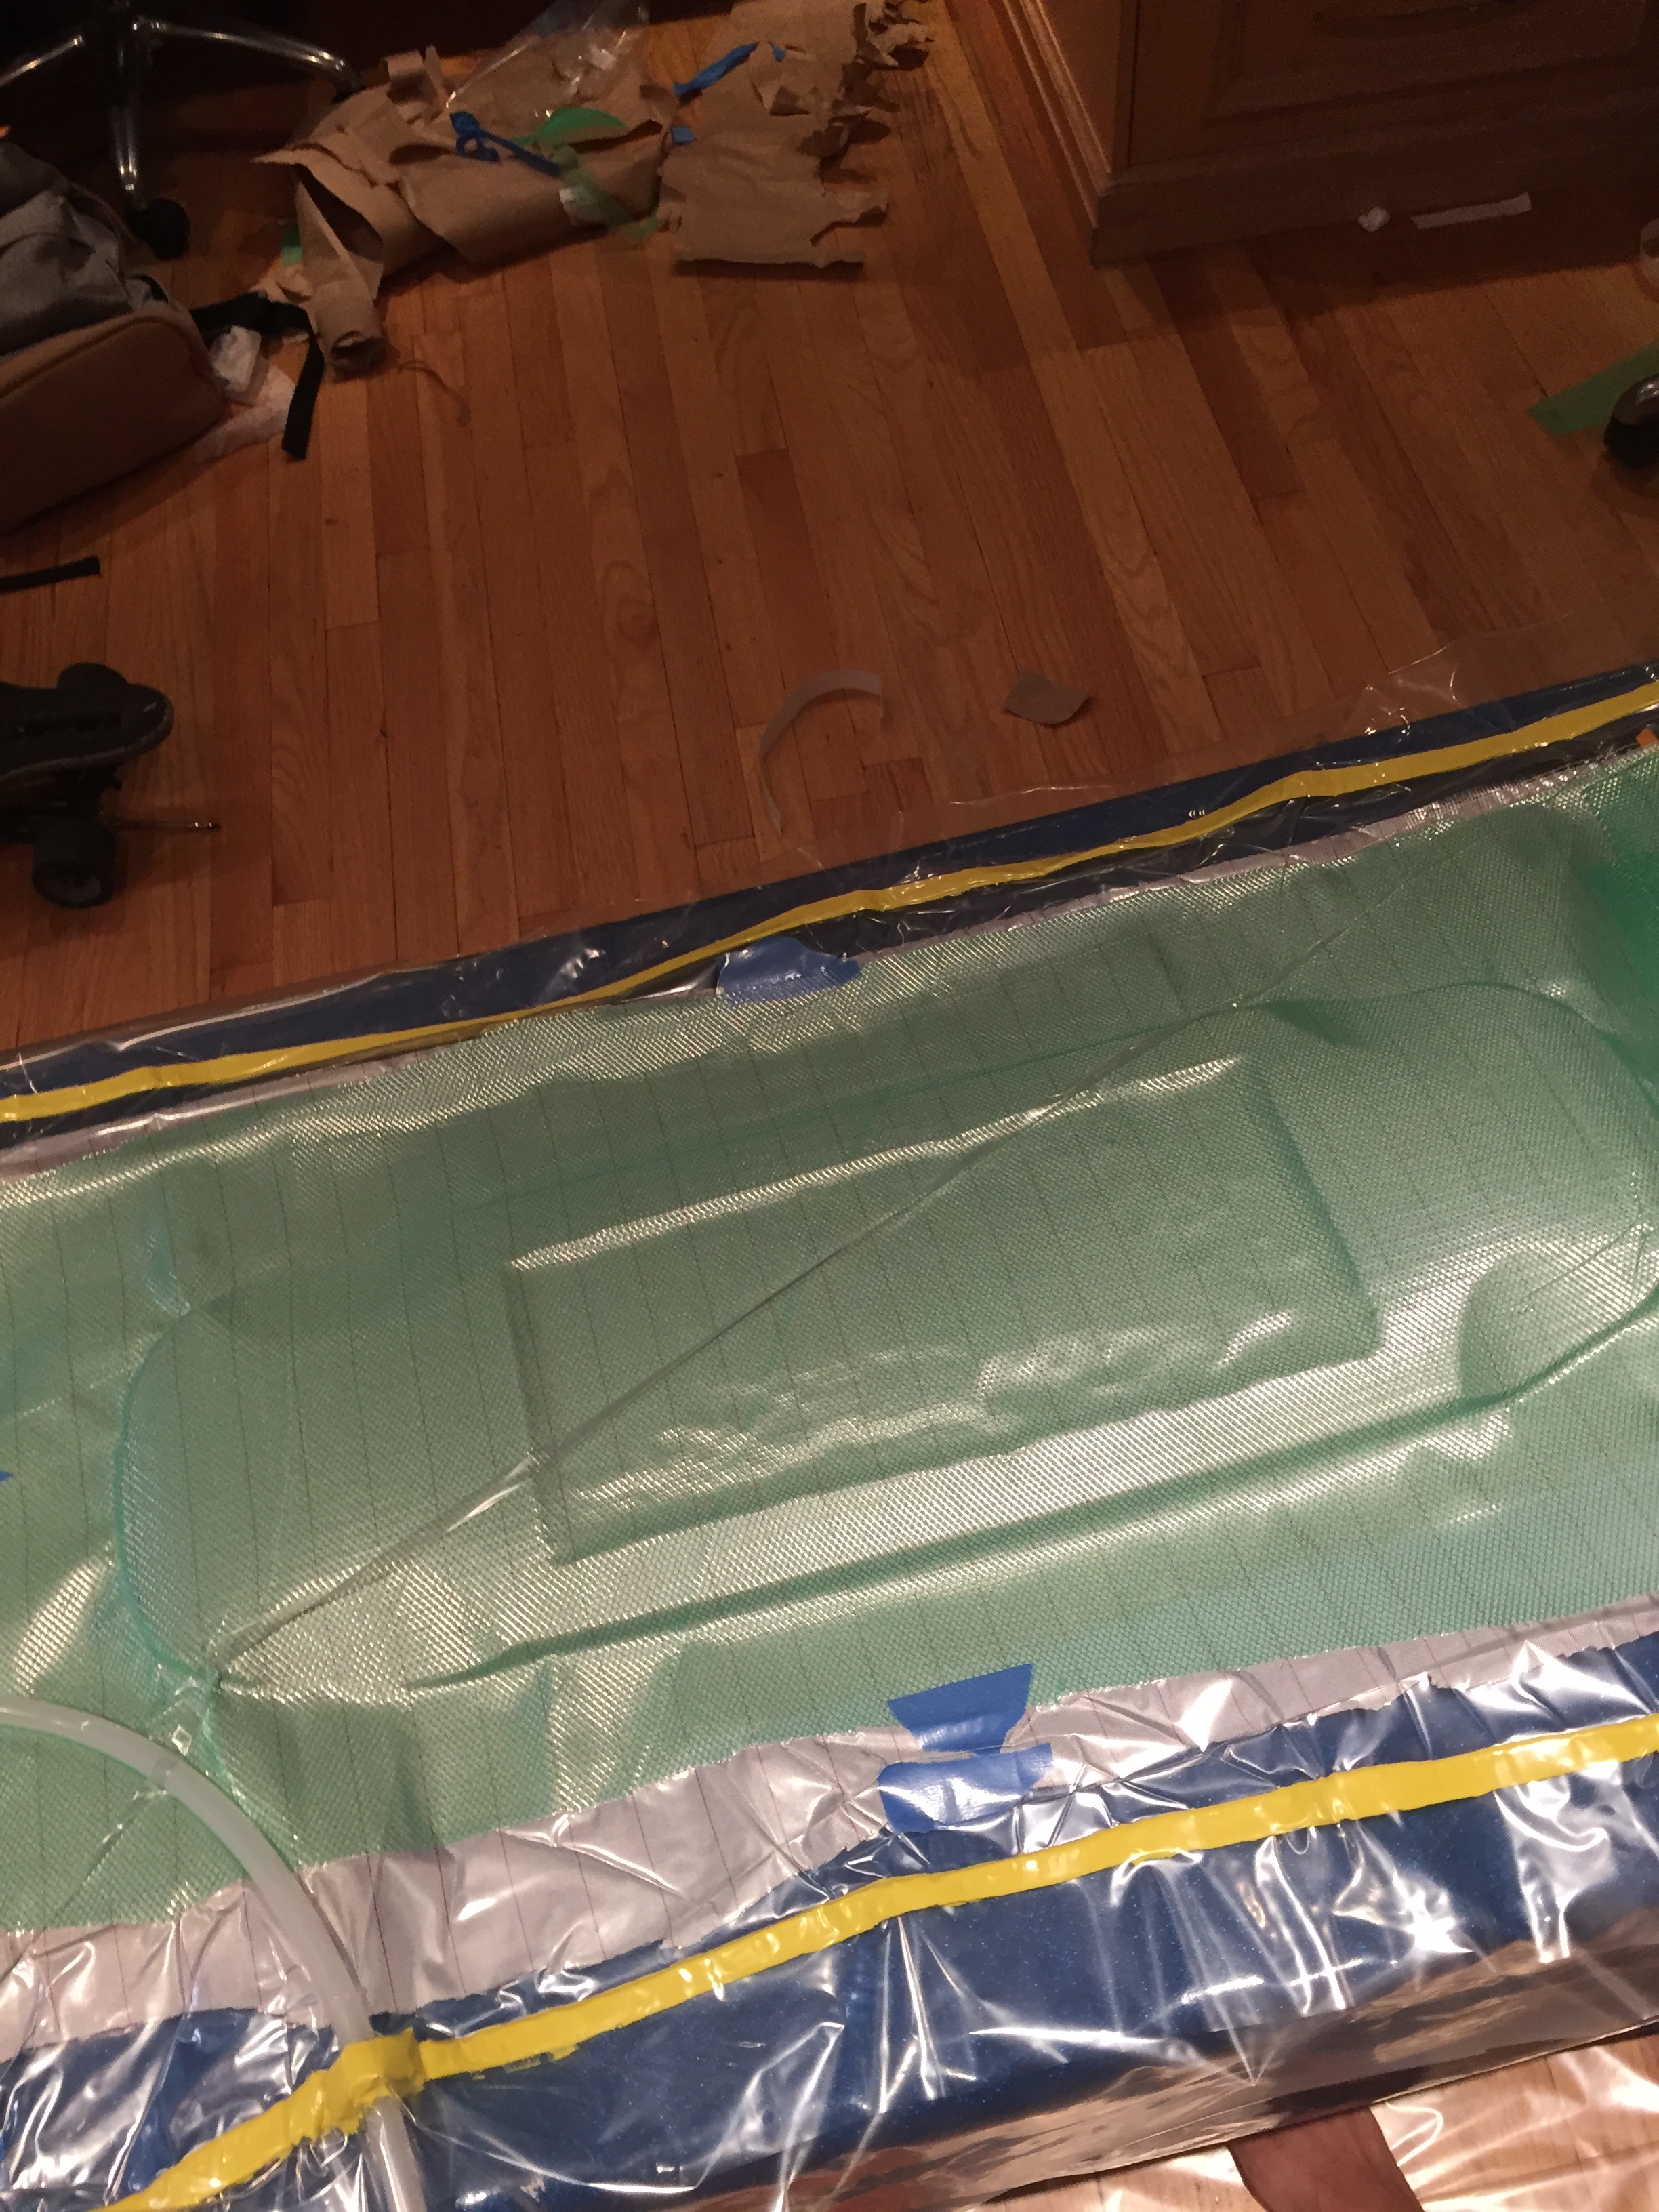
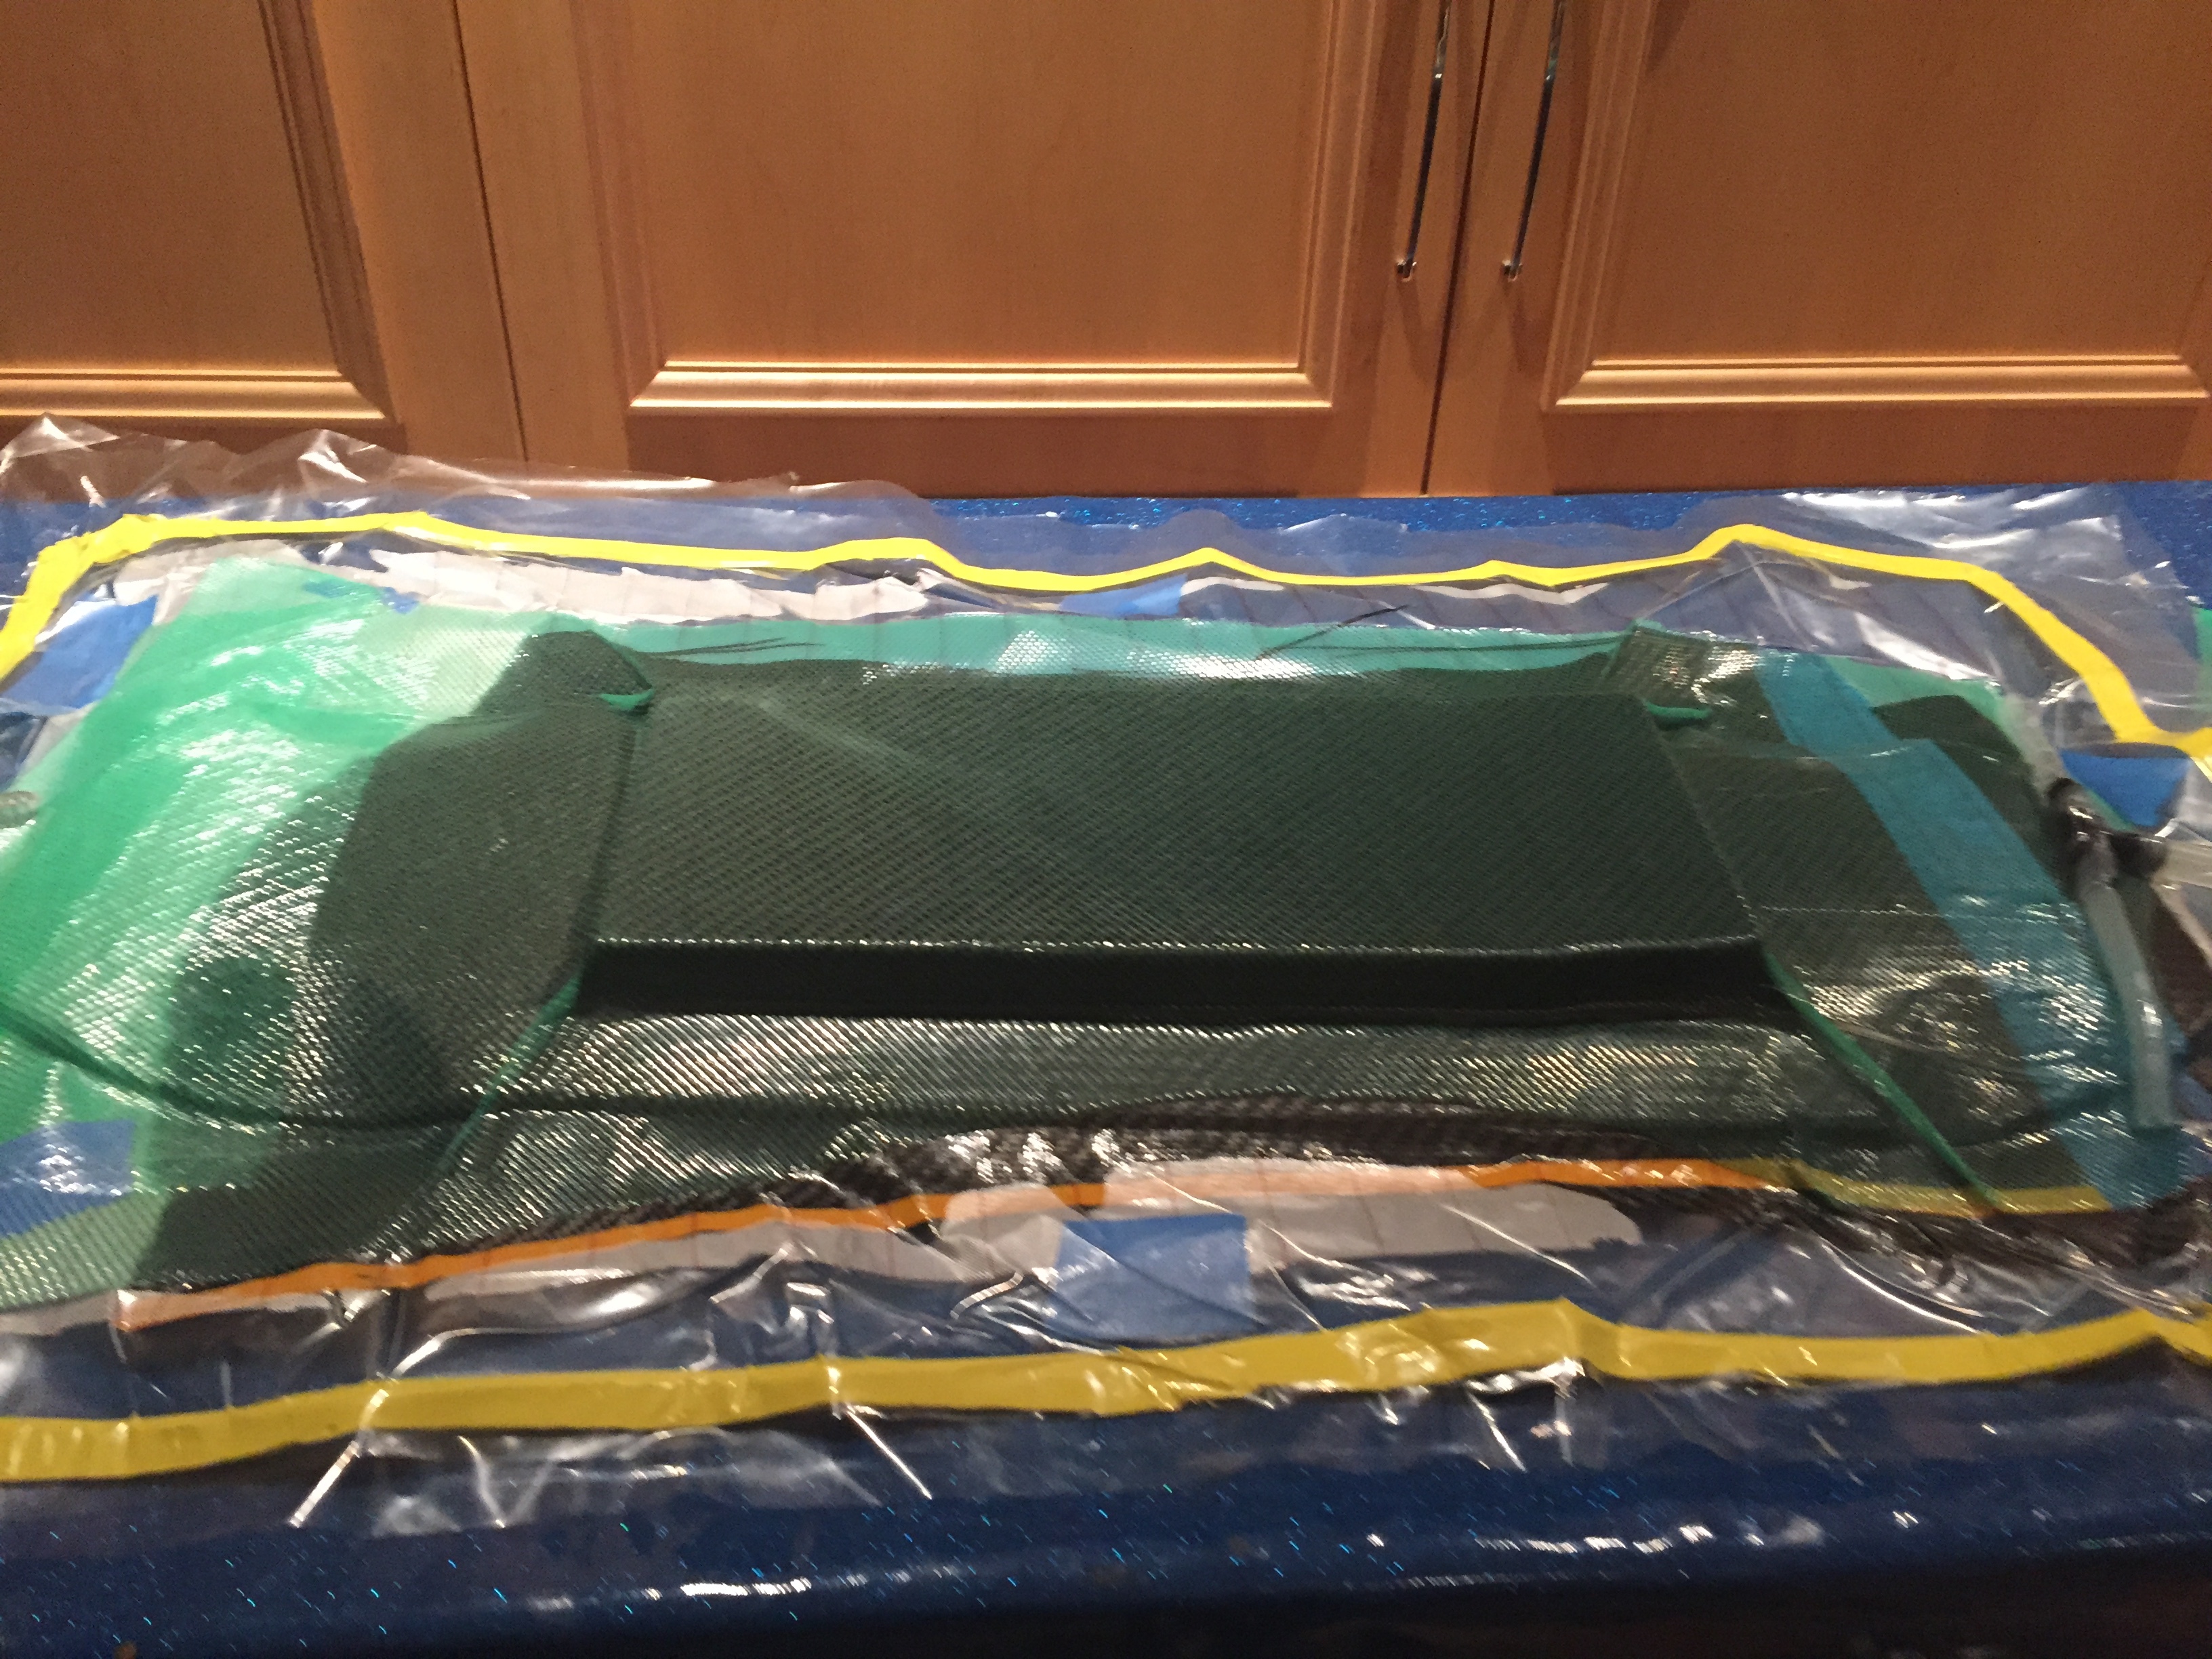
Skipping straight to the vacuum bagging, this is my first attempt. I laid down the bottom layer of vacuum bag material, then the board, then unidirectional CF, then two sheets of 2x2 CF twill, then peel ply, then breather material. I was too anxious and didn’t have connectors for the hoses, so I just inserted them from the side and used gum tape to seal them in. Then, seal everything up and VACUUM!
The bumps in the enclosure were expected because of the poor routing job, but since they will be on the inside, I can live with it.
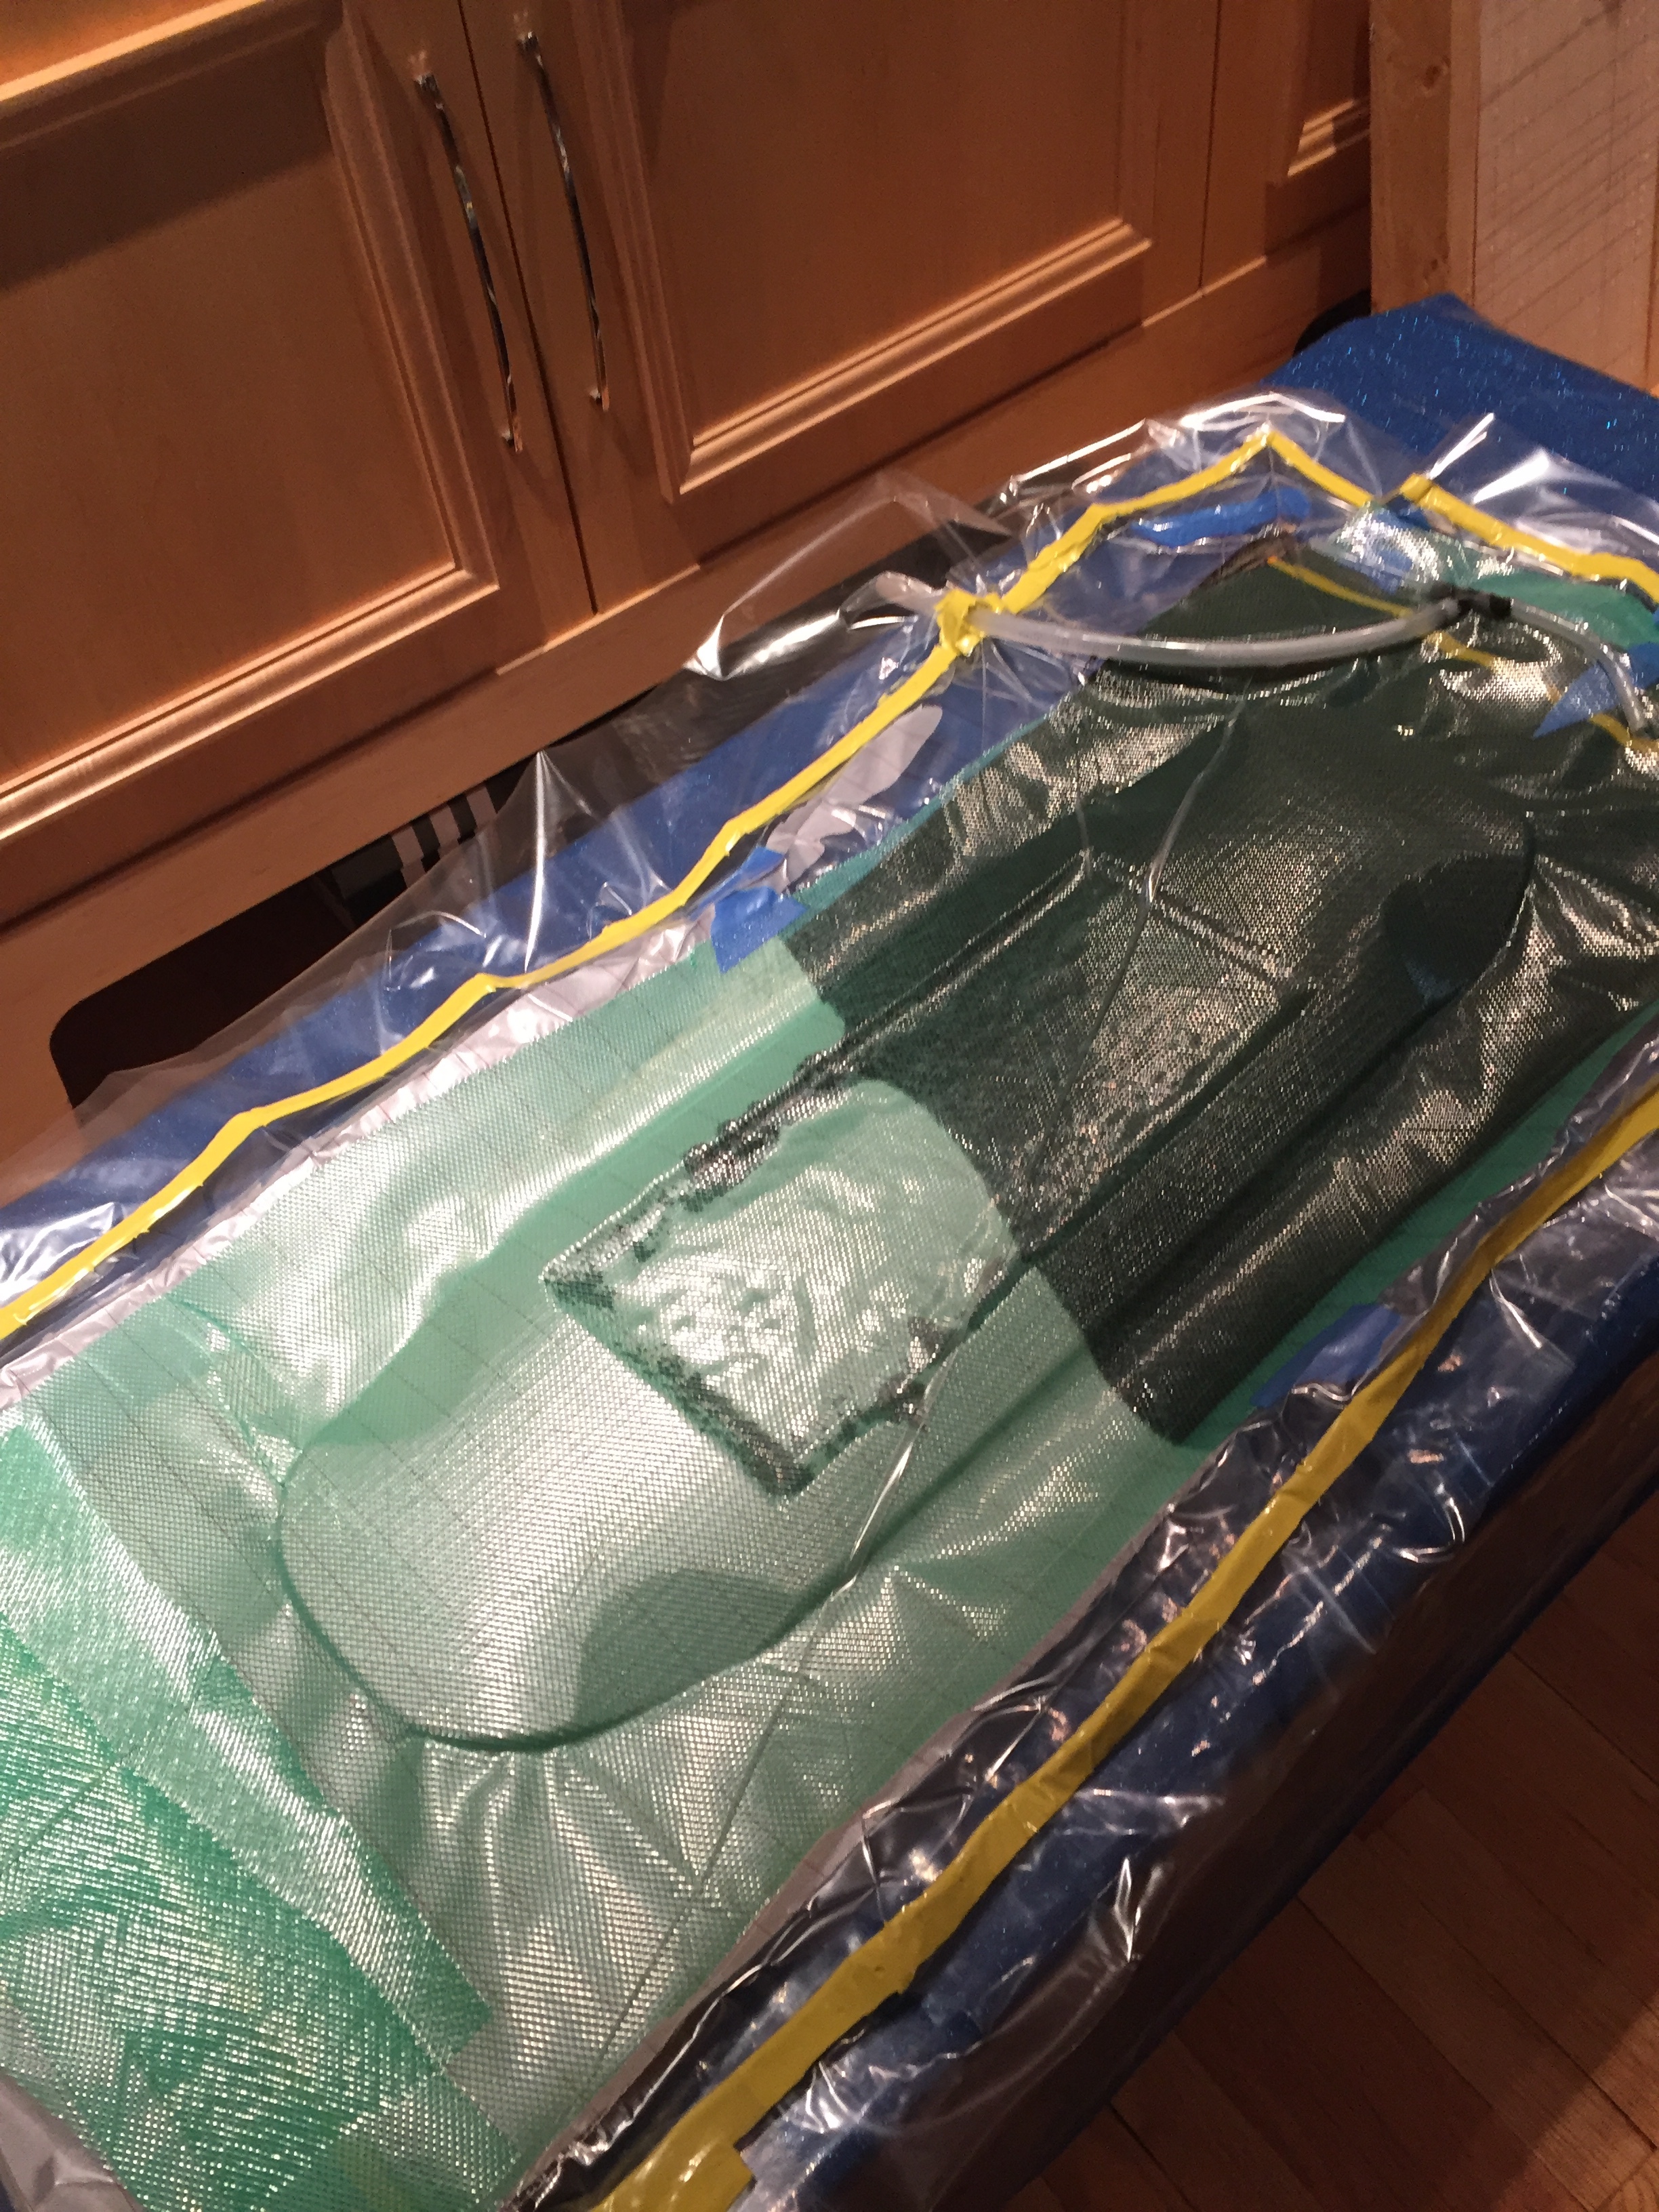
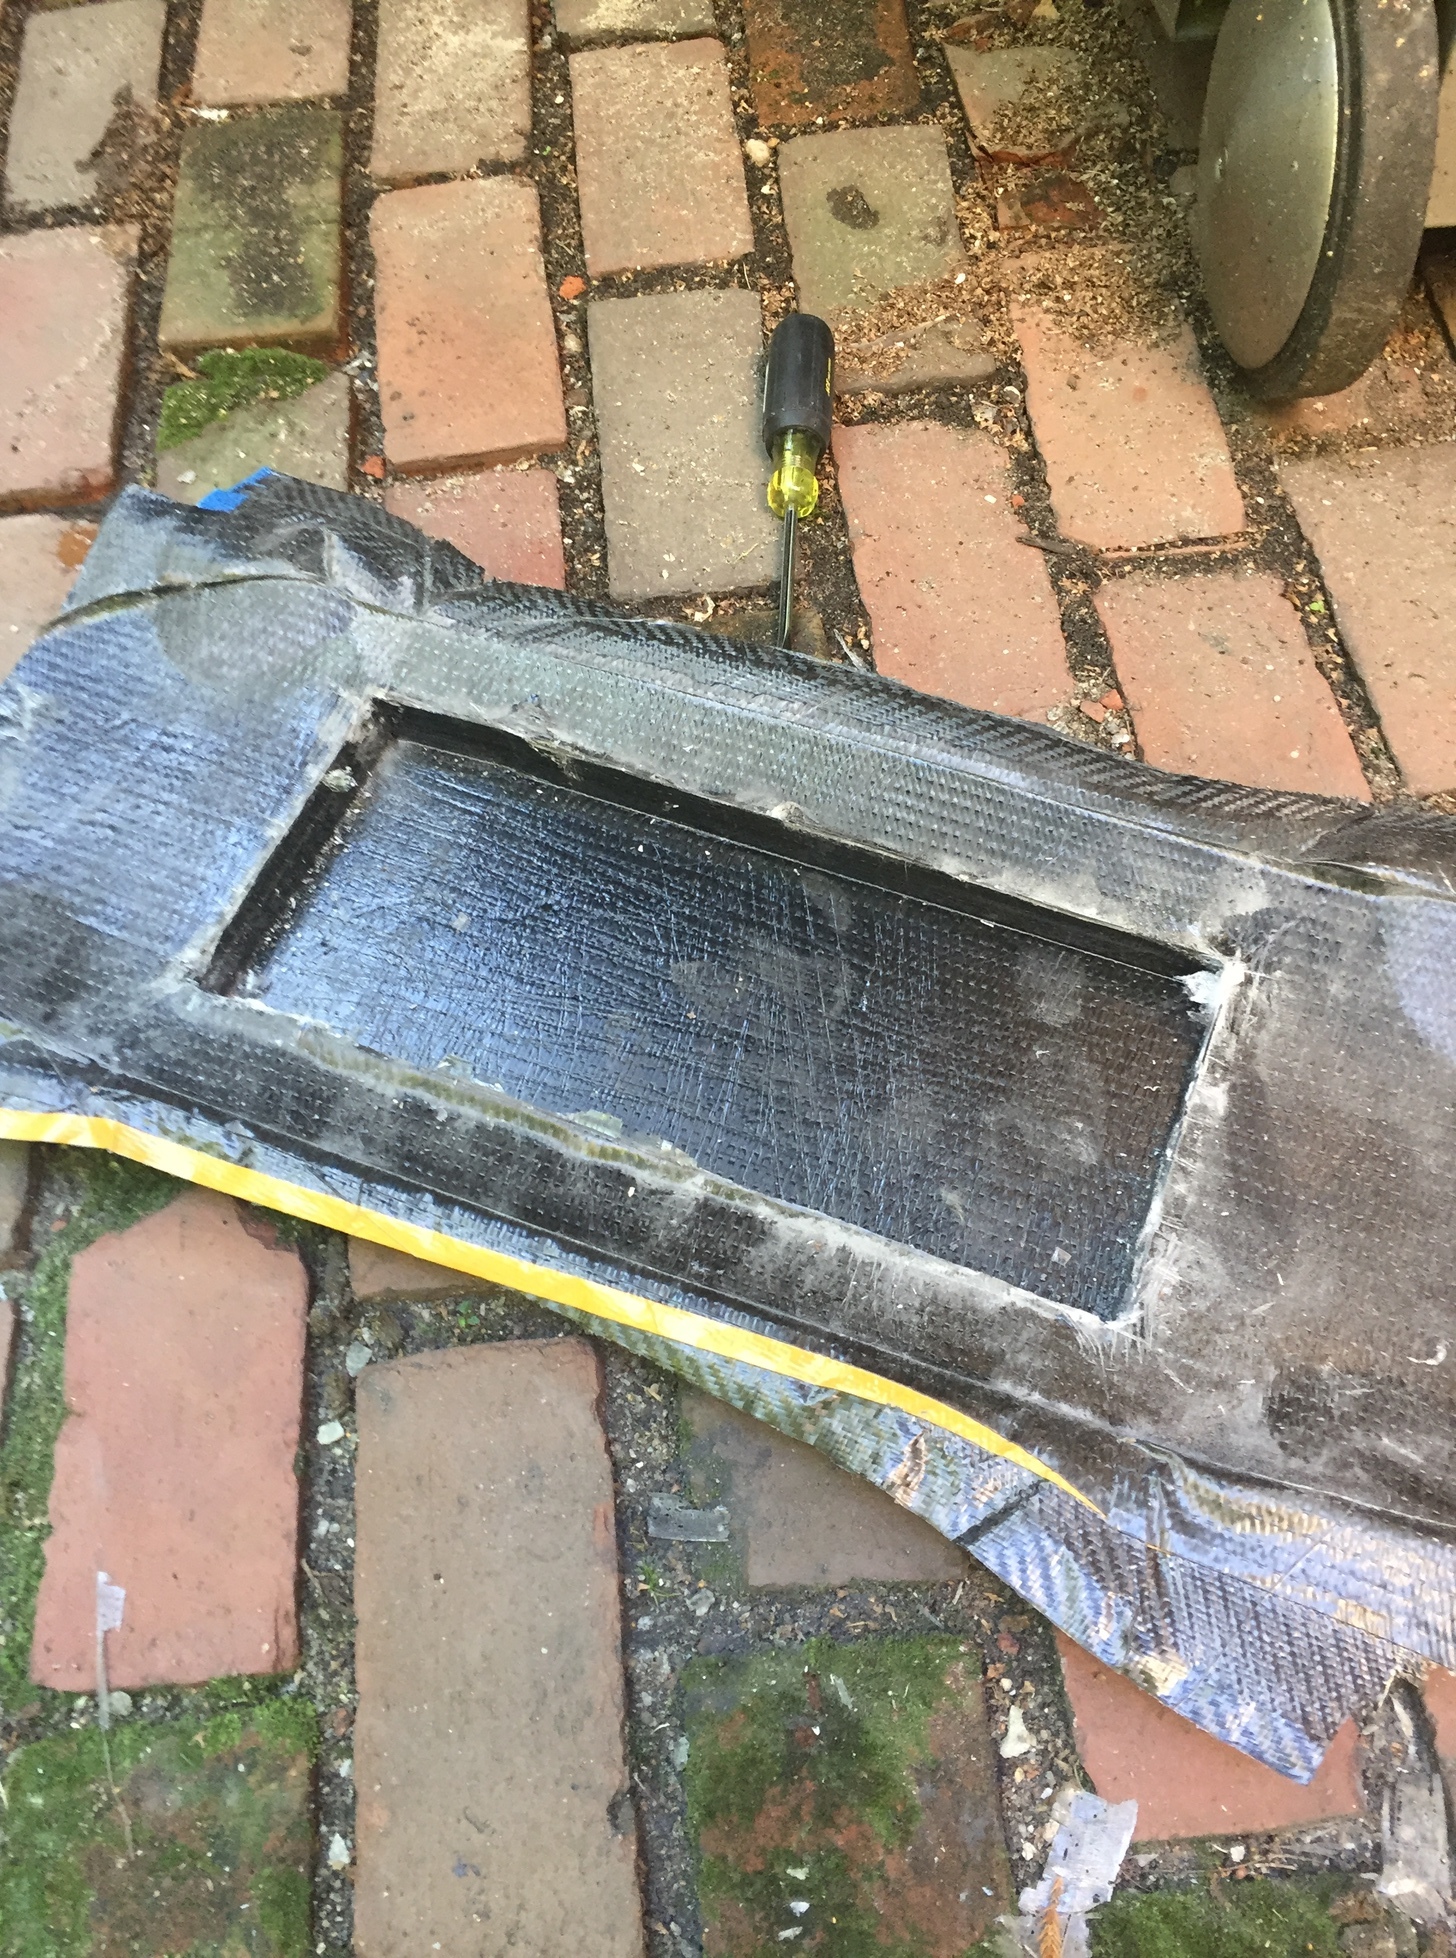
Also interesting how the matte carbon side is the side everyone sees, I guess one side of the CF fabric is matte black and the other glossy (?)
Someone with more experience may be able to confirm. May also have to do just with the peel ply.
Ok, quick update. Enertion pulley is HTD5, I do not have a corresponding HTD5 Belt or pulley for my motor. Ordered. Now it’s time to wait. Tomorrow I will start work on the enclosure hopefully. Need to go to the store and buy foam or wood or something-- recommendations welcome.
Also going to be routing the motor wires LHB style most likely, but we’ll see. It’s a lot of effort to set up the X-Carve for LHB routing. Kinda seems easier to just leave it in the open… Ugh I’m tired. It’s 12:35 here and about time for me to go to bed. Will continue in the morning.
the carbon texture roadside seems to stem from your breather material (photo resolution isnt very good, hard to say). Im using a thin bleeder film with a tiny hole pattern directly on the last layer of carbon (like a small 1mm hole every 2cm), which gives the surface a nice flat look.
ontop of that film I got the breather & soaker material - the pressure evacuates excess resin through the tiny holes of the thin bleeder film and it is then caught by the thick soaking film to leave me with minimum amount of resin in the carbon layer (thats the point of bleeder & soaker).
next time you really should be more patient with the routing, it looks like you worked with a chainsaw
do the router “guidance” trick with straight pieces of wood or metal, that you clamp to your board. one of the enclosure sides is not parallel to the boards edge - these are things that can easily be avoided with careful measuring, drawing and a router guidance:
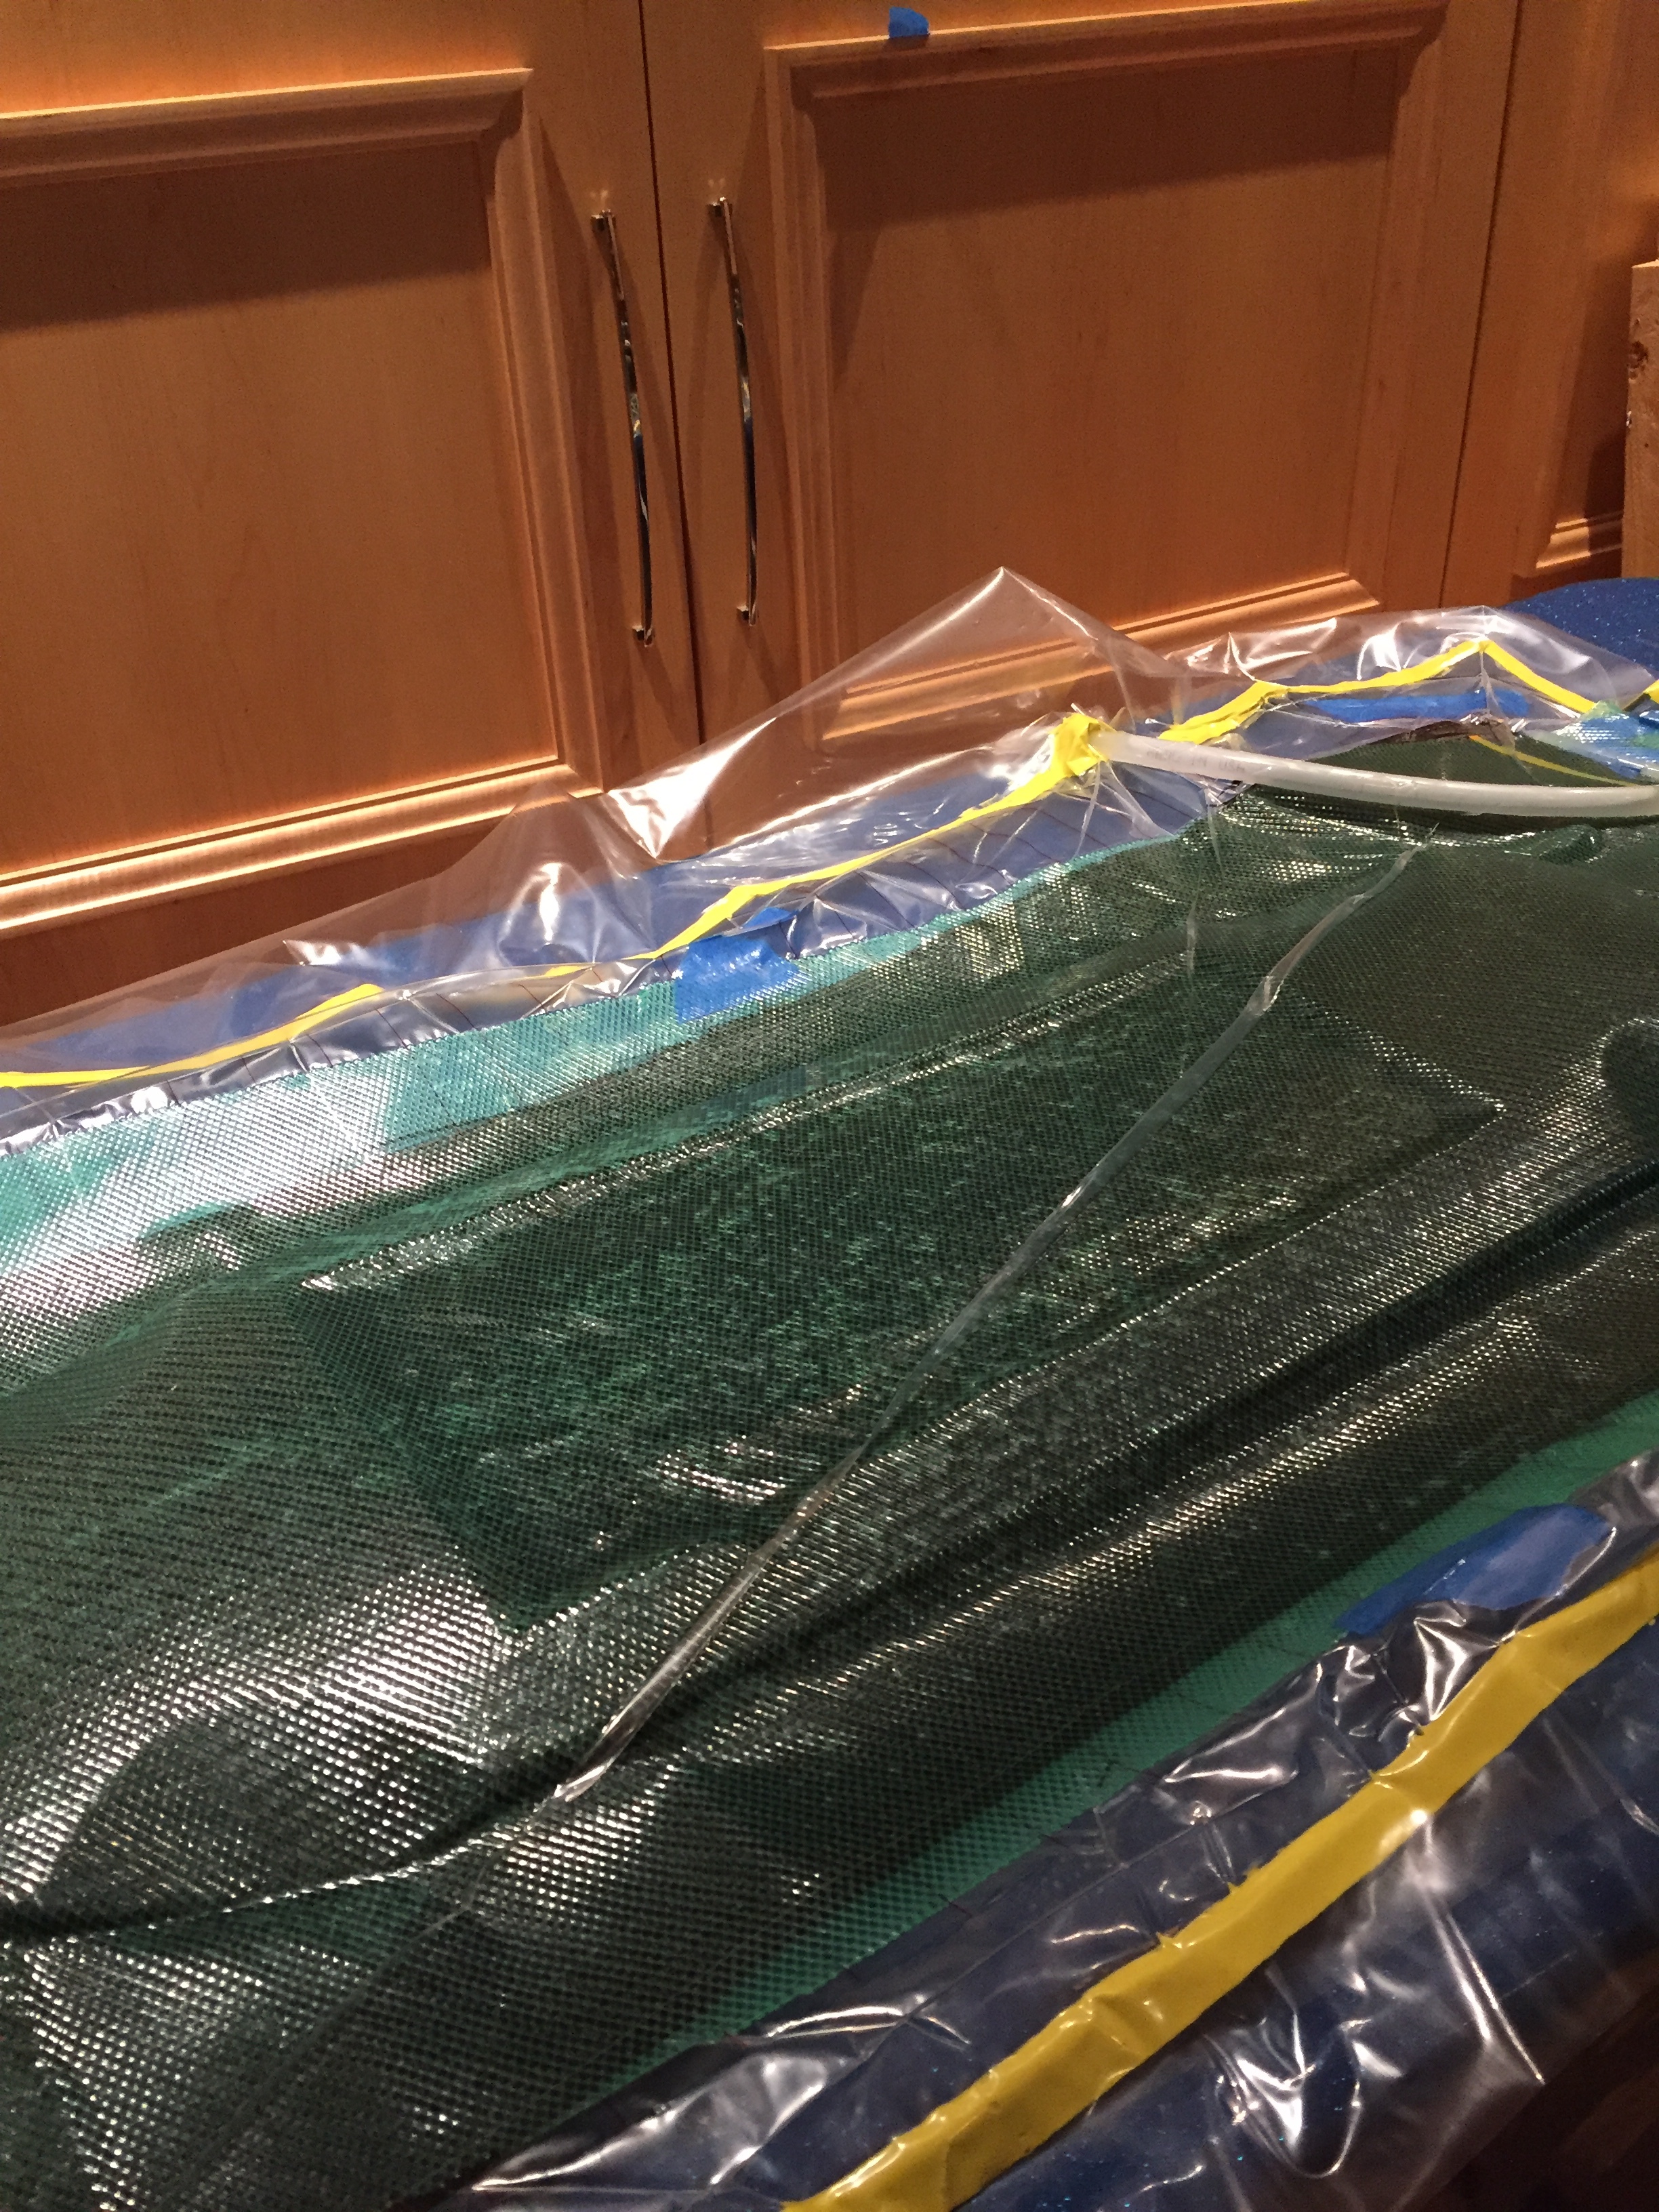
another thing: when you evacuate, make sure that there are no creases or folds on any layer that touches the carbon, because it will ALWAYS show and is hard to “repair” properly. that top vacuum foil/bag layer with the large fold along the whole length of the board couldve been easily straightened out before curing!
anyway, I love that youre doing this, doing the full thing with routing, carbon, motor wires requires a lot of work and patience (if you feel like you rush something, step back, take a deep breath and TAKE YOUR TIME!). Im very impressed by what you are achieving at your age.
p.s.: I would mount the pulley otherway round - the closer the belt runs to the motor, the lesser the stress on the motor bearings. also reduces lateral force on the motor mount!
Definitely should have spent a little bit more time with it, but I decided that I could live with it as long as it was hidden by the enclosure, and luckily the crease in the bag didn’t result in any marks on the deck but I see what you are saying. I already tried flipping the pulley around, doesn’t fit. Set screw holes don’t make contact with the shaft. That being said the motor mount setup isn’t complete in this photo (not even using the pulley or belt pictured) I just put the pulley in the photo to get an idea of what it will look like, but this pulley isn’t even HTD. I moreover, I wanted to mount the motor mount and test fit the motor.
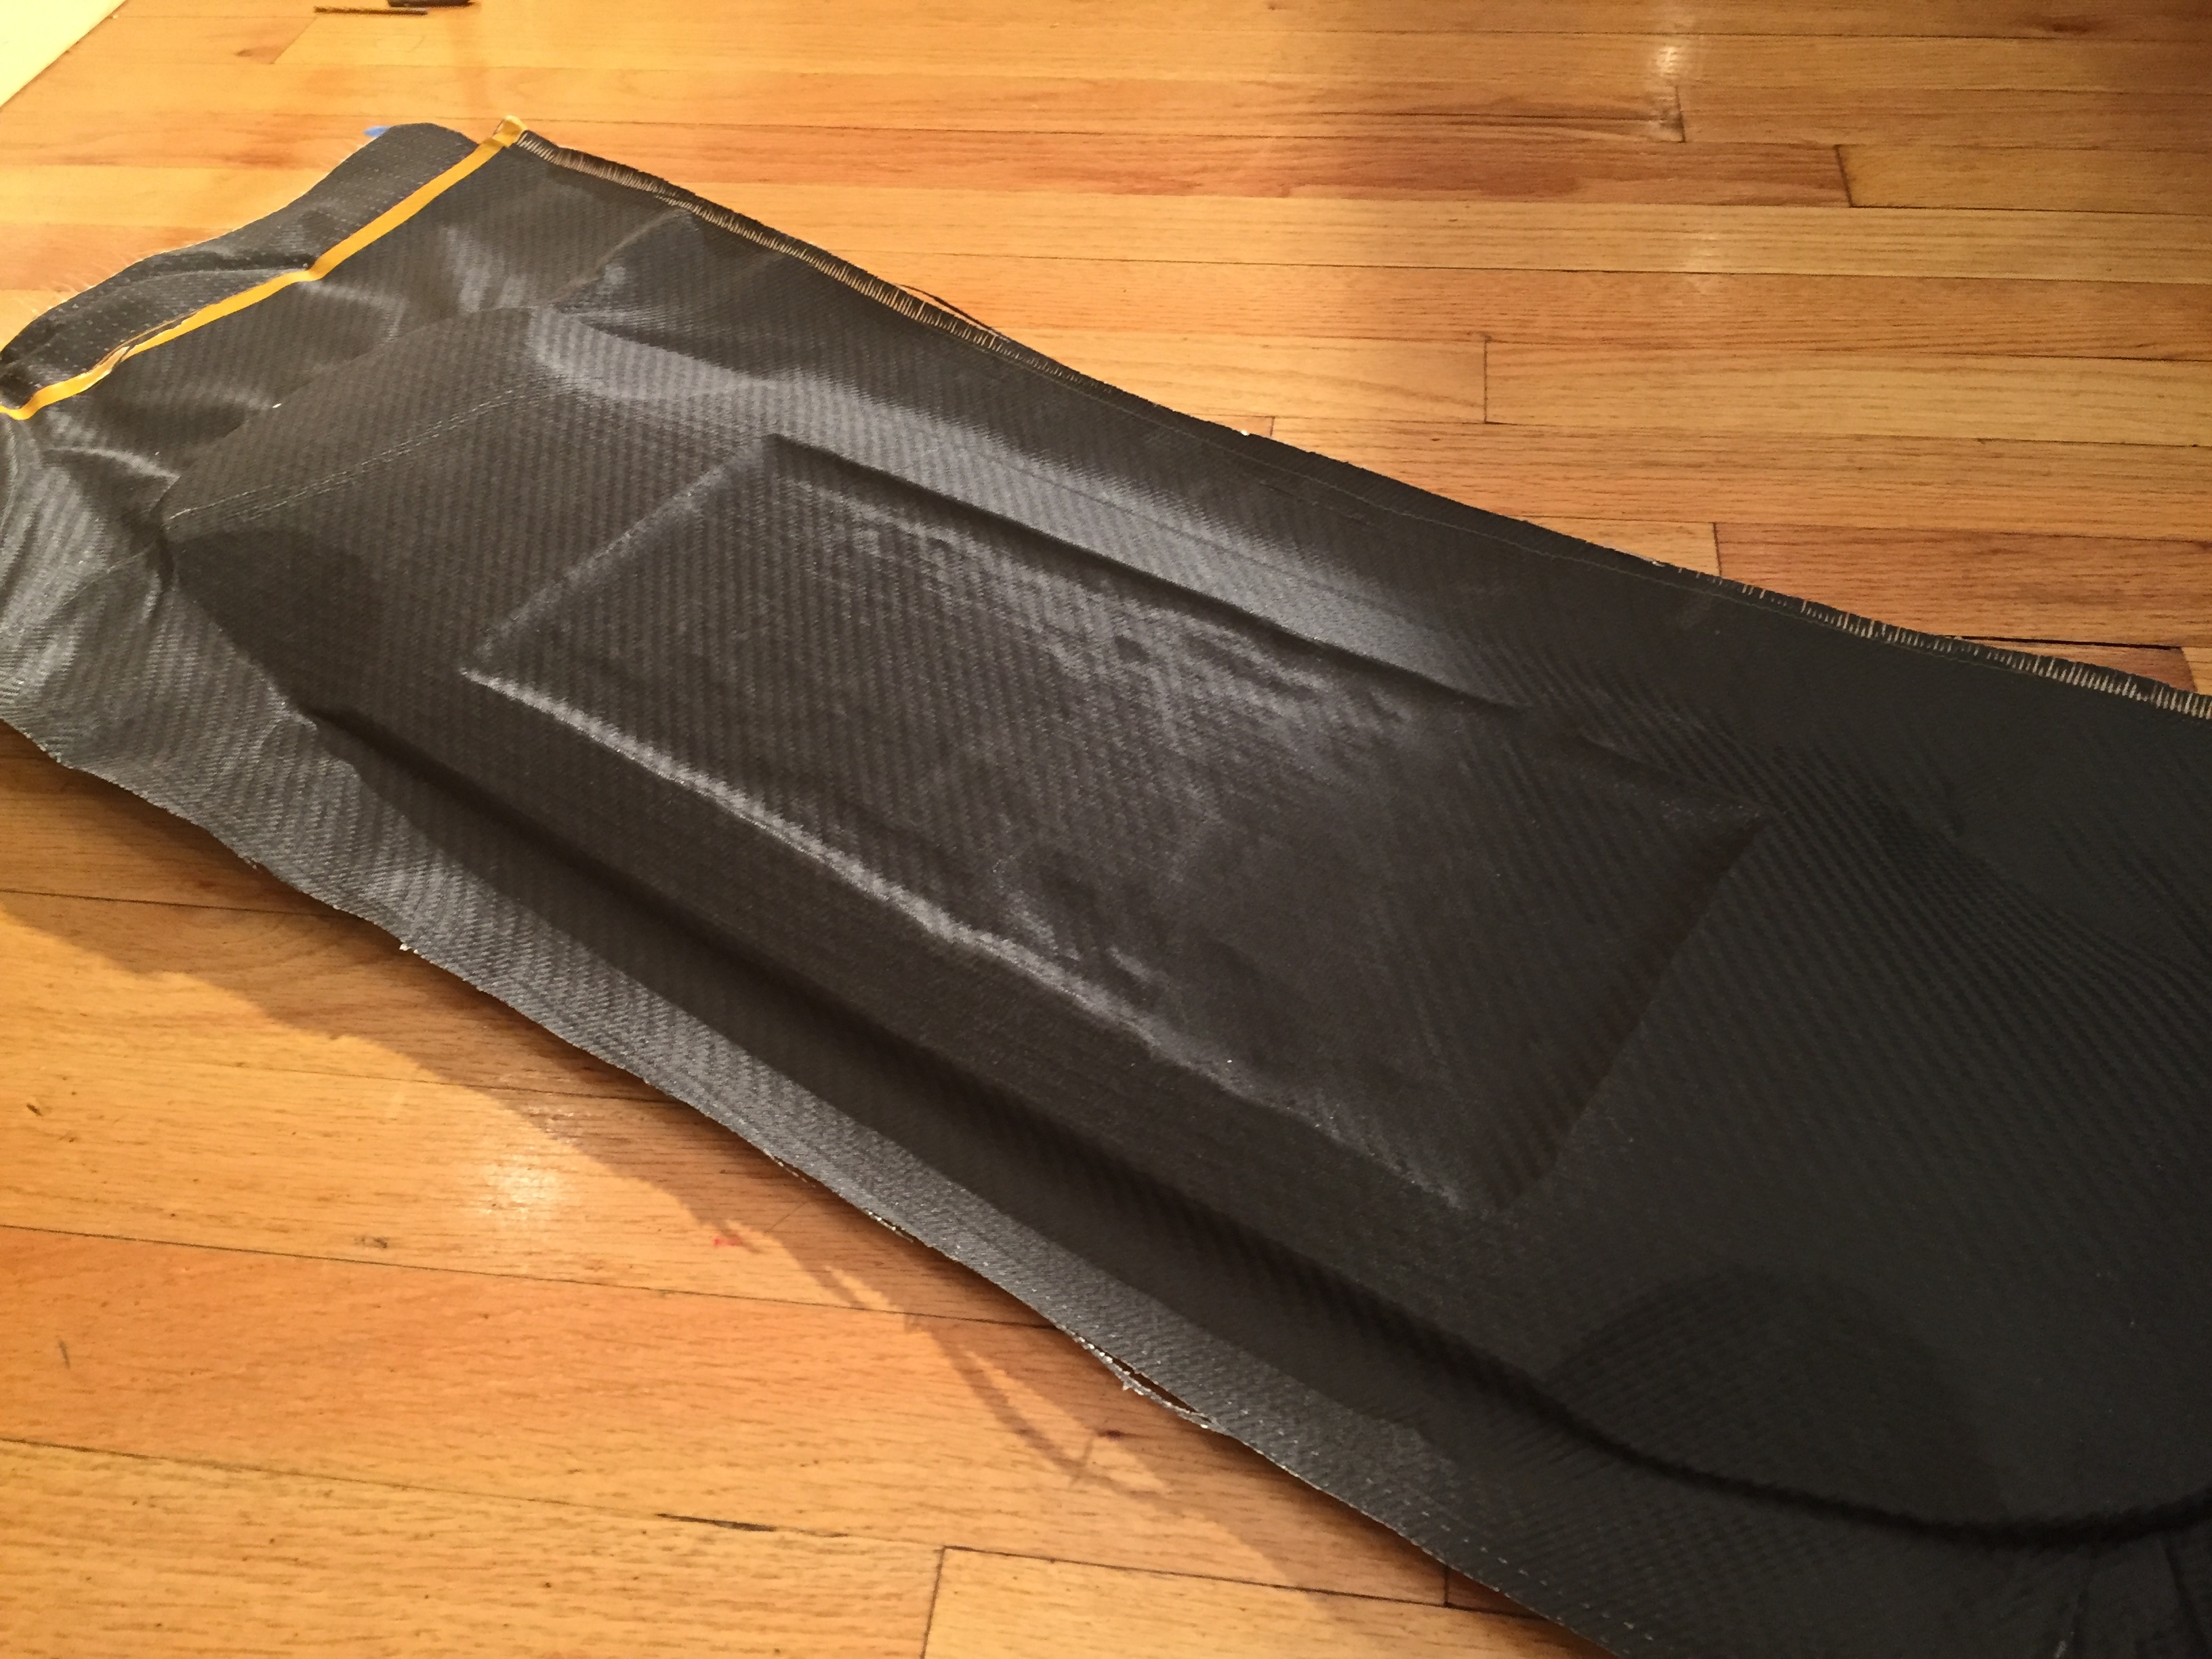
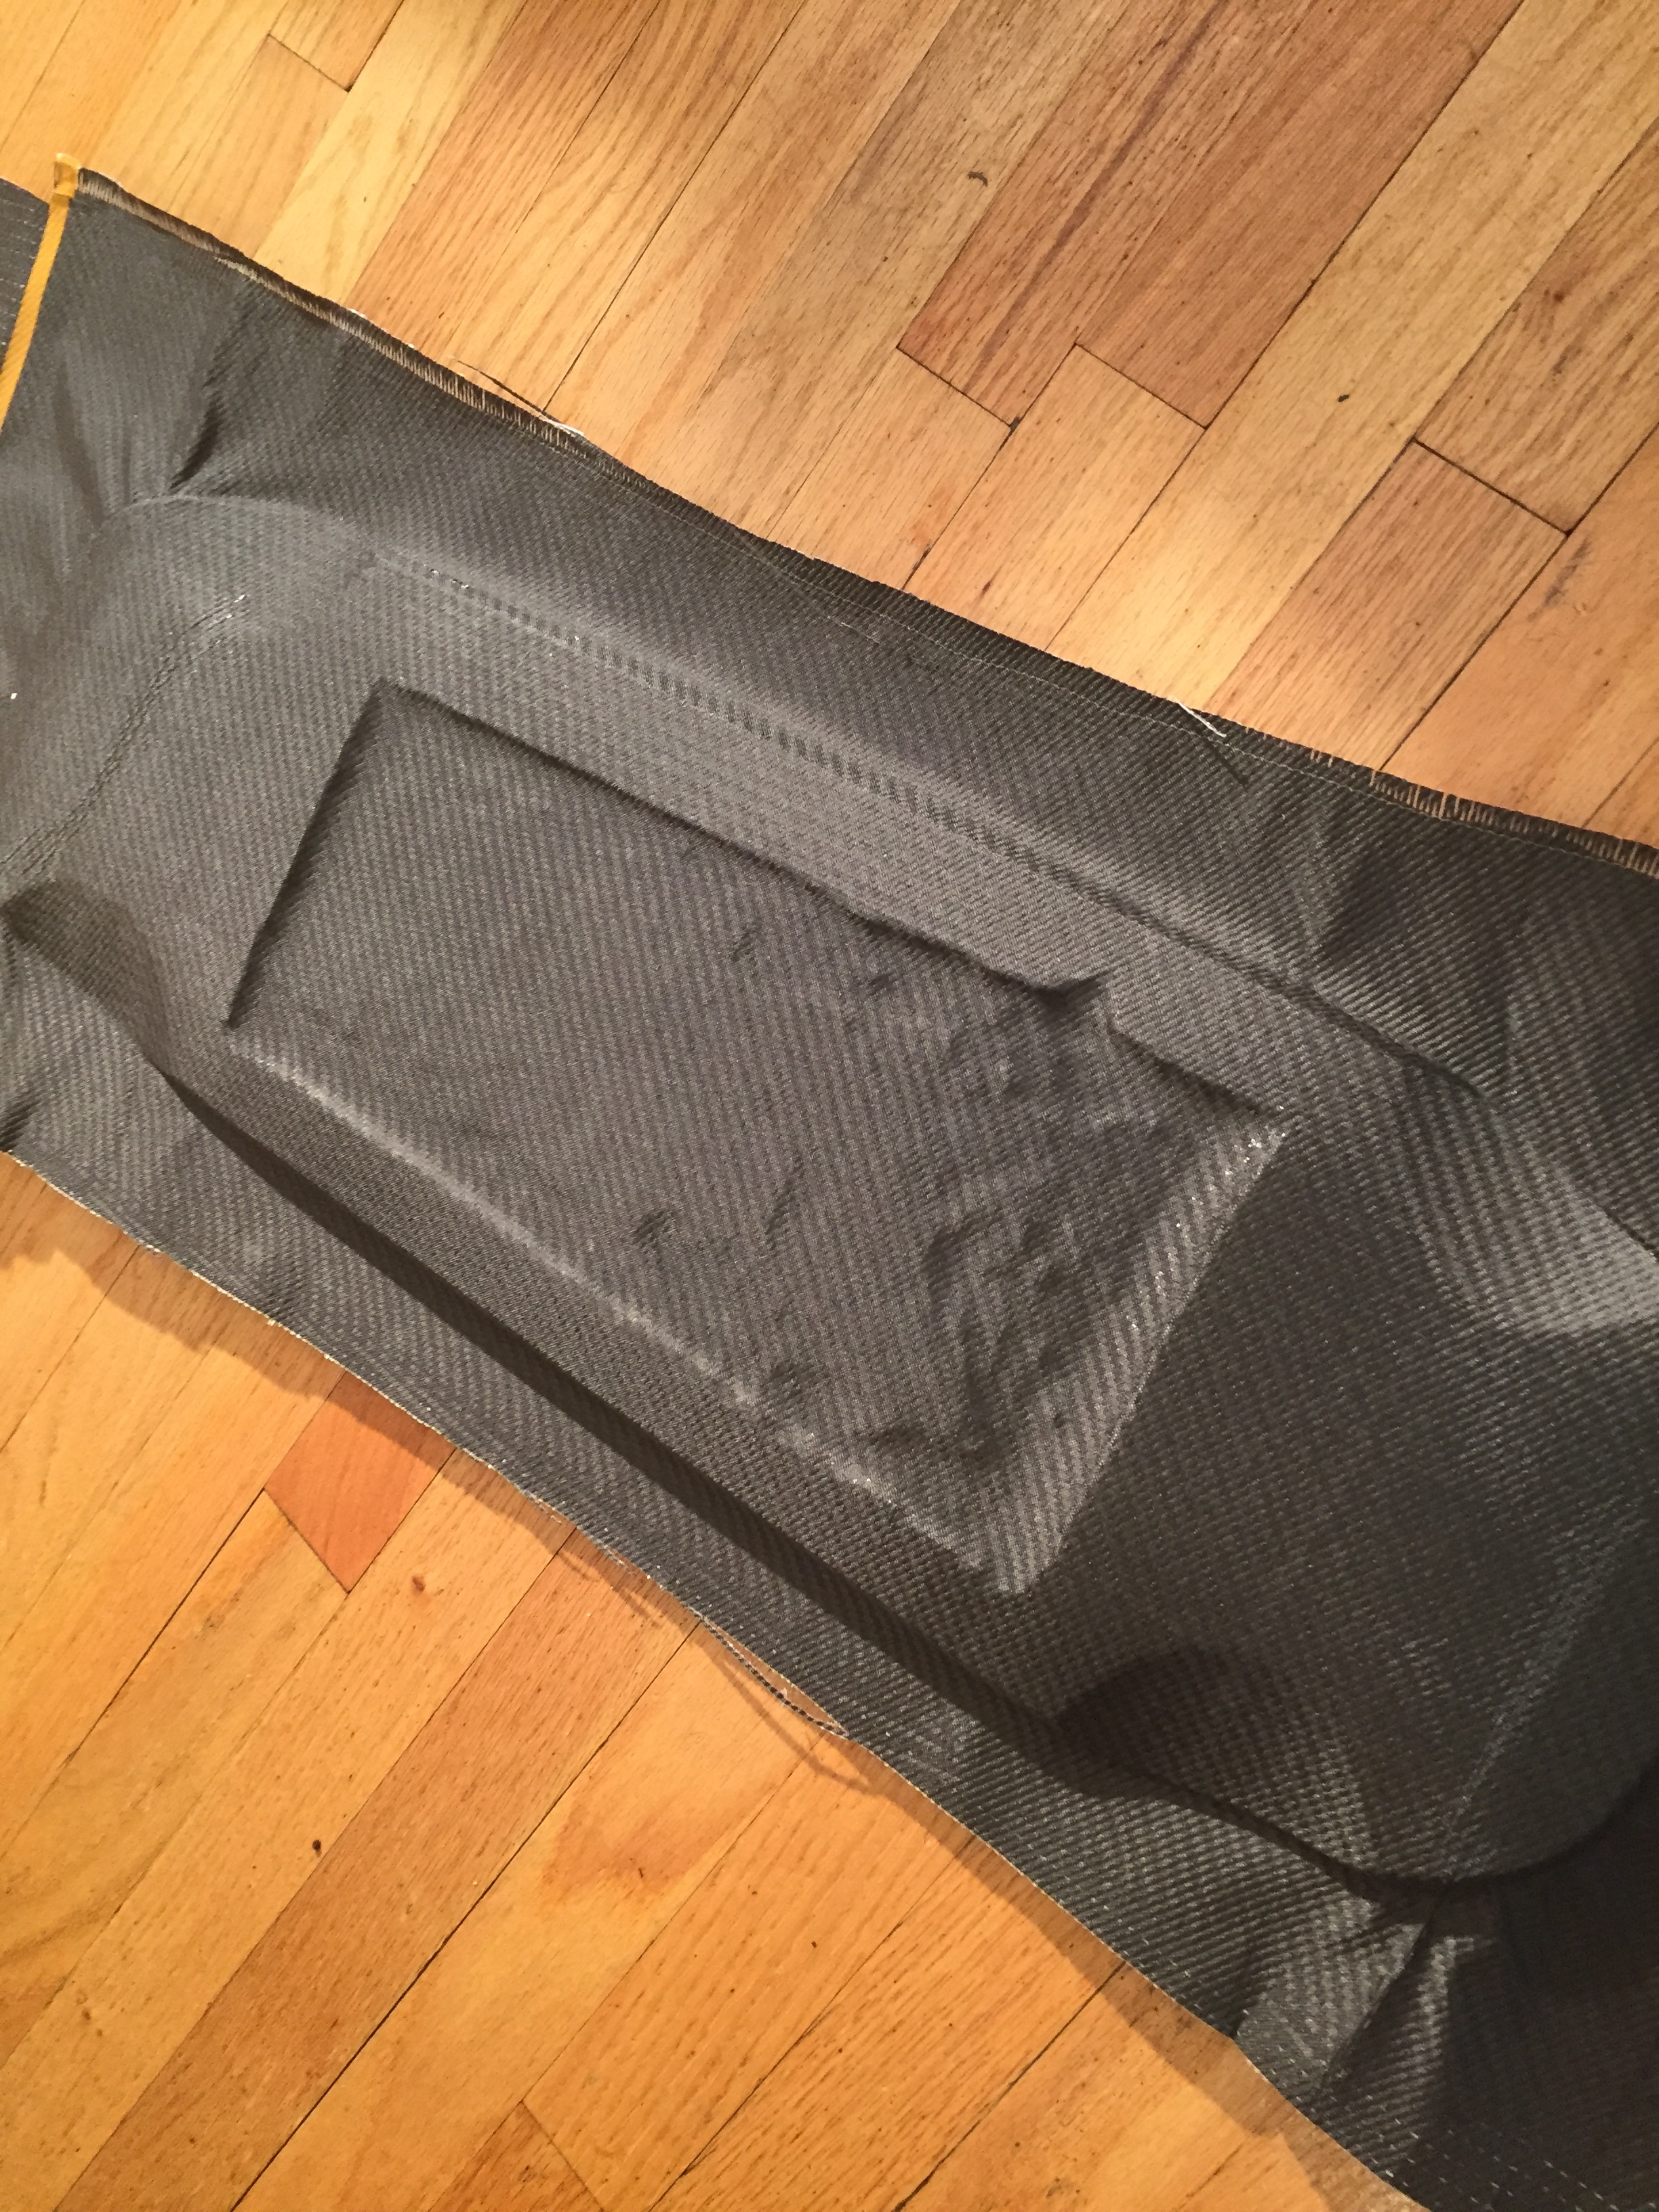
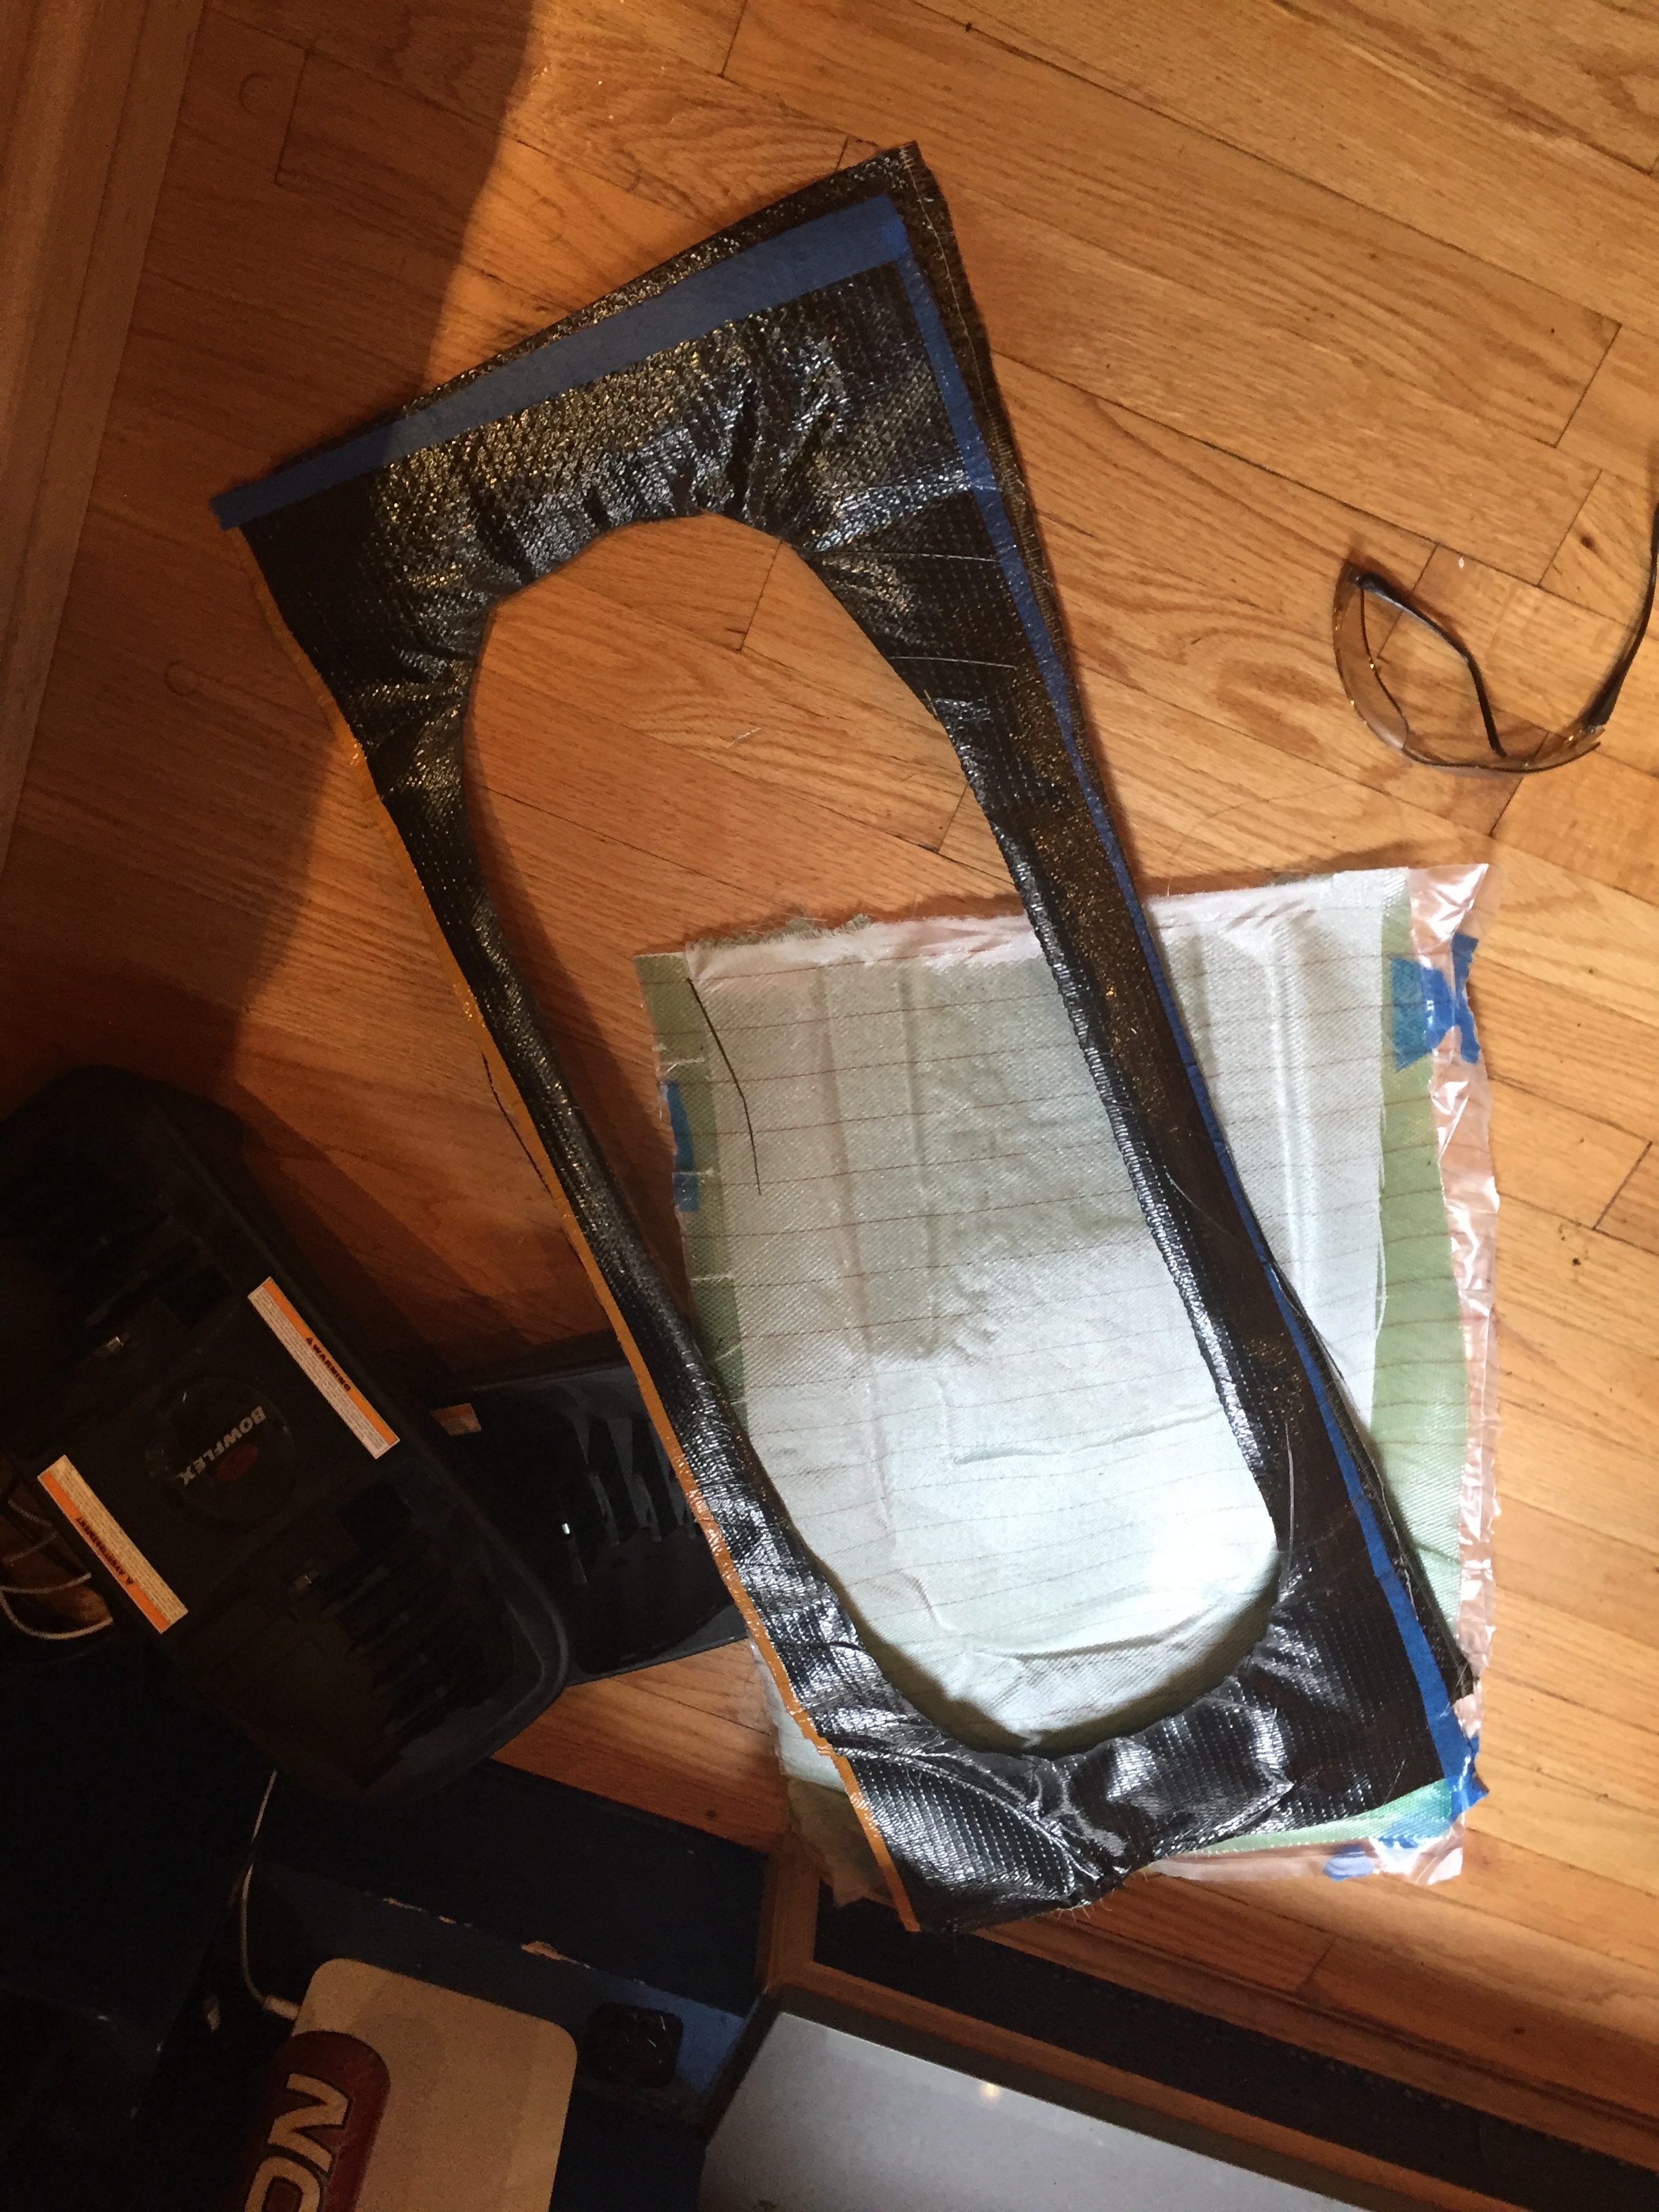
Ok next up. The enclosure (more resin infusion @whitepony)
This time, I took more time to try to get rid of as many wrinkles in the bag and everything.
For the enclosure mold I just used two pieces of wood stacked, then covered them in stretch wrap. I also covered the board. I didn’t know if that would be enough so I sprayed mold release on them both (I have no idea if this will help or even harm the board, but I figured I’d rather try then ruin the deck.
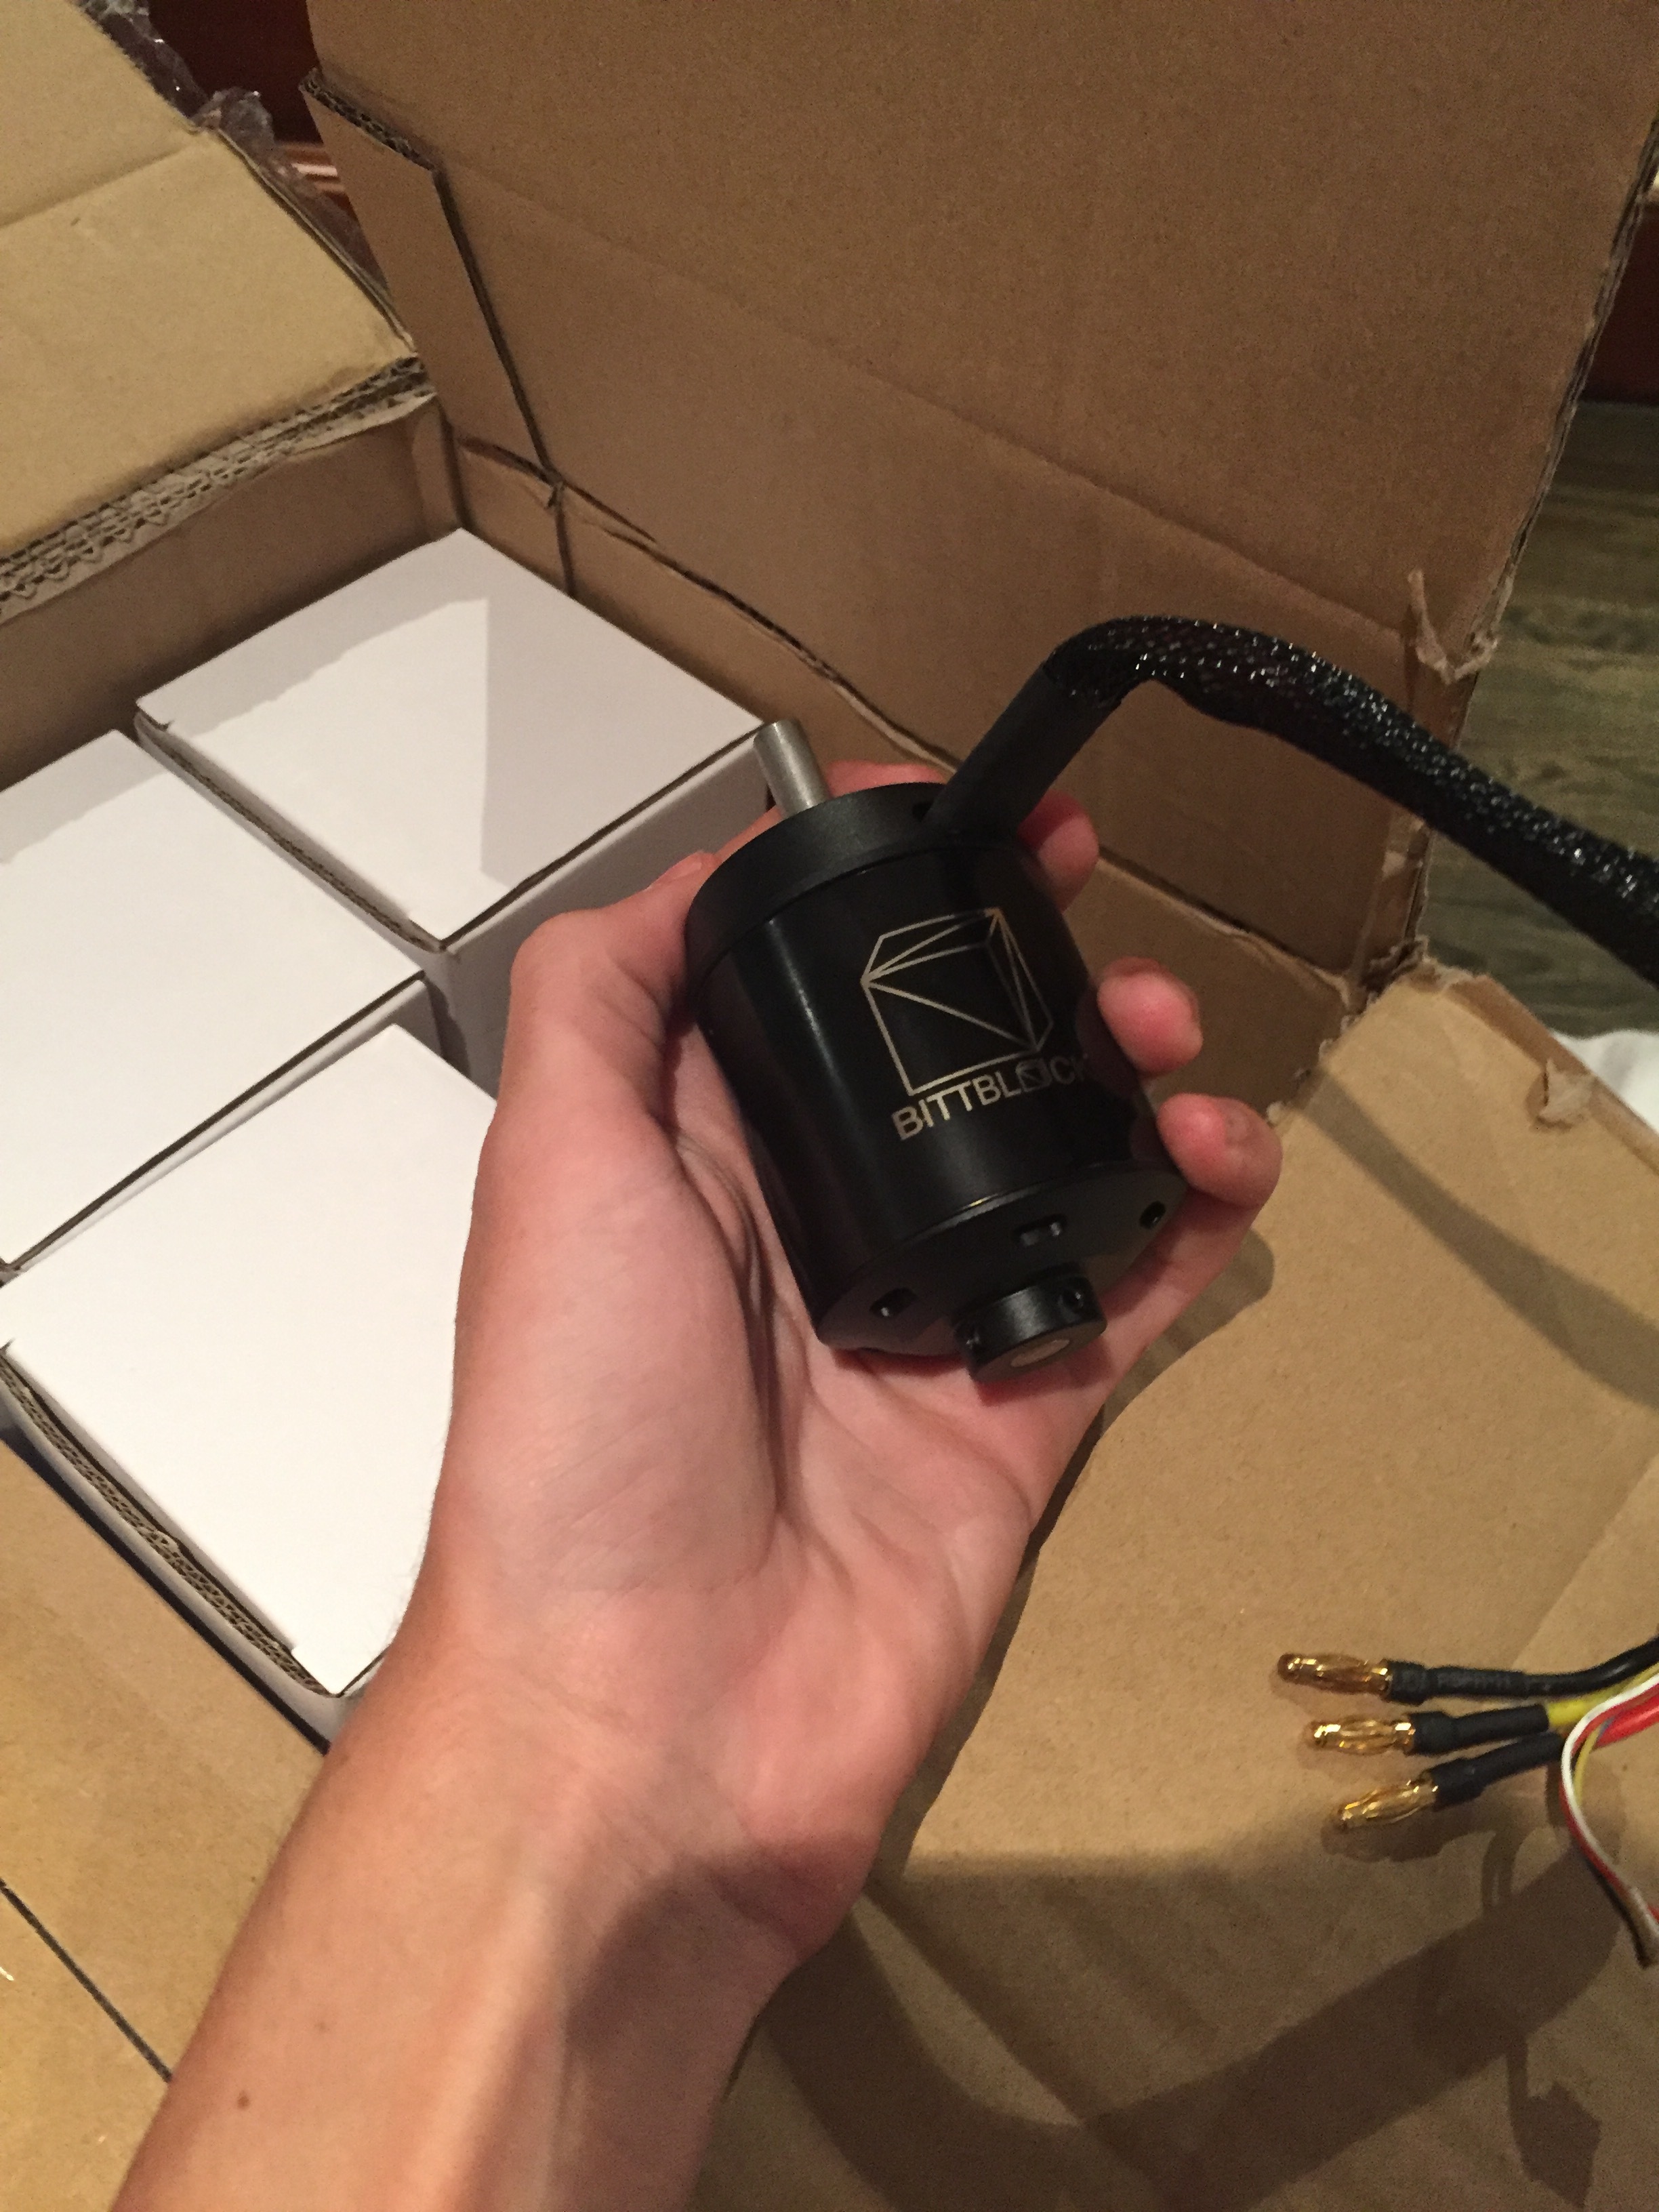
In other news, VESCS! @torqueboards I will film every thing I plug in and unplug, and program and even f***ing touch. Just in case. Ok I’m kidding I’m not gonna do that. Instead I’ll just try to do it right.
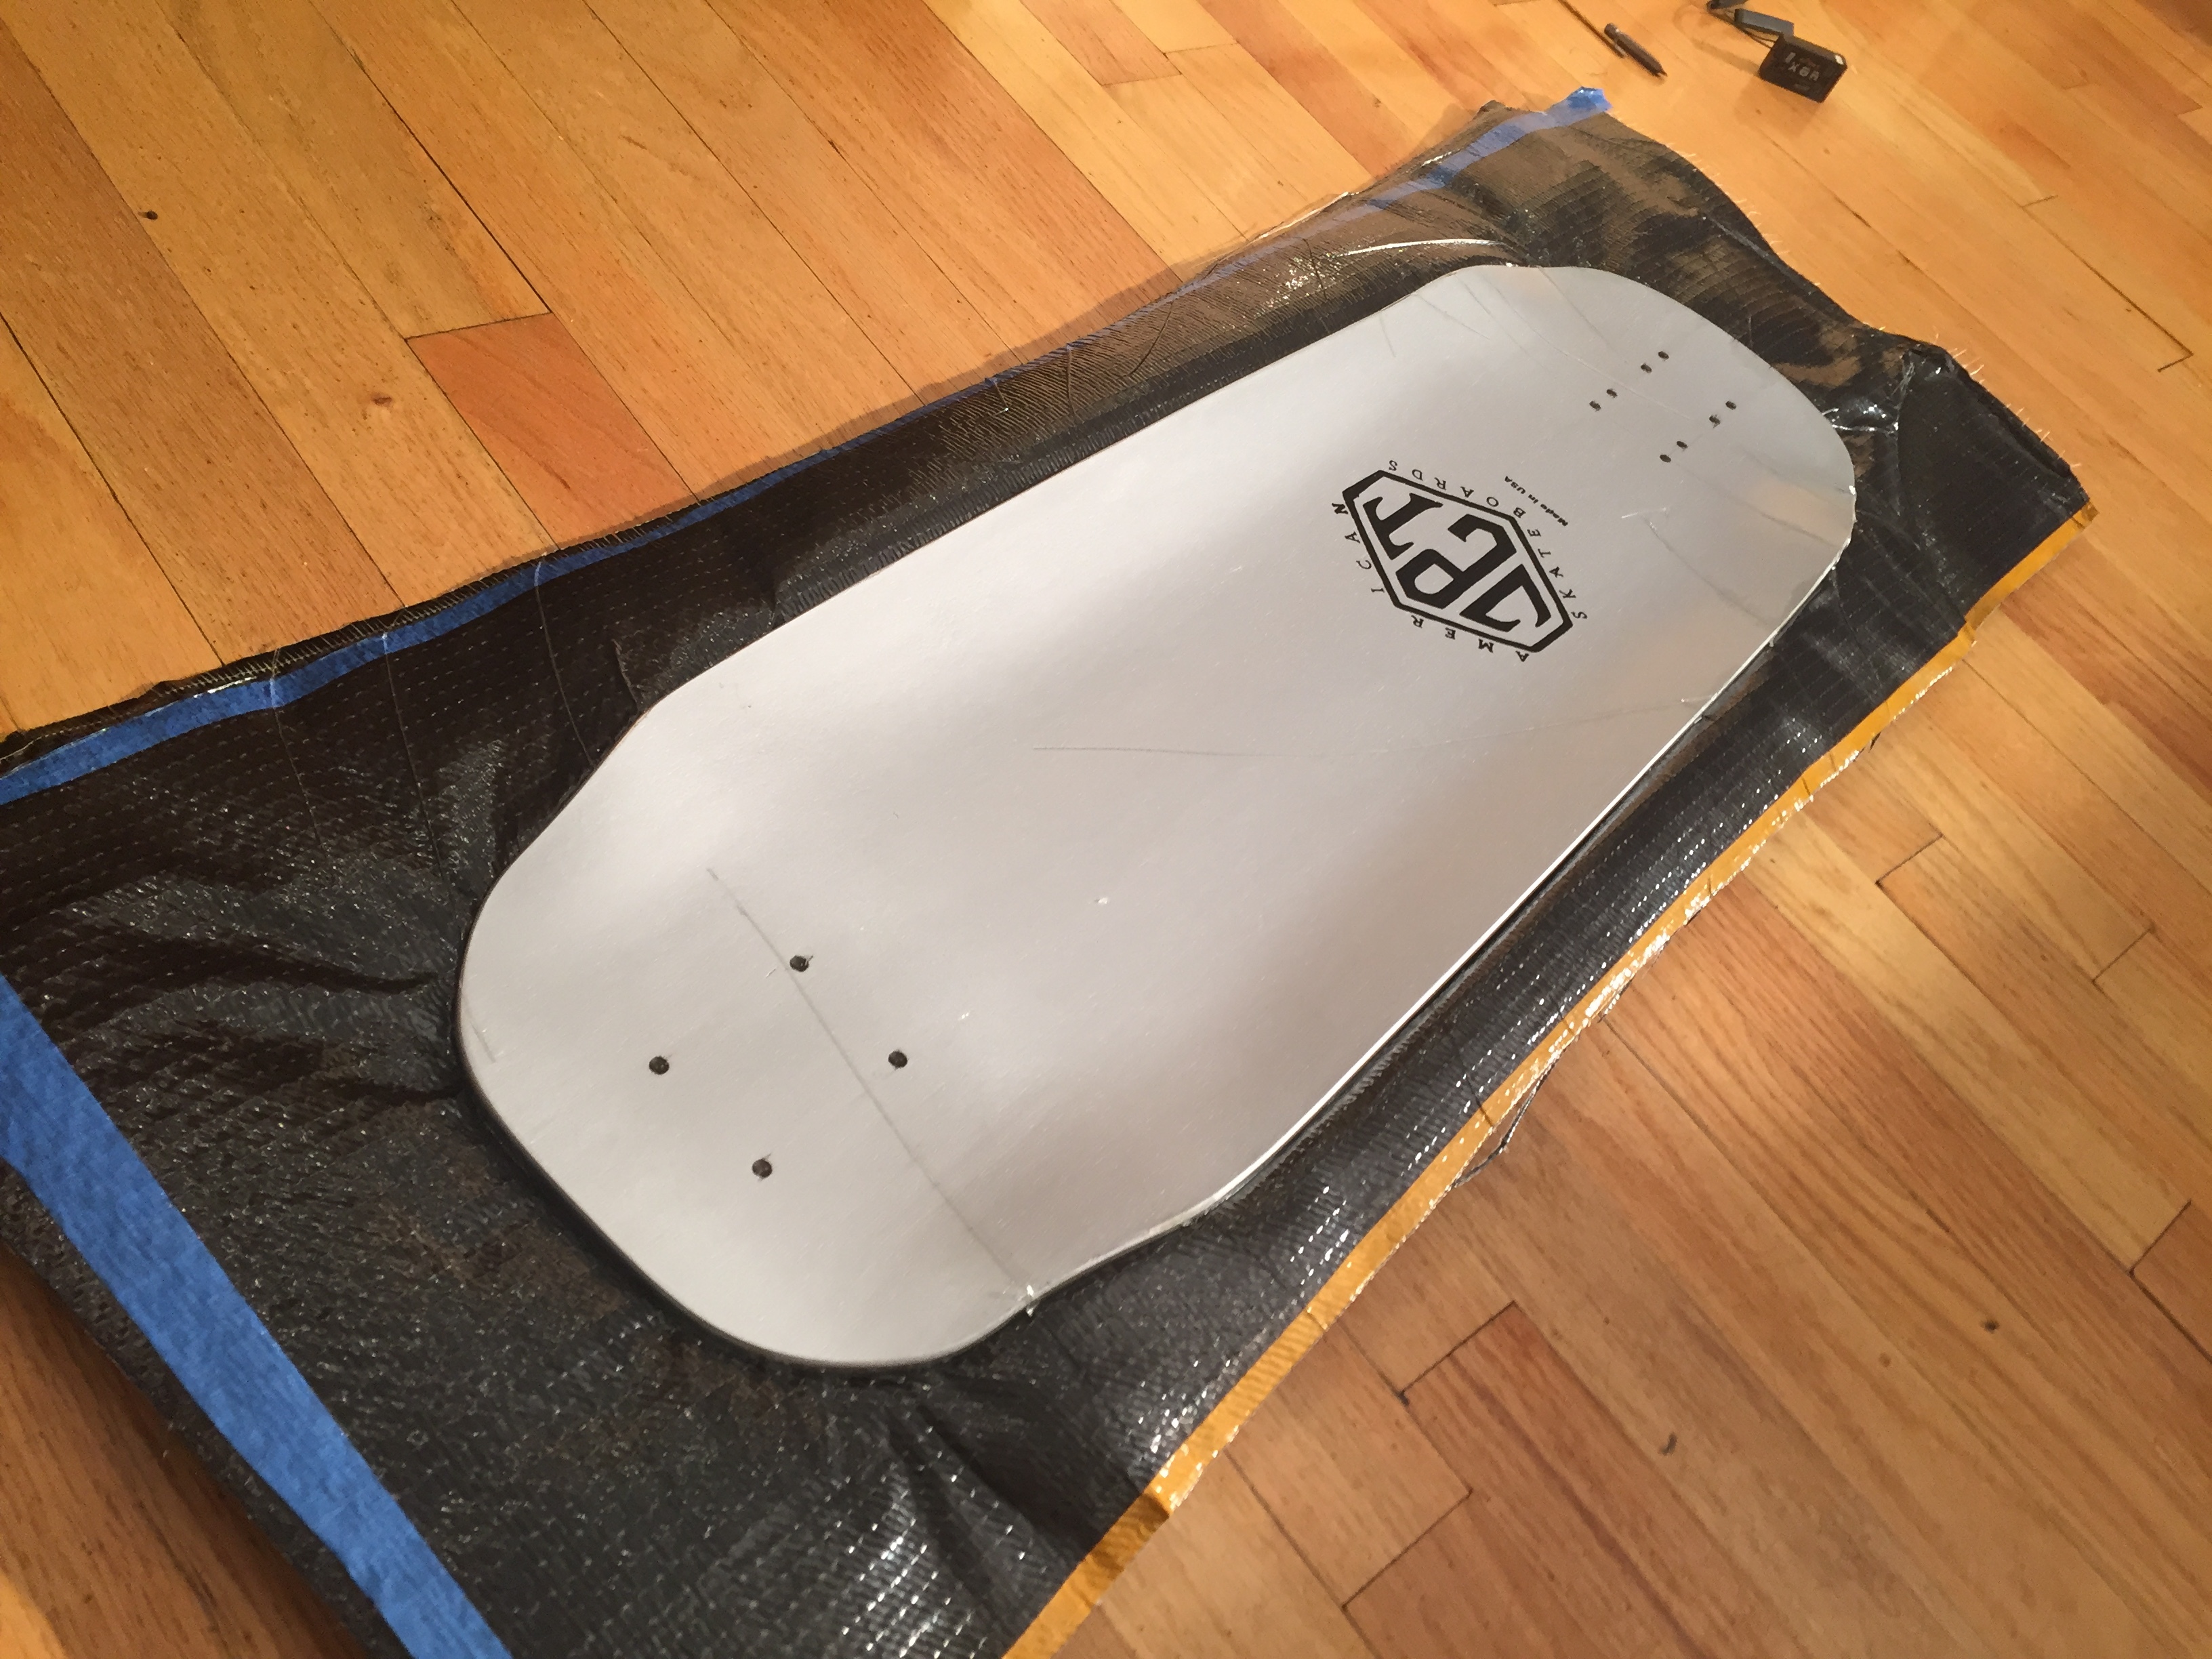
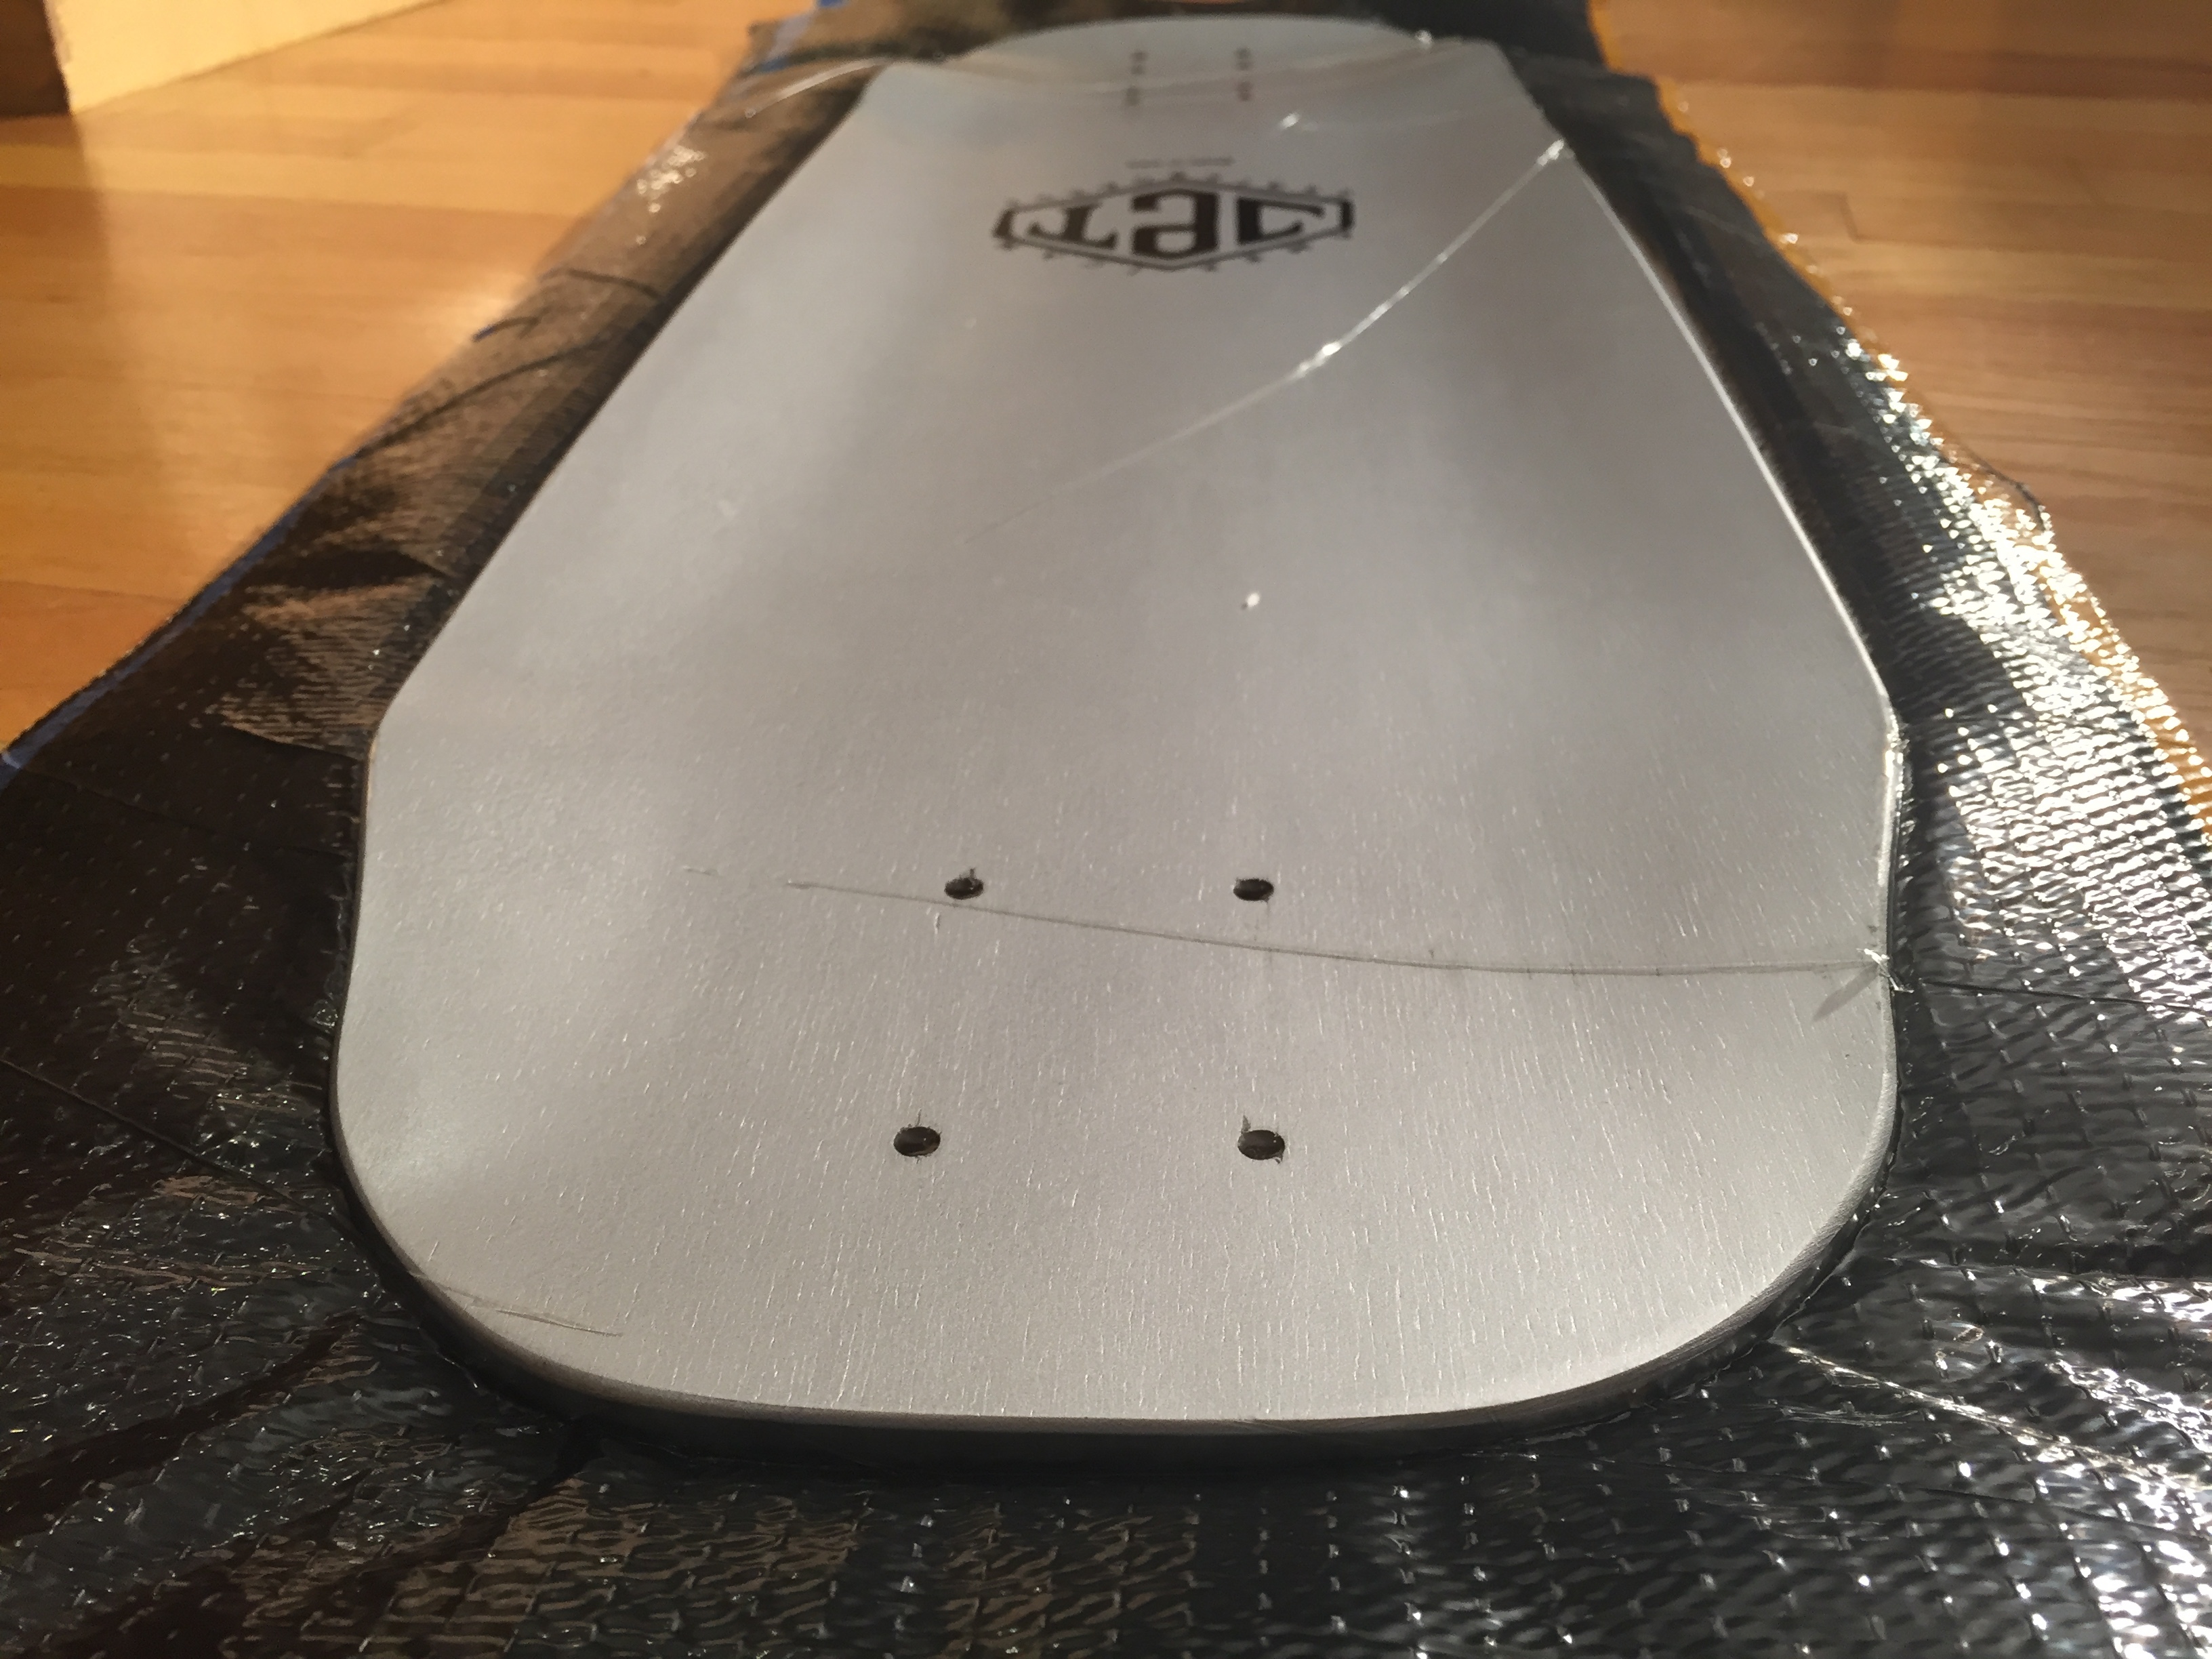
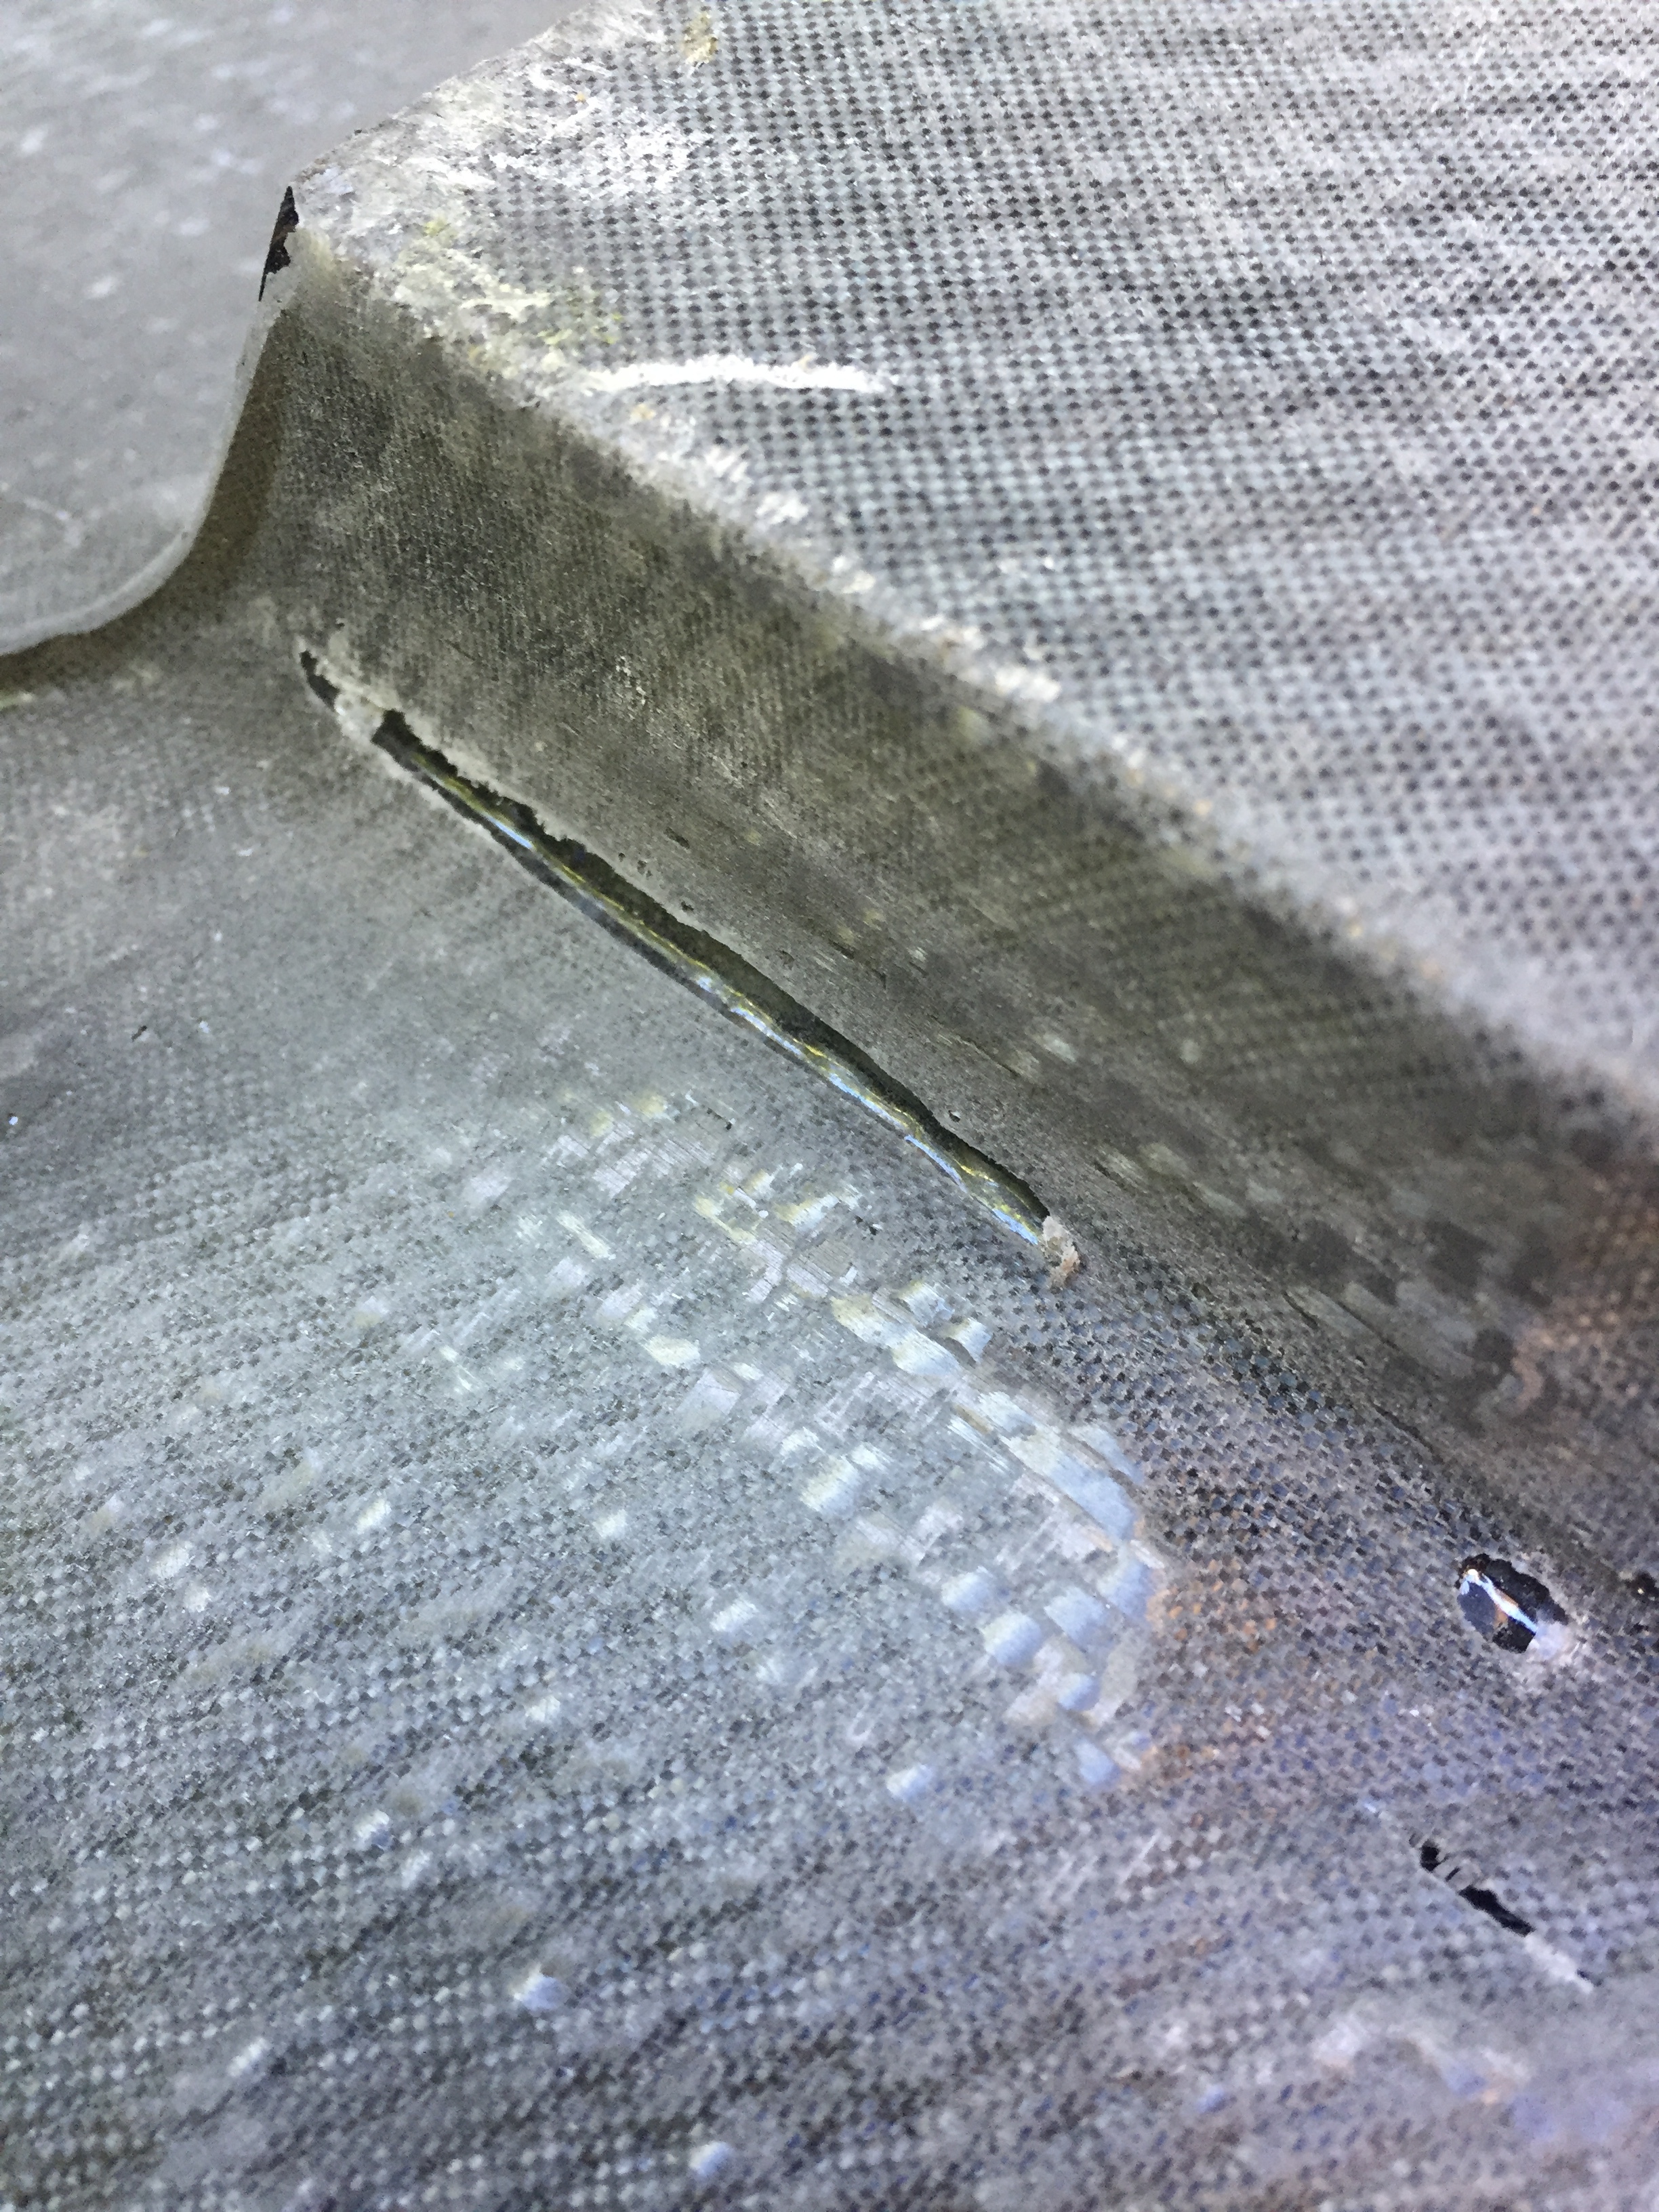
Ugh, I do not like these holes in the corners. Very annoying. Anyone have any suggestions on how to patch them?
Furthermore, somehow the resin got through the stretch wrap covering I had. Also very annoying. Messed up the bottom of the deck. I sanded it ALOT, but it kinda blended the carbon fiber look together. ARGH. Well, I’ll just have to live with it.
Tell me if anyone has ideas on how to patch the holes in the side.
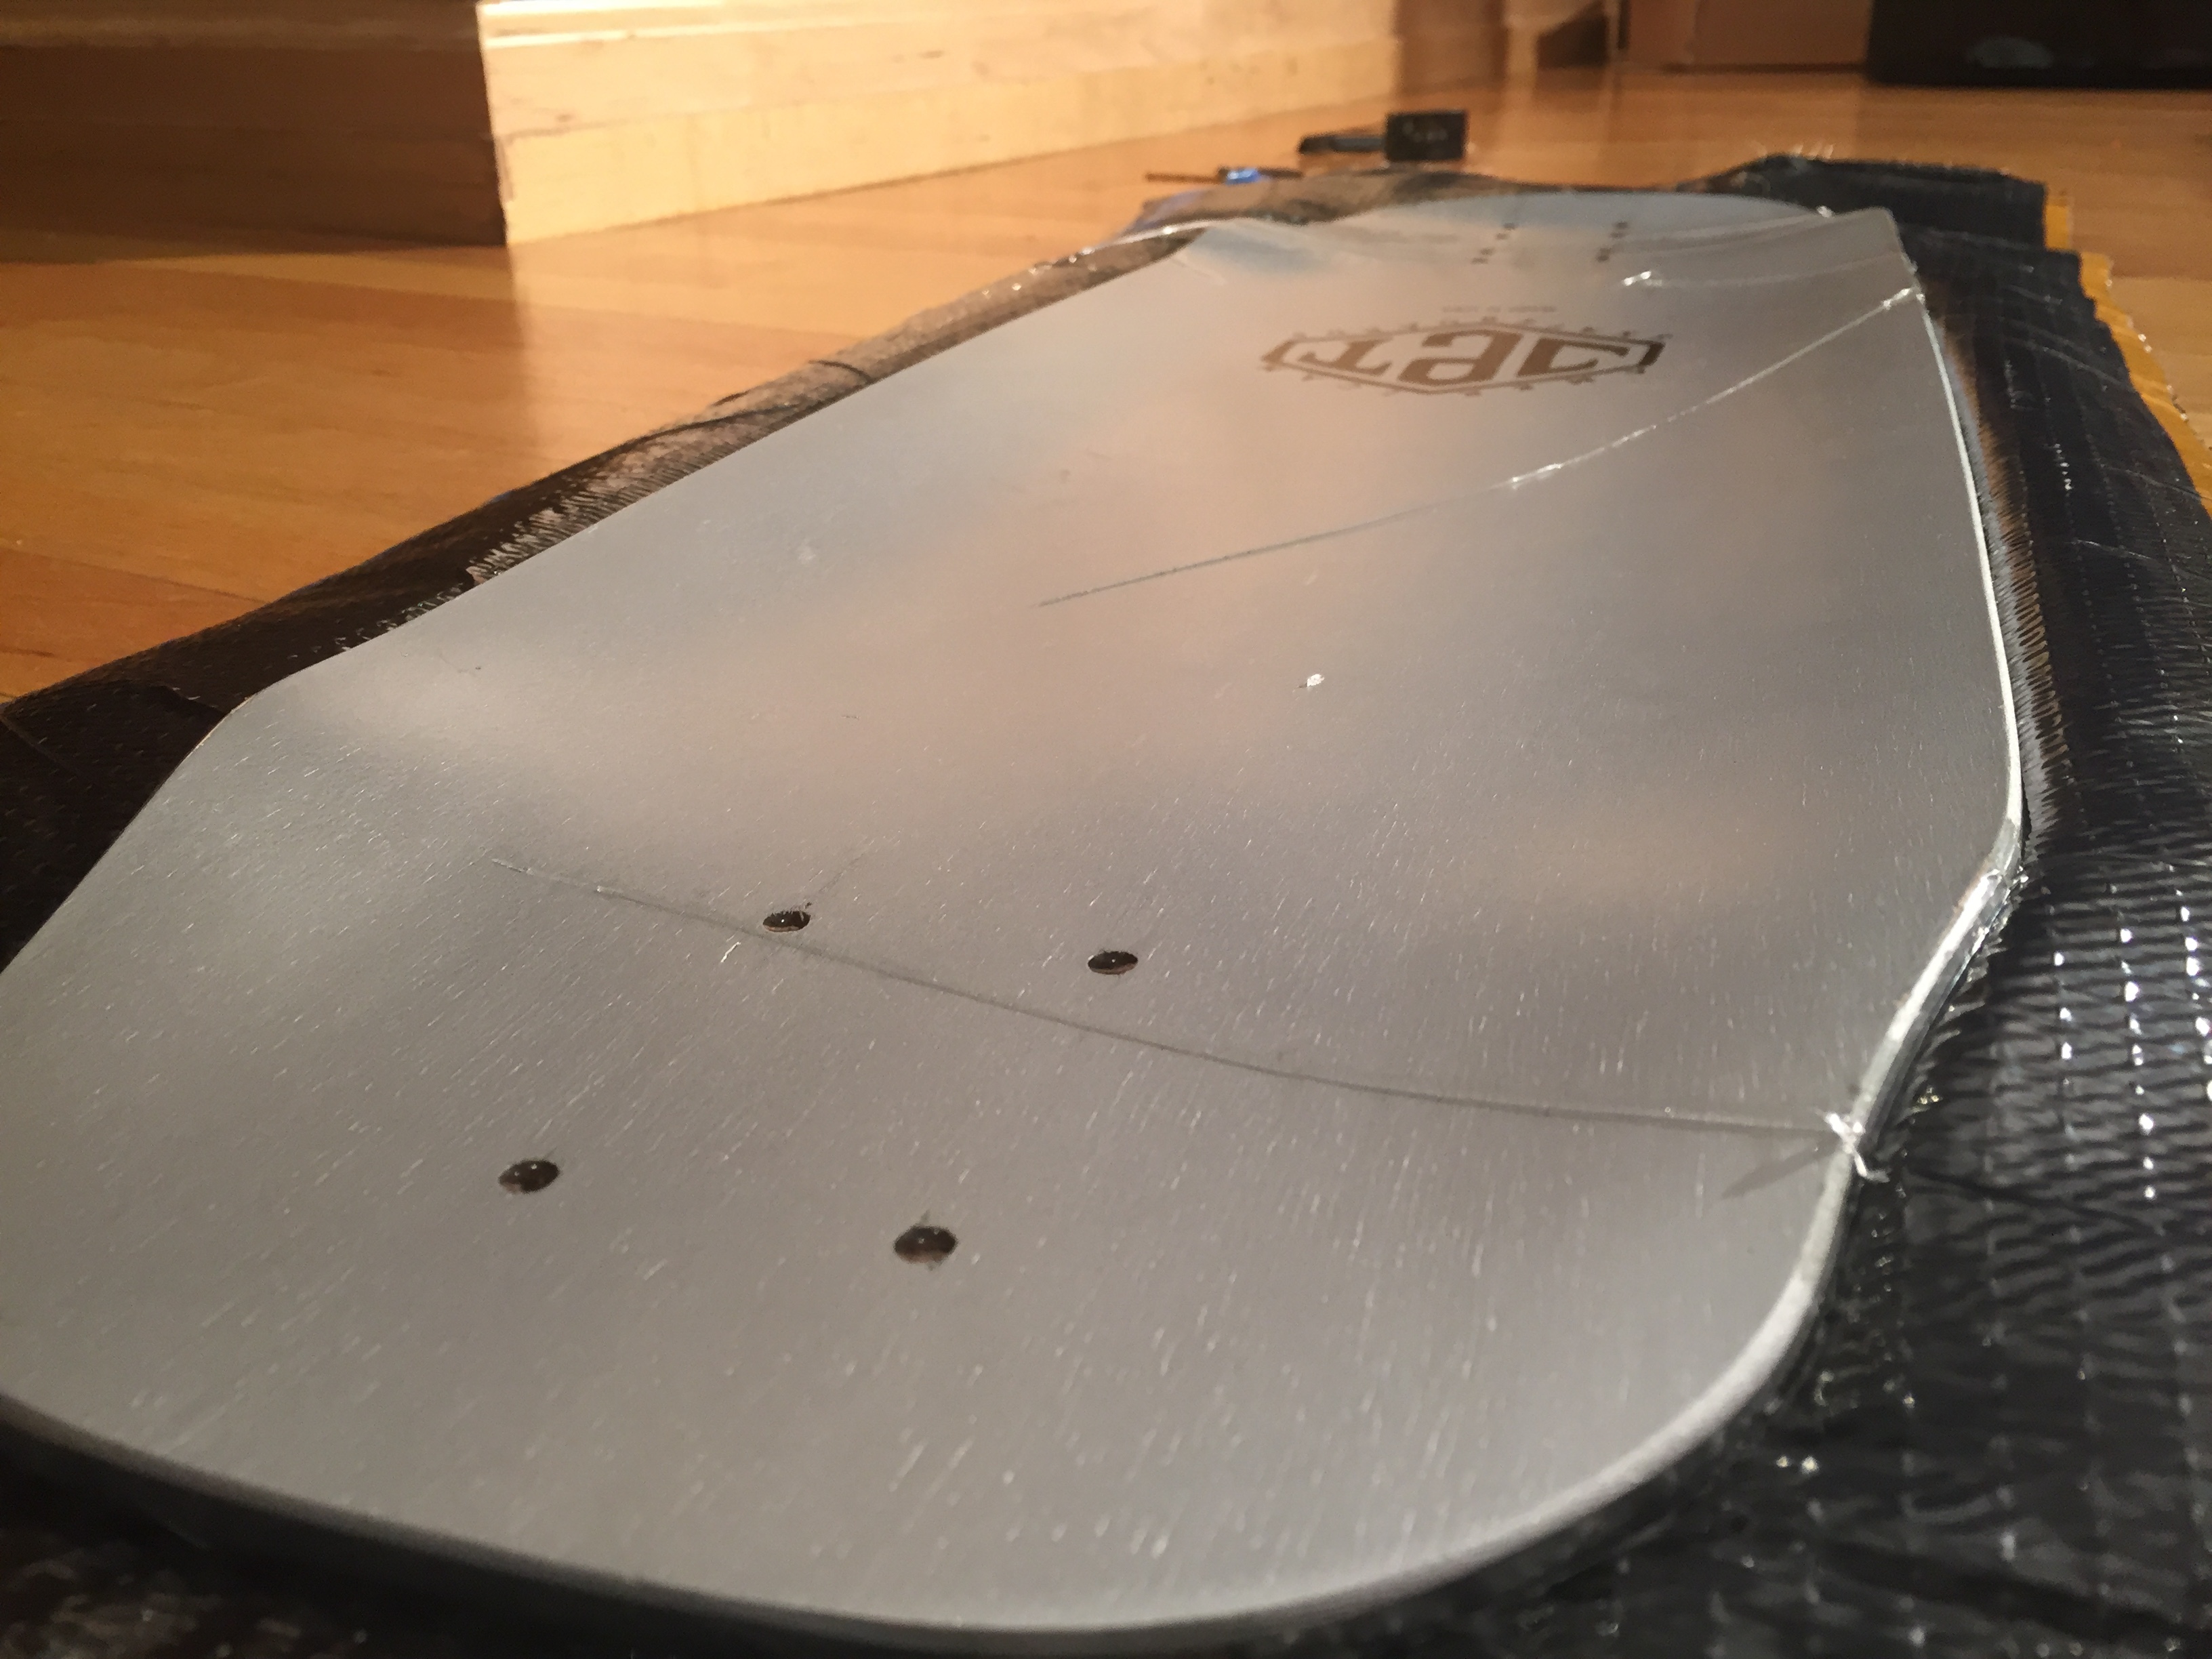
Progress for the sake of progress… cut out and cleaned. Still need to fill a couple of the holes. Trying to think of a good material… Uploading…Uploading…Uploading…
You can fill those holes by giving the whole thing a couple coats of epoxy. Check my build. I did it just to make it shiny, but it did a great job at hiding a lot of imperfections.