So glad that finally i made my first built thread. After a year on this forum with some dilemmatic building option (and i also almost give up because i can not imported battery pack to my country), finally i nearly finished my e-skate. Let me introduce my self a bit, my name is Xantalia, i’m from Indonesia and i’m a girl . For this built I choose to go with simple setup so i could learn more how everything works before decided to go with more complicated built. I really enjoying this project and i want to share how far my progress is. Any feedback would be awesome
Main Setup:
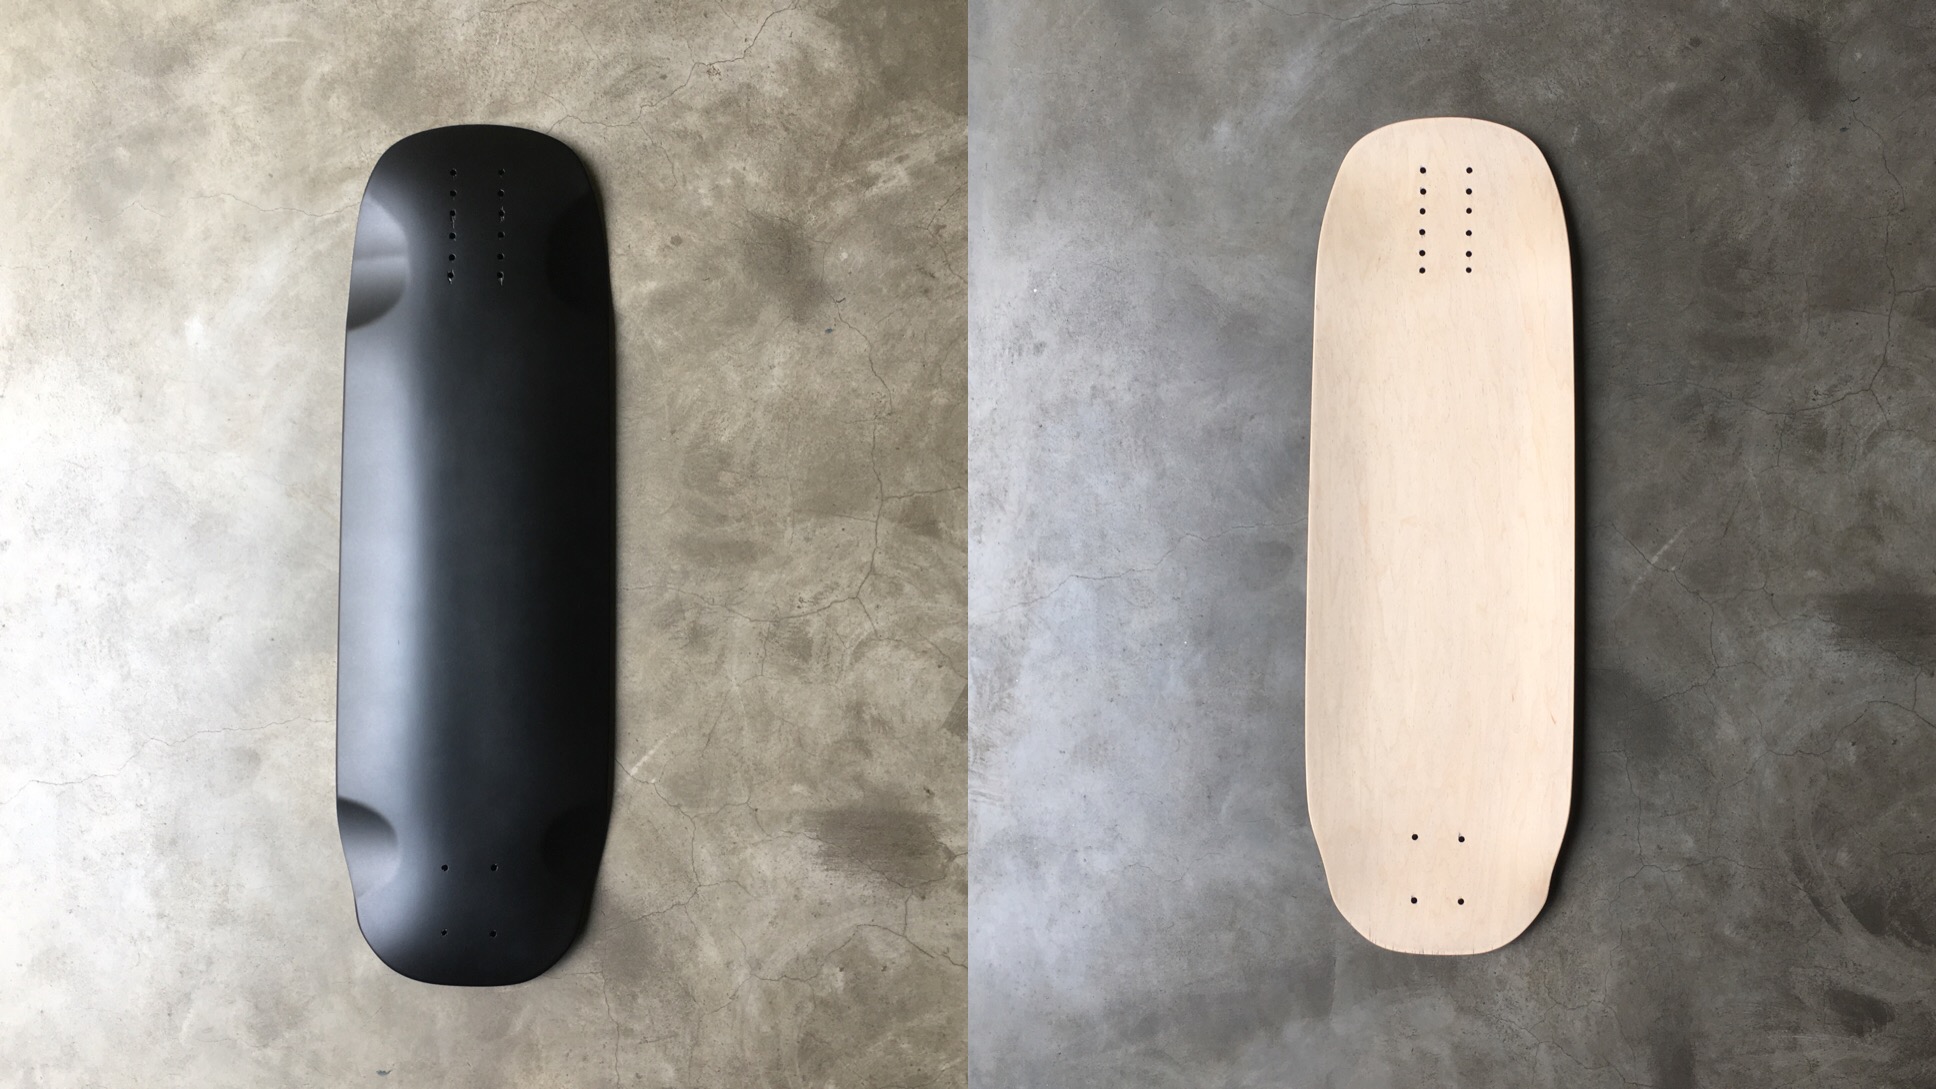
JET SPUD 29” from Built Kit Boards; re-paint the bottom of the deck and remove the top paint, i love the natural wood look. I also need to drill new holes for the truck since the existing holes configuration can not fit the hubs that i’m using.
Clear Grip-tape
I think i’ll go with spray grip tape.
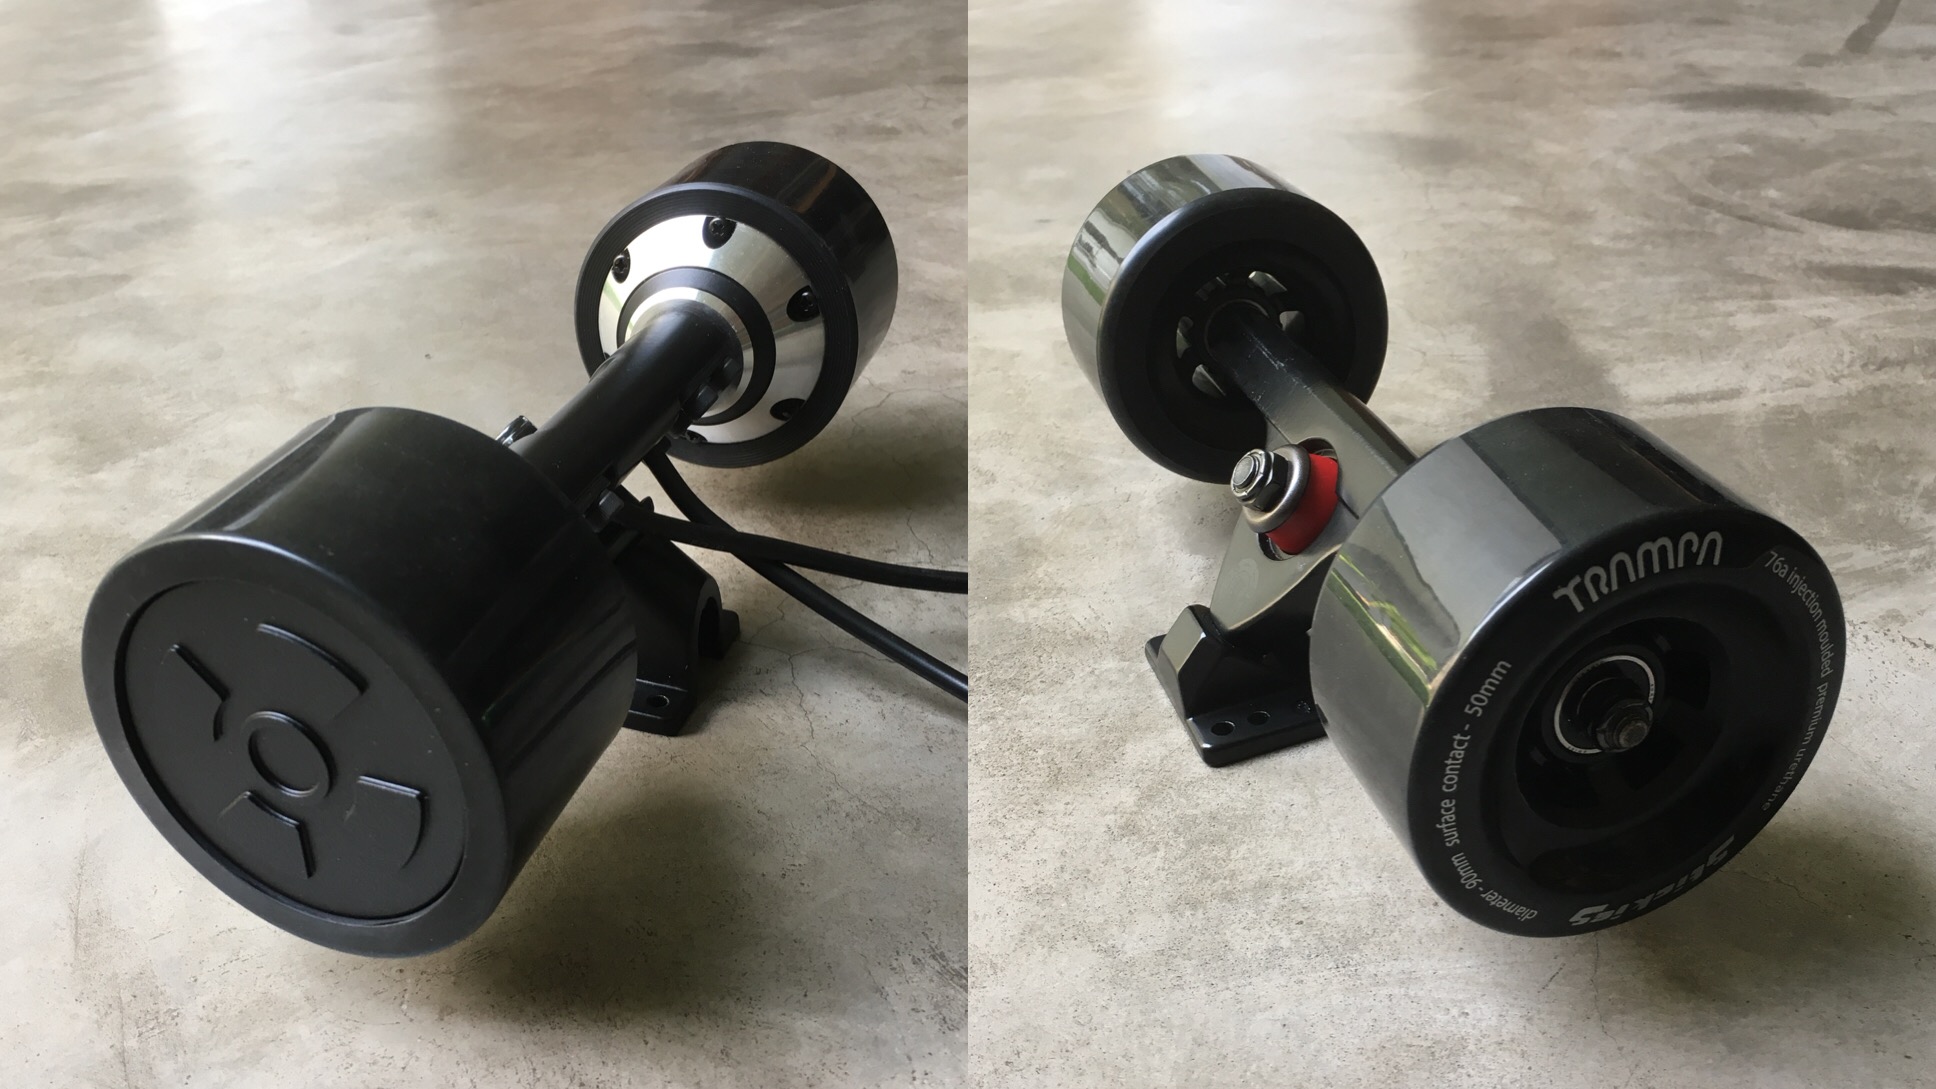
CALIBER Truck II 50, Bones Swiss Bearings, TRAMPA Stickies 90mm for Front Wheels.
DIYEBOARD Dual Hub Motor 90mm, ESC, Remote & Charger; Re-paint the hubs to black; Adding some 4mm alumunium heatsink to the ESC.
10S2P SAMSUNG 30Q with VRUZEND V2; I could do a 10S3P in the future if i could get my self a spot welder. Vruzend kit took a bit more spaces on this deck, so i decide to go with 10s2p for now.
10S BMS 40A from Ann Power; i have order a 60A Bestech BMS but they’re not here yet. I hope this Ann Power BMS are doing just fine.
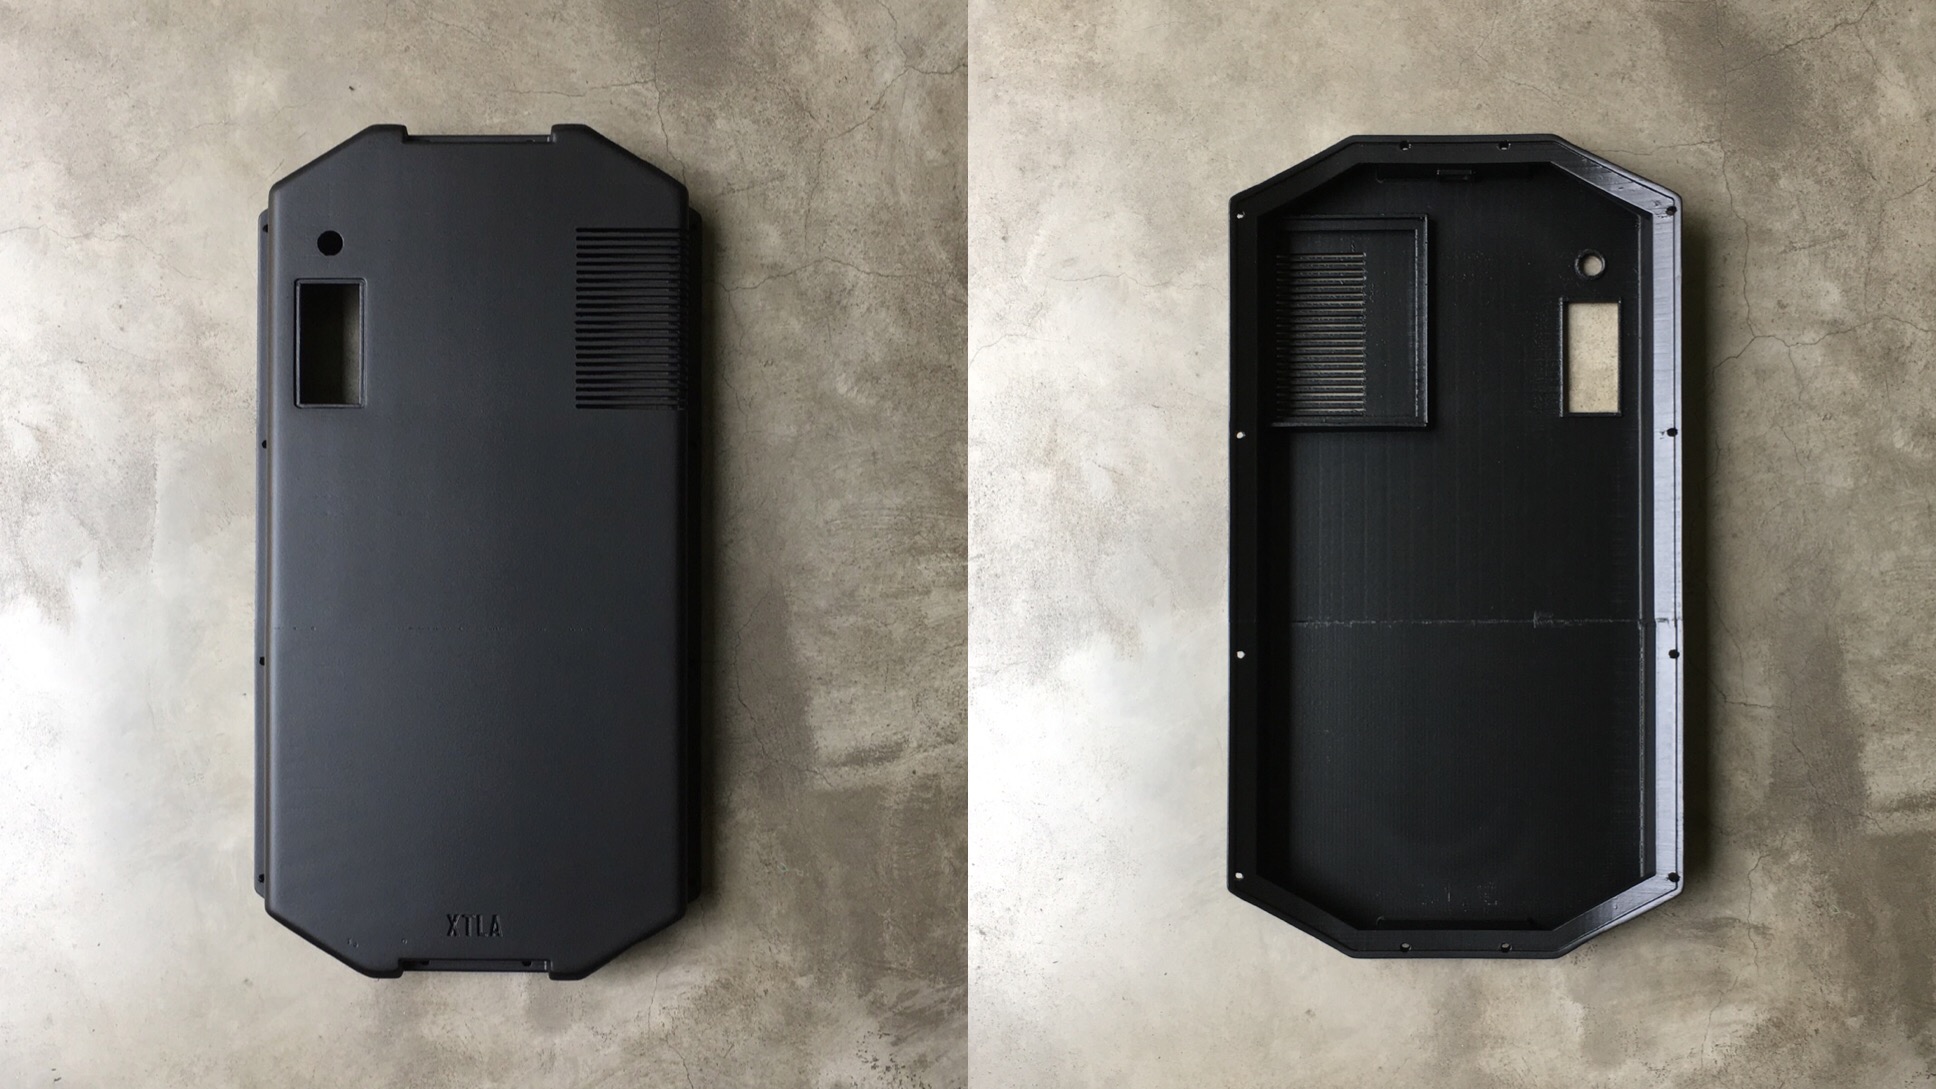
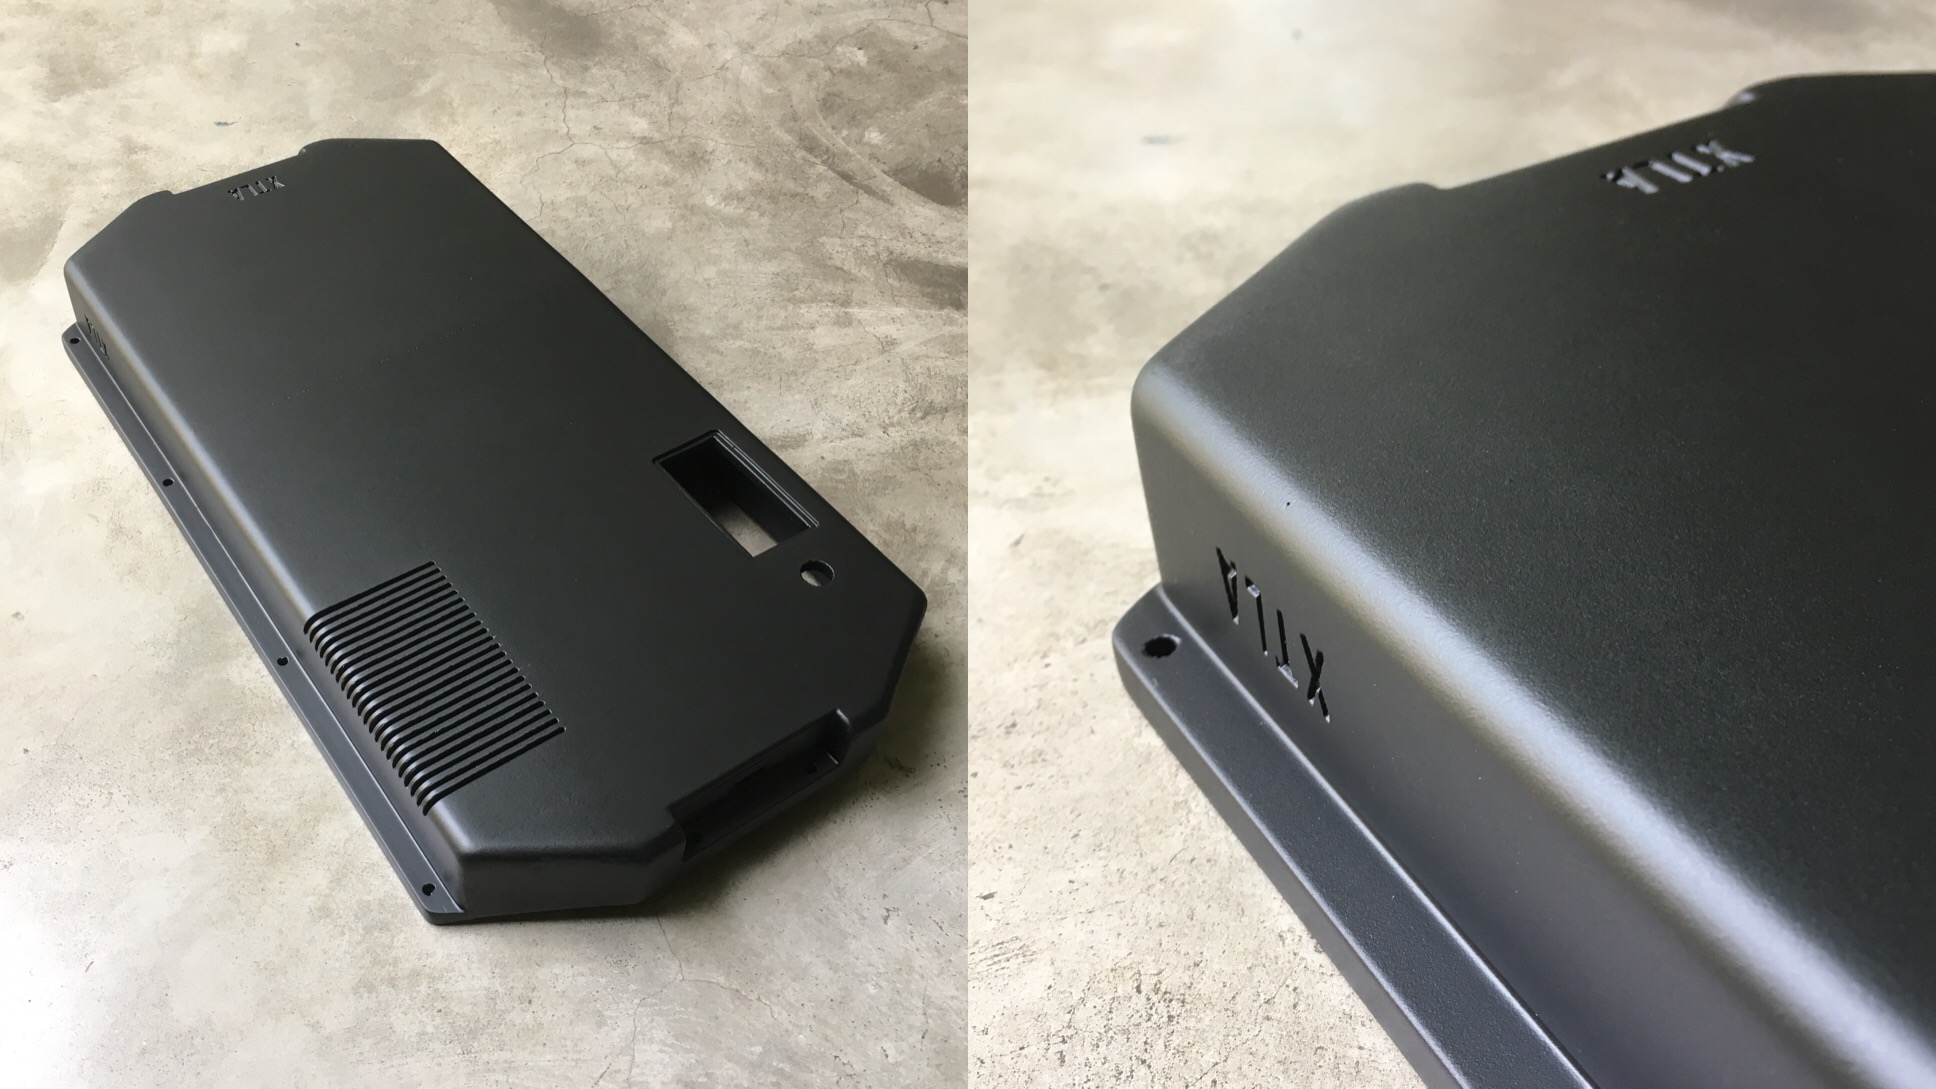
3D PRINTED Enclosure using PETG with 4mm wall thickness; it took about 50hrs to get them done (41x20.5x3-4.5cm). Covering the surface with putty spray and paint.
Hi, sure i could share the stl file, i could make it more universal (without lcd indicator/switch holes, and without esc heat ventilation) unless you are using same setup like mine. No problem, just dm me your email.
XTLA you nailed it! and it looks amazing! The enclosure is beautiful, did you use PETG or ABS? Did you sand and paint it afterwards? Did you designed it to follow the deck concave?
Keep sharing pics once it will be all done and also how it rides. I would suggest to attach the battery and electronics to the deck to don’t stress the enclosure too much. Concerning the spot welder it’s quite easy to make it one or buy an arduino based spot welder. You can buy it on the forum or on Ali for even cheaper.
I have been to Indonesia. such a beautiful place. Enjoy!
Edit: I sse the enclosure details in your description. I was too enthusiastic that I read too fast
Hey Nice Build! I like to see fellow Indonesian building this too! I’m also Indonesian, living in The Netherlands. Welcome! (PS: If you have any question, feel free to Pm me in Indonesian)
Hi Rey, thank you . Yes the enclosure design follow the deck concave. I think about spot welded 2 but maybe for next upgrade and also change the bms (i can’t wait any longer to ride ). I’m thinking about attaching the battery to the deck 2 but since my pack are wide enough and the deck are concave, i need to figure out how to attach them.
I think with velcro you can do it easily. I use the wide velcro from hobbyking (really strong one) and few small one to completely lock the battery in place (if you do not find the product I can look it up for you). Basically it can’t move anymore.
Does your enclosure follow the deck shape well? Do you mind share the STL file or the project file (such as Fusion360 or similar). I am going to print mine again and I want to make it with a concave this time. Having a file with already the measurment would be easier to modify mine.
Sure PM me your email. Do you want just the way it is or want me to remove all the holes and ventilation? Yes the enclosure follow the concave for easy attach. Actually i design this using sketchup then export to stl. You want both?
 . For this built I choose to go with simple setup so i could learn more how everything works before decided to go with more complicated built. I really enjoying this project and i want to share how far my progress is. Any feedback would be awesome


 ). I’m thinking about attaching the battery to the deck 2 but since my pack are wide enough and the deck are concave, i need to figure out how to attach them.
 , Yayyyy…Indonesian, where exactly you from? Jakarta. I’ll PM you for sure with a bunch of question