Have been asked to do a write up on how to disassemble and reassemble the Carvon v4. Is split into two parts. Just removing the outside can that holds the magnets and then stripping the whole stator off the axle.
|~~~~~~~~~~~~~~~~~~~~~~~~~~~~~~~~~~~~~~~~~~~~~~~~~~~~~~~~~~~~~~~~~~~~~~~~~~~~~~~~~~~~|
Part One: How to remove and reinstall the cans.
You will need:
- Philips head screwdriver
- a hollow metal rod with in internal diameter of 8mm to fit over the axle and an external diameter of 10mm for the bearing to slide over.
- Time and patience.
The can is held on with 4 screws around the base. Make sure you use the right size screwdriver so you don’t damage the screws and strip the head. They are quite soft.

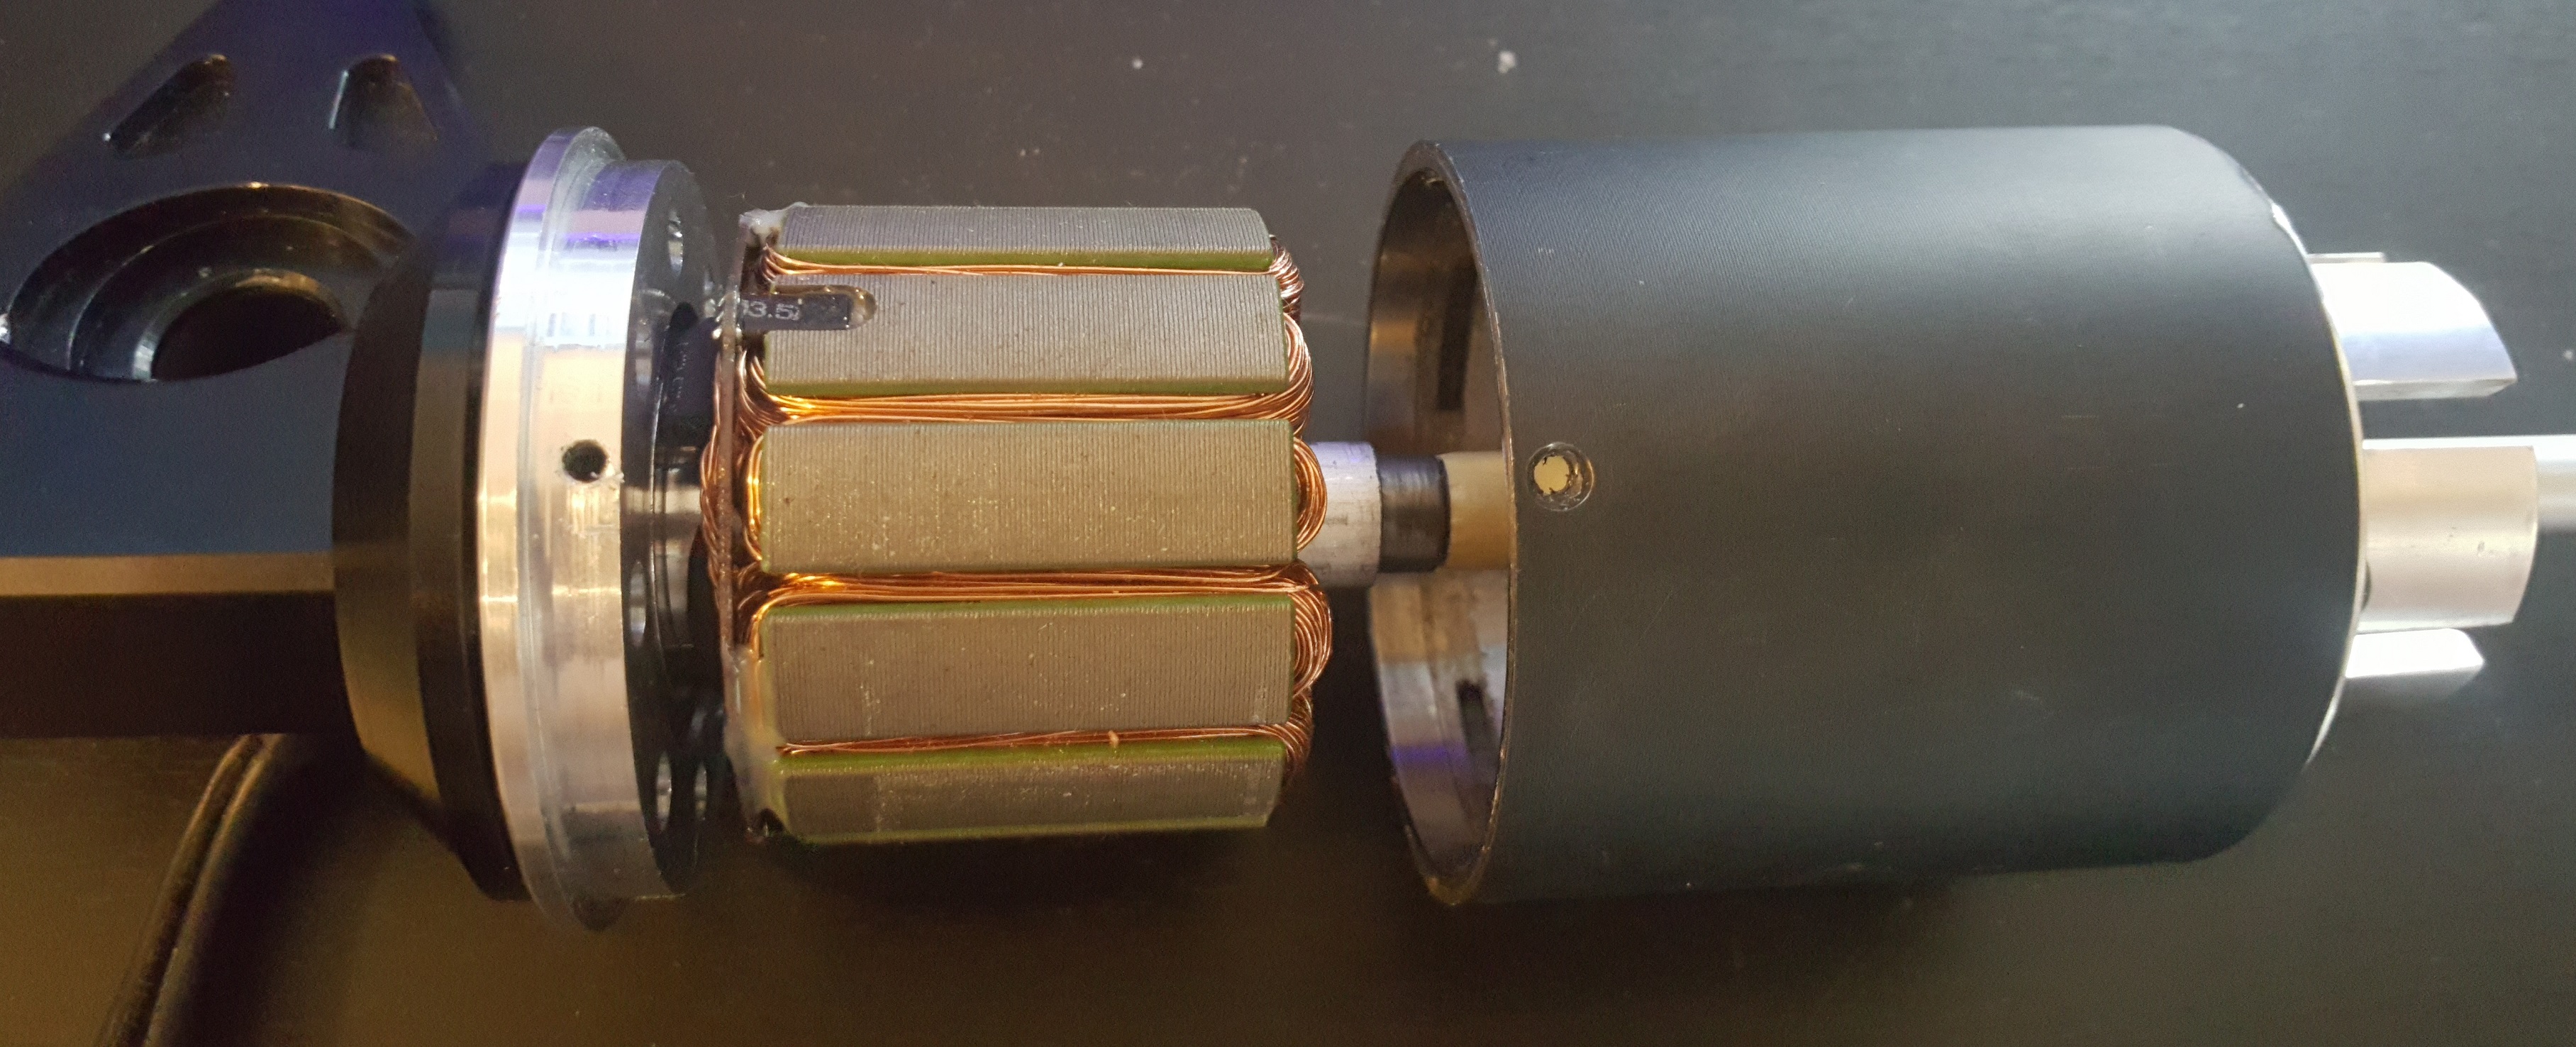
Once all 4 screws are out just pull it 

And you are done! You’ve now removed the can.
To put the can back on you will need the hollow core rod. Mine is a little too small so I have bulked it up with some masking tape to fit.

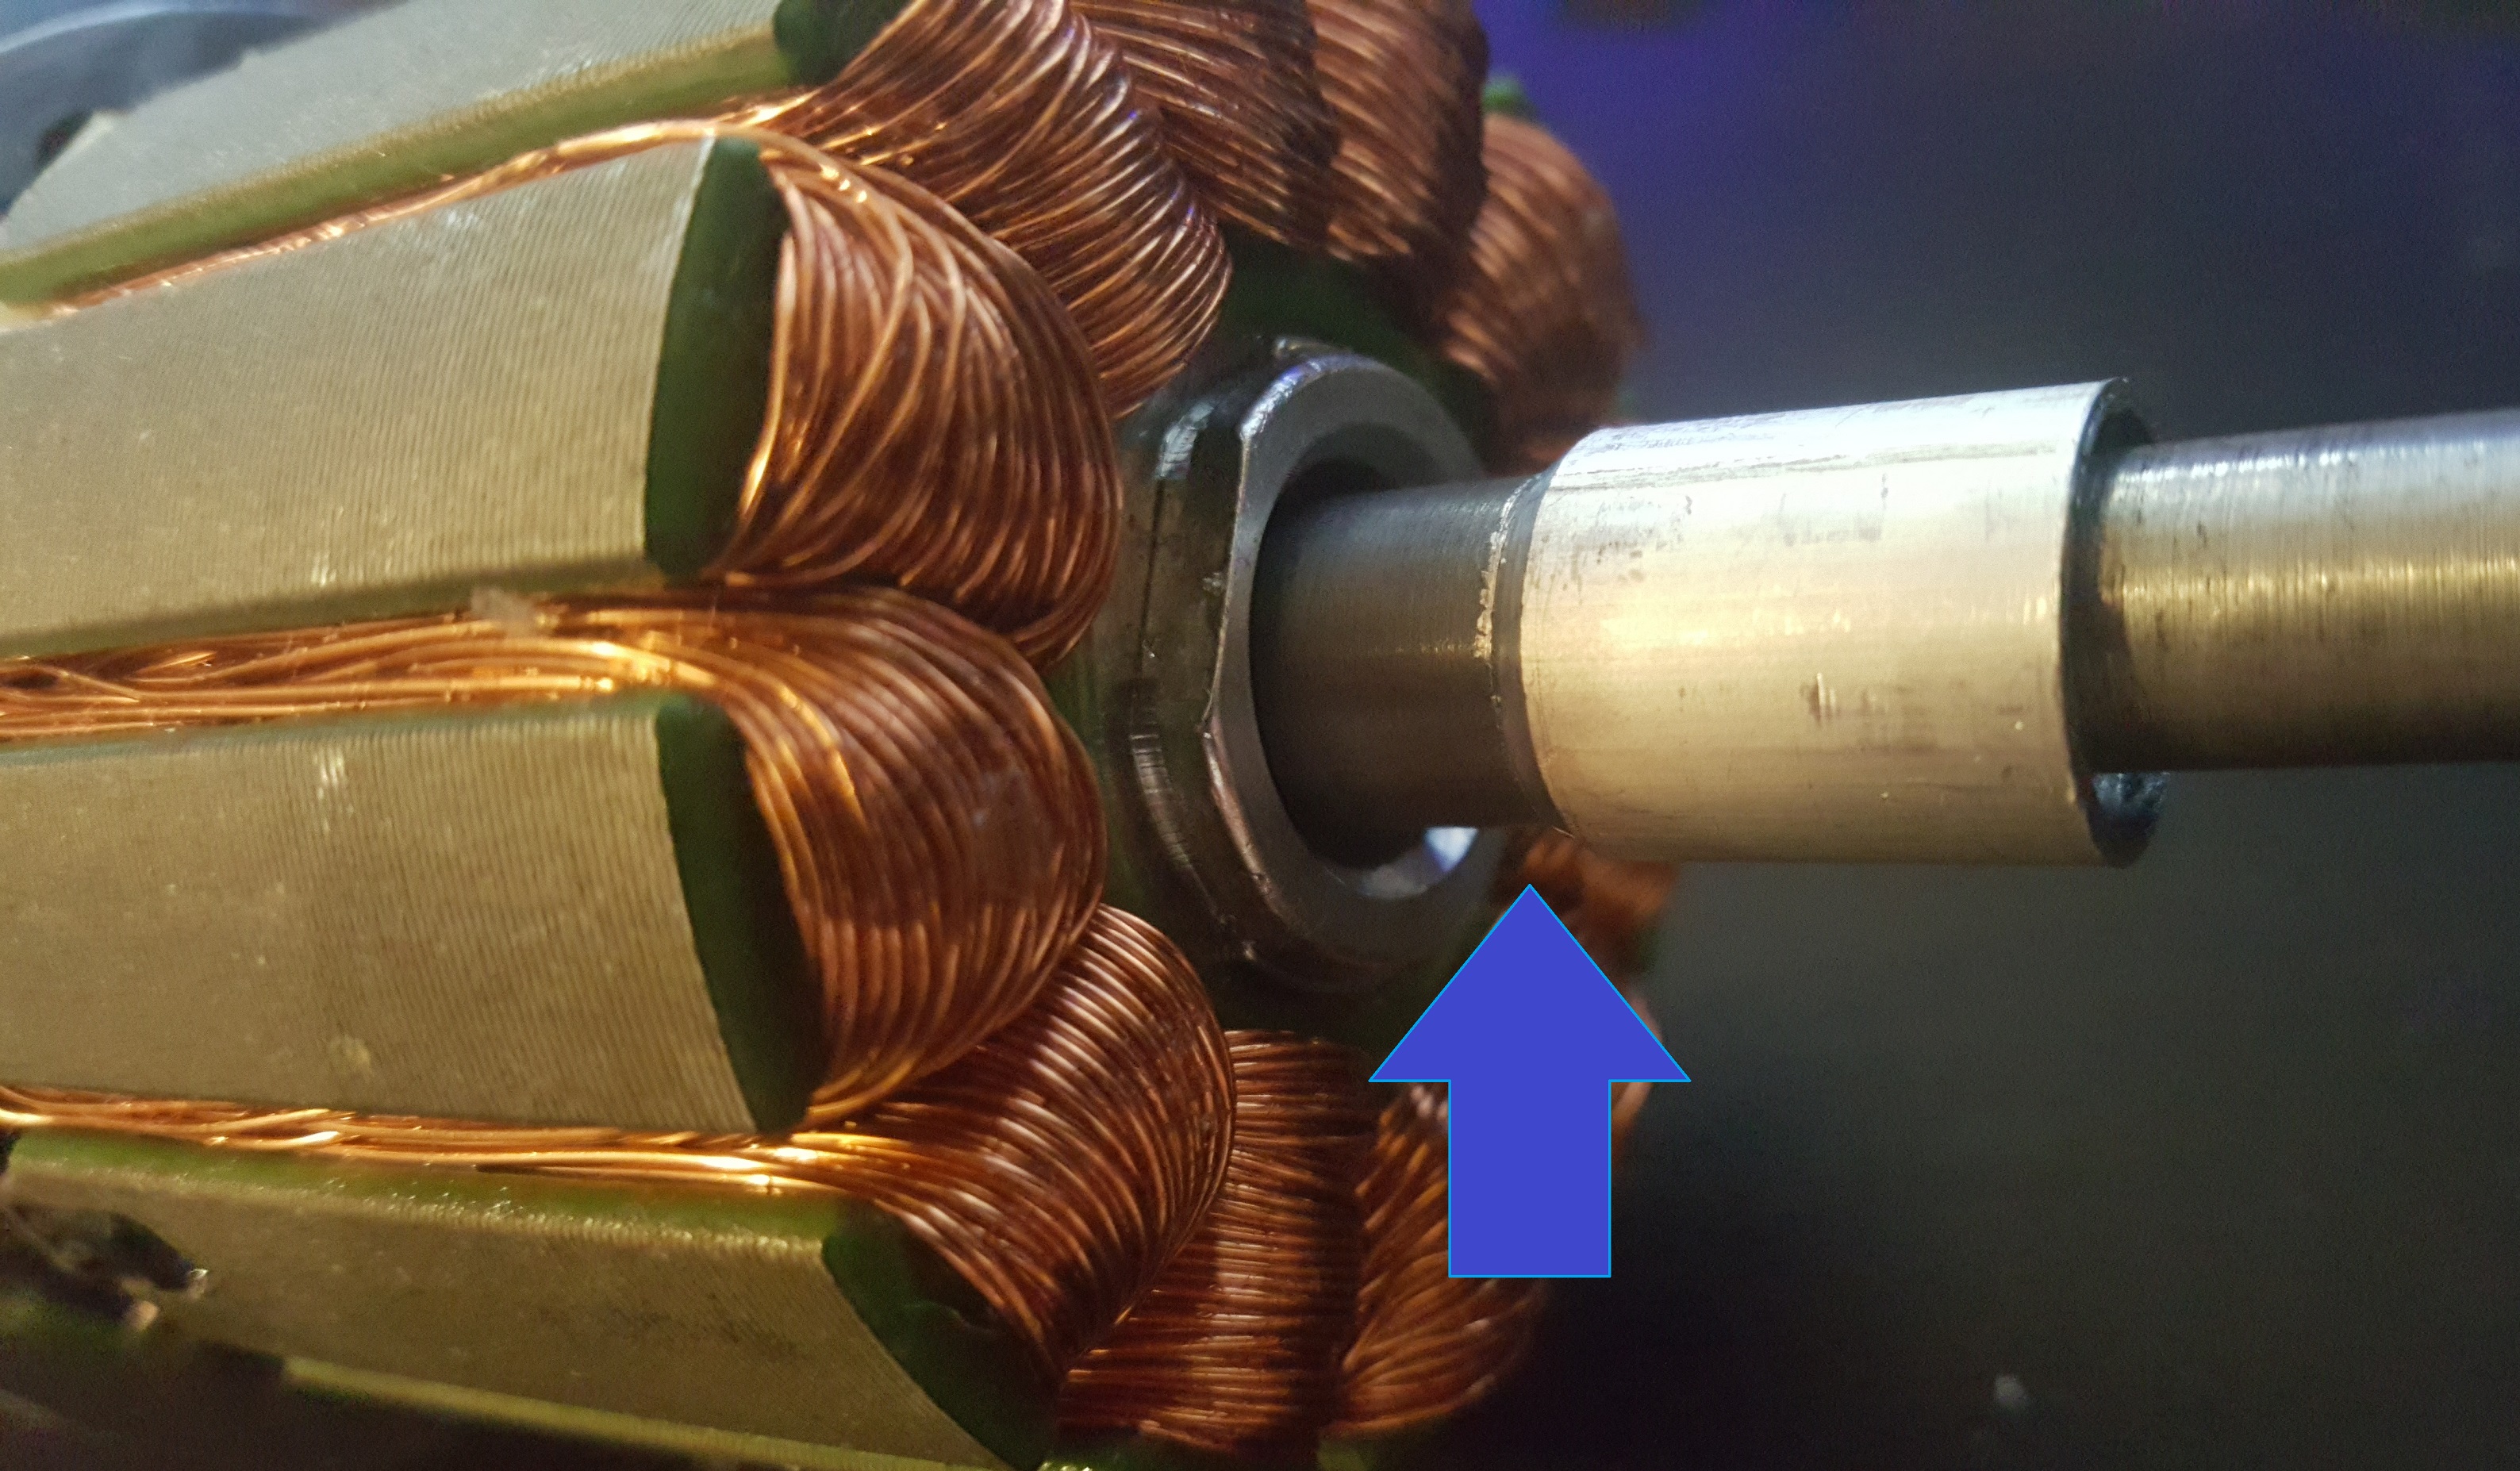
You want to be able to slide it over the axle so the bearing can glide across and not get stuck on this lip.

Slide the hollow rod on the axle. The rod should be as close to the same thickness as the axle without being so thick that the bearing will not fit on.

Slide the can over the rod and down onto the axle. If you align the screw holes up now it will be much easier once the can is in place.
Keep your fingers or other parts that you like out of the way because the magnets will pull the can once it gets close enough.
It will still take a bit of wiggling to get the can sitting right but it should be much easier with the rod. Once it is on align the screw holes

Screw the 4 screws back in and you are done.

|~~~~~~~~~~~~~~~~~~~~~~~~~~~~~~~~~~~~~~~~~~~~~~~~~~~~~~~~~~~~~~~~~~~~~~~~~~~~~~~~~~~~|
Part Two: Removing and reinstalling the stator.
Coming soon™
To remove the stator you will need:
- a size 2.5 hex key
- a 3 jaw puller that can extend roughly 125mm
- a long socket or something else to act as a spacer to tighten the motor back onto the hanger. I have posted what I used below as an example.
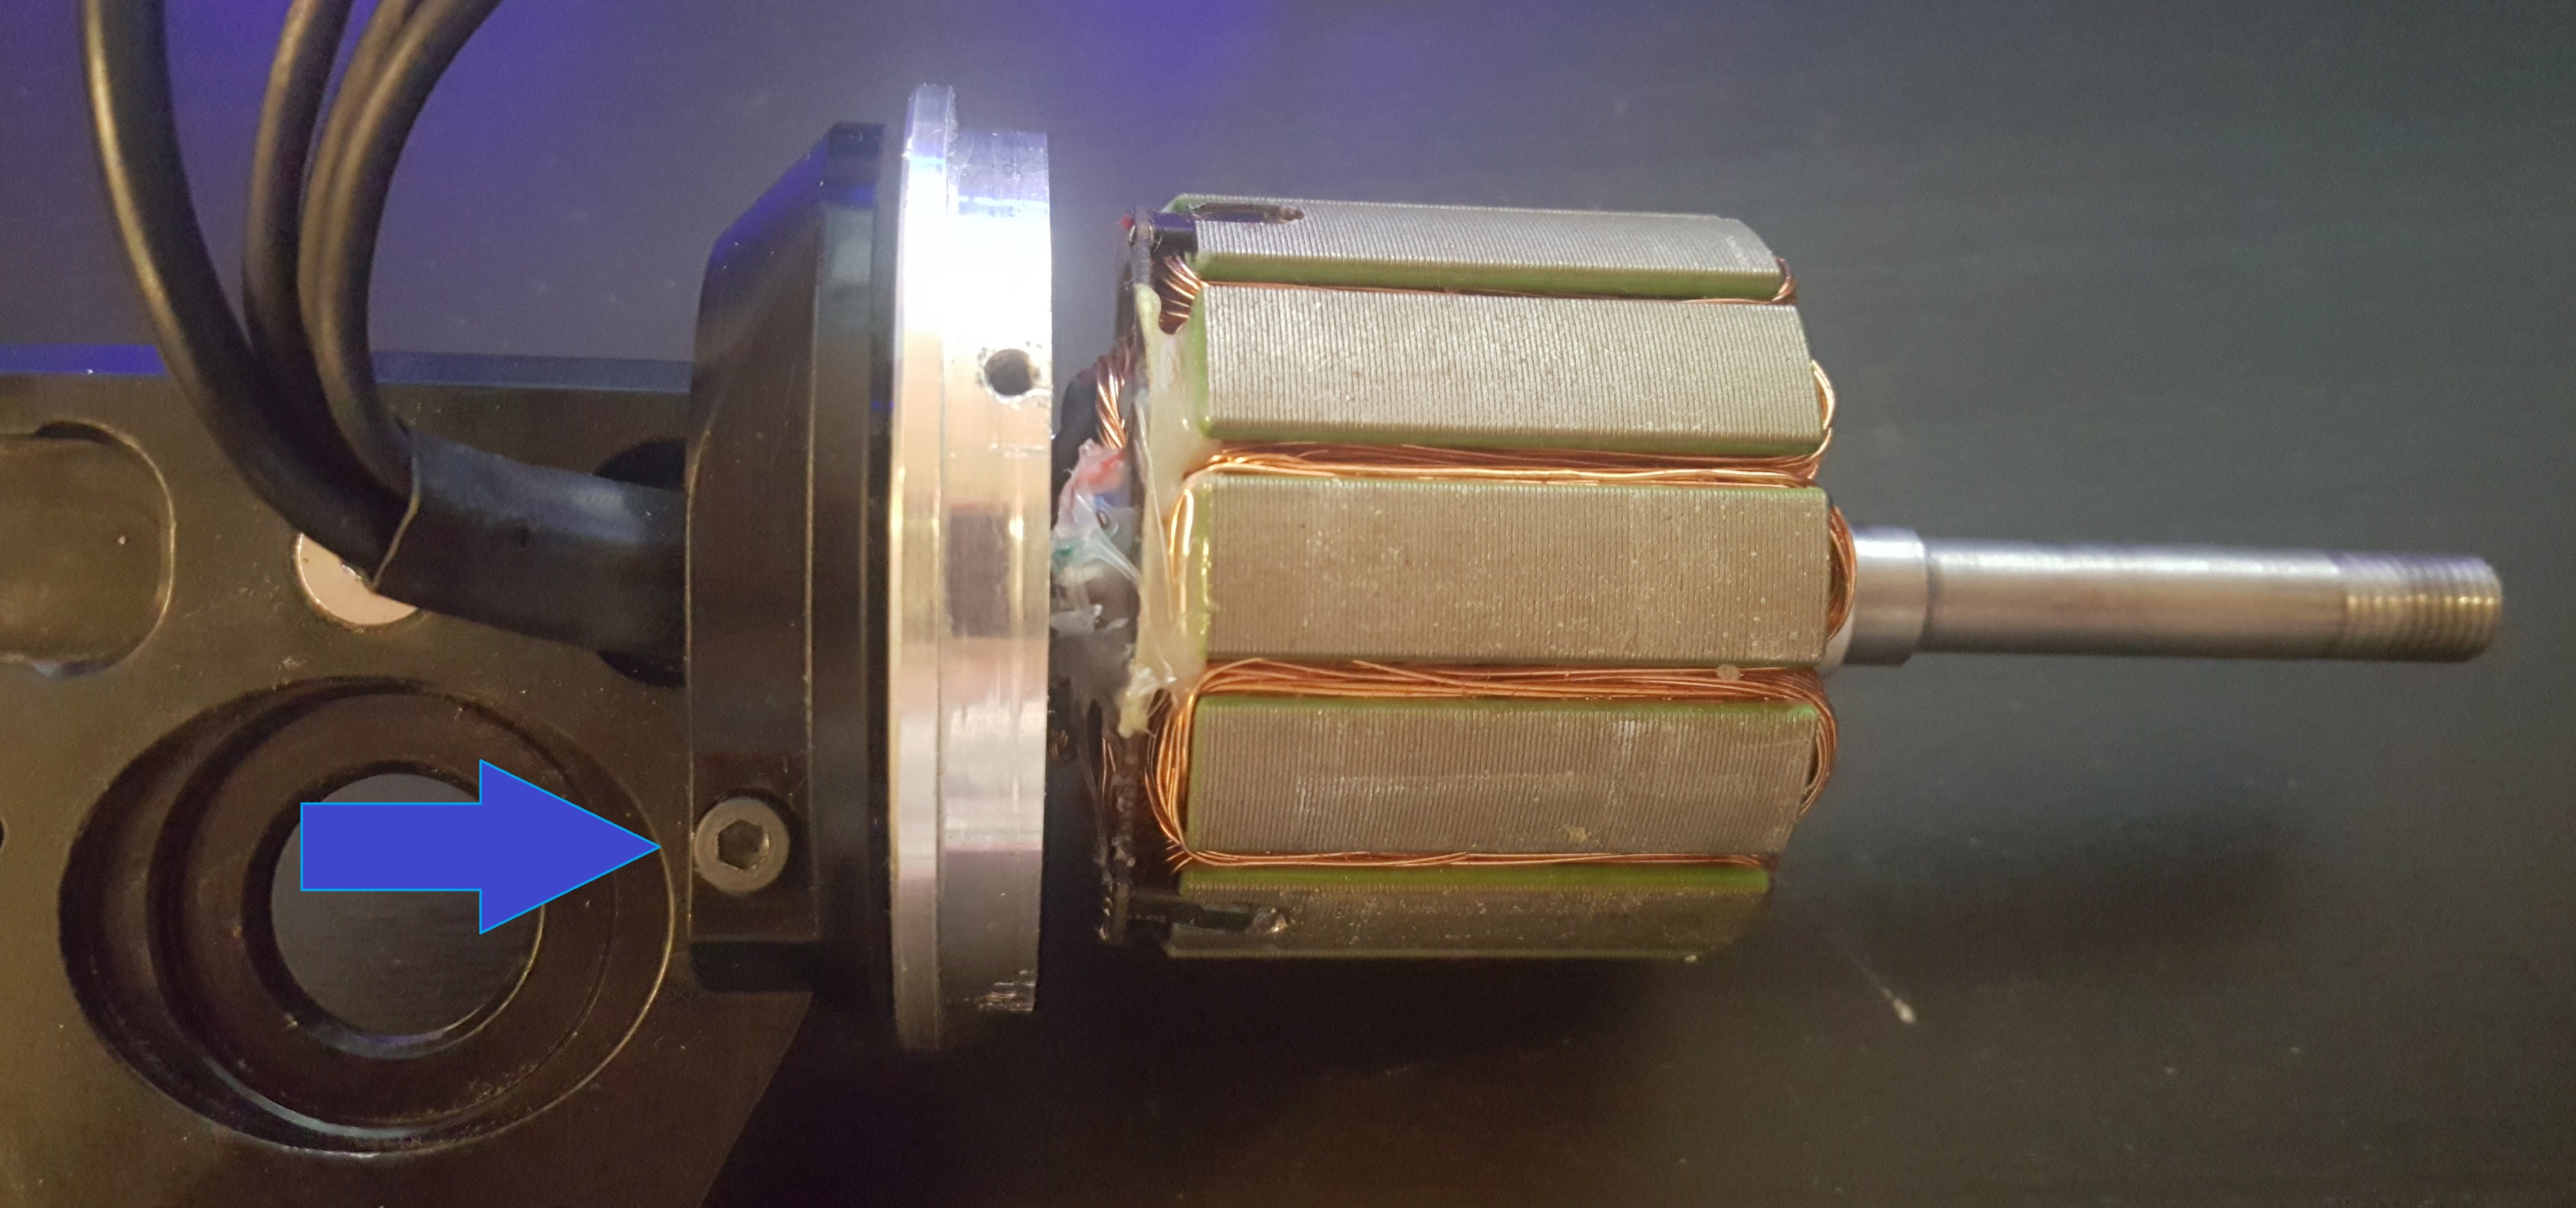
Remove the bolt holding the collar to the hanger with the hex key.
Next you will need the 3 jaw puller. This is the one I used, I found it cheap on amazon for 12€ or so and it came in a pack of 3. It was the biggest but it was still too short to fit so I took the arms from the smallest size and extended the length so it could fit.

Align the pulley up with the 3 claws around the base of the black collar and tighten the screw down onto the end of the axle to hold everything in place.

Once everything is lined up, tighten the bolt down to start pulling the stator off the axle. You should be able to rotate the bolt by hand. It shouldn’t take too much force to get it to start moving. Once everything has come loose the whole thing should just slide off.

The black collar is held to the stator with 3 screws and sandwiched between them both is the silver plate that the can screws into and also holds the internal bearing for the motor.

Undo the 3 screws and you can pop the black collar off.

With a bit of pulling and prying you can also pull the silver plate off. It is just press fit onto the end of the stator. With that off you now have everything pulled apart.

At this stage you could replace the phase wires with silicon wires and heat shrink them all back together for a nice clean look. Reassembly is the same … just in reverse. Push the silver plate back onto the end of the stator then feed the wires through the black collar and bolt every thing back together. It should squeeze everything back into place as long as you align it all correctly.
Now to get everything back together!
I just used stuff I found laying around my apartment so this is what i scrounged together I used a washer that I drilled the center out to fit over the 10mm step up in the axle, a socket, another washer then some wheel spacers.

Slide the stator back onto the axle and align the black collar up with the hanger making sure that all the wires are in the grove and not pinched in anything.

Slide the spacer on, making sure it is the correct way. The angled side should be towards the stator.
Slide the washer with the larger center hole over the axle making sure that it wont touch any of the windings on the stator and possible crush them when tightened down.

Next the socket, another washer or two, then a wheel spacer and the axle bolt.

Once everything is aligned tighten down the axle bolt to slowly push the stator collar back onto the hanger until it is pushed all the way back on.

Check the hole for the hex bolt and make sure the hole in the collar aligns with the hole through the hanger. You don’t want to break this bolt so make sure. Once the bolt is back in you’re finished. You can now put the can back on
Good job 


