The long awaited Hyperbeast build finally started. I’m naming this the Stealth Bomber because literally everything is black and I dont want to alter the matte finish of the deck anymore and I will be bombing the SF hills with this thing. Original plan was to sand down some parts to return to this render with CF showing at the wheel weel and edge. but realized that would require taking off too many layers (few Polyester, thick Epoxy then Carbon)
12s5p VTC6 Custom Cell Holder to fit 60 cells in a Single Stack enclosure
Bestech D140
Waiting to get a feather remote to finish the build, Will be using my modded Nano X for the mean while.
Just bolted the Hubs on and already Sexy AF
Testing the 12 cell Stagger stack holders. Very Staggered to decrease height.
I can only fit 5 of these holders in the small enclosure so either 10s6p or 12s5p. But I aint not p***y 45mph advertized 90kv hub here I go.
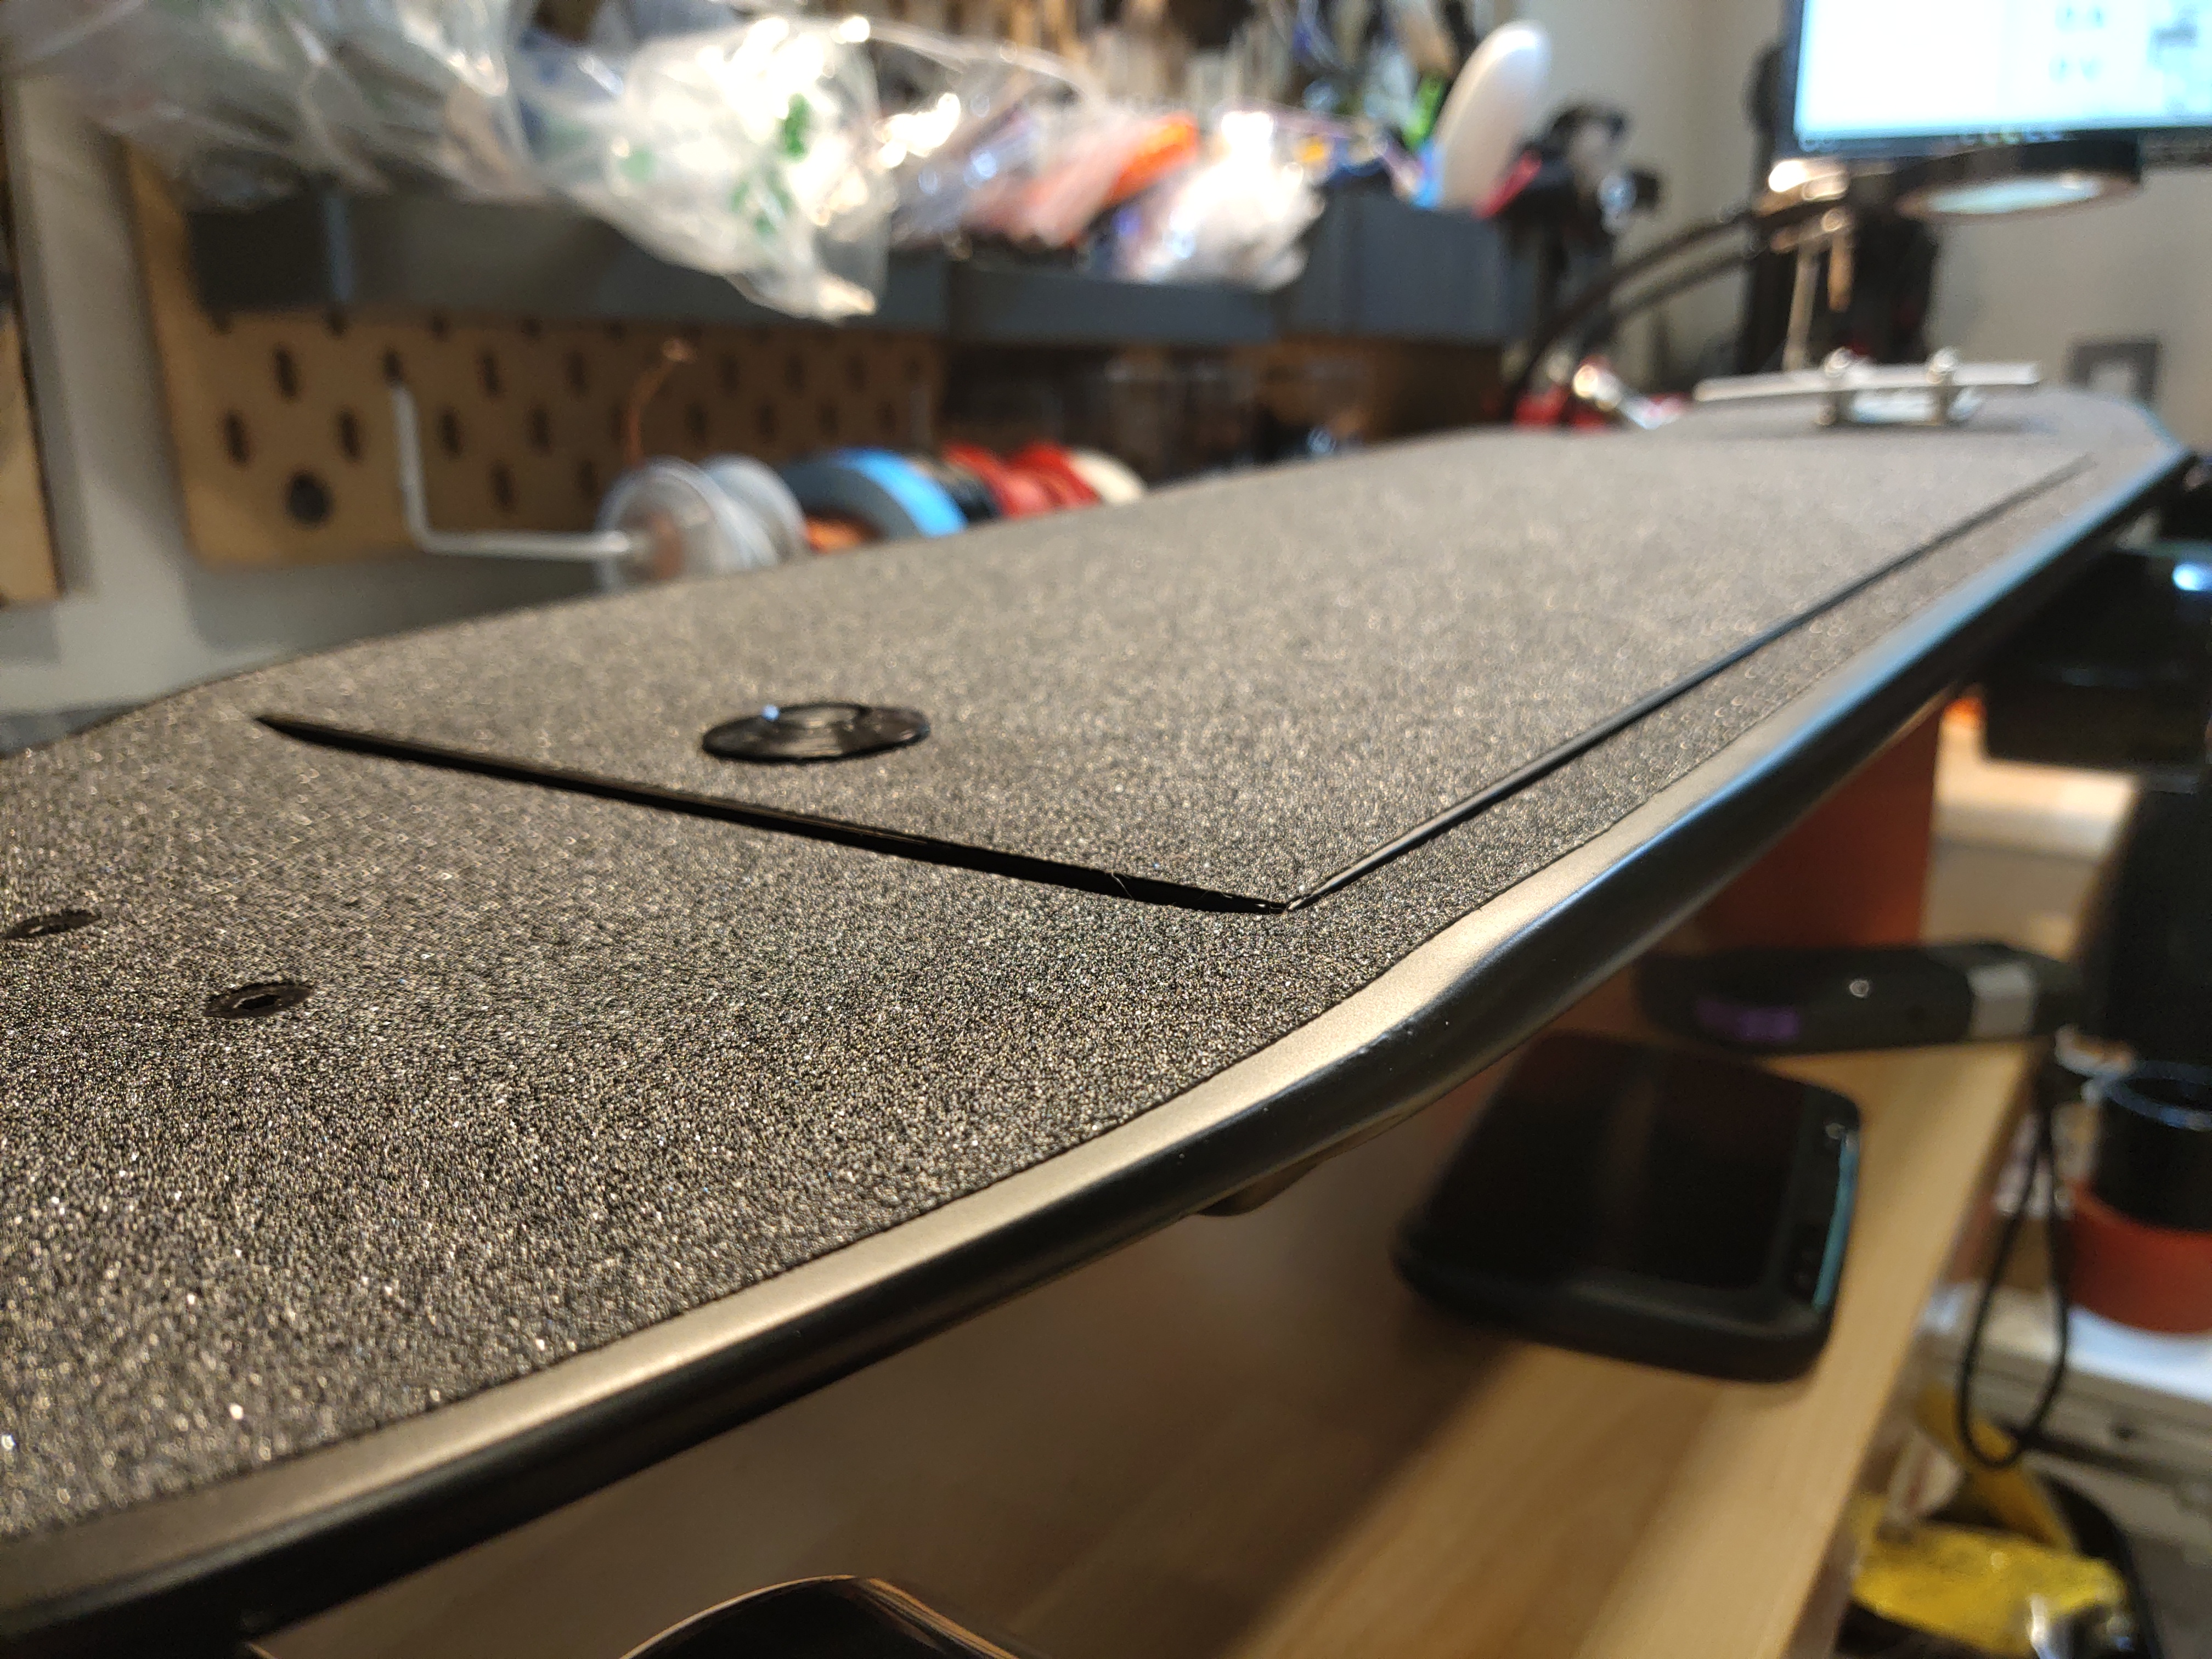
The wiring is the most annoying. I need to do a Serpentine and then route the end back to the front. which I made a big champfer at the empty spot. Also have to edit each Boxes to add divider for and raised buttons. The lid was never a flush fit to begin with so I’m ok with what I have.
There actuallty isn’t a lot need to be done. Mostly just the battery building take the most time. then I will just drill holes for the 3.5mm bullets (eventually I want to cut a bigger hole and glue a MR60 as the external phase wire port). Drill 2 holes for push button and charge port and that’s about it.
I ran out of Orange PETG so used the clear ones I bought cus I can’t waste anytime. Goal is to have a functional board by Friday. Clear PETG is definitely less flexible but compression is still great.
Wired up 6s so far
Fits inside tight and perfectly
Closed the first box
Update (1/24/19):
Took many hours to wire up the battery and the BMS. The cell holders with braid on the side (insulated with fish paper and ducttape) is a tight fit in this box.
Ended up just eye ball and drilled 8 holes and and fitted the phase wire through. The wire are just long enough to reach into the box so I use heatshrink to hold them together.
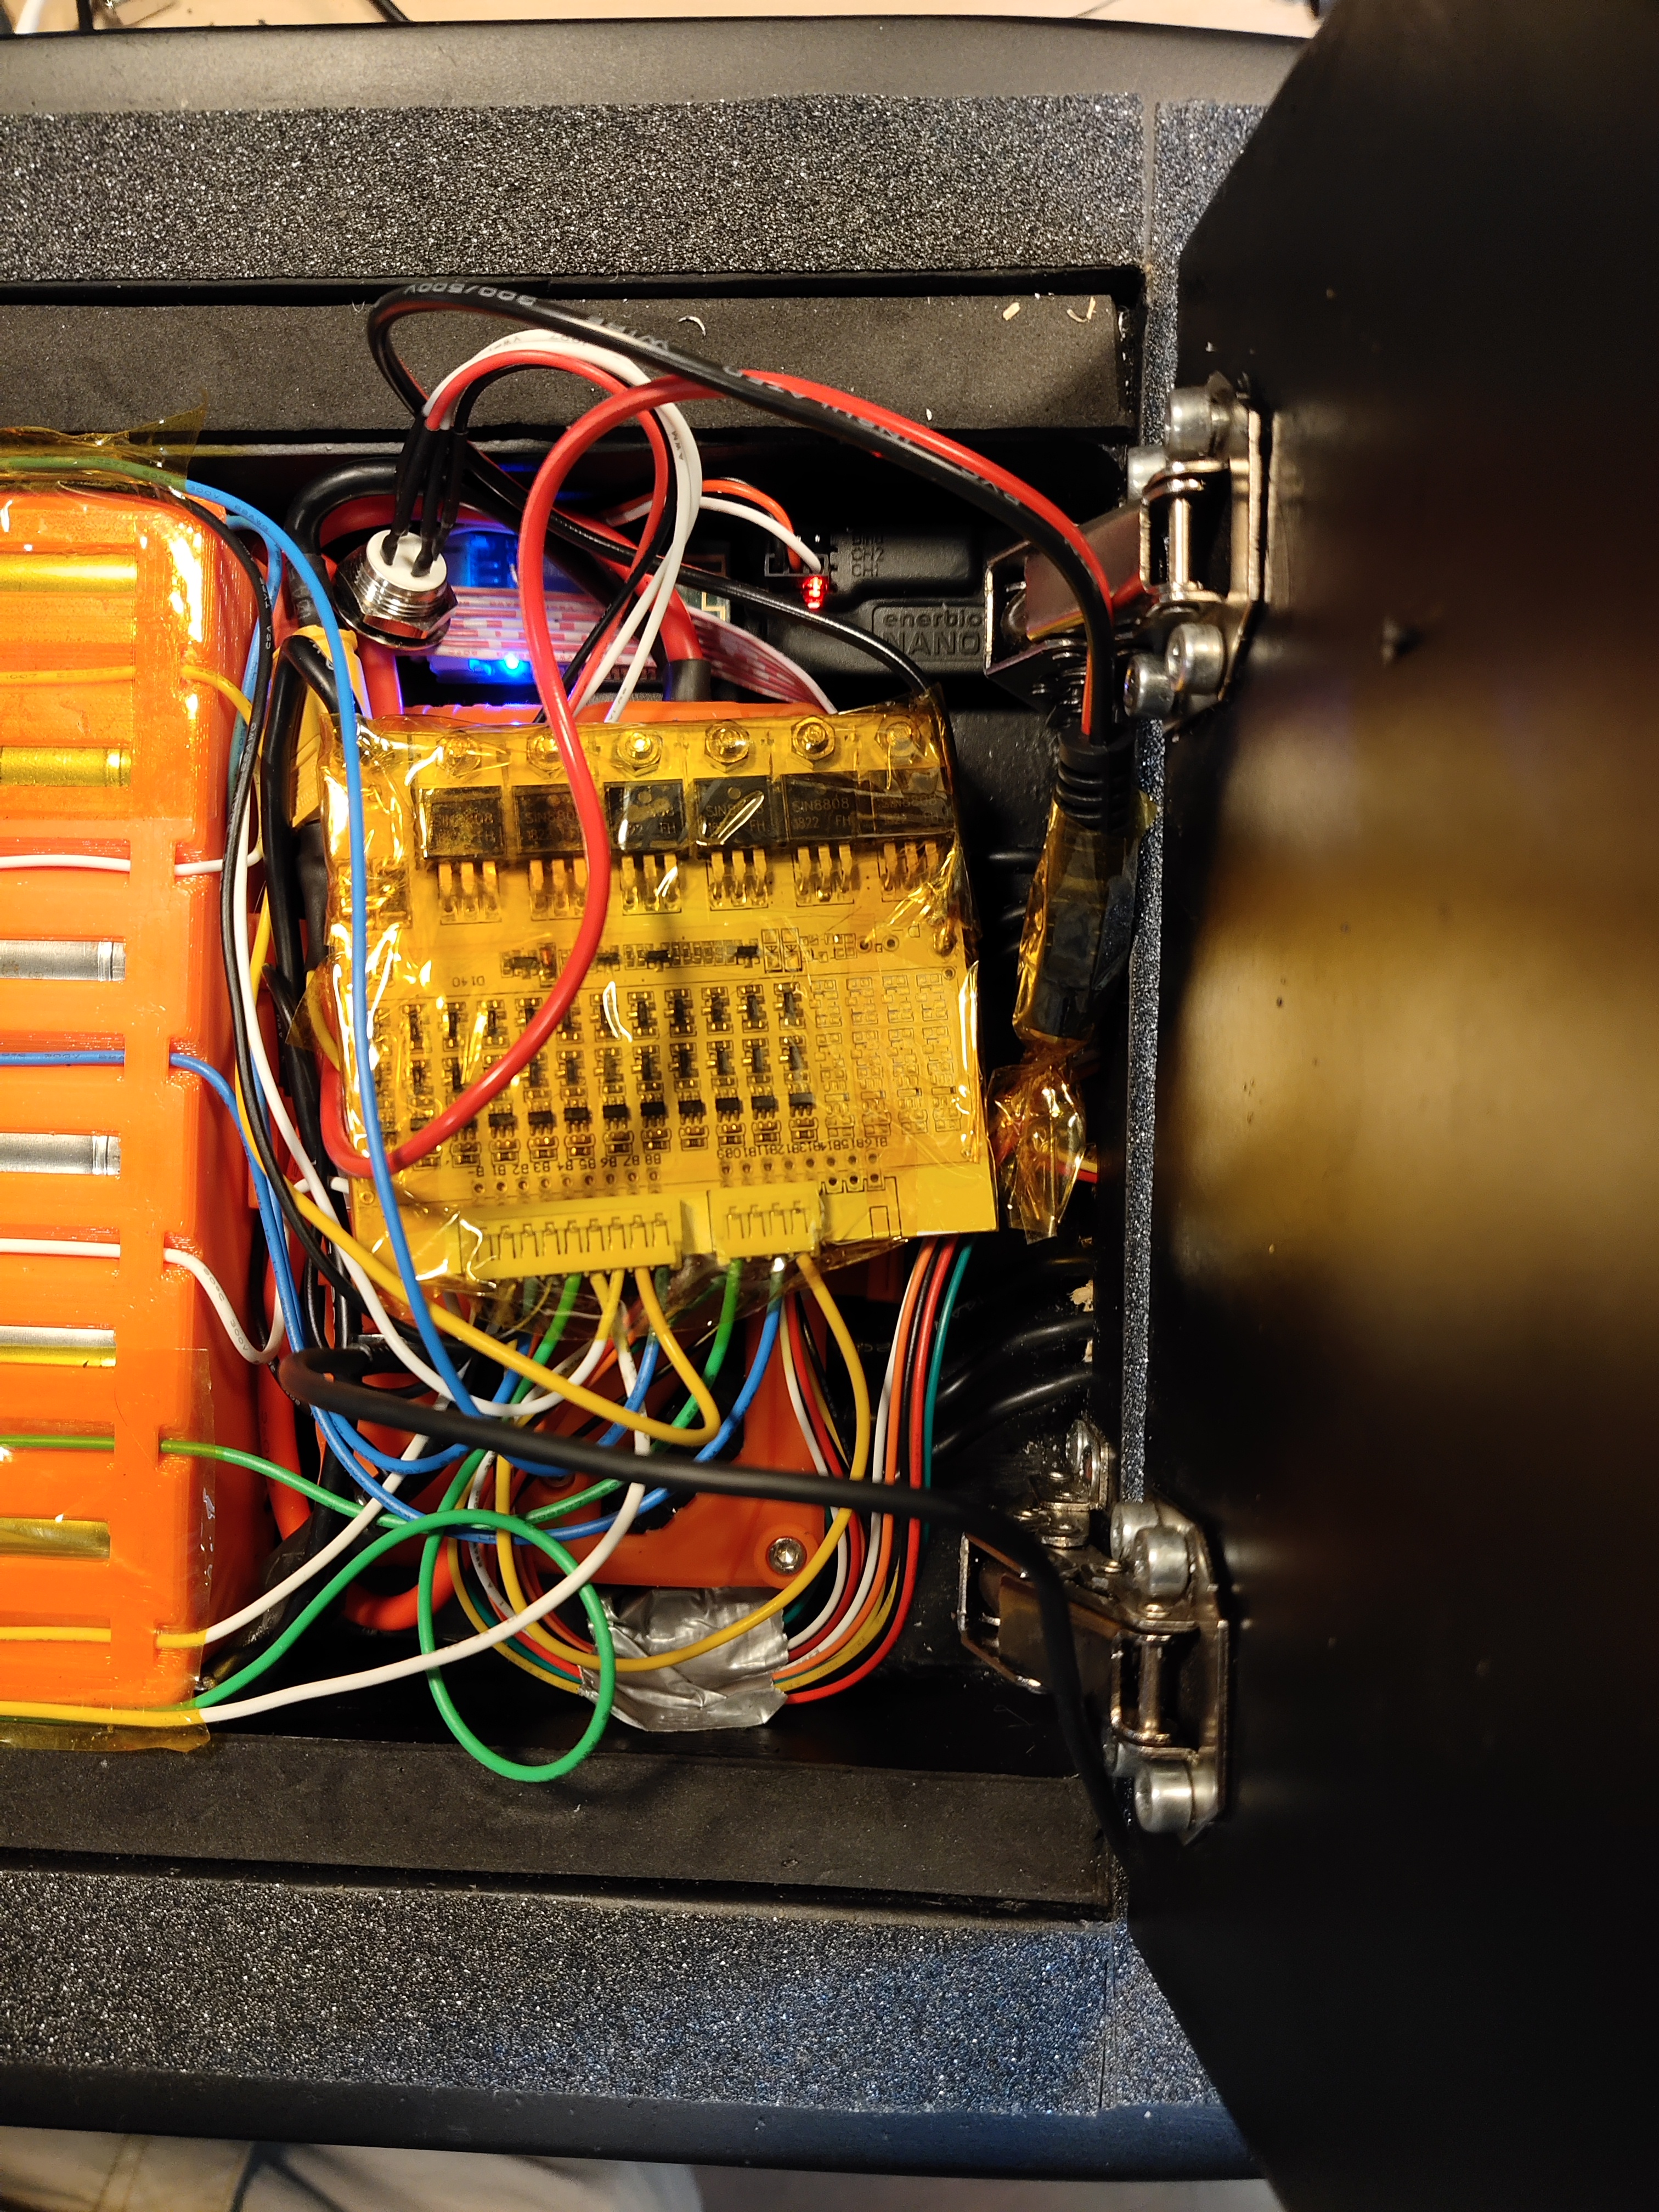
Here’s the electronics. BMS just flowing on top for the moment and unity double sided taped down. Haven’t drill the holes for the charge port and power button since I havent decide where yo pull them.
P.S. If these hubs break down and I don’t hit 45mph I’ll declare @Hummie > @onloop. atm I view them as separate category product since hummies are only 84mm but has Centrax CP.
That’s a convenient way of building a battery pack, but Is this reliable(cells contact done by pressure)? Would there be any need for spot welding or soldering? How would you connect the bms wires?
Love the battery enclosure idea! What are you using inside each one to link the cells together? Did you design these or download stl? Eitherway, would you be willing to share stl?
Winfly is using his own design for the compressions pack, and there’s another person on here who had the idea first and fleshed it out, but they’ve both shown to be valid ways to have a functioning battery pack
Not very concerned because the test I saw was done on 15A continuous 4.2-2.5v up to 90c cut off. Real world application rarly pulls more than 5 amps continuous and never that hot.
 The long awaited Hyperbeast build finally started. I’m naming this the Stealth Bomber because literally everything is black and I dont want to alter the matte finish of the deck anymore and I will be bombing the SF hills with this thing. Original plan was to sand down some parts to return to this render with CF showing at the wheel weel and edge. but realized that would require taking off too many layers (few Polyester, thick Epoxy then Carbon)


 The wiring is the most annoying. I need to do a Serpentine and then route the end back to the front. which I made a big champfer at the empty spot. Also have to edit each Boxes to add divider for and raised buttons. The lid was never a flush fit to begin with so I’m ok with what I have.
 Fits inside tight and perfectly
 Closed the first box