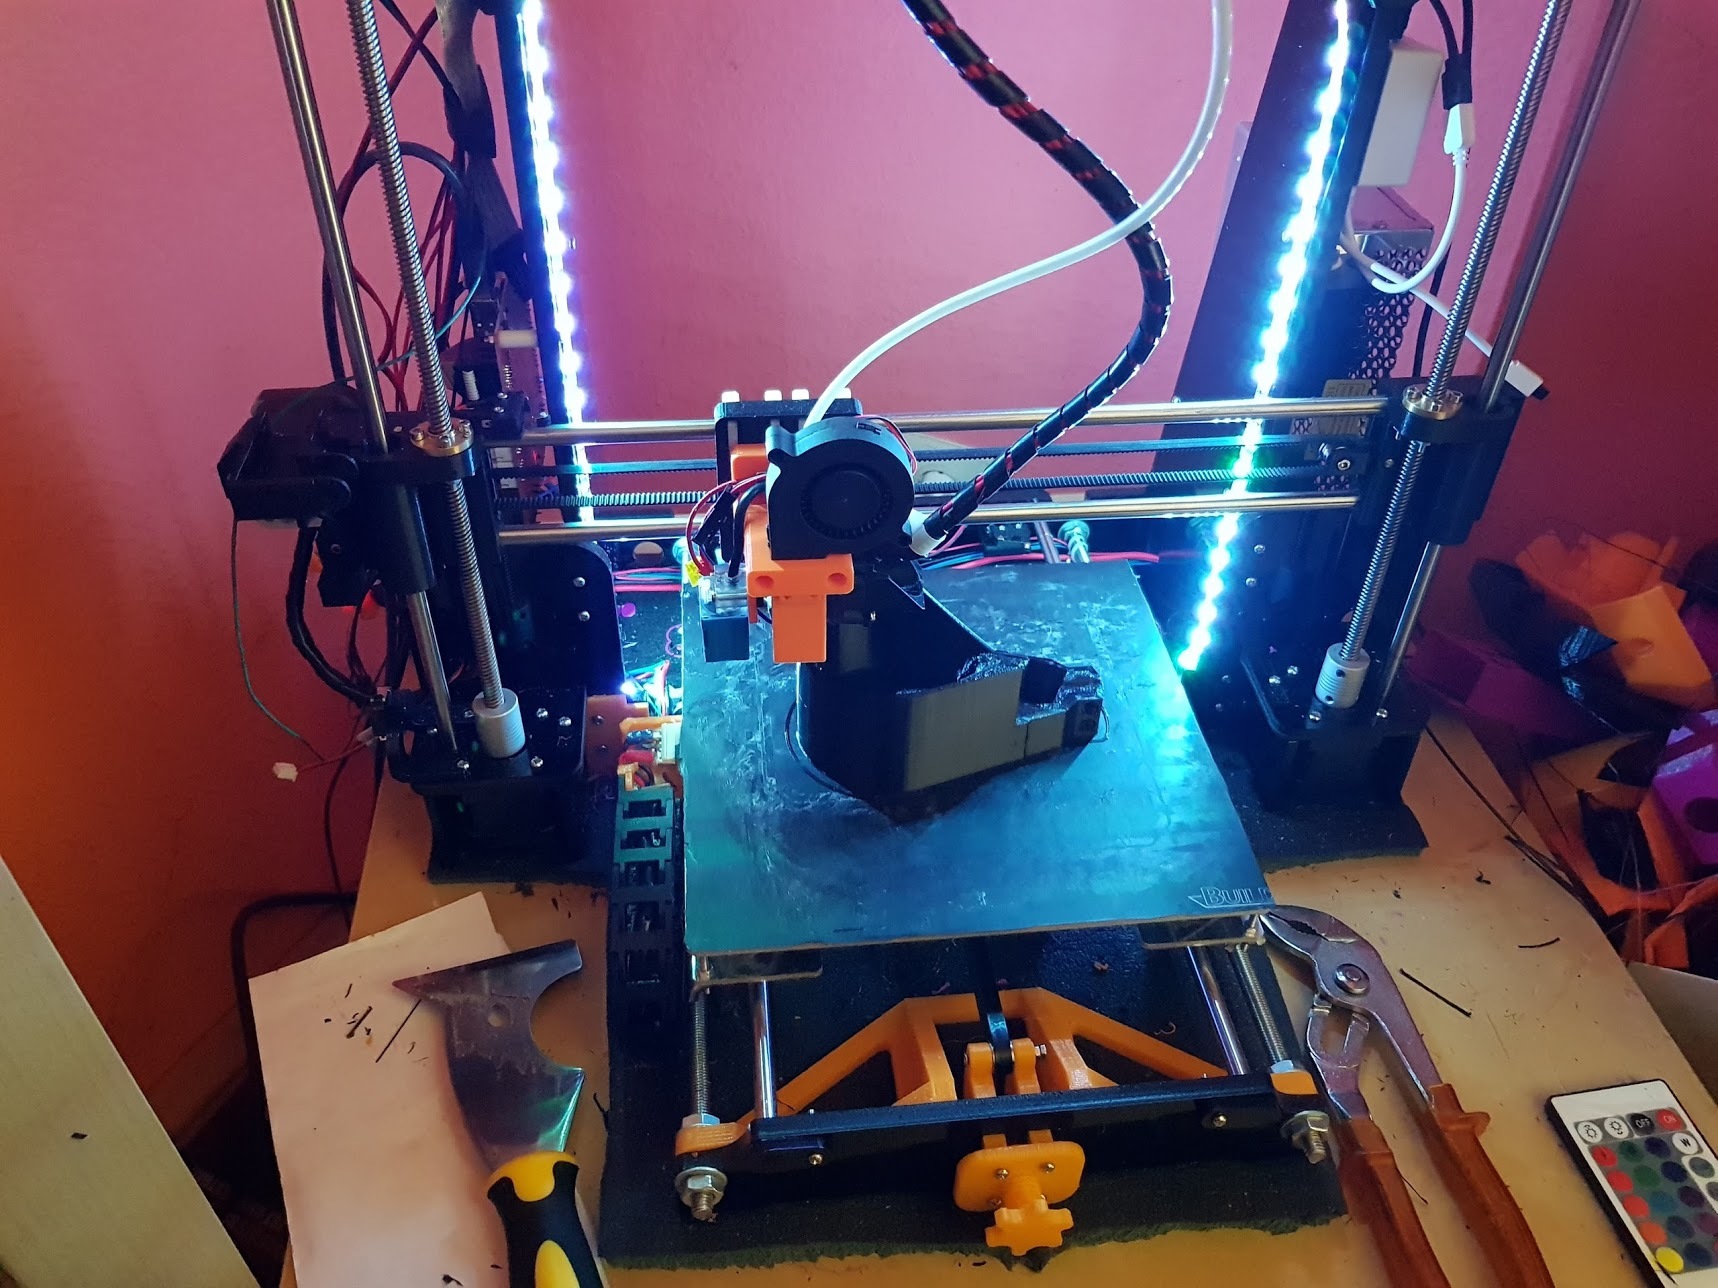
a few months ago i bought a 3d printer but kinda lacked a real project to put into good use. well, an e-skateboard should be one so i build one with pretty much everything printed except the the board ofc.
the complete Project took me like 4 wekks to complete but mainly because most of the ordered parts (mainly the VESC) took ages till it finaly arrived.
Part List:
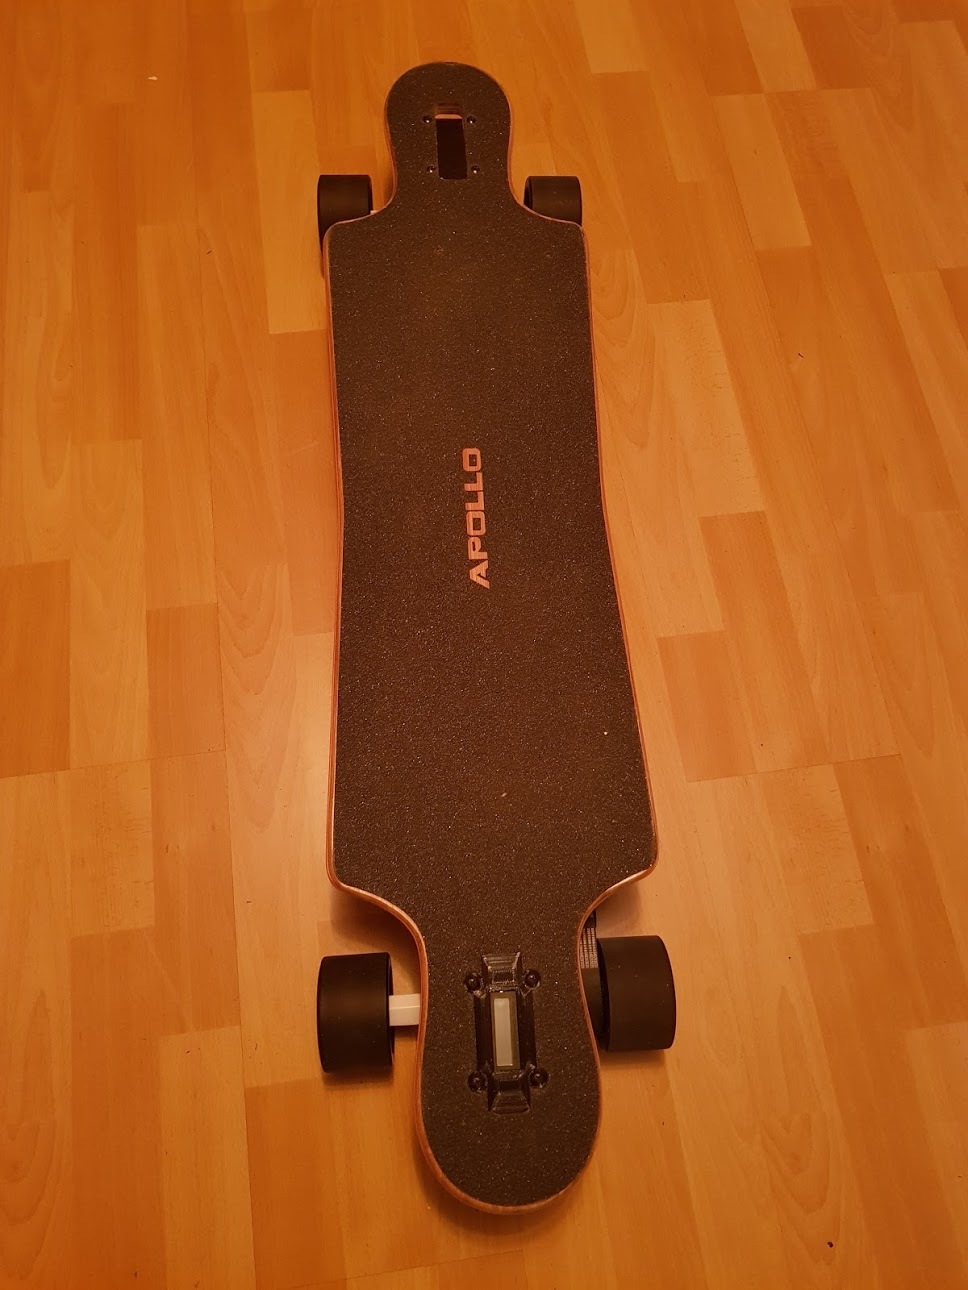
- cheap longboard deck from amazon
- Caliber 2 Trucks 50°
- spoked 83mm wheels
- VESC
- Hobbyking cheap remote
- 3x Zippy 3s 5000mah
- Sk3 6374 192kv Brushless motor
- 9s BMS
- random parts like wires, xt90 connectors etc
Printed Parts
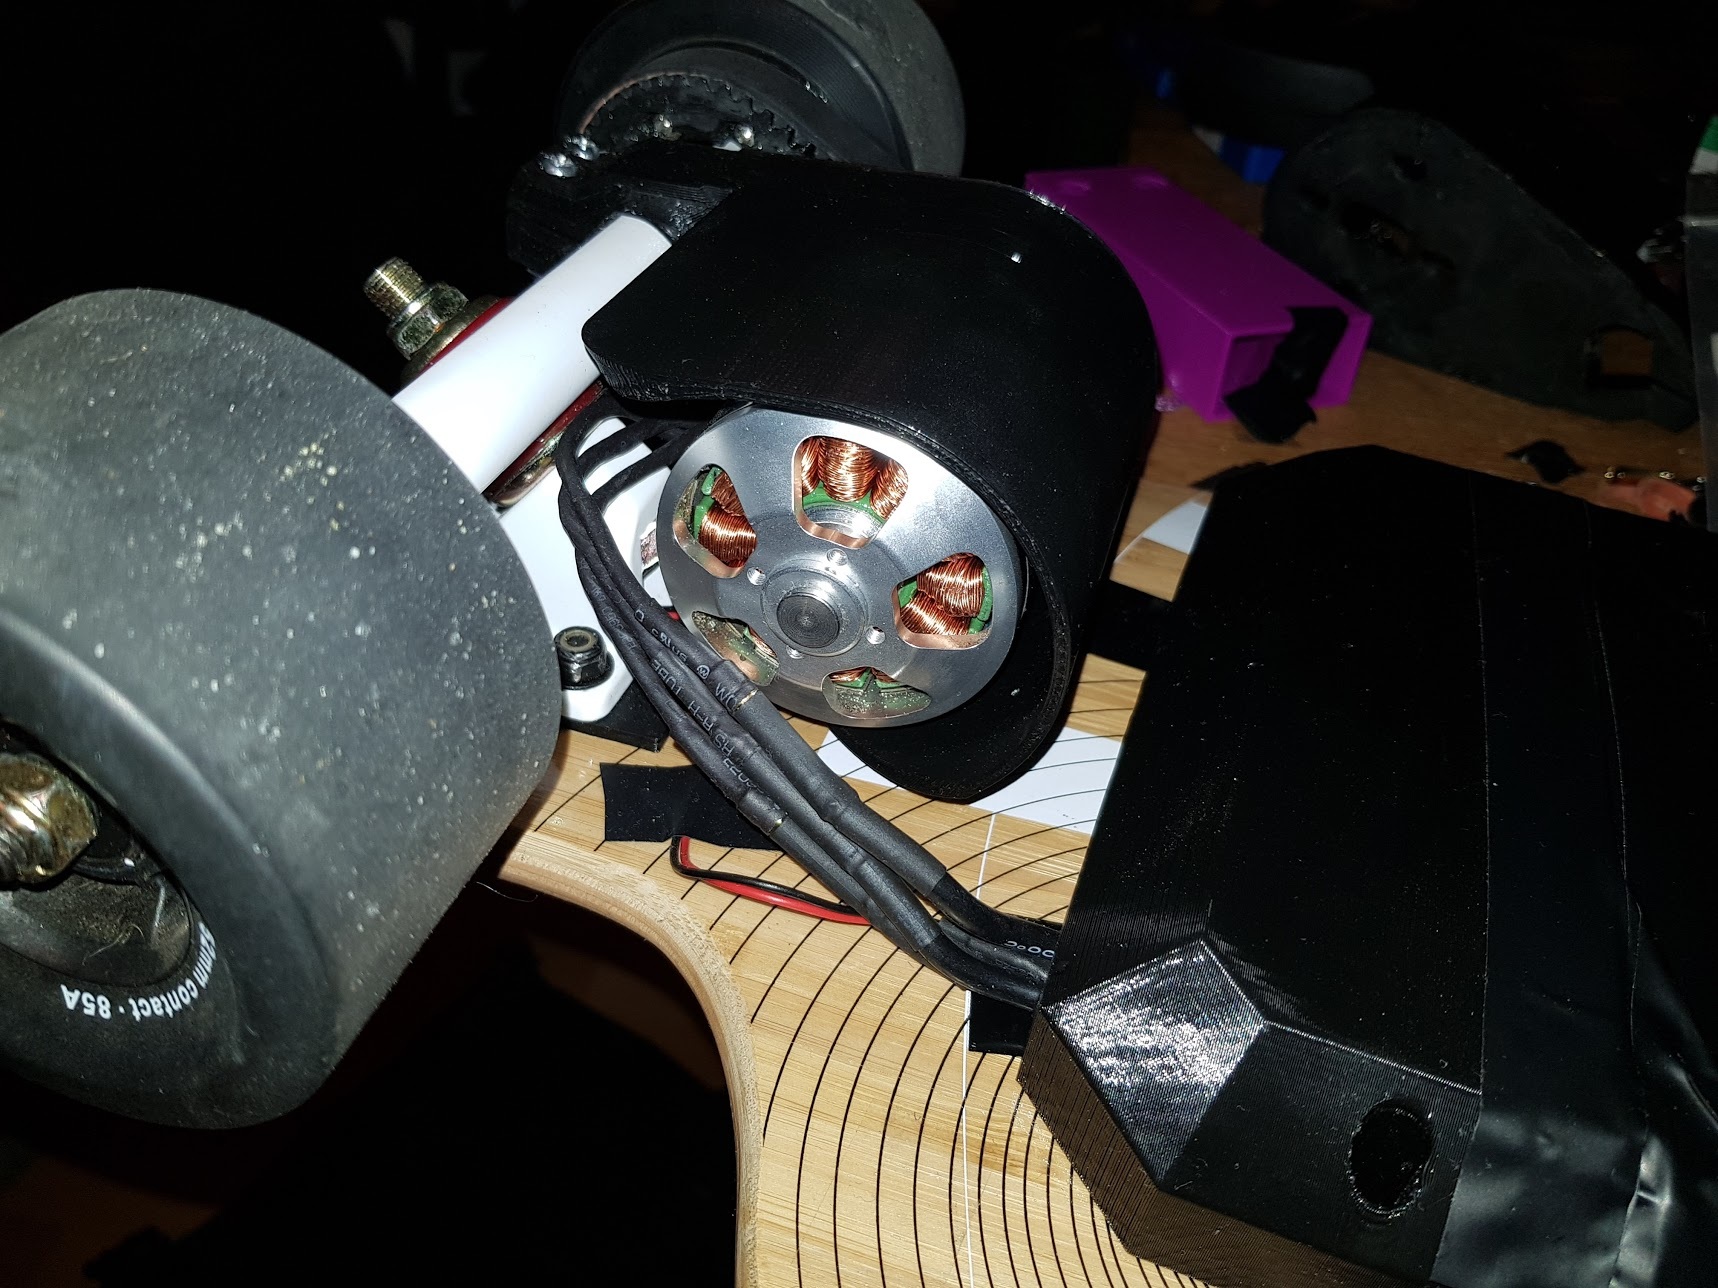
1. The Motor Mount
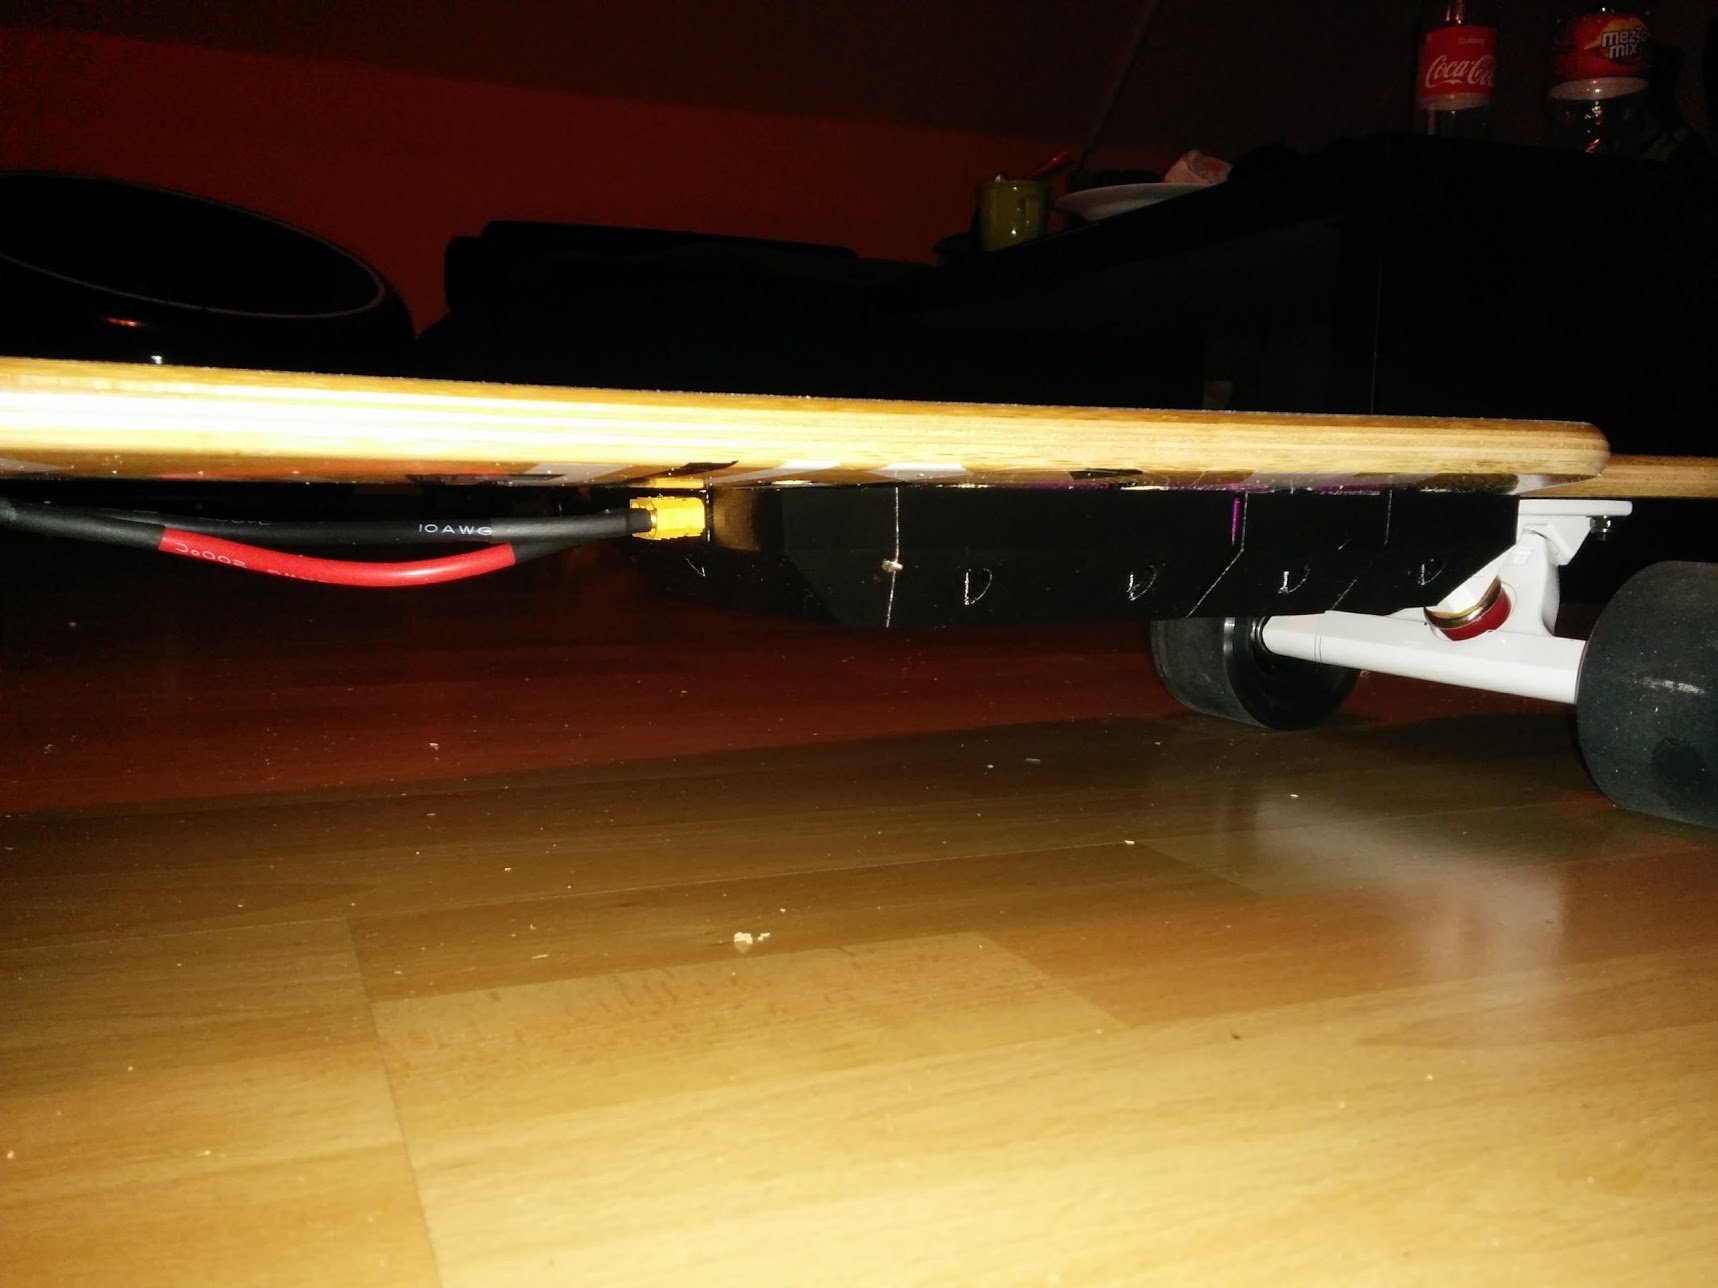
so, everyone kidna knows 3D printed covers, but i went for a 3D printed motor mount as well and designed one. took a few itterations but i finaly got it working. finding the right angle and creating stable protective cover for the motor took the most time. my inexperience with Fusion360 didnt particulary help either ![]()
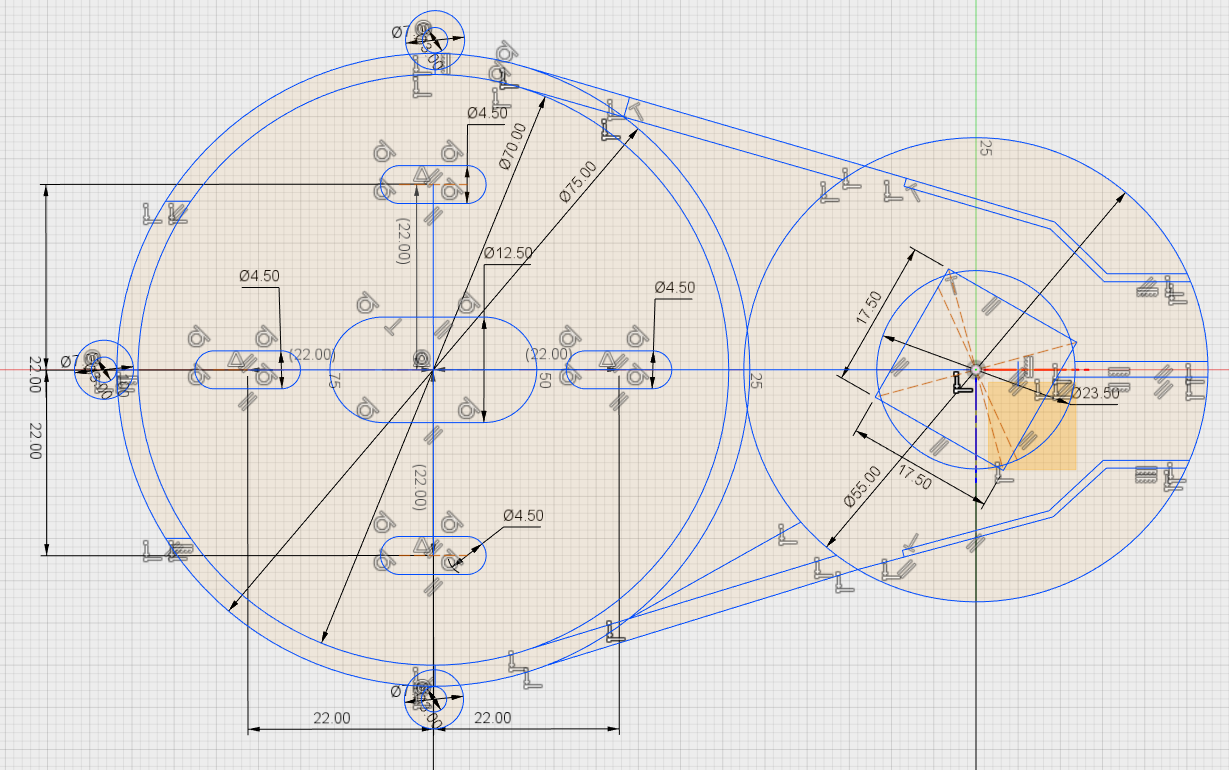

(Printed with PETG)

2. Battery and VESC Covers theoreticaly the easiest part, but yet aggain, i had no clue how to use Fusion360. my original design was way to low. i tried to make it as low profile as i possibly could but kinda forgot to add the thickness of the shell (4mm)
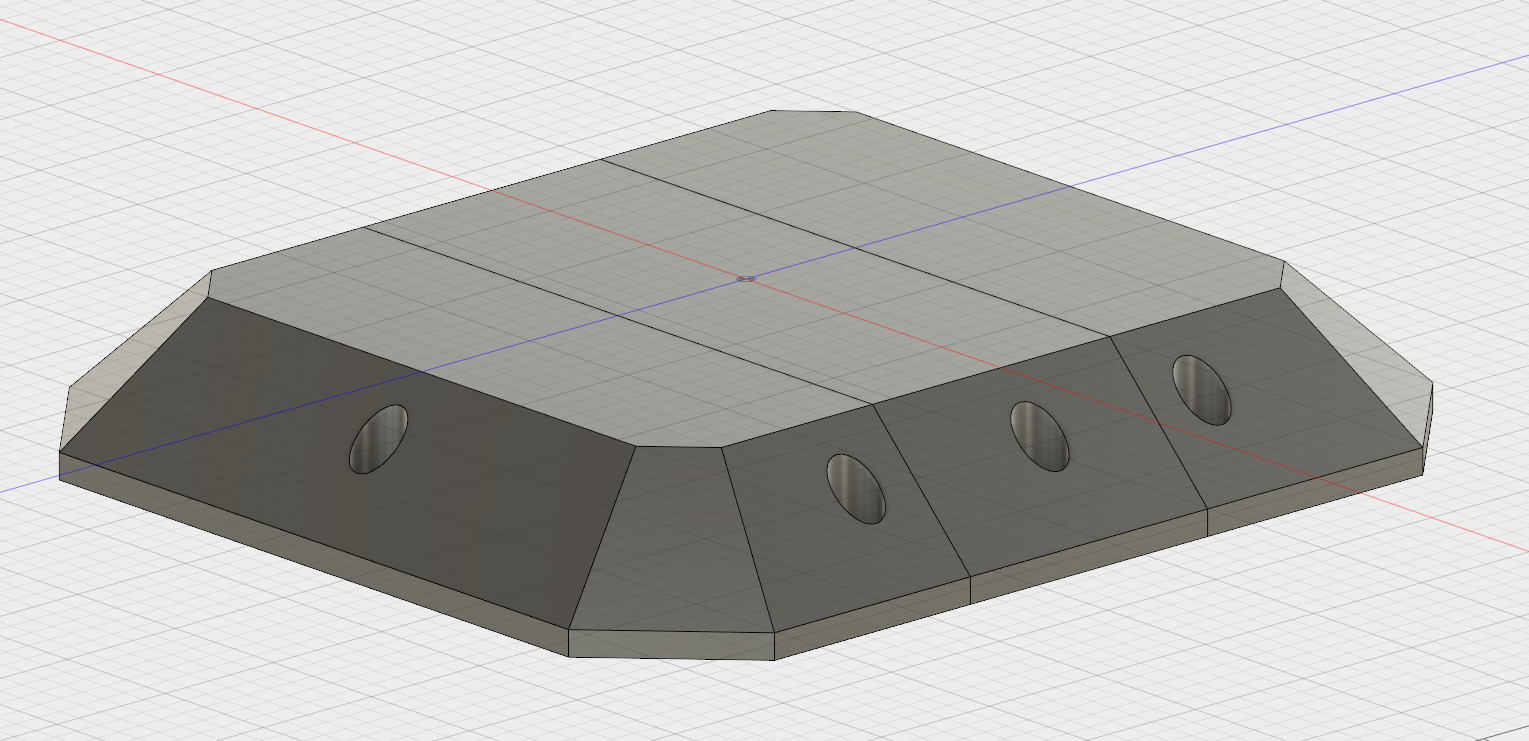
so after printing a part, i figured i had to increase the height (5mm) and shorten the angles
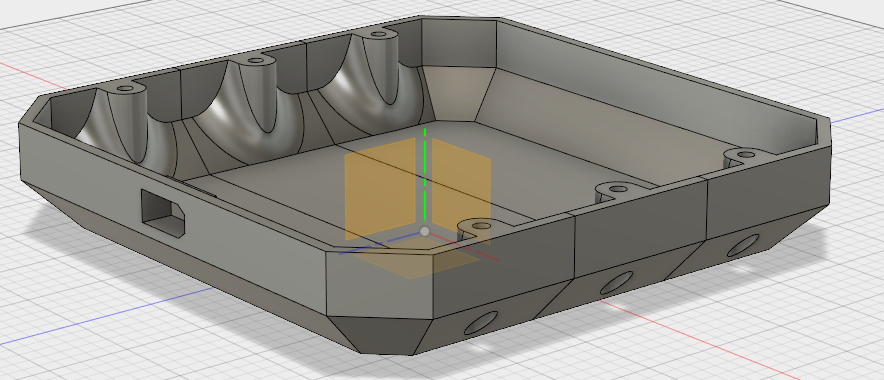
(still low profile enough)

(i should have taken a ruler when drilling those wholes. the vesc cover is anything but straight)
3. Battery Indicator last thing i needed was a mount for the battery indicator (http://www.ebay.de/itm/272572660673). since i needed a small raiser anyway. since i finaly had some experience with the softeware, this is what i came up with.


ToDo
- Add the BMS
- figure out a waqy to add more mah. i thought i had enough space for 10000mah but looks like i dont ^^
- add another mounting arm to the mount or make it even more ridged, because i figured out that i can actualy create a 2 wheel drive with one motor by using the “rotor” mount which was included with the motor.
General Info
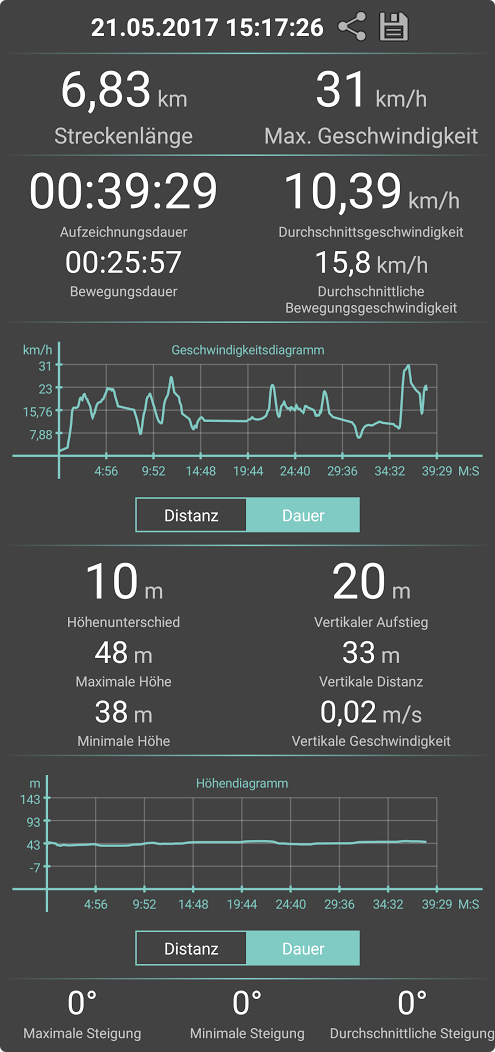
havent dont any long term tests yet so no realy idea on the range (should be arround 8-10km)
but this thing has a topspeed somwhere arround the 40km/h. way to fast to be honest ![]()
i spent almost 750€. mostly because I was lacking tools, screws, wires and lots of other minor stuff which did add up quite alot. way more expesinve then i thought it would be …
PS: made a small video as well. i should have done a diary ort something but well, now its to late ^^


 but i will probably try that aggain sooner or later.
