I’ve been wanting to do something about the mini remote for 2 years but have always been procrastinating to do so. Now, 11 e-skates in and 10 non-modded mini remotes later, I have finally decided to design my very own mod.
What this mod aimed to do:
A smaller form factor (26mm max thickness)
Use LiPos instead of AA batts for ease of charging
Increase throttle throw by about 50%
Throttle ranged increase from 1.04 - 1.95 to 0.85 - 2.10
Hide the pesky trim knobs
To be an idiot-proof mod for just about anyone to do
Here’s how it looks and how it compares to the mini. I can finally say my “mini” remote is actually mini now!
The Avio Mini Remote:
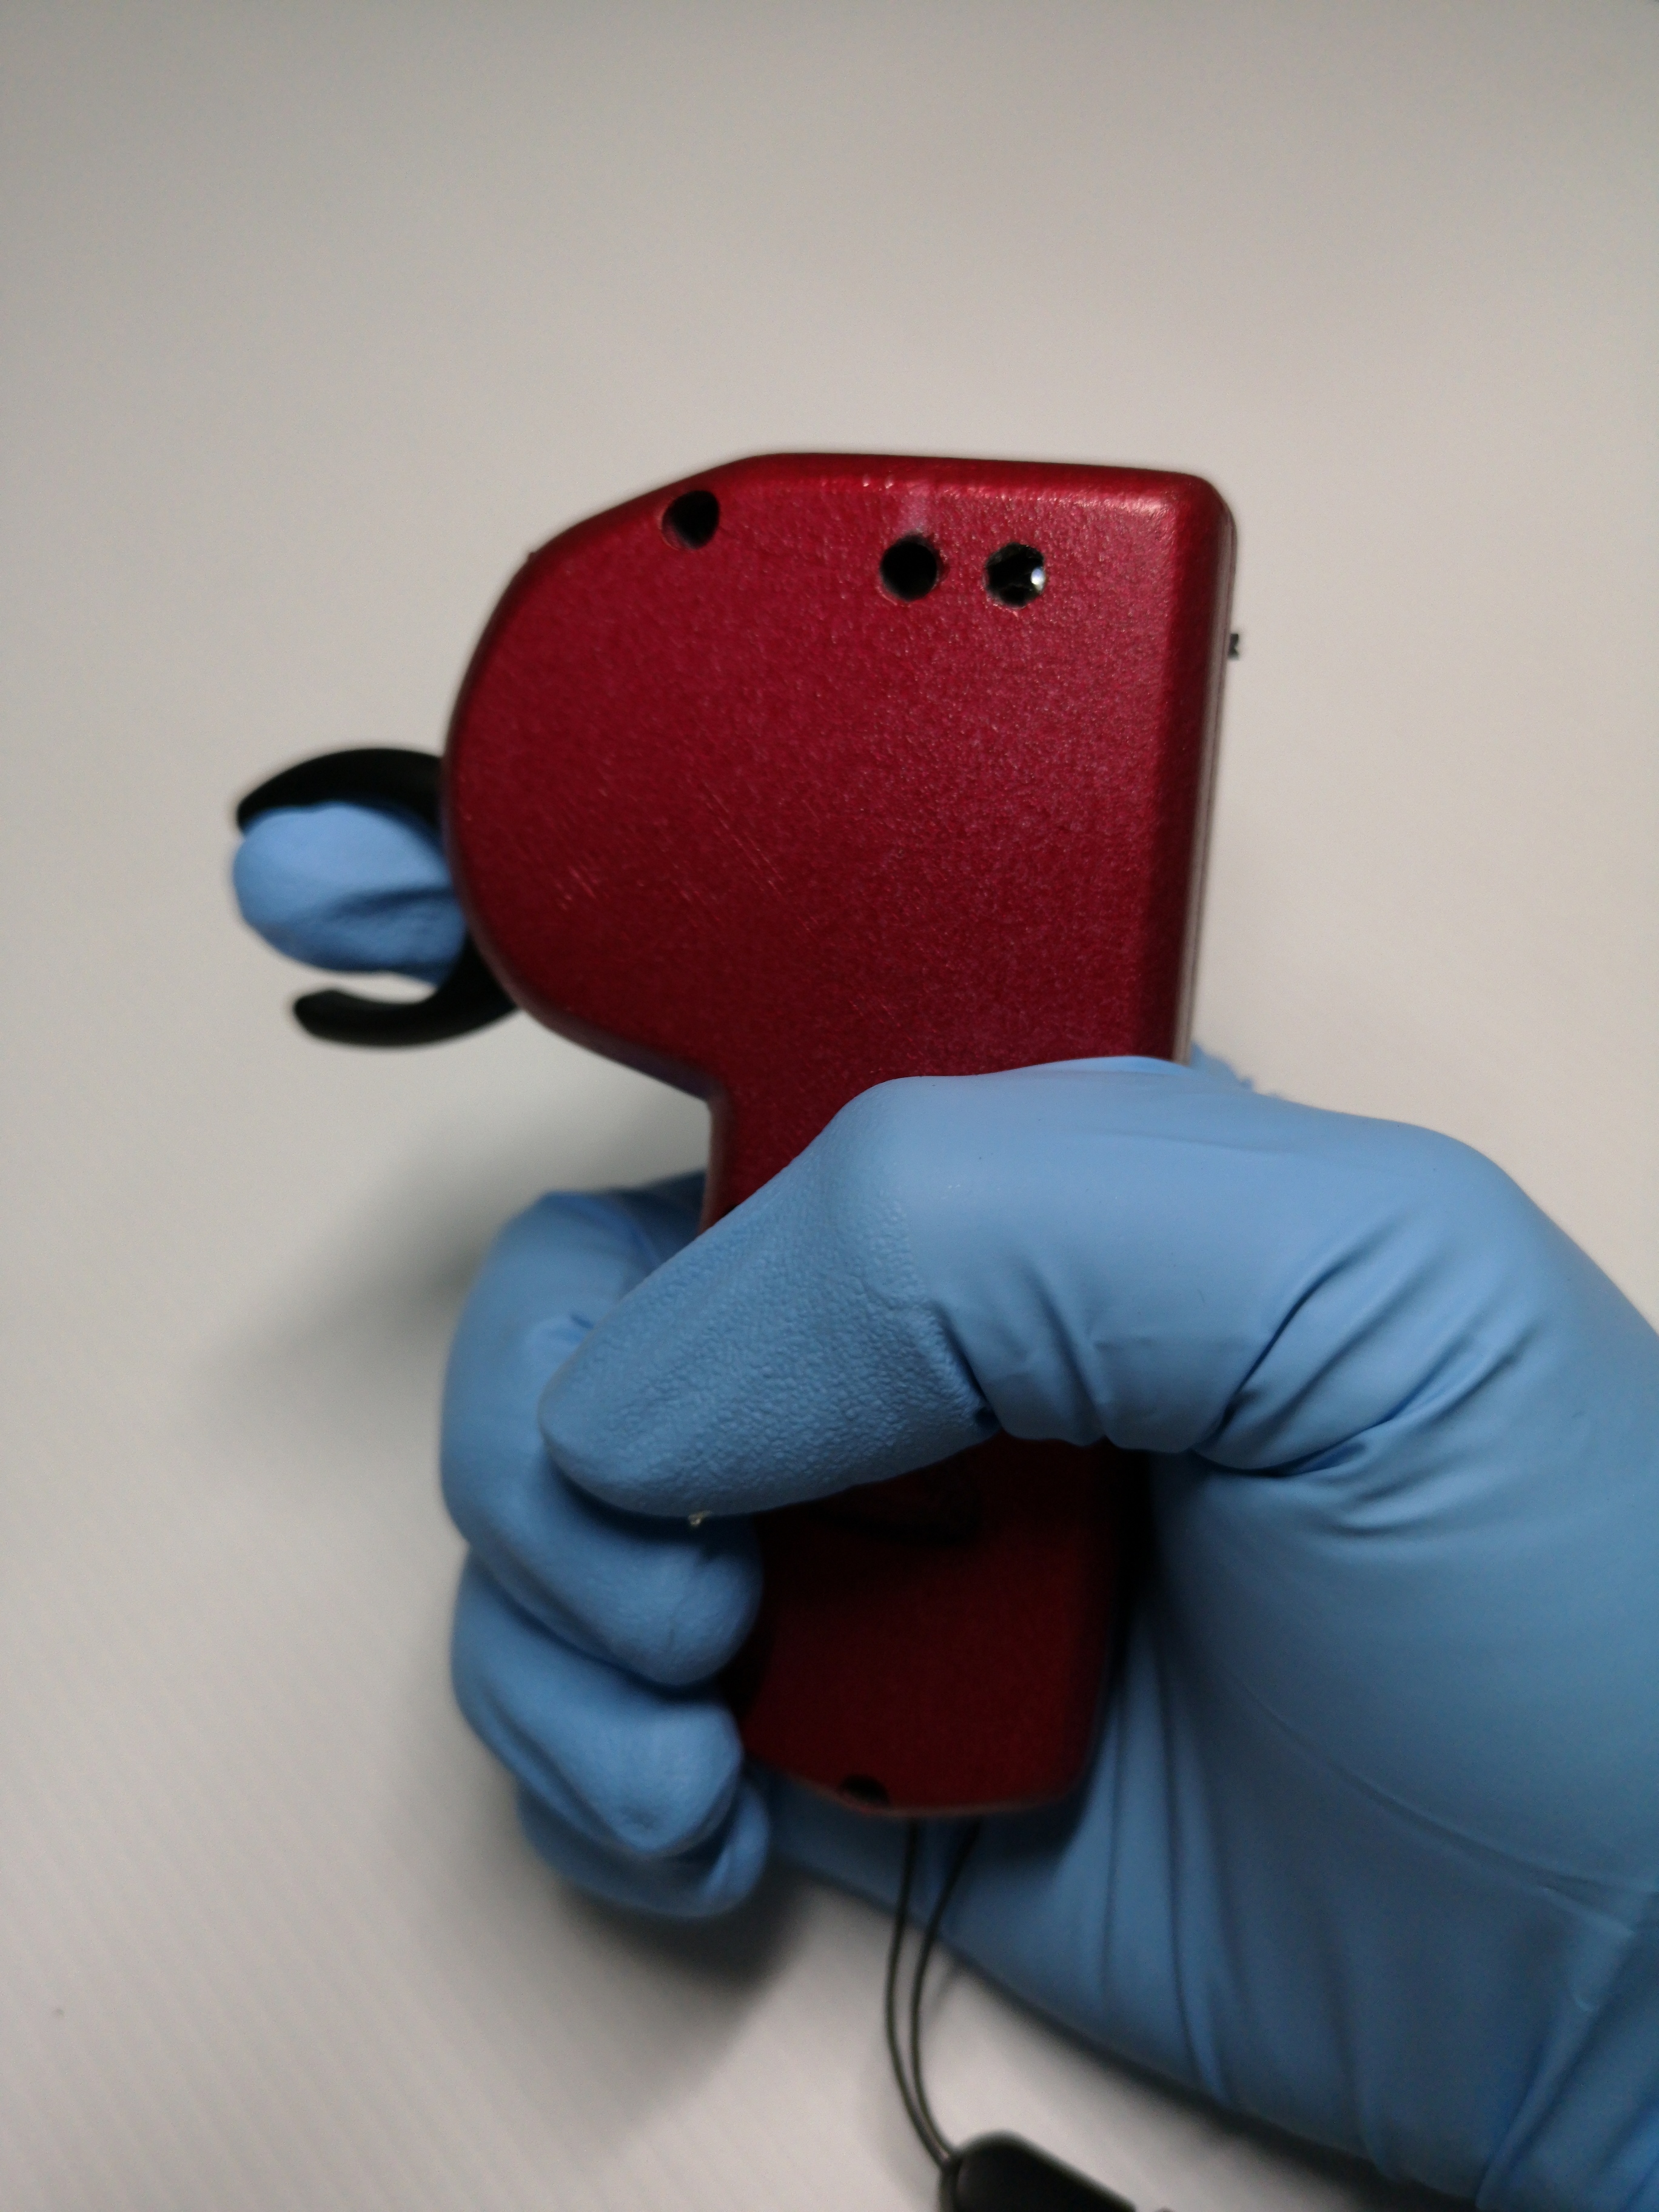
The Grip:
The Internals:
Please do not PM me to ask me for the .STL files (I’ve received way too many PMs on this already…) I will release them in due time, when I’m done with testing it. I will also release a “how-to” guide once it’s all ready.
What Version 2 shall aim to achieve: This version will take as least 2 to 4 months before I release it.)
Acrylic clear backing for the LED
TPU printed plug for the bind button
Include a battery indicator (aim to use an arduino micro/pico or something similar)
Same form factor (possibly slimmer?)
2 Versions, v.2-S and v.2-L (Short and Long)
Any other things i should add? (This remote is meant to be a basic remote, nothing too fancy i.e. “telemetry” as I want to keep the small form factor as its selling point.)
Paypal donations can be done through the following link:
Instructions on how to mod it (The v.1):
Parts List:
Two (2) 3D Printed casings (Top and Bottom Cover). Download the files here: The .stl files will be constantly updated and improved, so don’t be alarmed if the pictures you see in the instructions differ by a little
Things that are reused from the Mini Remote:
2. Two (2) “Big” screws and Five (5) small screws with one (1) M2 or M3 nylon washer
3. One (1) Spring Lever
4. One (1) Spring
5. One (1) Throttle Arm
6. One (1) Potentiometer Assembly
7. One (1) Mini Remote PCB
Yup, downside of having it be small, the grip style @deucesdown is such that only 3 fingers will be holding the remote with the little finger supporting the bottom.
I also made a longer version that’s 30mm longer for people who may want it.
The lvc for the mini is a bit too high, so fully charged eneloops only last like a week or two. Pisses me off. I’m using a lipo with a diode to drop the voltage a bit (thanks @SkaterBoy58). With basically a 1s bms with microusb charging. It would give comfort to run at 3v vs 4.3v.
Rechargeable AAs have a lower norminal voltage than your standard AAs. Once they drop below the threshold to power the remote, it stops working, and this happebs really quickly. I.e: you actually have to recharge those AA batts v.often. also, it’s a hassle to remove the batts since the cover is secured with a screw. A rechargeable LiPo solves it all!
Last question, I promise That 3v3 pin is regulated 3.3v?
EDIT found some reviews. I only skimmed mostly because I’m too n00b so it takes a lot of energy to understand this stuff. Doesn’t have low voltage cutoff protection, but that’s kind of expected. It seems like there’s a boost to 5v then an LDO 5v -> 3.3v (maybe). Still, cool new toys! I guess I’d measure the parasitic drain before putting it away in a drawer.
Ah ok gotcha, rechargeable aa’s would still be a cheaper in the long term than buying standard aa batteries i guess but a lipo is obviously the best solution.
Yeah, i was looking at it too, doesn’t seem like it has a 3.3v regulator, always assumed it did haha. Oh well, thanks for pointing that out, looks like it’s back to tp4056s for this.