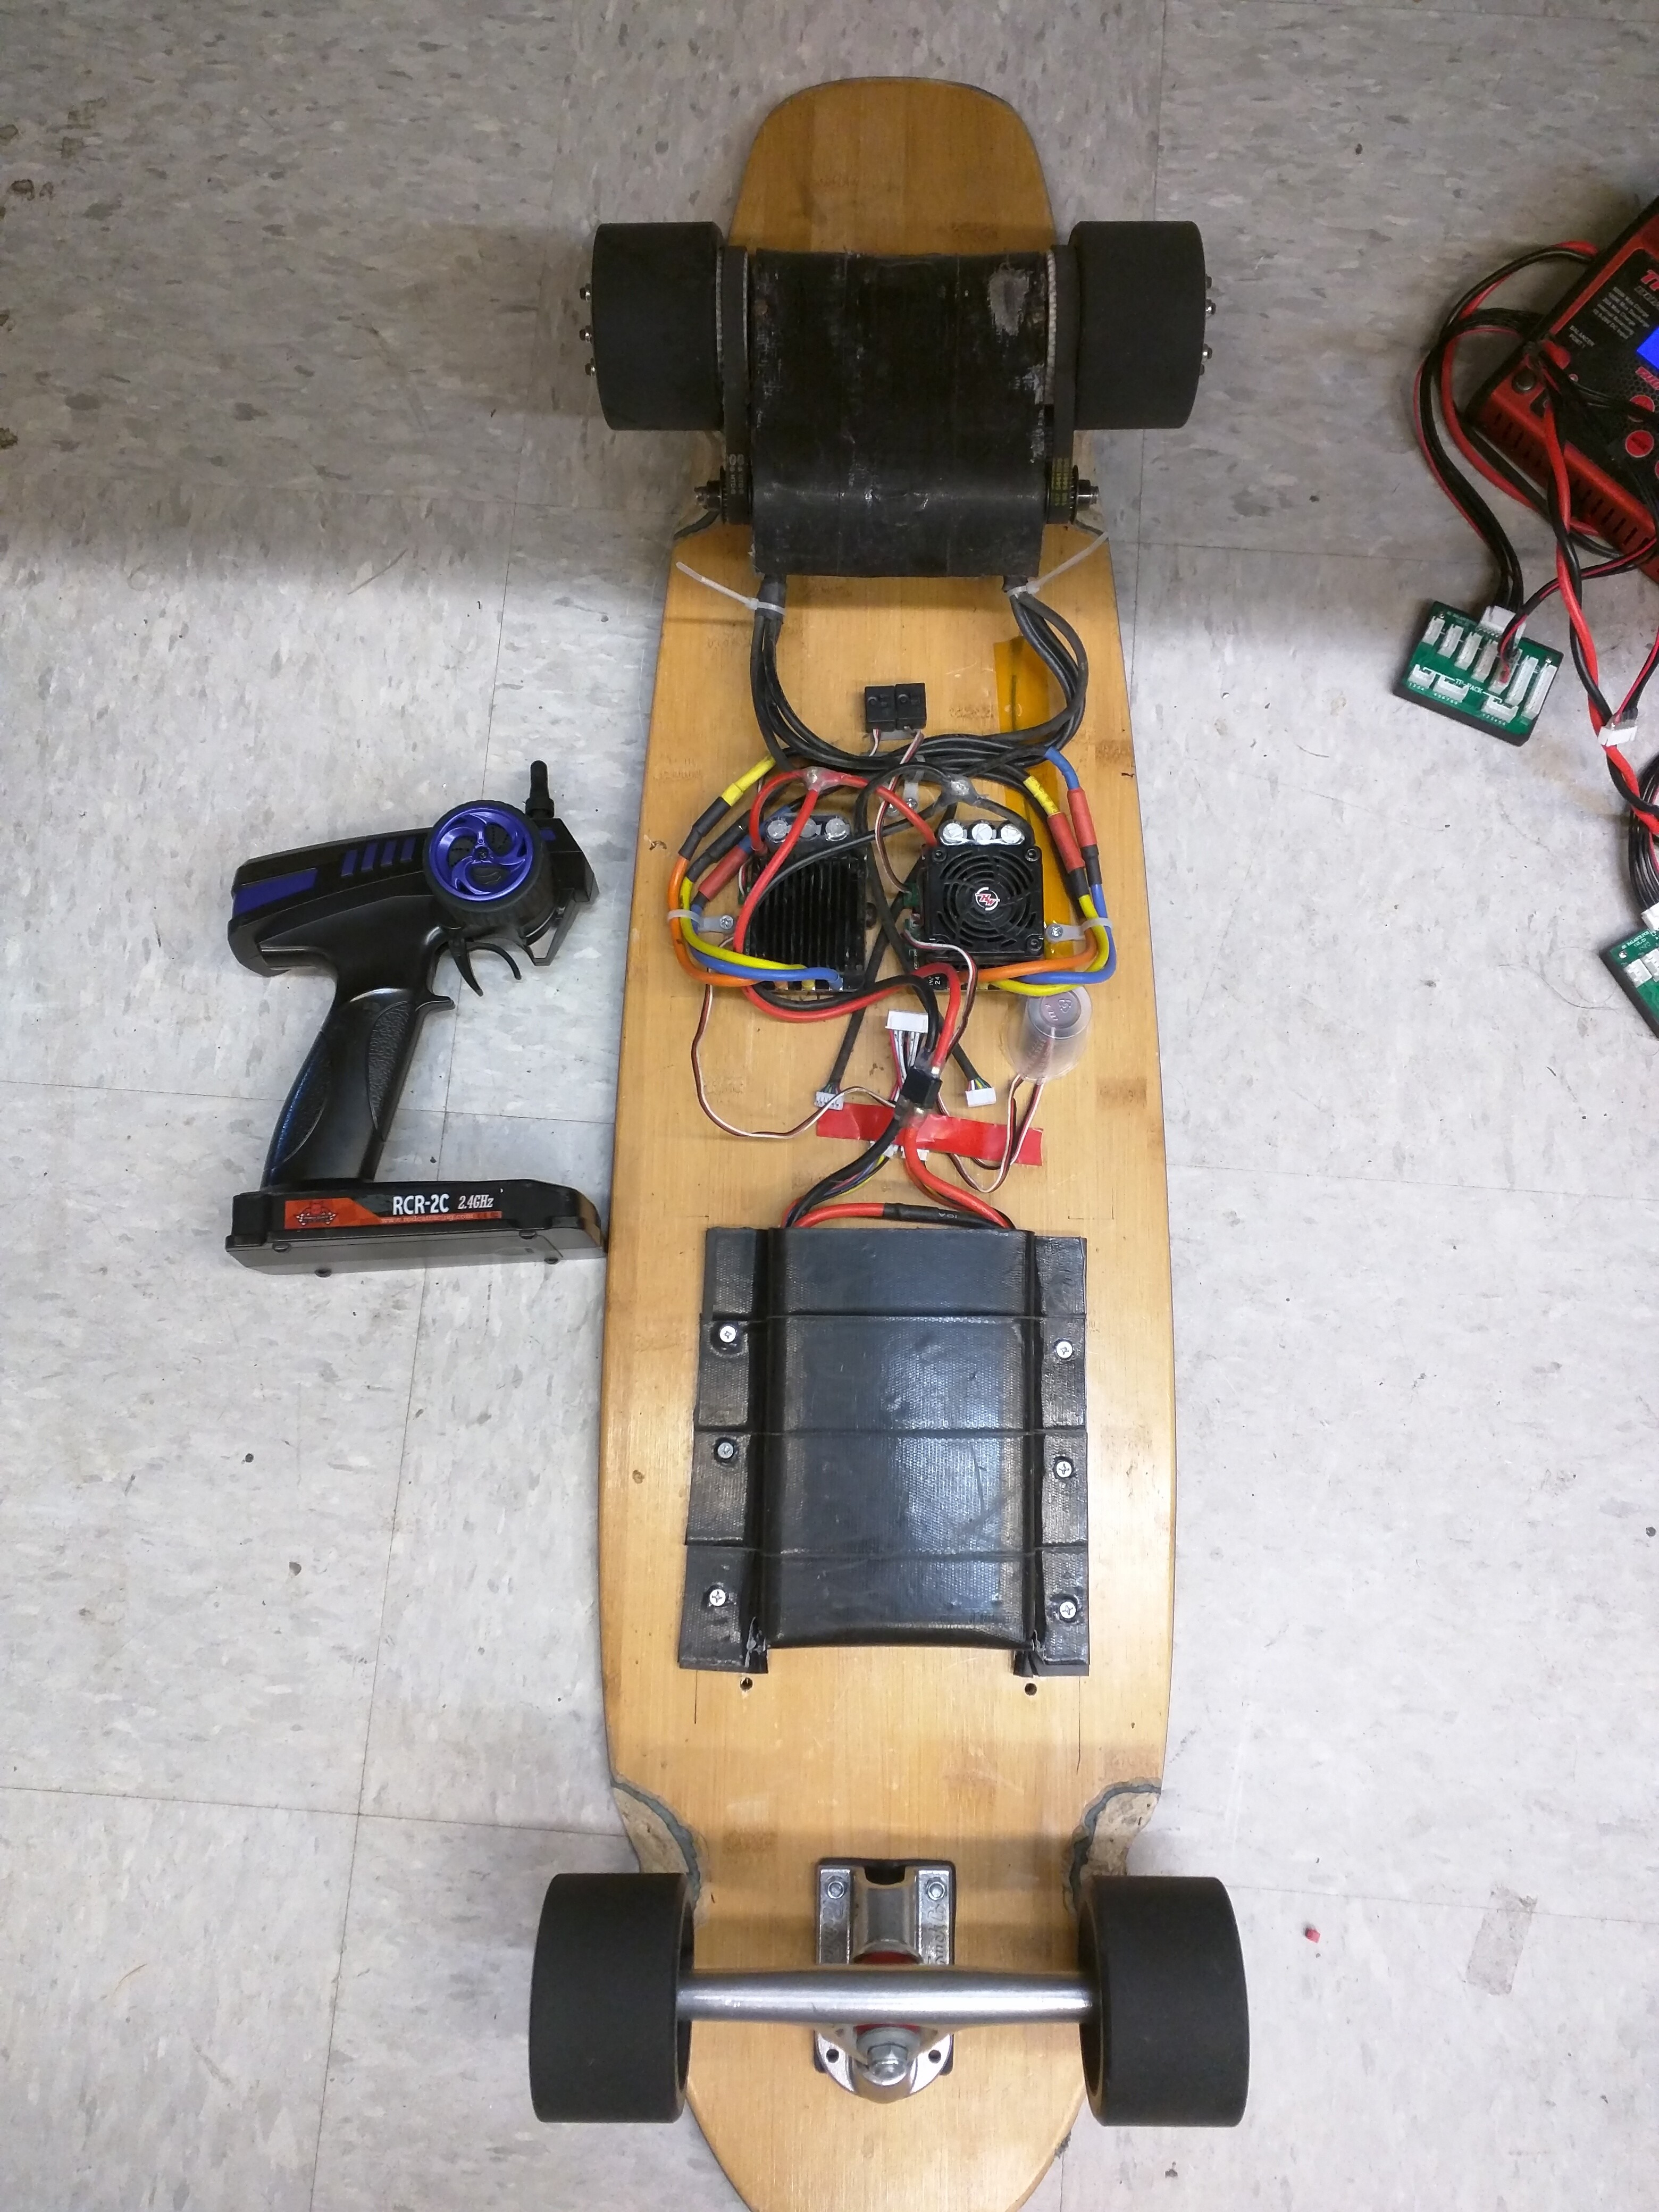
Hello Everyone! My name is Subhransu and this thread is to document my first build. I completed the build about 3-4 weeks ago and have, since, been riding it reliably, averaging 4 miles daily. The range is little more than 5 miles(half hilly miles). The top speed is 15 mph. I intend to replace the ESCs with VESC and 4X5000mAh 4S Turnigy LiPo turned into 8S 10,000mAH LiPo. Next up is Vacuum forming the enclosures, adding pulley cover, better motor cover and making the whole board water and dust resistant.
It is pretty grotesque, but hey, that’s what first build is for, right?
Parts List: Board($35): SCSK8 Bamboo kicktail Deck Longboard Skateboard 40’’ X 10’’ Trucks($36): 180 mm paris trucks Wheels($27): 83mm Longboard Flywheels Wheels Motor Mount: Machined myself Motors($90x2): Torqueboards 6355 motors Motor pulleys($152): Torqueboards 14T pulley Wheel pulleys($40x2): 3D printed 40T pulley ESC(didn’t buy): HobbyWing S5 RTR Remote(didn’t buy): RCR 2C car radio Battery($7.52): Hobby King 5000mAh 3 cell B-Grade battery Foam padding: 1/8" adhesive back foam from McMaster.com
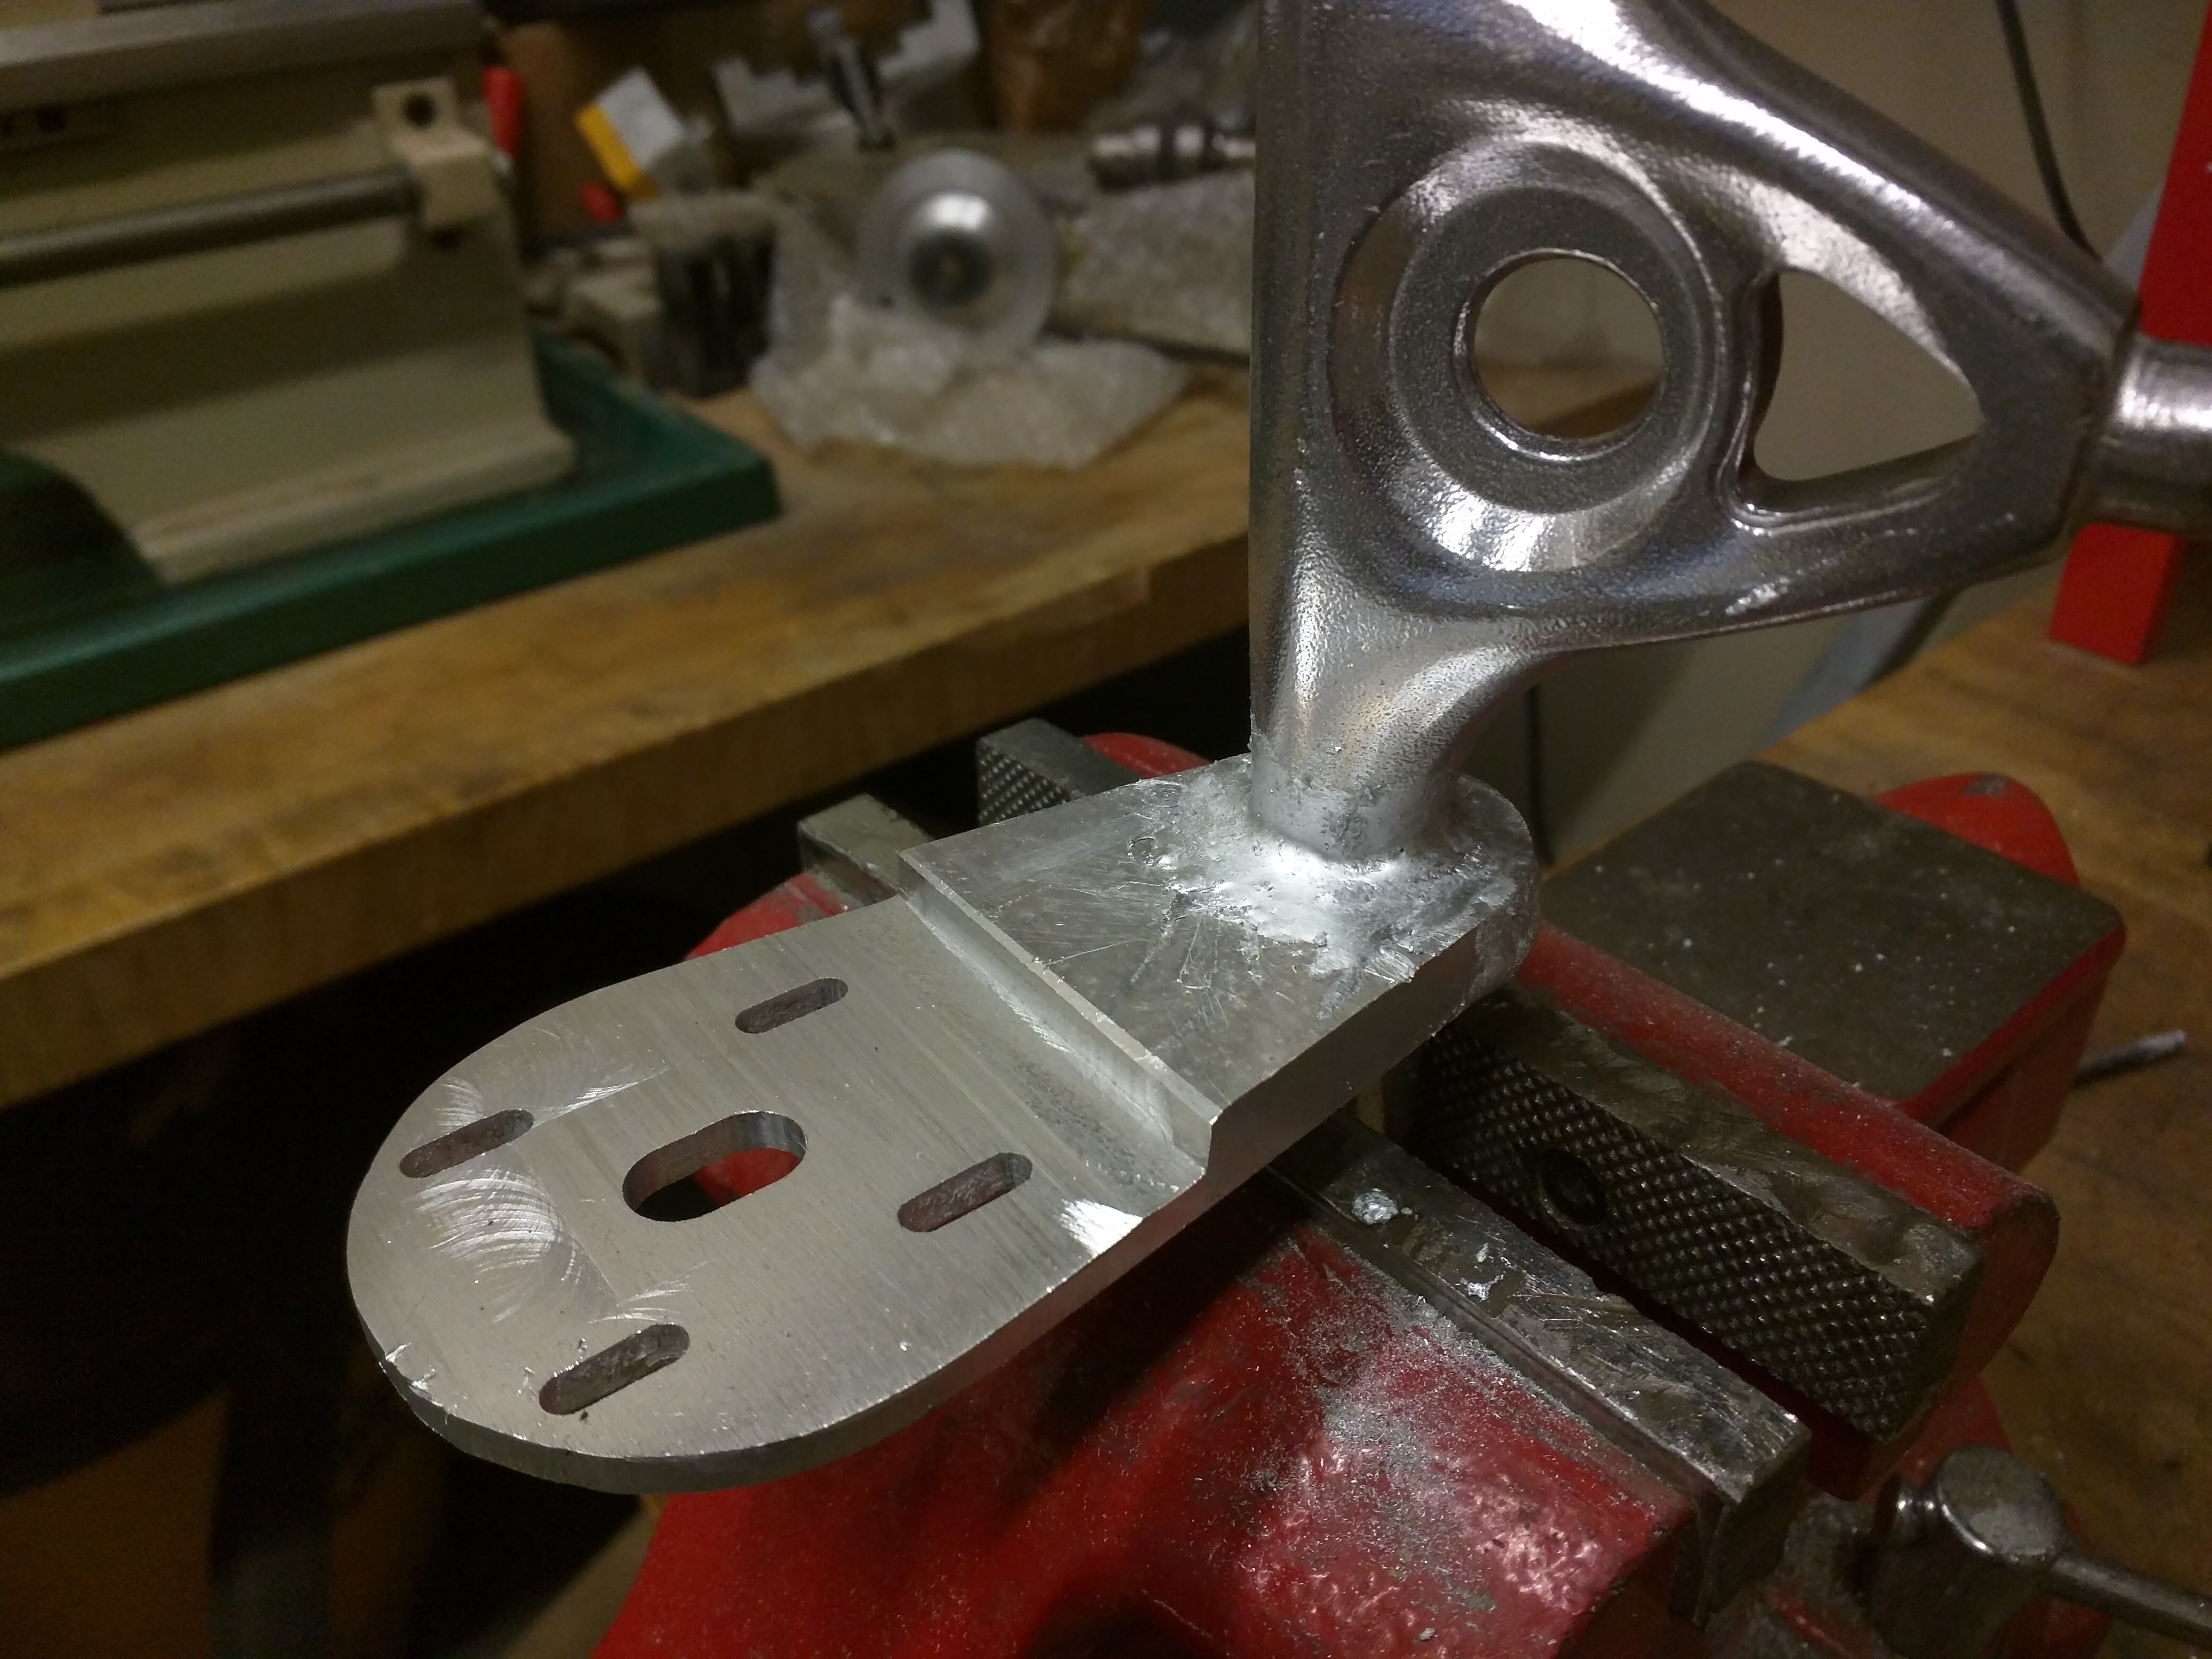
I took a few photos while building it and here they are. didn’t have the motor mounts for 63mm motors, so I just cadded it up in solidworks, laser cut the pattern on a sheet of acrylic to make sure every thing worked out well. Then I spray painted a block of aluminum with the pattern on top.

Next up was machining the aluminum. I work at a lab where they I have access to a small milling machine so I just removed materials covered with black paint.

The completed motor mount with the motor attached is shown in the pic below

I used a dremmel to give the right taper to fit on the paris trucks

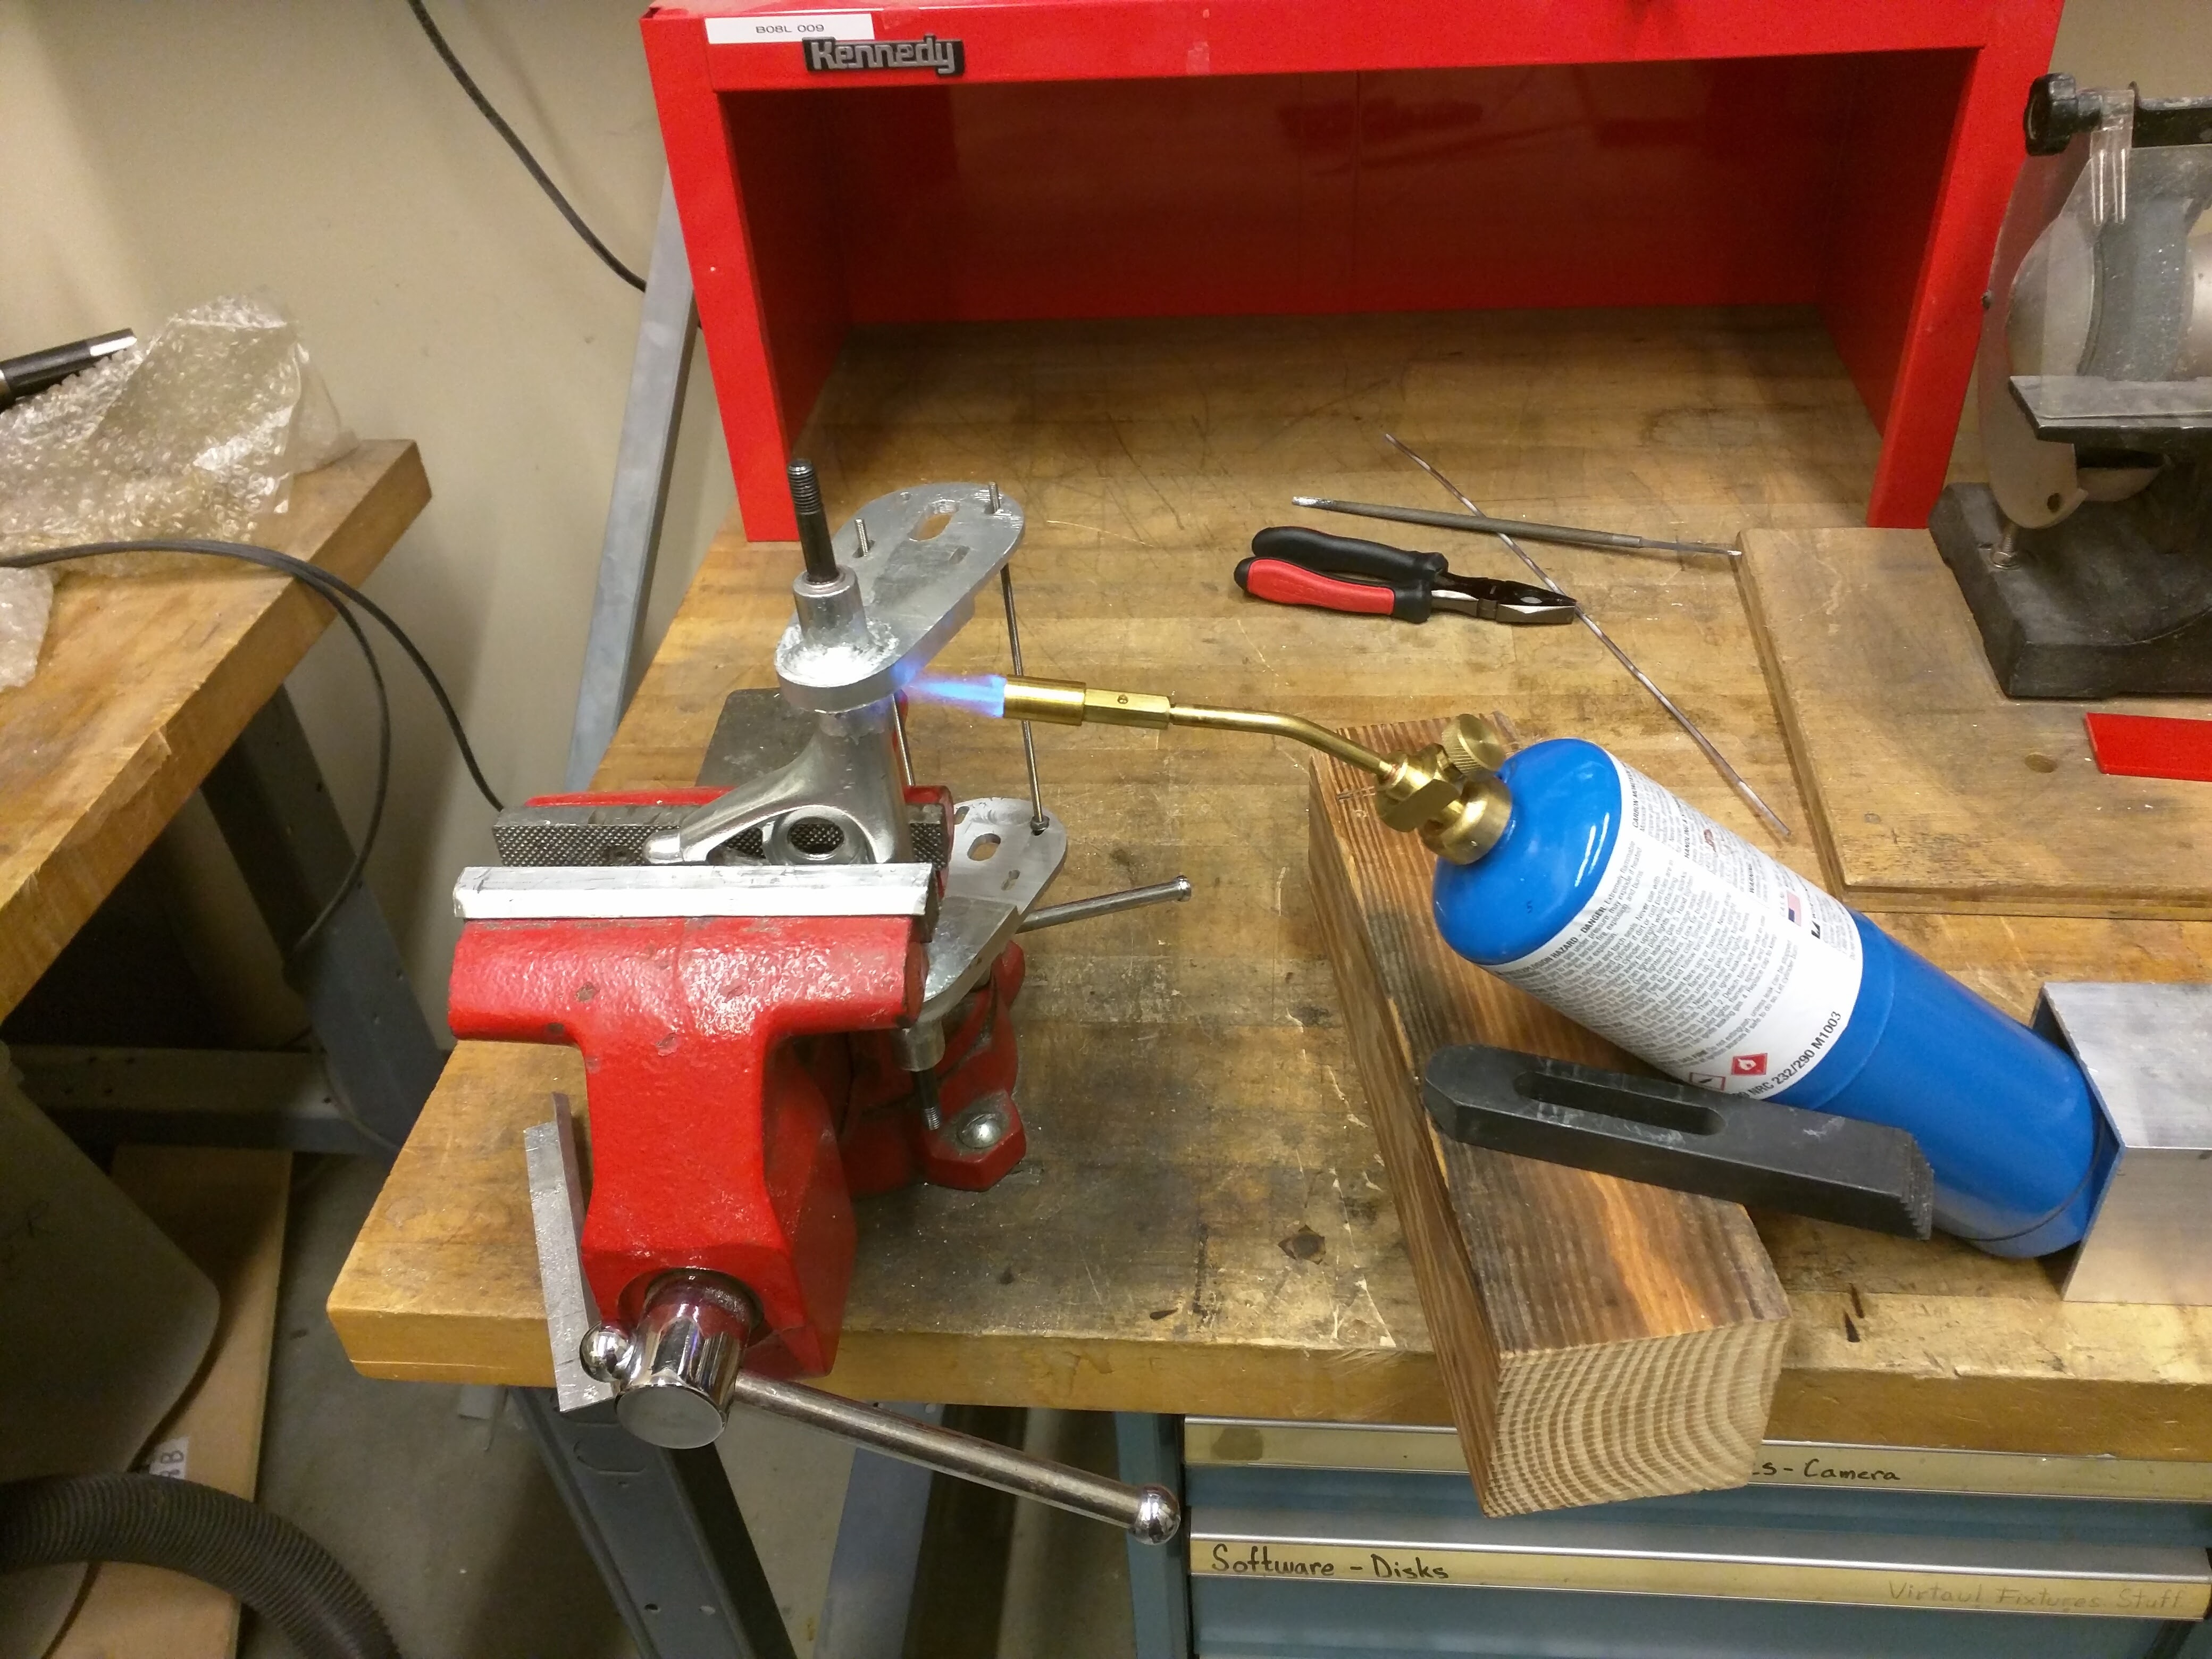
I used threaded rods to make sure the 2 mounts were completely parallel to each other before I brazed/welded them

I had to go find a place to weld the motors so I just decided to go to a hardware store, get a $12 propane torch, got some low temperature aluminum brazing rods from amazon and just brazed the joints.

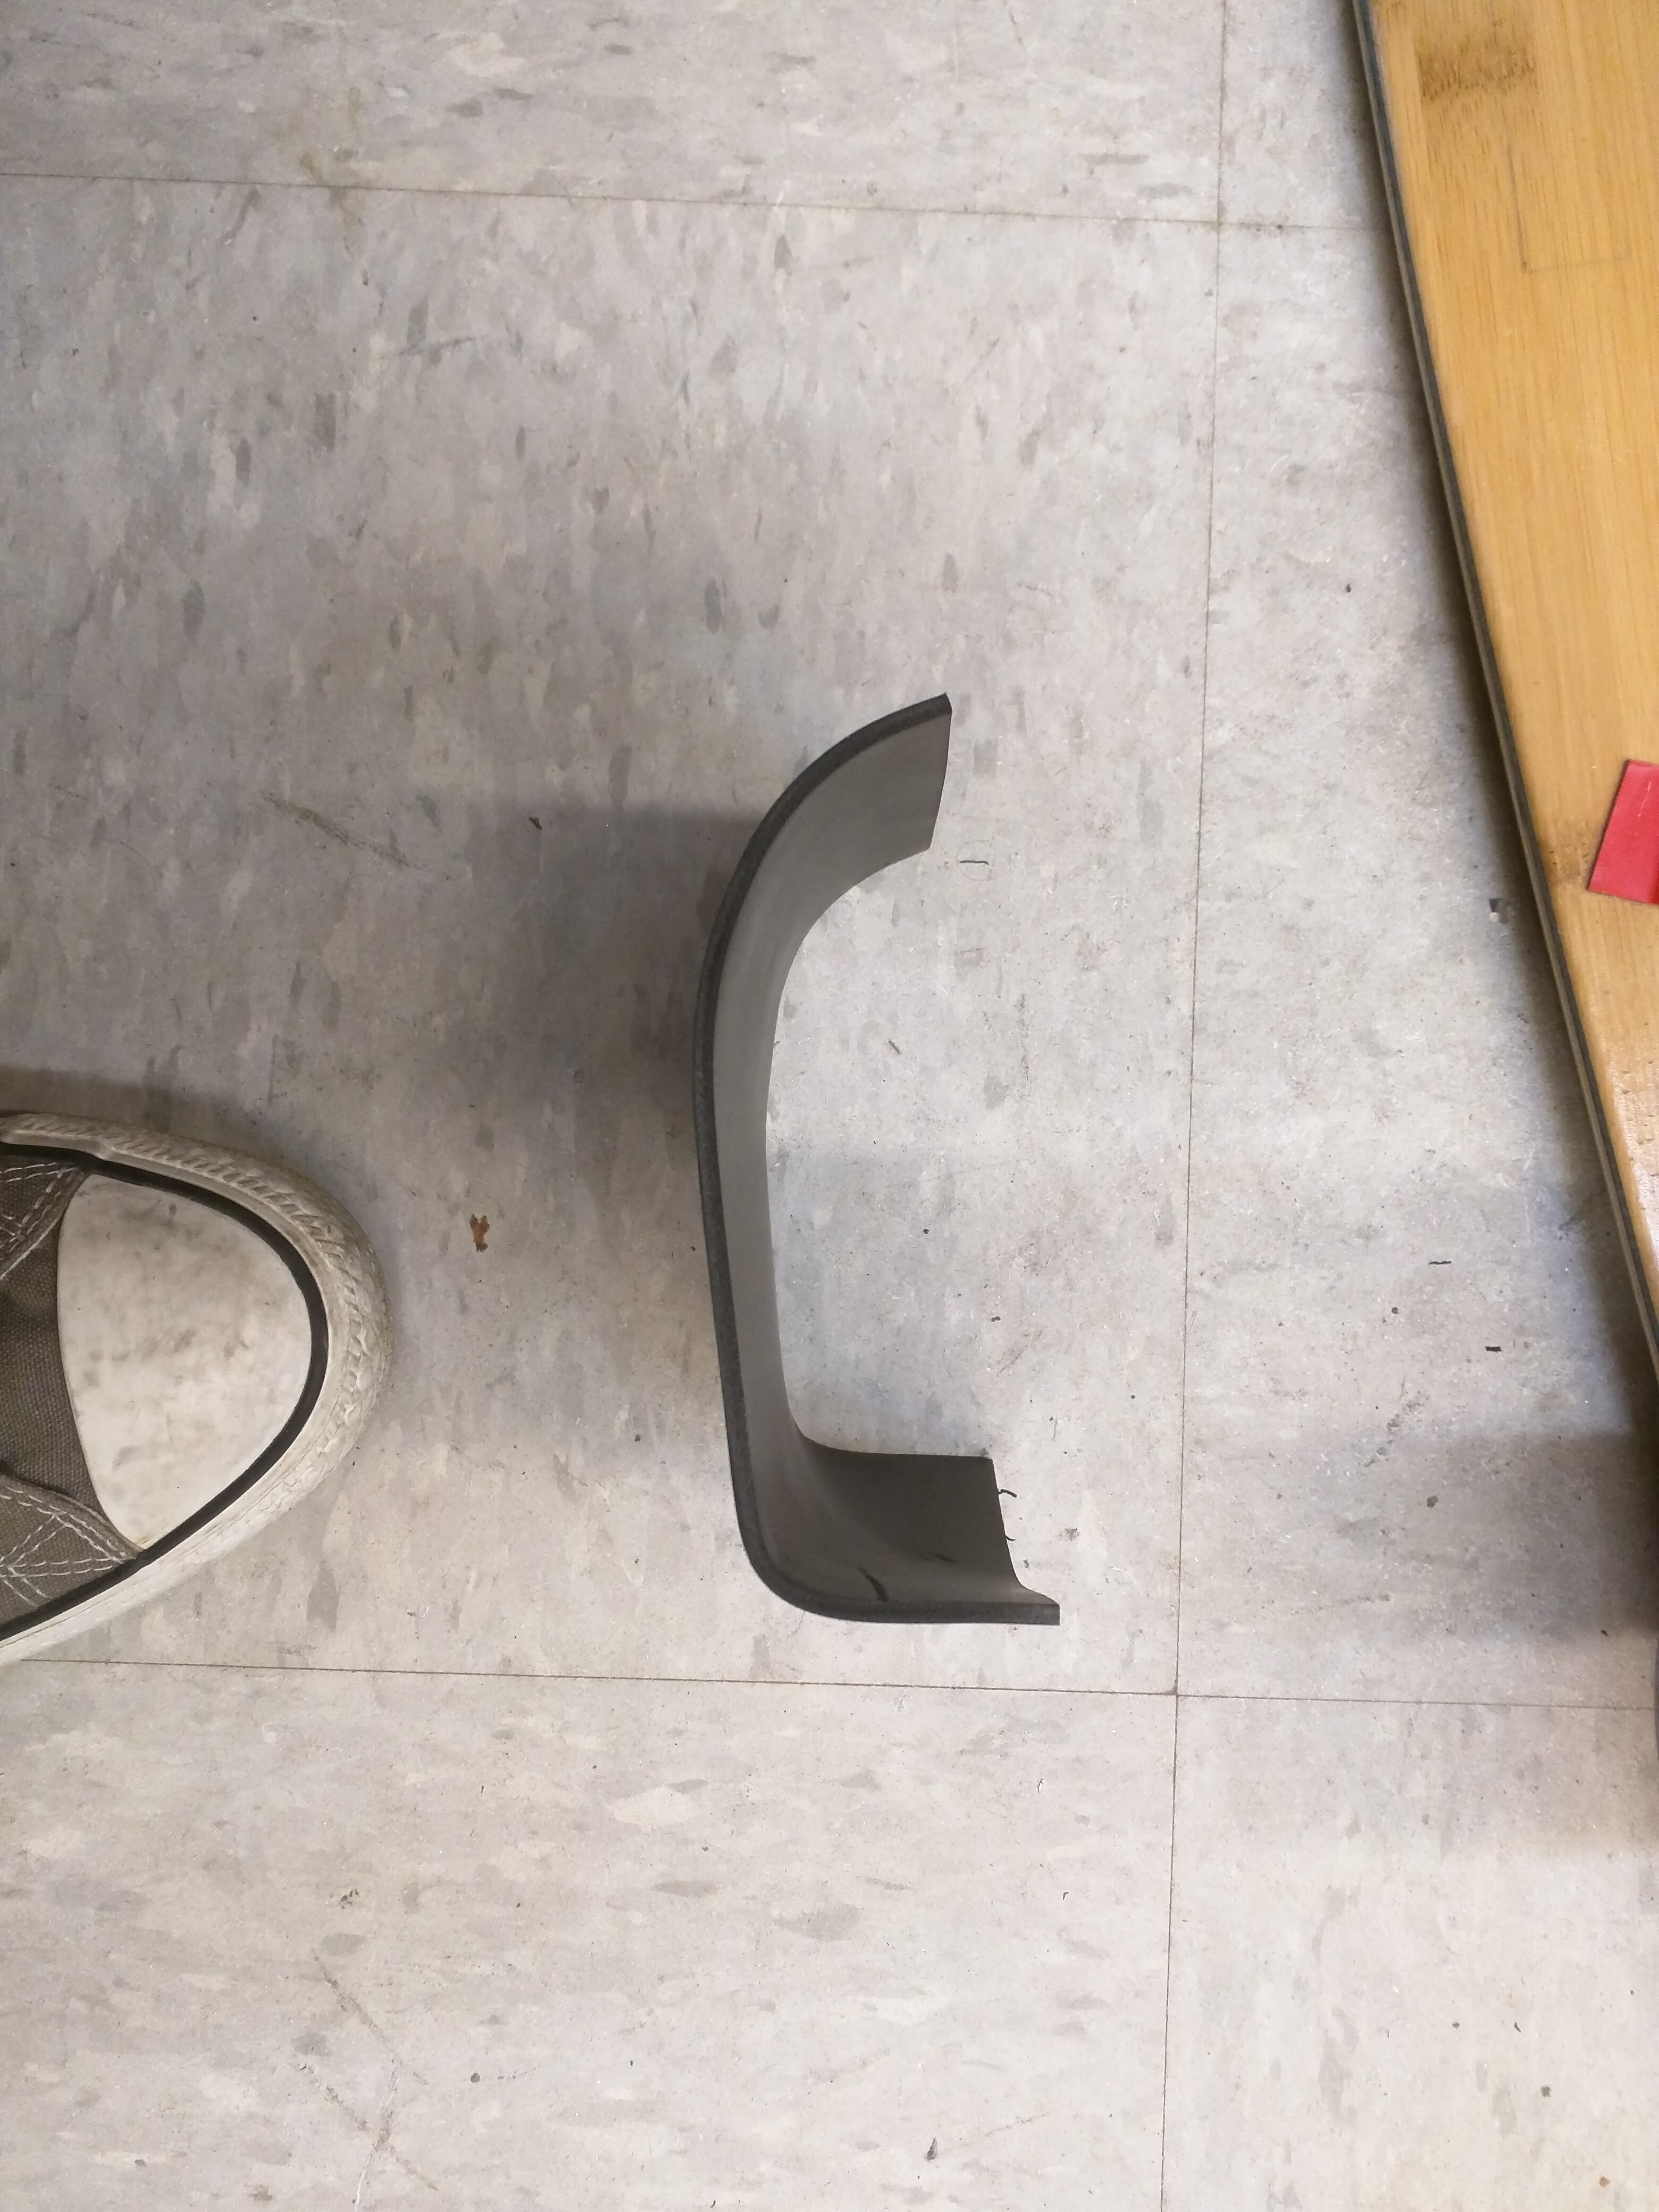
1 motor mounted and ready to go. I heated a piece of plastic and bend it in shape to protect the battery


I heated a piece of the same plastic and bended it around the motor mounts to provide the motors some protection again direct hit from stone and water spashes.