Small update:


1 Like


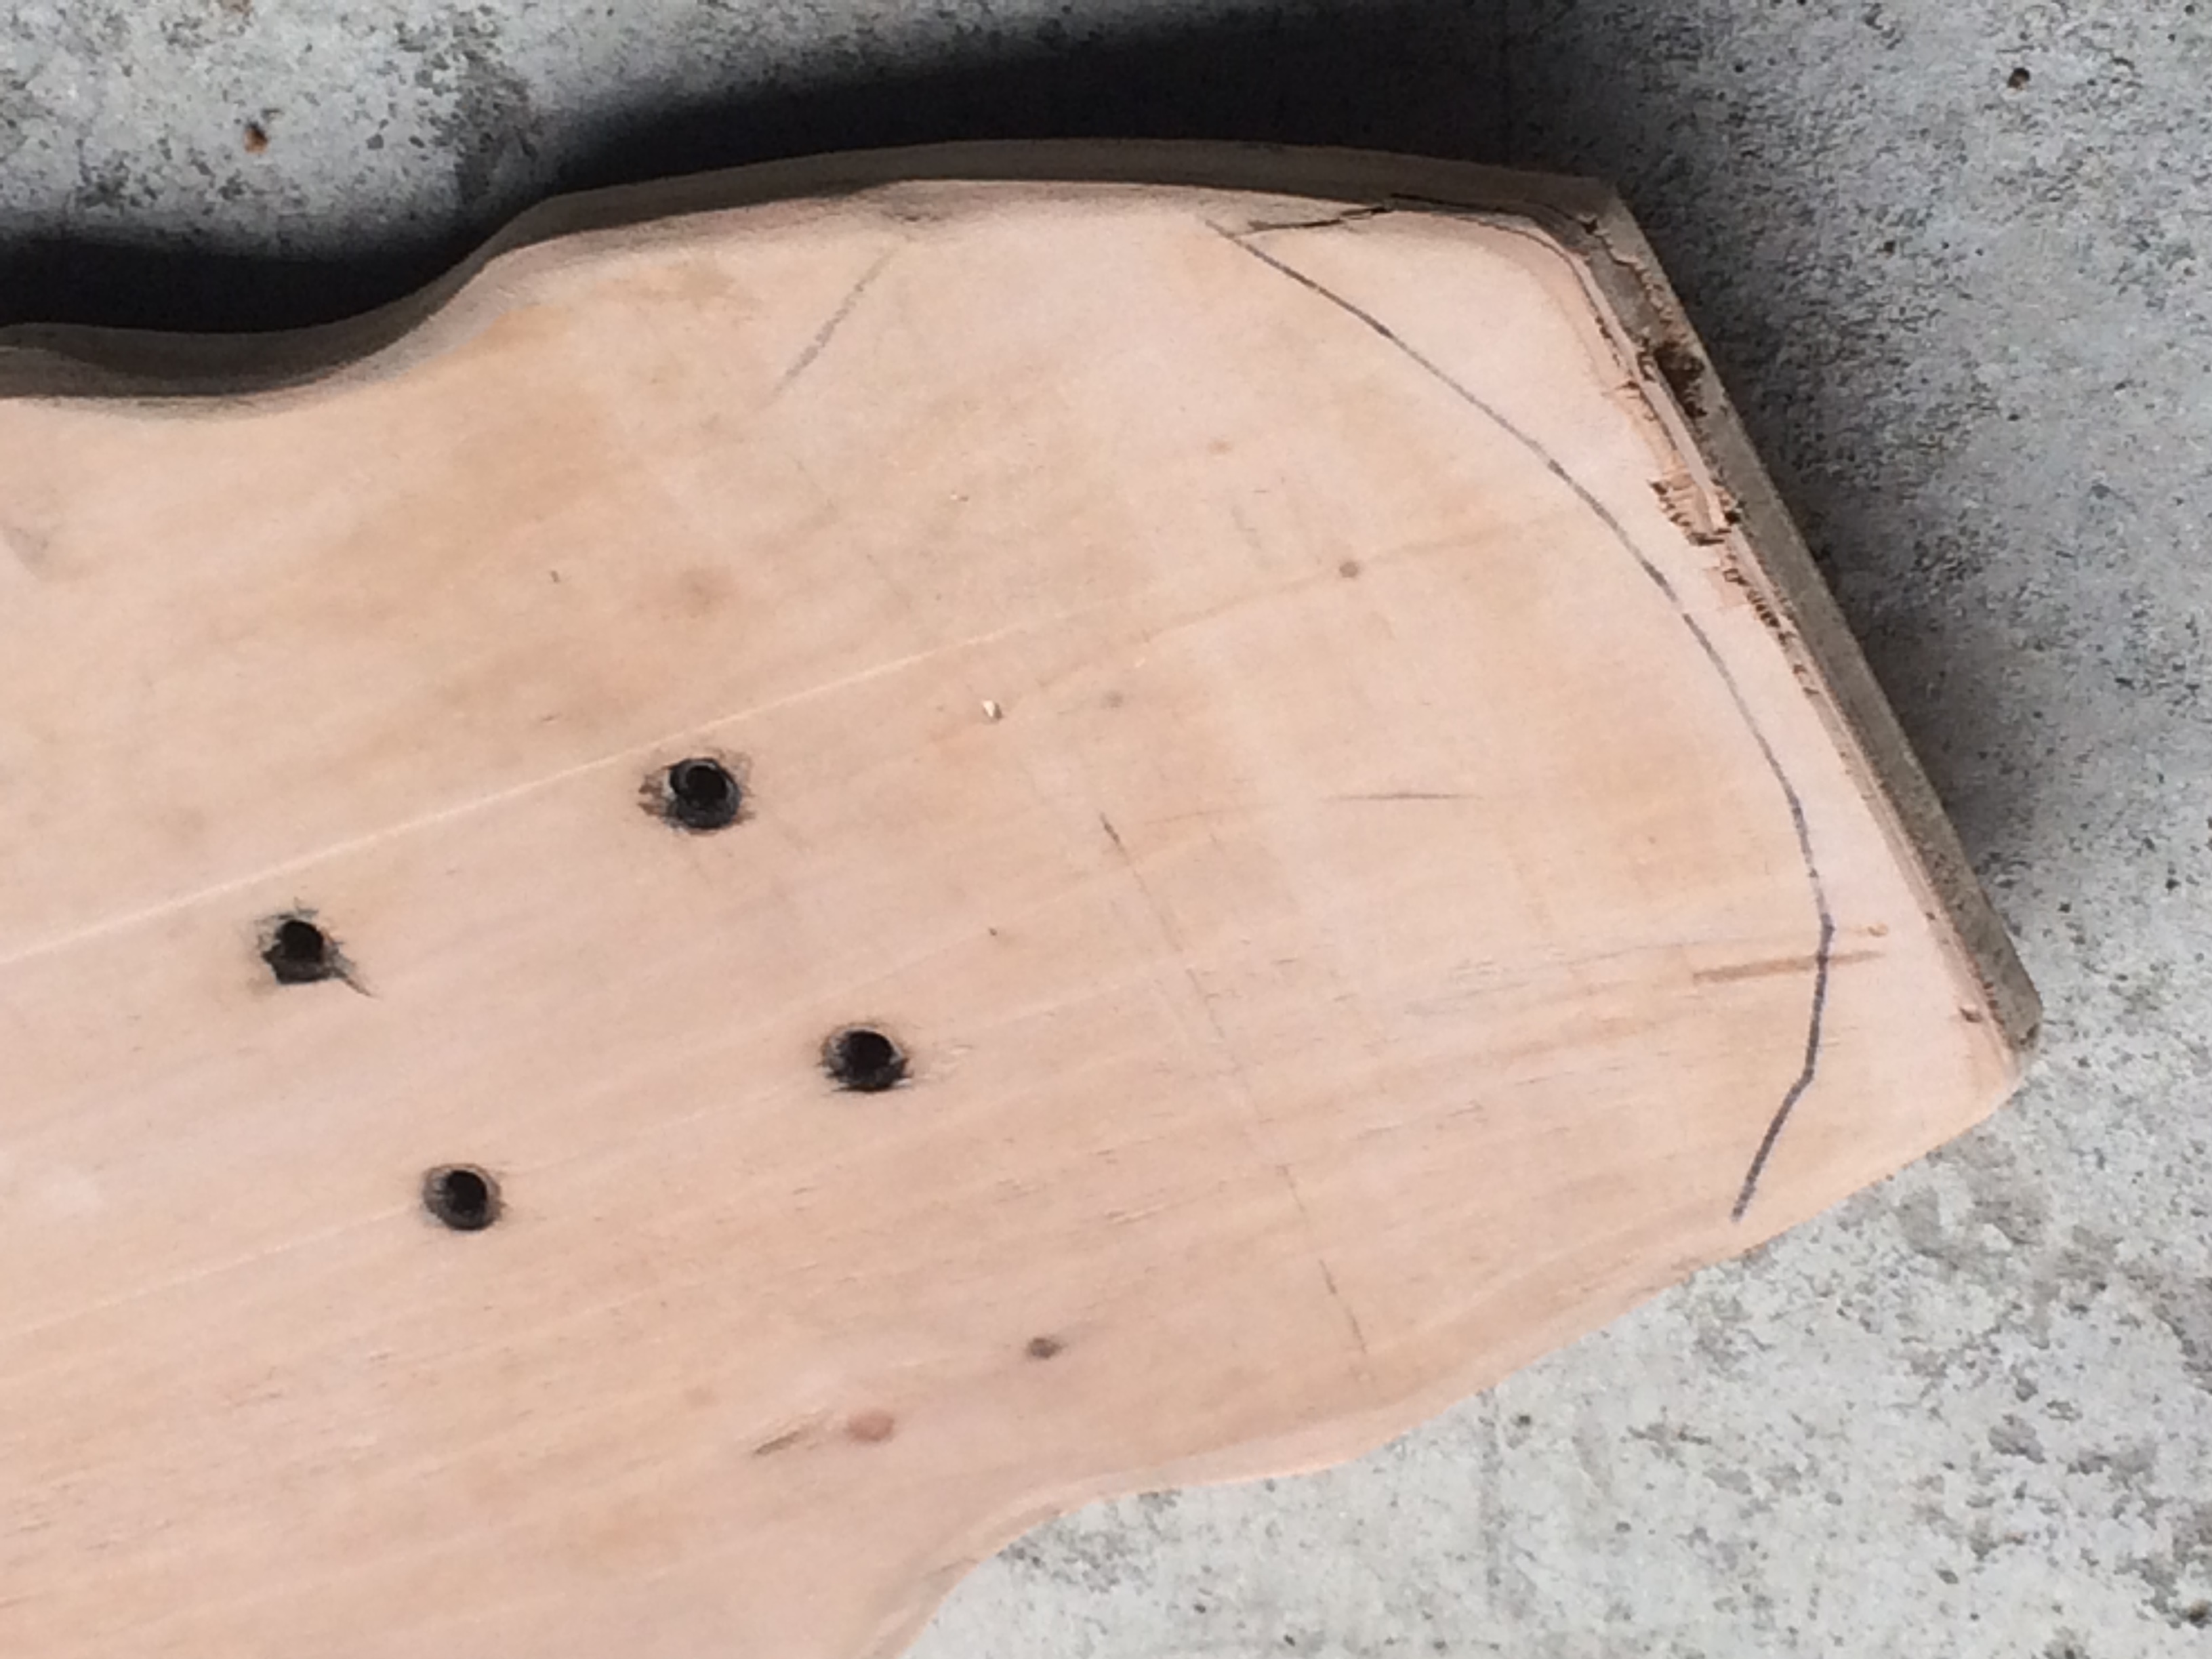
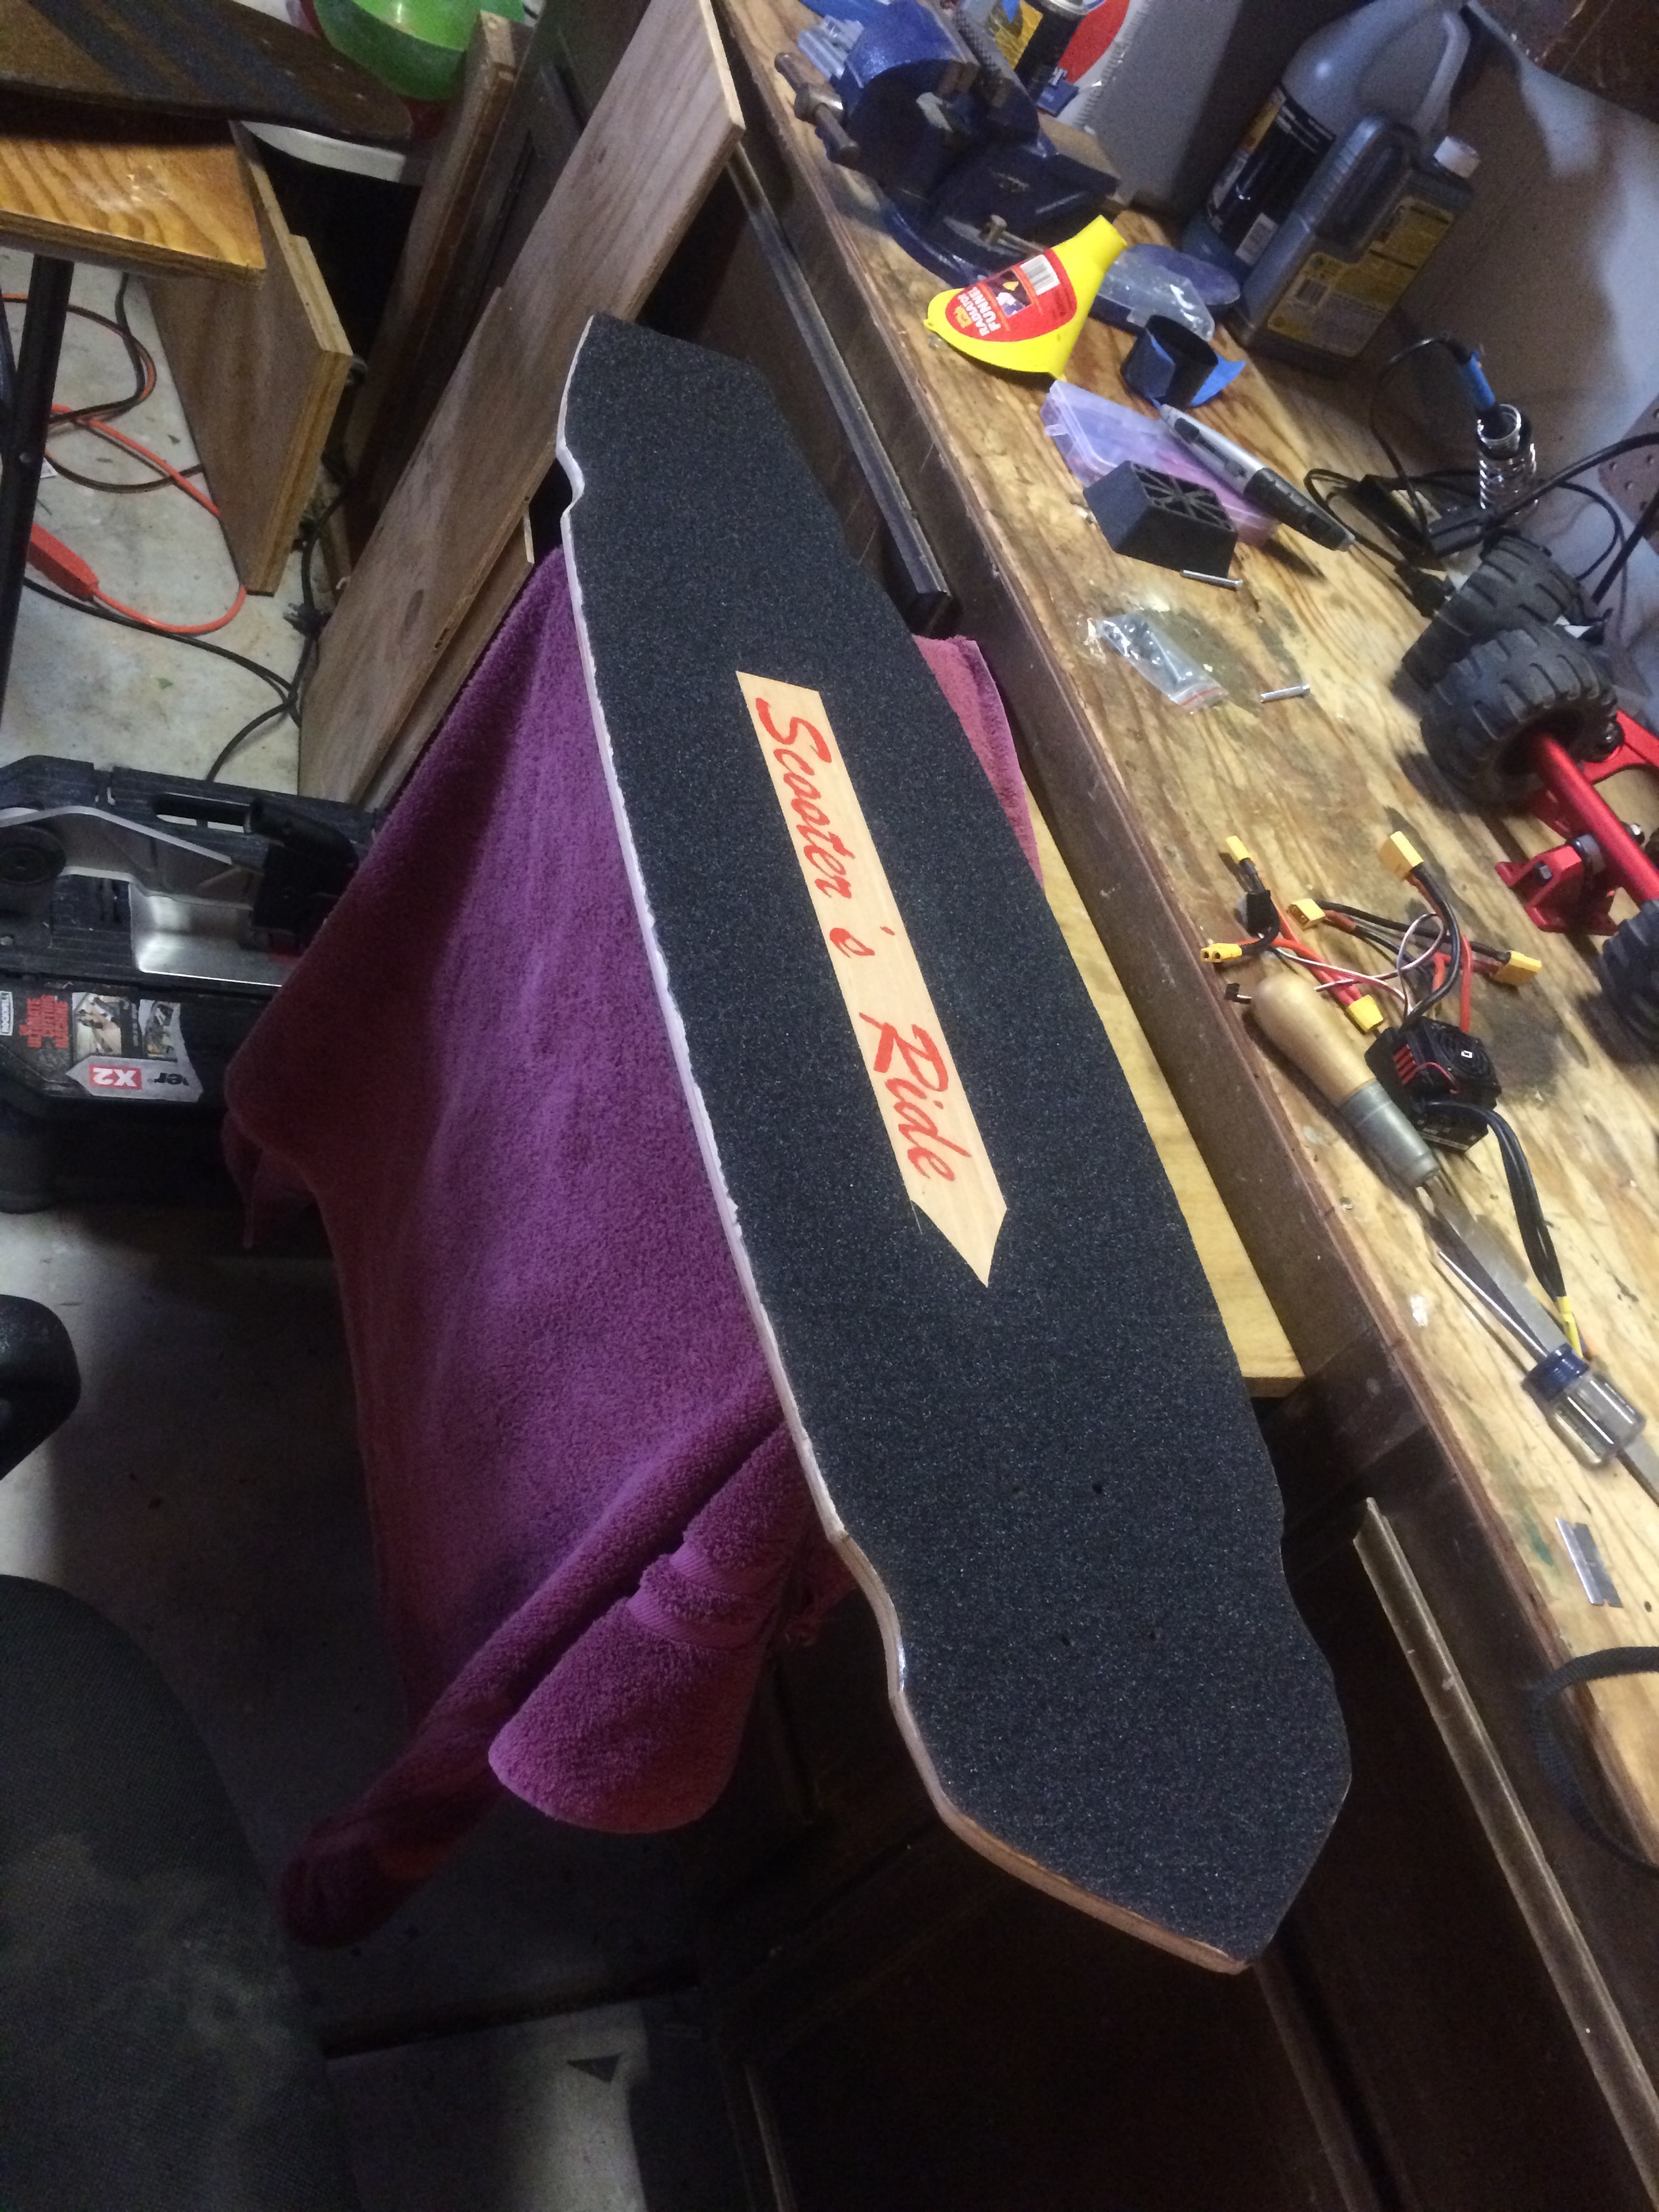
UPDATE: So I finished up the deck itself and got that gripped


The goodies are starting to show up…
Lot of nice stuff from @JLabs here, the motor in particular looks fantastic. Does anyone know where to get the screws for these to go to the motor mount? The kit didn’t come with anything so I don’t know exactly what to use…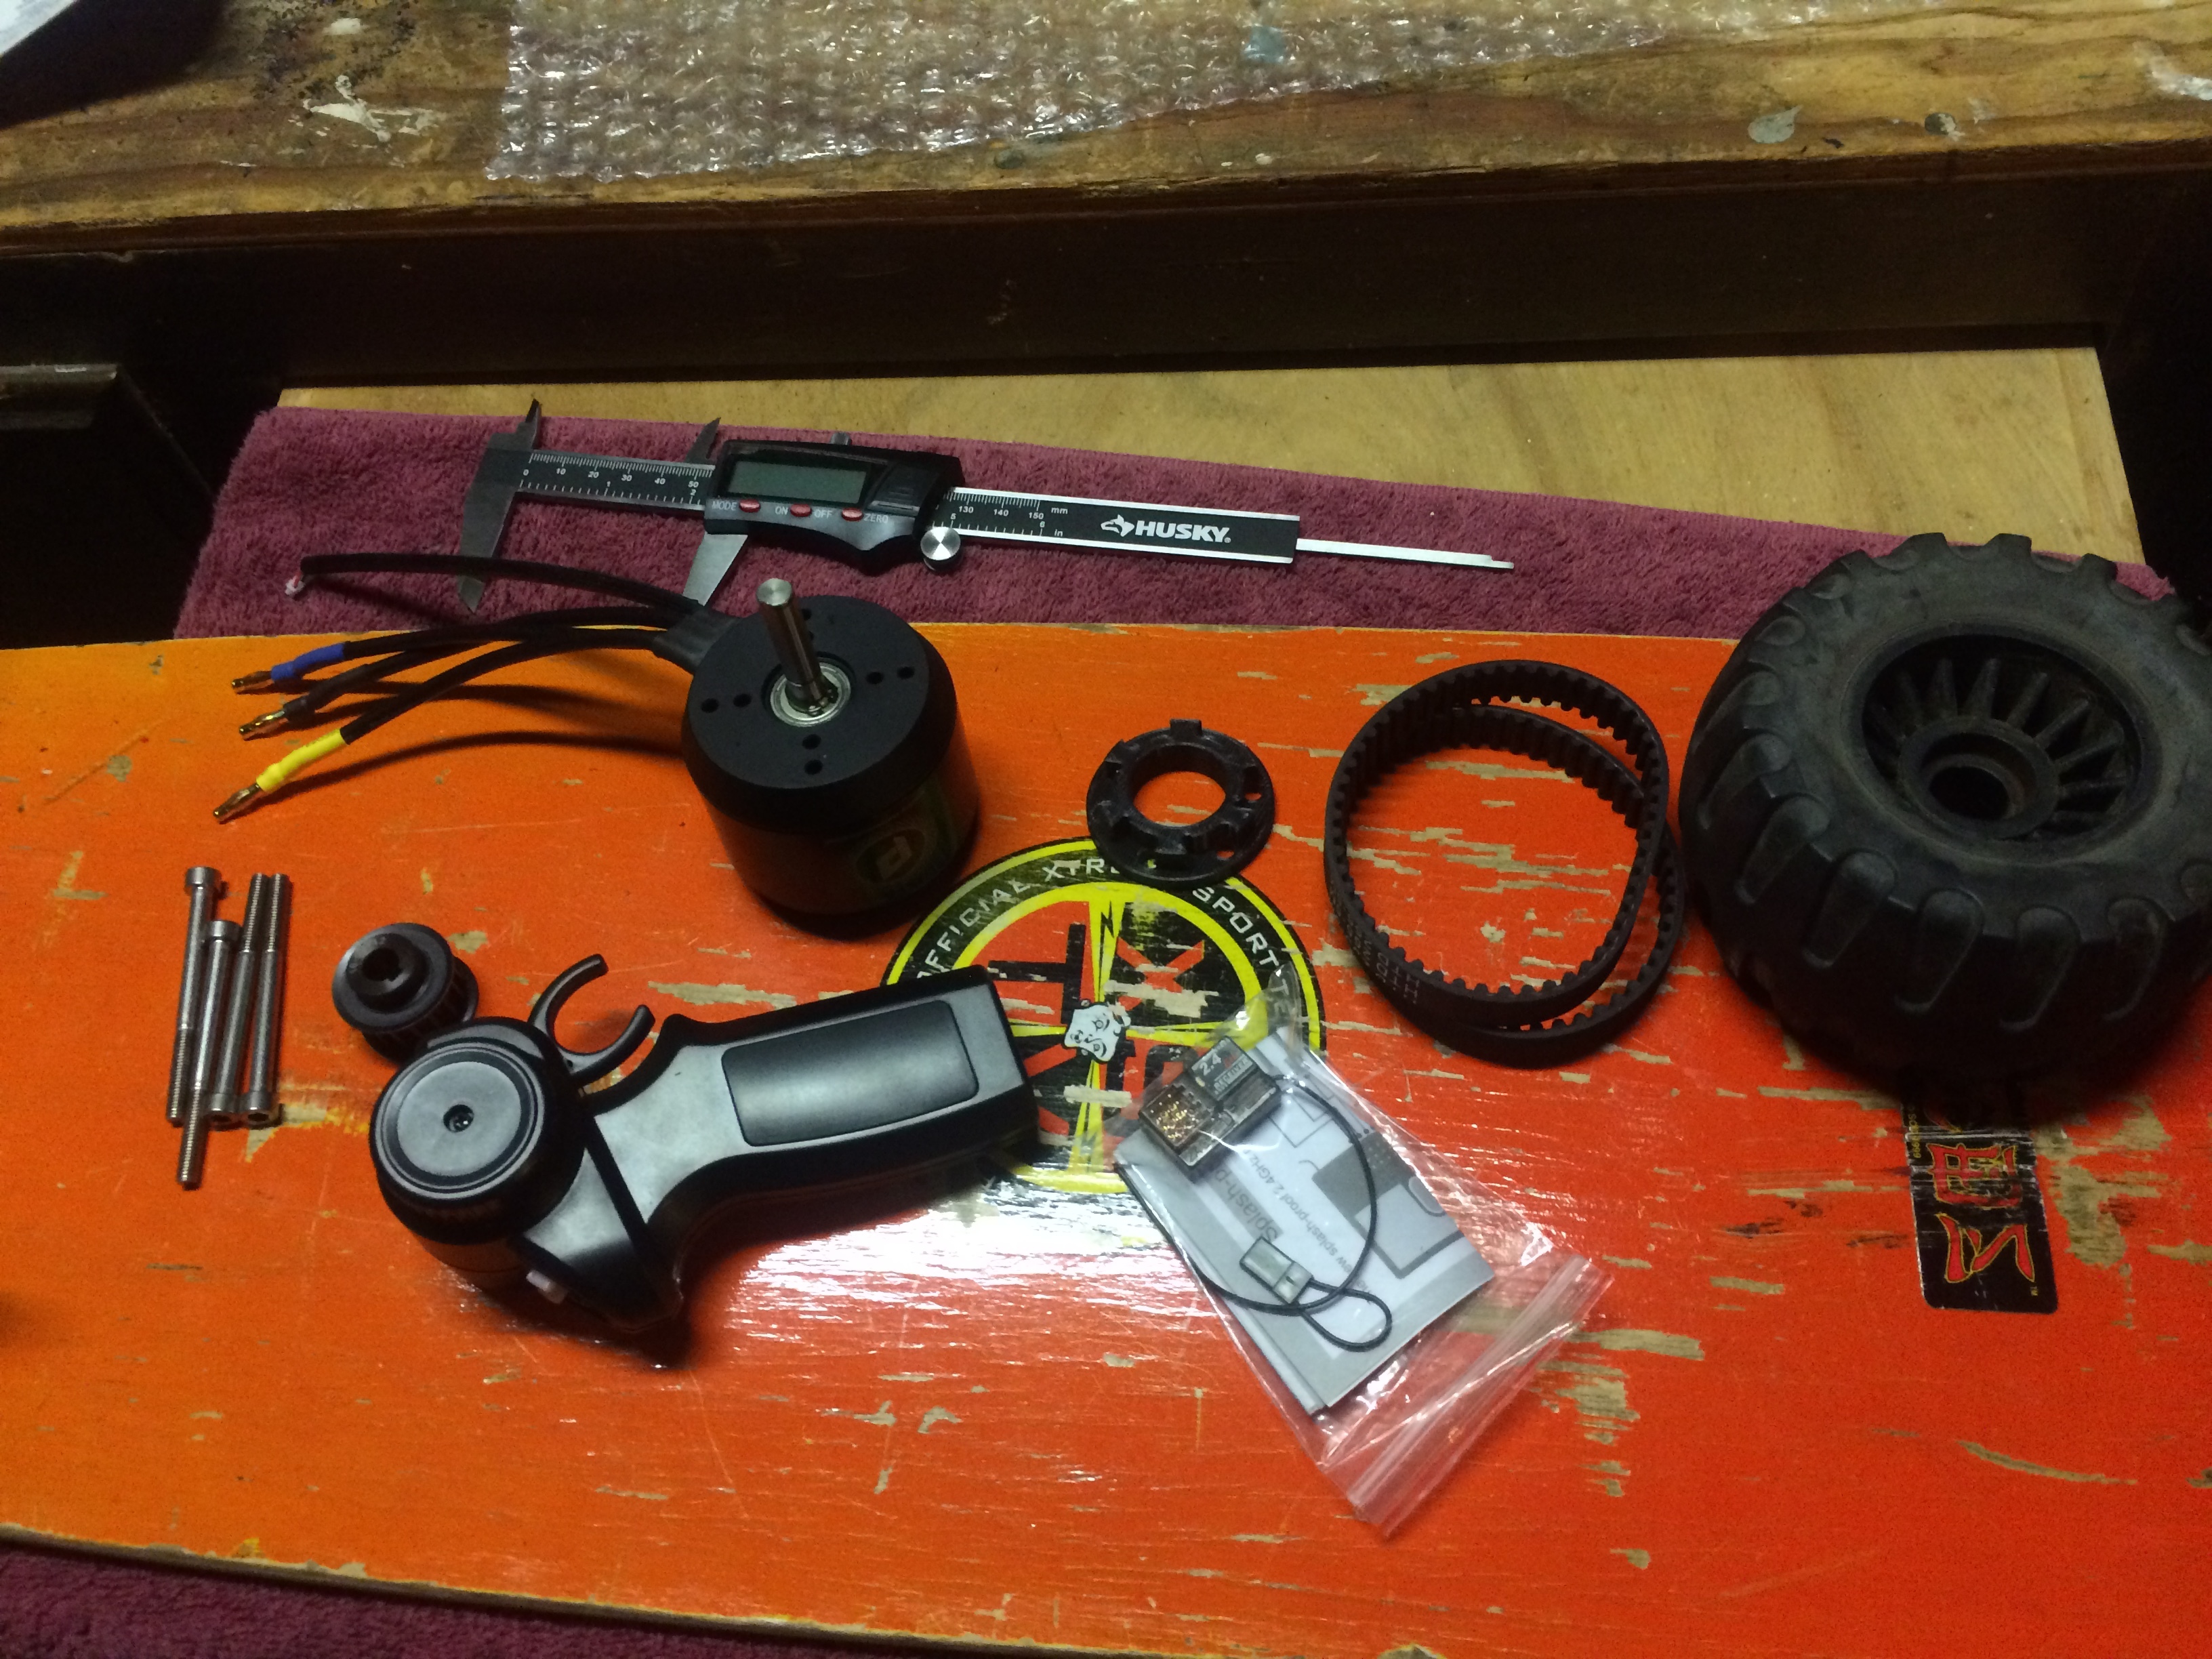

I decided to take a crack at the wheel, and 4 hrs of dremel work later…
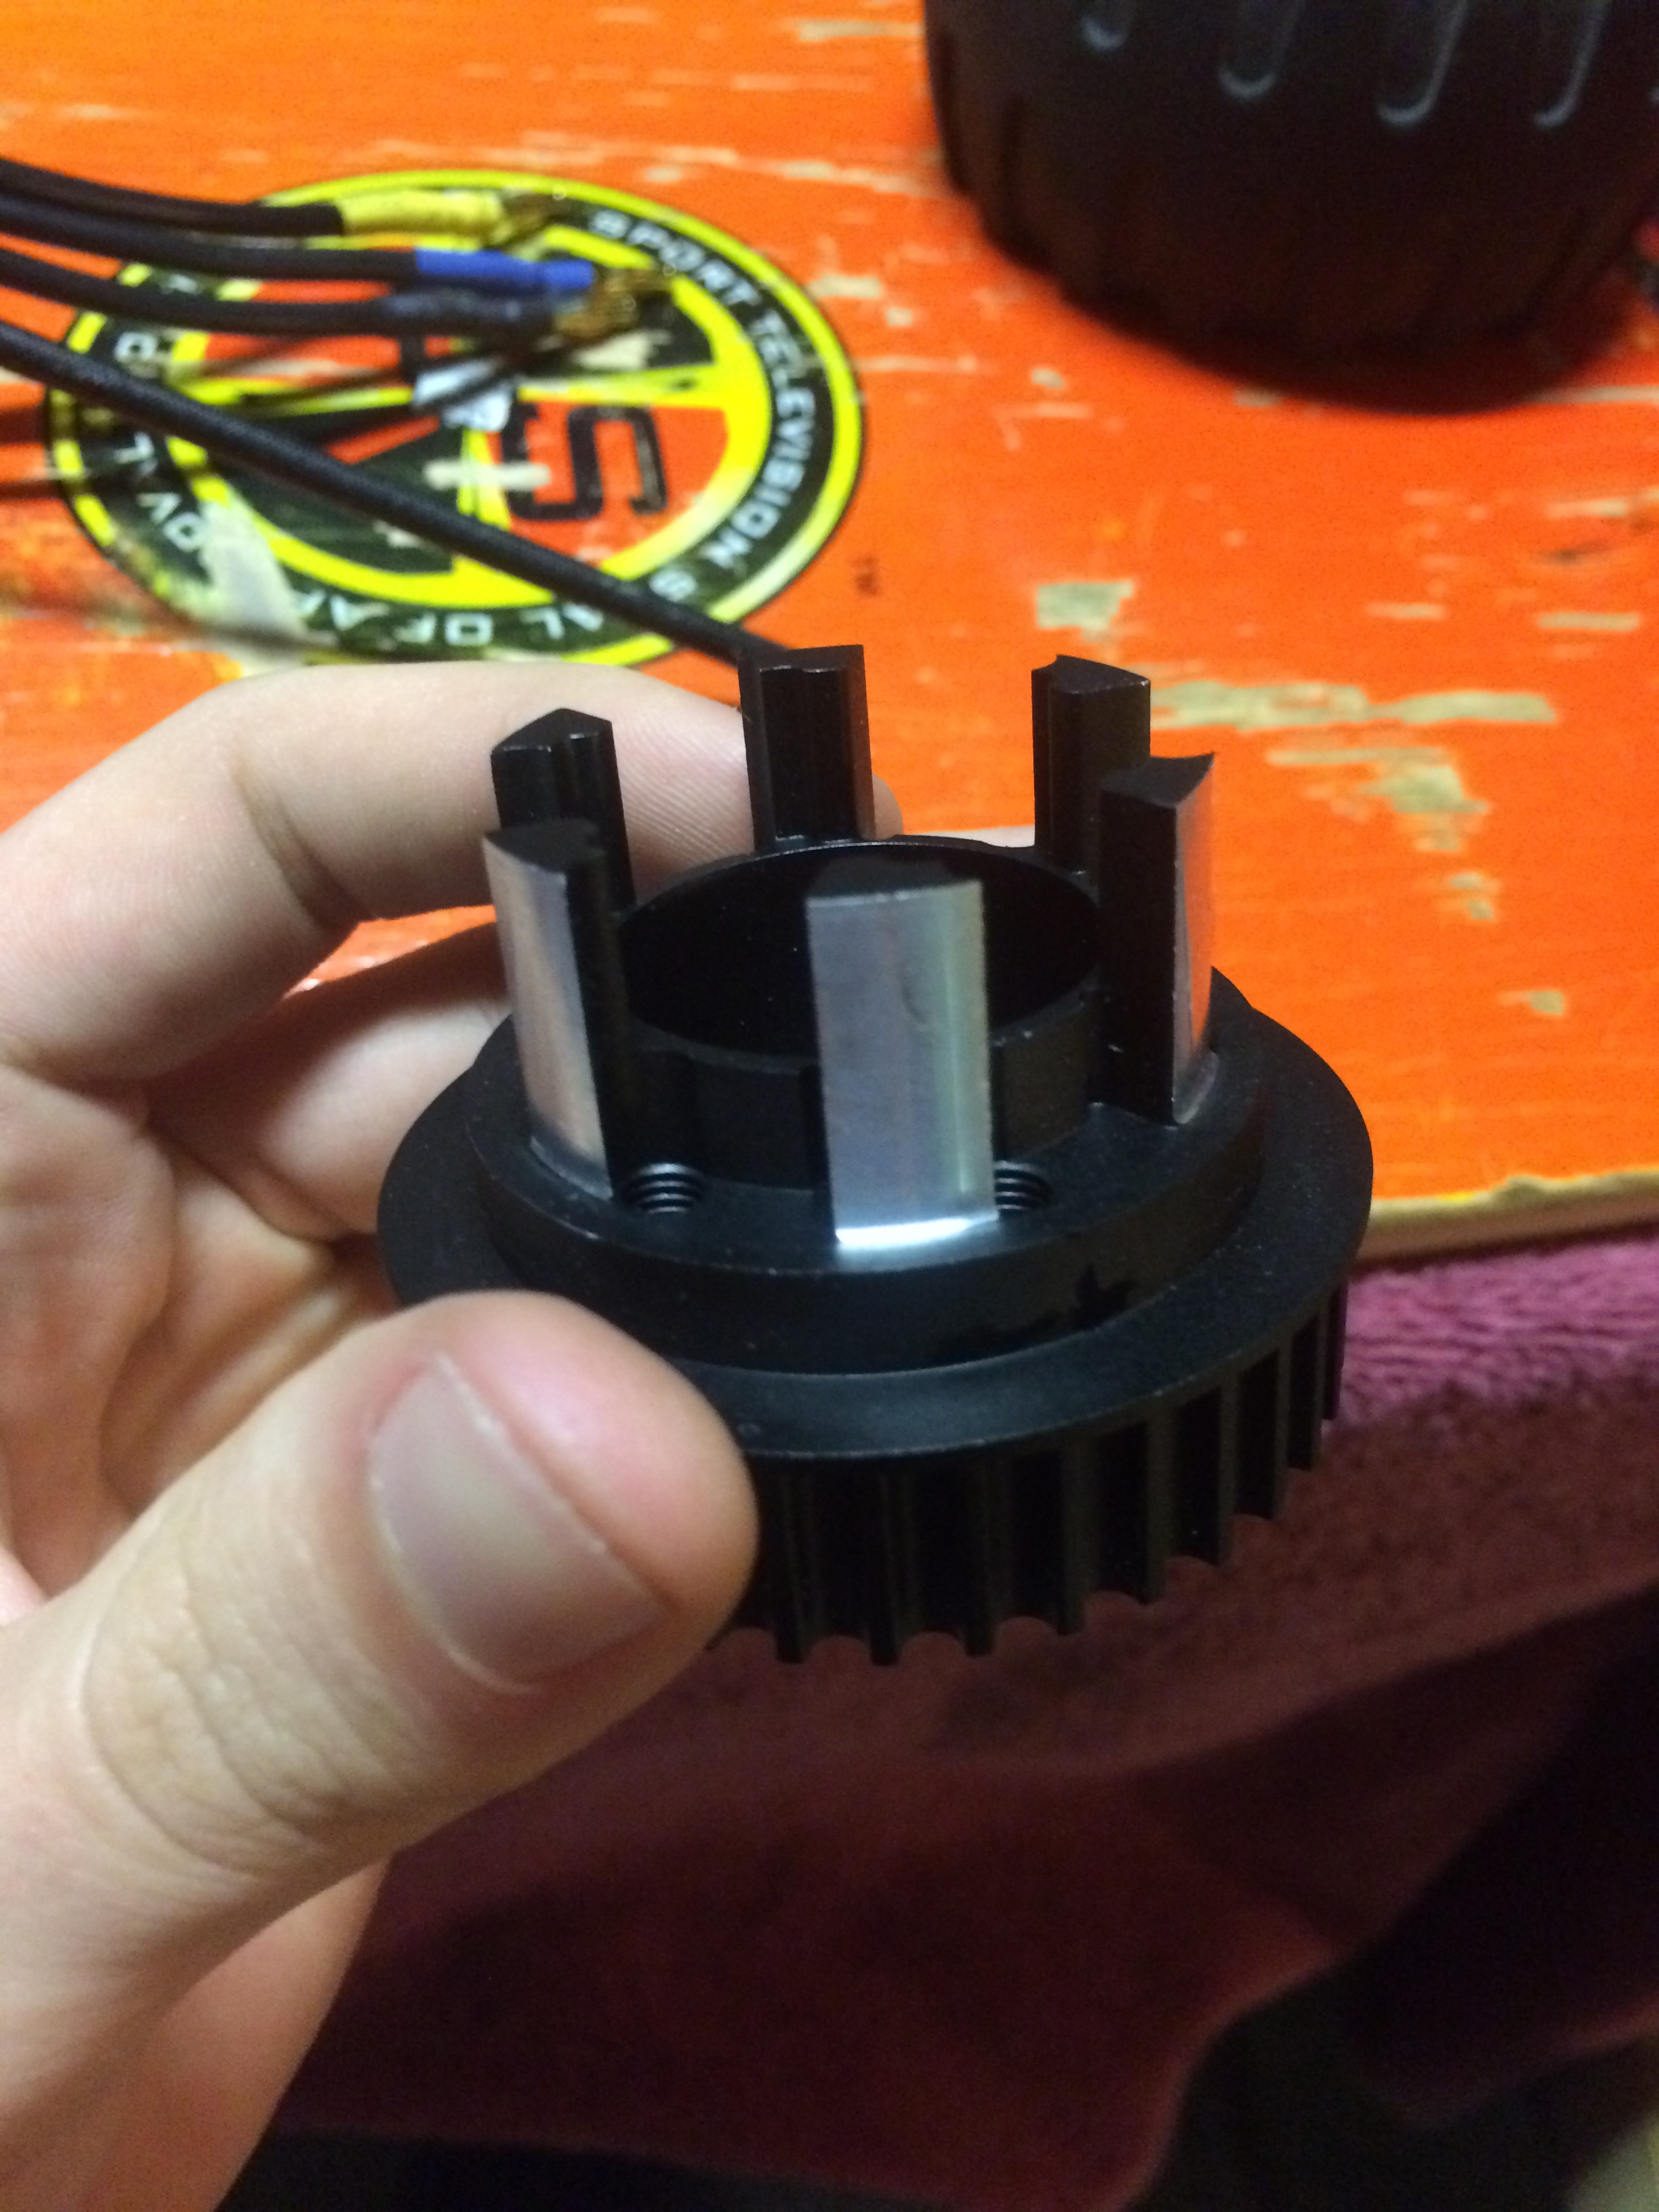
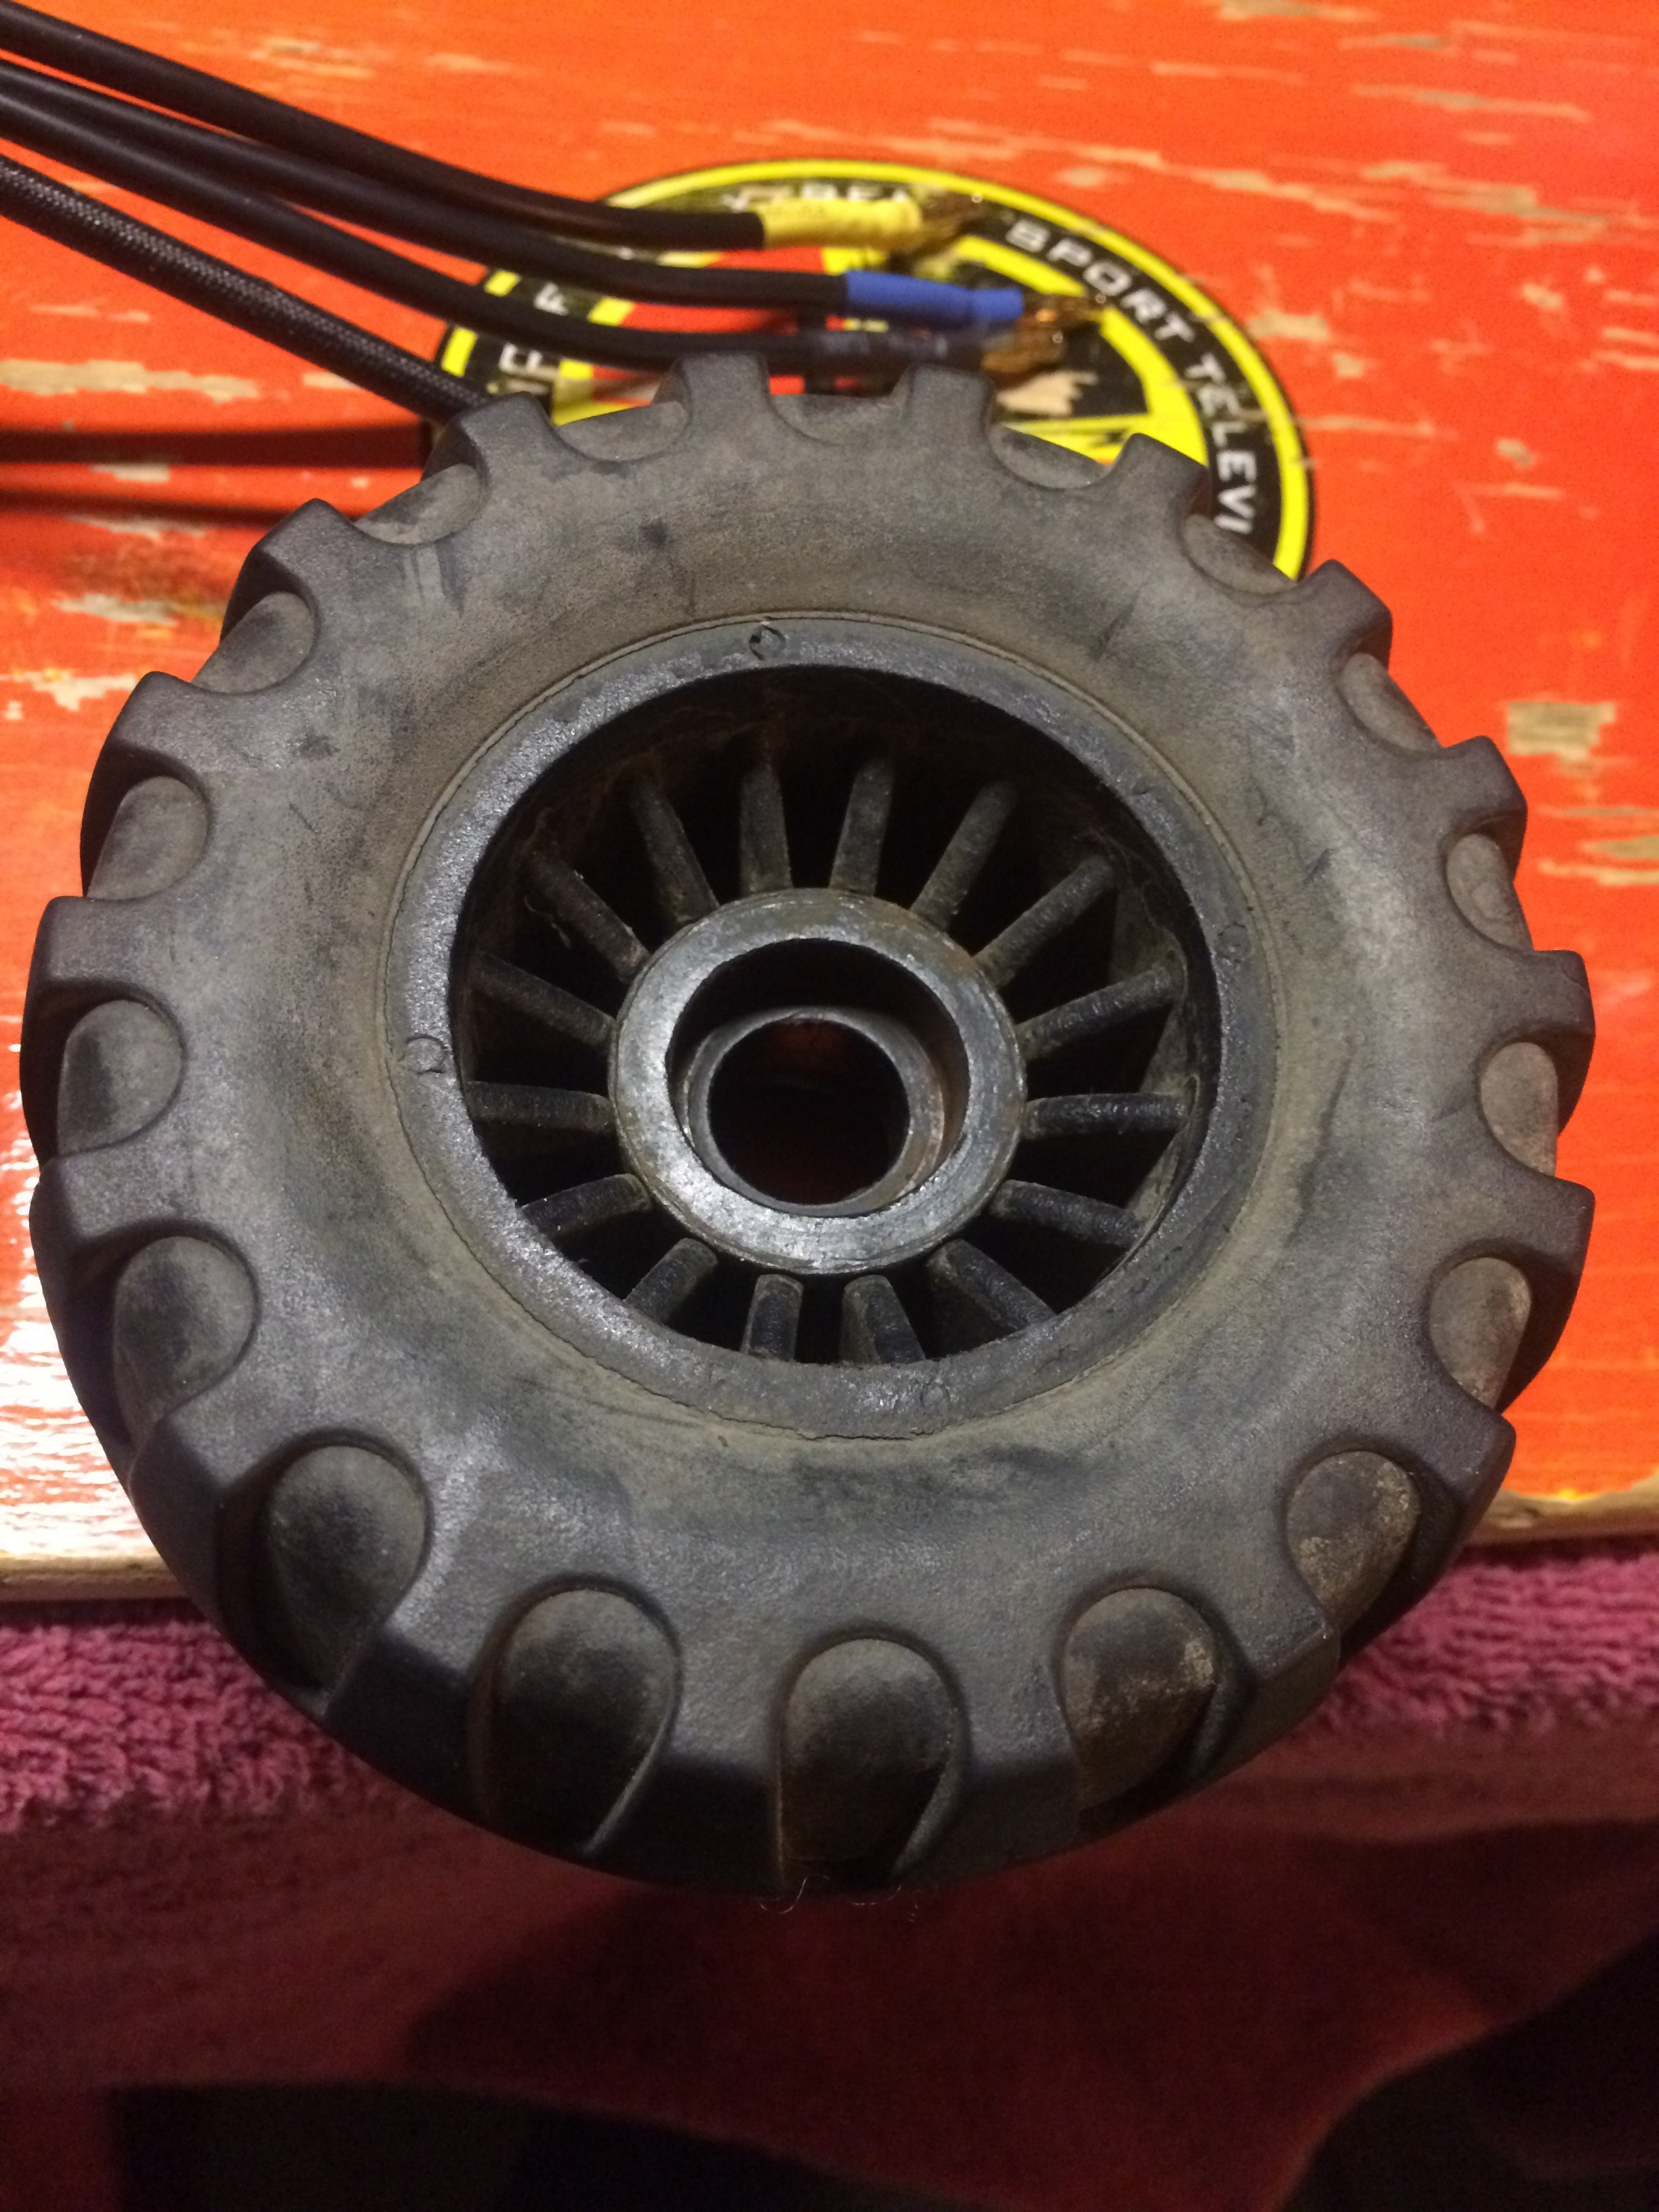

I’ve never seen a build without its own unique problems to work out… just never thought I’d run into this one:


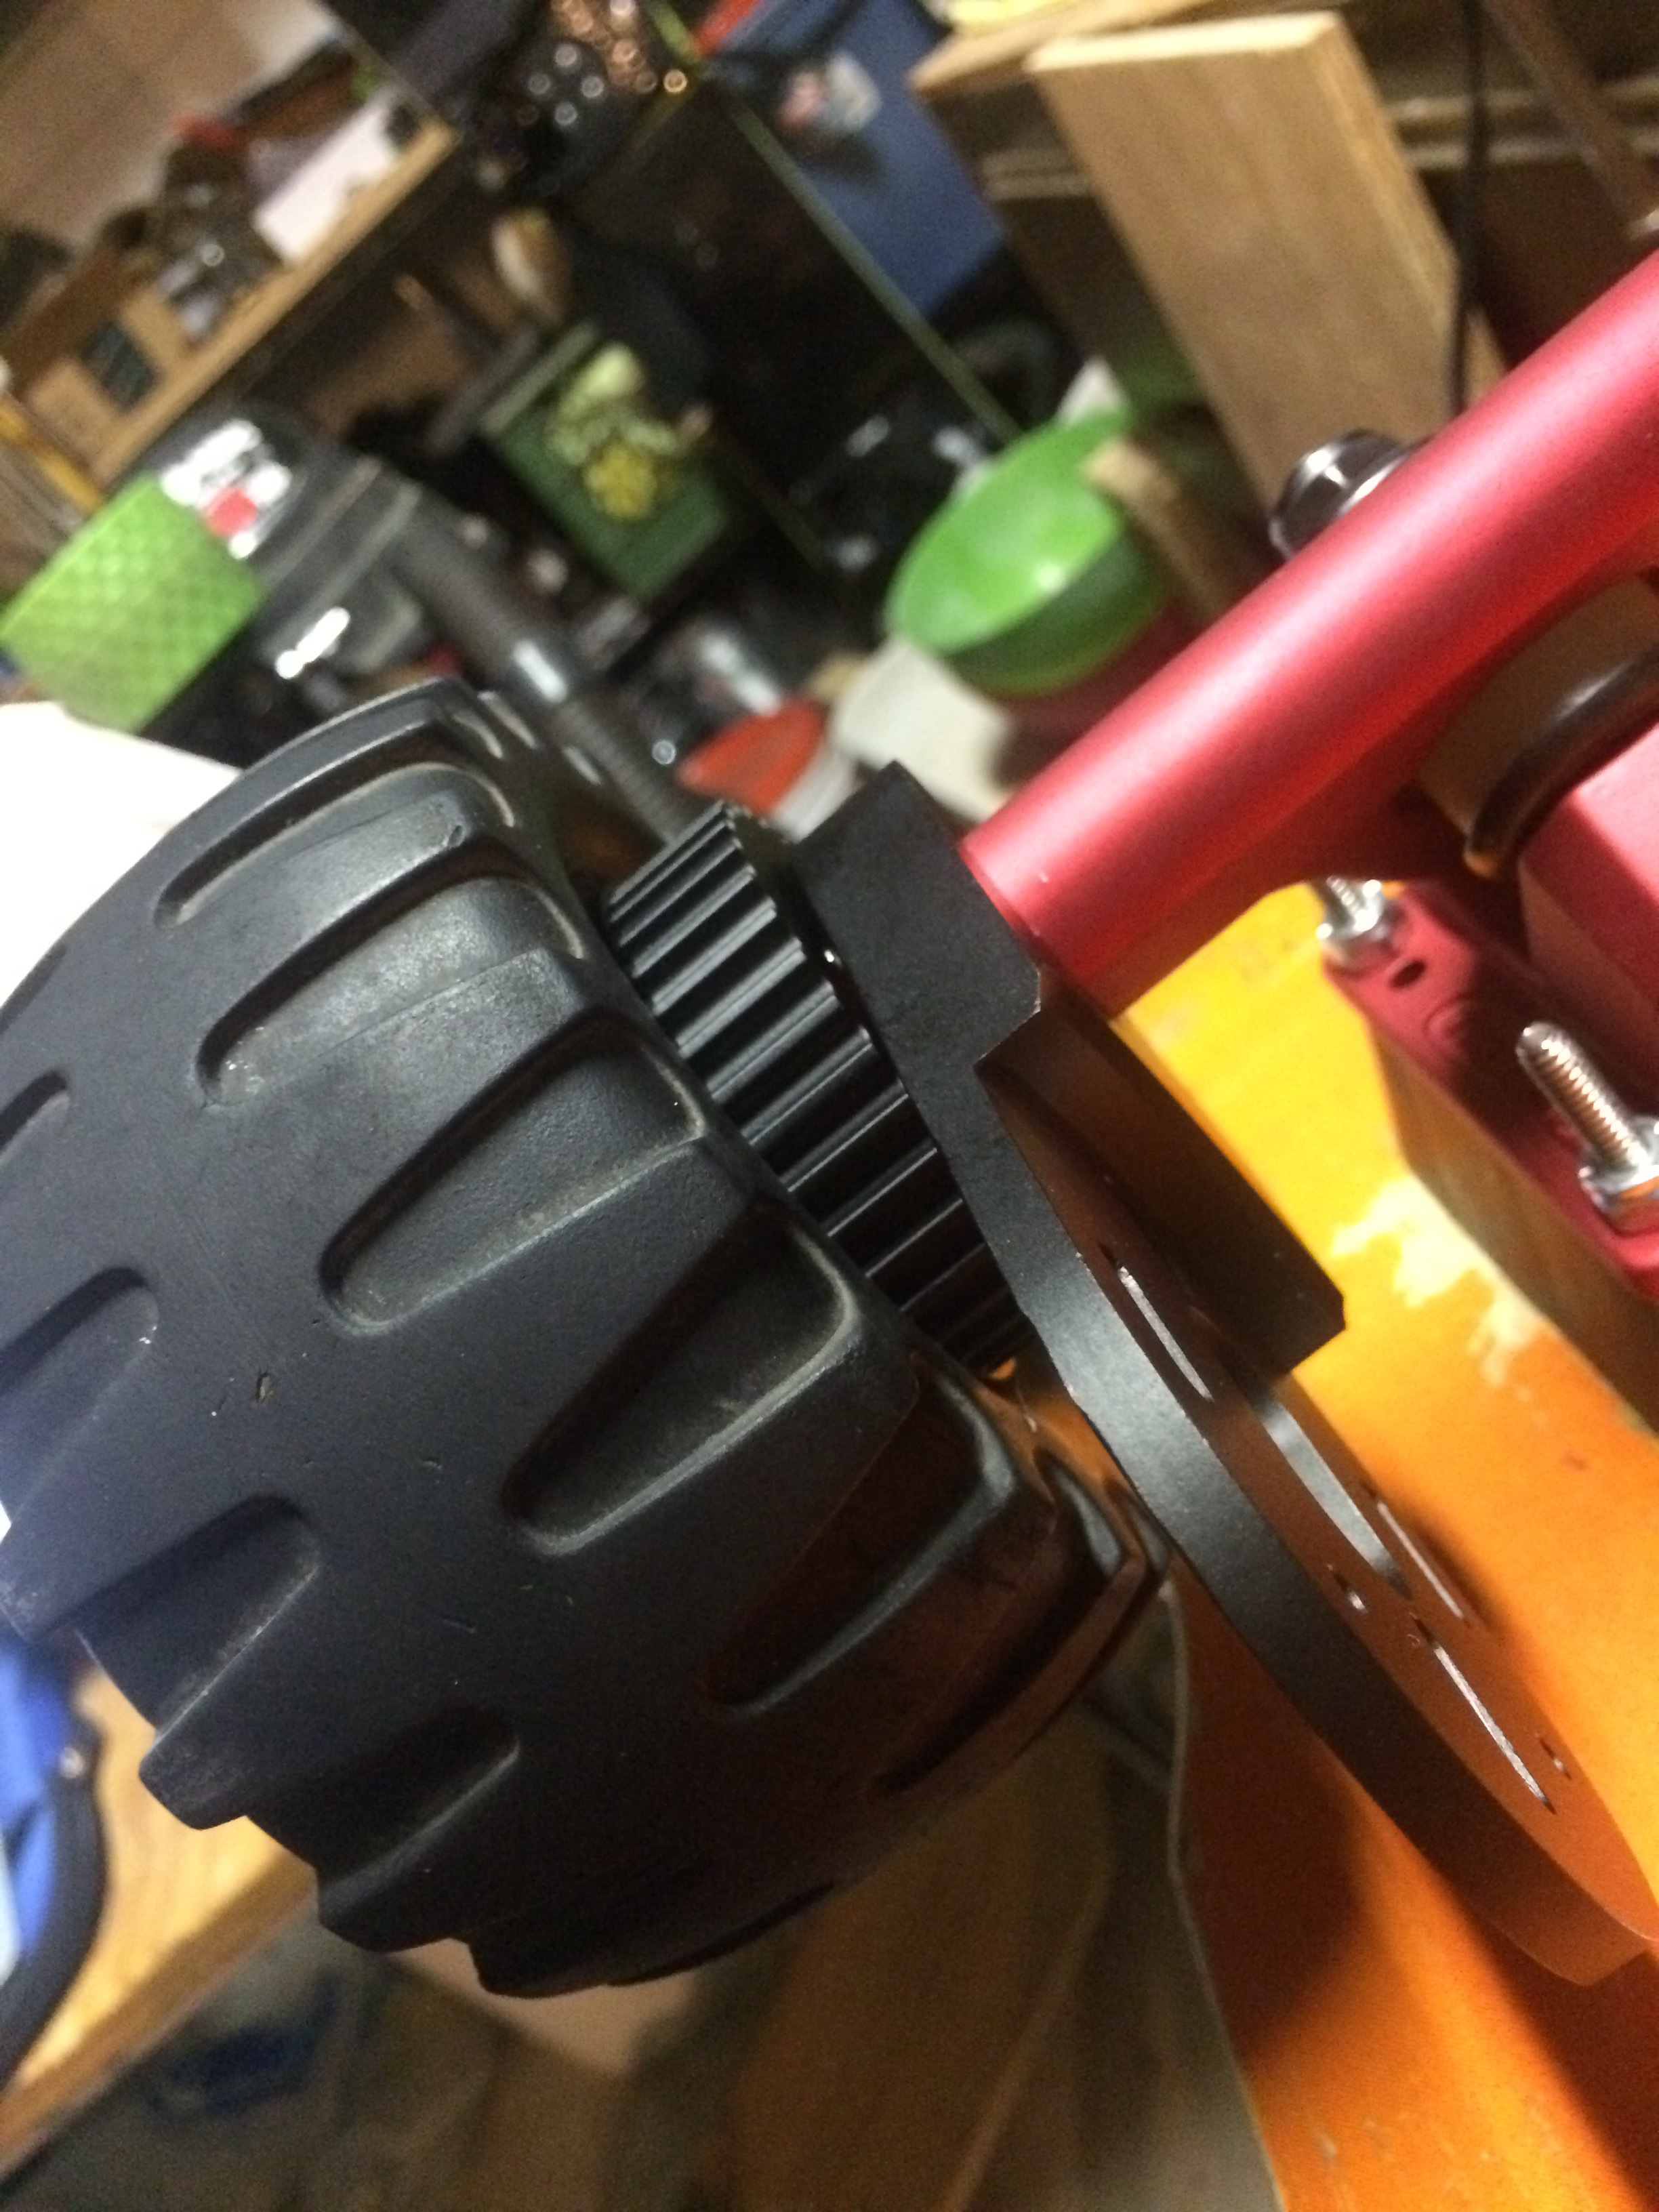

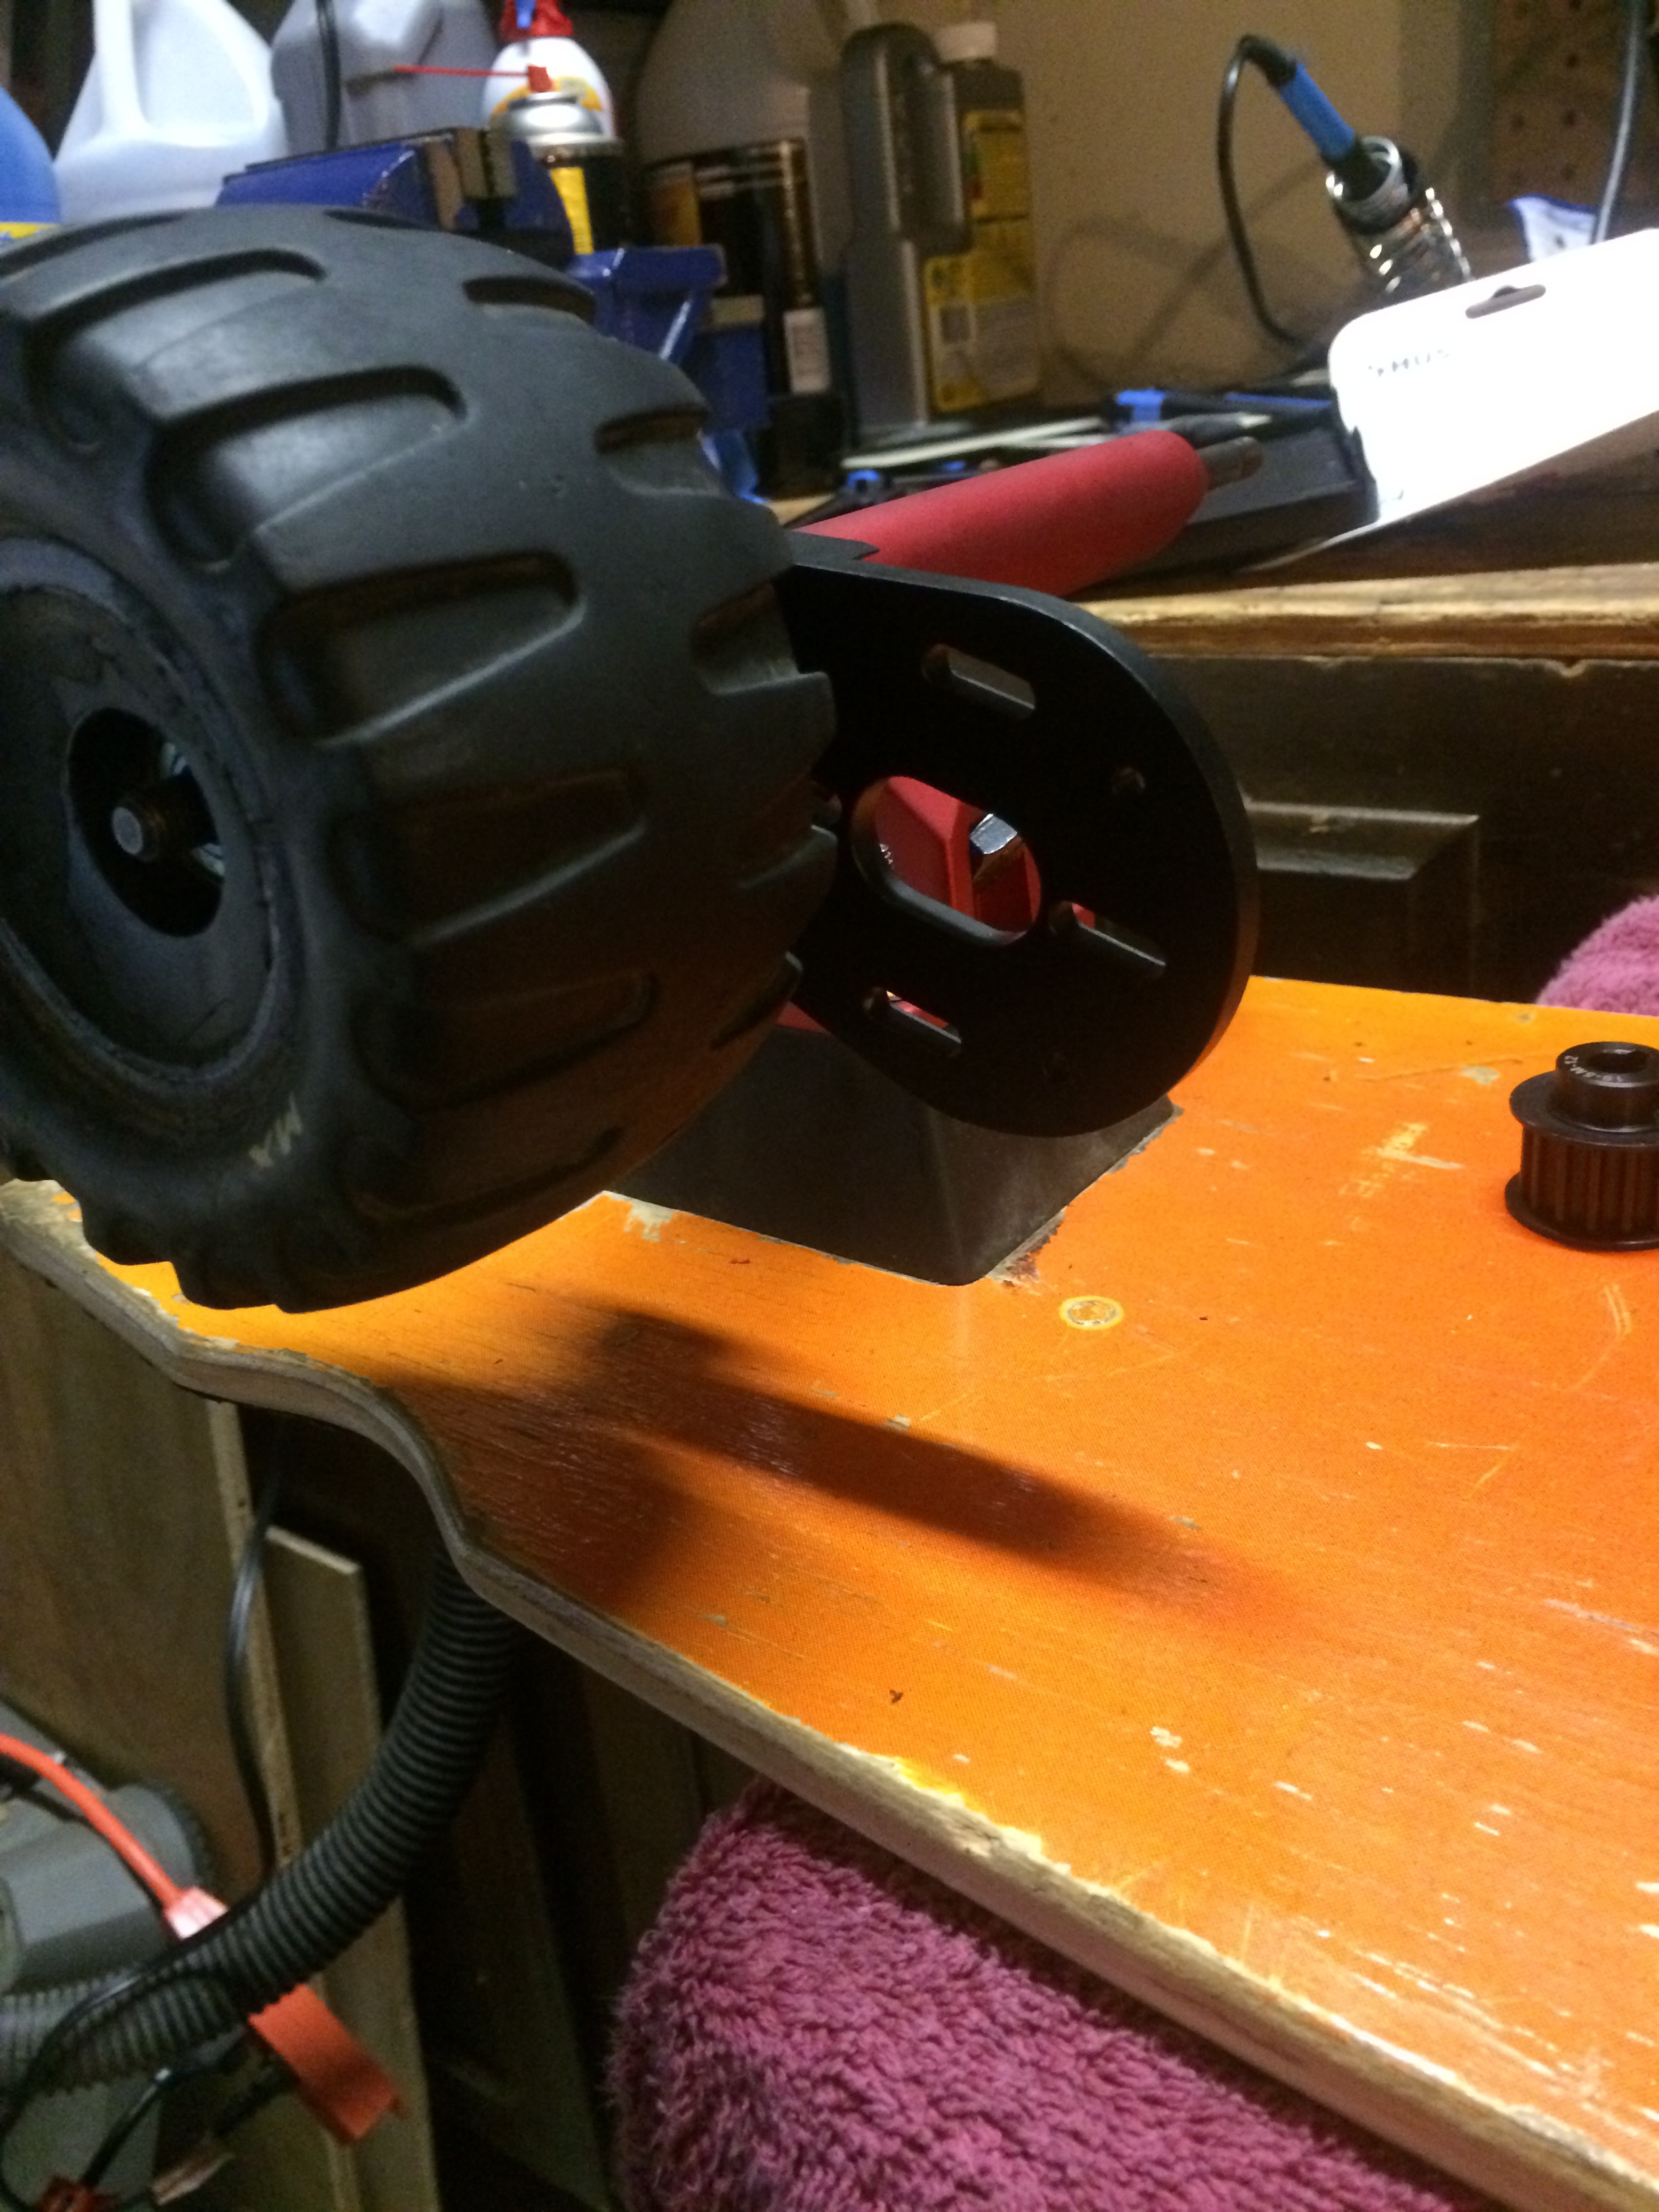
As you can see, the wheel is so monstrous that It hits the motor even at maximum extension of the mount. The way I see it, there are three options:
- Get a longer motor mount
- Dremel away part of the wheel
- Get some more green MBS wheels (black is out of stock
 )
)
Any other suggestions in solving this issue would be greatly appreciated, I think I’ll likely go for the dremel option as money is always something in the back of my mind with this hobby
2 Likes
If I can recall off the top of my head the screws are M4. You can pick some up at your local hardware store.
1 Like
@anorak234 how much extra space do you need to accomodafe the wheel? If it isn’t too much. Can you mod your mount?
@treenutter the space needed is only a few millimeters, I am considering today just dremeling some of that edge on the wheel. It may not look pretty but if it works, it works.
Thanks!
10 char
Finished the drivetrain - it’s not perfect and it’s REALLY tight but I think it’ll work for now. First rides will determine whether or not I created a belt-shredder.


4 Likes
Nice job man. I’d have a hard time giving it away if I were you. I just wanted to mention that excessive belt tension can be hard on the motor so be sure to take care of that at some point. Keep up the good work.
Uh, if that’s what you meant by “tight” that is.
By tight, I meant the amount of space in between the motor gear and the wheel itself (it’s less than a millimeter). However, the belt is relatively tight as well so I’ll keep that in mind. Thanks!
Nice to see some old stuff getting new life, too bad the trucks couldn’t be reused as well.
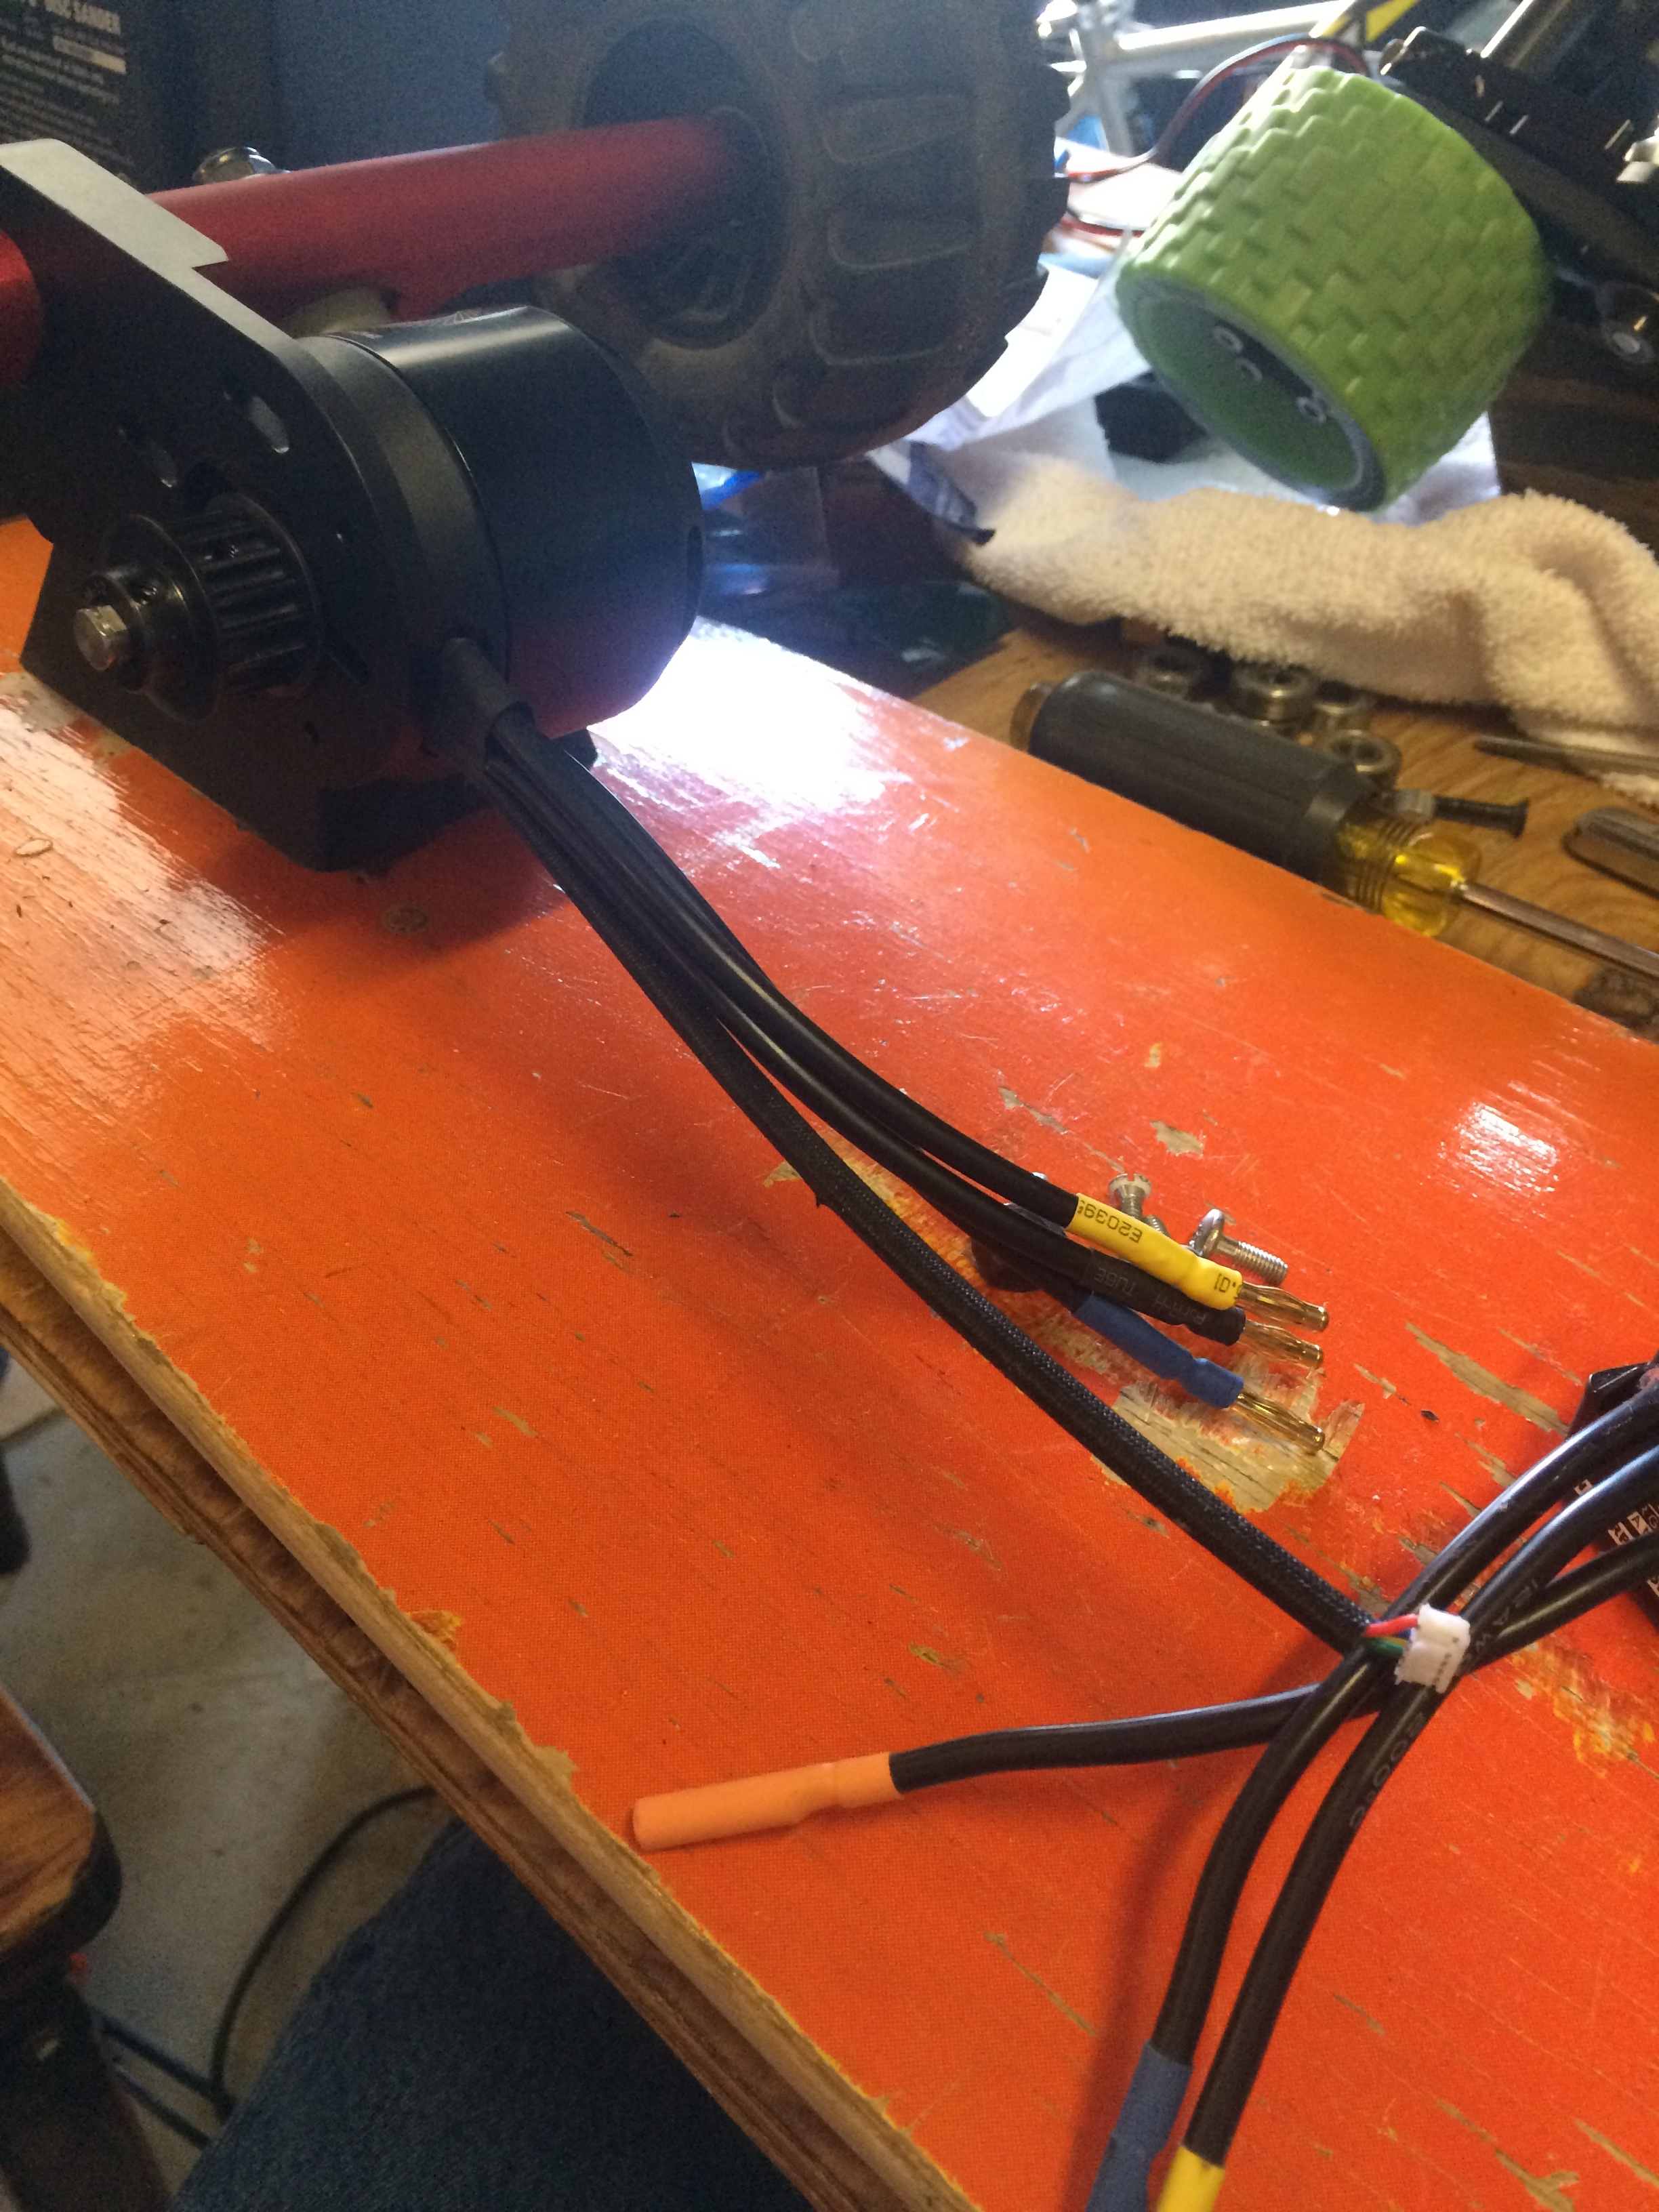
I’d suggest turning the motor so the wires come out toward the truck instead of the board. Otherwise you’ll most probably end up with a short in the motor if the phase wires don’t have extra insulation inside the can. (Personal experience)
@Iceni thanks for the feedback! I am curious regarding your suggestion to change where the motor wires are facing - I’ve been running an SK3 on my Semi for a few months now in a similar configuration with no issues. How exactly does the motor short itself if the wires are in this particular position?
When turning, the phase wires might move in and out of the motor can a small amount. Which may rub the insulation off of the strands inside and cause them to come into contact with the metal inside. And if it happens to two phases the motor will short circuit and possibly take the ESC with it.
I’ve had it happen and I’ve seen one or two others on this forum which had the same thing happen.
One solution if you want to have the motor in that position and mitigate the risk is to cover the wires inside with heatshrink all the way to the coils. But for that you most probably have to open up the motor and that might not be worth the work involved.
Hence when I see someone with that configuration I at least point out the possible danger of it.
1 Like
1 Like
Well, most people would say that you should go back towards the truck then around back to the enclosure. However, I think that the position you have it in now should work but I could be wrong.

Loving the bennett trucks
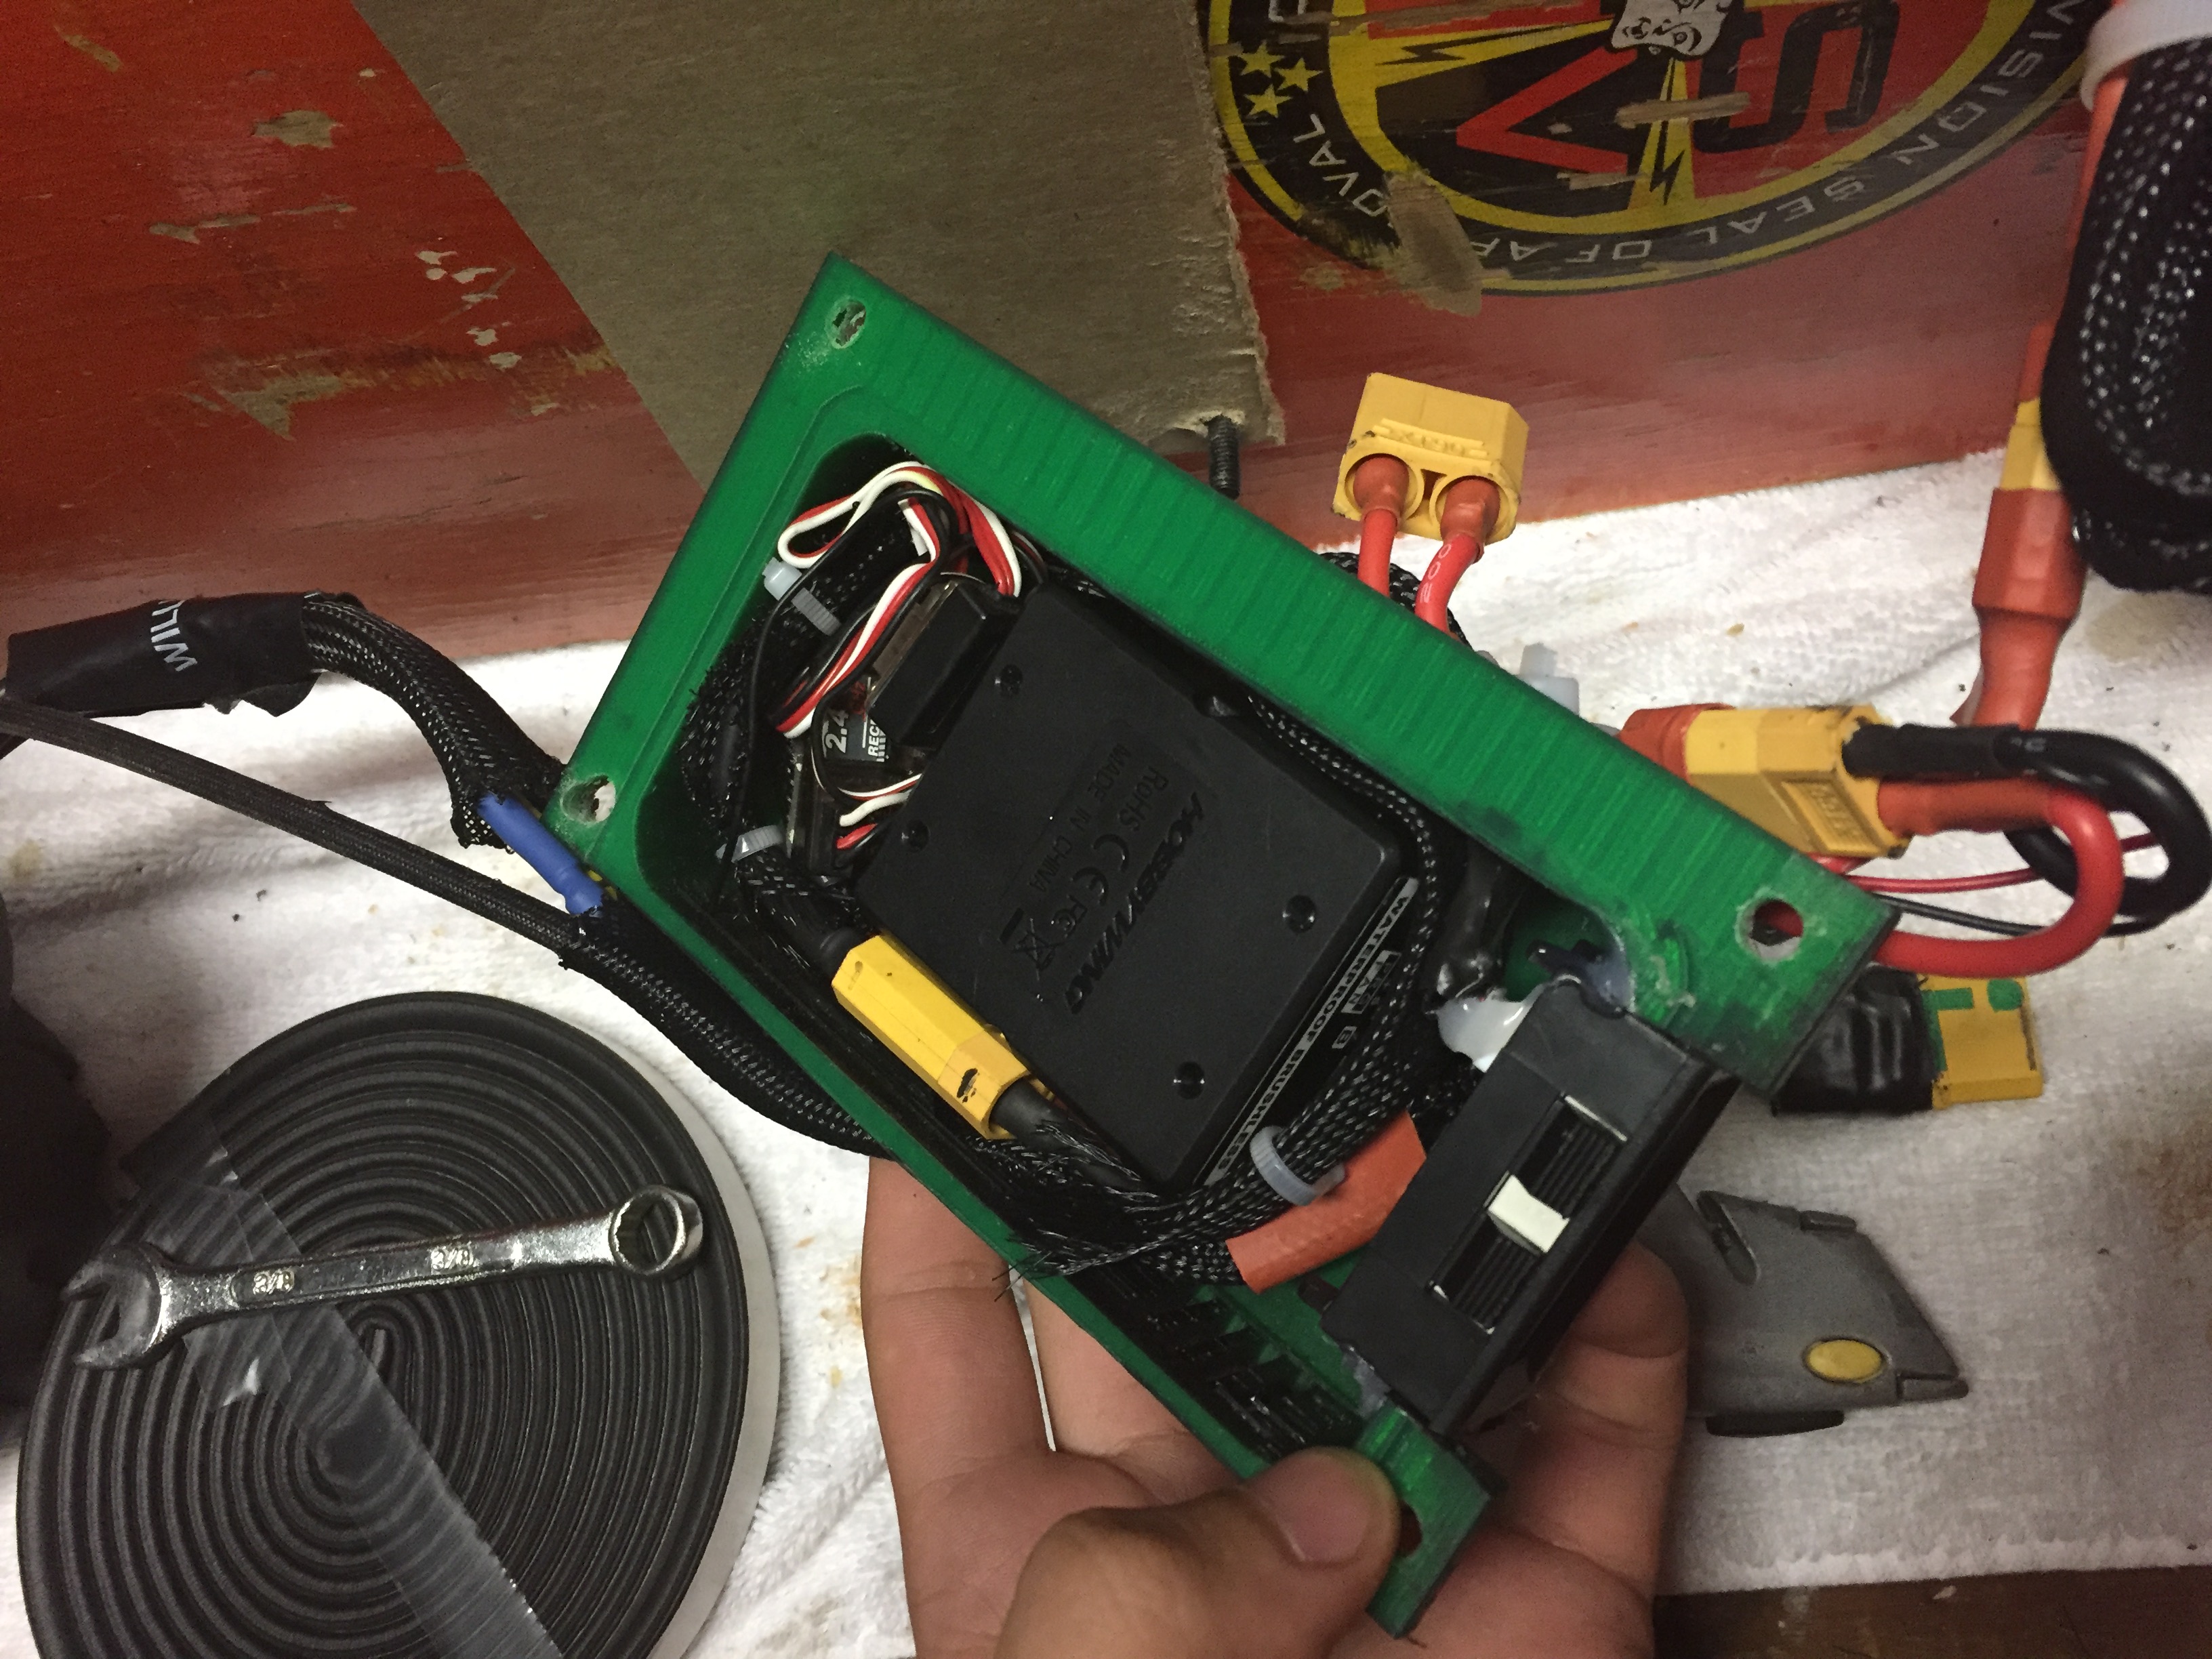
Believe it or not… progress has been made. Just took a while because life always gets in the way.

The photo above shows the battery (6s 8.8ah w/BMS) enclosure and charger mounted. There will be a second enclosure closer to the motor as not to cover the beautiful logo on the bottom of this deck. In efforts to keep the original look, the only change to the paintjob was a new coat of poly
3 Likes