That’s the plan! I’m going to spot weld two packs of 6, soldering two wire between each nickel joint. One for balancing, and another for monitoring. My hobby charger only goes up to 10S anyways, so it’s much more convenient this way. My voltage alarm also only goes up to 8S.

I received my new LG HD4 batteries, which are capable of 25A discharge. My plan was first to simply build a 10S2P setup, which would get me 50A, but then I realized I could do 8S3P by removing the BMS and going with the hobby charger approach. So I ordered 4 more batteries and waited… Then I realized that, with a little more case hacking, I could fit 30 batteries in that little enclosure! So I ordered 7 more batteries and waited…
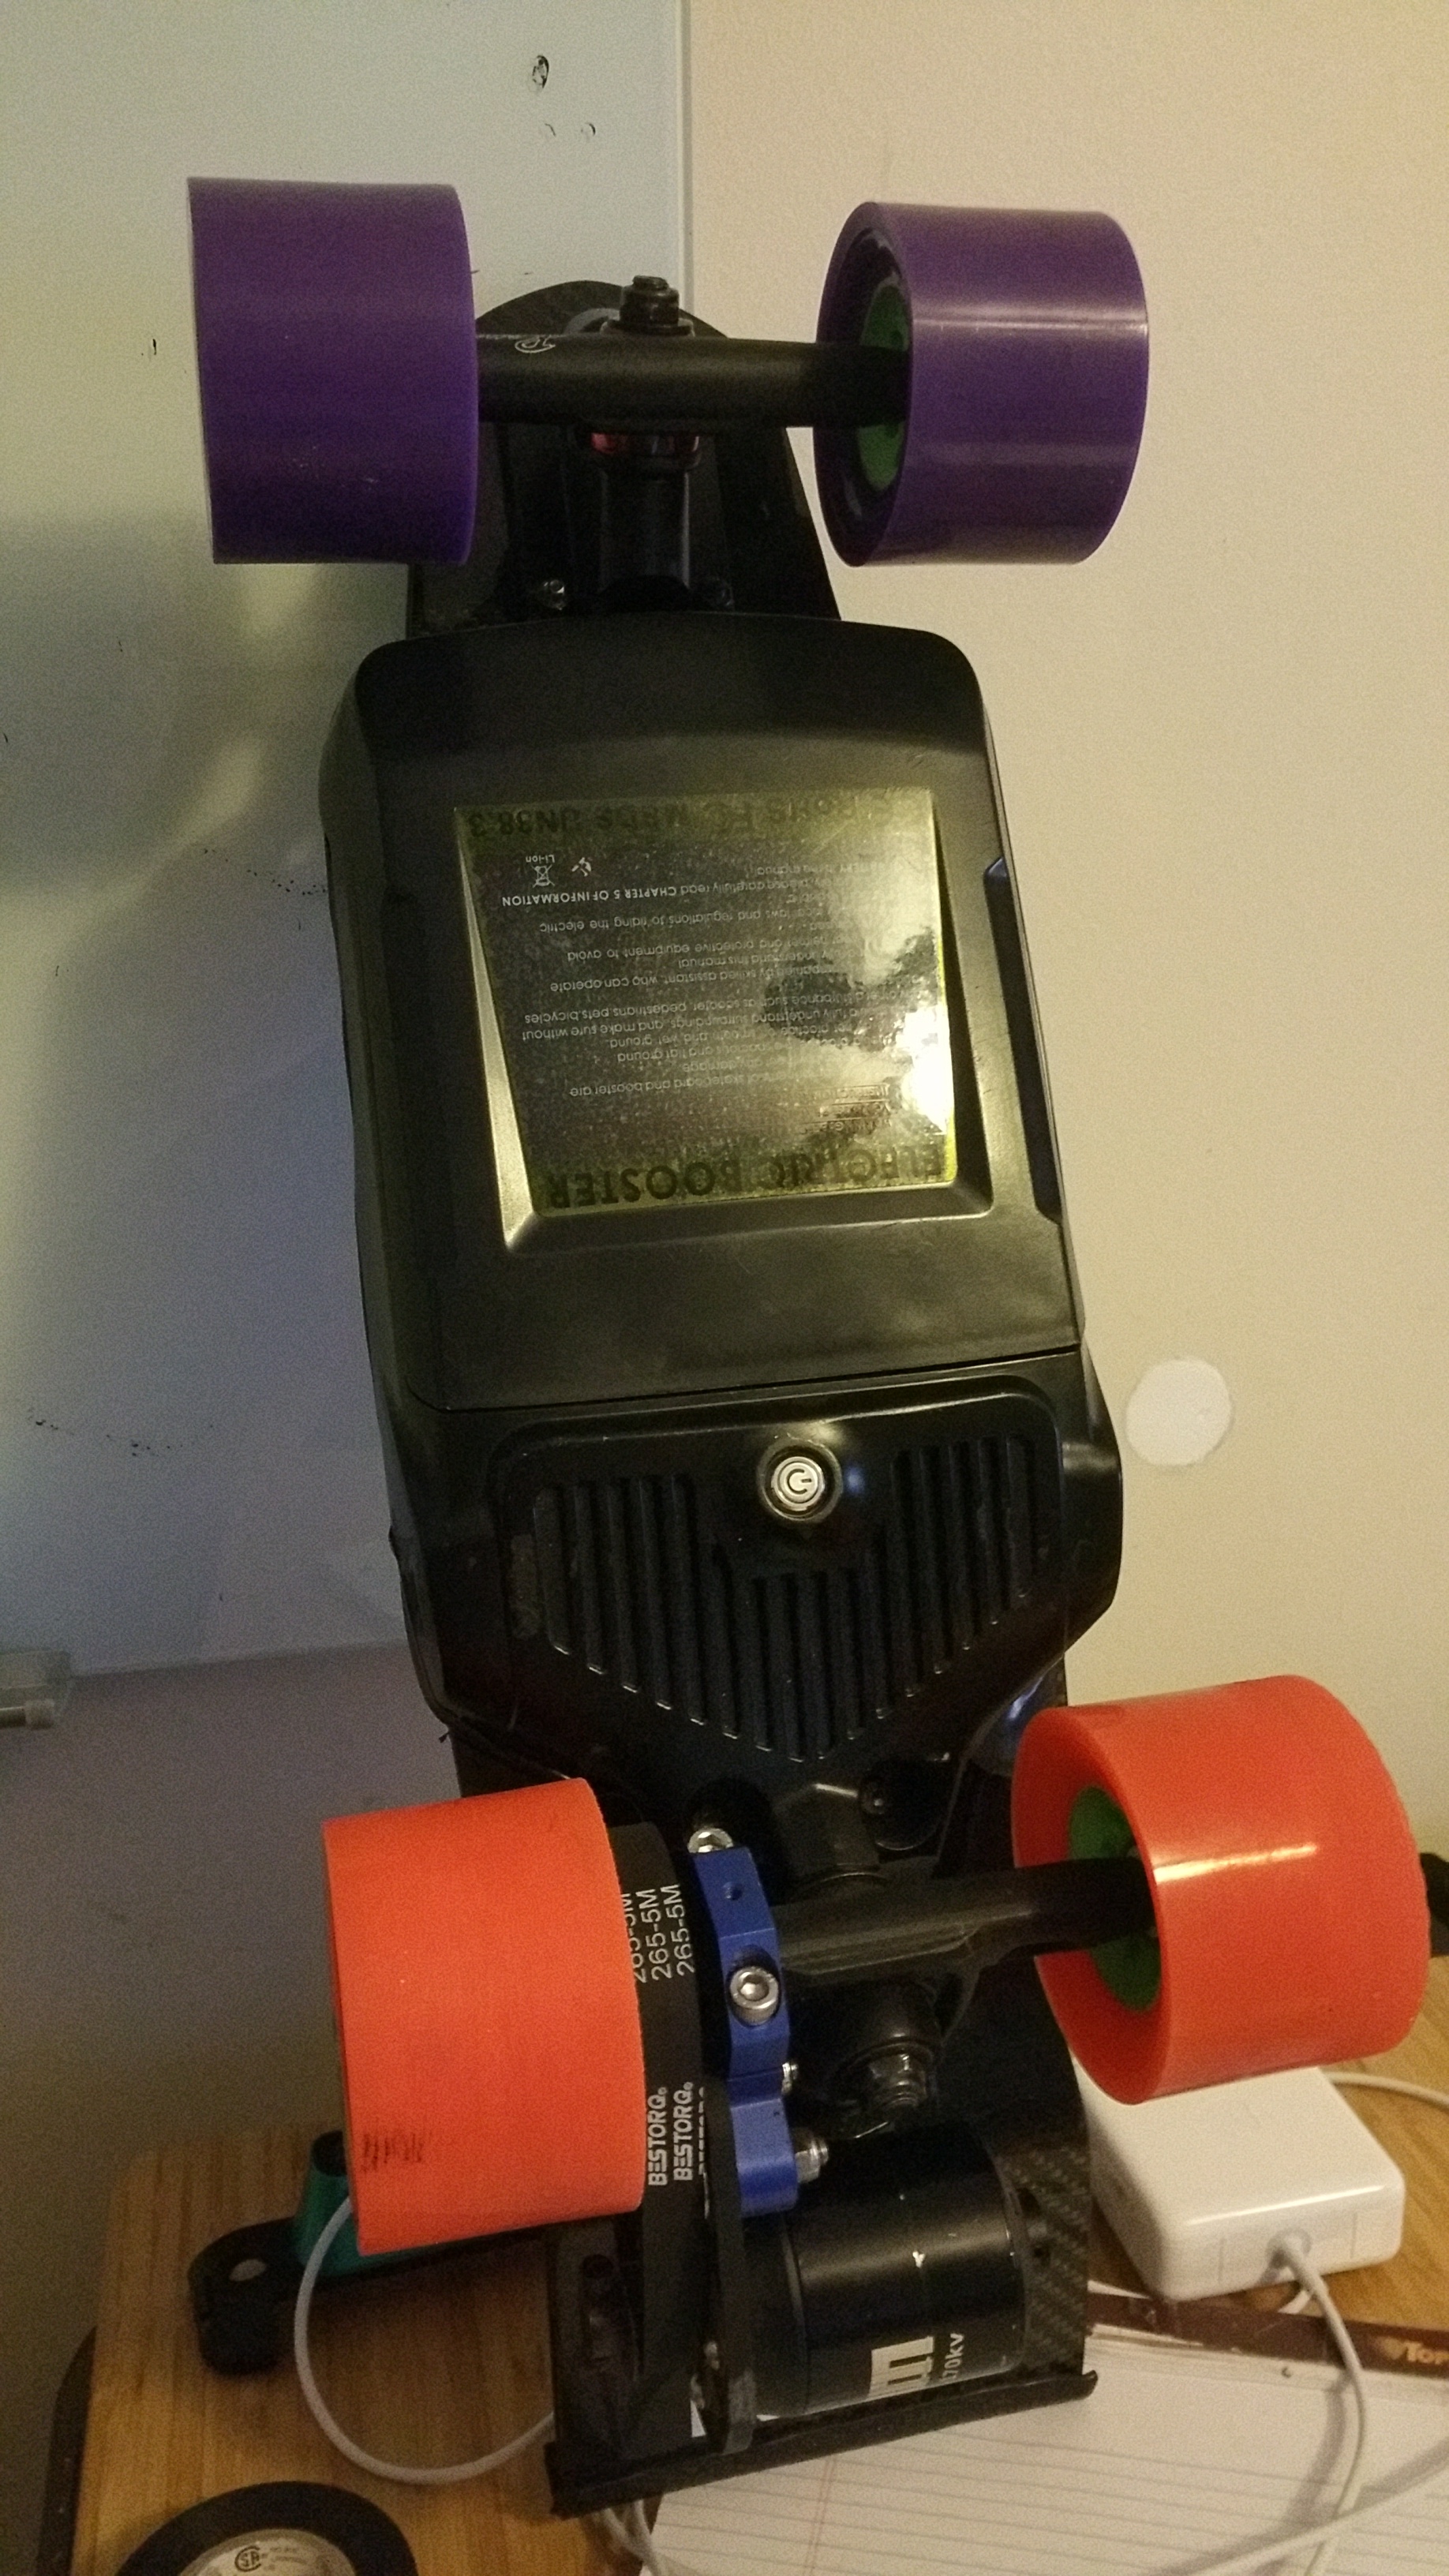
I’ve finally got my perfect hot swappable battery. It’s capable of 75A discharge and 6300mAh @ 36V and I can simply plug it into my hobby charger to balance while charging. So I should no longer be current-limited in my builds.
First, I made some more room in the case with the dremel and cut a small square hole for the female 10pin JST-XH connection. I then glued that in, ensuring there was enough clearance for the little guiding slots on the male connector to fit.


I then ran through a dry run, just like I did with the A123 26650 batteries. Figuring just the right placement to ensure everything will fit.

Learning from last time, my approach to building the pack was do all my soldering first, then to do the spot welding. This is MUCH easier than soldering between batteries. It also looks a lot nicer.

I also labeled everything on a sharpie, so I wouldn’t have to think while welding.

And there you have it!


This is a really powerful battery for its size. I’m really happy with the results. Next steps are to weather product and heat shrink and all that, but I’m still waiting on materials. I think I’ll go back to the chassis/VESC hacks while I wait.
7 Likes
Now that I got the batteries good to go, I started work on the enclosure. My biggest issue was with the connectors taking too much space and the 10AWG wire not being flexible enough, so I had to do quite a bit of work on the VESC. Here’s what I did:
- Replaced the 10AWG wire leading from battery to the XT90 with 2x14AWG wires direct to the battery connector. Given the battery enclosure already has 2x14AWG, I think this should be sufficient. If not, I’ve got a lot of work modding the battery pack.
- Replaced the 10AWG wire to the motor leads with 12AWG wire, this enables me to bend the connectors so that I can mount a 5.5 bullet connector in the case itself.
- “Split” the VESC so that it rests on the capacitors and secure in place with Kapton tape.
- Hack the GIANT sparkless switch from DIY to give it a reduced profile.
- Drill holes directly into the case to mount the motor connectors. Increase the current hole so that I can fit the sensor wires through.
I tested this with two VESCs, and with the above changes both will fit fine. Right now, so I’m testing a simple single belt drive setup. I’m going to put in on my little bench “dyno” and ensure that the heat isn’t an issue or anything before I hack apart another VESC to get it to fit in there. It’s SO quiet in FOC, it’s amazing! I’ll send a video later.


I’ll clean everything up later, once I have it tested.
The main downside with the Onan X2 hack is that it doesn’t work all that well for belt drive, since the motor lacks clearance under the board. Anyone know where I can get a longer motor mount? I need it to be about 3/4" longer so that I can use this approach for my Mini Rover build.
2 Likes
Any updates? Great work so far!
Thanks! Unfortunately, one of my VESC-X’s from Enertion was DOA, so this build is waiting on that. However, I implemented a second Onan hack with my Rover Build.
Here’s a quick clip: https://www.youtube.com/watch?v=0fWOcp-MFo4&feature=youtu.be
4 Likes
Hey man, we met at the makerfaire today and I gotta say I’m super inspired by your builds. Hot swappable batteries are a great idea, and it’s pretty awesome that you were able to fit 10s3p in that tiny enclosure. I’m going to have to try to play around with the idea of a removable battery.
Also met you at the faire today. Check out my board “fishie”
Hey octof1sh! Thanks for the compliment, and I’m glad you liked the board. It was really fun being able to ride it around the faire 
It makes me wonder if the should be an esk8 builders meetup in the bay area or something… There’s was quite a lot of us at the faire. Anyhow, feel free to drop me a note or post here if there’s anything I can help with in your endeavors.
Will do, checking out the build now! Thanks for dropping me a note.
We should have a esk8 booth next year at the fair, you think we can make that happen?
Definitely.
1 Like
tell me please the base ESC on ONAN is it vesc ? I wanna make some hack like you but i place TORQUE Single Hub Motor (collections/electric-skateboard-hub-motors/products/torque-single-hub-motor) so i wanna know what the type of esc and battery be better
does anyone know if it’s possible to program the ESC on onan booster x2.1?
If the ESC is the standard chinese one (meepo, woogo, ownboard, backfire ecc…) and I am afraid this is the case, no it’s not possible because it is not open source. You can either replace it with 2 VESC (dual hub at least for onan booster, right?) or in order to save money now the chinese companys had released a new ESC that seems having a smoother acceleration and brakes. Depend of what youare looking for and the budget available.
The base ESC is most definitely not VESC. To make this build work, you need to gut the Onan and put a VESC in there. Two is a tight fit, but doable.
So it is possible to control the onan x2 hubs with two vesc 6 controllers insteat of the cheap chinese esc inside?
Yep! Of course, you’ve got to wire up the sensor connections.
Hi Faust, (and others) I just got an onan (labelled as nuff board) and it has a dead controller board. Is anyone who has gutted their onan unit willing to sell me their old controller pcb? I believe the big board in mine is ok it’s the daughterboard that is fried, so even if someone’s main pcb was damaged I could probably still use it. I’m in northern California… Thanks!
UPDATE: I got VESC controllers instead. I actually wrote to ONAN in china and at first they offered me a new control board for $85 but then started to bait and switch me up to $345 for everything including shipping. Real rip off, so I went VESC instead