This is, in my opinion, the cleanest way to mount an enclosure without having to drill all the way through your deck. I’m putting this up as a Go to/How to for anyone that doesn’t want to use wood screws or “skate type” hardware on their builds.
For this install you will need:
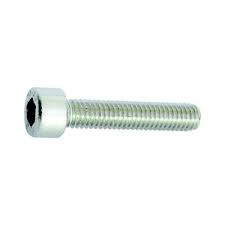
m4 x 16 cap socket screws
M4 plastic flat washers
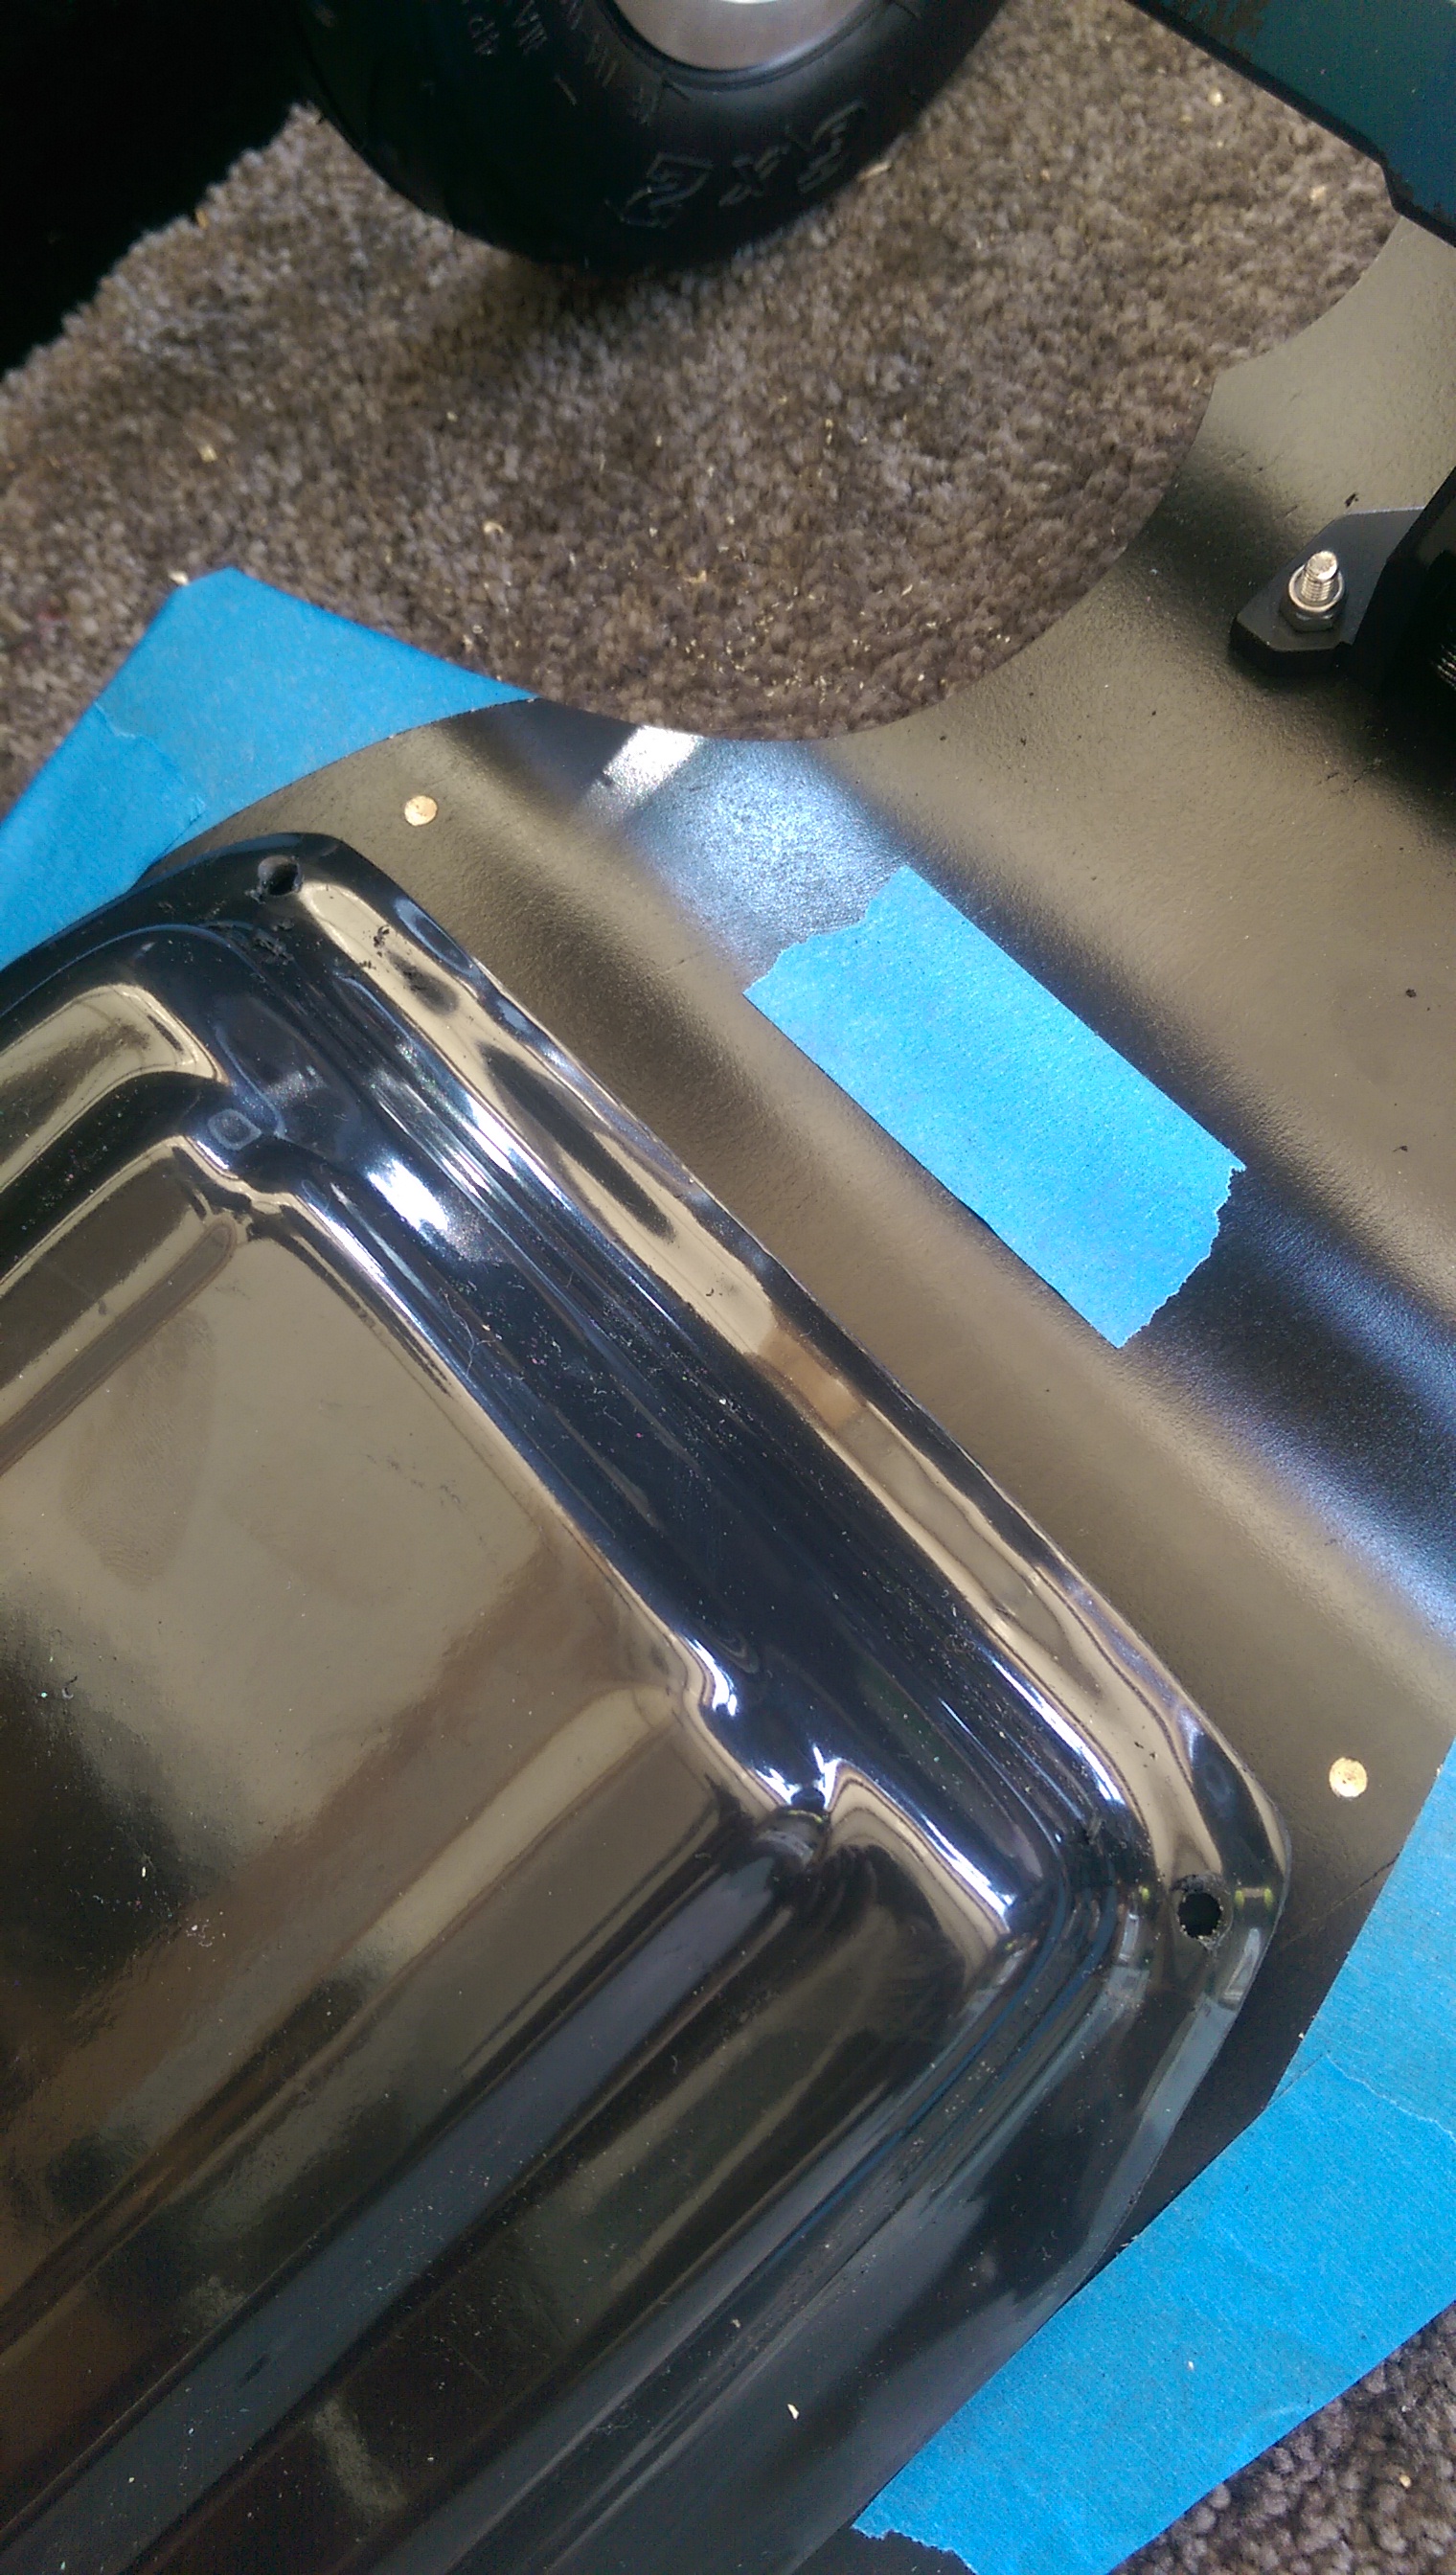
Use some blue tape to mark the edge of the enclosure on the deck. This way if the enclosure moves, you can easily line it up again.
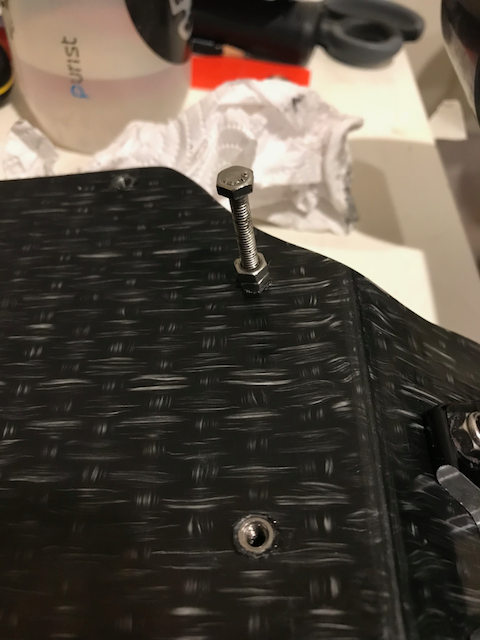
Take your enclosure off of the deck (or half of it if its a 2 piece) and drill the first 2 mount holes in it. I usually start on the front corners. I use an m4 or m4.5 bit.
Put the enclosure back on the deck, lined up with the tape markers, Using the same drill bit, mark the holes into your deck. -DO NOT drill all the way through! Take the enclosure off the deck for the next step.
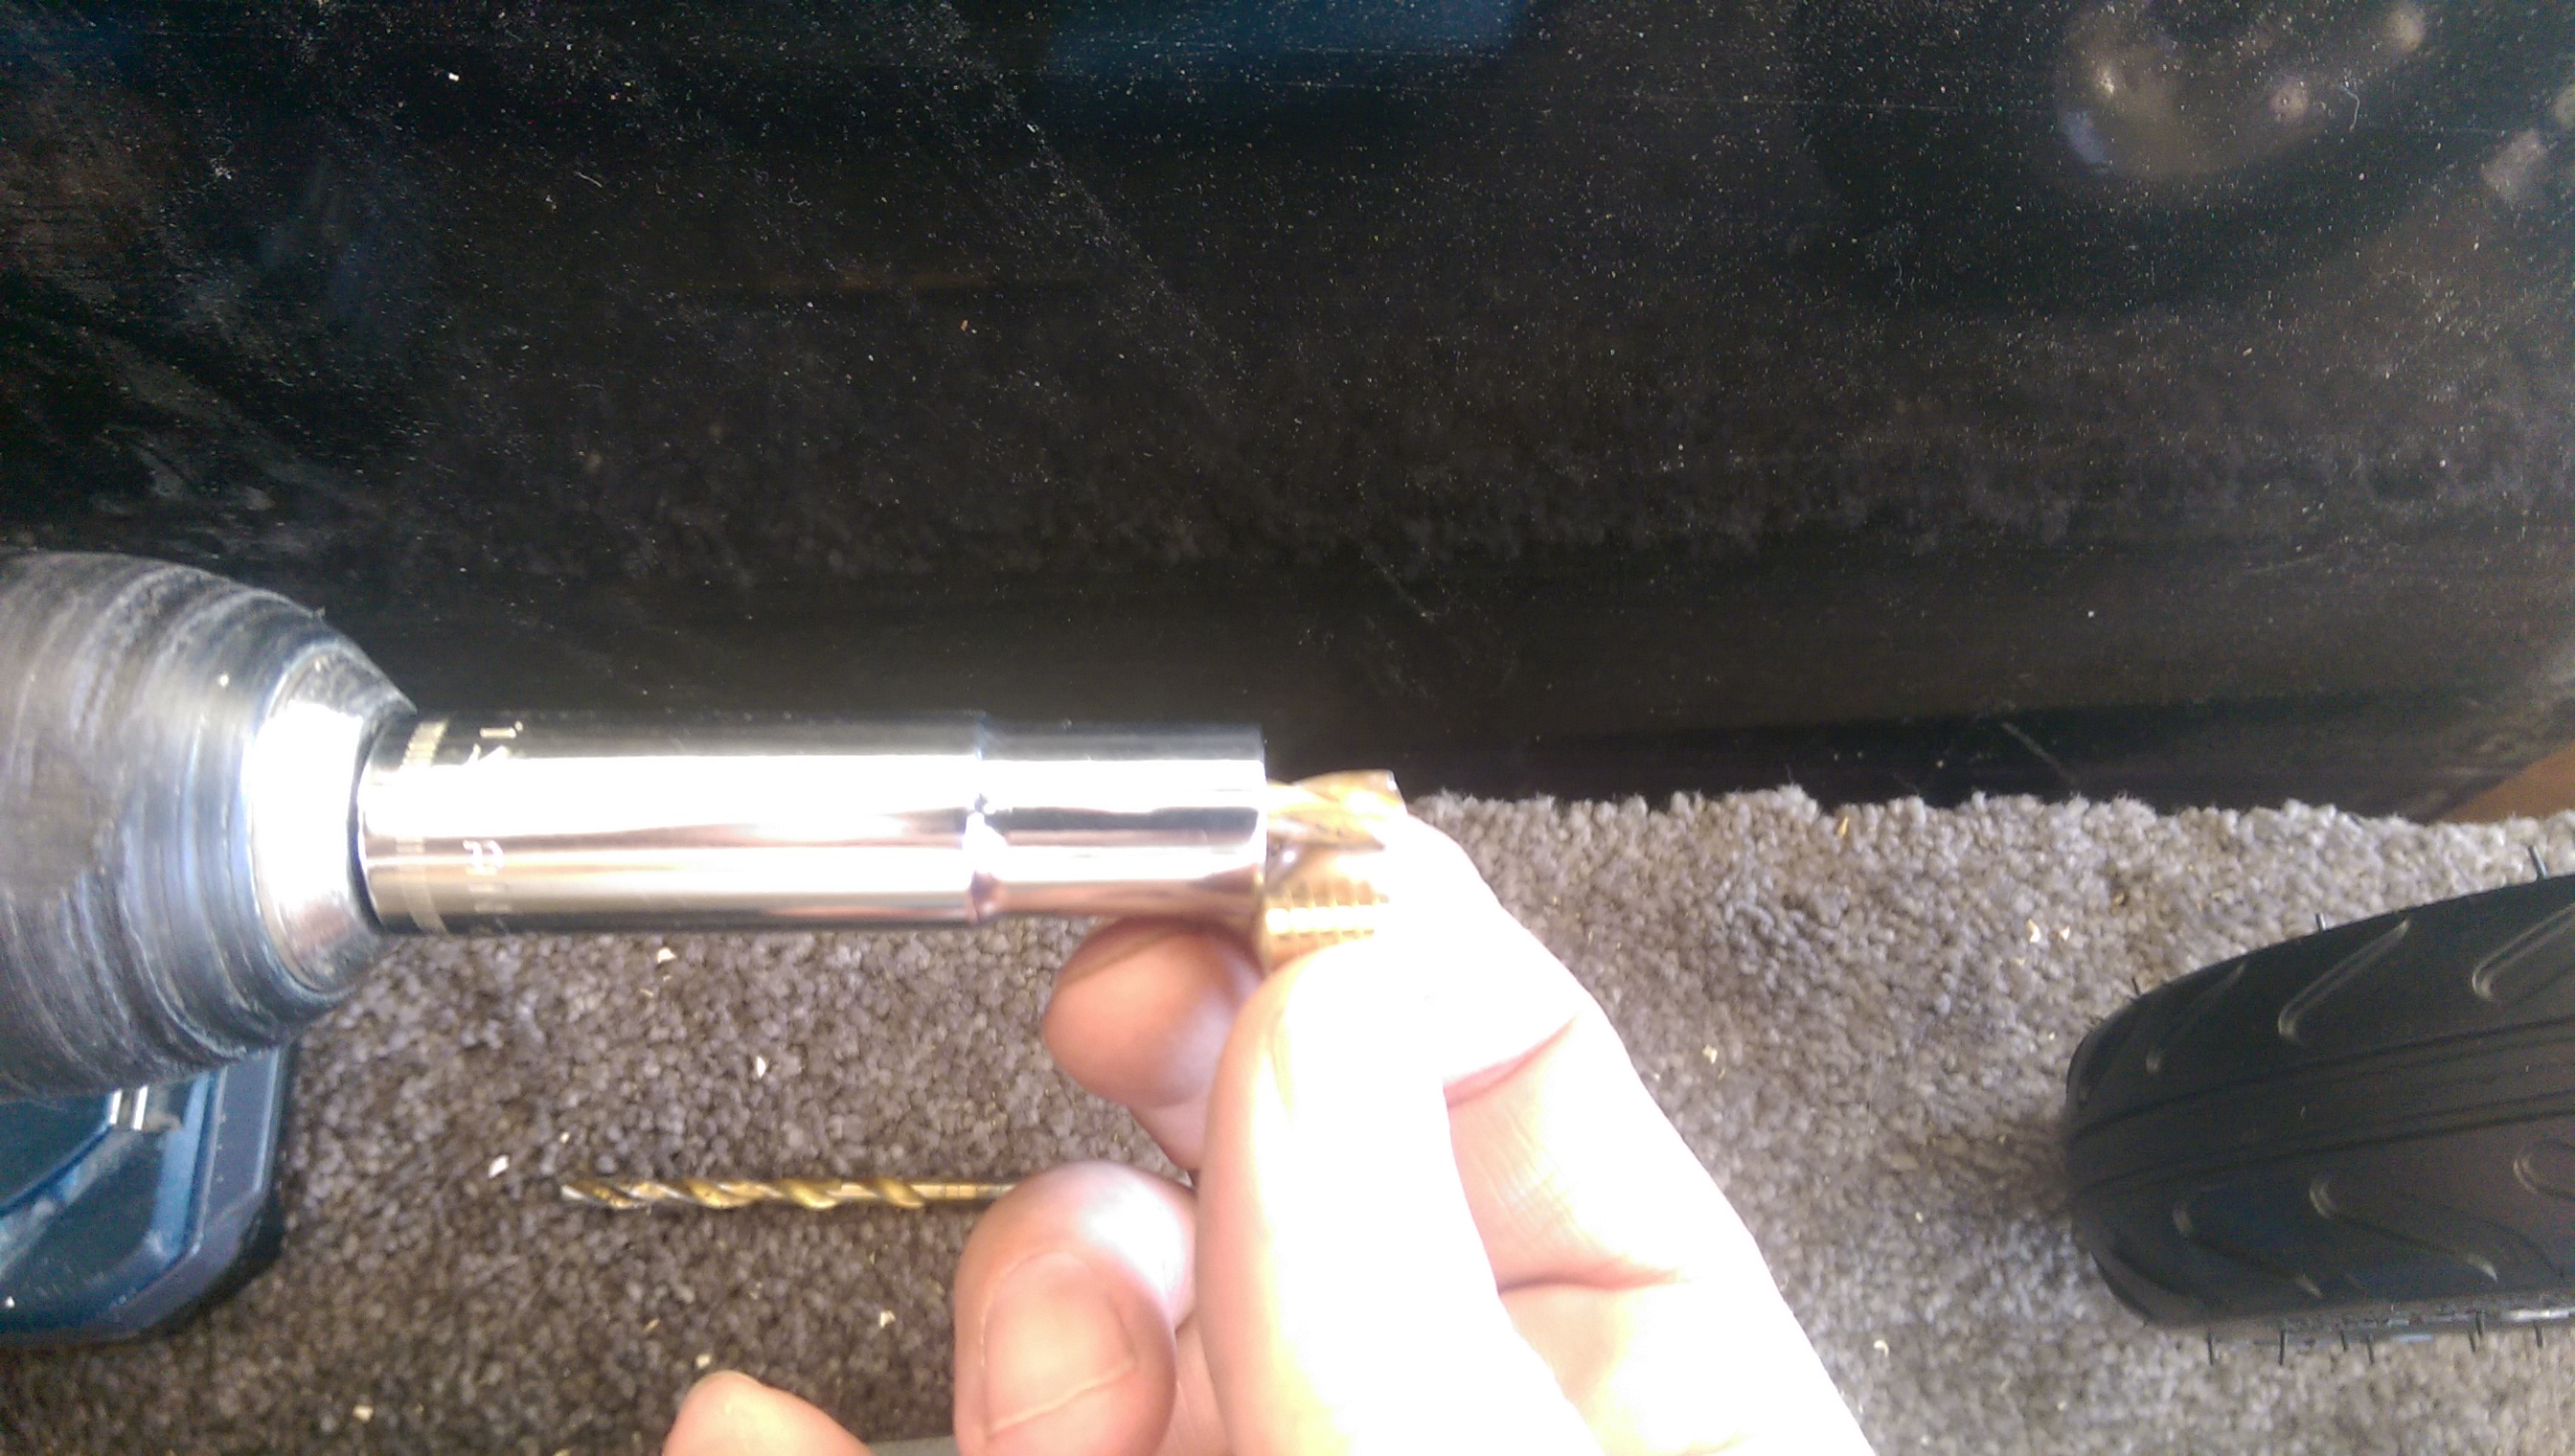
Now you need to switch your drill bit out to a 1/4" bit. -Here’s a slight detail to pay attention to- Find a small, deep well socket that fits over the drill bit. When you chuck the drill bit into your drill, leave about 1/2" of the drill bit sticking out of the socket. Should be barely longer than the m4 brass insert and not longer than the thickness of the deck. You can hold the socket while you drill the marked holes on your deck. When the socket touches the deck, the hole is deep enough to screw the insert into the deck.
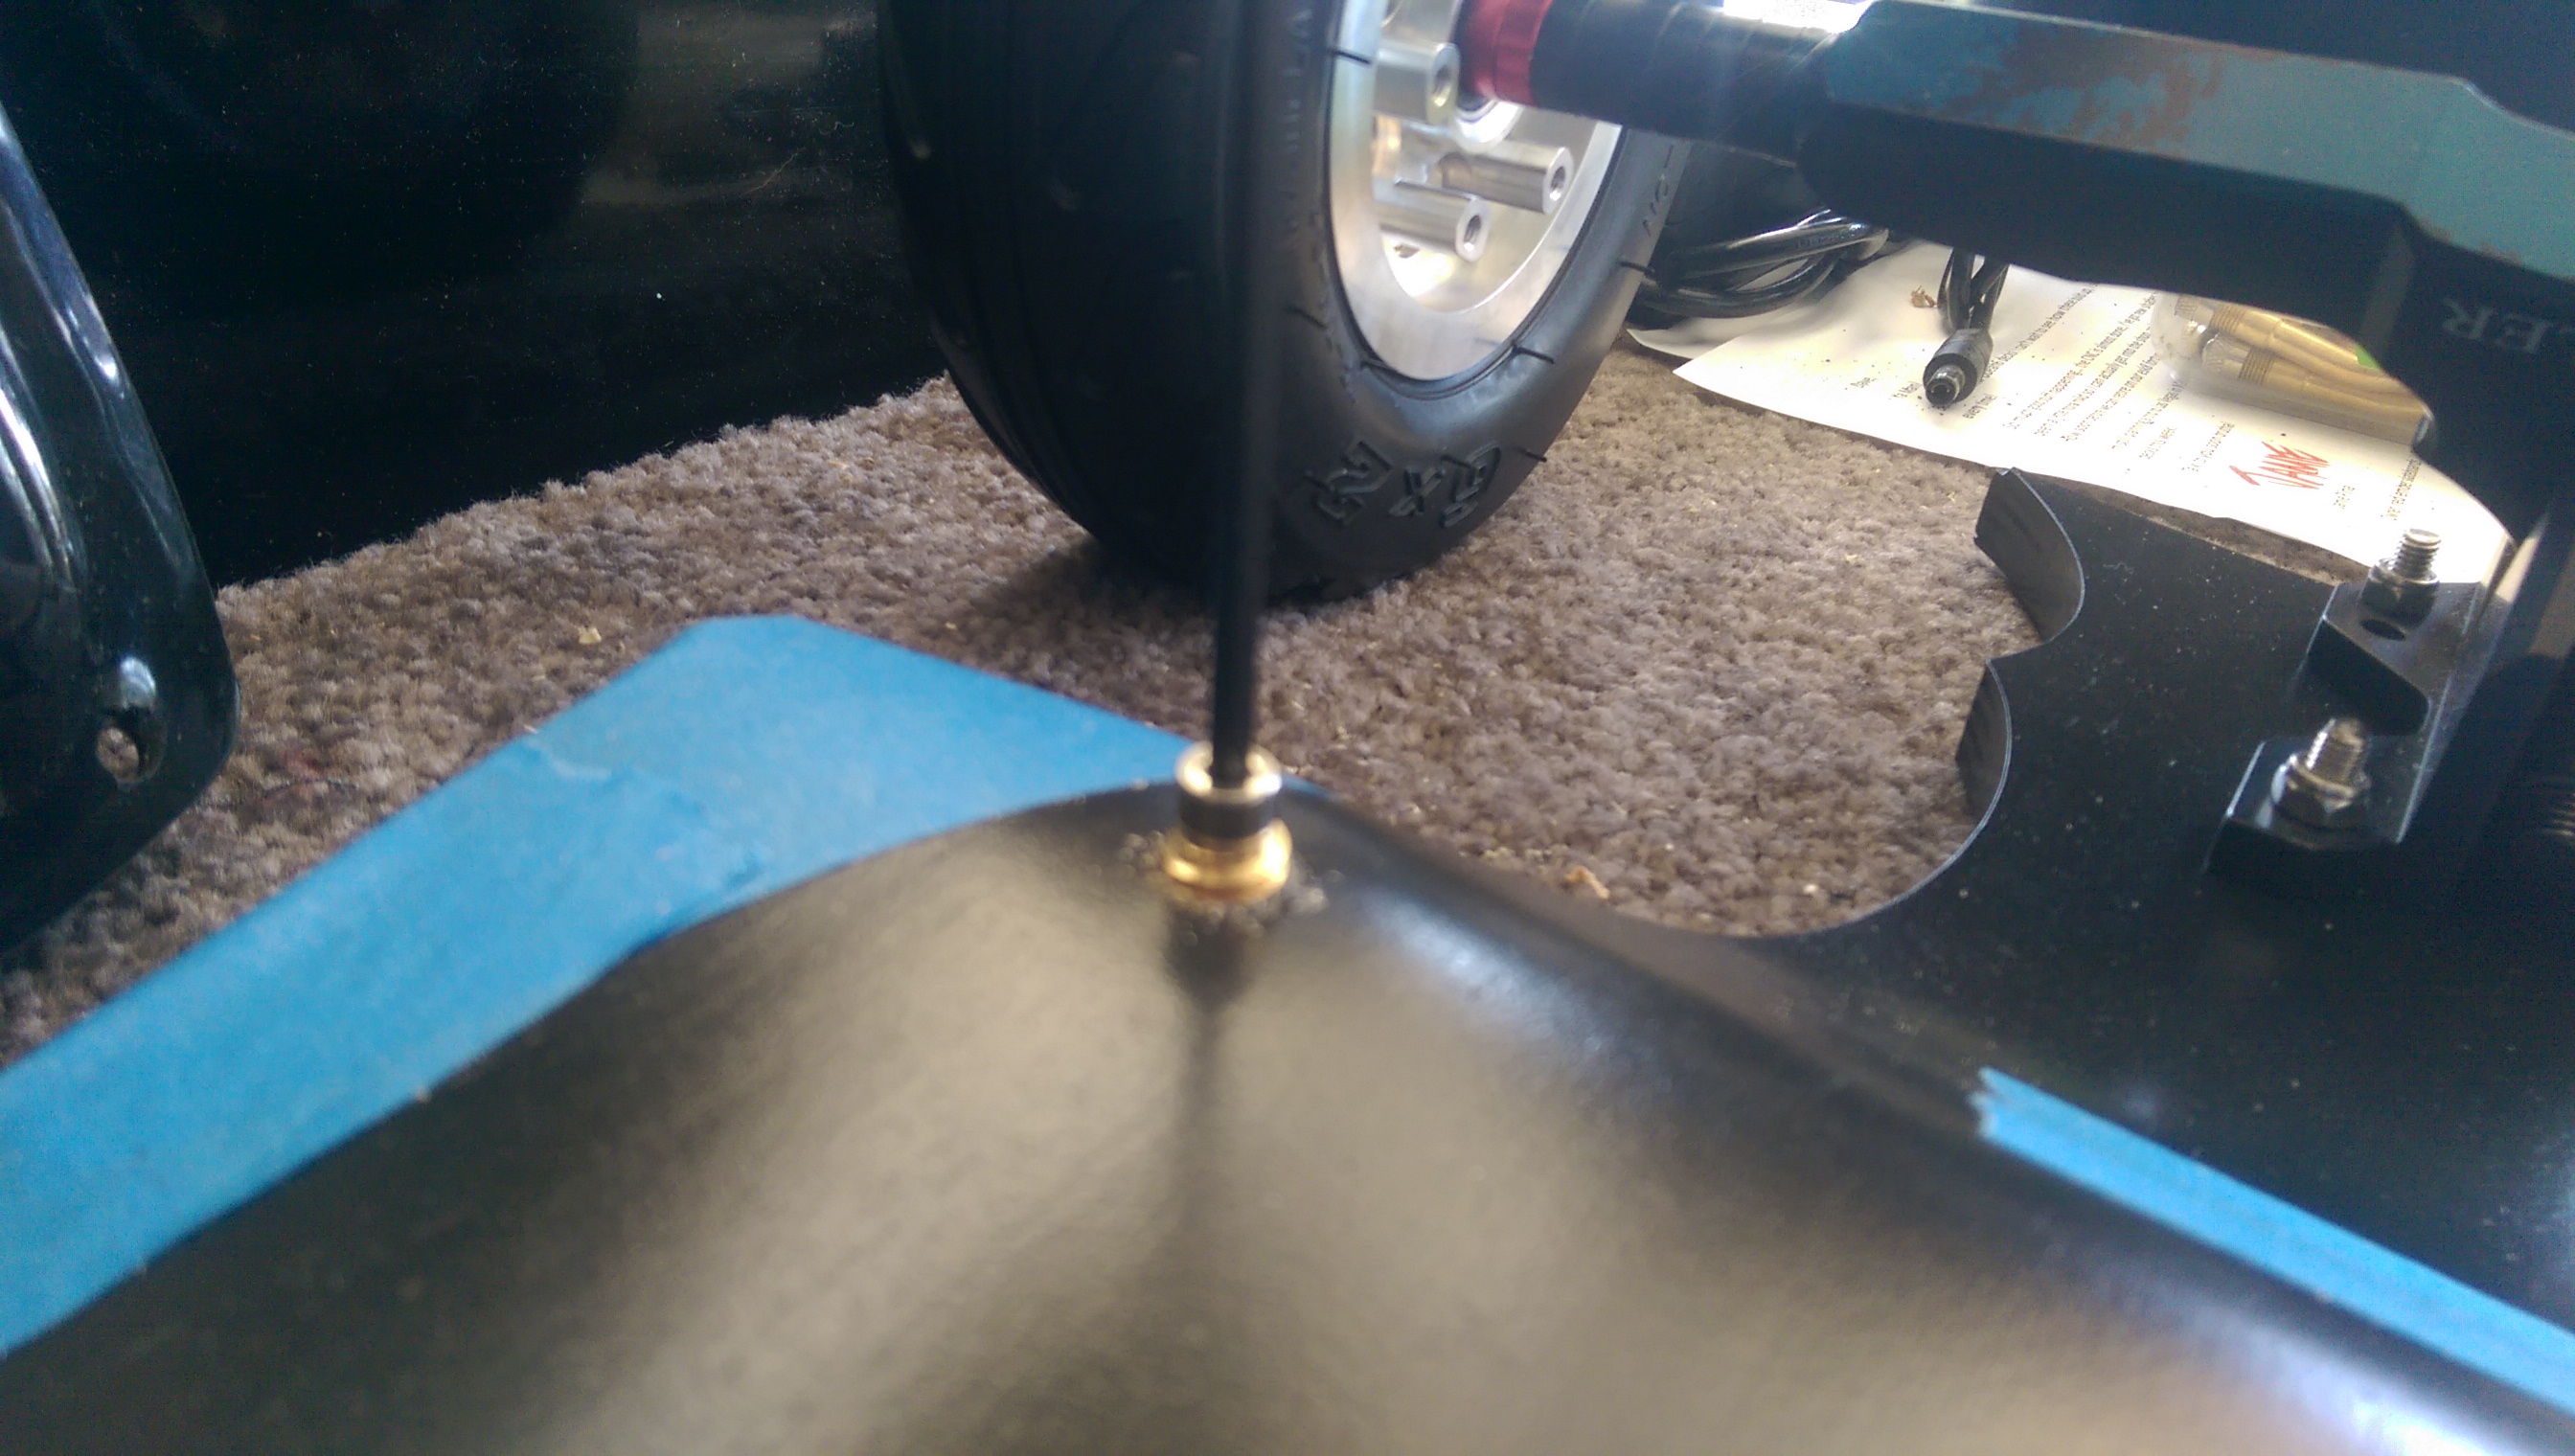
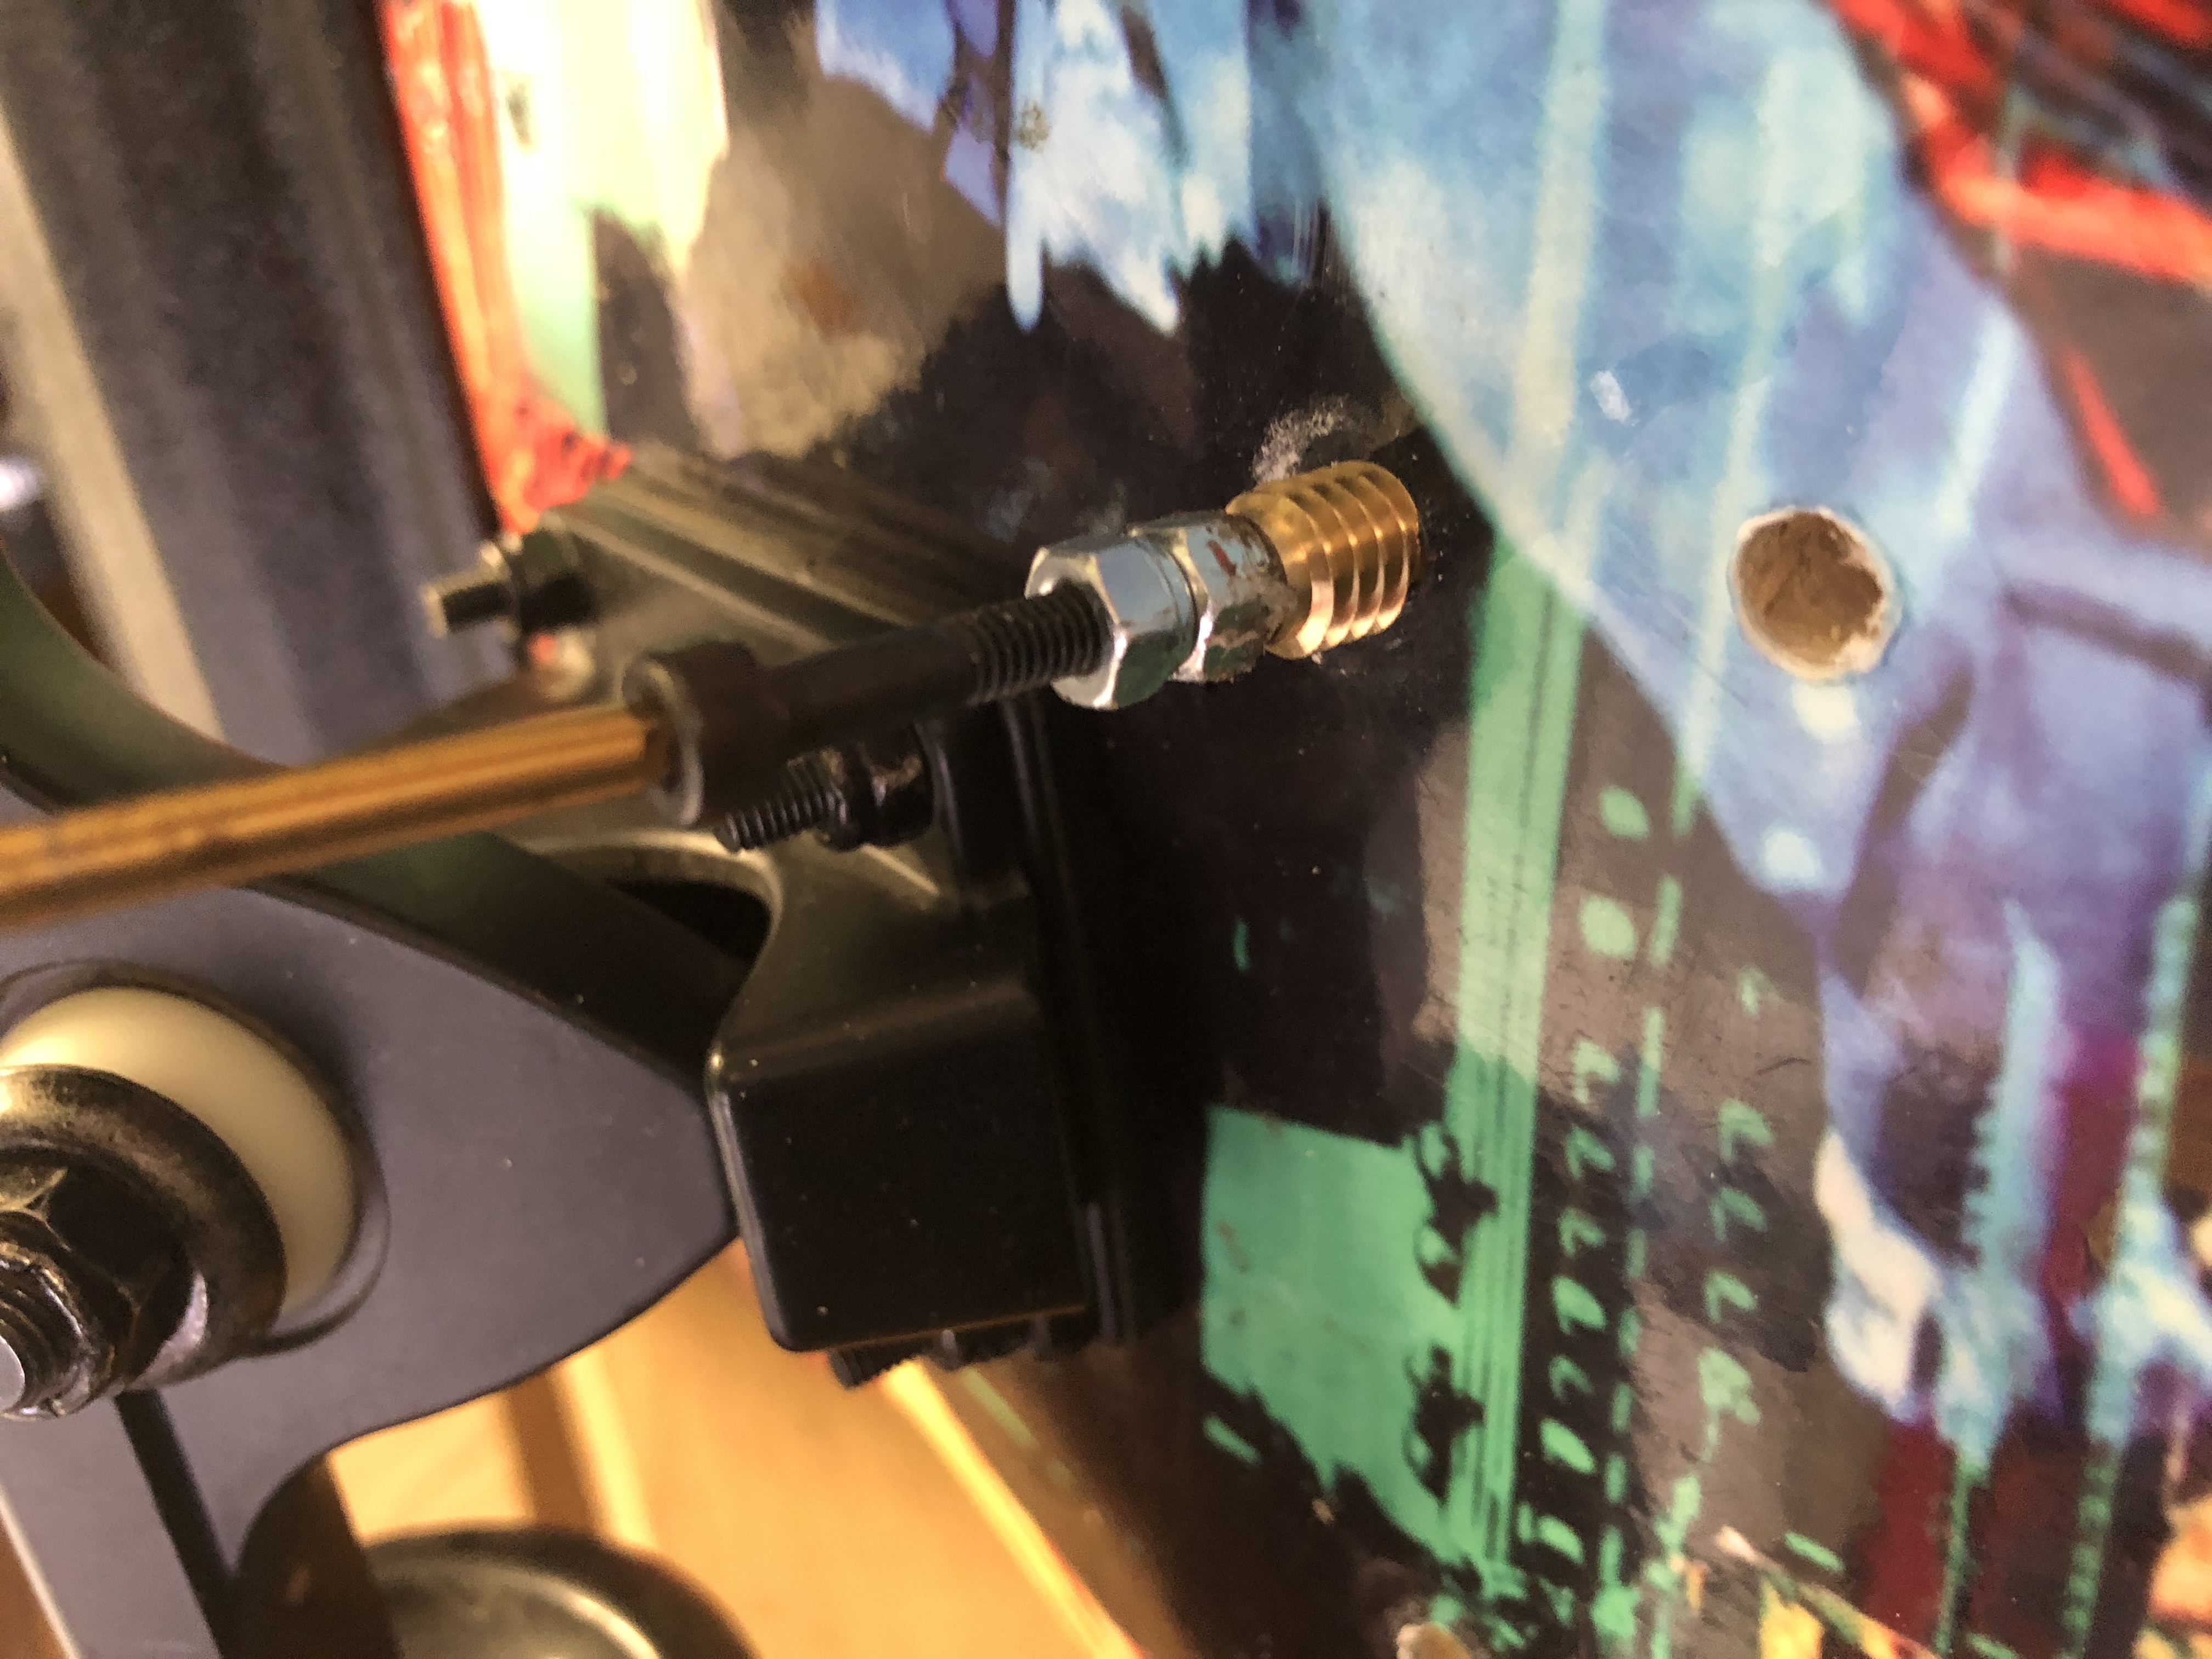
Take a short M4 cap socket screw (M4 x 8) and screw it into the unslotted end of the insert. Then use a T-handle M4 wrench to screw the insert into the deck. Then, back the screw out of the insert. Repeat.
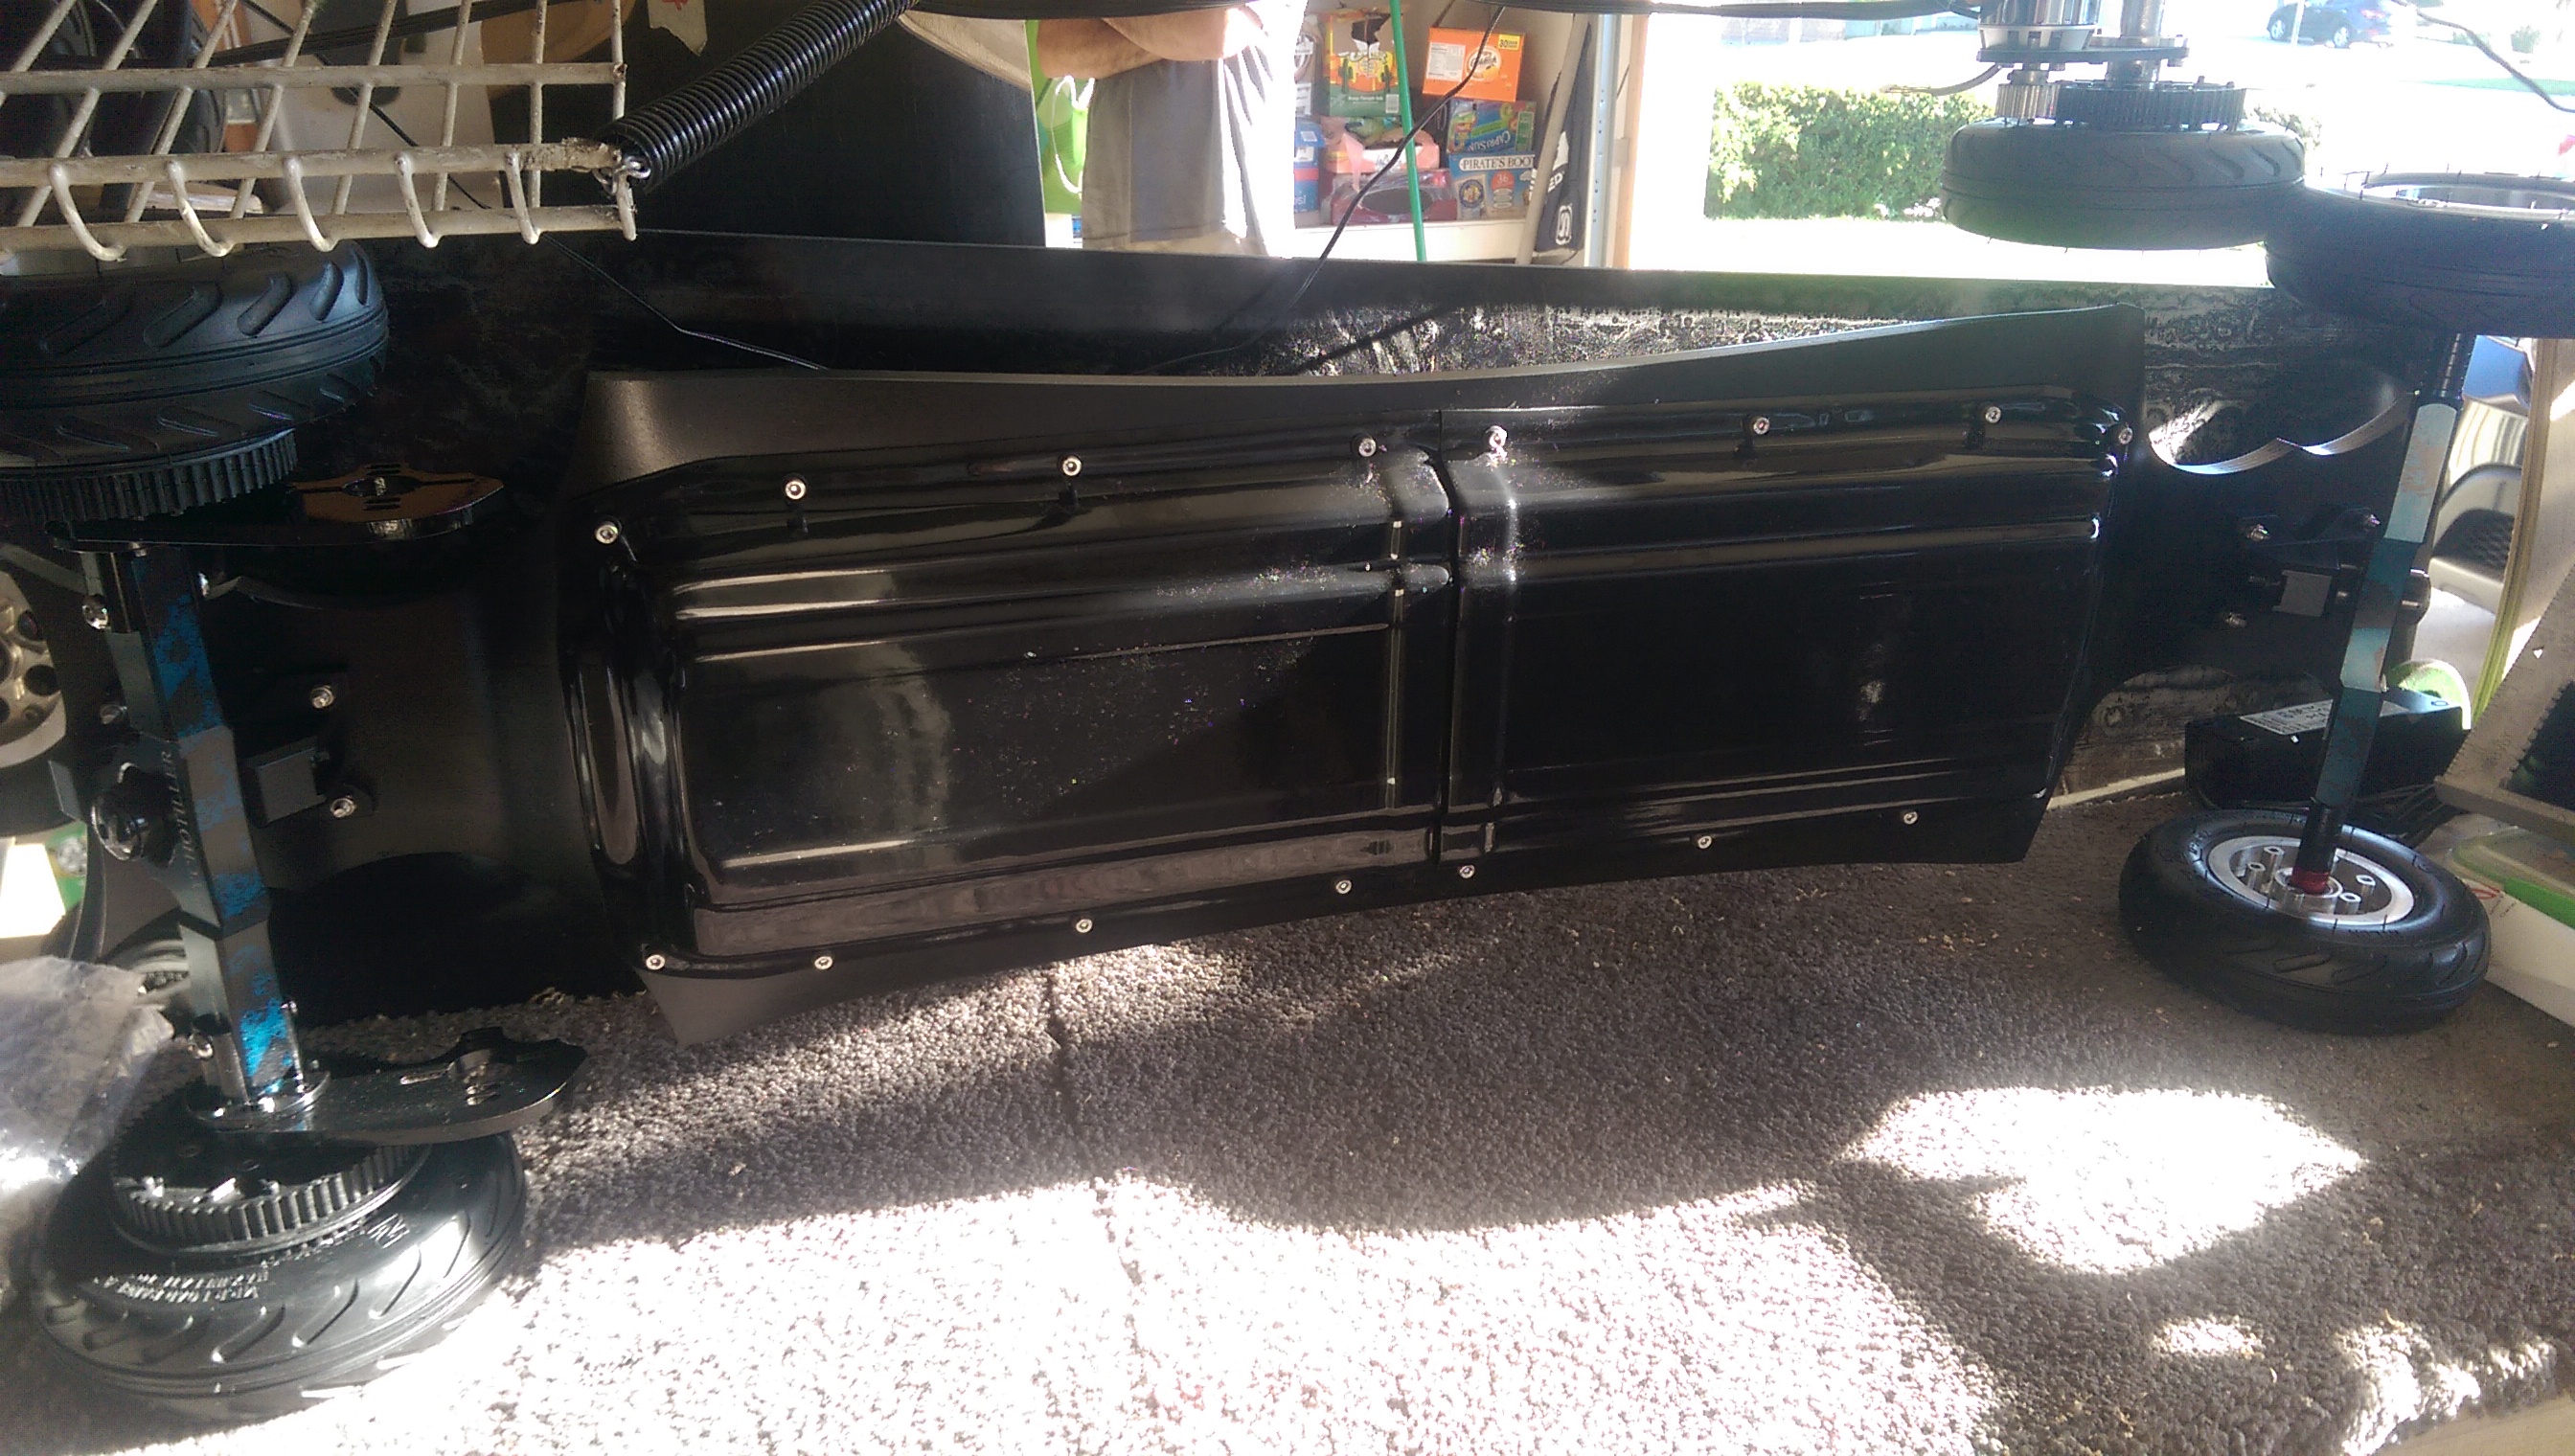
screw the enclosure down to the deck, switch back to the m4 drill bit and mark a couple more holes. You can now, drill through the enclosure and into the deck. -Do not drill all the way through the deck!!
Your inserts look a little different to mine (metal vs wood perhaps), but the slots in mine are intended to help the thread cut in and not intended to be used for a flathead screwdriver. So the way you’ve put them in isn’t necessarily upside down.
Sometimes you’ll find the insert backs out with the screw you’ve used to insert it in[1]. A solution to this is to use a longer screw with two nuts threaded on. Tighten the two nuts together, then screw the insert on. Screw the insert into the board, and using two spanners untighten the two nuts. The screw should then come out with very easily and not take the insert with it. This is all YouTube BTW, I can’t take credit for this
[1] I used an epoxy glue when installing the inserts to ensure they never came out, somewhat ironically I believe the glue served as a lubricant which meant the inserts often unscrewed when I was trying to get the installation screw out.
I’ve used meta washers in the past and they all rattle out eventually. I have enough holes in the enclosure that I just replace them after they fall out. I’ll definitely be giving the plastic washer a try.
Thanks for the write up! Always nice to see a detailed guide
I would like to add that the slot in the inserts is not for going in with screwdrivers. As @lock mentioned, it’s the location where the thread cuts in. The slot is there, so after installation, your installed screw pushes the edges a bit out at the bottom of the insert, so the whole thing secures even better in the wood.
And in case you mess up, or want to be sure, it helps to put a little loctite on the outside while scewing them in. Depends in what you’re screwing though.
Not sure if this is the right place to ask but how many times can you drill through the deck without compromising its integrity?
I’m buying a slightly used Loaded tesseract but its already been used with a @psychotiller mount so it’s been drilled through once. I won’t likely be using the same enclosure as it won’t fit the 10s6p battery I’ve ordered very well. So I’m looking to grab a bigger enclosure from @bigben
My question is since the bigger enclosure will not align with the current drilled holes on the deck(at least not the ones length-wise) I expect to have to drill in new ones but I’m worried I could damage the board or crack it in some way to make it unsafe for use. What do you guys think?
 M4 plastic flat washers

 an M4 Drill bit, A 1/4" drill bit, and deep well socket and a T-handle Wrench or good long M4 allen wrench.