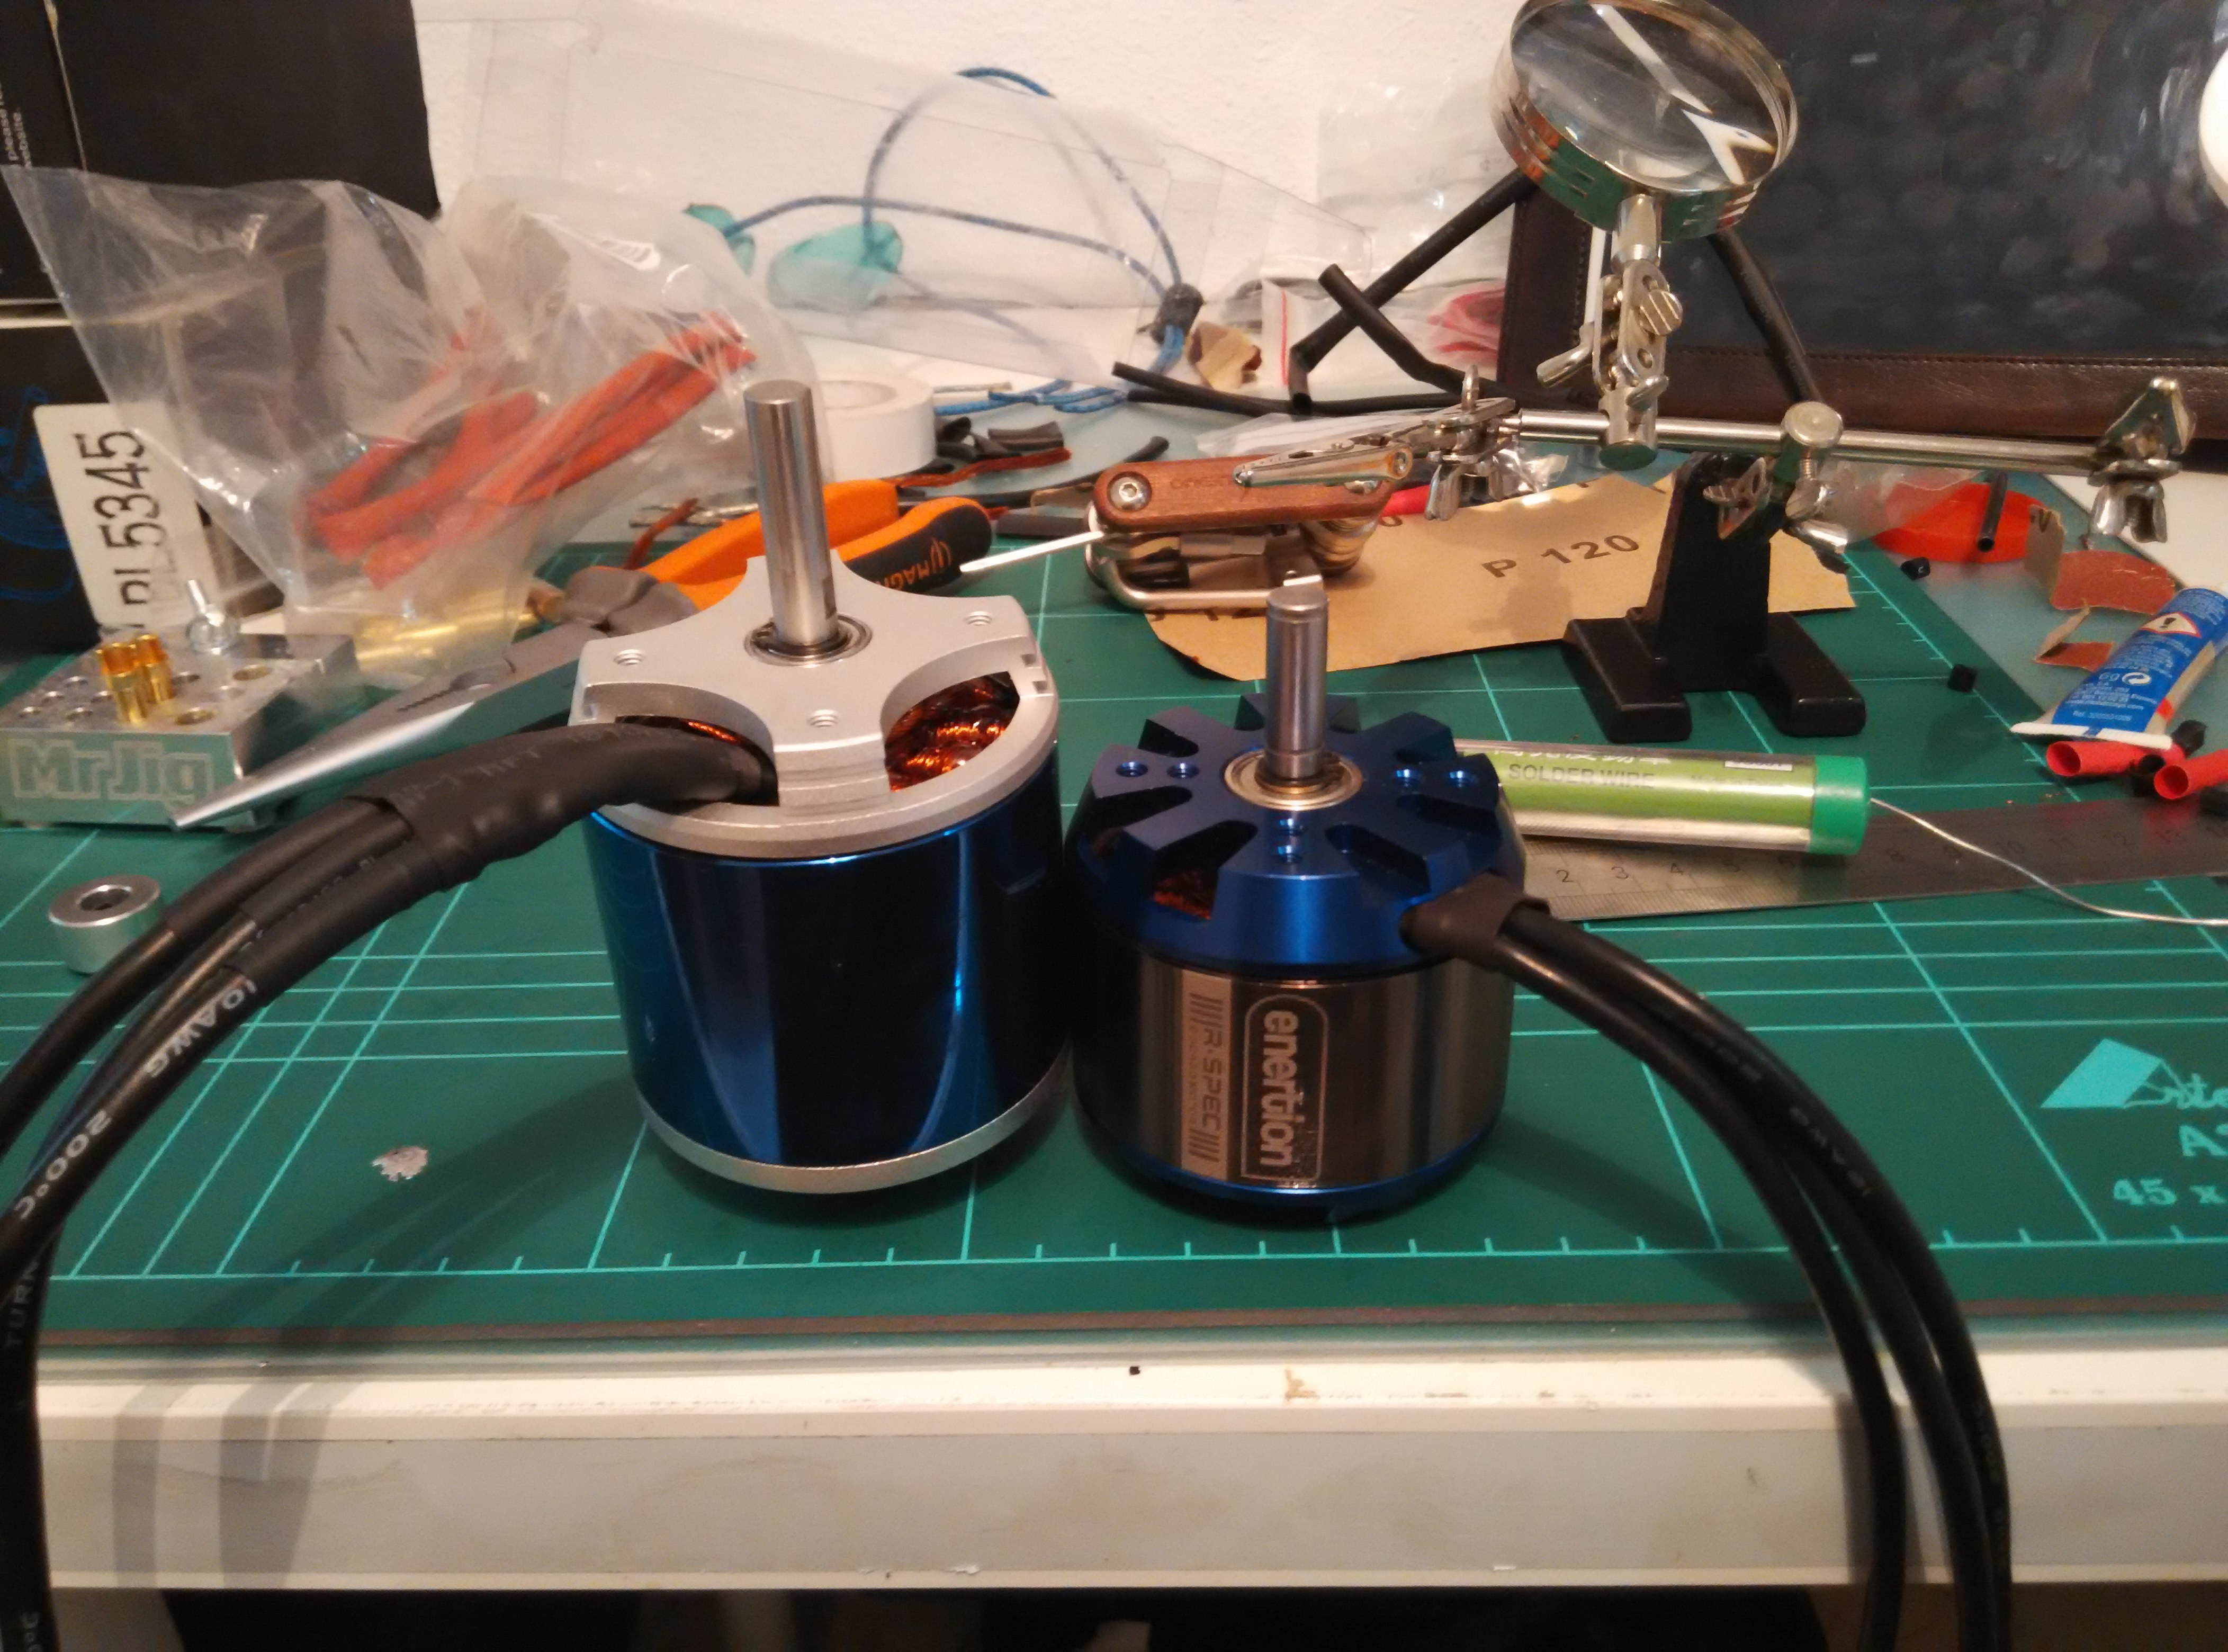
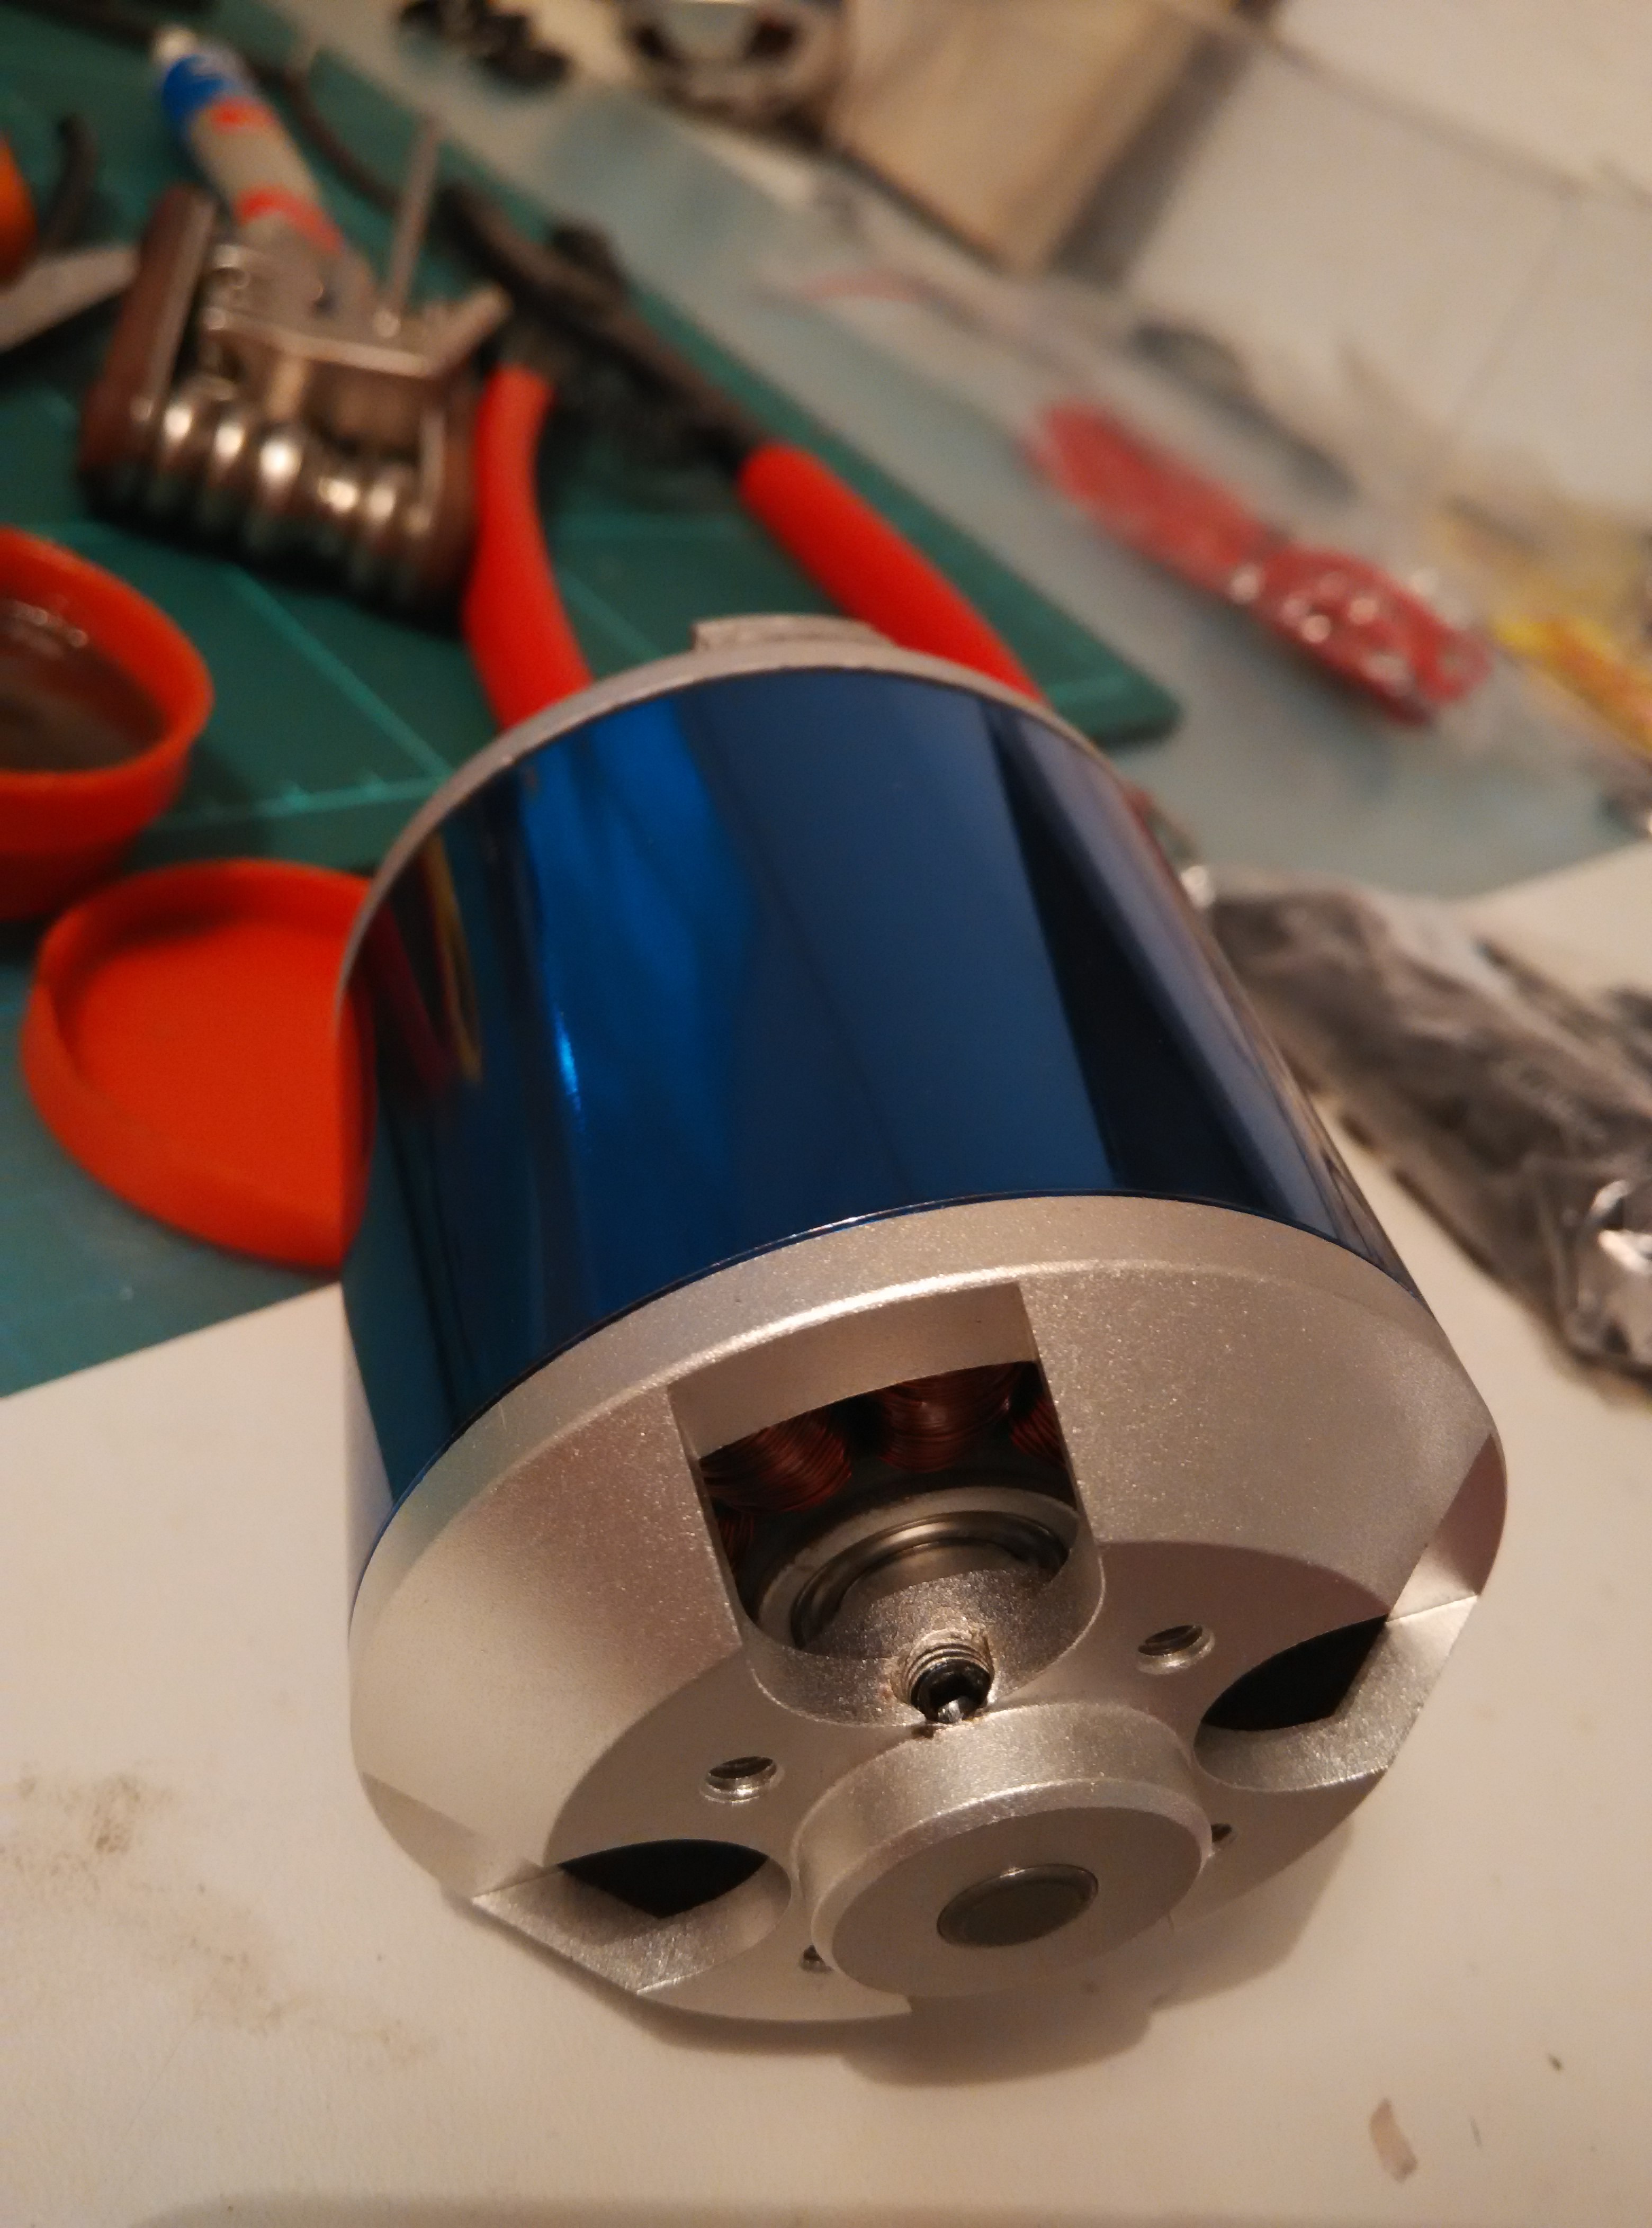
Apparently no one in europe wants a big ass motor… Emax 5345, in sk3/and enertion motor measure is a 6379, squad used these in a mtb build. anywho i have a week off of work soooo thought I would document some basic upgrades:
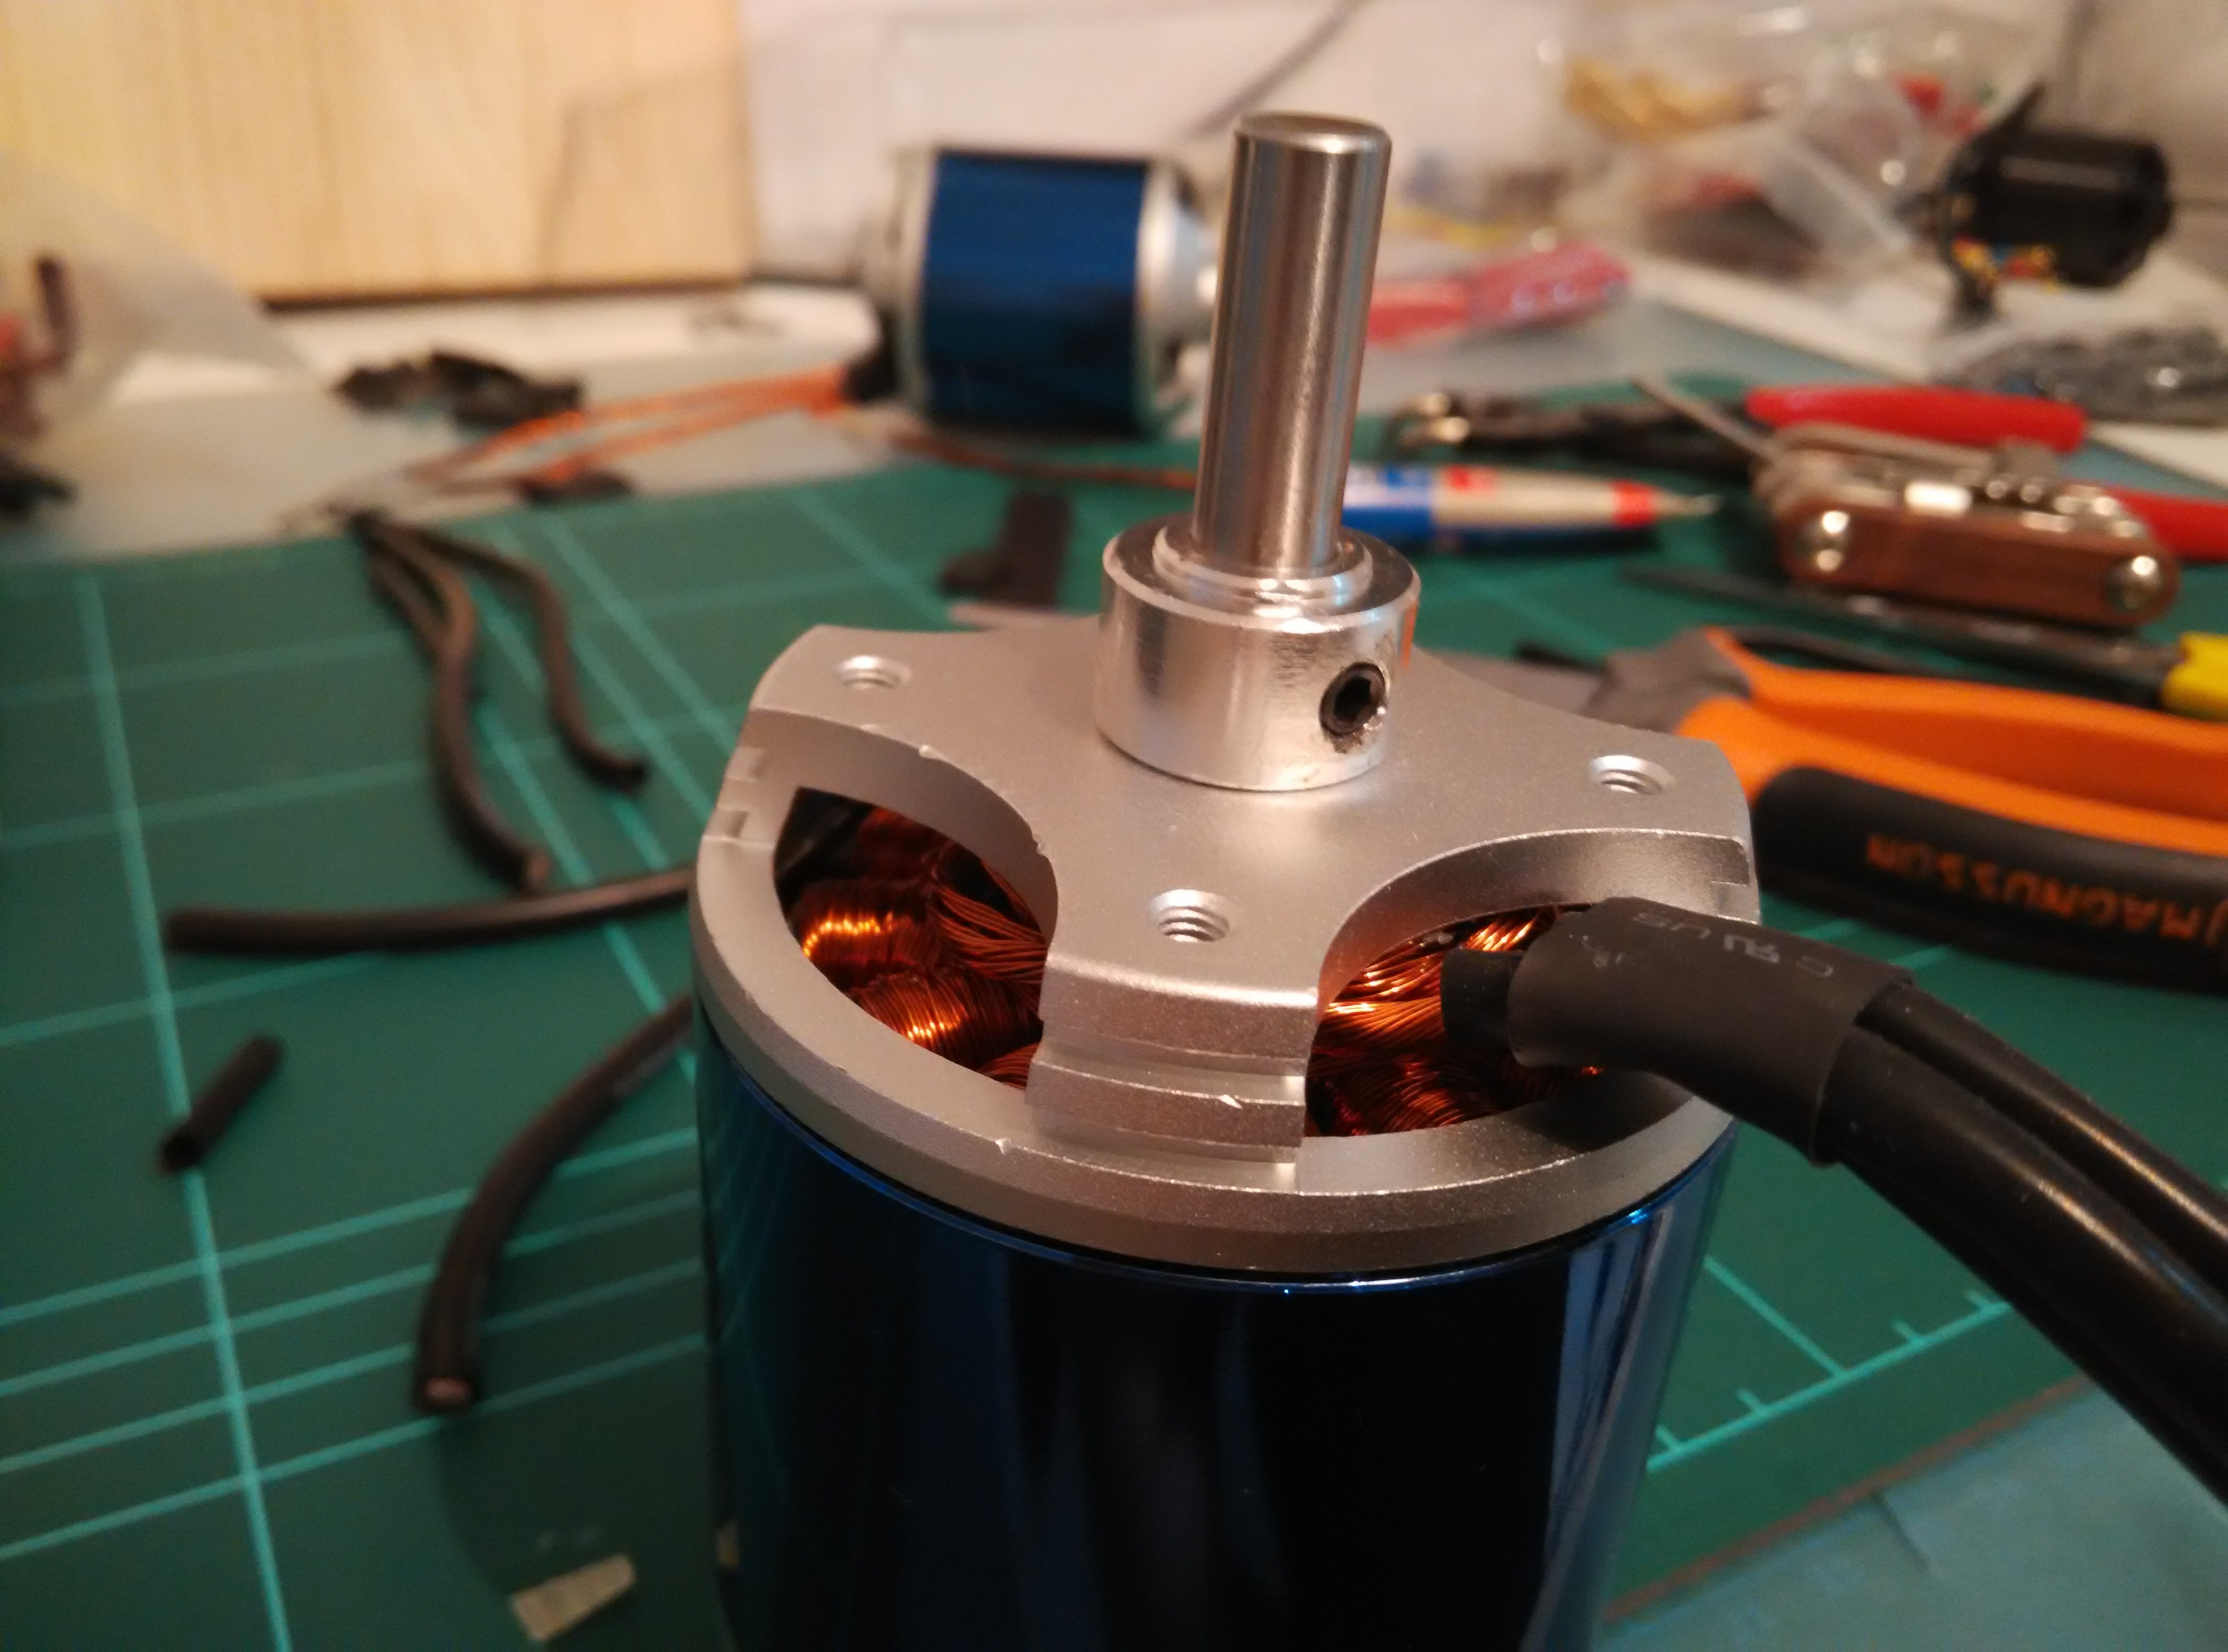
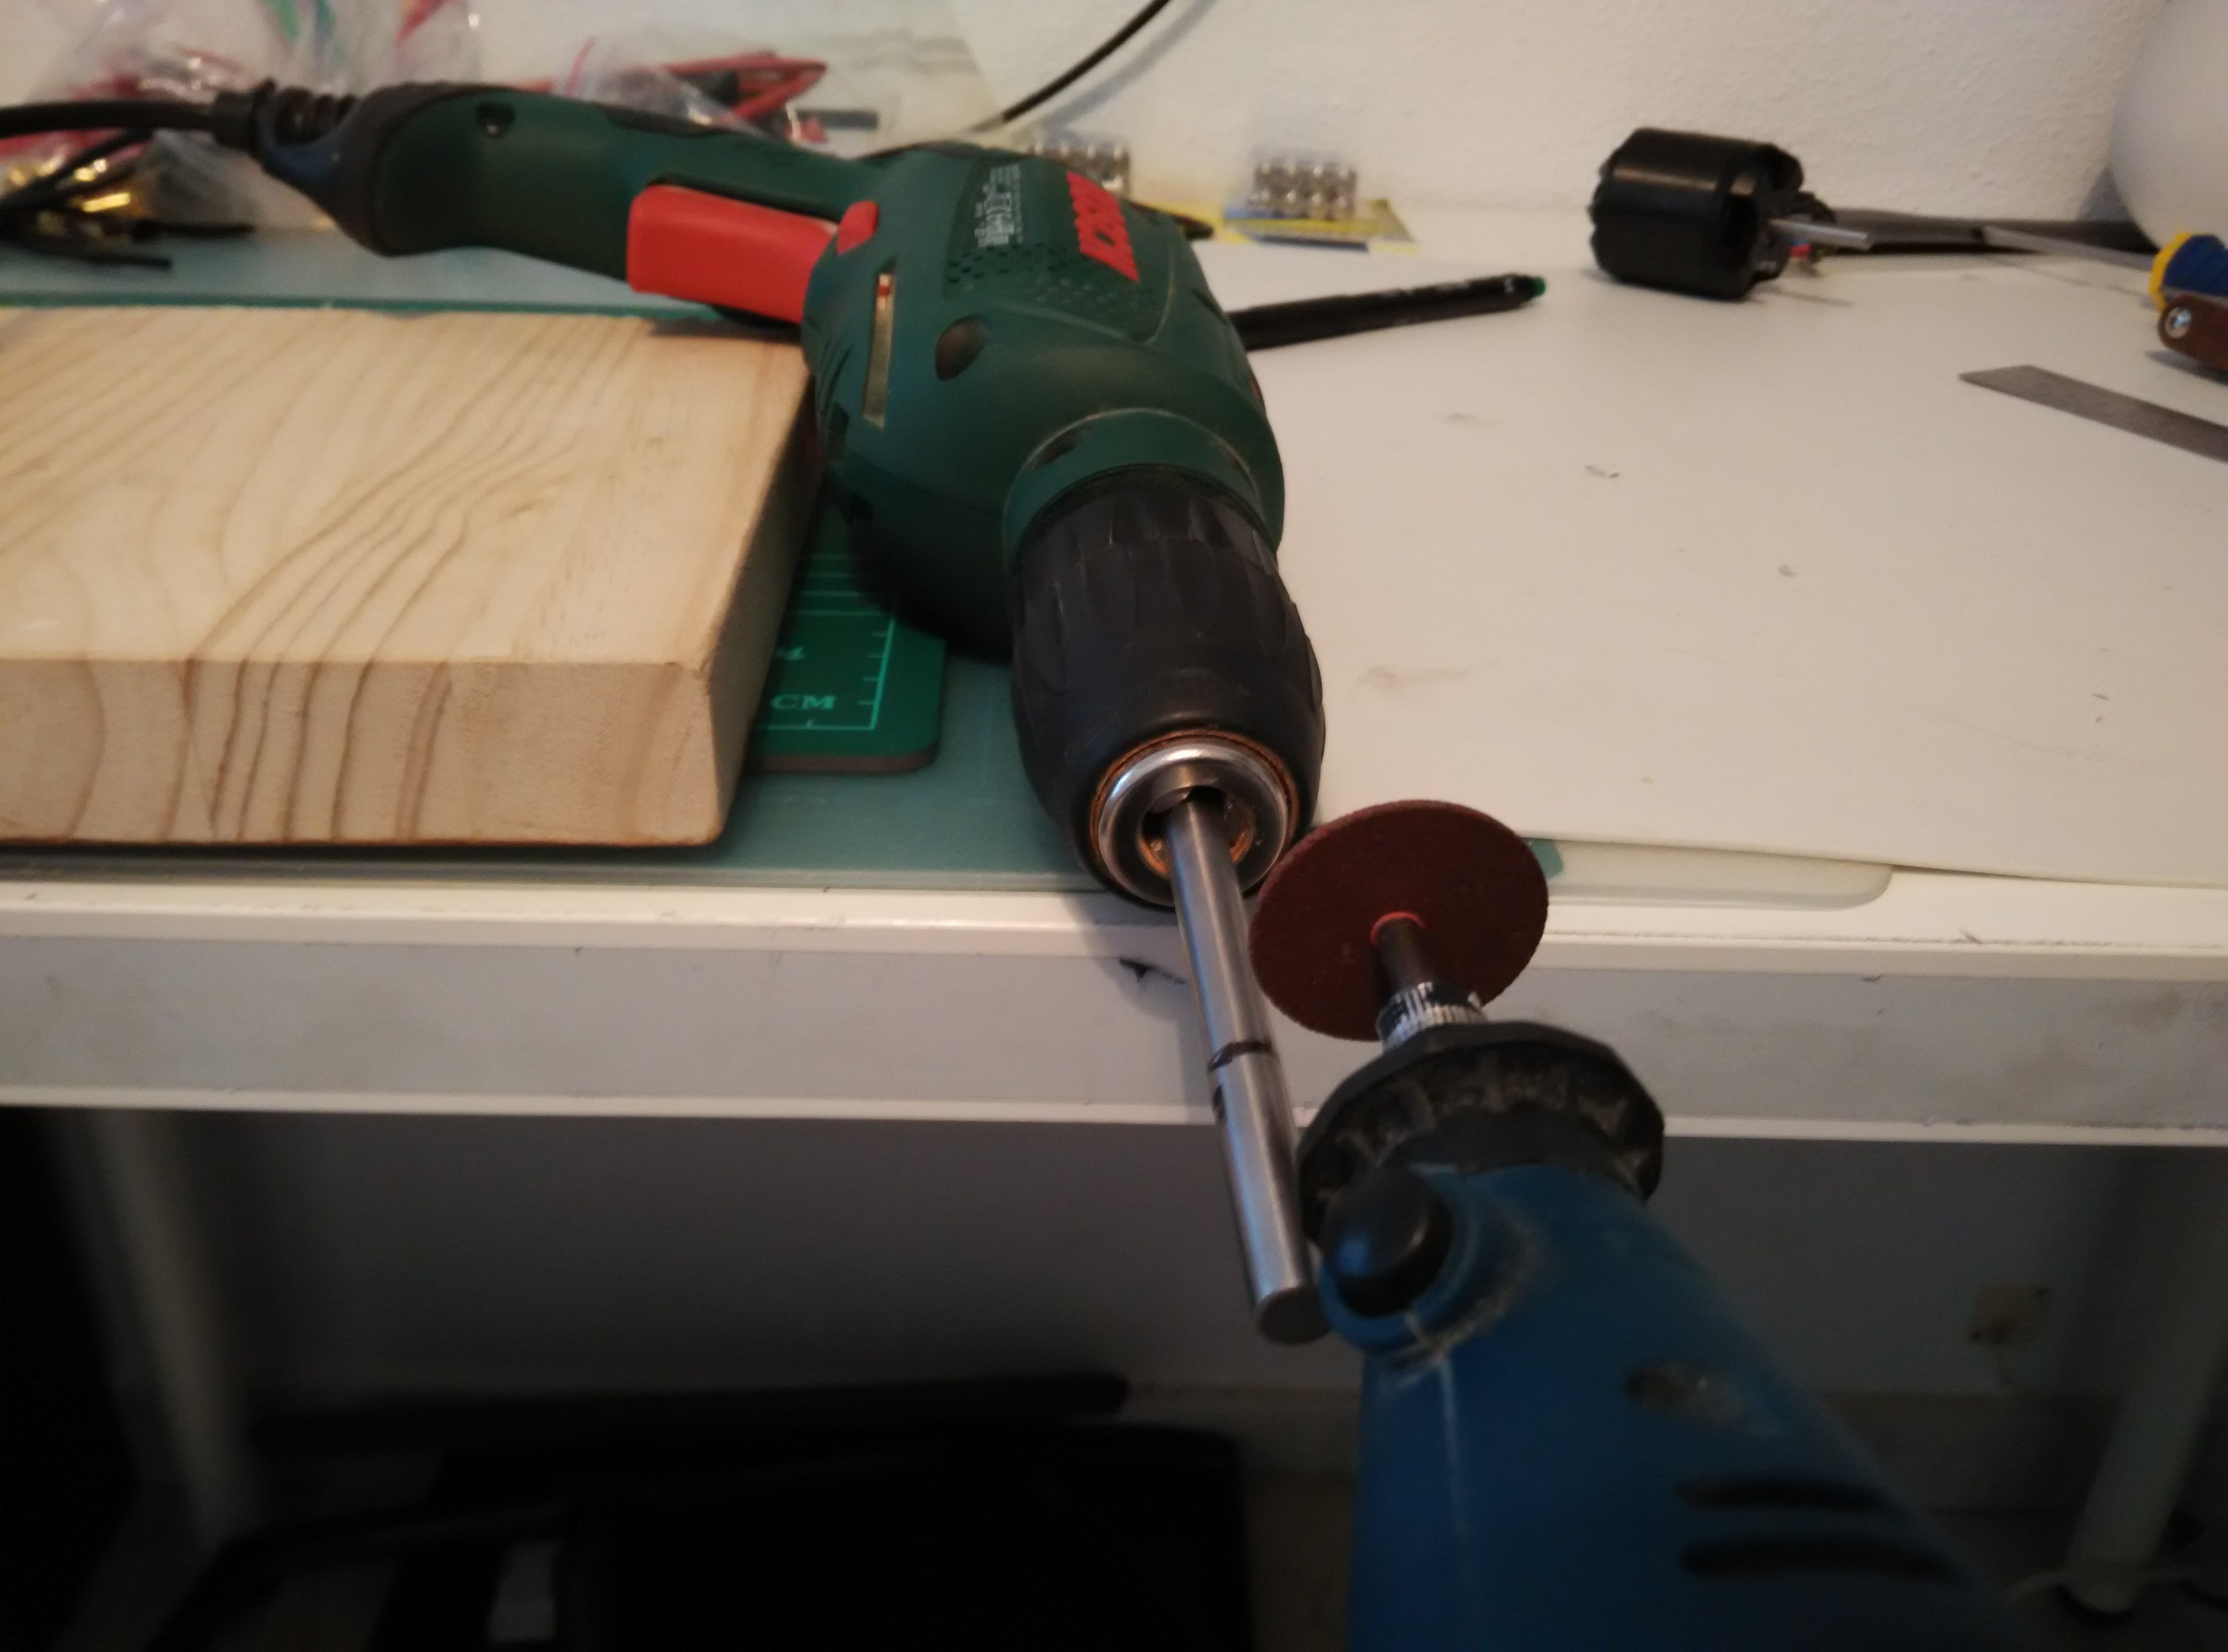
took out axel and fit it into my drill chuck to serve as a sort of lathe…used dremel tool spinning opposite and a steady hand…tough but doable…i recomend the lock cutting renforced disk instead of grinder plate…it is thinner and cuts better, also make sure the shit you grind off isnt spinning up into your face ( safety googles–i used swimming goggles) …im fitting the extra circlips that became irrelevant when i put a 15mm pully on my enertion motors
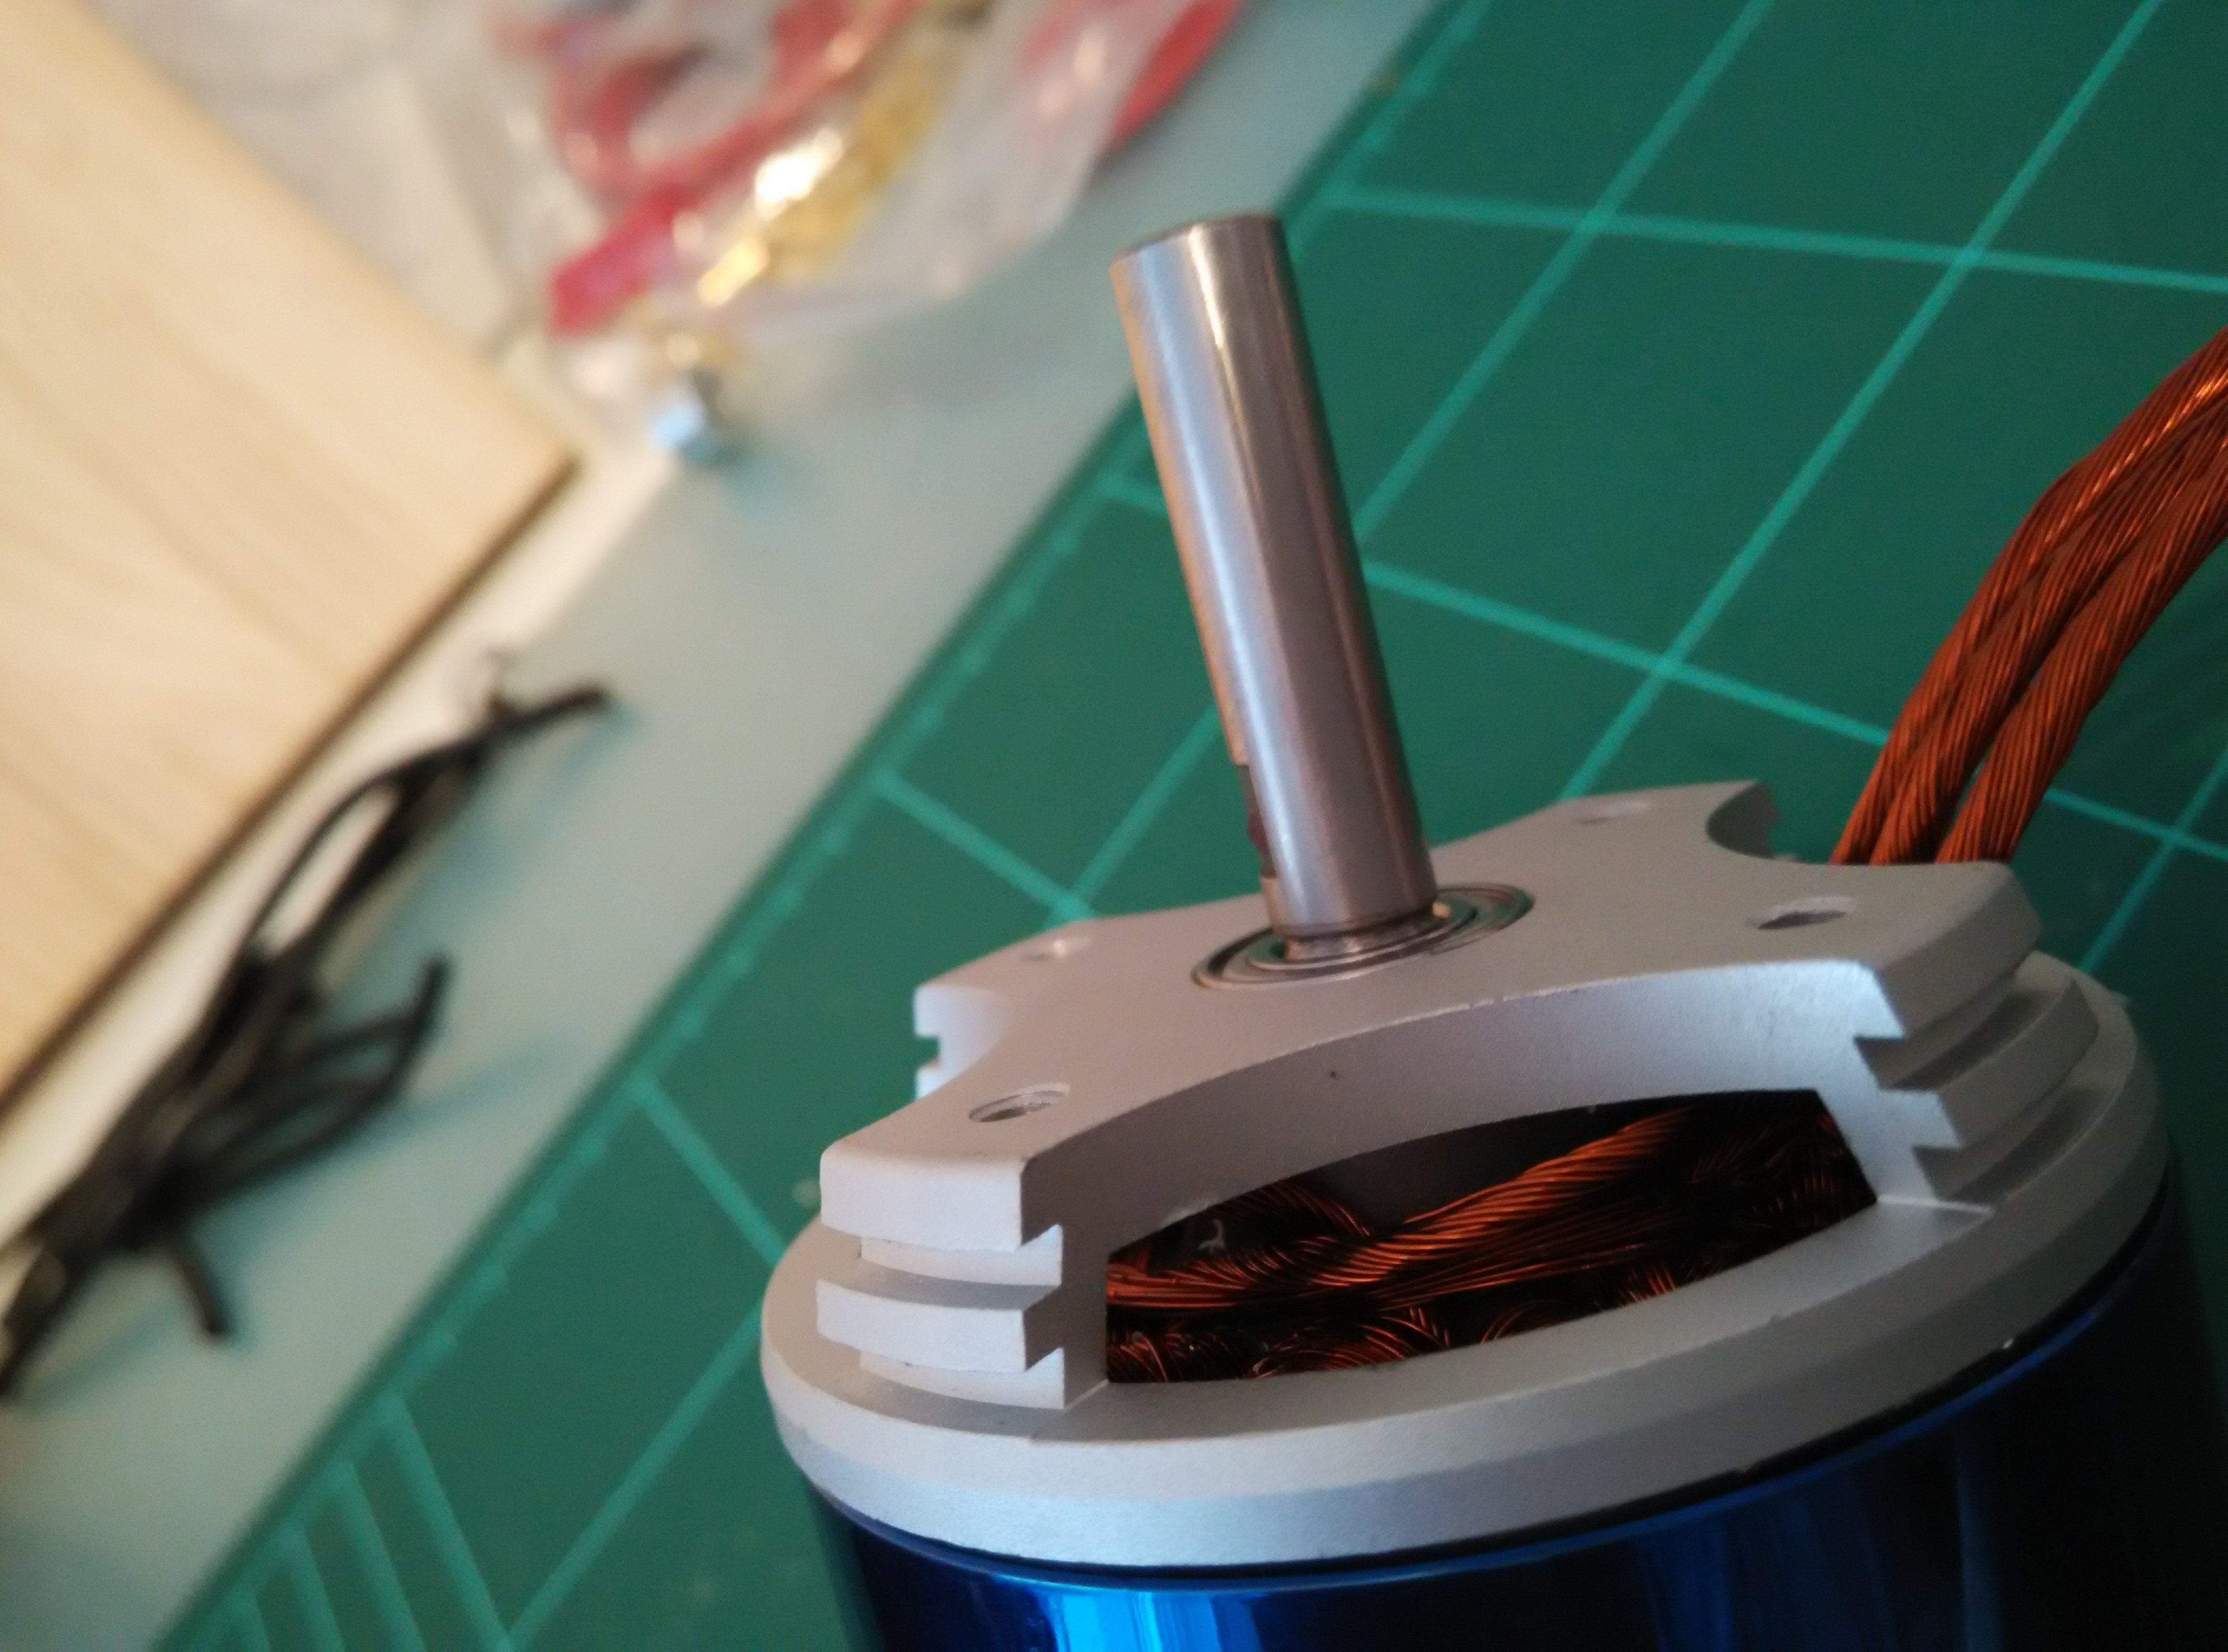
when you put the axel back in make sure to support the pully side bearing, otherwise the axel will pop it out as the magnets pull the strator dowm into the shell. you can adjust the precision of sizing by tapping the axel and adjusting its position with the outer (non pully side) grub screw which matches up with a ground down flat spot on the axel (~5mm of space to adjust)
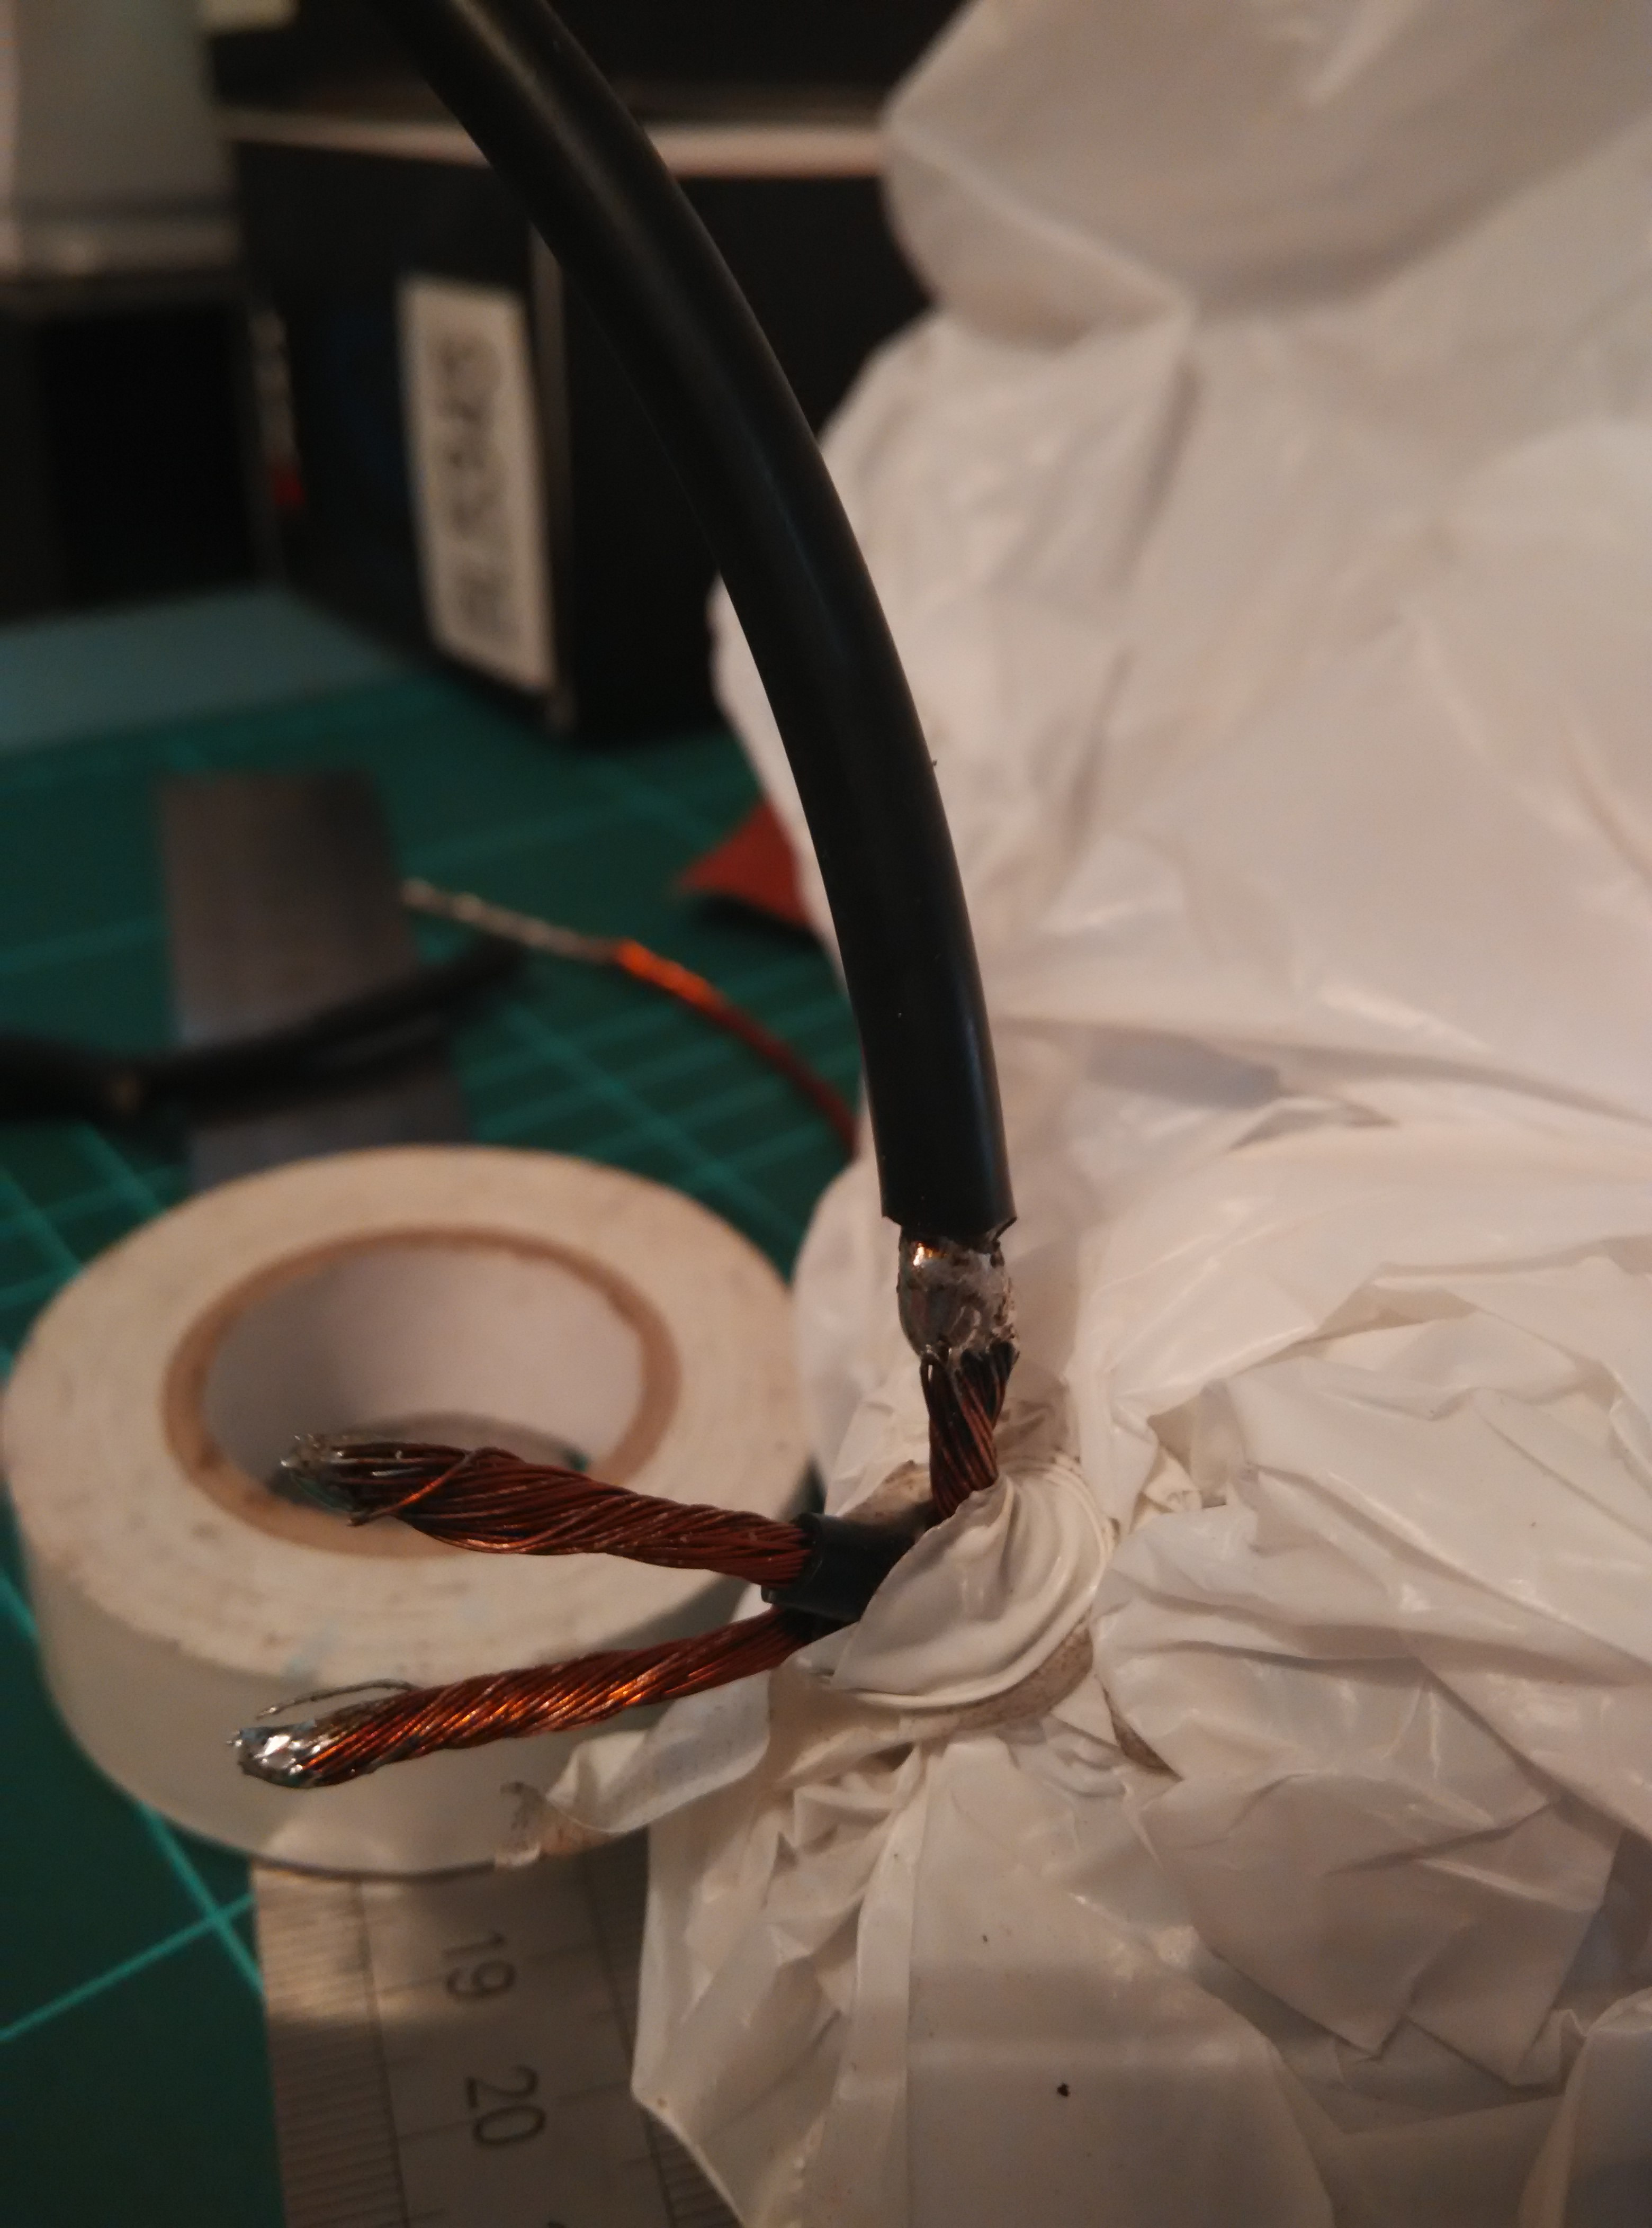
aaaand to finish up the wires: the coating shit is terrible does not like wet solder…i tried burning, then sandingand repeated…the wet solder just dont like it…if you sand or cut metal around motor always make sure to cover it up… magnets you know…
Who said nobody buys those?! I did! and also implemented same mod.
If I may make slight suggestion, try coating stator with some epoxy resin, I had failure of one of my motors few days ago, phase wires shorted somewhere, I’m unable to see where for now, will need to dismantle a motor, probably somewhere near the endings of phase wires (which is weird as shink tubing is intact in this area), no windings came loose either.
Haha, no brother , I mean no one wants to buy them off of me… you posts on ES were a big motivation to do this today rather than go laze by the pool. I have them for sale in Europe and no takers…thinking about doing a mountain board now again so mayhaps I’ll get to use them after summer vacation. thanks for the heads up on the short.
but yea 100 euros each now with the upgrades if any euro peeps are interested…these things are beasts…for perspective next to enertion r-spec 6355
Swam Division I at university, I raced that Phelps guy years and kg ago.
The wires i ended up mostly butt soldering …some of the solder stuck to a little of the outside…maybe next time ill try acetone. hooked the motor up to my single and it whirls so functional…need to check resistance.
I really need to start building batteries soon…just unpacked to closet and way way to much…
Acetone probably won’t help, only way to get rid of enamel is either to sand it off with some sandpaper, burn it with torch then sand residue off or to use solder bath (which is the best solution,You simply dip wire in liquid tin and take out nicely coated with wire) You may want to resolder those wires if they were coated with solder only at the ends.
yea i should clarify, ran lighter over each wire for about a minute, then sanded 2x on each wire for around 3-4mm enough to get a solid block. The butt end aproach was more of a plow a blocks of solder together. The motor wire block is sort of enveloped by the silicon strands in the center…a forced butt end…man this is sounding dirty
I’ve had two mounts come back to me broken. The reason you haven’t heard anything is because I killed them. Really though, one of them took some serious abuse. Rather than using loctite he chose to just put 35lbs of ft torque and crush the aluminum. The other was used by someone who just rode hard.
All mounts break. Even the thick ones. There are threads every where about broken mounts.
Enjoy those last three! I actually have a few more, and some v2s will show up soon.
What is the bolt hole pattern size on those motors?! If they are bigger than 44mm no they will not work. If they are 44mm, and you run a cross brace between mounts like I did on my green build it will be fine!


 and also implemented same mod.
If I may make slight suggestion, try coating stator with some epoxy resin, I had failure of one of my motors few days ago, phase wires shorted somewhere, I’m unable to see where for now, will need to dismantle a motor, probably somewhere near the endings of phase wires (which is weird as shink tubing is intact in this area), no windings came loose either.
and also implemented same mod.
If I may make slight suggestion, try coating stator with some epoxy resin, I had failure of one of my motors few days ago, phase wires shorted somewhere, I’m unable to see where for now, will need to dismantle a motor, probably somewhere near the endings of phase wires (which is weird as shink tubing is intact in this area), no windings came loose either.