Not enough room lol. To many tools. I did the apartment thing… Yea nope lol
2 Likes
So many little things… To build a board ![]()
![]()
-split the nose (6th Series pack) from 4/1 to 3/2 for easier fitment. -finished all series connections. -silicone battery to enclosure and cured -swapped the BMS balance wires for silicon -wired all the balance leads except B+
Need to: -finish the charging lines, and drill the charge hole -finish wiring B+ and the AS150 bullet, and drill the hole -charge the battery, and dial the pots on the charger for perfect end charge. -3m the focboxes down after setting up wireless and CanBus

We’ll see where it goes from there… but I’m guessing bolt it up and then configure the motors wirelessly ![]()
11 Likes
Charging woot woot.
18 Likes
@Deckoz how did you make your battery pack safely? I’m reading some topic (fish paper and fuse wire) for battery, need some safety tips in making packs.
1 Like
Looks like 
@PartyPoison. One side is wrapped in fish paper, the other side is layed out. It’s nickel welded for parallel and two 14guage for each series connection.
The terminals were wrapped with kapton, and the ends of the packs that are side by side wrapped in fish paper to create abrasion protection separation. It’s the side in this picture that has fish paper on the cell ends.

Then kapton and welds. This is a negative side you can see the kapton is on top as I welded first

This is a positive. With kapton before welding. Then some manual abrasion to make solder flow easily to not heat up the packs

One side done…didn’t take pics of the solder joints
Working on the other side


Packs we’re then siliconed in and left over night to cure… Wired bms and such. Bypassed discharge. .
!
13 Likes
Looks good on the series, I’m planning to use braid, though I haven’t decided to either sandwich it or do it over the top
1 Like
@Deckoz thanks for the detailed assembly for the battery pack, didn’t think that you can put kapton before spot weld, can be a good insulator for the positive side, nicely done, Did you avoid using insulator (circle thing with adhesive) on the positive side? remember that @Kaly said that insulator are no good in case of short , glue might caught in fire( trampa caught in fire).
Insulators honestly make it harder to weld. As it raises the lip, making the chances more likely there’s an air gap and you burn a hole in the nickel.kapton is easy, adds all the protection I need for the welds and is nice and thin.
Insulators…meh…they just take up space…
2 Likes
So haven’t had much time to work on it. Unfortunately the model my friend made was more of an afterthought for me and didn’t end up fitting like I wanted. Which is ok. So resorted to the pass through unloosable loopkey.
All wired and charged.

Unplugged

Plugged
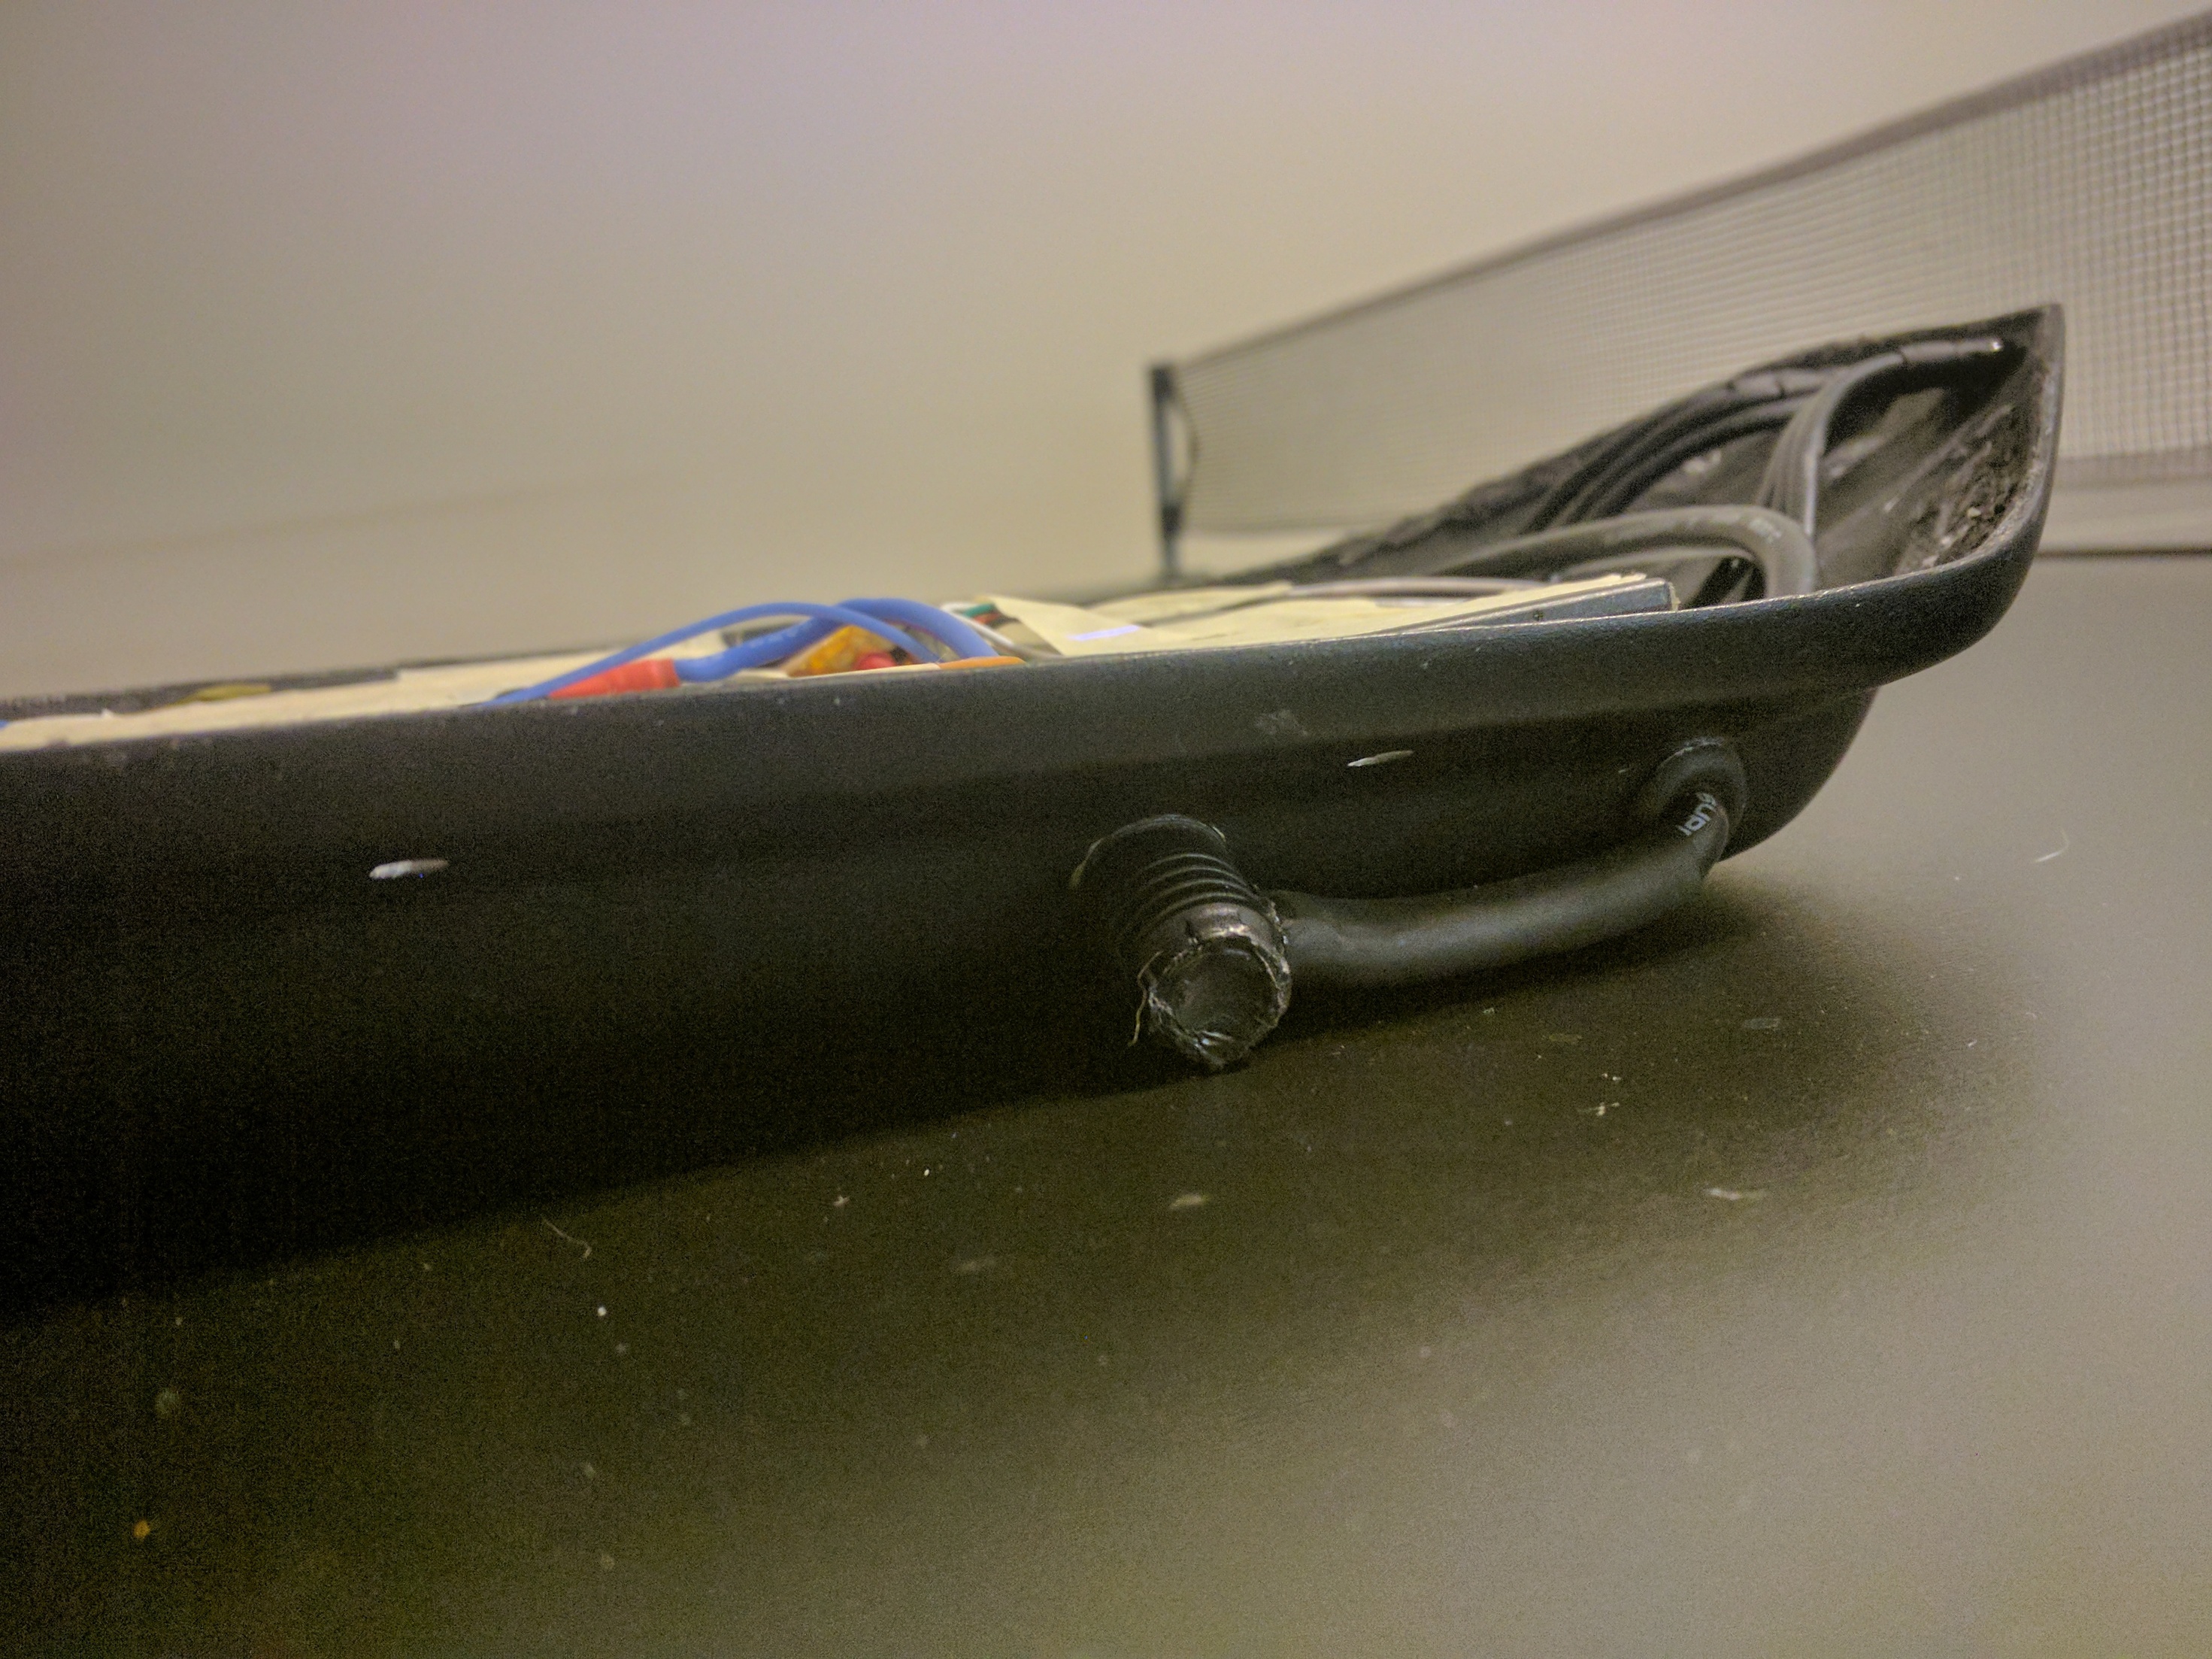
Close up of esc area

I also am resorting back to my TB Nano remote… Which is really depressing. Ack 3.100 firmware with a metr module and wireless VESC tool is something I don’t want to give up. And unfortunately the Photon doesn’t work currently on 3.100. So to the shelf it goes for now.
Also made a riser

Just made sure I had UART setup and was able to connect to the wireless TCP bridge and CanBus. Gonna try to finish bolting it up tonight or tomorrow morning…
12 Likes


24 Likes
It livessssssssss
Still need to extend my senior wires. But  power
power
4 Likes
Came out great, congrats 
1 Like
Shoulder feeling a bit better…I mustered up a whole battery ride of 44 miles. Could sip another 2-4mi out of it if I felt like cruising around 10mph… this ride was with a 3.35/cell cutoff(43.5) and ended at 44.1 because of sag during hard acceleration.
Dude… 44 miles on one charge lol wow.
7 Likes
That’s awesome range for such a sleek build
It’s thin enough all the way down the board that carrying it belly down like I would a normal board. On my side is no biggie even though it’s a bear at 25-26lbs
… But the 65 degree front has gotta go… swapping for 44 base plates with a 6 dewedge in the front for a final 53/29 instead of 65/35. Lol 65 isn’t right
2 Likes
Doing final assembly on mine tomorrow, will start with 50/45 and feel it out
Been doing 50/50 forever 
1 Like
Dude I rode this board 5050 analog dh for a few months waiting on the enclosure.
But powered it just isn’t right… I can’t shimmy my front foot around to leverage points like I can on every other board… Likely because 50 plates resulting in 65 degree nose on a powered rear feels fine…until you move your foot lol them any bit of torque shift from the rear just makes it flop.
I’ve already taken 6 off the front but I really need/want the front closer to 50 so I can move my foot. Lol I also like my trucks insanely lose… So it’s all ankle here lol…can’t handle the 65 
My point is it is completely different powered above 25mph…
2 Likes
I keep it quite tight, got 96a pretty much everywhere, that’s to compensate the taller ride height I like. I seem to prefer the nonstandard lol. My first sk8 was an esk8, I can’t even push 
1 Like
This isn’t waterproof around the enclosure is it? Or will the final sealant application make it sealed