Mr @rich you’re looking at the enclosure 
 Im going to use the jtag bms on this one as want high discharge and plenty of control I will be using that one in another as yet tbd thanks!
Ha, now I got it, that’s genius man ![]()
1 Like
PM me if you want the models
Will have to bend both bashplate ends around the last packs and devise a mounting system for the plates to the board.
And since I don’t have access to an argon welding cabinet probably a mechanical join of plate to skids.
I went the extra piece in the middle to provide more protection and to help secure the packs, if will also protect and wiring between packs

1 Like
Name change, Oh and its the little things that make the difference

Need more Velcro for stronger X Velcro stripe, don’t forget these will be lashed down with Ti, nothing is falling off!
Also you can see they are be padded from clunking into each other and the deck…vibration kills kids
The screws are stil assessable and lid of the pack can be removed no problems
3 Likes
Extra Velcro arrived along with nese internals unfortunately it’s Monday and work beckons hope to build packs sometime over the week
1 Like

Sexy build, I’m watching closely to steal all your ideas. 
Have you considered 3M VHB for the Ti joints?

Seems strong, and cleaner than rivets/bolts/screws.
Cheers! I had thought about using glue, I’m aware that there are varients used in motor/ aircraft construction but now I will check that out thanks
I bought a brazing rod, that was the plan, plans change
1 Like
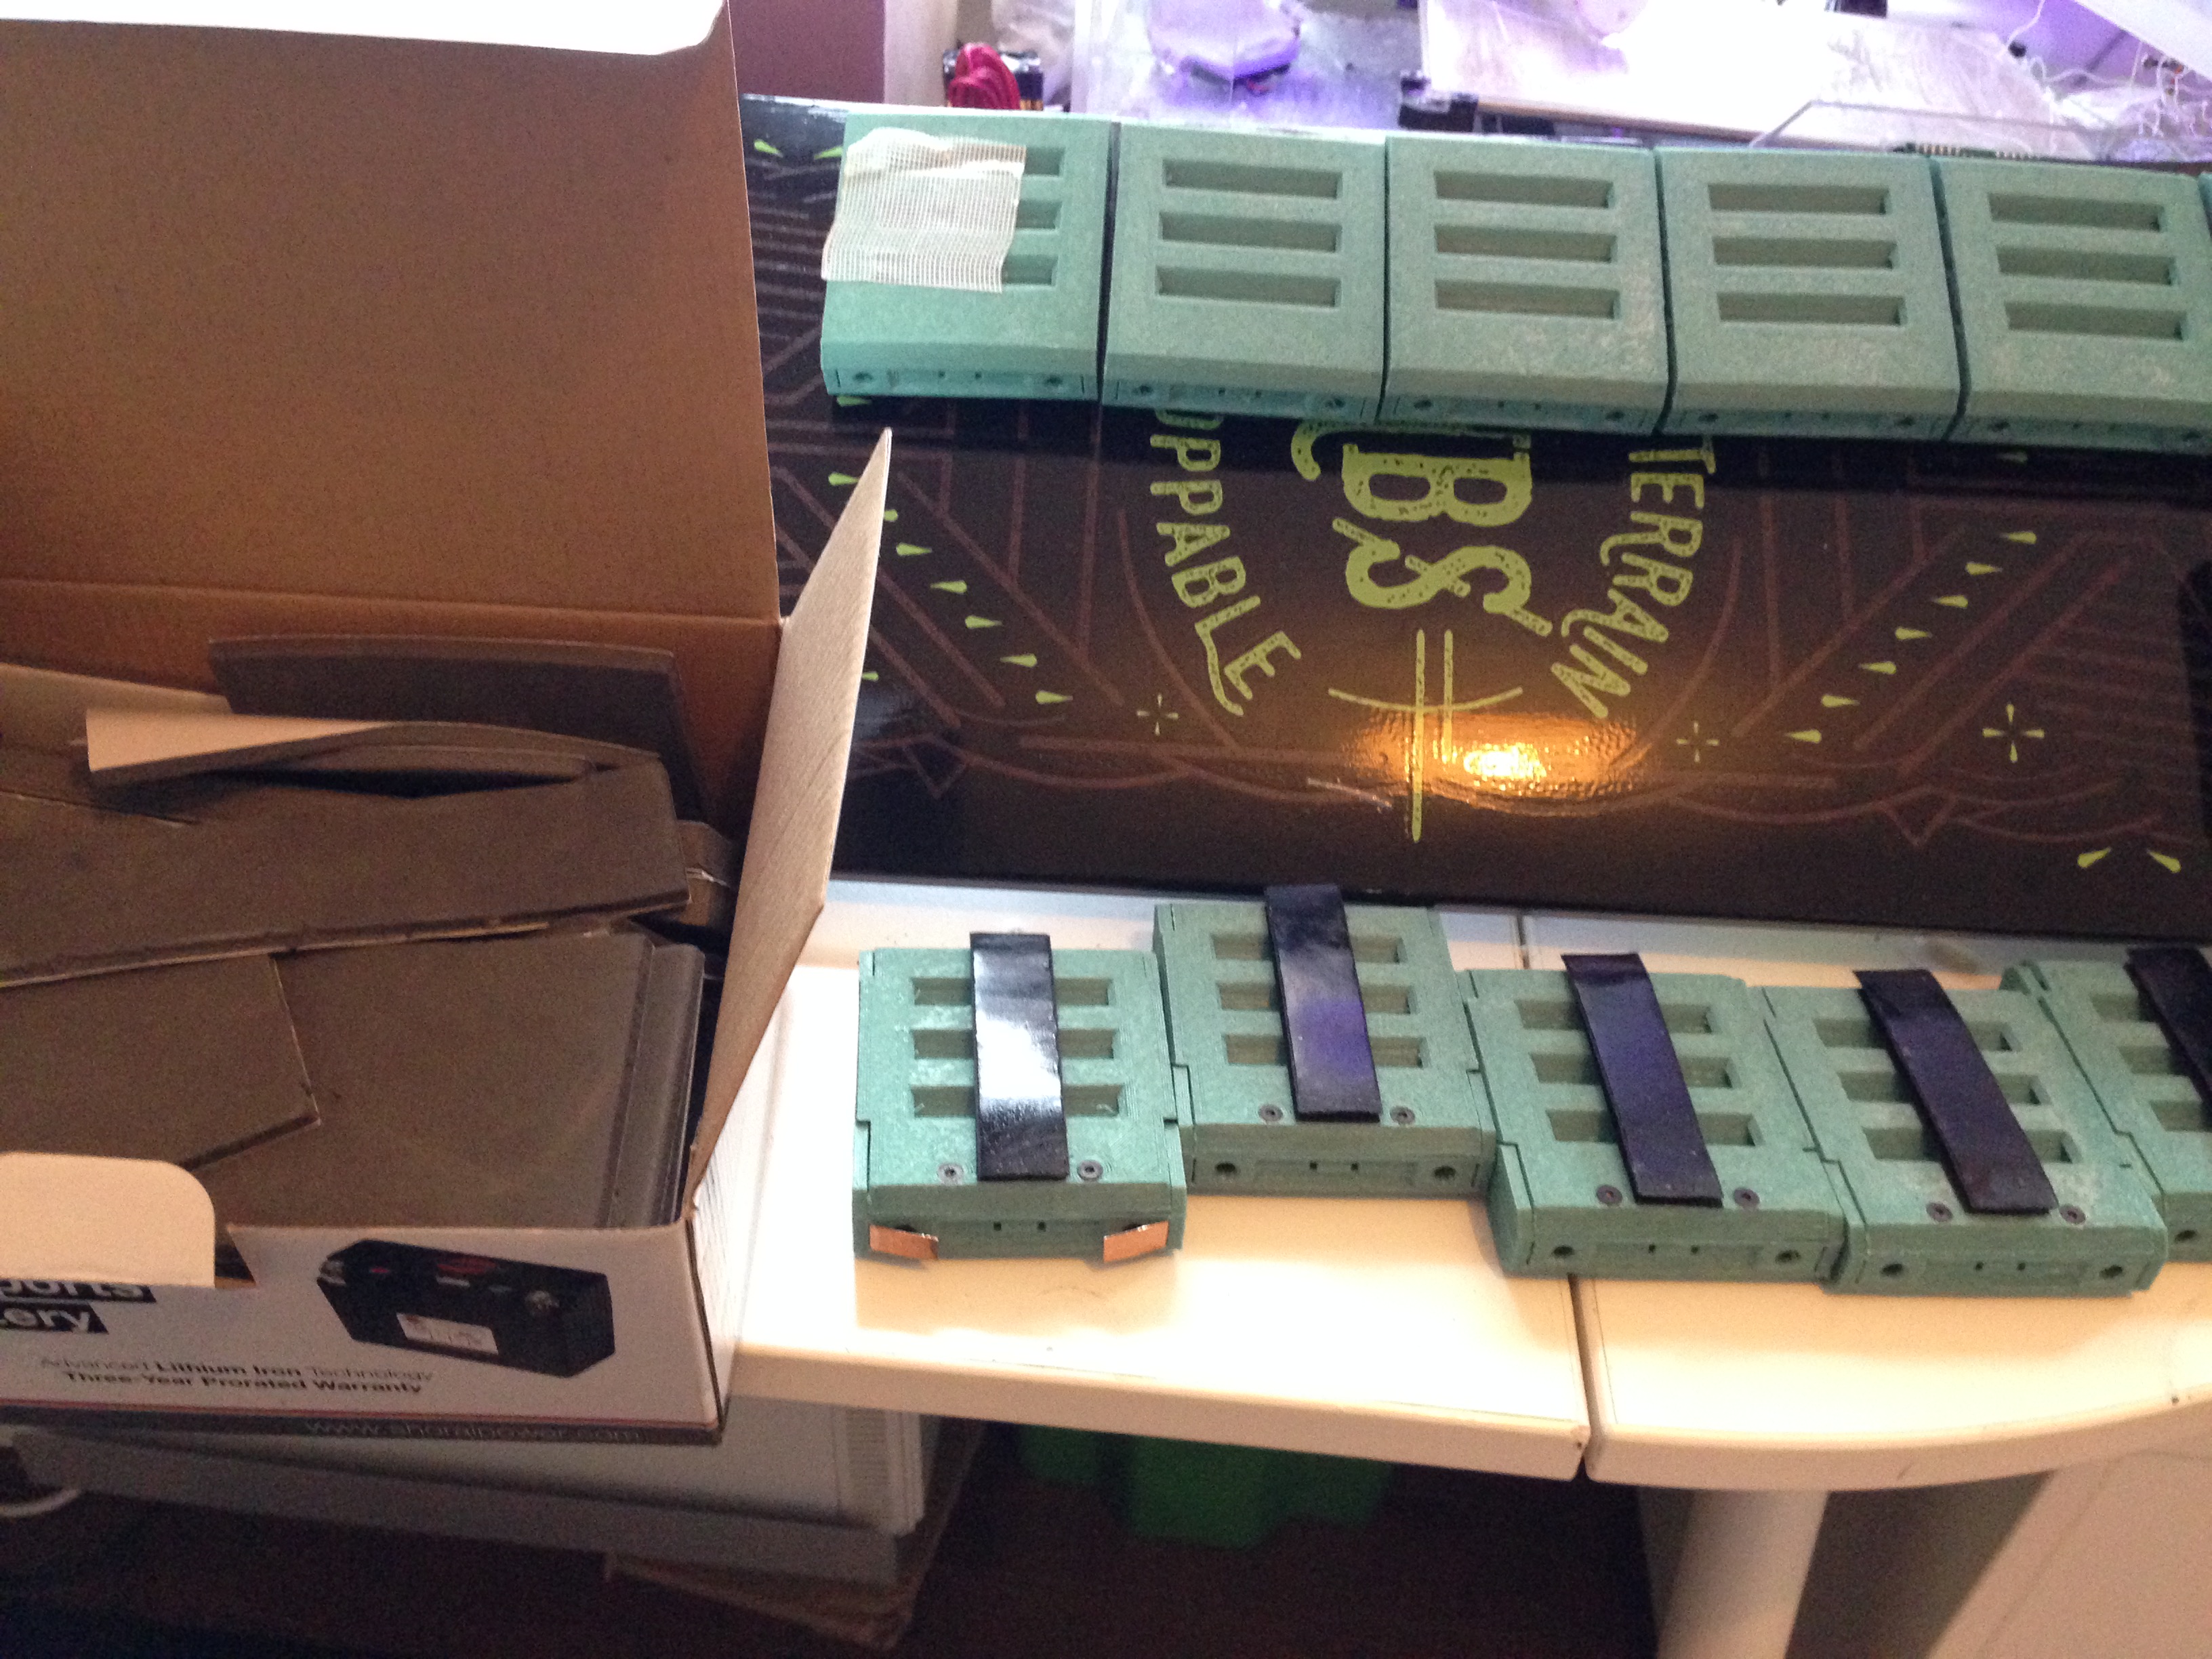
Progress slowed by work, I made a mistake on the rejigged @JTAG bms enclosure so that’s still not completely finished but you can see what it will be like, also removed foam between packs for space, to be replaced by 1mm silicone (no pack ‘clicks’)
Some of the packs I have fitted with @agniusm internals and caps

4 Likes
Great. Any feedback on the stuff? Have you assembled them with cells? If so, how was it, hard, complicated… Regards
1 Like
looks good
1 Like
Loving this.
Is there anyway you could print me a copy of those belt guards? Will obviously give you some remittance!
1 Like
Easy, you can see the thought put in…
After connecting the series bars I think I will go with them and also they hold the packs so securely together I really don’t see the need for any silicone buffer. Also I got rid of the foam between the packs and the board and replaced with more Velcro, given the design I don’t see cells getting shaken loose…bonus is I may be able to test ride without the metal bars.
The packs want to splay a little on the other end when the series bars are connected, the Ti bars will eliminate any movement.
I did make a mistake insofar as I wasn’t aware that only the negative side has a poron strip, as I didn’t examine the contents carefully it meant I have to bend back and remove some bars after 2/3 packs, thankfully no break.
I will make a small loop to connect the two pack strips with copper ring terminals.
I made a small mark on each pack to denote polarity direction.
I want to finish this up, ride some and move onto an ATB in the works.
1 Like
“I did make a mistake insofar as I wasn’t aware that only the negative side has a poron strip, as I didn’t examine the contents carefully it meant I have to bend back and remove some bars after 2/3 packs, thankfully no break.”
It actually does not matter which side you put in, negative or positive (i like to put cells negative to the foam as you said it, no particular scientific reason). The bumps are sized to positive side so there is no overlap and with cells sitting snug, no chance of them shorting on positive end with negative outer lip.
The compression gasket is on one end to minimize play. When there is more material, e.g. on both tabs there is twice as much risk for cell loose compression. One side is more than enough.
If you have a gas torch, heat up the bend spot. This will anneal it and it will go back to its previous crystalline form (copper molecules) and you will be able to bend back and forth as many times as you like granted you anneal again after bending couple of times
1 Like
BTW, you can jus use some 5mm x .2mm stainless strap, feed it through ribs of the modules and strarp it that way to the board. They actually are meant for that:

5 Likes
Can you give a bit more detail? Just heat it to red, and let it air cool?

2 Likes