Starting point was @Kug3lis sell/Dev thread.
Making this thread to hold pics and force myself to update!
5 Likes
I had to take a push from @Deckoz to ream out the collar of the spur 6mm, you may have seen pics with a stack of washers, yes unacceptable


I cut off the ends of the shafts, plan is a bit of green locktite as well, one spur has a grub ever 90deg = 4 in total, the other spur only has 3 but no matter
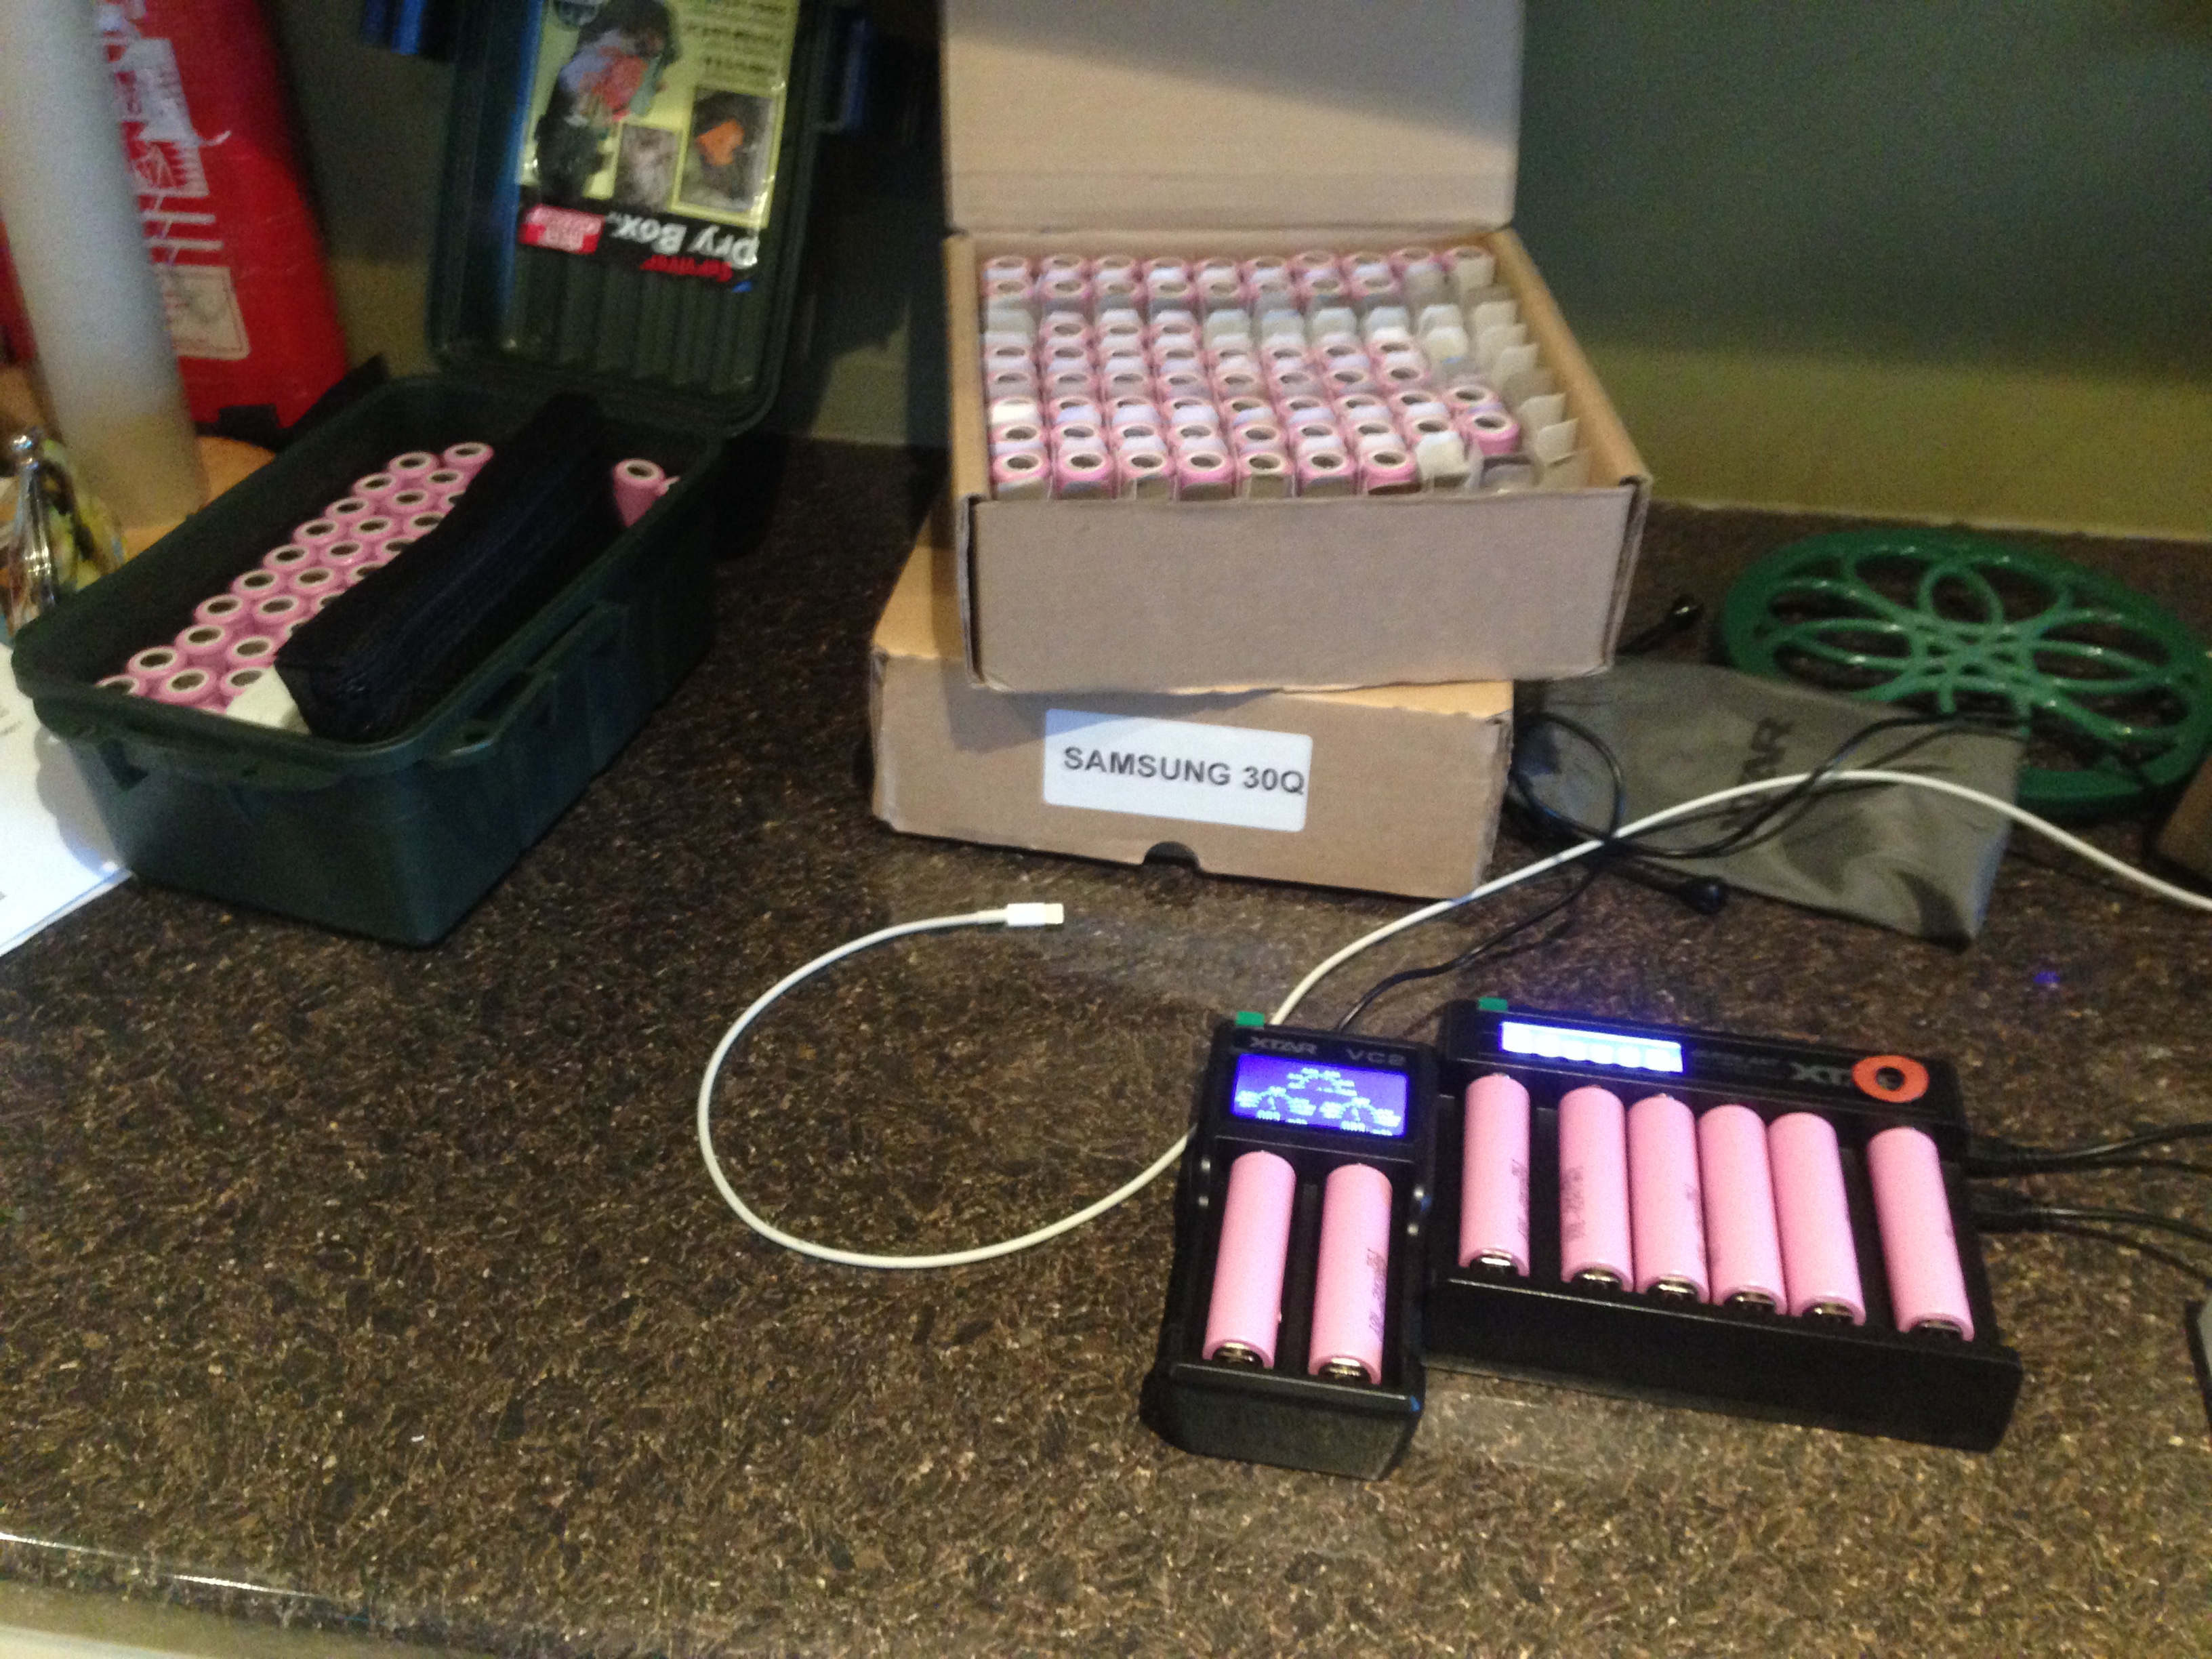
The battery will go in a traditional ATB case made by MTM very waterproof, in there will also live the DieBieMS
7 Likes
I took off the 9" wheel for which I couldn’t get the runout ok and put on some Superstars I picked up off Trampa, surprisingly I still had runout issues and also an adapter fitment problem on one side, I suspect the trucks which came with the second hand board may not be perfectly true.
My solution turned out to be a couple of slim 4mm washers on the rubbing side, I had to do this for each drive - trial and error. Point of note - the wheels can be tuned to a certain degree, if you get a rub point, try tightened up a snip the bolt/s on the wheel point where the rub is, this may help.
And lastly just to keep me involved for some reason wheel #2 had a spacer which was too long to keep the bearings seated, no idea why as it’s a standard spacer, I had to file off about 1.5mm to stop the wheel moving laterally in the drive.
Tired now of fighting this bastard, maybe some pics tomorrow,
3 Likes
Interesting.so what is your spacer setup on the axle?
3dServisas supplied a few washers, 2 X 0.5mm & 4 * 1mm.
The recommendationin the manual is to not exceed 2 washers per side, I managed to keep it at that with a total of 1.5mm on side & 2mm on the other.
They are acceptable now, I have to state again that the machining to me looks perfectly accurate (checked on glassplate),so deviations are likely to be 2nd hand trucks used for jumping & injection molded hubs which would have more runout than machined alloy
2 Likes
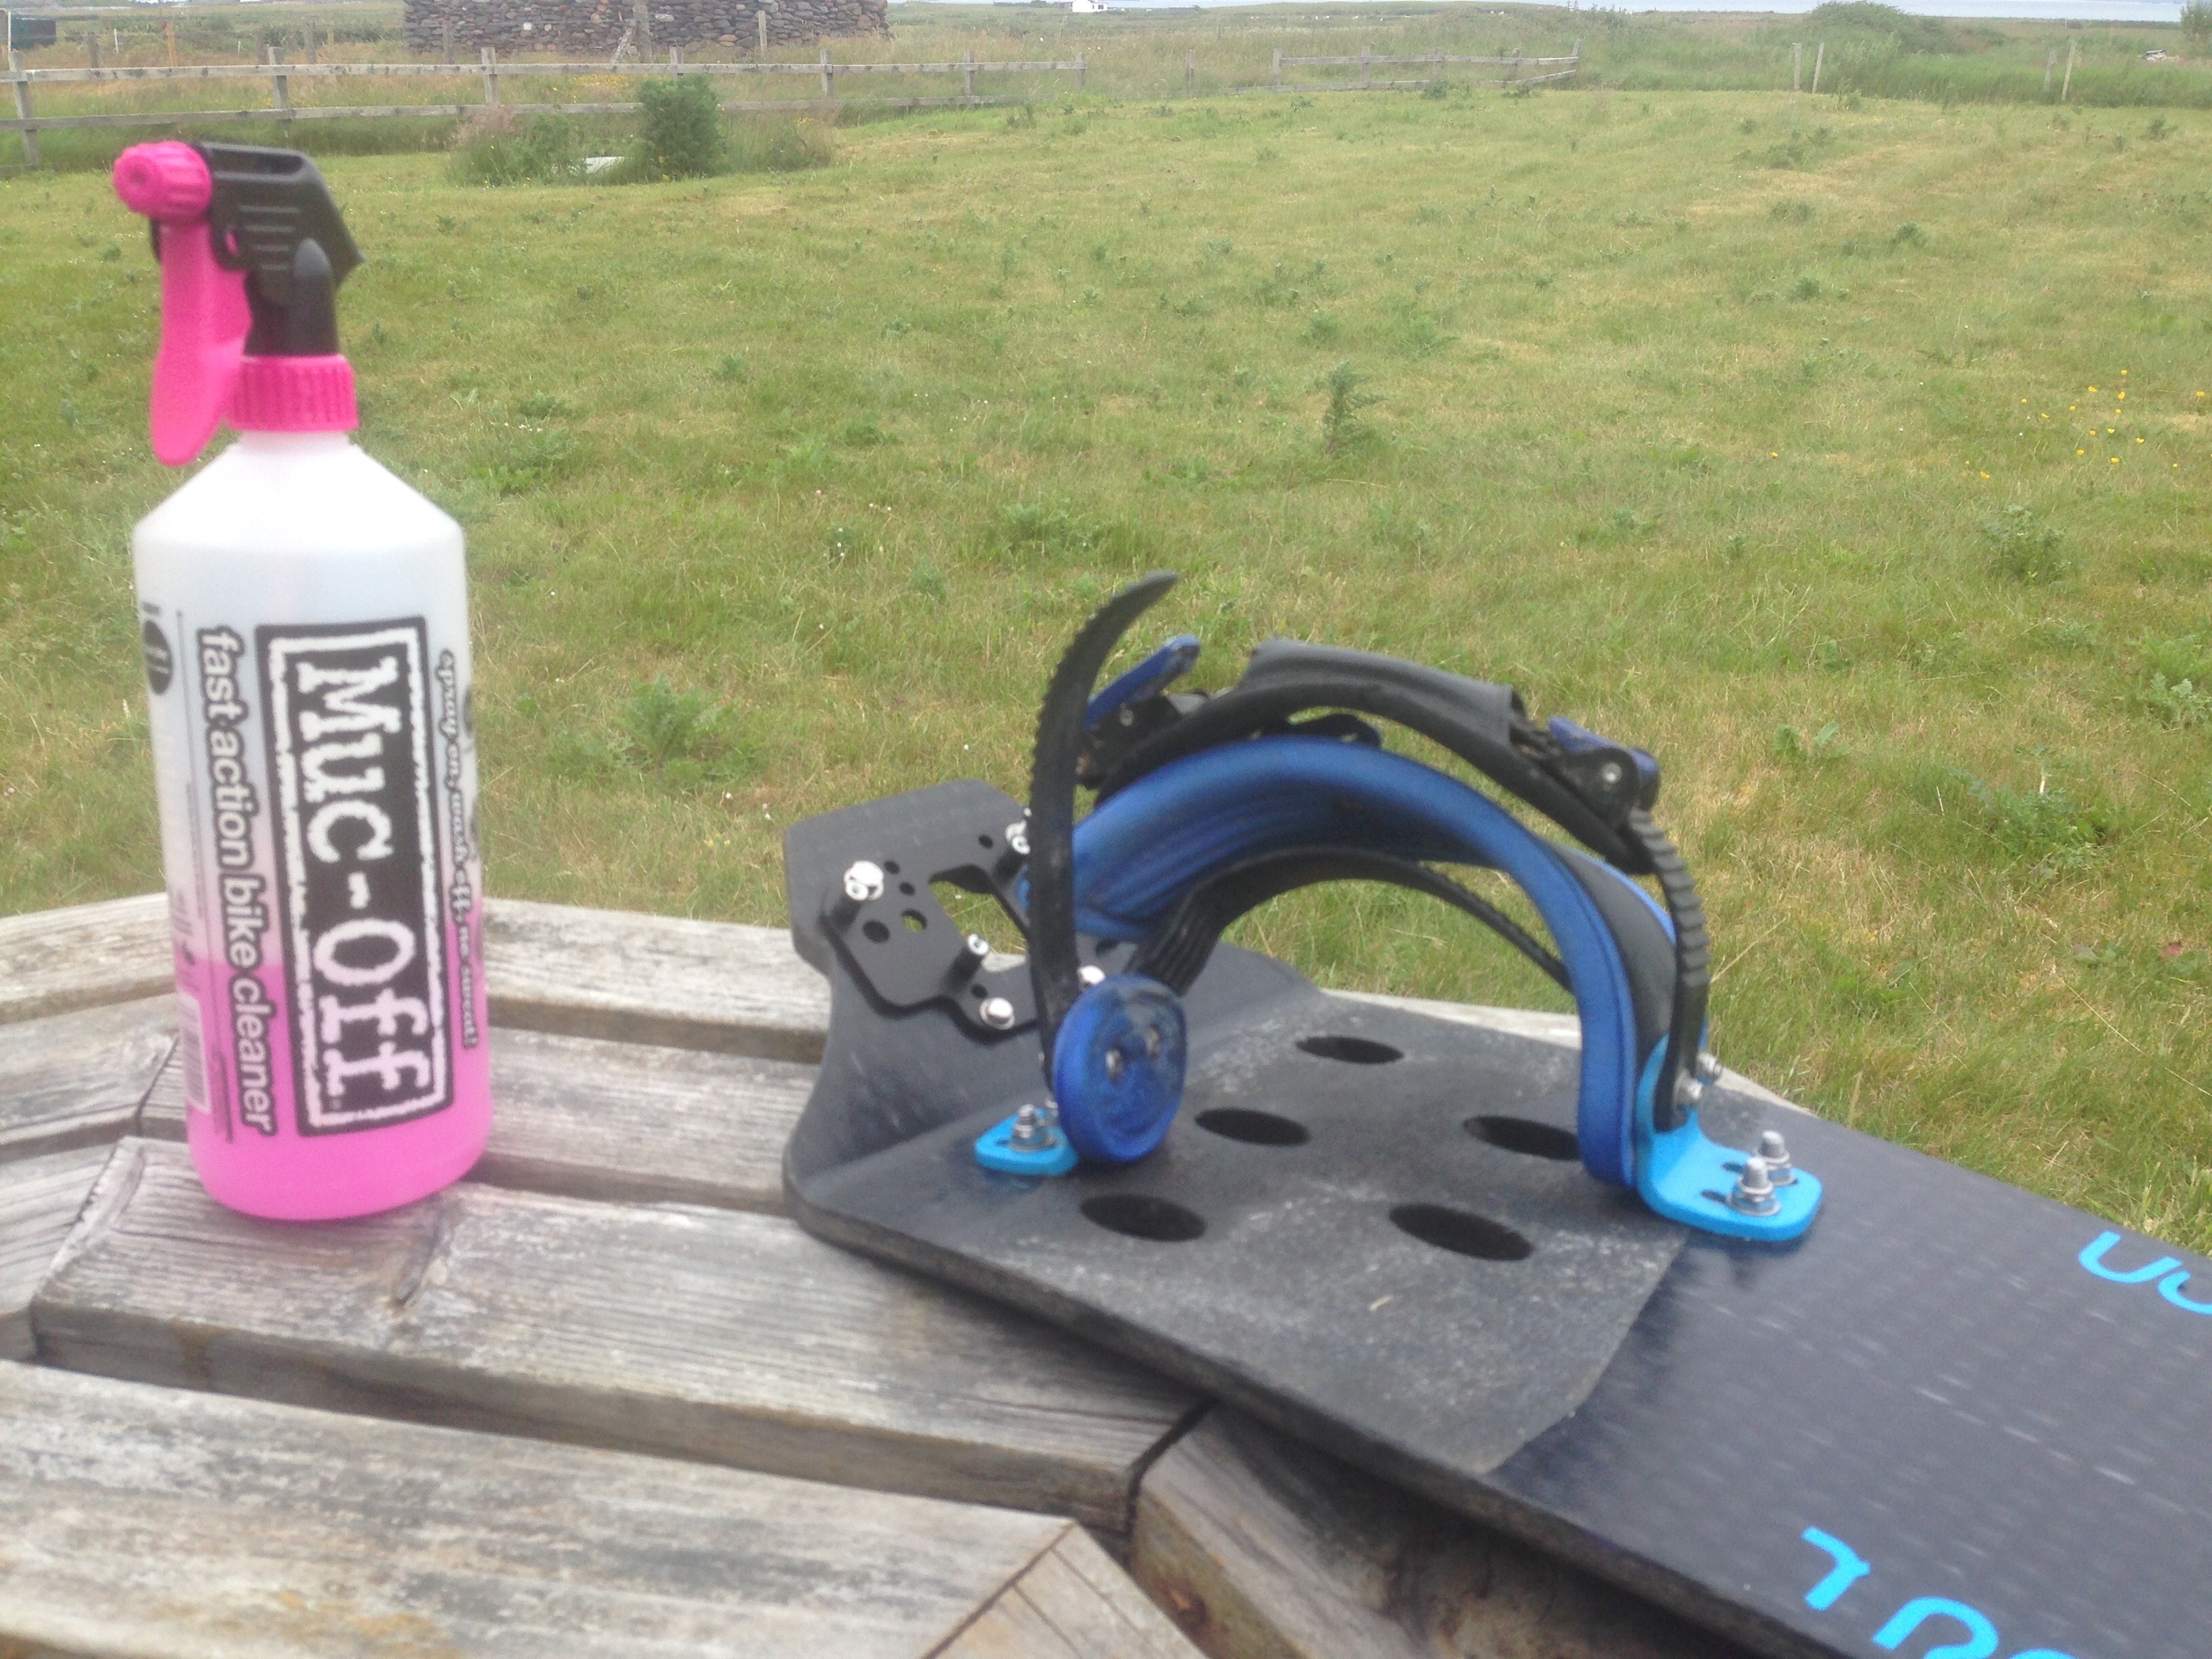
I’m using a 3dservisas dual case for the focboxes with one of the case mounts.
Tapped now using the indication marks which made life easier, m3 bolts and rubber isolation posts provided with the mount

3 Likes
Rough and ready but importantly should keep anything larger entering the cooling ports, this is a sand runner so if the motors die from ingress I’ll just switch them out for properly sealed HK ones that came on the market recently


Flat magnets nothin special
That’s aluminium mesh, it cuts easier and isn’t attracted by magnetic forces
Could have done a better job cutting and been tidier with epoxy
4 Likes
When back together and set right I’ll secure the spur with green locktite & blue locktite the rest. Will need to read @Deckoz’s post on setting backlash again
The POM gear is 15mm deep, the spur is about 14mm iirc, you want to get the top of the spur close to the rear of the wheel gear without rubbing, basically you should not see any part of the spur teeth through the gap otherwise it’s not engaging fully
1 Like
This could be a worthwhile methodsince you can’t eyeball the engagement. Doubled up piece of paper 4:05

Found another video that said no no to paper, but gear was smaller and single layer, like chain tension and oil many opinions
Another OPINION single fold paper tooth size plays a role

Lotsof helpful RC vids

4 Likes


Replaced the worn bushes and kingpin which was very rusty
I only have green dampas on hand but they’re new, clashes with the blue springs which wouldn’t be my favourite colour.
In fact there’s blue all over this thing, peeling stickers and dyeing footstraps towards the end of the build, I may leave the baseplates and metal bits in baby blue alone.

3 Likes
I ended up setting backlash by hand, just a small bit of play, it was too difficult to use anything but feel in a sealed unit.
@Deckoz how much backlash did you use?
1 Like
Hey there.
I aligned the backlash so the bottom of the “top curves” meet on the gears, in either direction of spin. The bottom of the top curves of the teeth are the “pressure angle”

It is furthest outside dotted circle, that passes through the middle of the teeth in the picture at the bottom of the top curves labeled the “pitch circle”
4 Likes
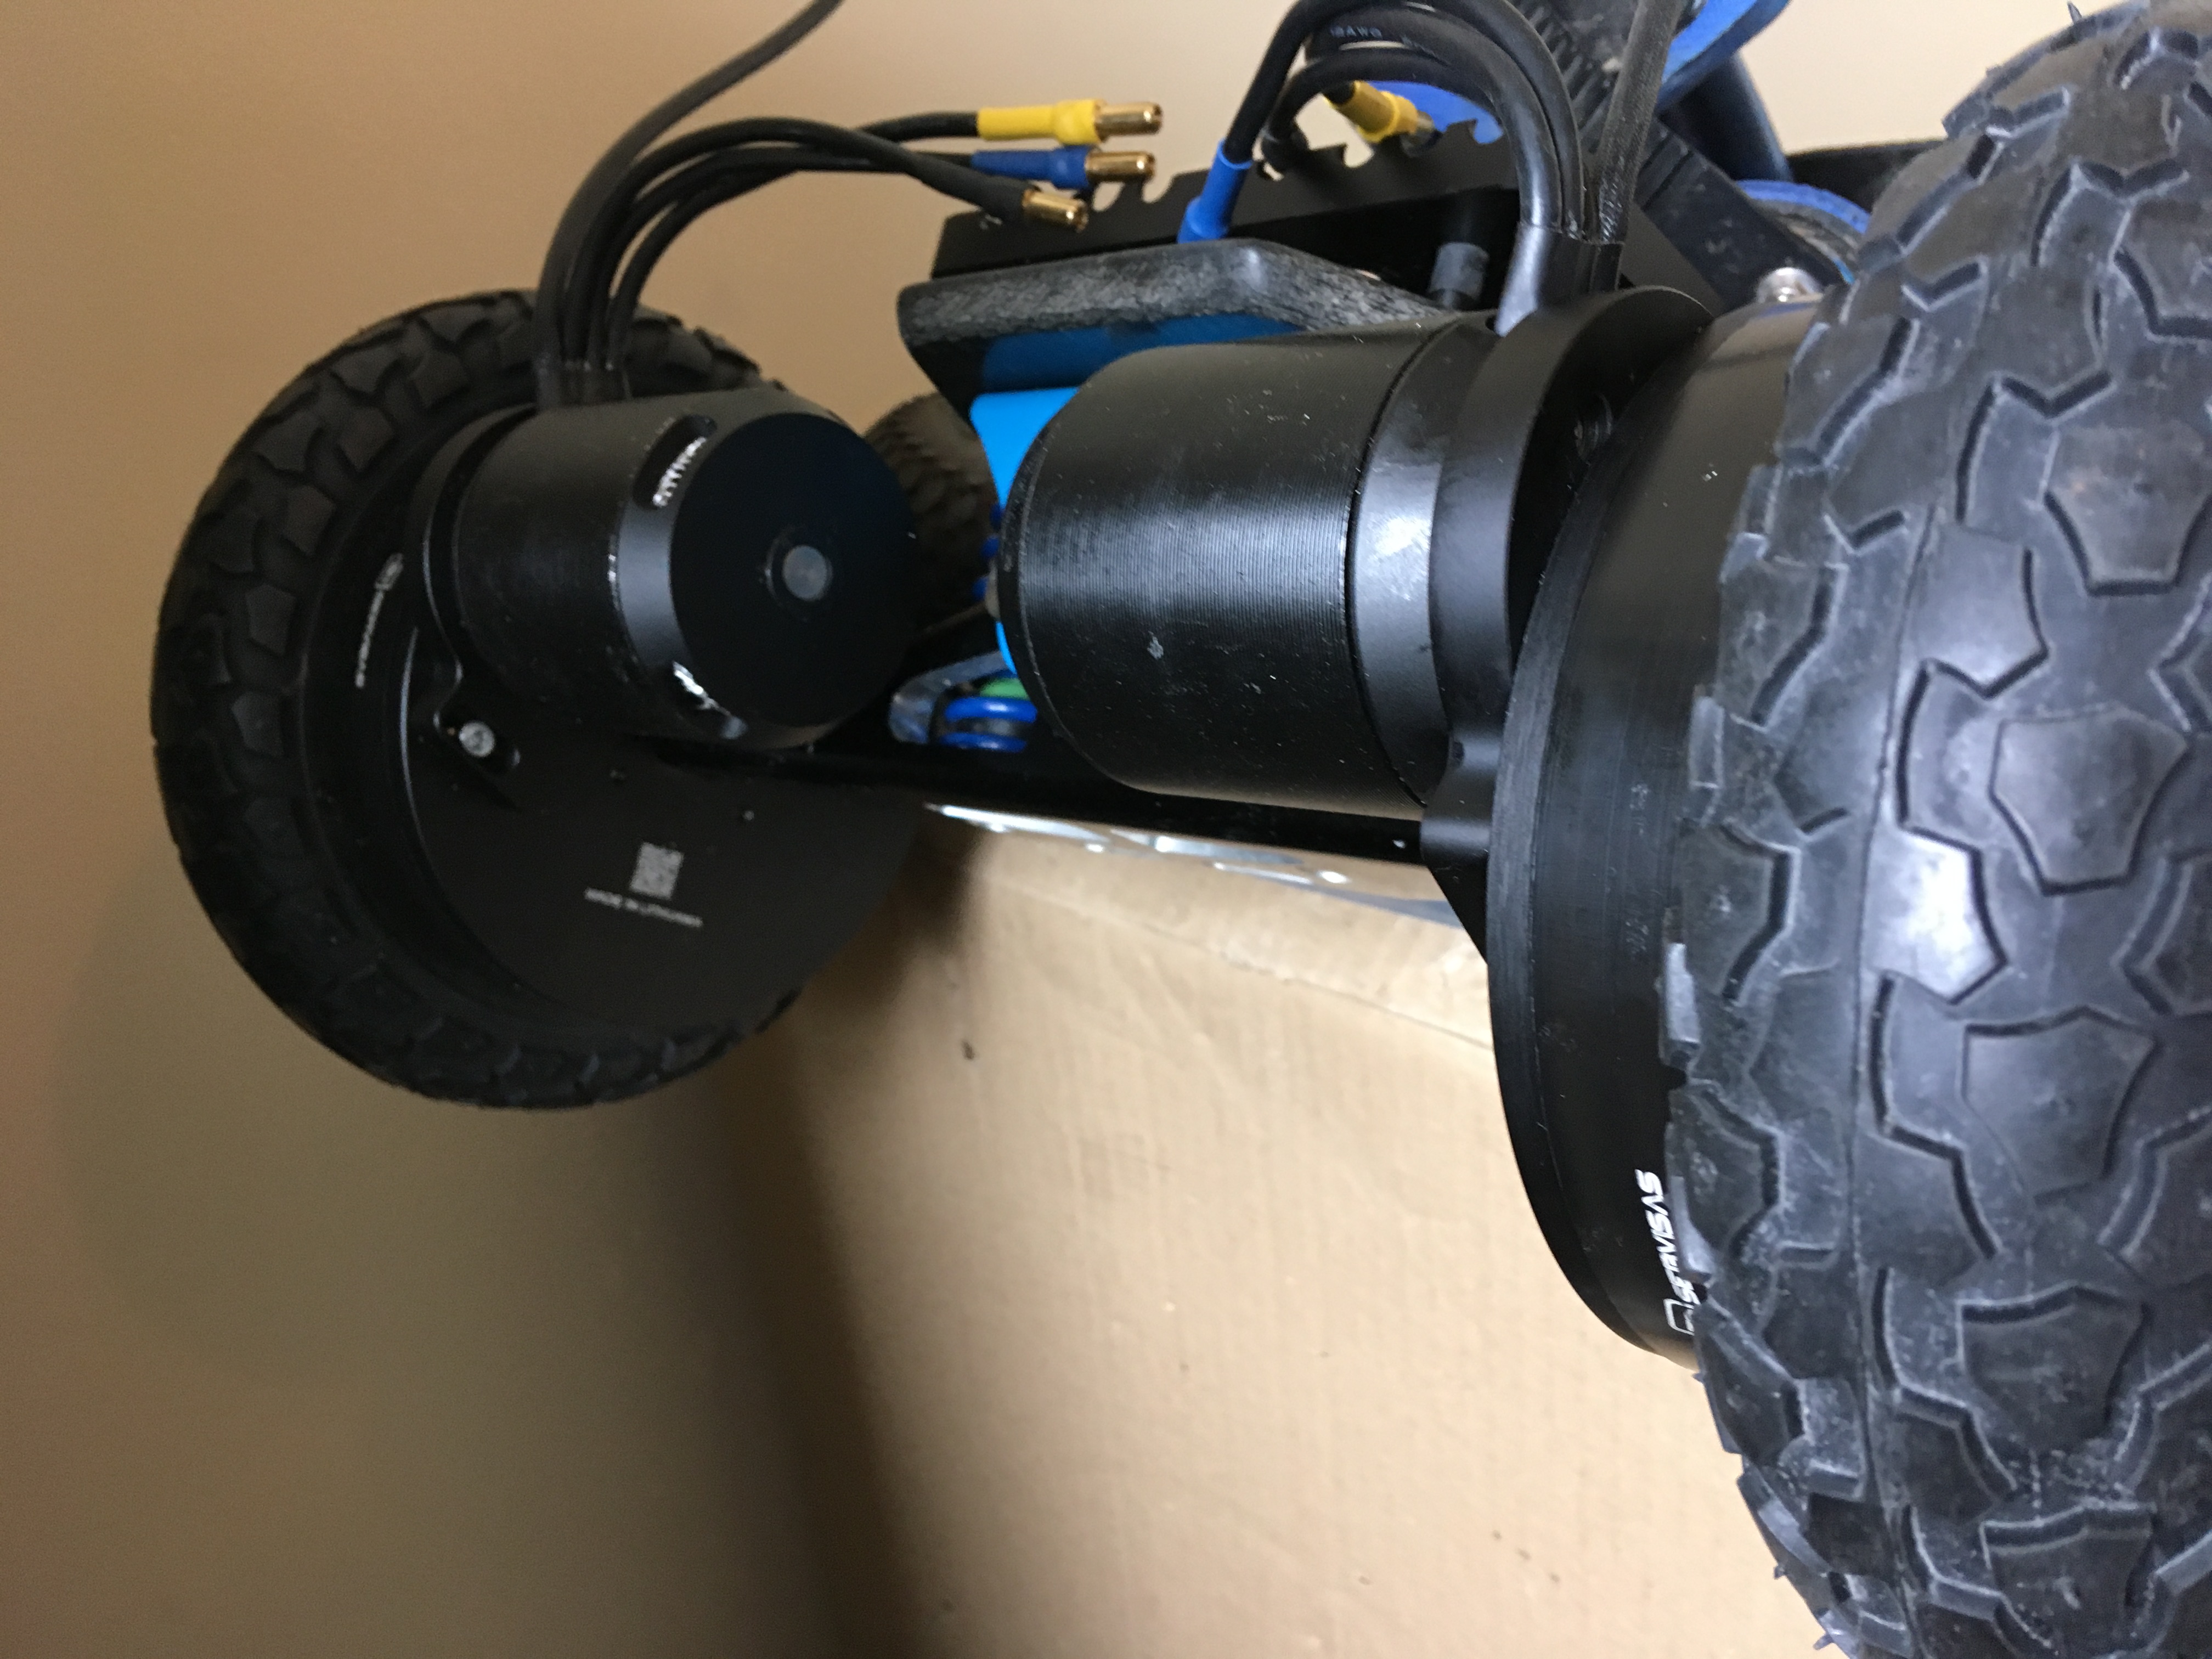
U mixed baseplate sides… Motors should be higher (Made in Lithuania should be at bottom)
Nowyou tellme  Thanks for the spot
This way up arrow underneath ‘made in Lithuania’ 
Thanks, that is useful,will try that
After fixating on the La Croissant earlier I got back down to business and installed the focboxes, plugged in the USB then disaster struck…a big disaster.
Setting the drives up in the VESC tool O didn’t think to do the final loctiting to set the drive plates…CRUNCH
Can you guess? The grub screw turned itself out and momentarily stuck itself between the spur and the drive wheel before snapping off a section of POM teeth. I will probably need to wait till July to get a new drive wheel on this side, I doubt my Heath Robinson fix will hold
Superglue, VHB tape and a strip of Ti, sux to be me
2 Likes
Nope that didn’t work, steel band around the drive maybe, will try that next
A bit scared because I have a very similar set-up waiting to be built, hope it will work better than you… 