Future Gadget #204 2nd Edition Ver 2.34 // Trampa MTB // Fatboy Direct Drive 5:1 // eBoosted Double Stack Trampa enlosure // Fatboy Focbox enclosure + Dual Focbox // Sk8 192kv motors // 12s7p 30q

First build! Coming from a boosted, I wanted to get tires and bindings so I feel more “secure” especially on the roads of NYC. I could get a Kaly but I figured if I’m spending that much money I could instead invest in learning how to build one. Plus when you DIY, “you are the warrranty.”

Let me know if I’m doing/about to do any rookie mistakes!

Current State

Parts list: Trampa Infinity with HS11 deck, bindings, 8 inch tires Fatboy Focbox case in red + dual Focbox Fatboy 5:1 direct drive SK8 192kv sensored Bestech BMS Firefly remote

Pictures

Trampa complete

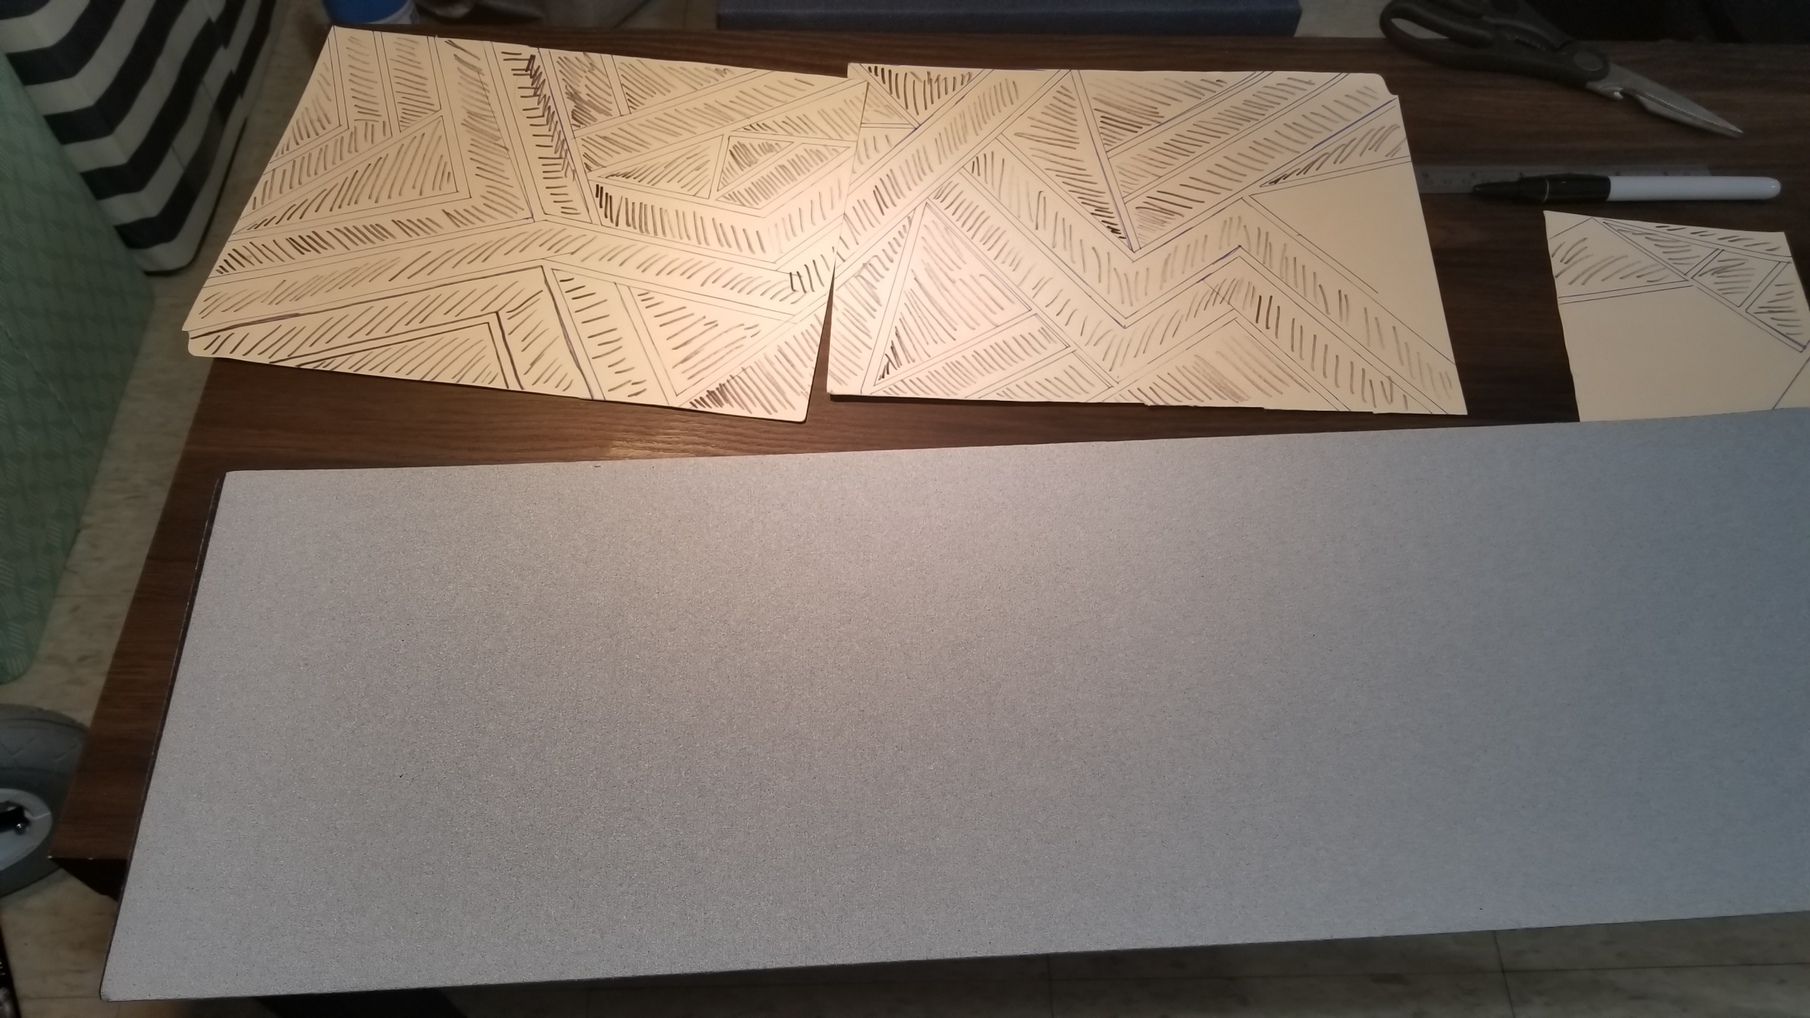
Custom grip tape job while I wait for other parts. I wanted to differentiate myself from the usual hexagon grip tape patterns I see on the Kaly’s here in NYC.

Grip tape progress

Trying to see how much of the grip tape my bindings + battery box will cover. Sadly a lot. Seriously thinking of switching to bottom mount.

Some more progress on the grip tape

Finished product

Focbox case arrived so I mounted them. Goes well with the subtle red on my wheel hubs. Maybe I should have gotten red bearings and/or red spokes too?

Because of slight variations on trampa’s manufacturing, one side of the axle is slightly fatter than the other so the drive baseplate doesn’t go all the way in. Notice in the picture that there isn’t enough space for another bearing, let alone the nut. I had to use a hammer to forcefully slide the baseplate in.

Got the direct drive and motors. Really need to do something about that sk8 blue. Anyone have ideas on how to tone it down/black it out without affecting heat dispersion?

15 Likes

dissasemble the motors and spray the motor cans in w/e color you like :slight_smile: nice build!

Dibs!! 10char

1 Like

Nah i call dibs on trying it out first :eyes:

Put a socket over the axle end, followed by a thick 12mm washer, tighten that down with the nut, don’t strip your axle thread.

1 Like

@neiru37 where did you get those tires?

@LukePL Trampa. They’re the regular Innova tires

1 Like

@banjaxxed I’m confused, what is this trying to achieve?

Saw the title… Shit we got a badboy over here. Like your setup man, curious how far you’ll go with that pack.

@Yecrtz it’s an anime reference

It would help set the clamping ring flush to the end of the hanger without wailing on it with a hammer

4 Likes

I see. That’s actually a smart idea, although I’ve already hammered it in so it a little too late. But in the future I’ll be sure to do that.

As it happens I’ve got to use that technique again, I put the drive plates on upside down on my build :joy:

2 Likes

@banjaxxed hah that happened to me too.

In other news, some parts for my firefly remote are also coming in!

3 Likes

sanding down the cans would work, possibly giving it a brushed metal look, but i would probably put vinyl over it or use some heat-proof spray paint.

I’m thinking of getting those motors, was just planning on using a Sharpie and spinning the motors up. Kinda like a lathe.

2 Likes

@never4getf150forums I’m considering that, but I’m afraid of removing too much material and damaging the shell. Also weight differences might occur and could potentially affect the motors rotational stability. That or I’m just worrying too much

@JonathanLau1983 that’s the easiest and safest solution for sure. It’s more controlled compared to using spray paint, and it dries quickly.

does this mean it’s semi-permanent?

No, a good few whacks of a dead blow hammer and it frees up, on reflection this is why the machining of Trampa hangers makes a lot of sense

2 Likes

@kaly’s kit comes with a machined cnc hanger I believe

1 Like