oops! 
13 Likes
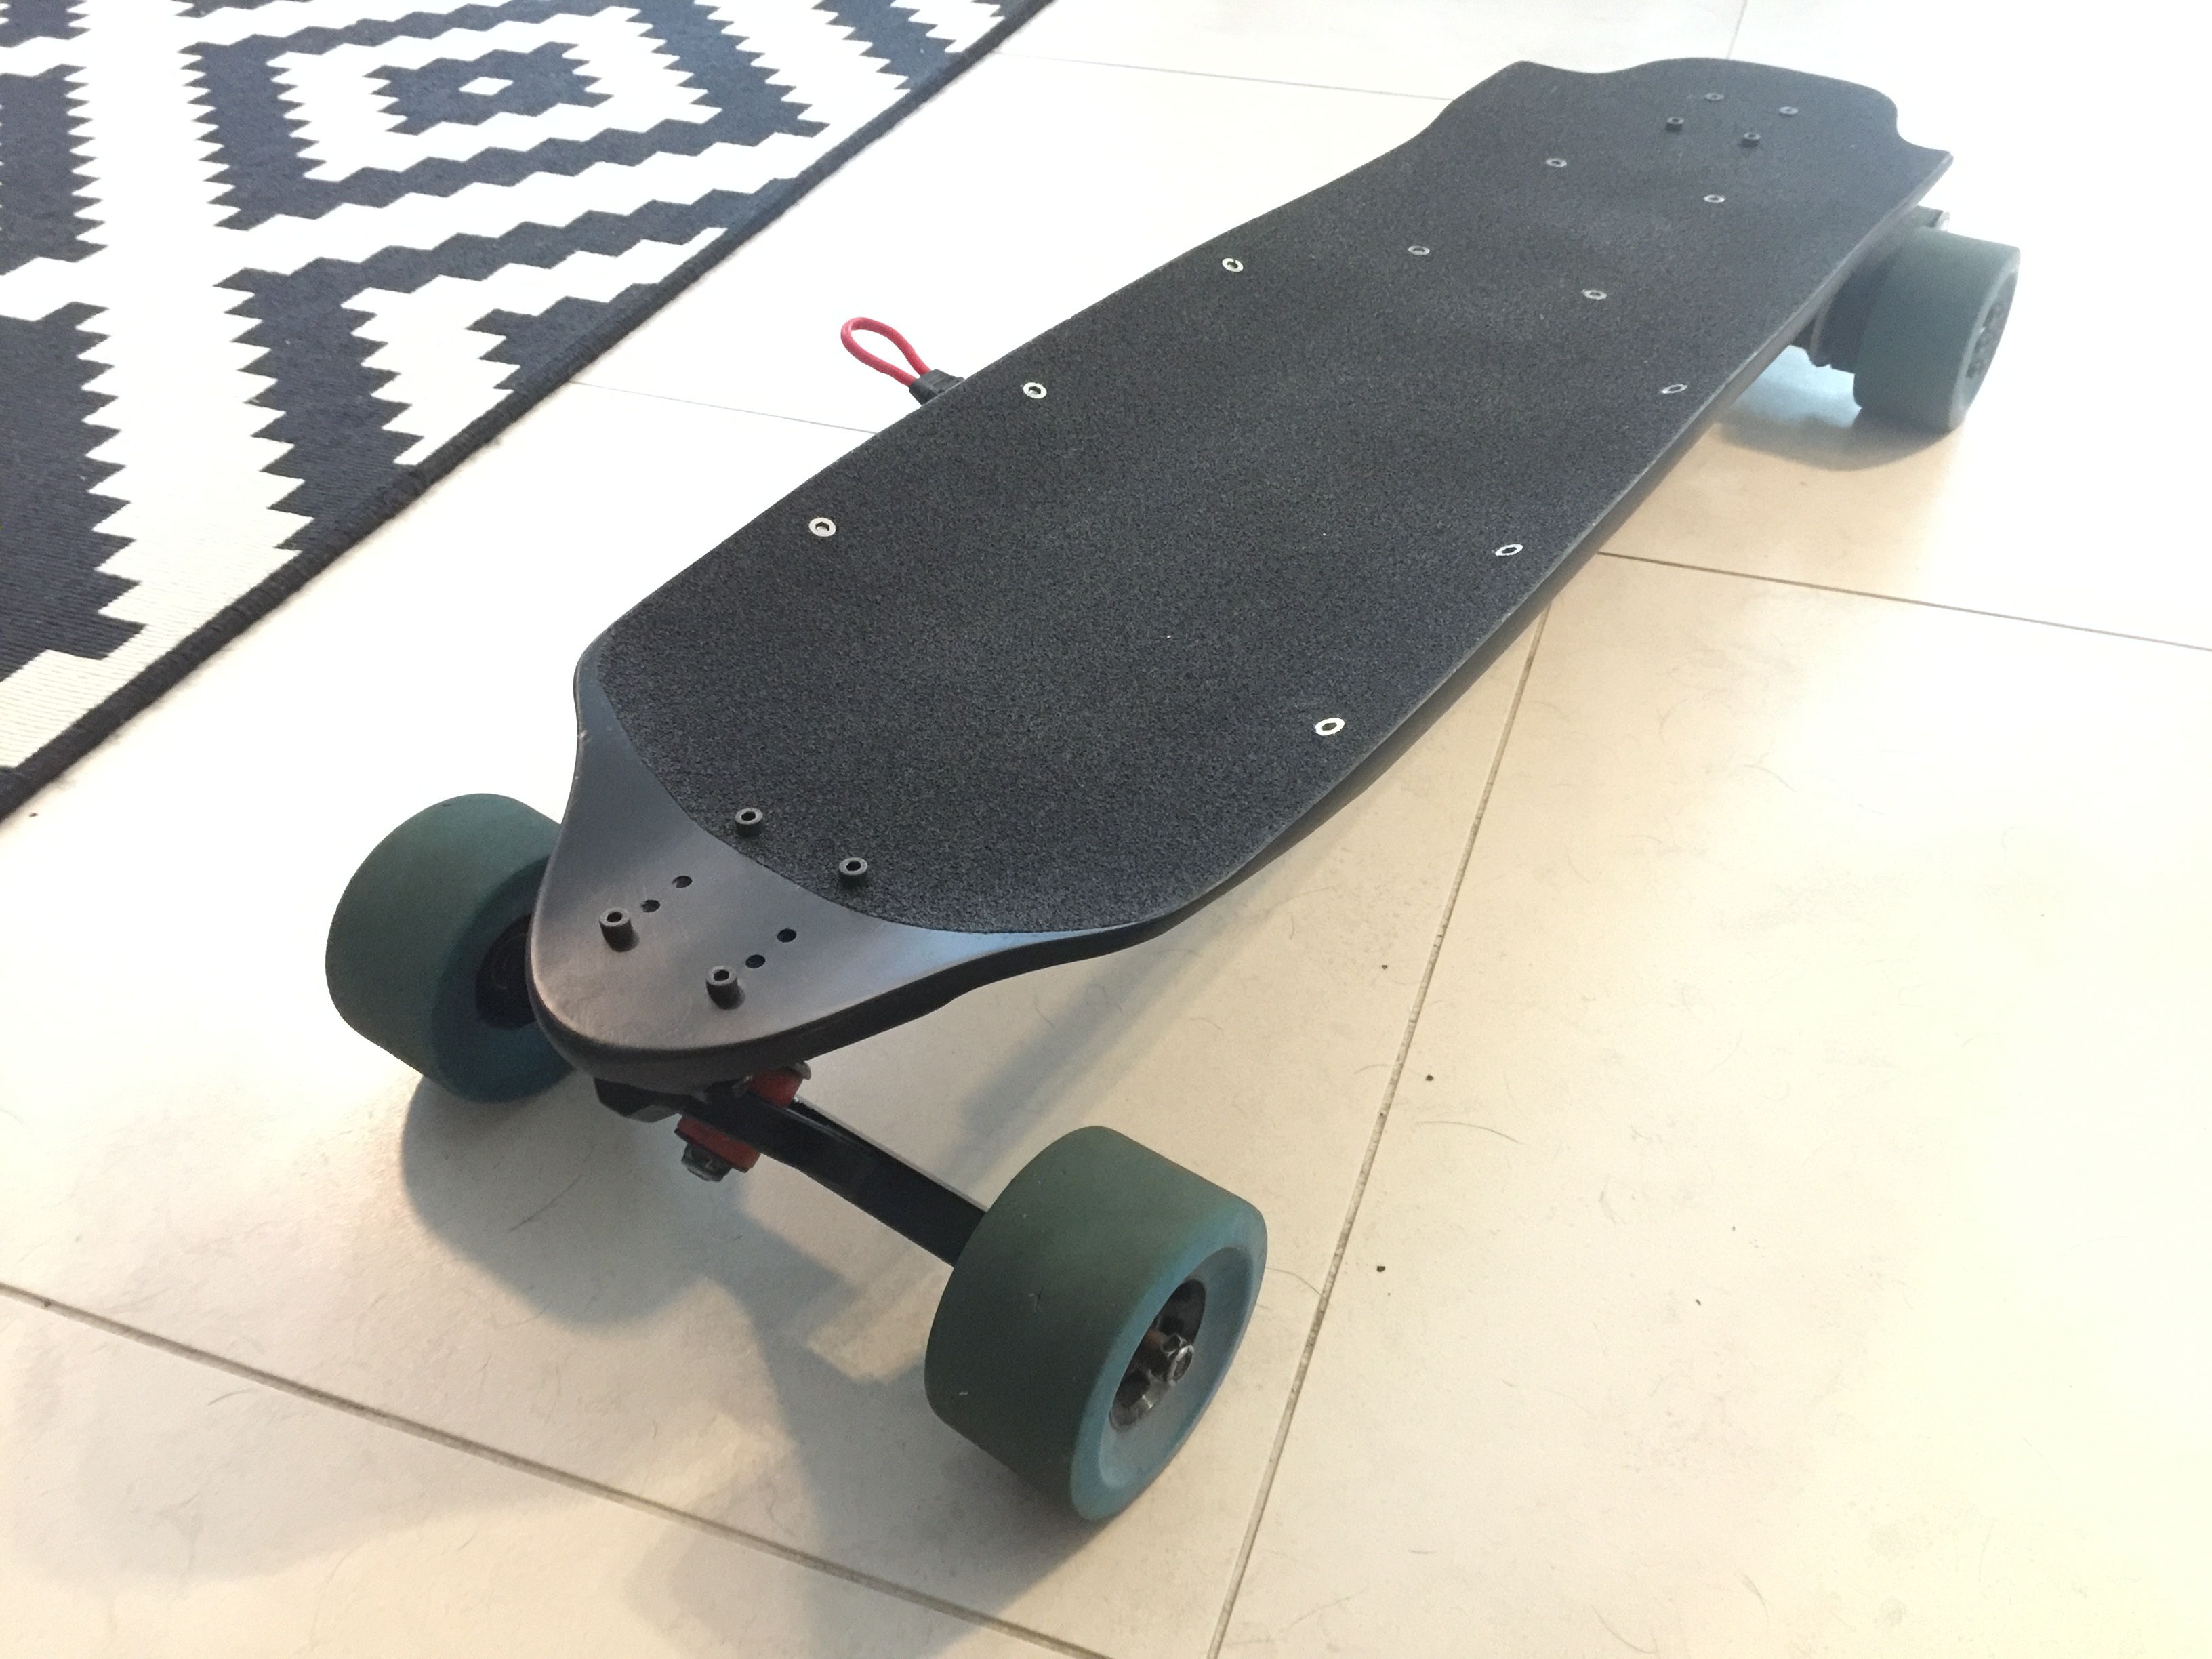
Small update, I planed it down to make the battery area flat.
[quote=“pat.speed, post:6, topic:30020”] I beg you not to ruin the deck. [/quote]While it is a pretty deck and at first I didn’t want to mess with it after thinking about it a while I realized it didn’t matter so long as I didn’t compromise the strength. I was going to paint it anyway for added water proofing, it will get a bunch of holes drilled in for the threaded inserts, most of the deck will be covered by the enclosures anyway. I plan to ride the thing until it is no good, hopefully that will be a few years.
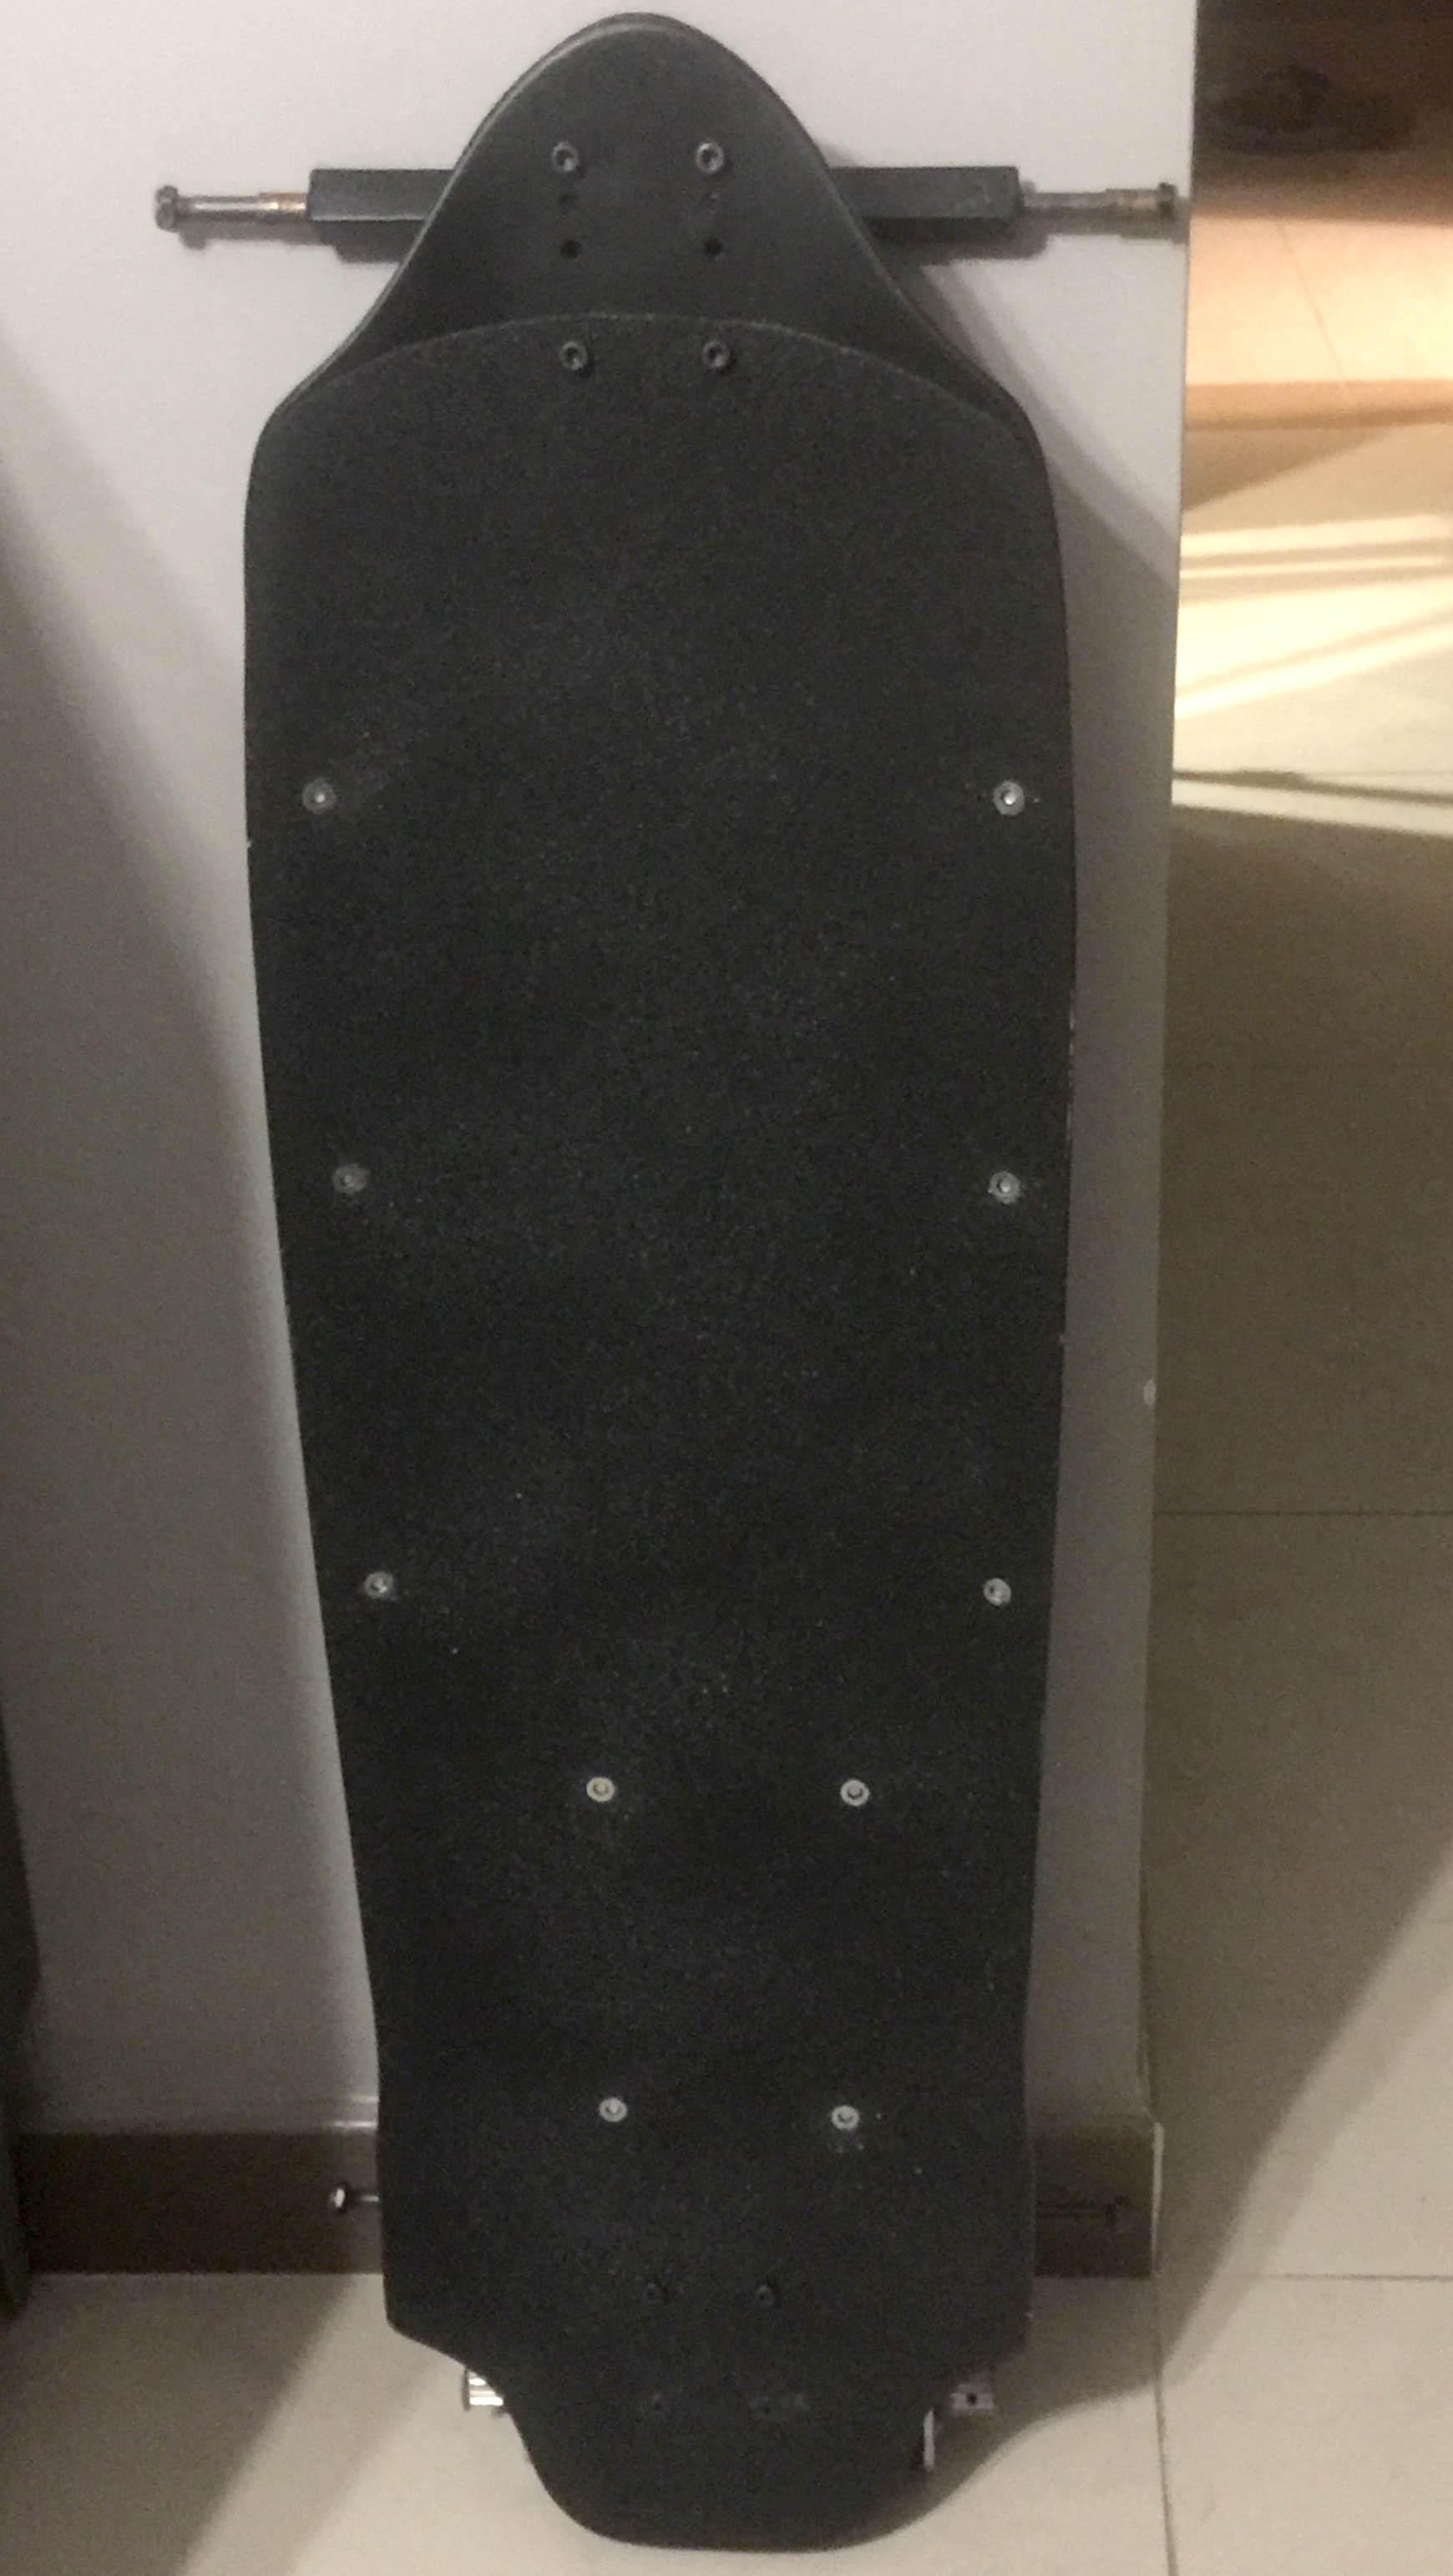
The deck is 15mm thick 9 ply and I removed about 1.5 ply’s from the center. So I don’t think it will effect the strength much. Maybe has slightly more flex now, slight more than zero. 

It has a deep concave at the front then a W concave in the middle, that is what leads to the funny shapes.

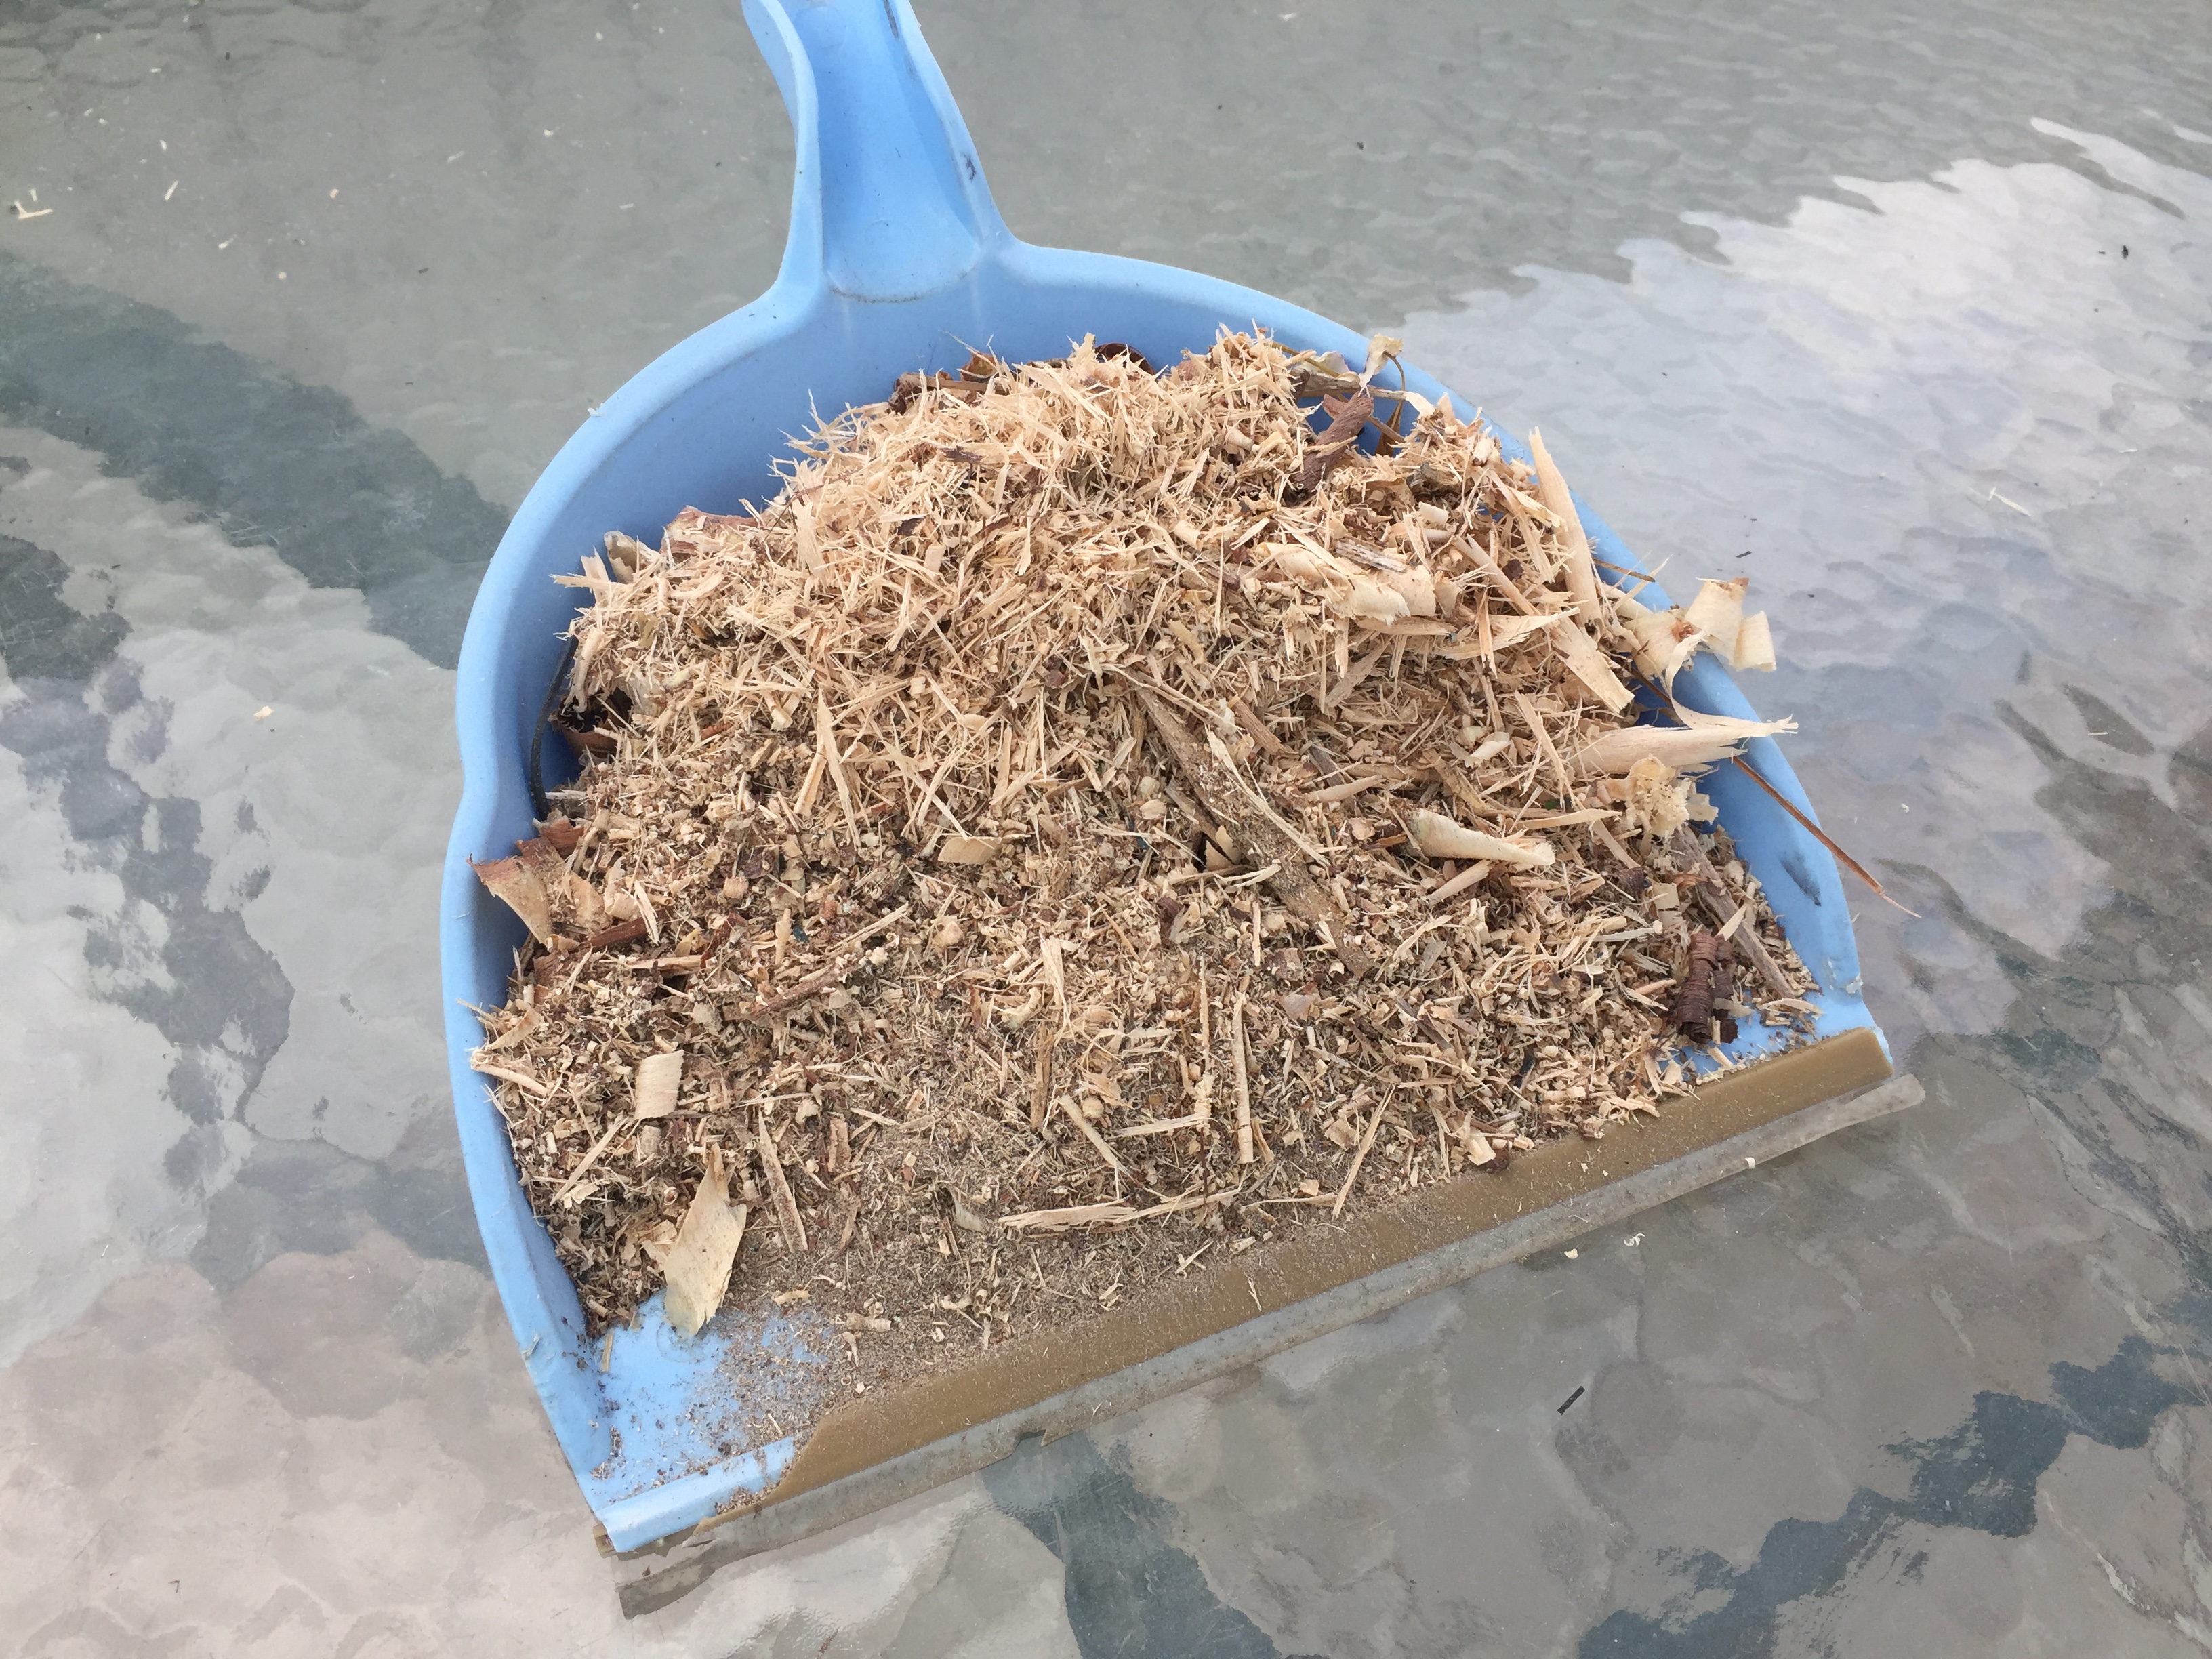
When they say rock maple they mean it, the stuff is freakin hard and not that easy to plane, the hand planner was futile.

I softened the edges as it has pretty sharp corners that are not that nice for carrying.
Arbor uses environmentally friendly  sealers and paints, but I don’t like them. I went to wipe the board down with alcohol before painting it and then all the clear sealer became sticky.
  It cant be very durable if it dissolves that easily? So I had to sand off all the sealer. Secondly the blue and green paint areas bubbled after I painted them. So I’m going to have to sand it down again and repaint it.

7 Likes
Great looking build. I’ve got the same board. I am going to rewire and redo the enclosure after my Raptor2 arrives. (must have backup!).
Anyway following this build for ideas!
Been a long time since an update. It was on the back burner for a while due to other projects (DIY 3D printer) and my other board working good. But now my first board had one of the battery cells die and the deck itself is almost totally dead. Now I have good motivation as I need to have an esk8  , have been making some progress over the last month.
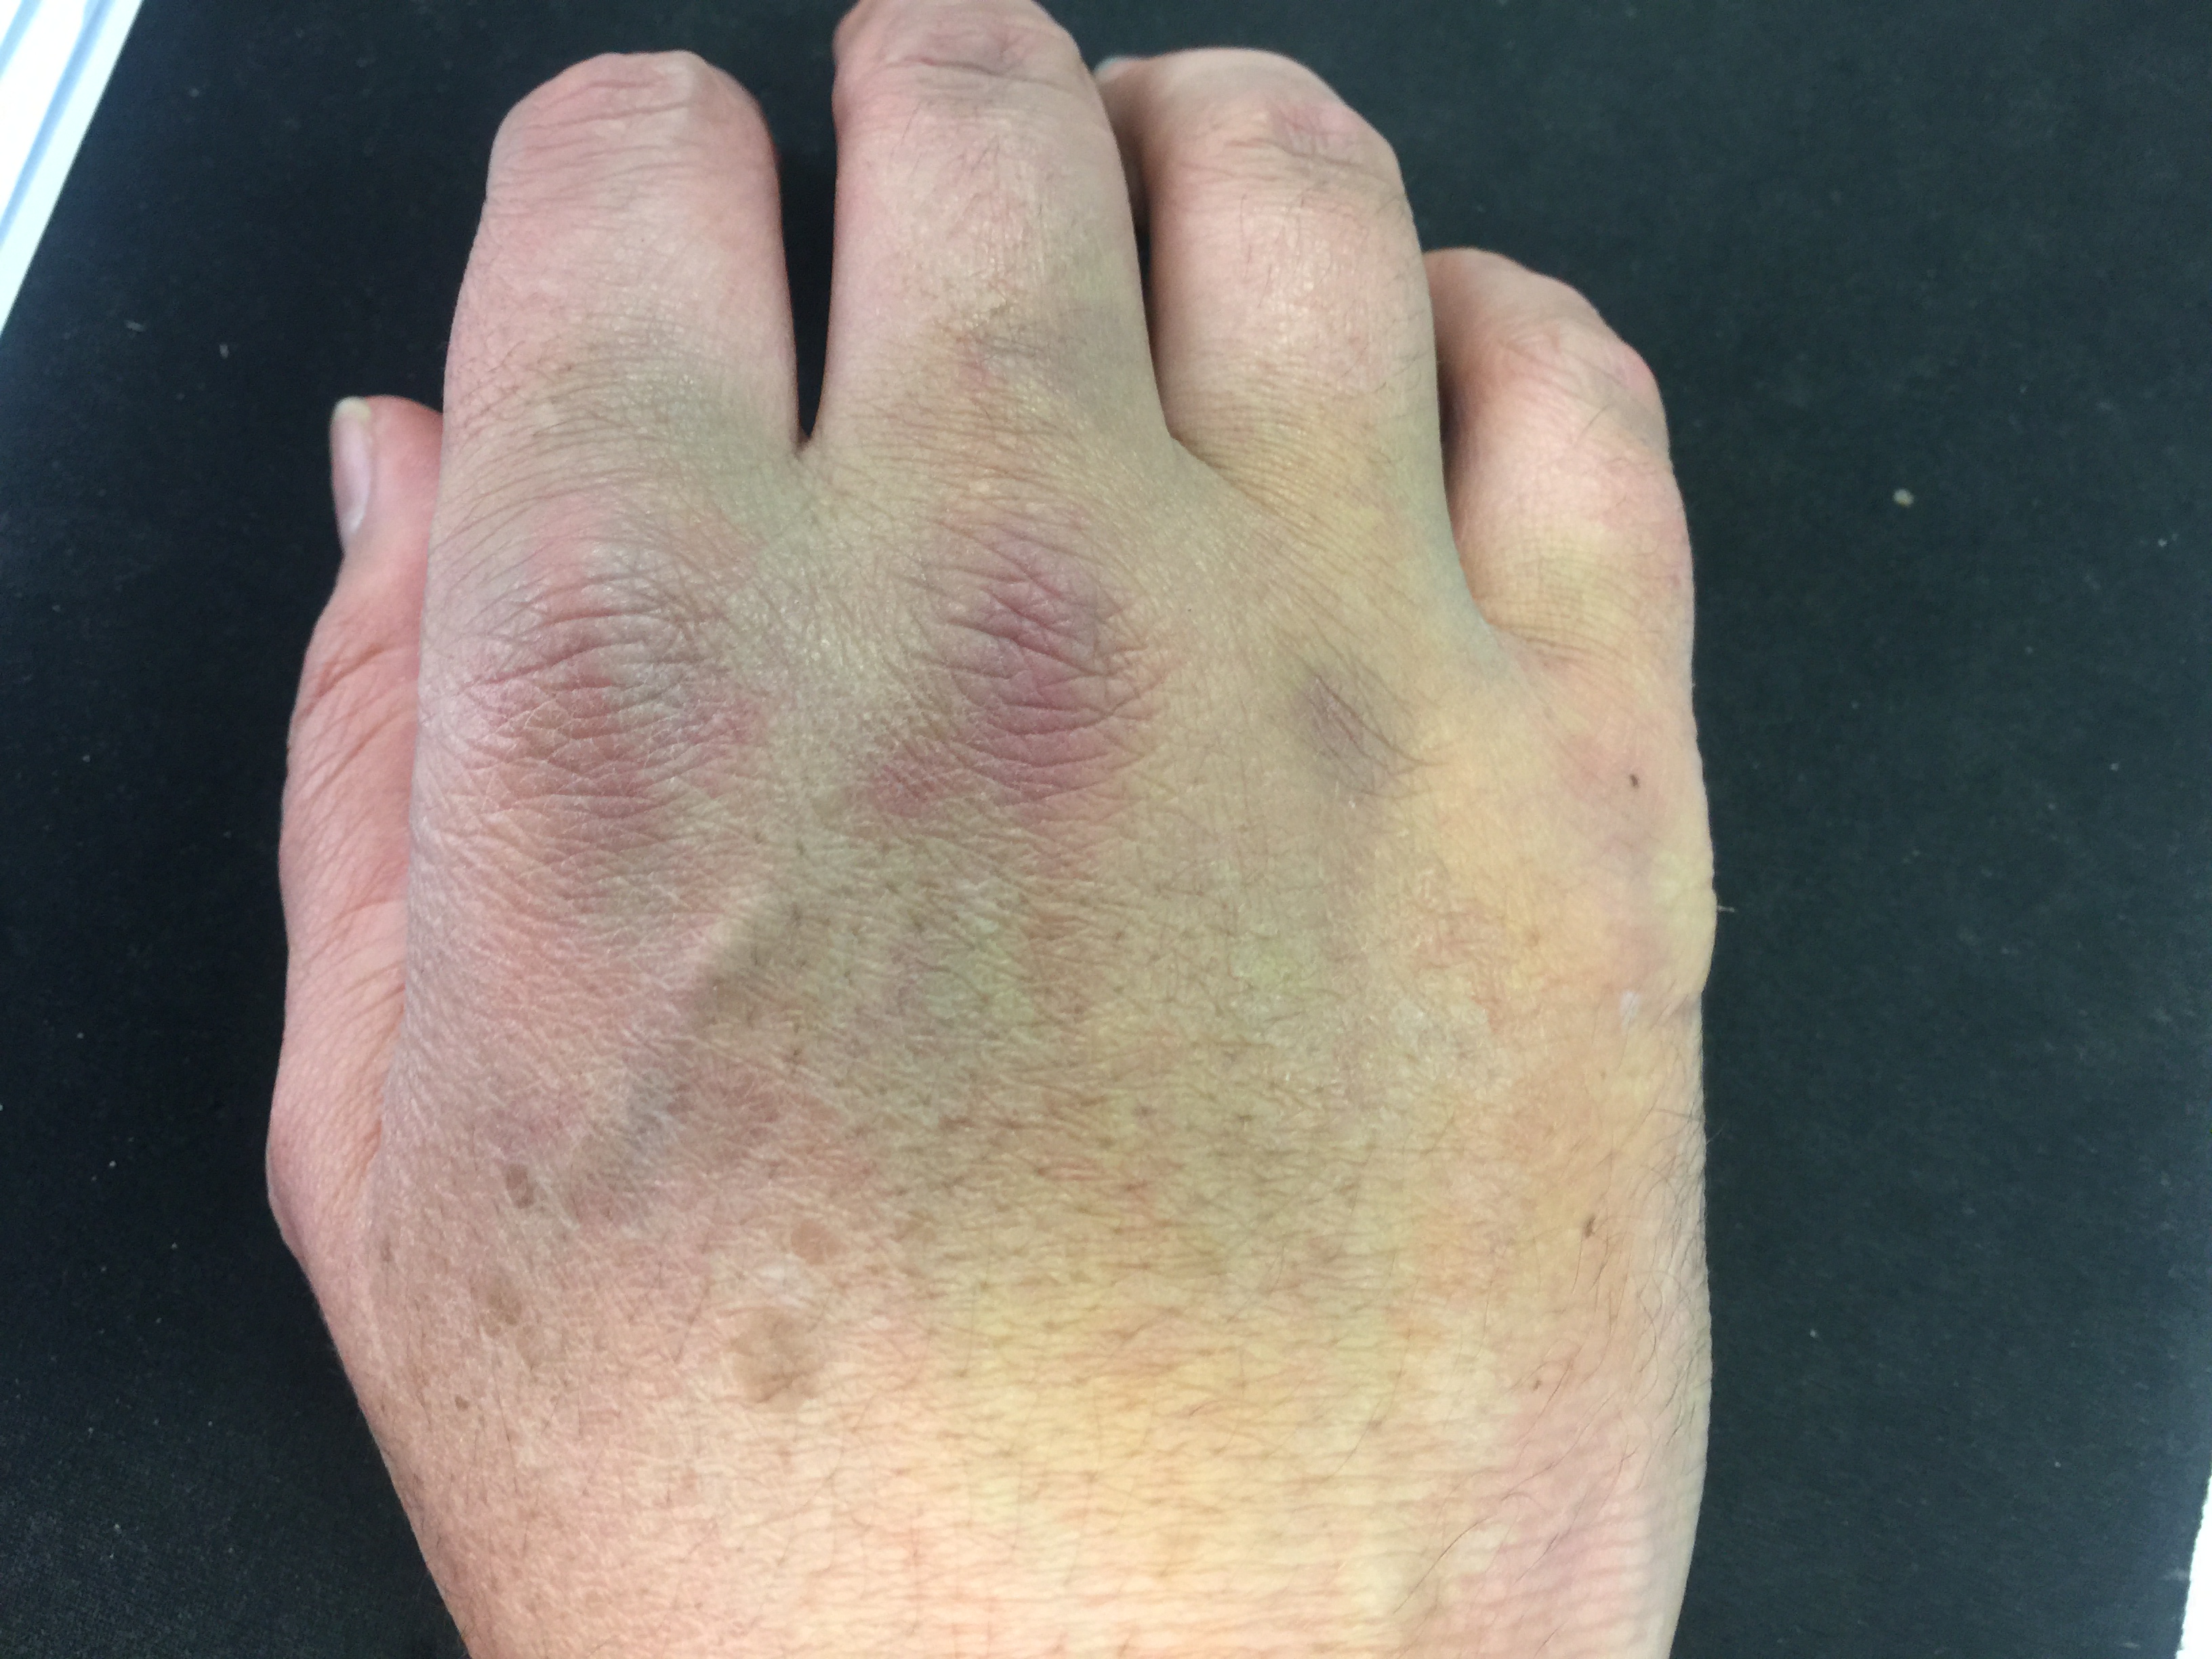
Aaaand I broke my hand ridding my sons plastic penny board. 
 which makes working on this more challenging. Those things are deadly.


The other factor that slowed the progress is the paint turned out really shit. I couldn’t even stand to look at it for a while.  Demotivated. The areas I left of original Arbor eco paint bubbled up BAD, and the white spots are from the matte clear getting too close. Rushed it. To fix the bubbling it really needs to be sanded all the way back to wood.
  But I never found the time or motivation to do that. So I just did a light sanding and respray to get rid of the white spots. The bubbled areas will just have to wait for a full repaint.

This is after sanding and respray, the bubbling is pretty deep.

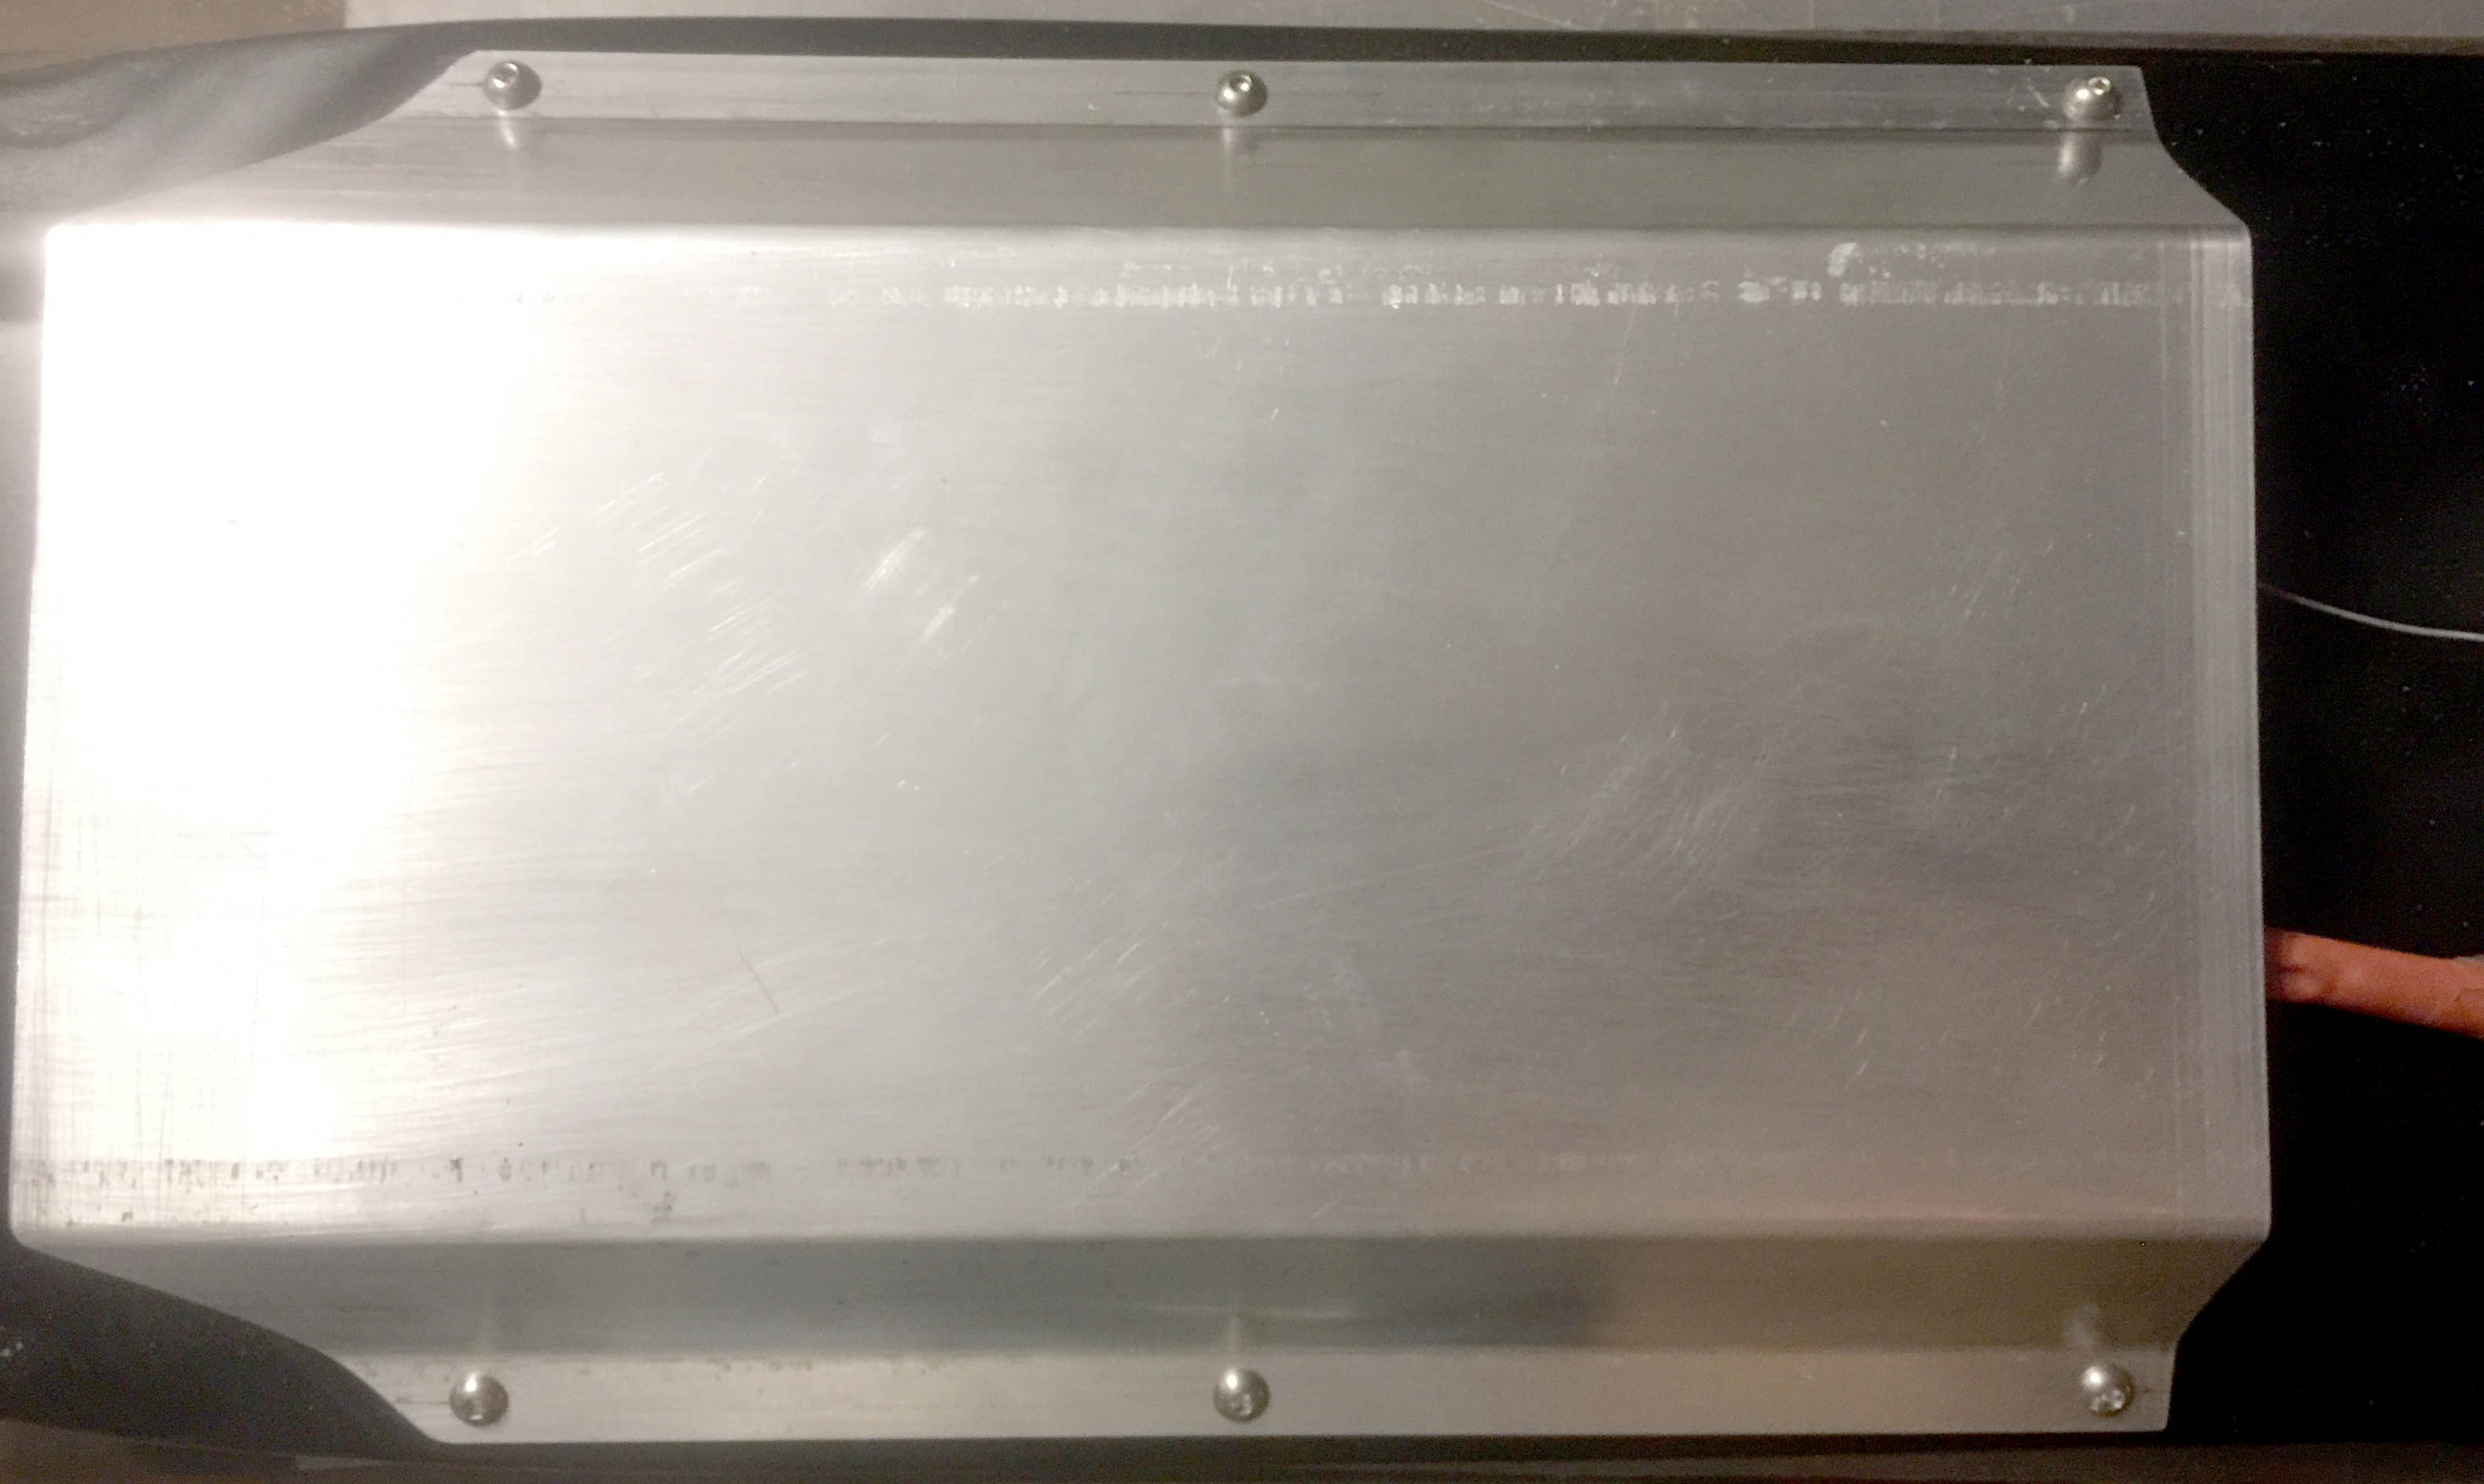
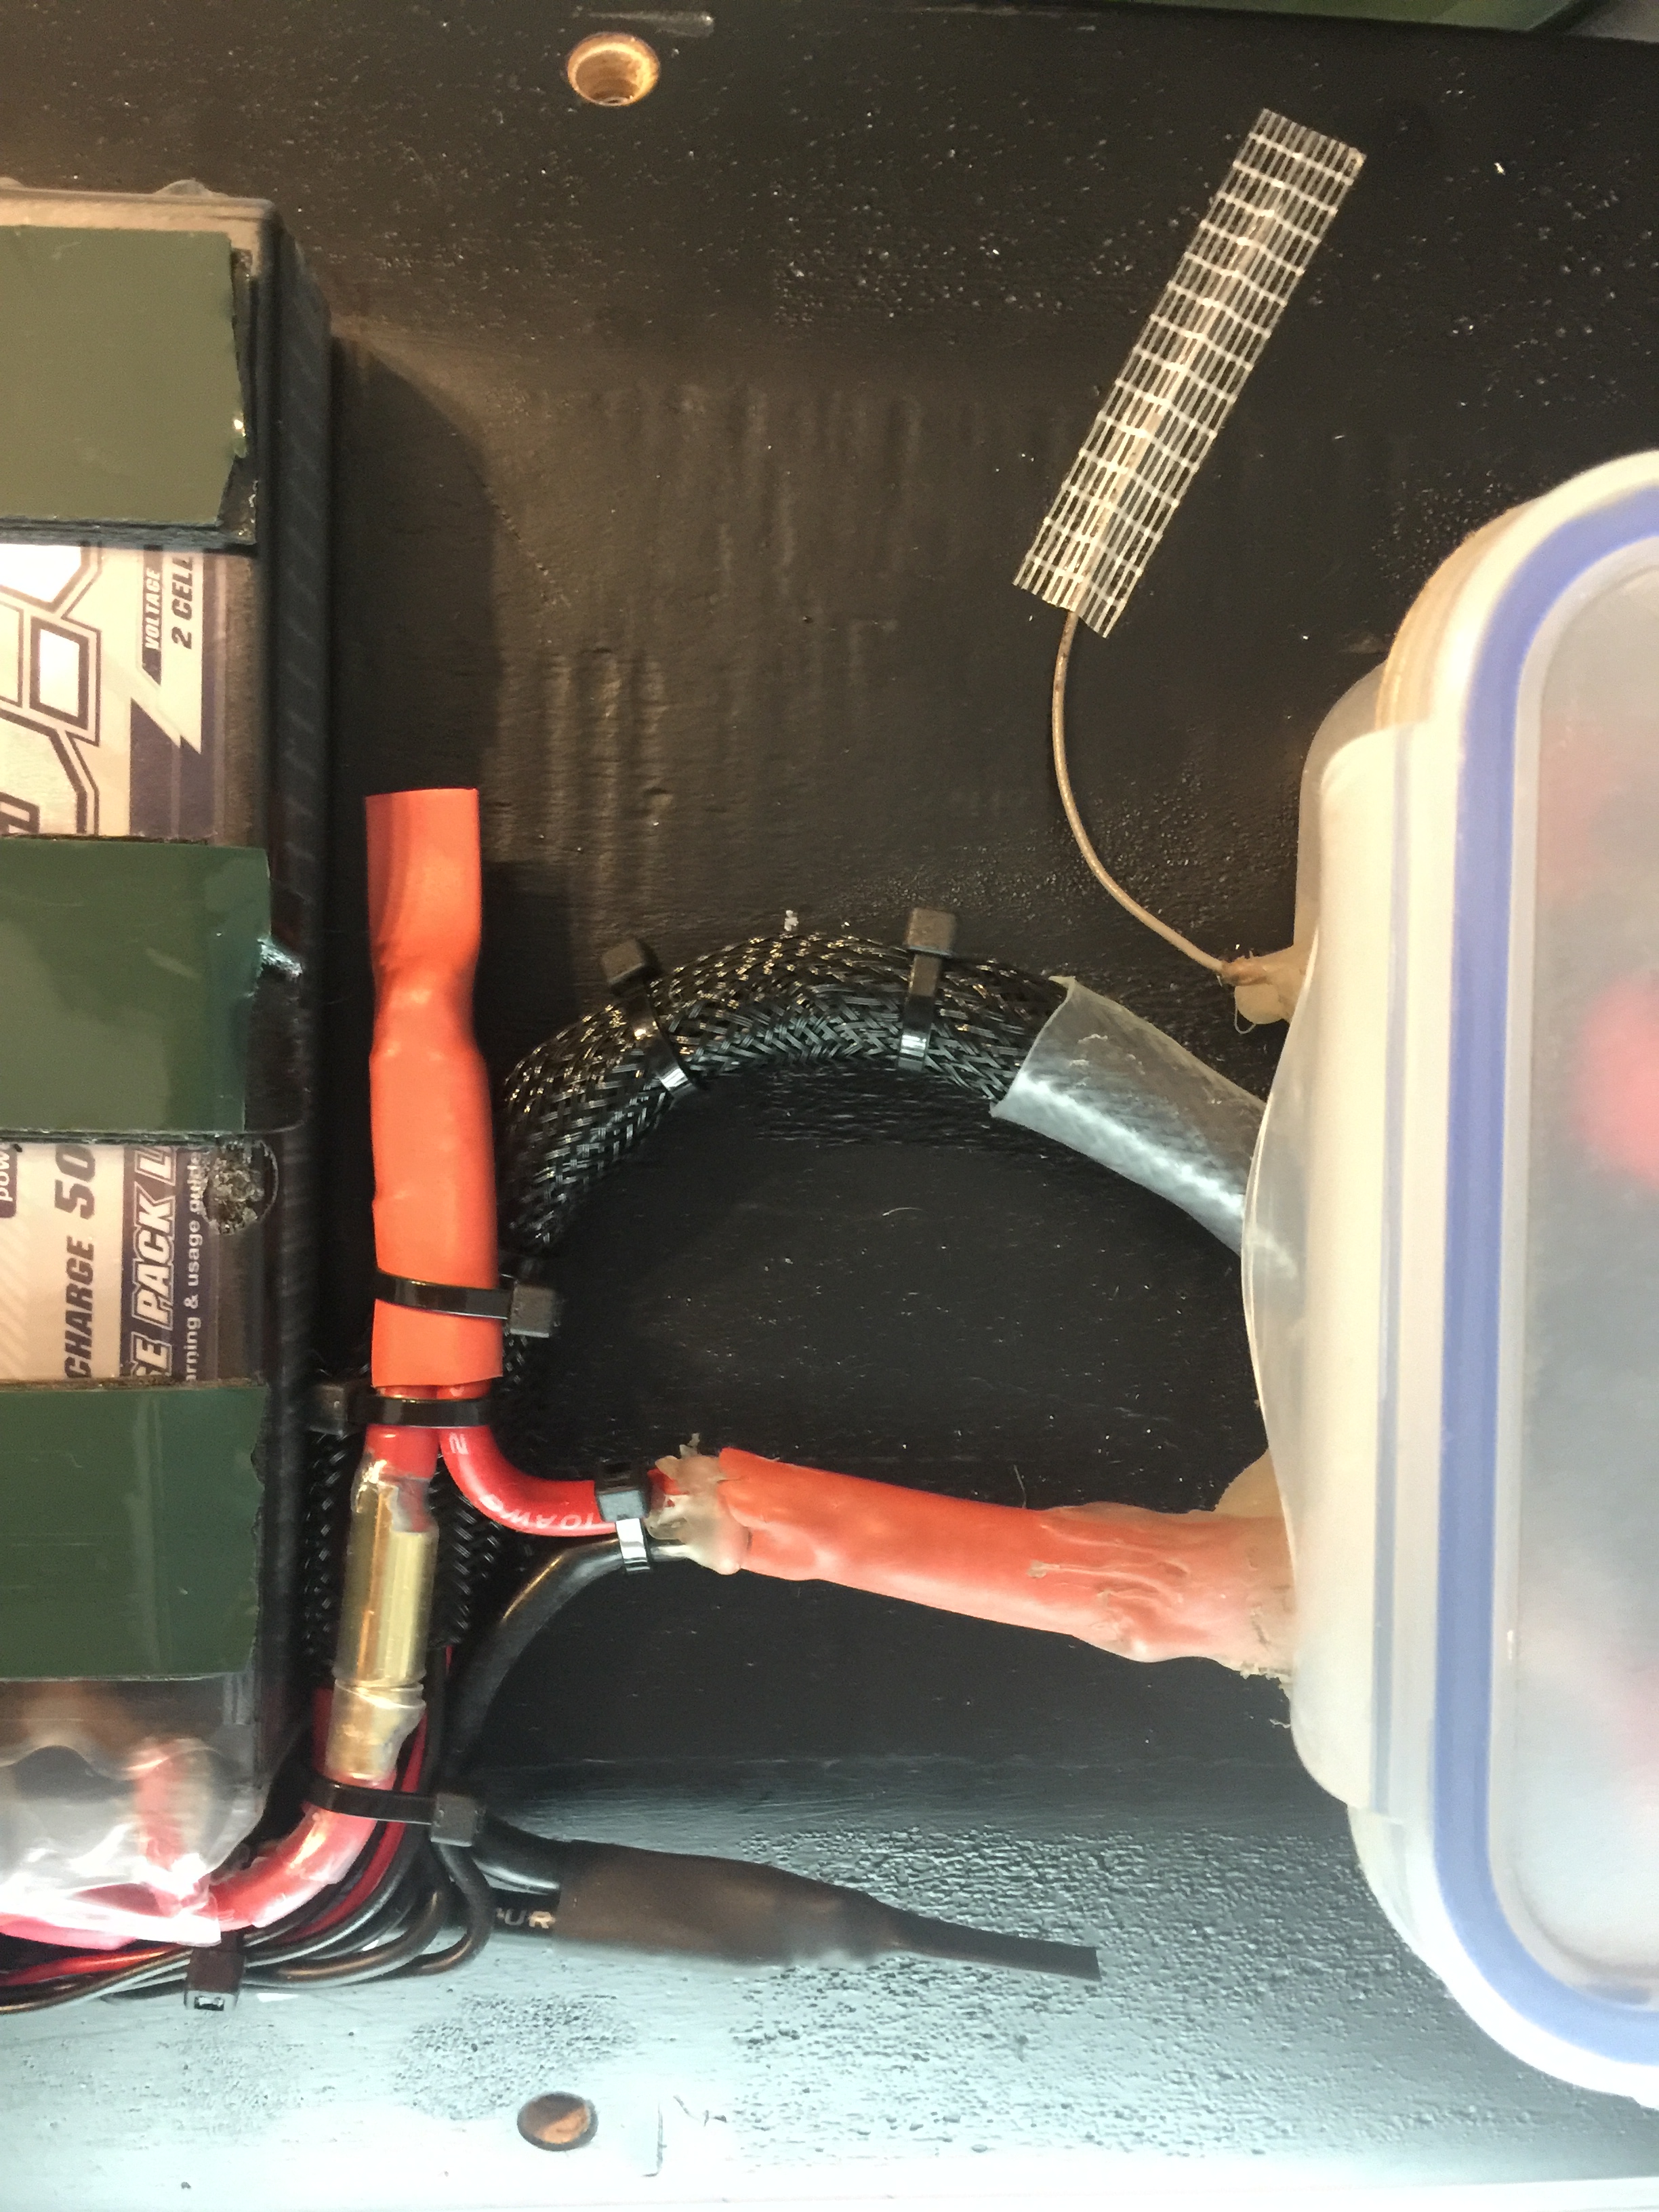
The battery enclosure is 2mm aluminum sheet metal bent, its going to have a 3D printed end cap on the front and be open on the back end. The battery is already 100% water proof so this will allow any water to drain out after a ride. If I was to seal both ends there is no way to know if any water got in without removing the enclosure.

Apologies for the photo quality, I only get to work on it after my sons asleep and the light level in my living room is pretty low.
So excited now its getting close to moving under power. 
6 Likes
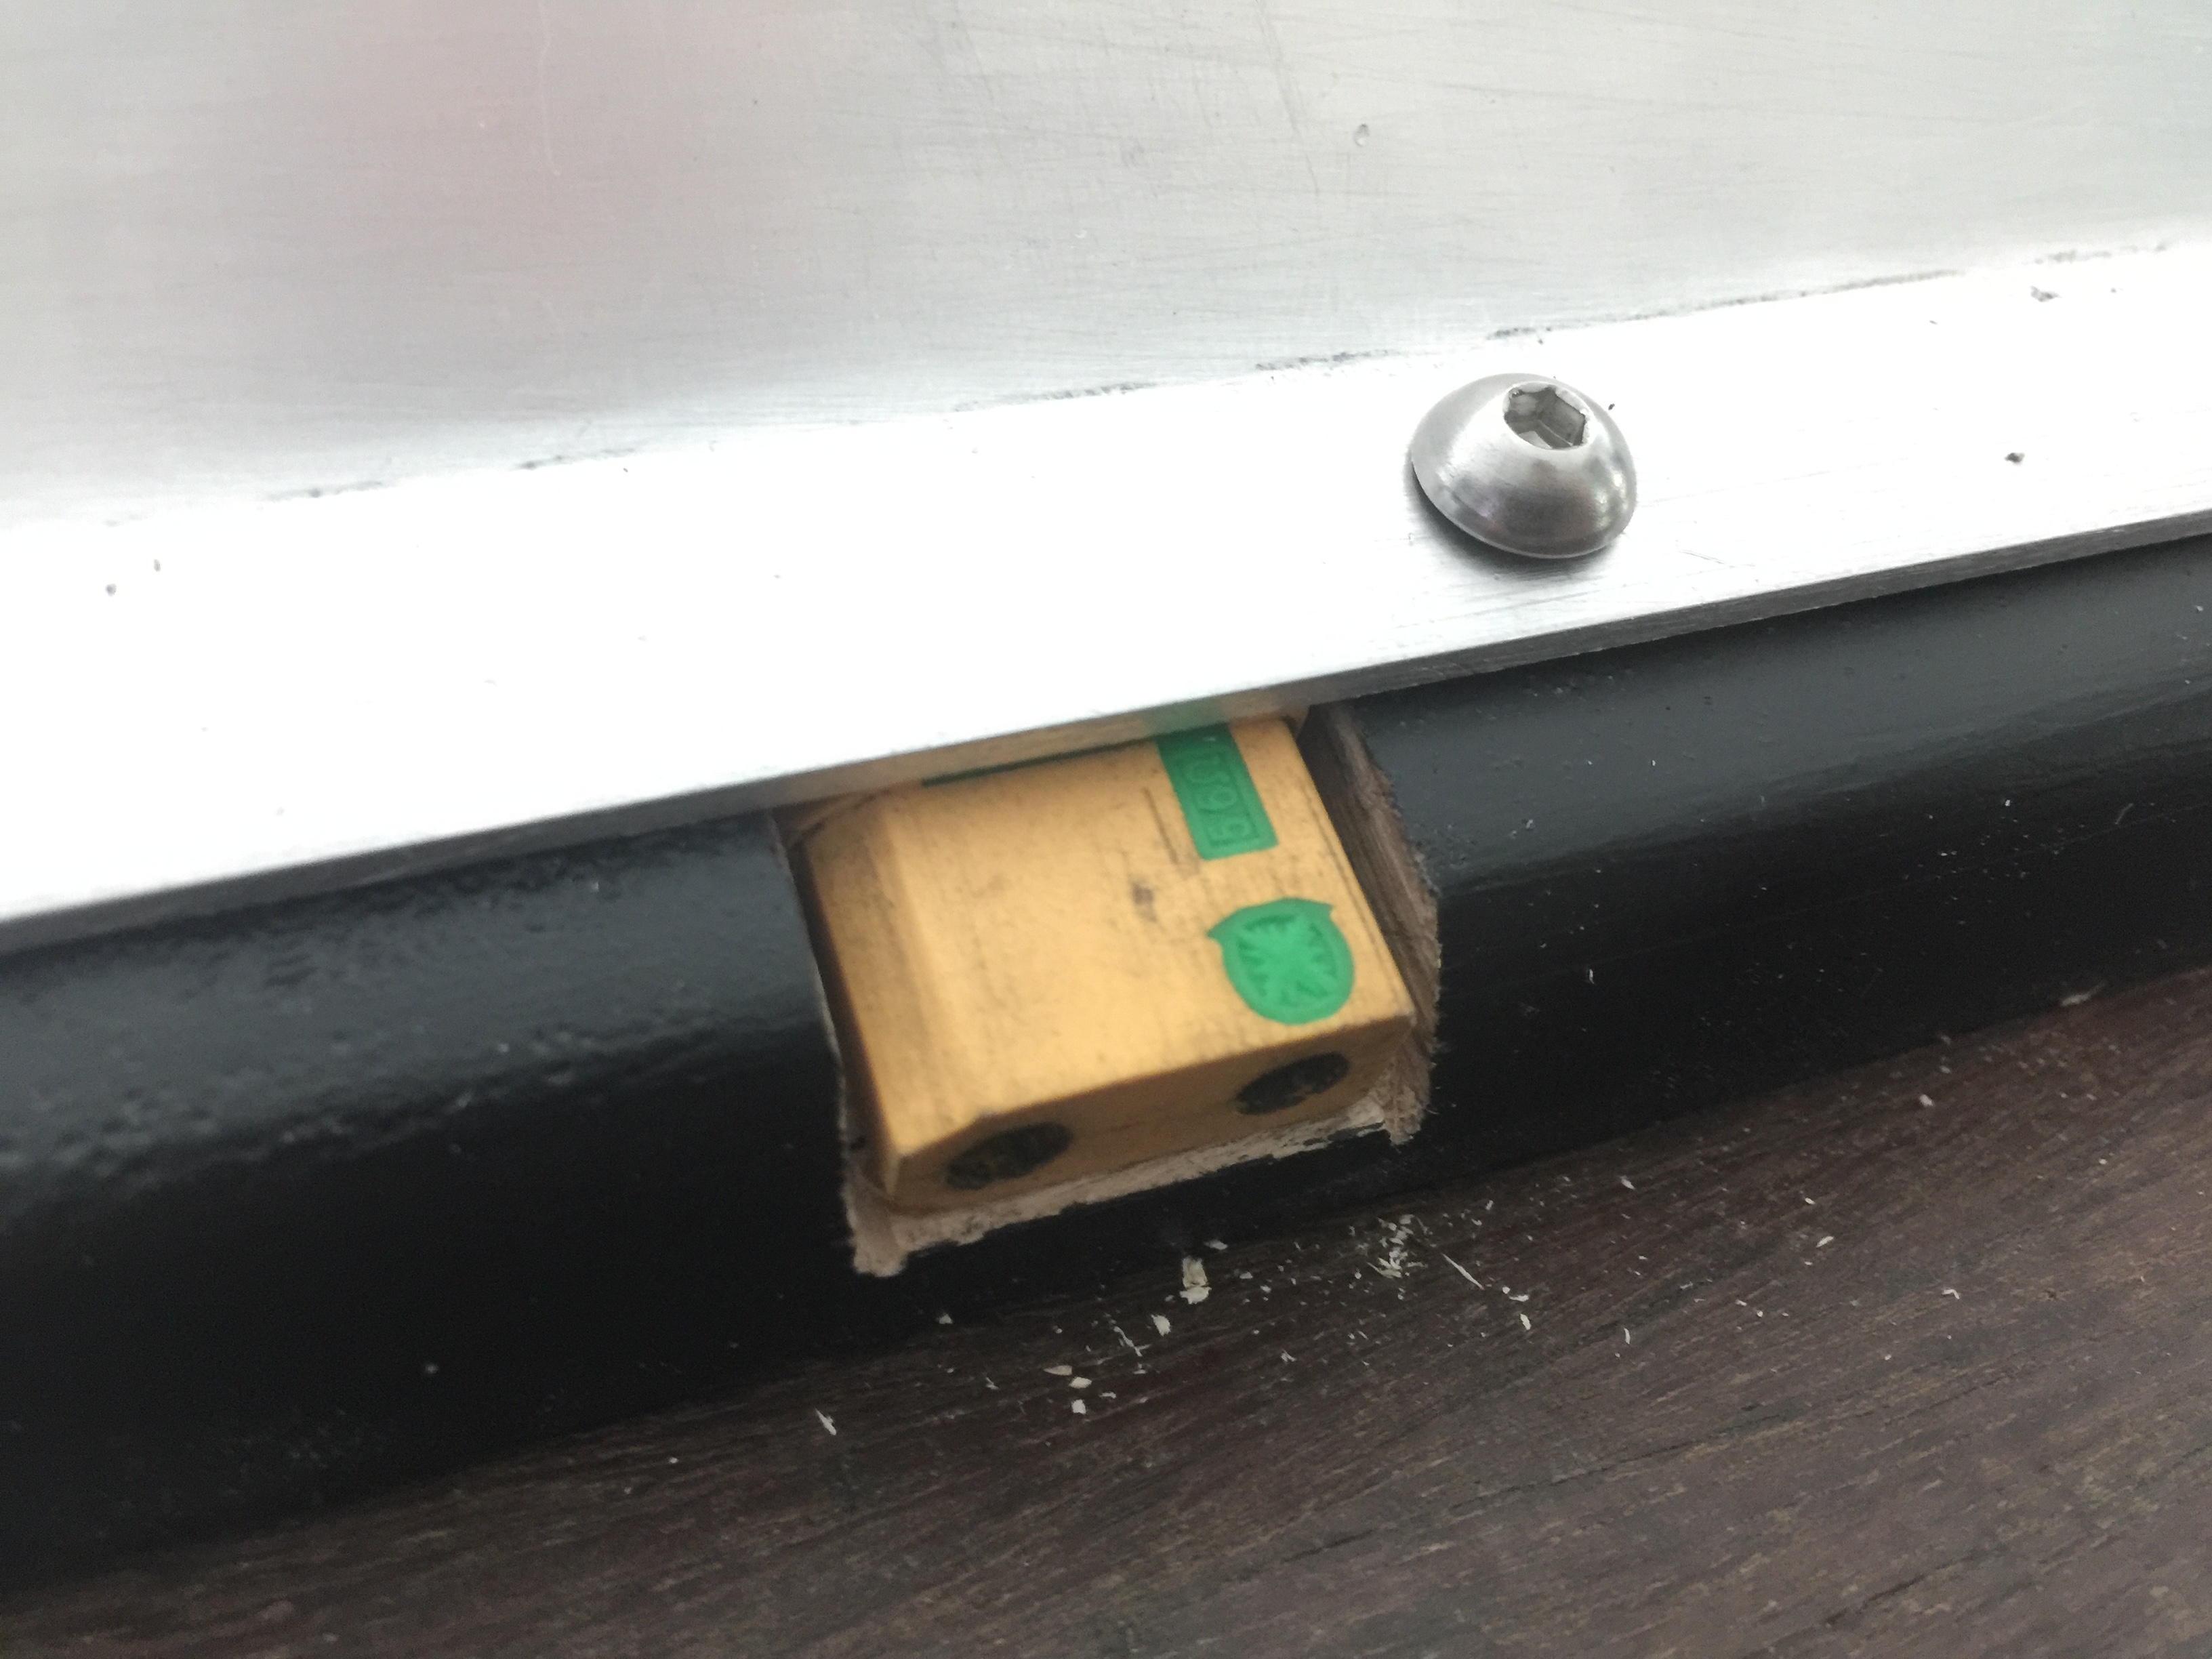
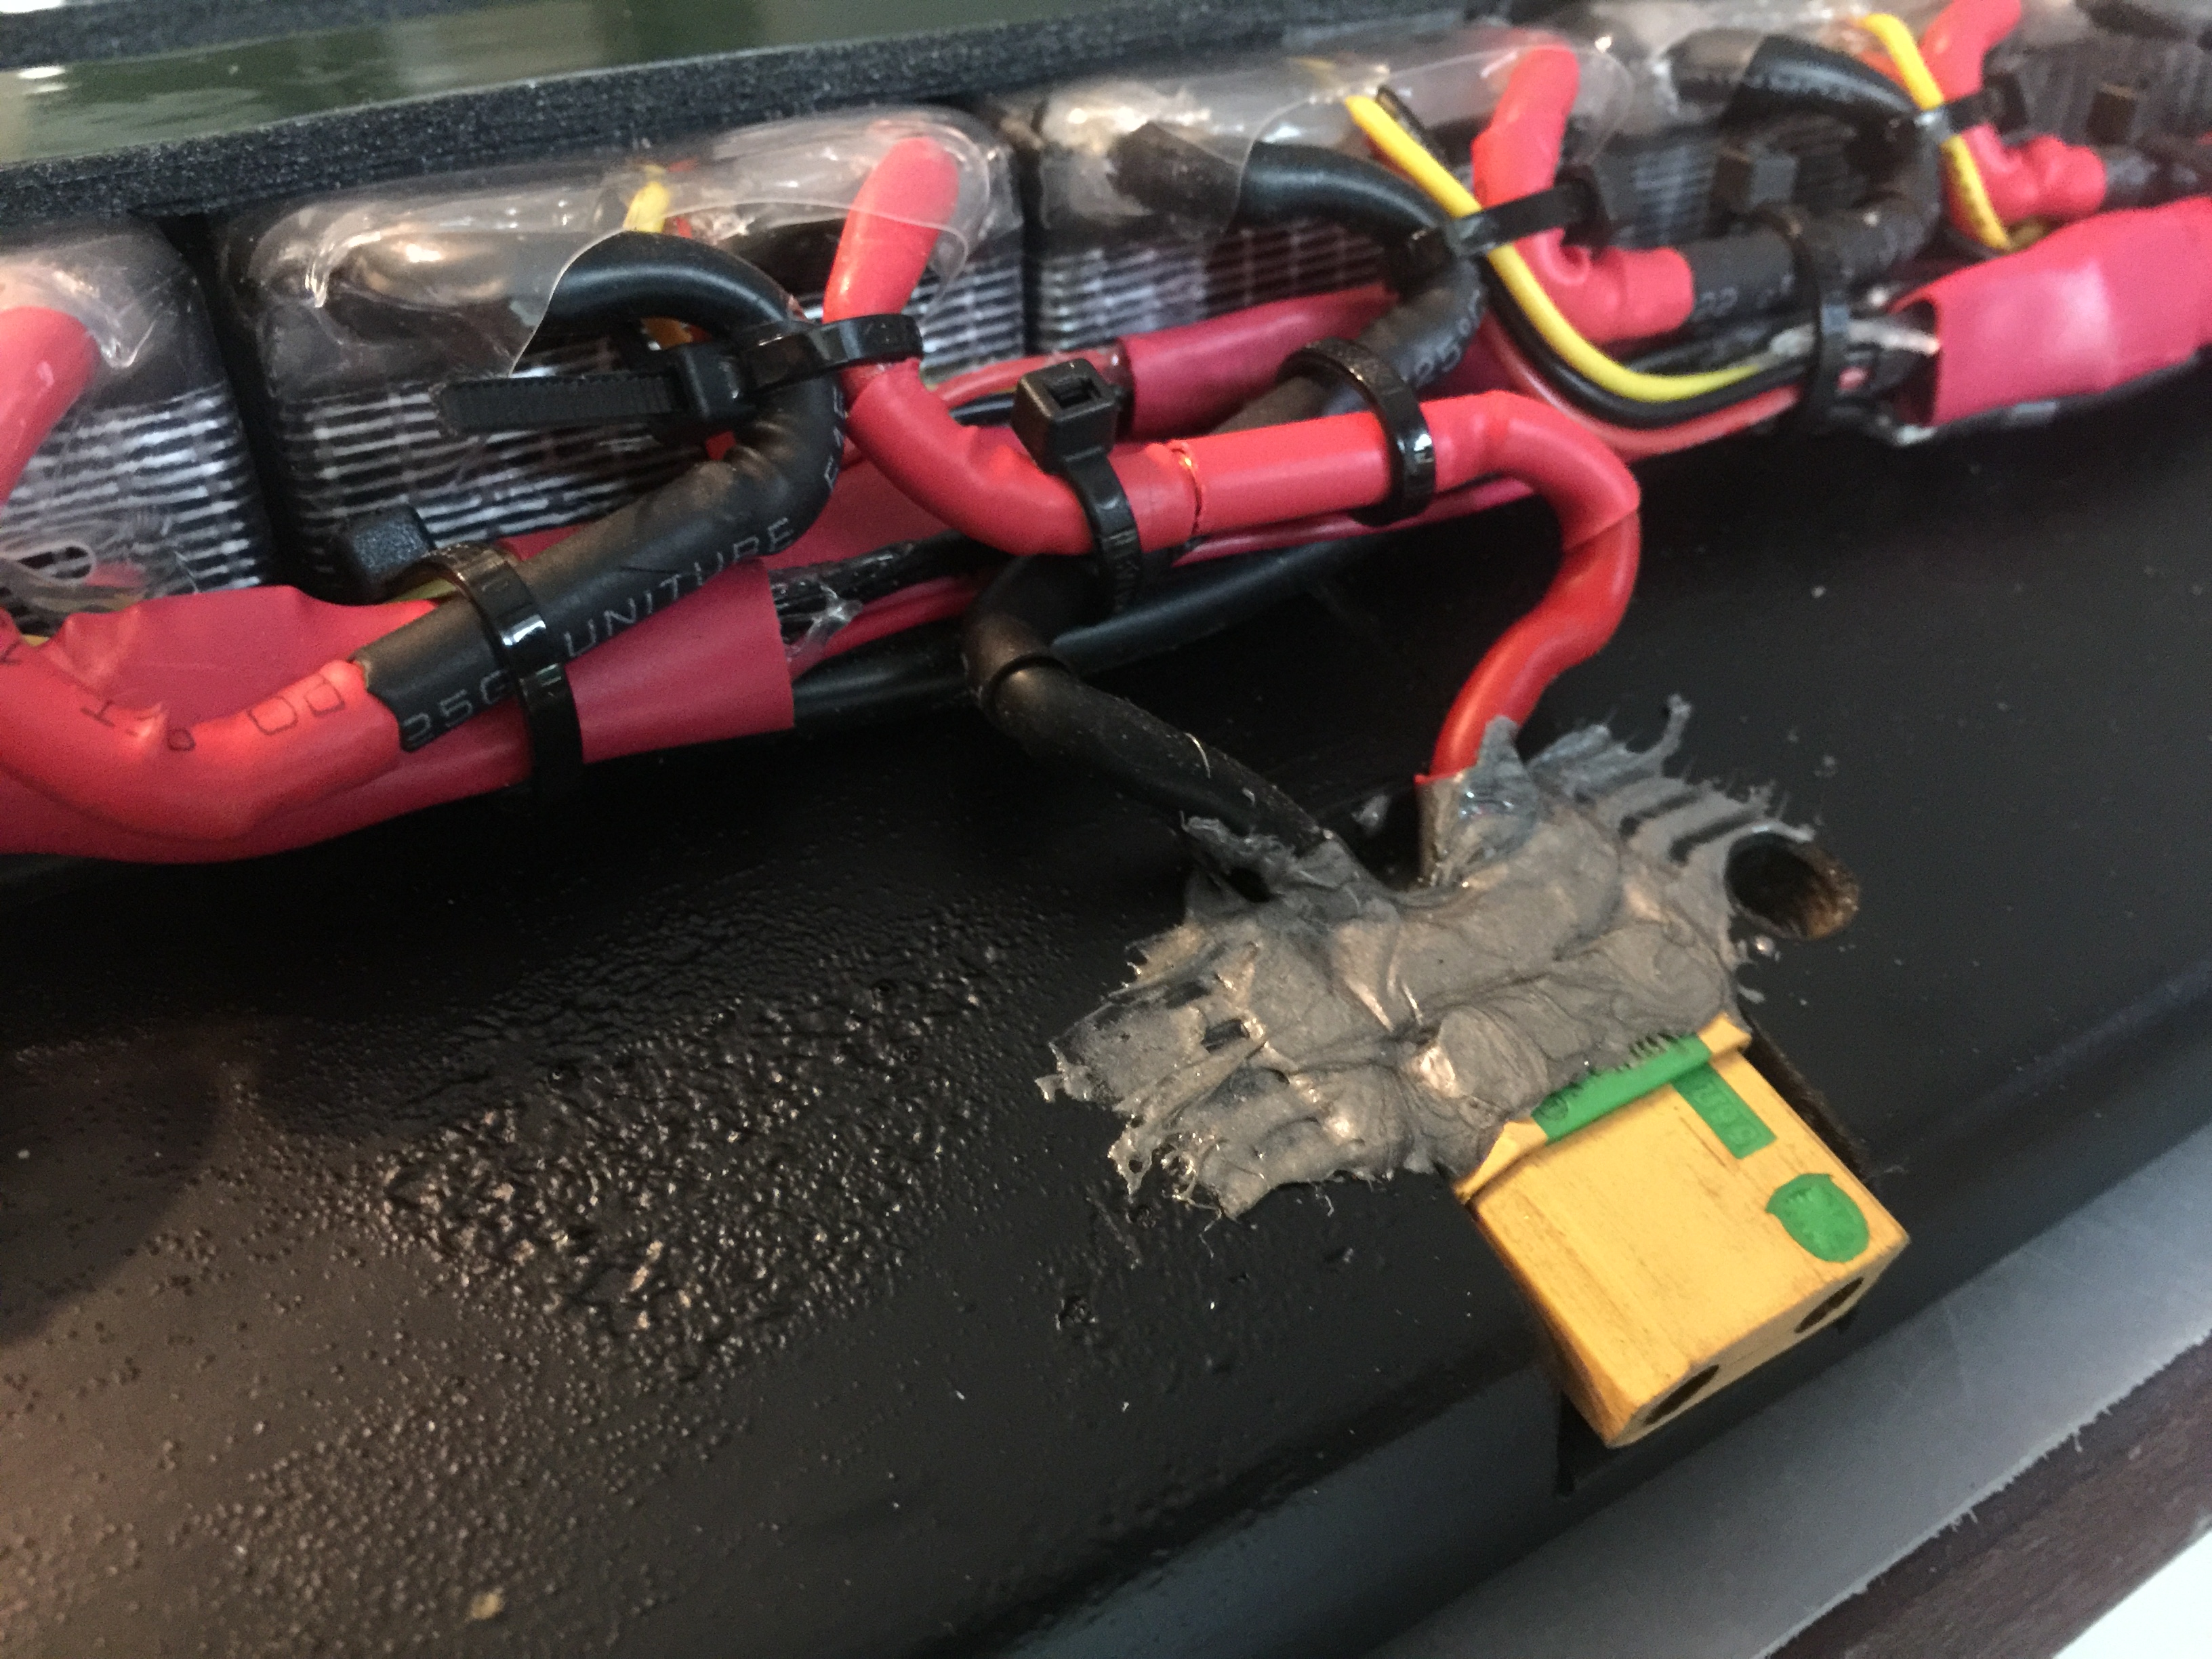
Some more crimes! I wanted to put the anti spark in the middle of the pack as I have it wired for charging as two 6 cell packs. I also wanted it to be mounted neatly. Since the deck is 15mm thick I decided to put the antispark into the deck. 


6 Likes
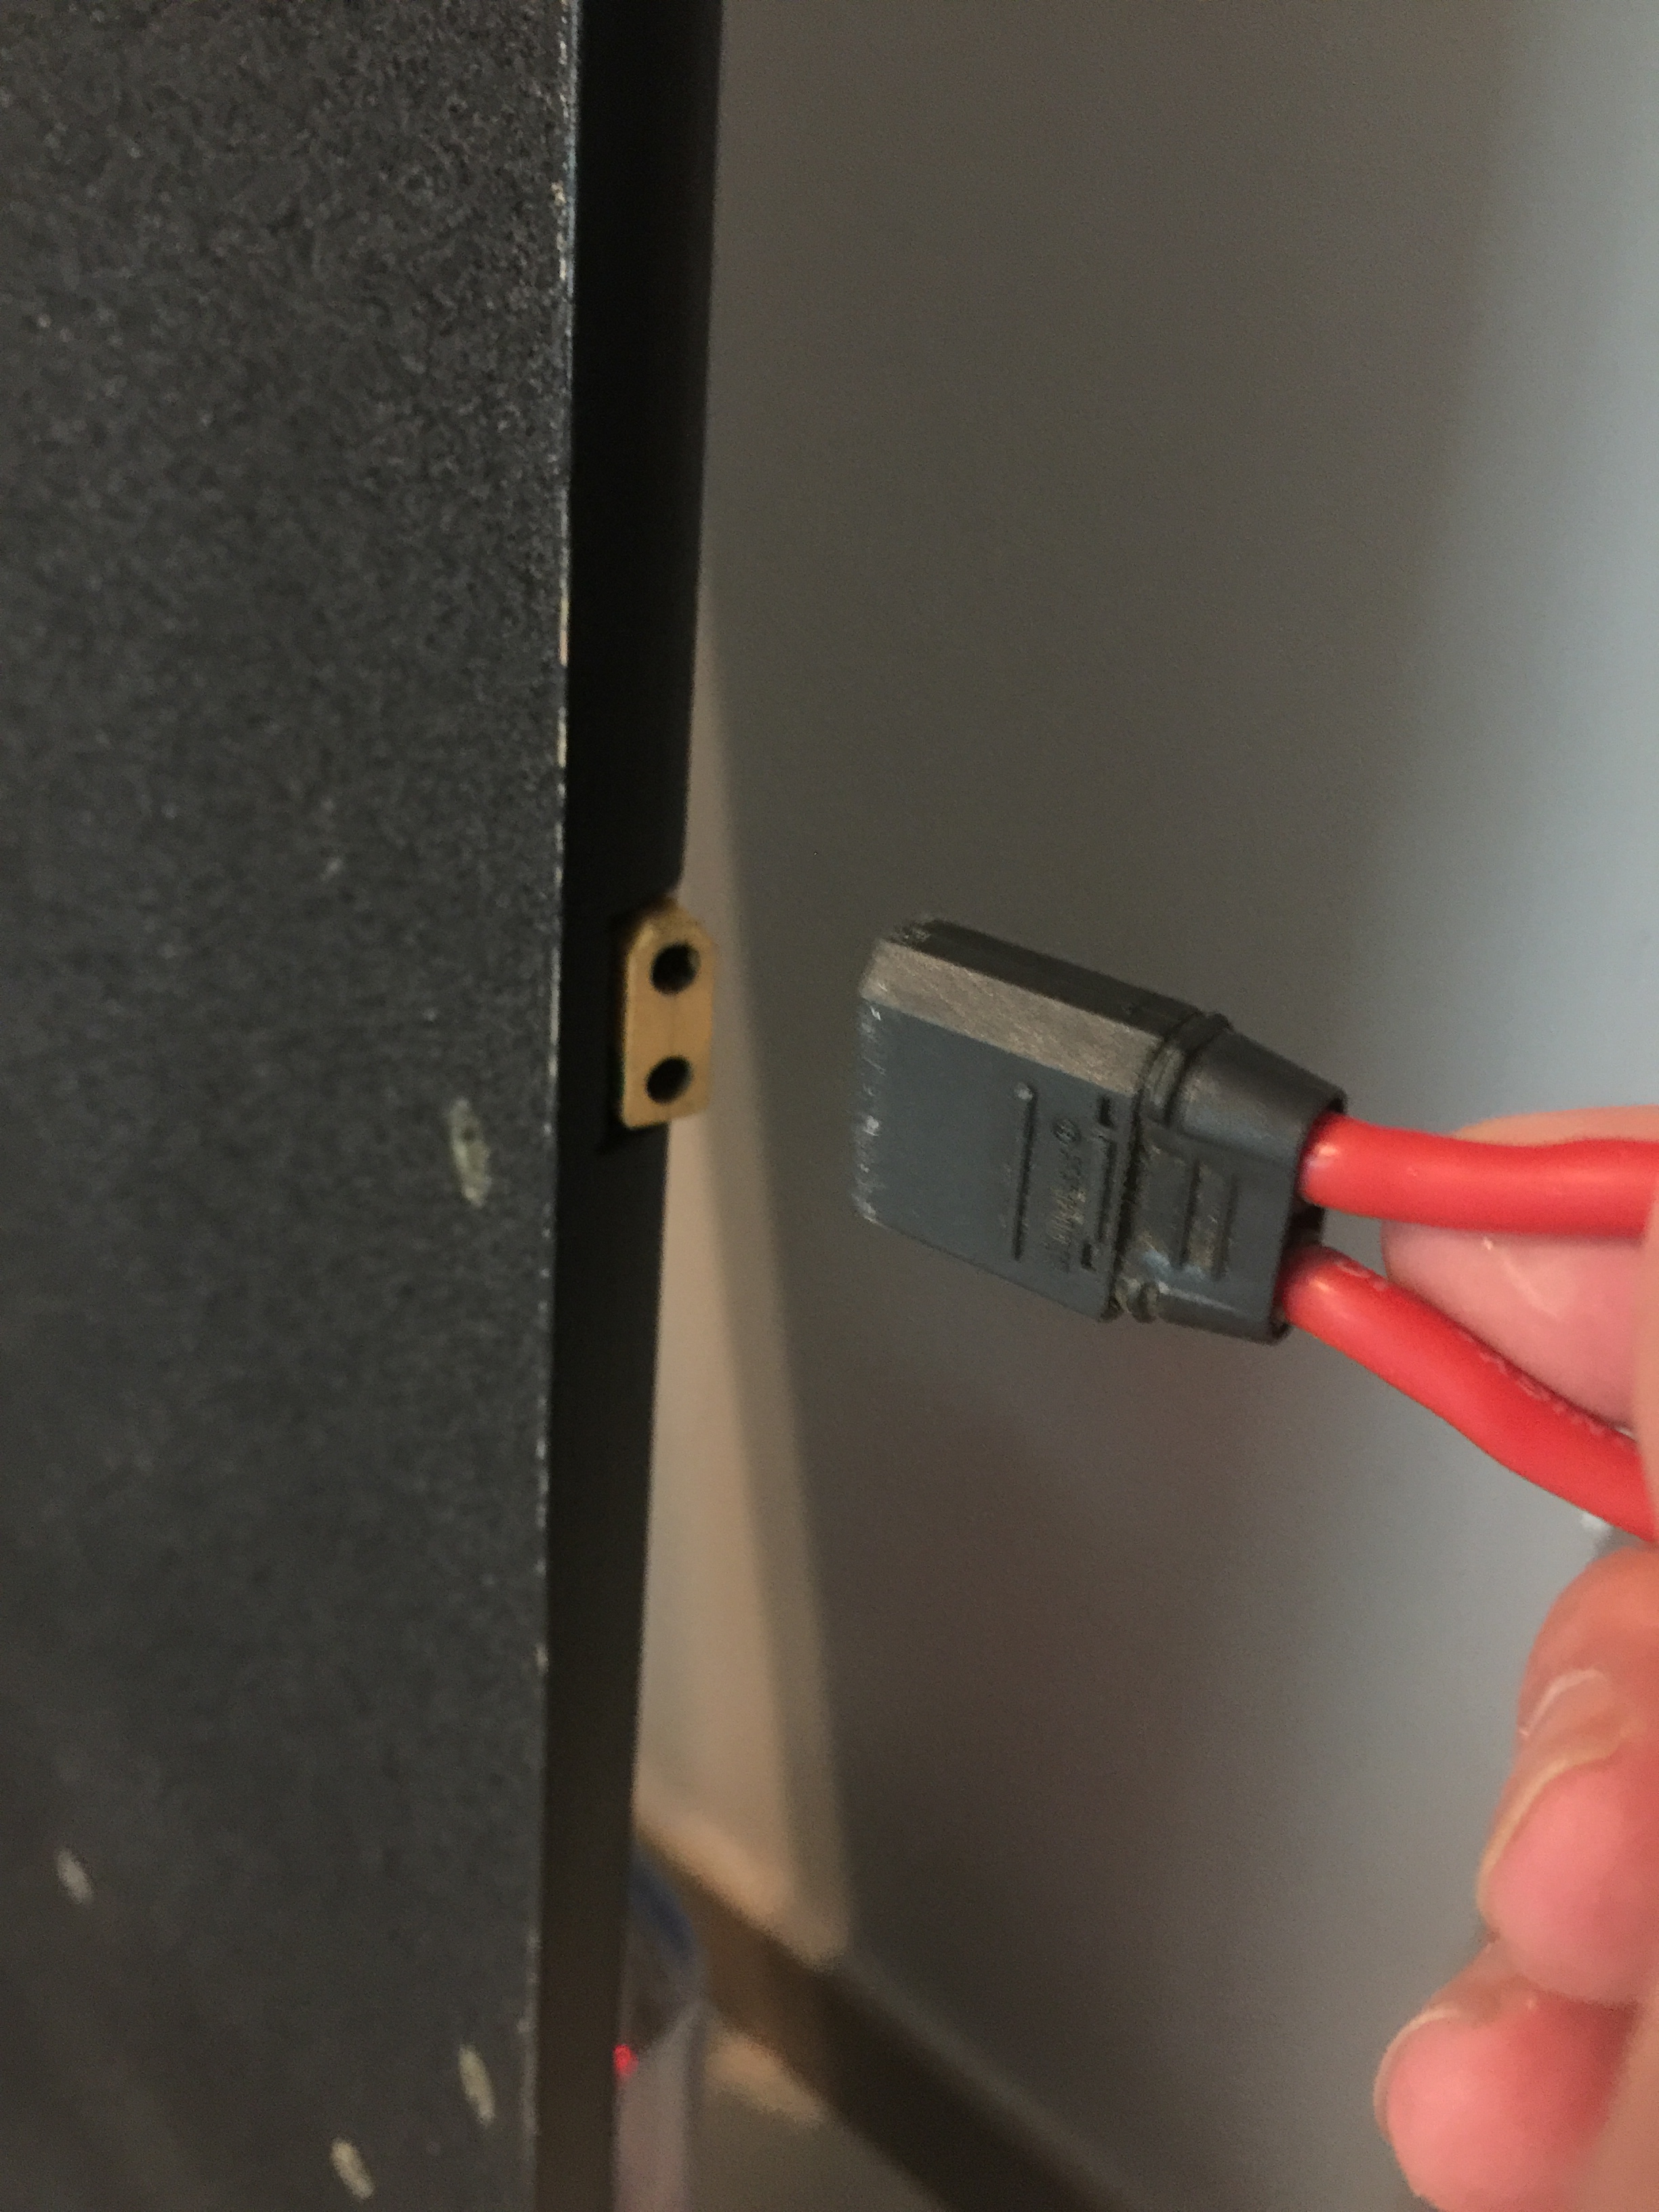
The loop key turned out really good, its easy to pull out from top or bottom side encase there is any emergency.

It is ride-able now and I have done 4 commutes. Originally I was concerned the stiffness of the deck would be harsh on the rough terrain that I have to deal with. But its not that bad, you feel more of the road texture but at the same time it dampens some of the high frequency vibrations more than my old deck. The stiffness makes the steering very direct, at first if felt a bit squirly, but I tightened the trucks a bit and got used to it, around high speed corners there feels like more traction.
Its ride-able but I still have some bits to finish or upgrades I want to do. I have a volt / amp meter to install. The 3D printed end cap for my battery housing. I’d like to get some CNC motor mounts. Some 107mm flywheels (dear santa) bigger motors and new paint job.
9 Likes


What charger did you use? Is this battery still holding up ?
Hi @Jebe I use a ISDT T8 at work. Its a very nice balance charger its quite powerful and small if I need to put it in my backpack. I did modify it though with an extra fan that is always on because the internal fan switches on when it hits 60deg C, and its pretty loud. Then it comes on off. It annoys my co workers.
At home I use a AOK BC168, which is cool because its actually 6 individual chargers that works via the ballance plug. It charges each cell seperatley and does not drain each high cell to balance the pack like most chargers do.
The battery is still working fine but there is more voltage sag then I was expecting and I would like some more capacity. The main advantage is I can disassembly and fly with it, and its quite thin. I think if I was to make another battery I would go for a 12s 4p, Lion with Samsung 30q cells. It would give me a lot more capacity for not much more money.
2 Likes
Woot! Finally an update to the board. I got some sexy new motor mounts custom made by @marcmt88 He has pretty much a mount for anyone’s needs or can even customize one if you need something ultra strange. Awesome service and reasonable price. I wanted mine customized with a 72mm center to center distance. Check his thread here https://www.electric-skateboard.builders/t/motor-mount-with-dual-idlers/35183?u=lrdesigns
I upgraded to these for two main reasons, my old mount had a 3D printed clamp that would crack after some time and was annoying to replace. And secondly these have a X motor bolt pattern so I can upgrade to larger motors later without needing new mounts! 


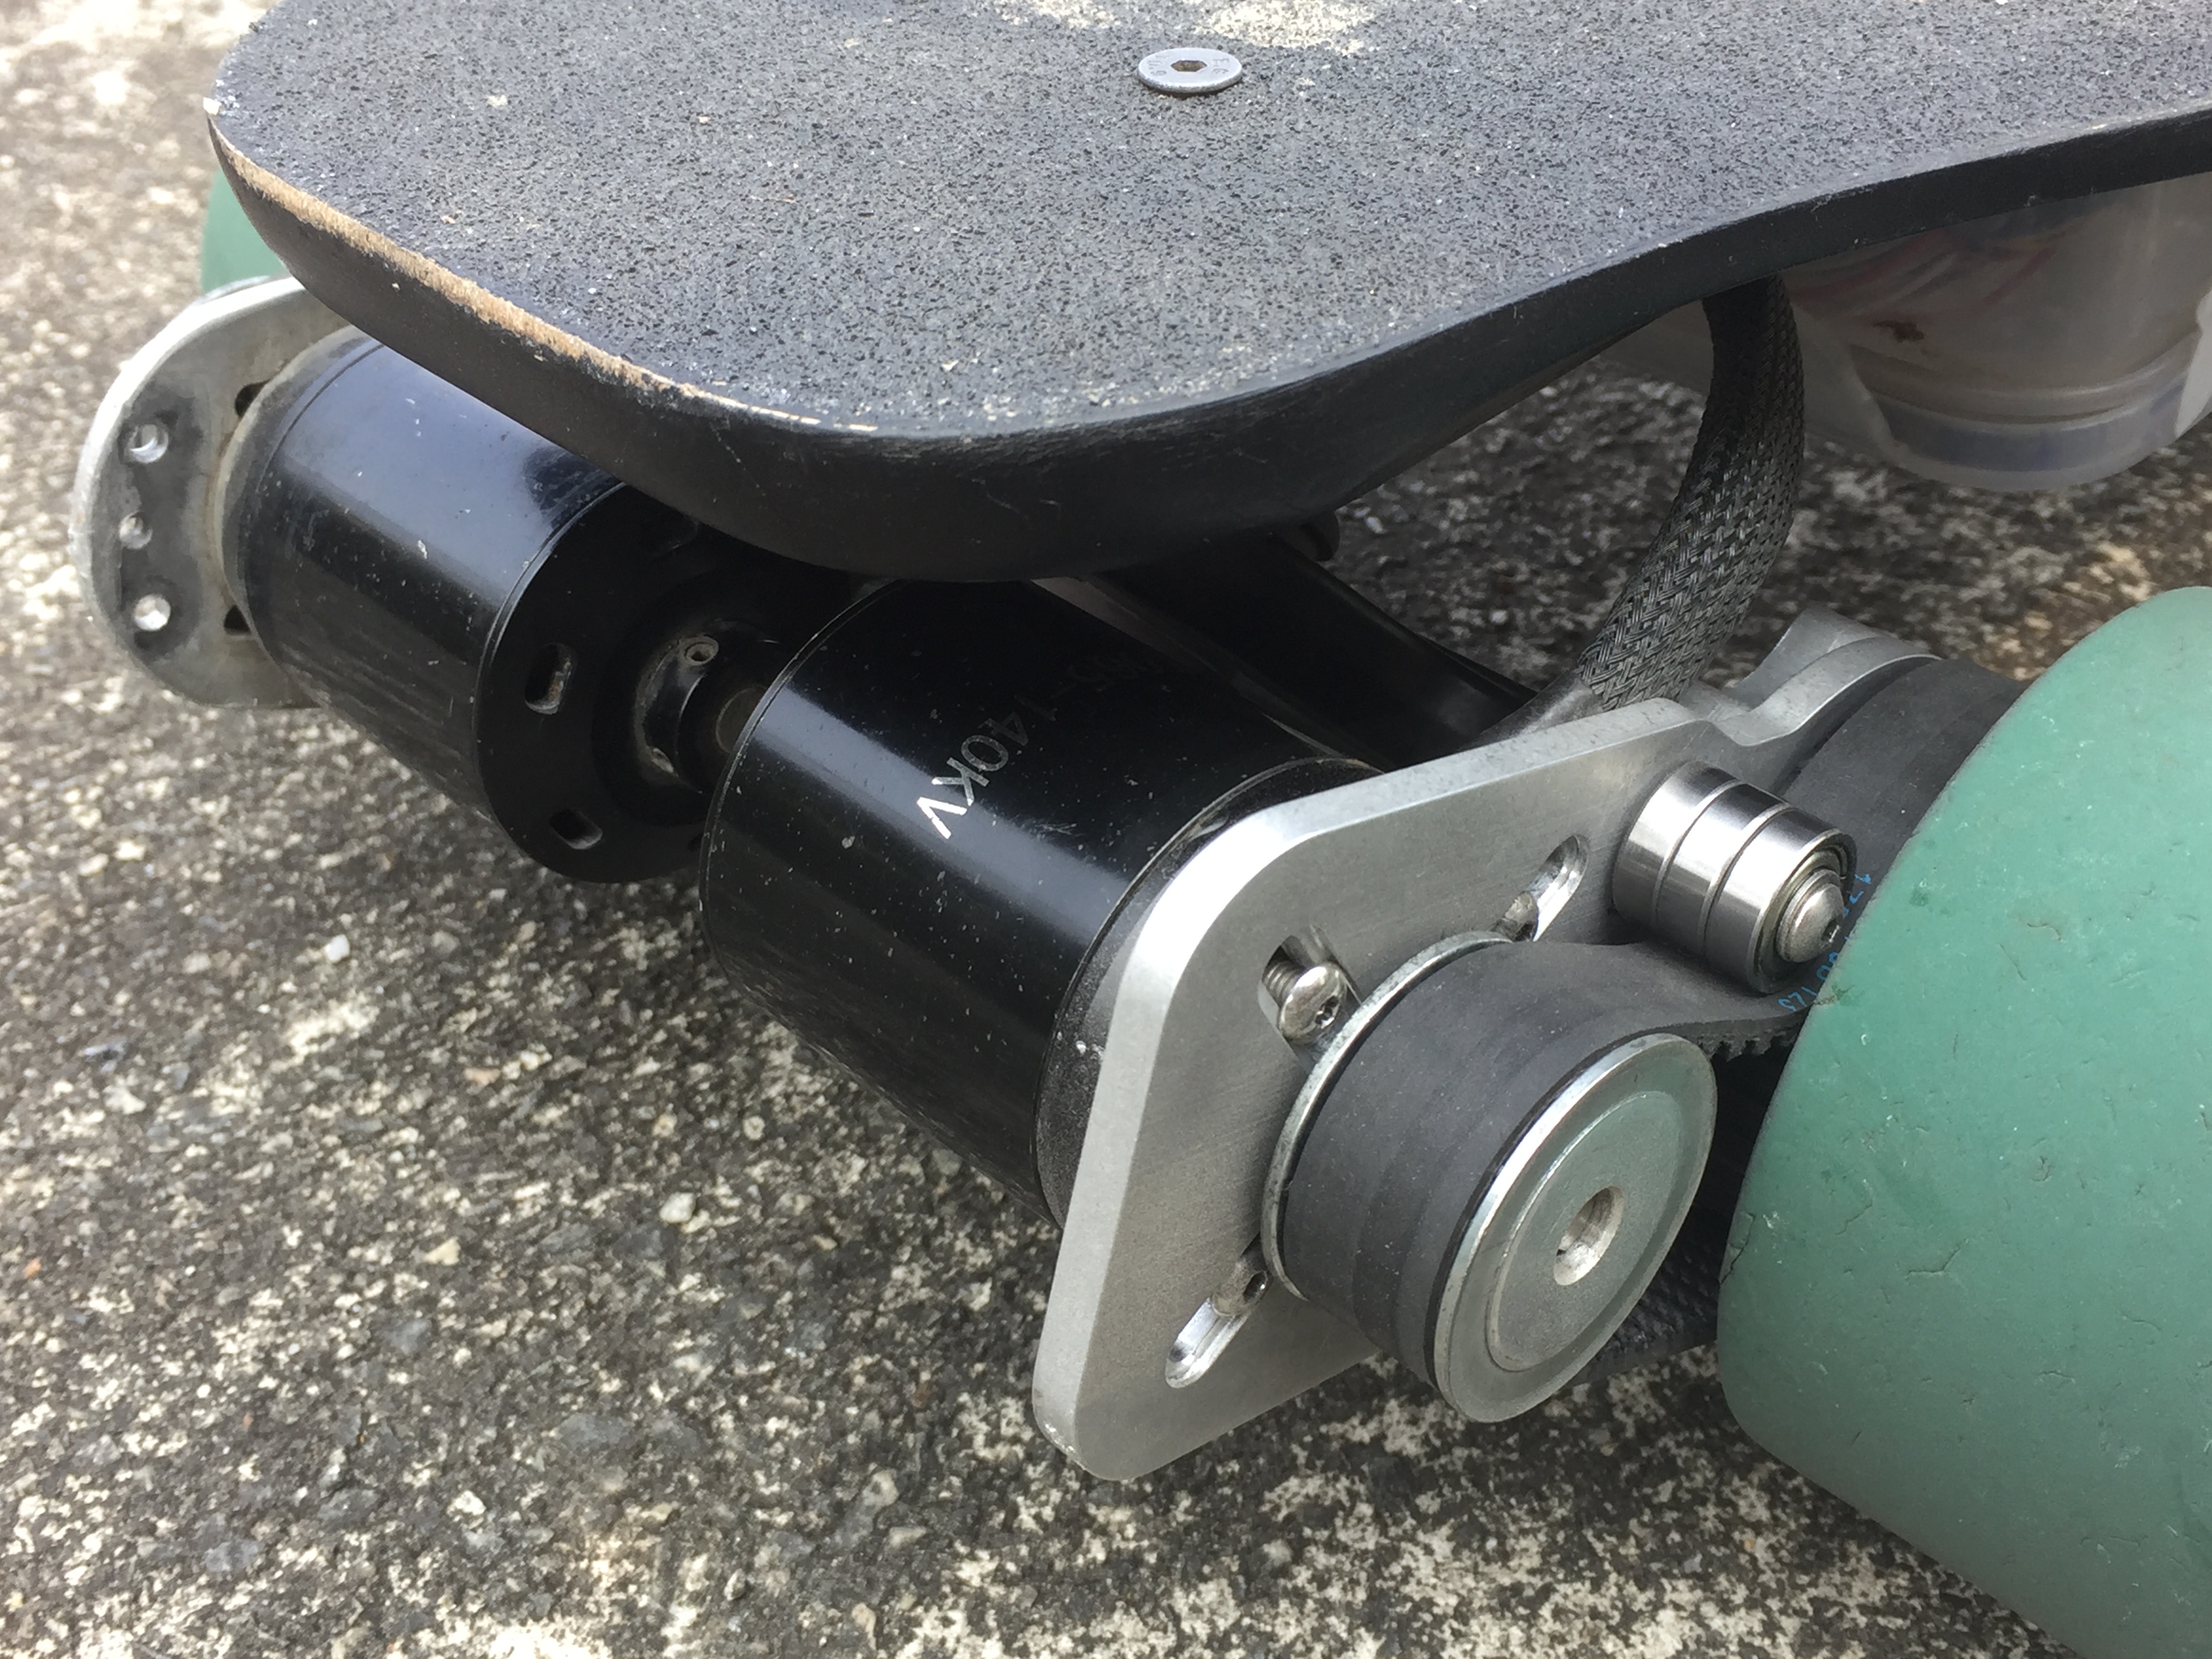
Old VS new.


Rear end close up 
4 Likes
There is an update. Board has been working fine except for one area.
I changed gear ratio and wheel pulley from 3D printed to aluminum. Since I changed to this idler setup I have sheared two wheel pulleys in half while braking. Very annoying to limp home on one motor. Also one was on a steep downhill and l lost most of my braking power. Somehow the idler system allows more power to be transmitted to the wheel. I guess it make sense as there is less noise under braking.
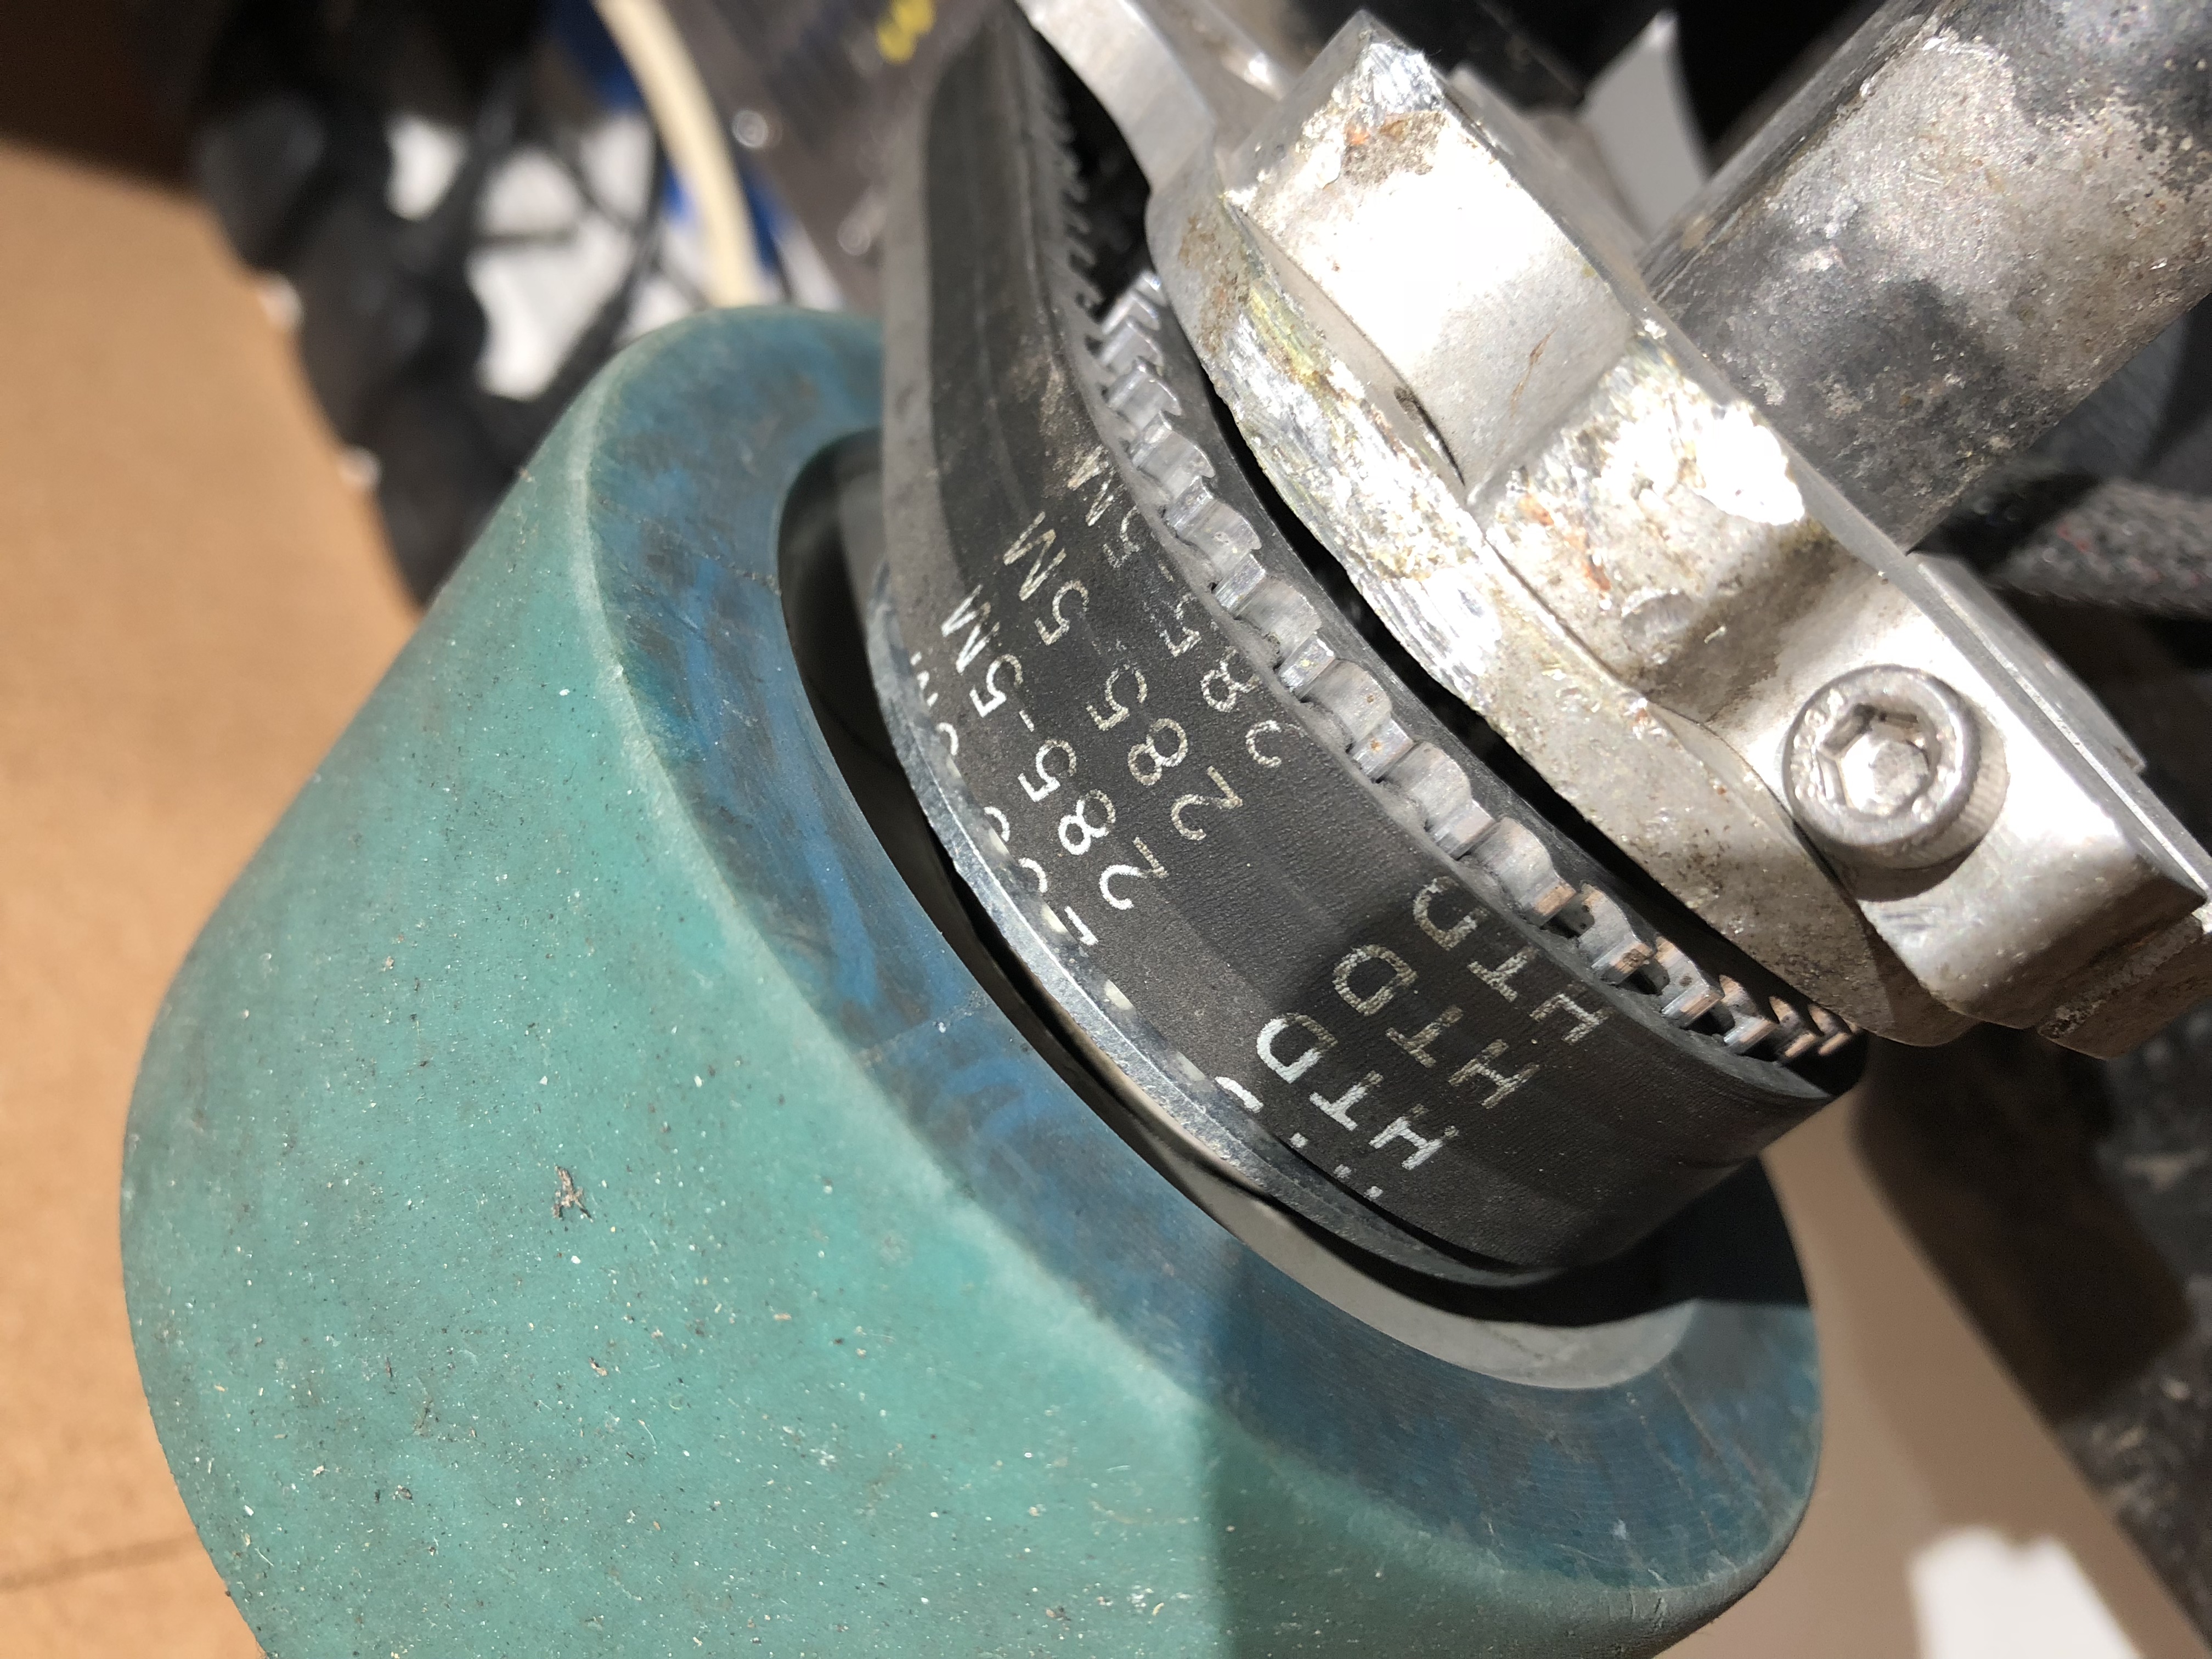
The new pulleys are these. I got the 36t 17mm wide. They can fit 608 bearings inside which allows them to run true.
My gear ratio changed from 20/39 = 1.95:1 to 18/36 = 2:1 It made a surprising difference to the performance. A bit more acceleration and significantly more braking power! Top speed feels similar but I did not measure it. Now Im curious to try some smaller motor pulleys as more braking power is always good in my opinion, I don’t mind to sacrifice a little top end.
One other benefit to these aluminum ones is they make a futuristic WrrrRRrr sound that I really like.  The printed ones didn’t make a good noise.
6 Likes
I dunno how I missed your build. This deck is sick… I haven’t seen this deck before, but it looks super close to the rogerbros DH37 except in wood…
As far as reduction, somewhere north of 2.25:1 braking feels almost perfect for most weighs. But I think your a light rider like me.

I might have to pick up this board now, if I can find it.
5 Likes
It really is an amazing deck. The only bit I didn’t really like is the W-concave in the middle, but now I got used to it and try to keep my feet at the ends where they are supposed to be.
Actually I’m kinda heavy at 100kg and it has ZERO flex.
Here is the deck while it is still around.
3 Likes
Go a High Ground DeckyBro, I have one and  it.
Add a footstop to the front & is bang on
it.
Add a footstop to the front & is bang on 
A little W in the back, the wheel flares make nice pockets & the rear tapers and has a nice flare which works as a toe hook for you rear foot. I have one for a build atm I have been kicking it DH and I couldn’t be happier with it…
It is a pretty old design that has been refined over the years and is often available at a good price, I got mine in Aus for $99 Aud ($72 US).

el Beasto’s board of choice
if it has aged at all it is that the min. wheel base is is 67cm (26.4 inches) and i’m ridding 25/24.5 on my other decks…
5 Likes

You’ll find the Rogers Bros. DH37 here…![]()
MuirSkate Longboard Shop 8601 Production Ave San Diego, CA 92121 USA
EDGE Boardshop (949) 542-8855 [email protected] www.edgeboardshop.com
Xtreme Board Shop 750 W Rte 66, Glendora, CA 91740 (626) 914-9876
907 Boards 8225 Old Seward Highway, Suite B, Anchorage, AK 99518 www.907boards.com
Burning Spider Stoke Comapny 1603 West 39th Street, Kansas City, Mo 64111
4 Likes
I meant the arbor… Full aluminum deck is… Meh
2 Likes
Time for some updates.
First is that I added a second loop key that disconnects the negative wire to the Vesc’s. Previously I was charging the pack as two 6s packs one after the other because if I tried to parallel charge them at the same time it shorted out the balance wires. BZZT.  So charging is now more convenient.
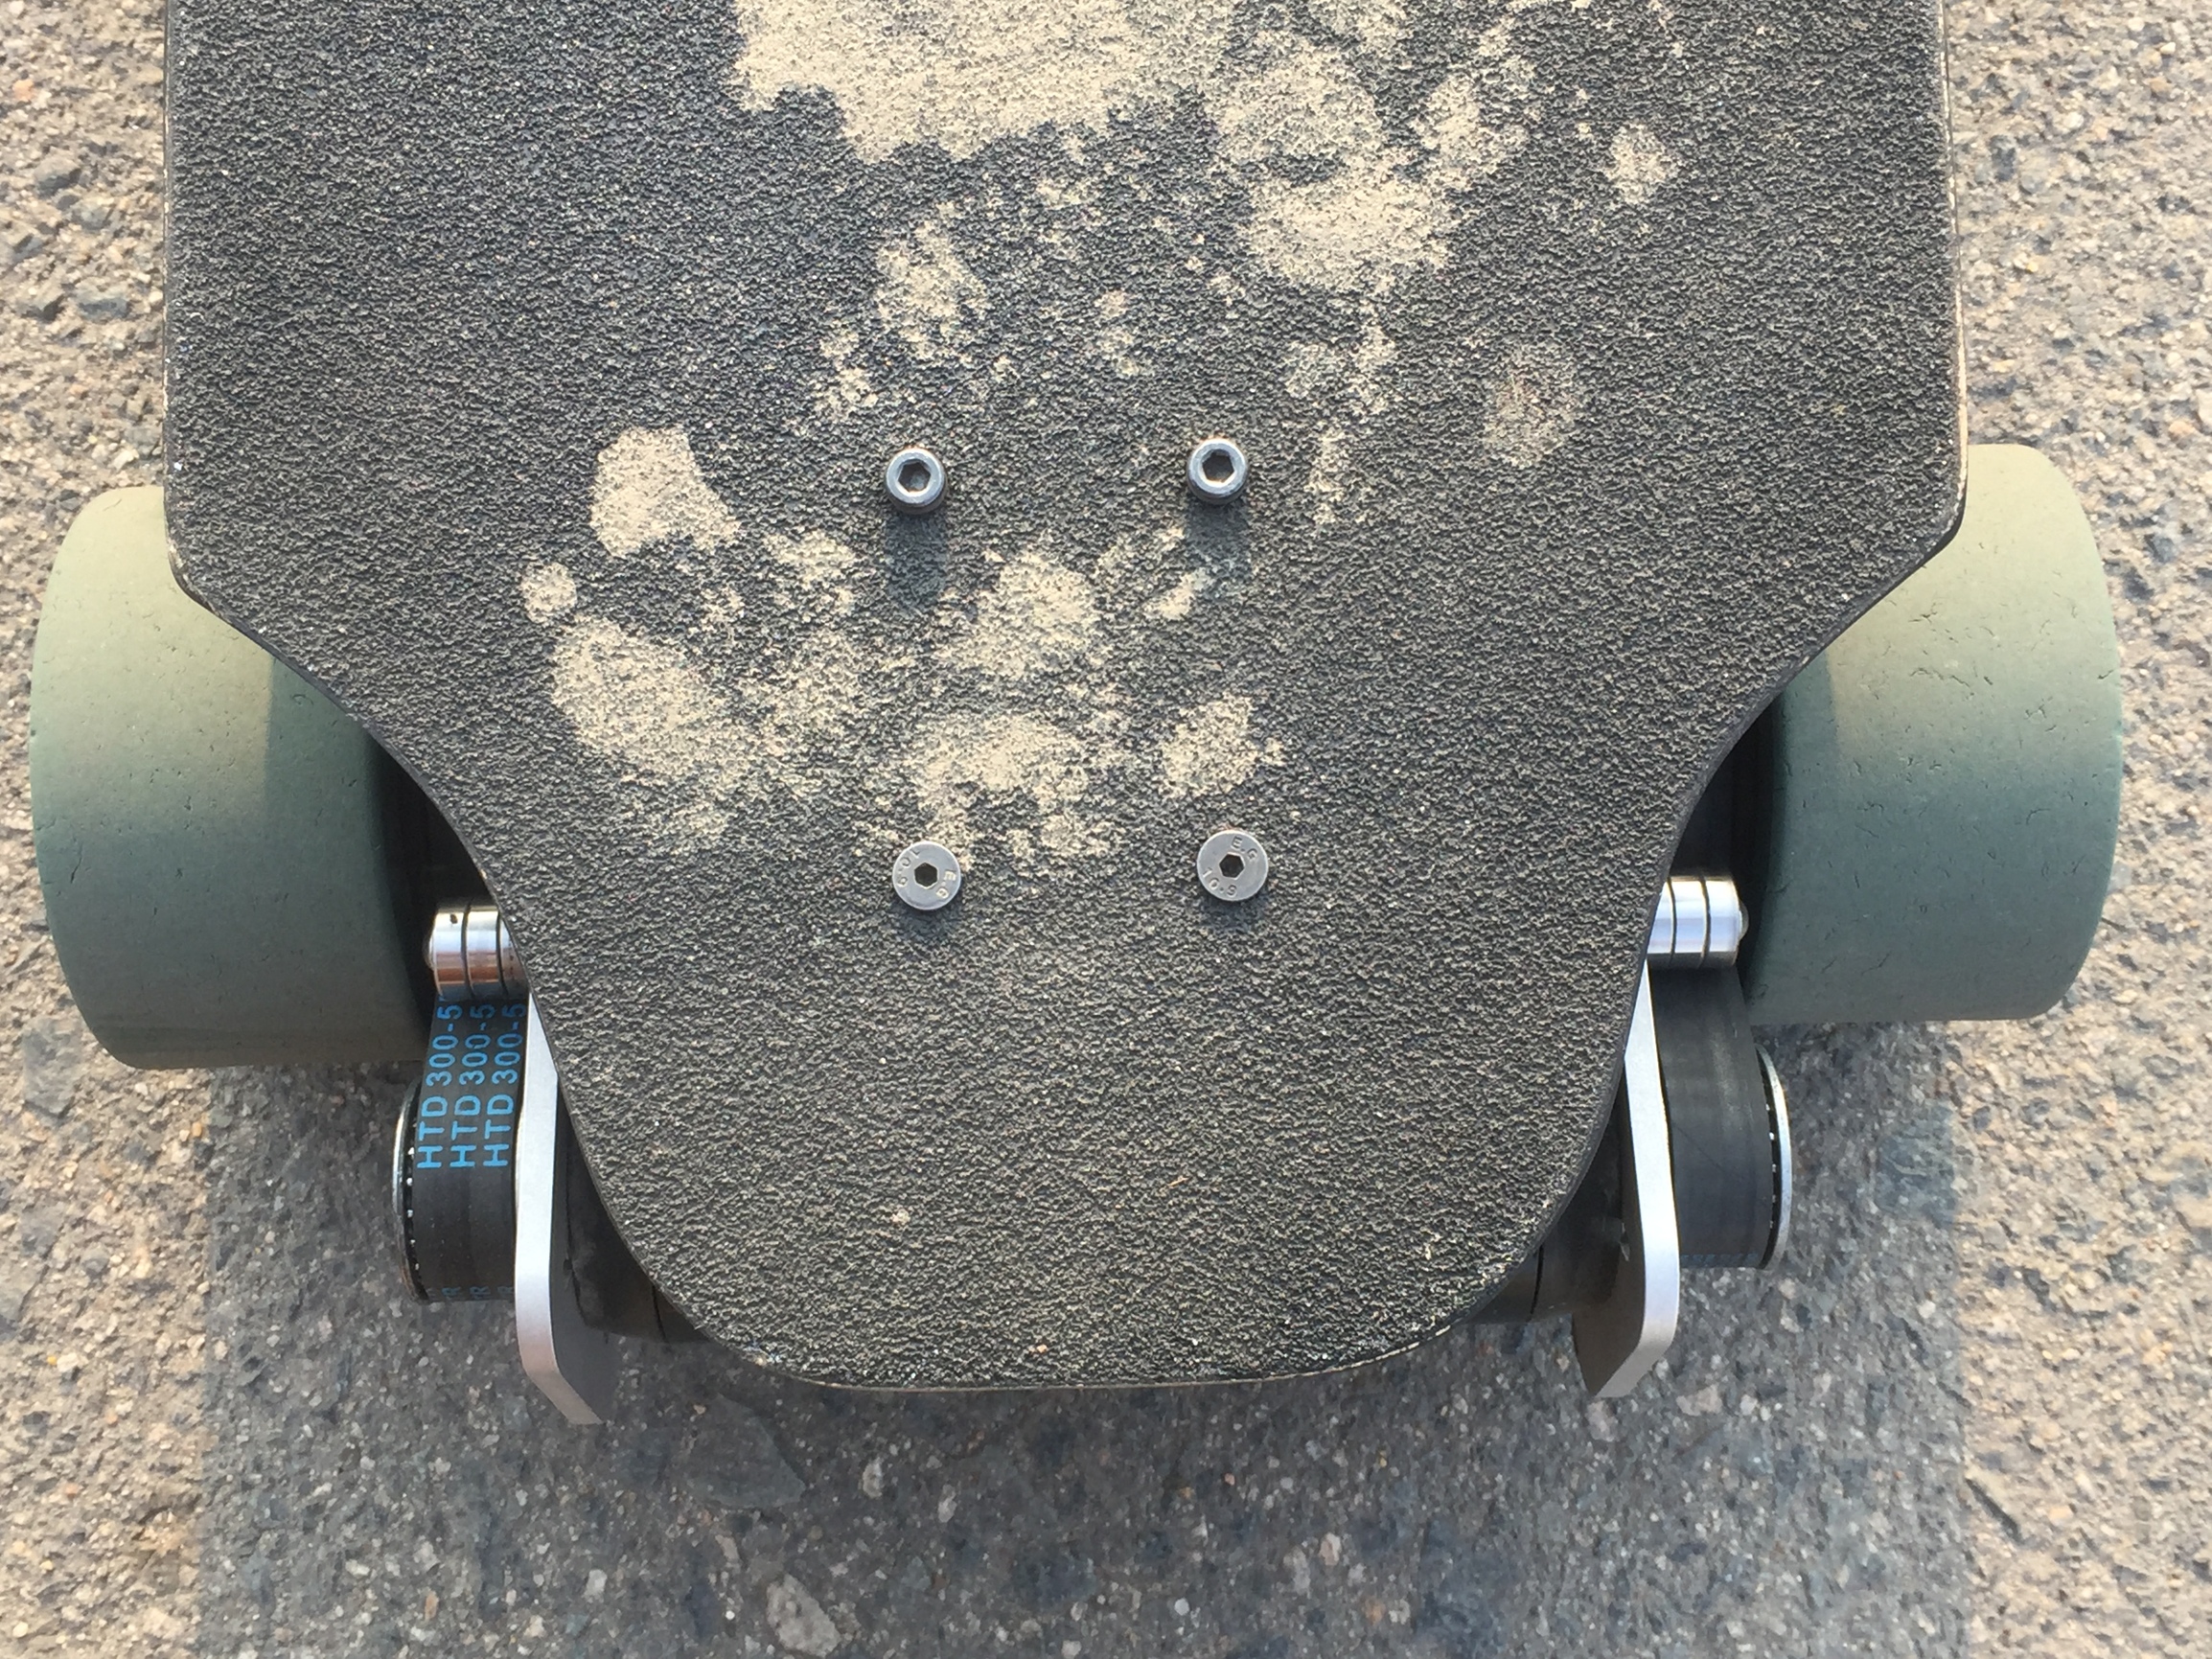
 The threaded inserts that hold the battery enclosure were too cheap and threaded out. So now I am using regular bolts with nylock nuts. Got some of those pretty anodized washers too.
 I messed up and killed two cells. $60 gone. My inlaws were visiting and I was highly distracted. So I forgot to turn the board off for 3 days. Really this should be fine but I have voltage alarms on there that draw power from 1 cell only. These drained the cells to zero volts. Weirdly they should have gone off at 3.6v but did not go off until zero volts. Anyway got two new cells from Hobbyking and fixed that mess.
 image|666x500

 !
I bought some surf rodz trucks when they were on sale in July, but will not receive them to later this month when my dad brings them back from the US for me. Really excited about these but now I need new motor mounts. I plan to get the red 100mm boa wheels so I also need kegel style pulleys. A lot of money for the full conversion so It will be a slow process.
!
I bought some surf rodz trucks when they were on sale in July, but will not receive them to later this month when my dad brings them back from the US for me. Really excited about these but now I need new motor mounts. I plan to get the red 100mm boa wheels so I also need kegel style pulleys. A lot of money for the full conversion so It will be a slow process.
Though I have been tuning the feel of the trucks and I feel like I got precision trucks for free. I tried these 3D printed rings from @skatardude10 that take the slop out of the hanger, it makes the trucks feel so much more precise, turny AND stable. Its just a little ring but it makes a HUGE improvement to TB218’s. https://www.electric-skateboard.builders/t/the-demonseed-tb-218-tb-6374s-190kv-tb-mounts-chibattery-10s4p-dual-focboxes-superflys/50610/20?u=lrdesigns Addtionally I have changed my angles from 55/55 to 55/50 with a looser rear truck and more solid riser not a soft one. Made it way more stable at high speed. Turning radius is actually tighter too. 

6 Likes
There’s far too many decks out there that I want. This one included. Looks great.
1 Like
Surf Rodz came in. Wooo.
Also been working some risers and motor mounts for the surf rodz.
I can only run the front one until I get motor mounts. But it did make a noticable difference. More stable and less wiggle at speed. While still having a tighter radius for slow speed U turns. With the riser I run 55 deg in the front.


13 Likes


SOLID! 55deg
11 Likes