Carbon Jet Spud | Freebord Bindings | Single VESC | 10S3P LG HG2

ah, thats a pretty good idea, Ill quickly get the vicious leftovers back out of the trashcan :sweat_smile:

hmm, to be honest, I could actually route the area below the binding and sink them in so they form one surface with the top of the board. and THEN cover them with the same griptape that covers the board. that would really be badass and the best looking solution!! :open_mouth:

Ill get some experience with the binding position first though before I do anything silly. patience is the key! :relaxed:

first living room 180, im loving this already :heart_eyes:

just hope my knees wont complain :head_bandage:

2 Likes

red anodizing for that baseplates to match the trucks :smiley:

not sure if you can anodize it, the baseplates seem to be steel! also, if I bought trucks, they probably wouldve been black I think, just fits all that carbon better! maybe oneday Ill swap if I need the satin reds for something else! :upside_down:

started raining cats & dogs, really wanted to check how the caliber 44s suit the board… :pensive:

How did you make yourself invisible!! :wink:

1 Like

made the battery today, going quicker everytime really. worked through this a few times on endless sphere, but I guess it cant hurt to do a quick picture story of the battery welding - who knows whom it might help and it will be quick for me :slight_smile:

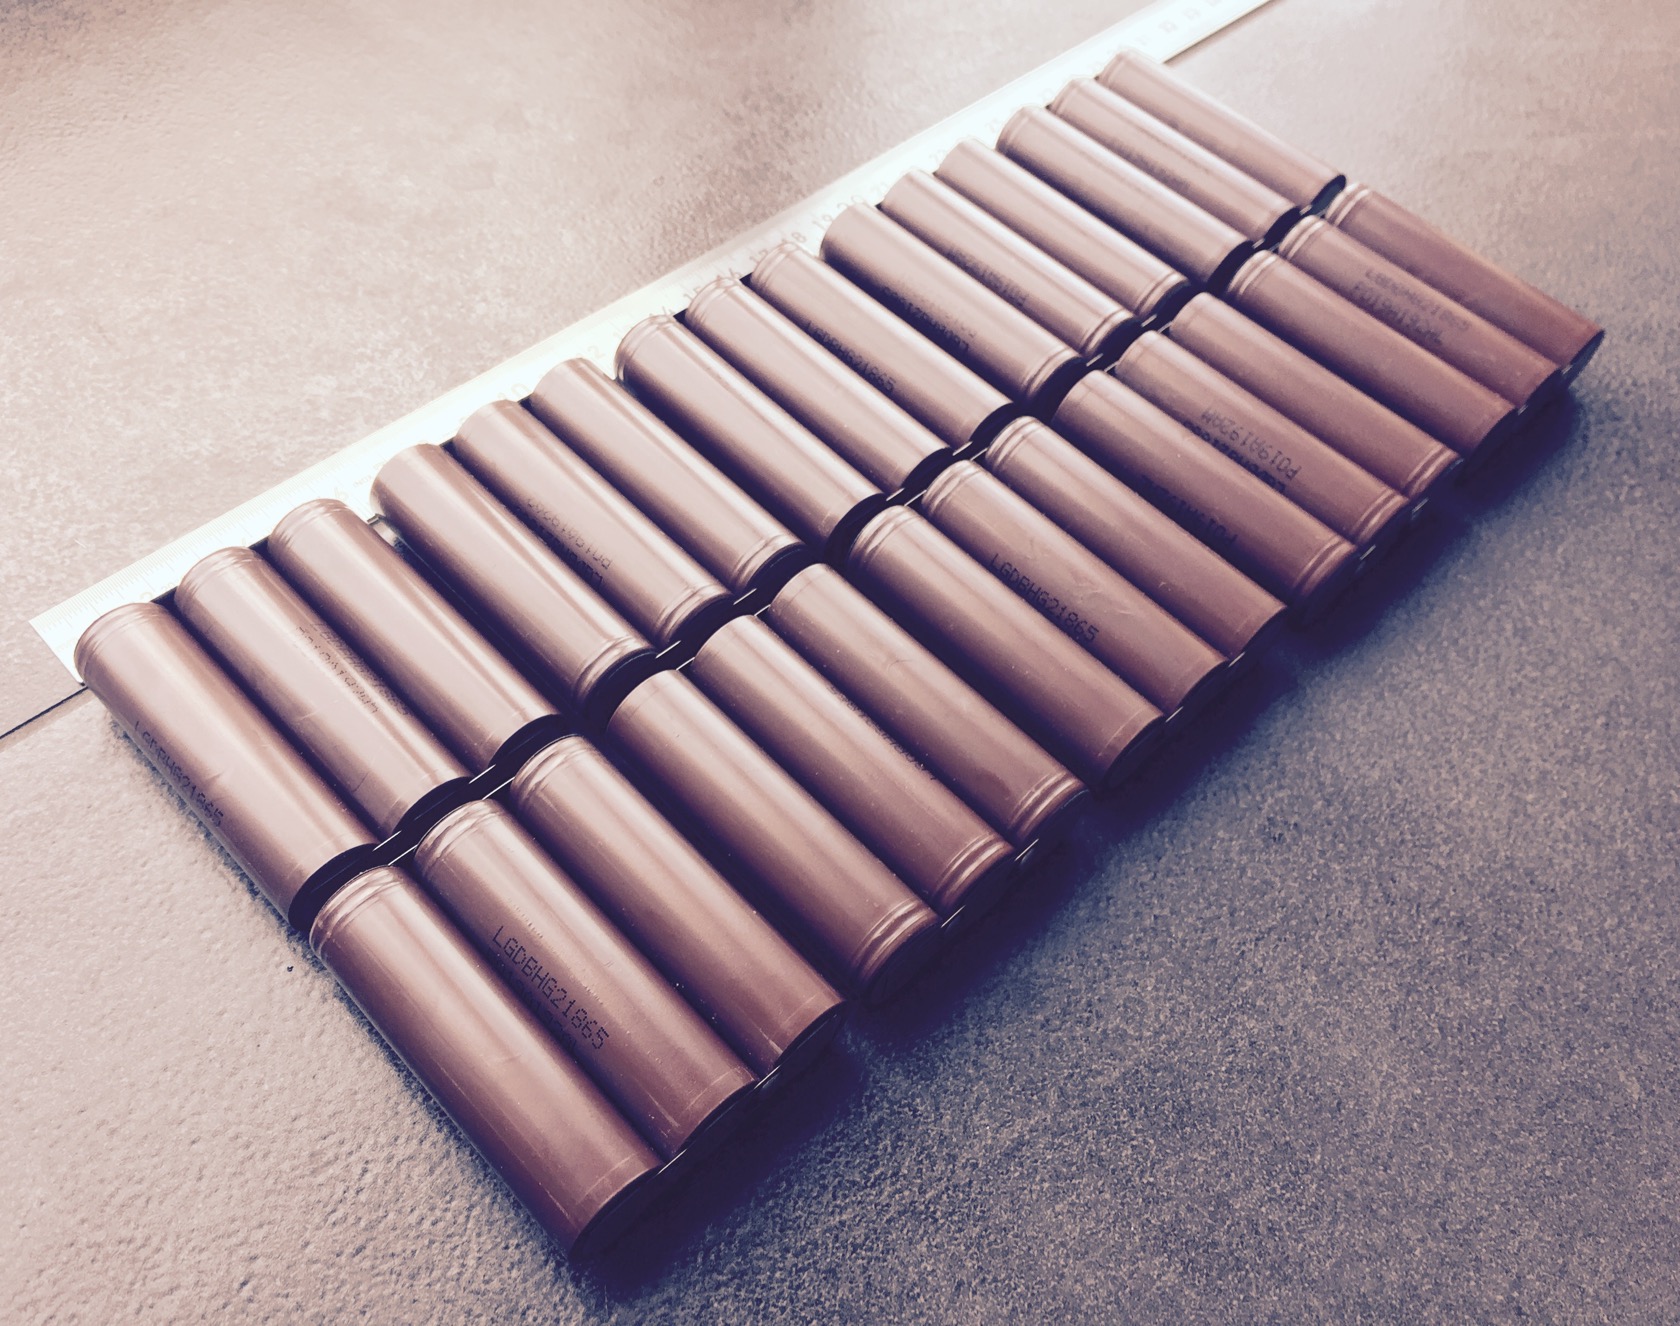
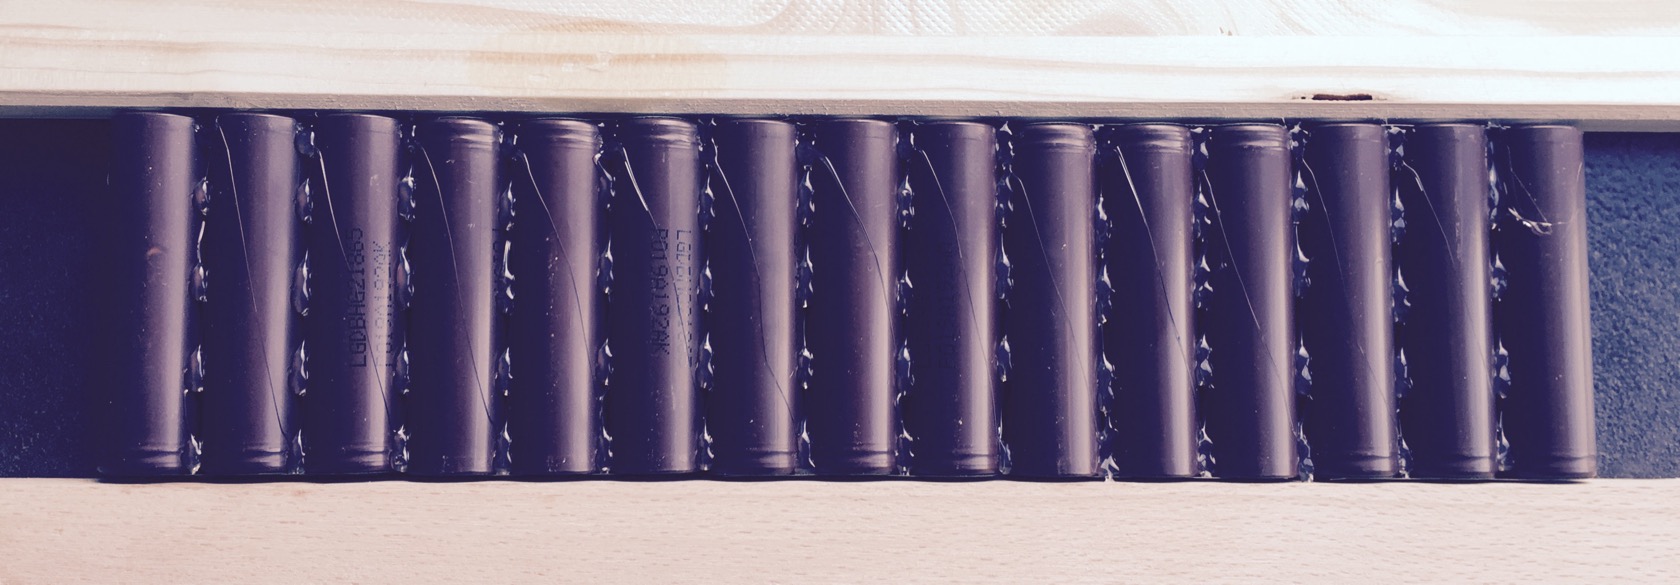
30 cells LG 18650HG2

added cardboard shield to prevent shorting of plus with the negative shell

cut 20x 10x0.15mm nickel strips

marked 10 of them with my knife and added flux to that spot for later serial connection reinforcement

set up solder spots. yes, its only 9 because I forgot one … :yum:

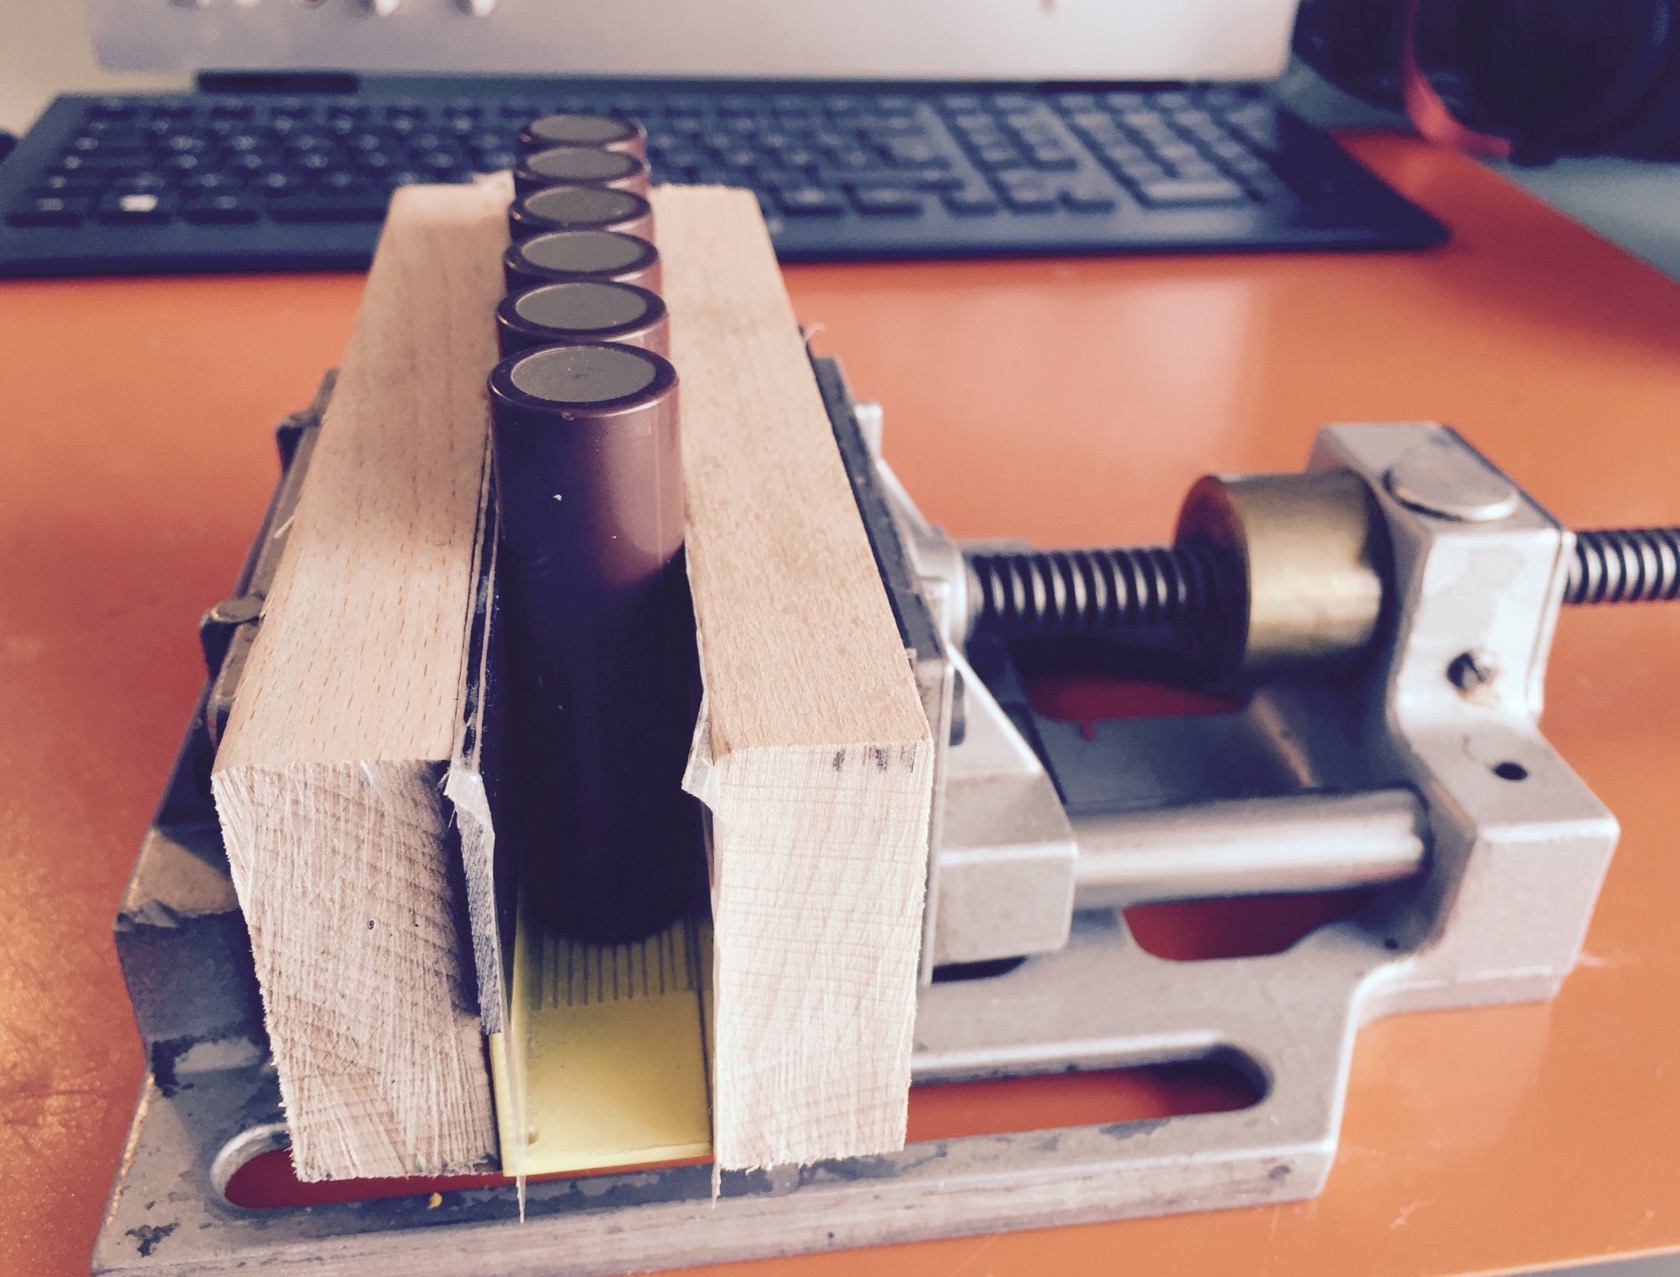
my vice, set up with 2 pieces of wood and an angle to keep cells aligned. with only 3 cells parallel, I was able to do 2 parallel packs at a time

off to welding - my fabulous stoneage DIY spotwelder - a superold battery charger, probably from WW2, directly connected to a 2F supercap. when I want to weld, I stomp on the DIY copper switch, basically 2 thick copper bars that will touch briefly. in order to avoid that they weld together, I put half a skate truck bushing between them to reliably separate after each welded spot! :sweat_smile:

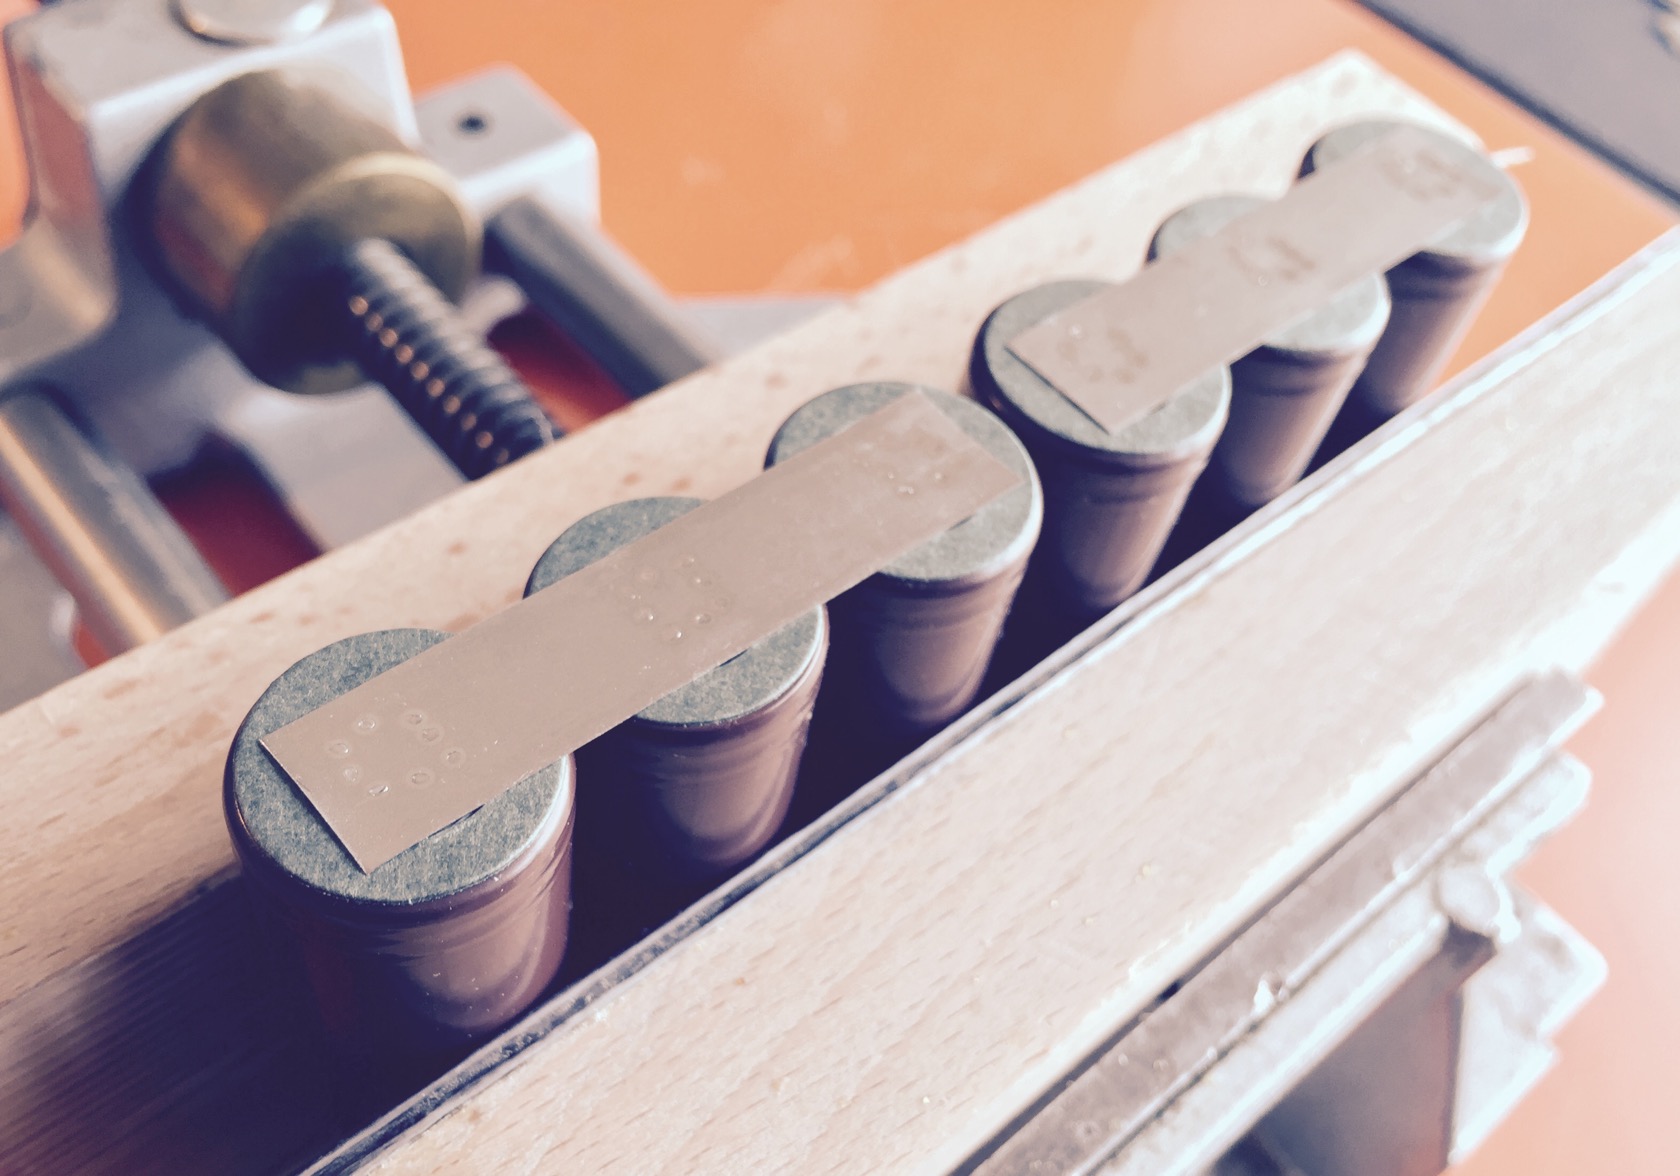
it works well though - plus sides with the small pole:

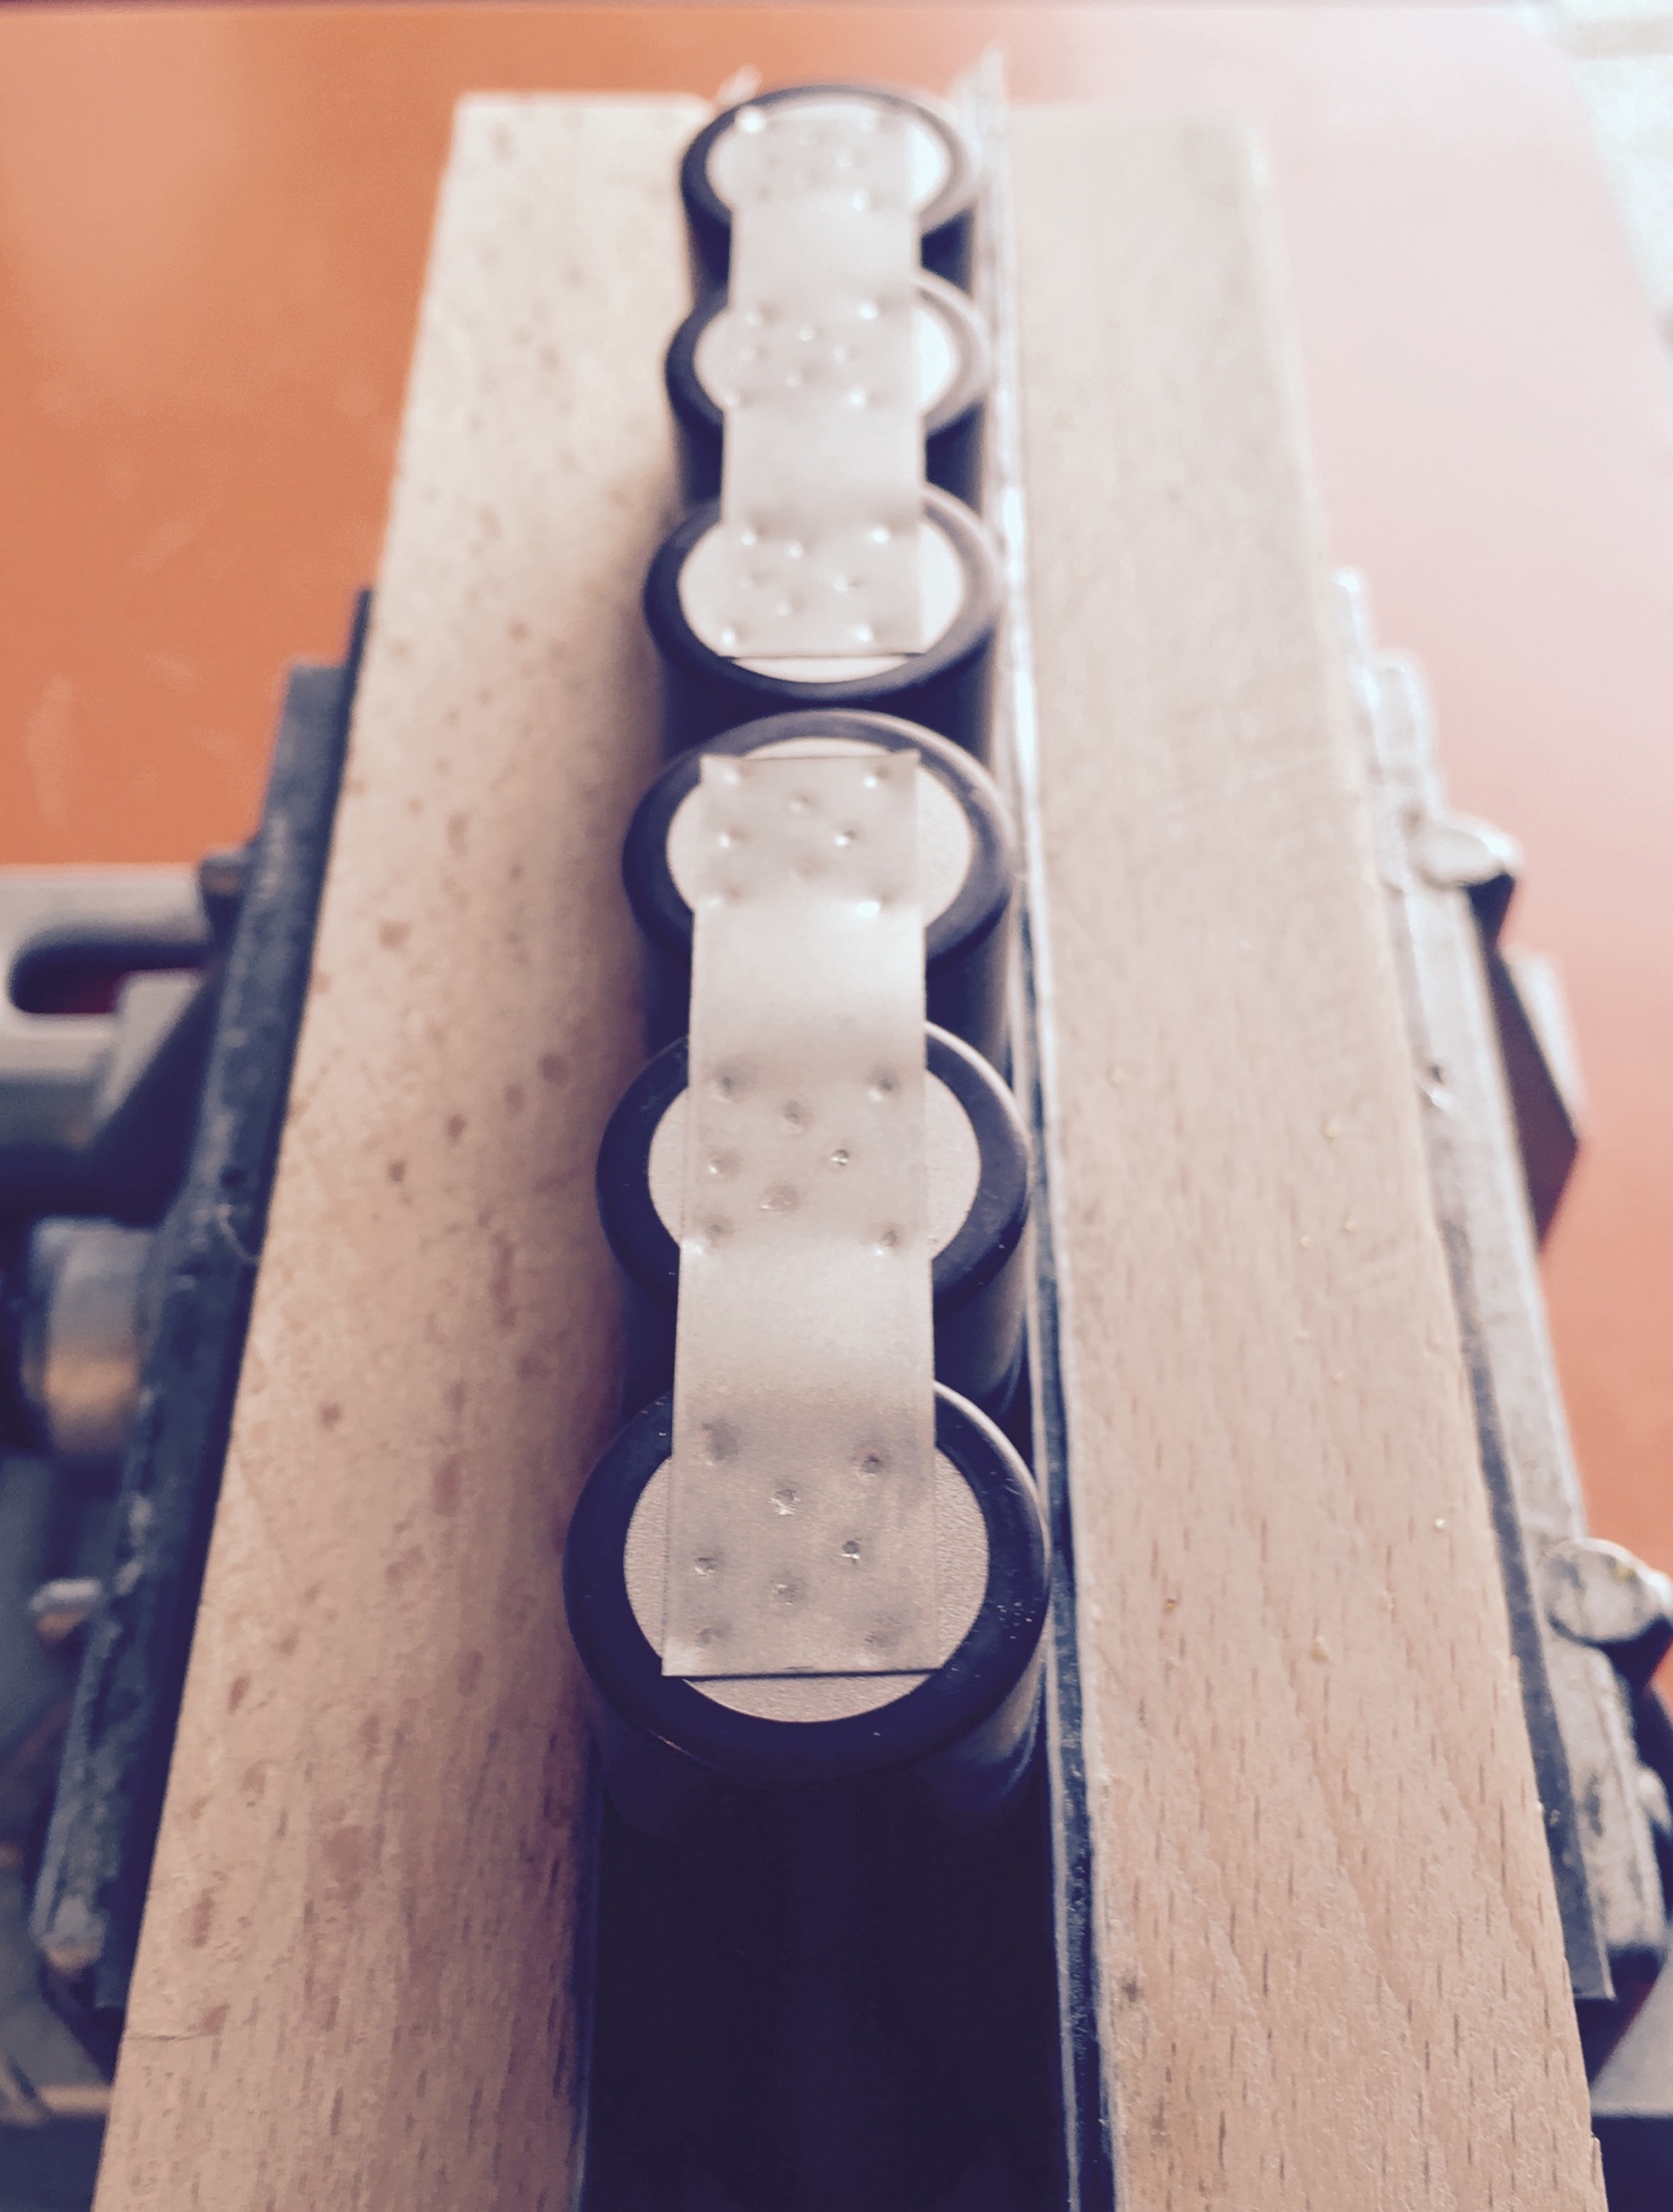
and minus side with more room to work with

all 10 packs done

adding some hot glue to avoid that the shells will work on each other

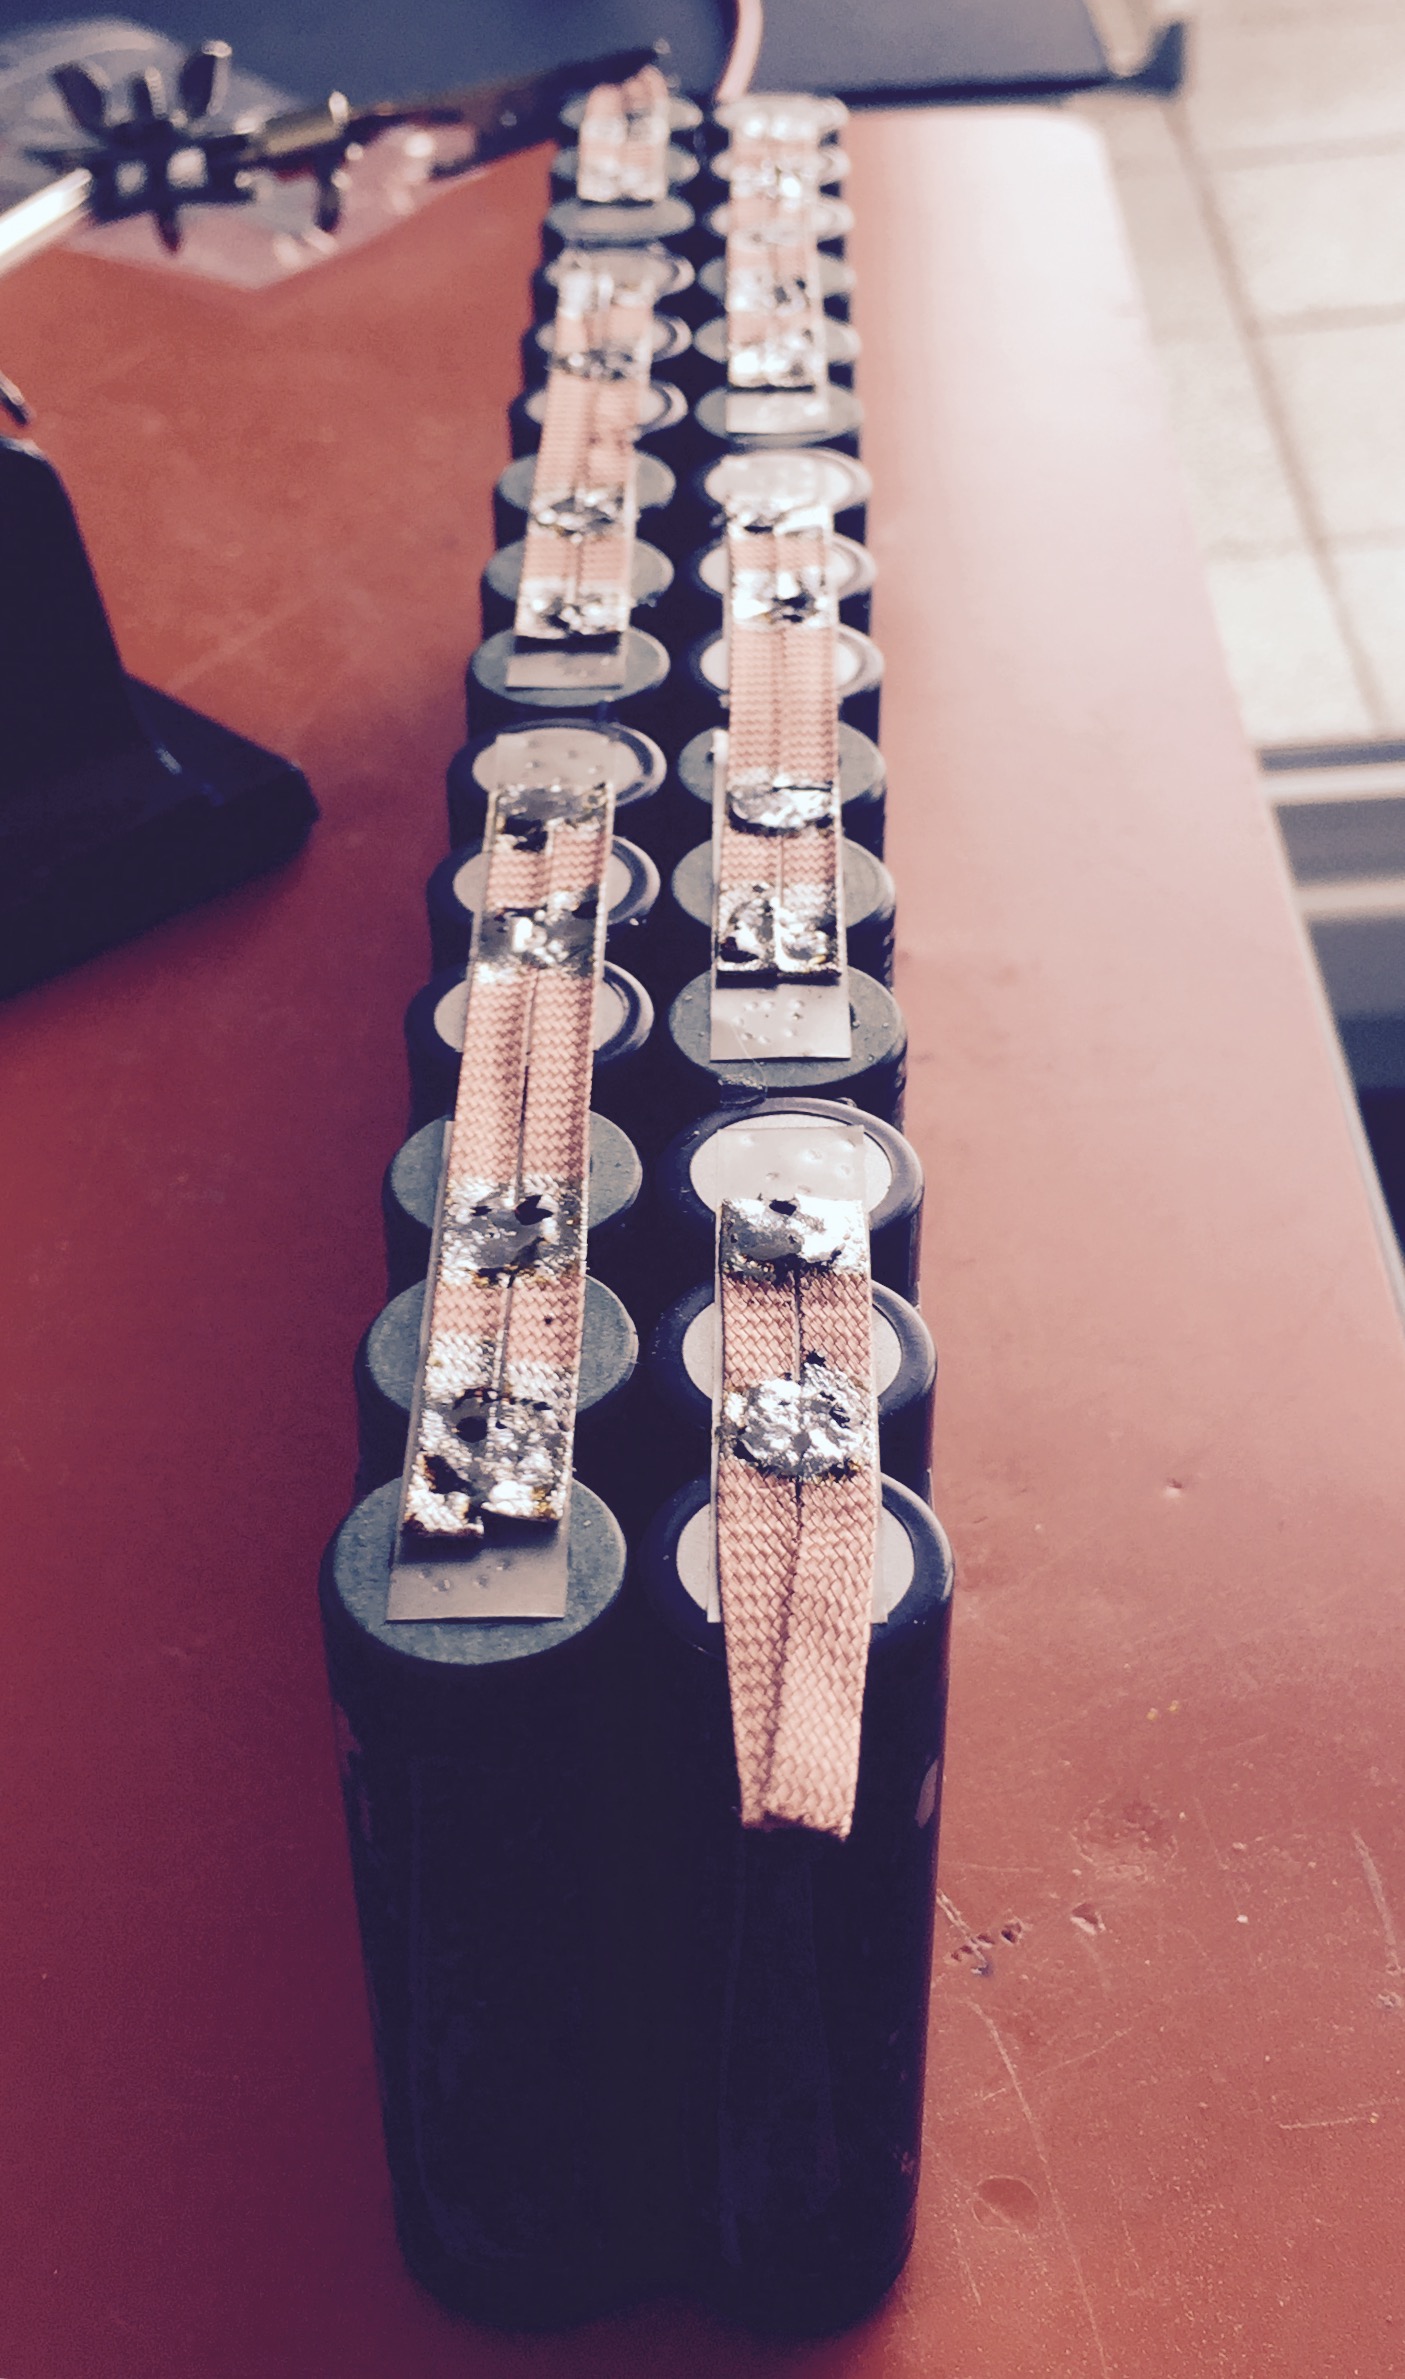
then doing all serial connections. the middle of the battery by 3 nickel strips each (its not a lot, if I assume about 15A per nickel strip its just 45A, but that works for me in a max 60A continuous battery).

the “outer” connections I did with 2x 5mm wide copper wick each, because a single nickel strip feels a little too small for the typical currents

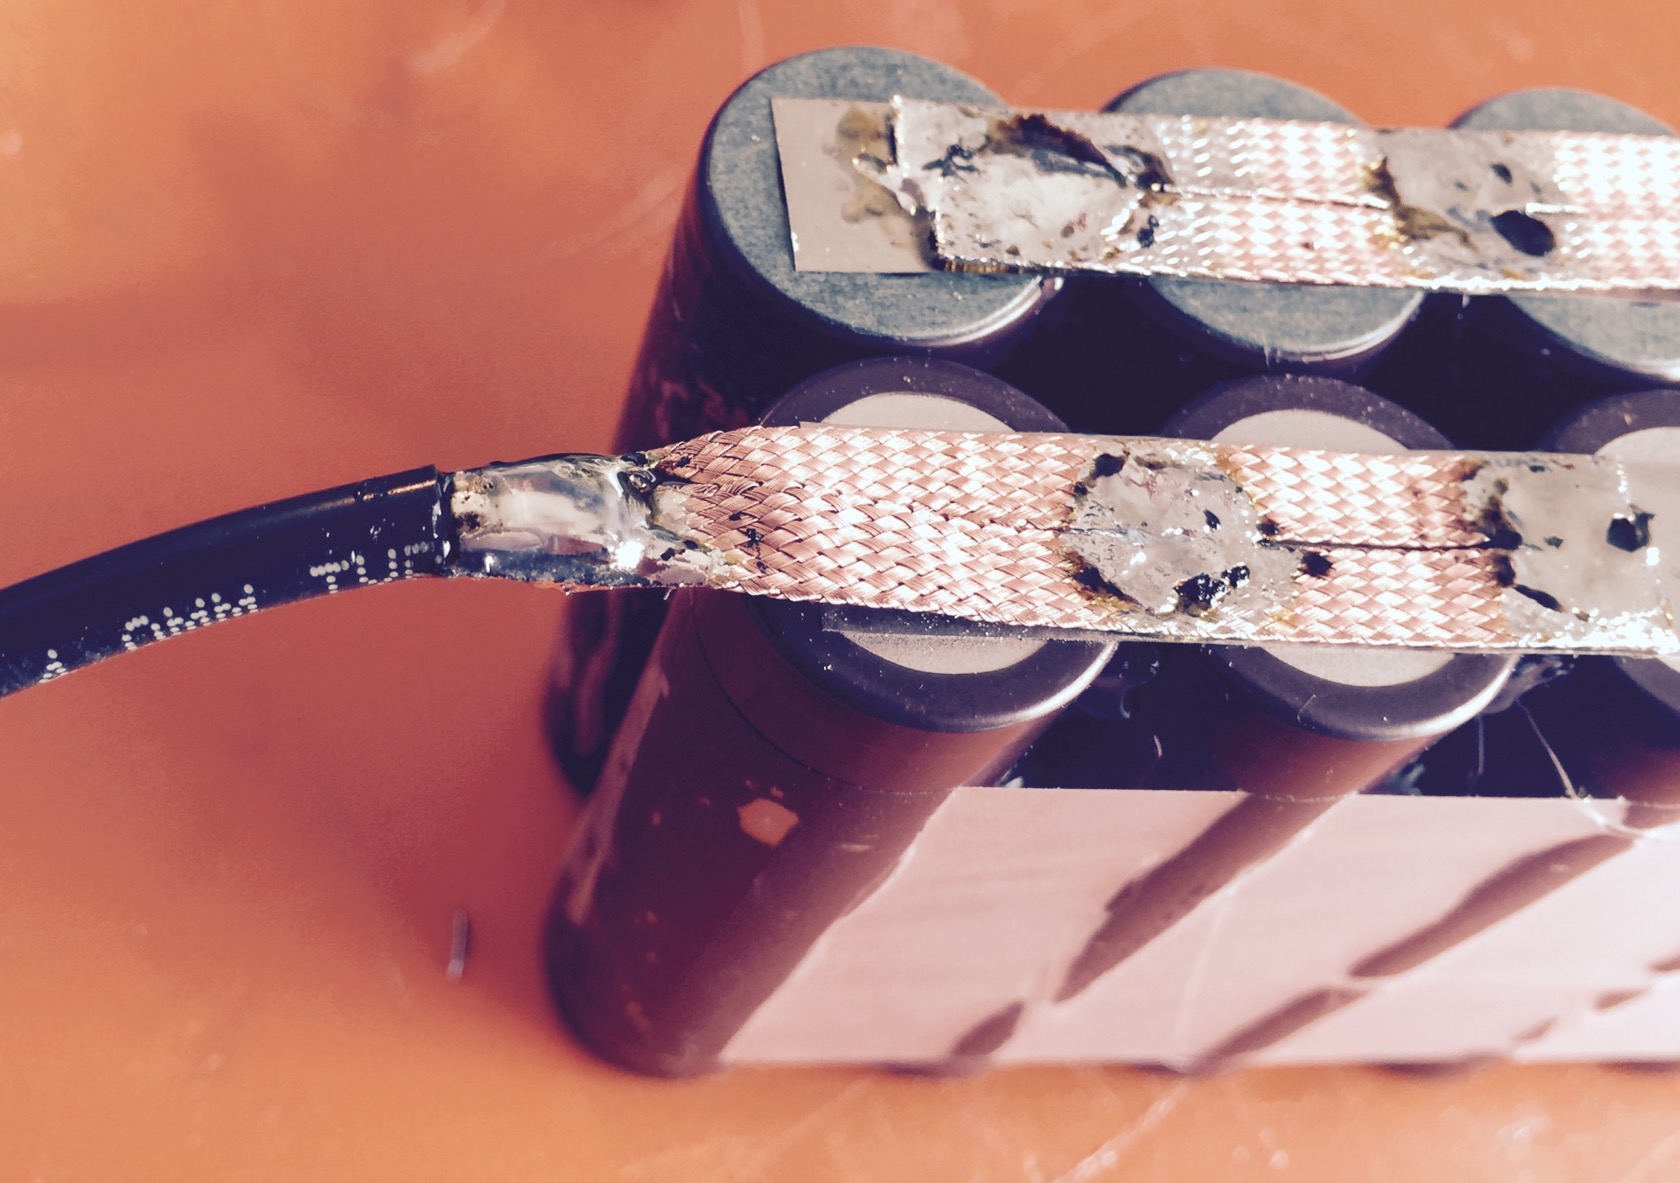
plus and minus side has a little extra copper wick to attach the battery wires - I usually go with 10AWG, but I think this time 12AWG will do. taking the isolation off, then splitting the small copper wires inside in half, putting the dual copper wick in between and clamping the split sides together.

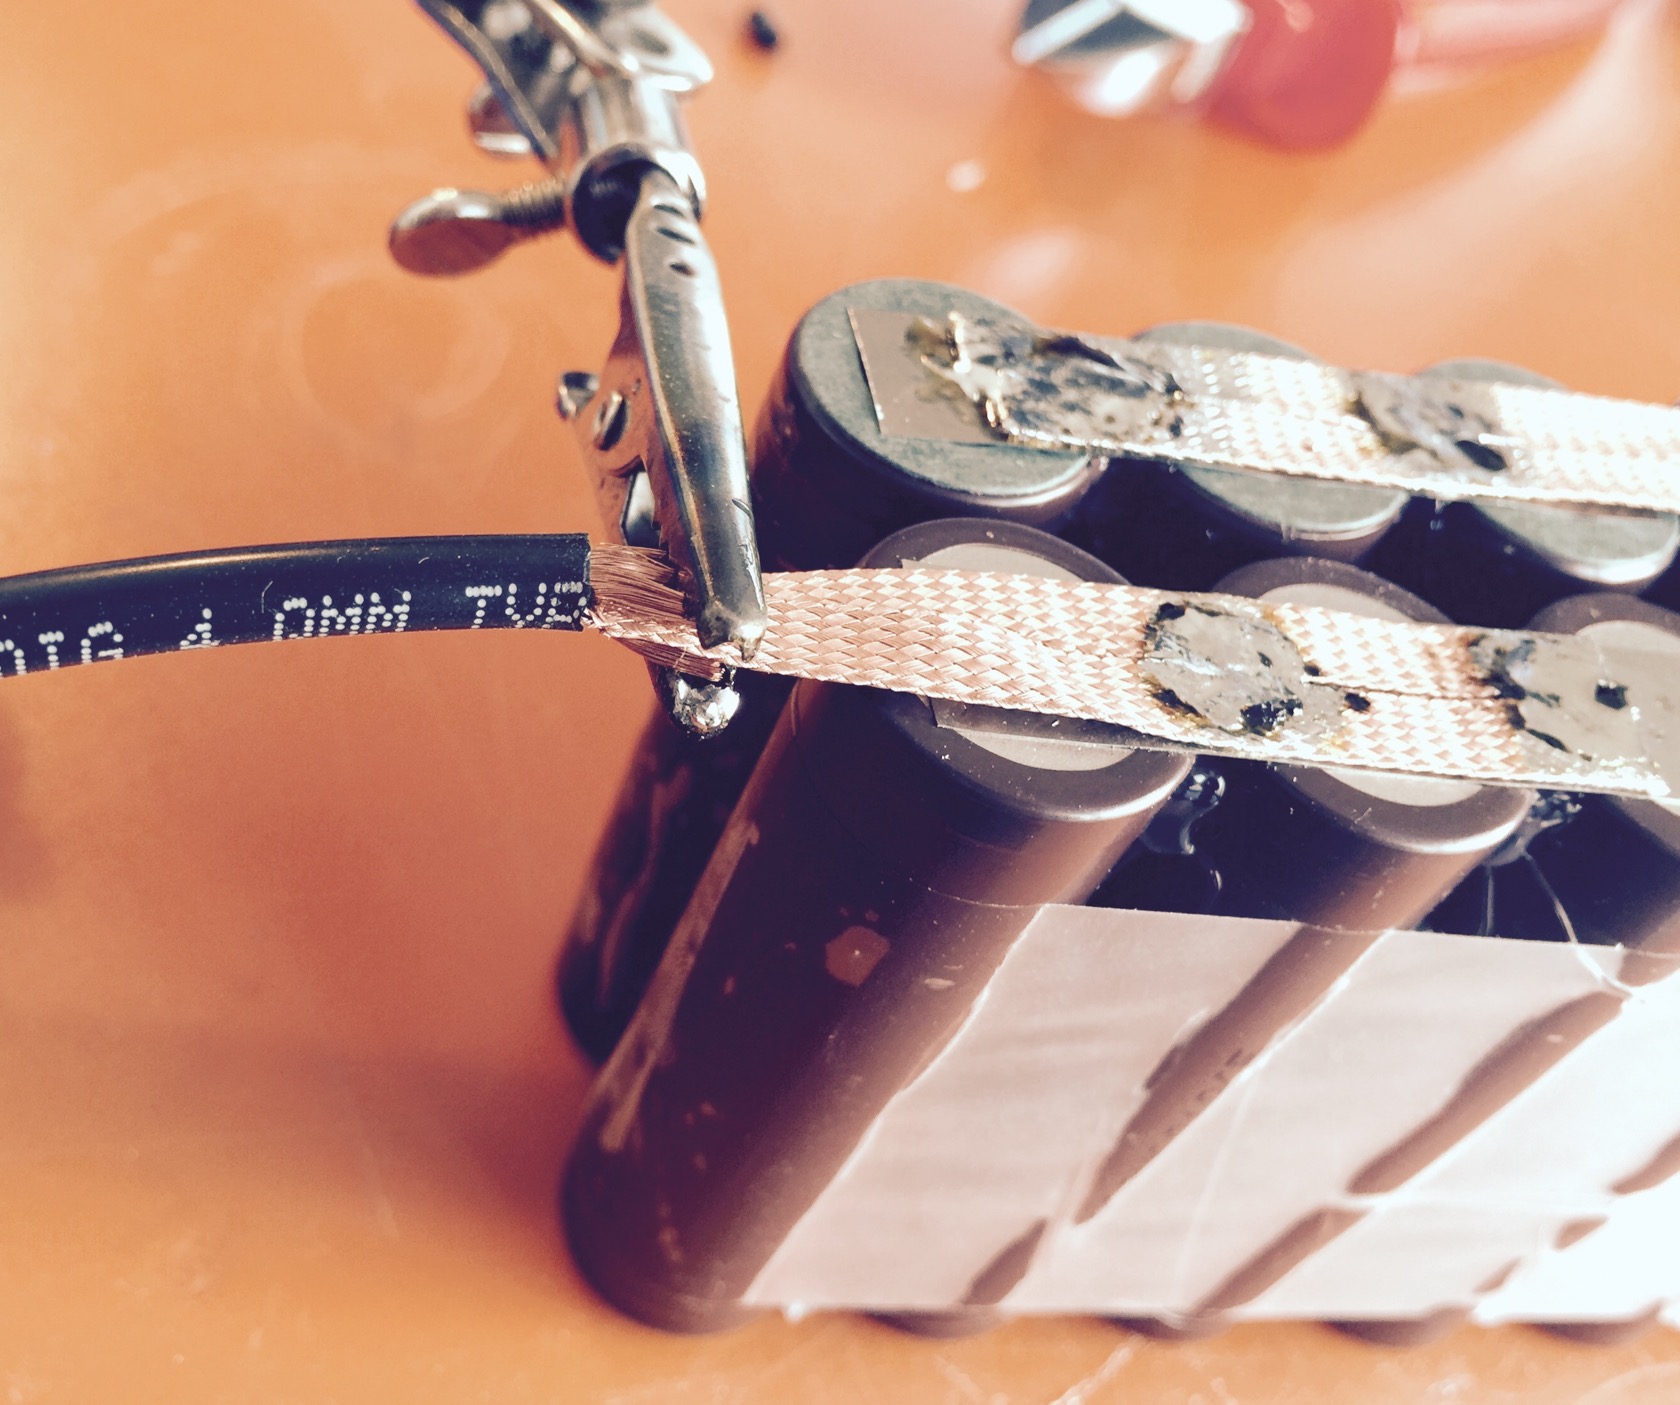
this makes for a very nice joint after soldering

finally thick shrink tube with glue inside and bending the wire in the correct form while the shrink tube is still hot

then fixating the wires with some scotch tape and folding the battery like a butterfly. the minus wire is running in the channel made by the 20 serial connection nickel strips (that I covered with thick adhesive tape)

finally shrink tube and a quick weight check: 1500gr!

no balancing wires - Ill check back on the battery in a few months for maintenance and measure the serial packs manually. I dont expect any drift because all my other batteries also never showed any drift. but who knows, this is my smallest battery - maybe with more load Ill see some drift eventually. :slight_smile:

32 Likes

You should take vacation more frequently, Thanks for all these great foto-posts, they are a really nice break from my job and real inspiration

How many W or V deos The battery charger have to be ?

How do u plan to balance when you do finally? I don’t know much electronics but could you simply use a voltmeter and change the resistor to something smaller?

I see u added those insulation donuts to the plus side but u didn’t mention them. I’ll be soldering my lg hg2 as well since my compression pack didn’t work. Great cells.

Somehow he’s going to have to charge to 12s (50.4 volts). Wondering myself how he does it and at what wattage. Looking for options. I’m using a meanwell bulk charger that does 400watts to any voltage around 50

its a 10S battery (max 42V) and Ill be using the evolve charger that charges with 4A to 41.4V with CC/CV. takes a while, but usually Im never in a hurry with charging. can always swap boards. most of the time I dont feel like skateboarding more when I have drained one of my 10S4P batteries! :stuck_out_tongue:

Im quite happy that it cuts off early, since the last 1-2V dont really add much to the capacity anyway and just decrease battery life. also like that, Im more robust to drift related overcharging IF the cells should actually drift. I think I would be perfectly fine with an 80% CC quick charger.

https://cdn.shopify.com/s/files/1/0150/5168/products/battery_charger.jpg?v=1357769054

if that should ever be necessary, Ill use my single cell charger and bring each parallel pack into saturation with that one. it will be a chore, but I dont see myself needing to do that very often if at all during the life of my battery!

btw, I mentioned the donuts, its there on the 2nd picture! :wink:

2 Likes

WP, love all of your builds, they are a great inspiriation for all of us.

And this is your nicest work so far.

However … you should … no you HAVE to get some hubs for this. Think hummie still has some purple aluminium ones. :heart_eyes:

yeyeye NO!! :joy_cat:

the spud is very stiff and my feet are pretty much directly on the trucks, i.e. my knees would kill me without thick urethane!! I only got kegels on the pictures cause those are my everlasting leftover wheels - pretty sure the final board will sooner or later also have 90mm flywheels 75A! :heart_eyes_cat:

I personally would think that it would look great with a belt drive system! With that slim enclosure and LHB style wire routing it will look killer, no matter what.
Good luck finding 90mm 75A Abec 11s right now. They are getting scarce. I can find 78A all day long, but 75A is like trying to find a snowstorm in the desert! :camel::cactus:

2 Likes

Definitely agreed. 75a isn’t impossible to find but 90mm 75a Flywheels are impossible, they’re all out of stock

You could go 83mm though… https://evolveskateboardsusa.com/products/abec-11-flywheels

1 Like

Looks like at least for once it is good to be located in Europe: http://www.evolveskateboards.de/index.php/en/shop-buy-online/compatible-longboard-wheels/abec11-flywheels-longboard-rollen-90mm-75a-green-12-detail

and then you read the description which says “78A” :joy_cat:

didnt know about this, maybe we should start a petition @ abec. I can see that the market for this wheel is small in the normal longboard world, but for eboards this wheel is really so great. :crying_cat_face:

@whitepony you could always go with a smaller diameter, I think I found a few 80mm 75a wheels while searching for the wheels that you described

just ordered 90mm 75A @ https://www.sports-discount.net/de/longboard-rollen/-8037-abec11-flywheels-90-mm.html#/durometer-75a

they also have cheap boards btw, I linked them earlier for the 130€ topspeed, but they also have 170€ vanguards & 130€ switchblades. pretty cool store :heart_eyes_cat:

there is still more, but for 105€ I didnt feel like stocking up more on these wheels! :neutral_face: