Looking really great so far! Did you buy a vacuum infusion kit or did you get individual parts?
hah, the next level, awesome! 
Thank you for the kind word @Tarzan. @lox897 I buy individual parts, I bought my first vacuum infusion kit 3 years ago when I started, the Vacuum pump that came with the kit failed on me last week I’ll post the pictures later. It should last 20 years.
Did you forget to check the oil? 
Yes,I did. while checking the connections the barb plastic connector broke off I guess the oil residue makes the plastic piece weak over time so I ordered oil less pump.
All Metal Vacuum Pump!
3 Likes
Again,this was all done a couple of weeks ago when the old pump failed.

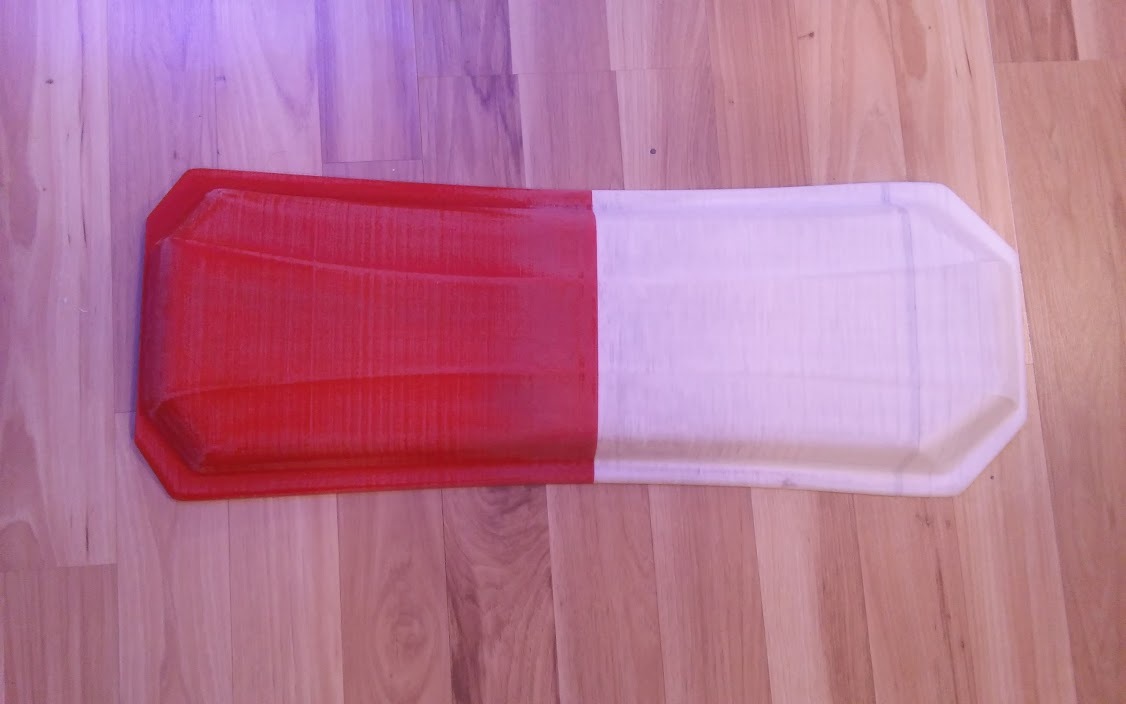
Primed and polished.

Polyester resin applied.

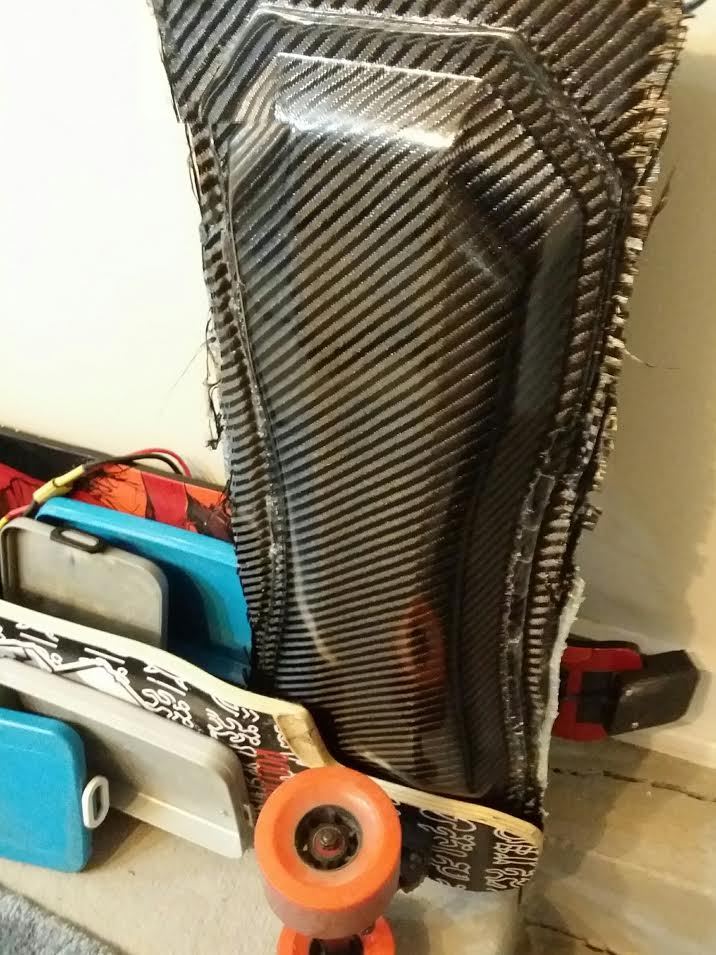
Demold.

Polished again.
Layup.
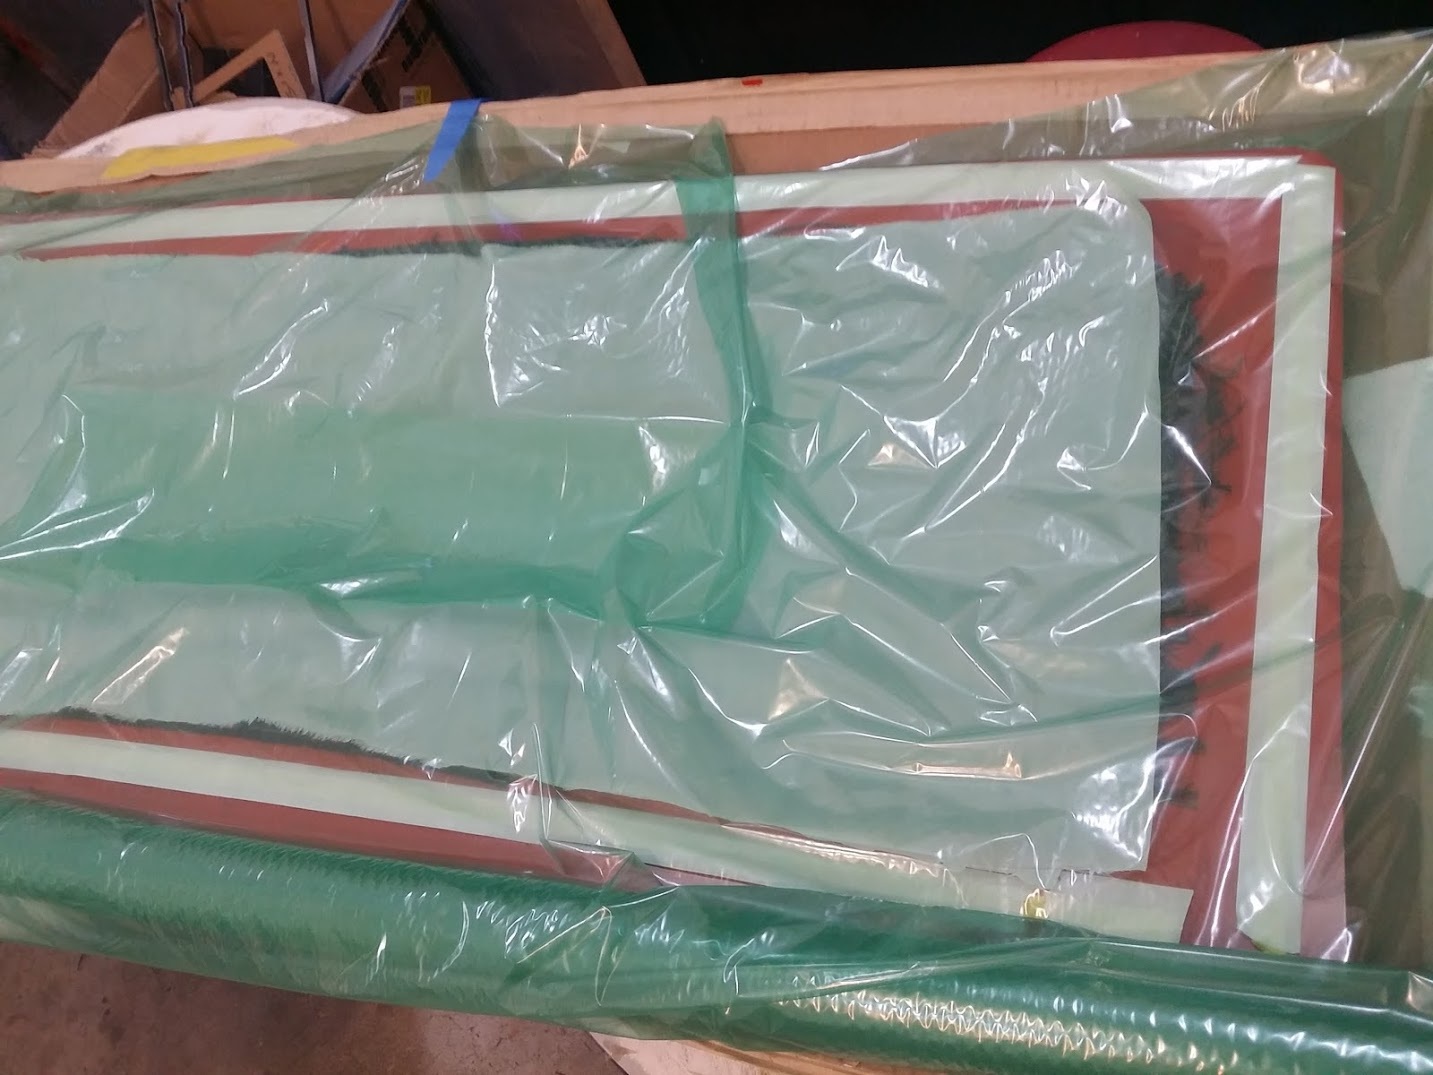
Bagging

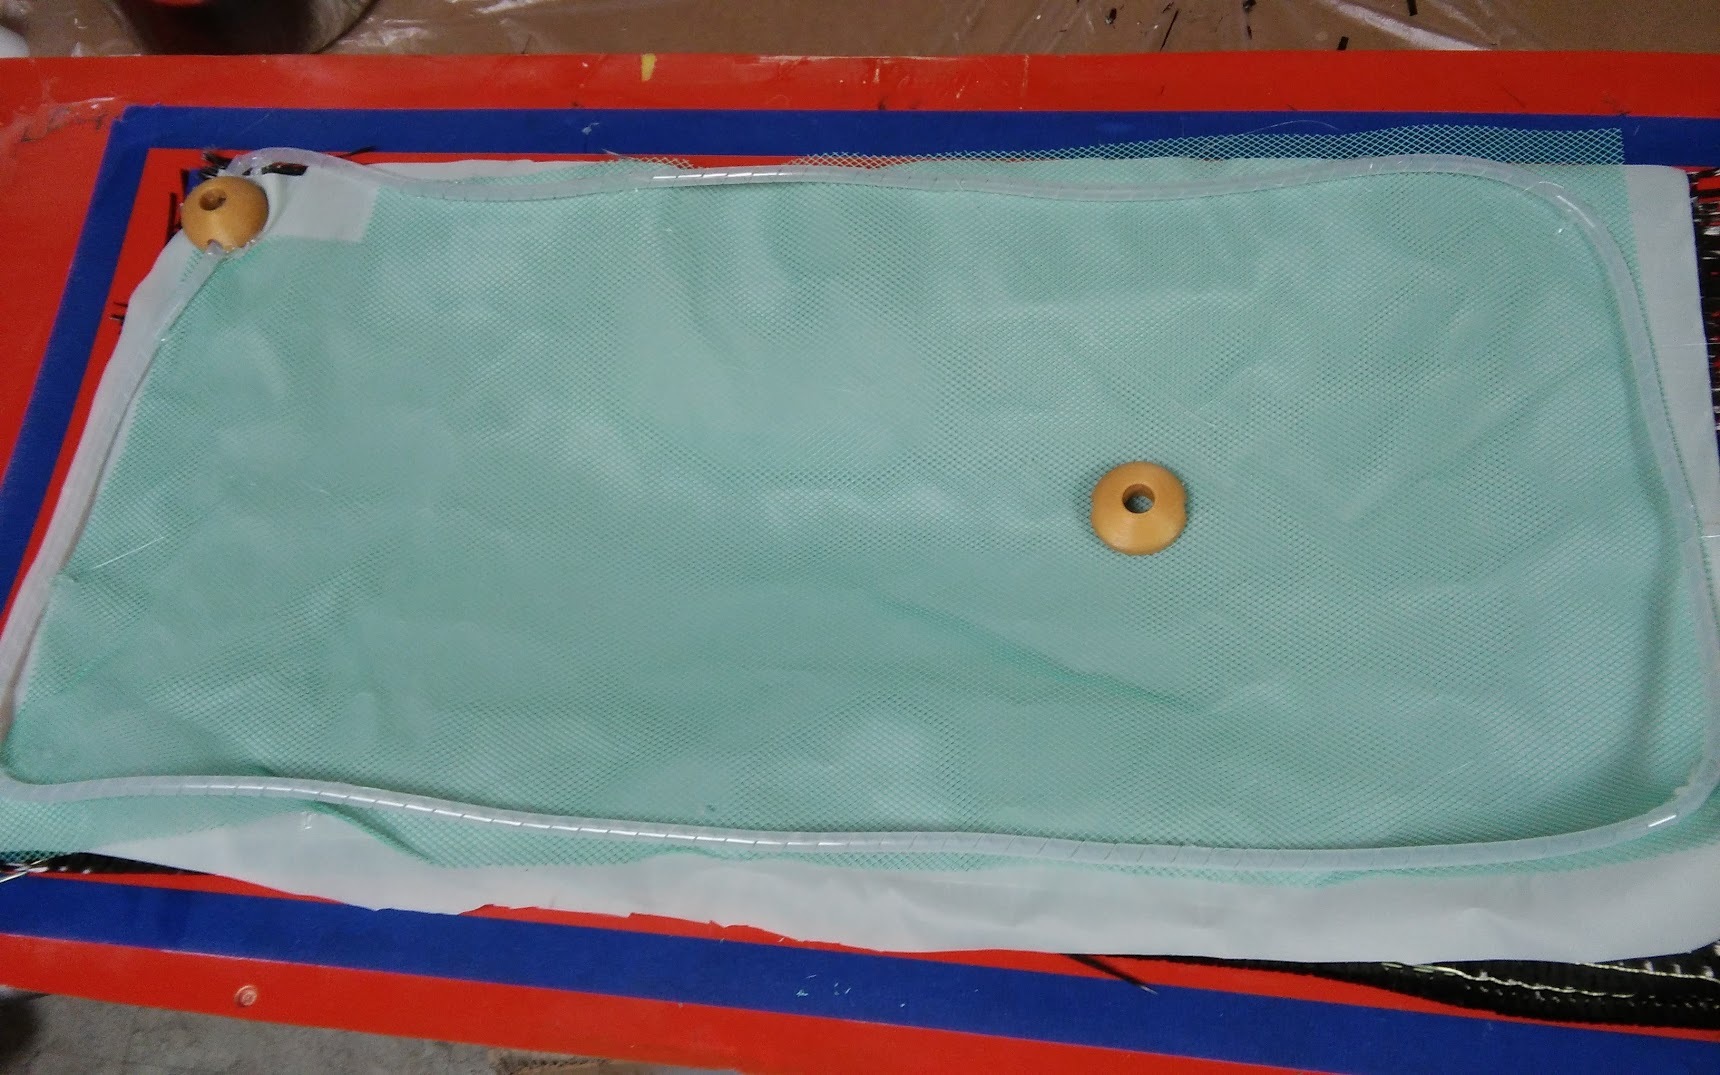
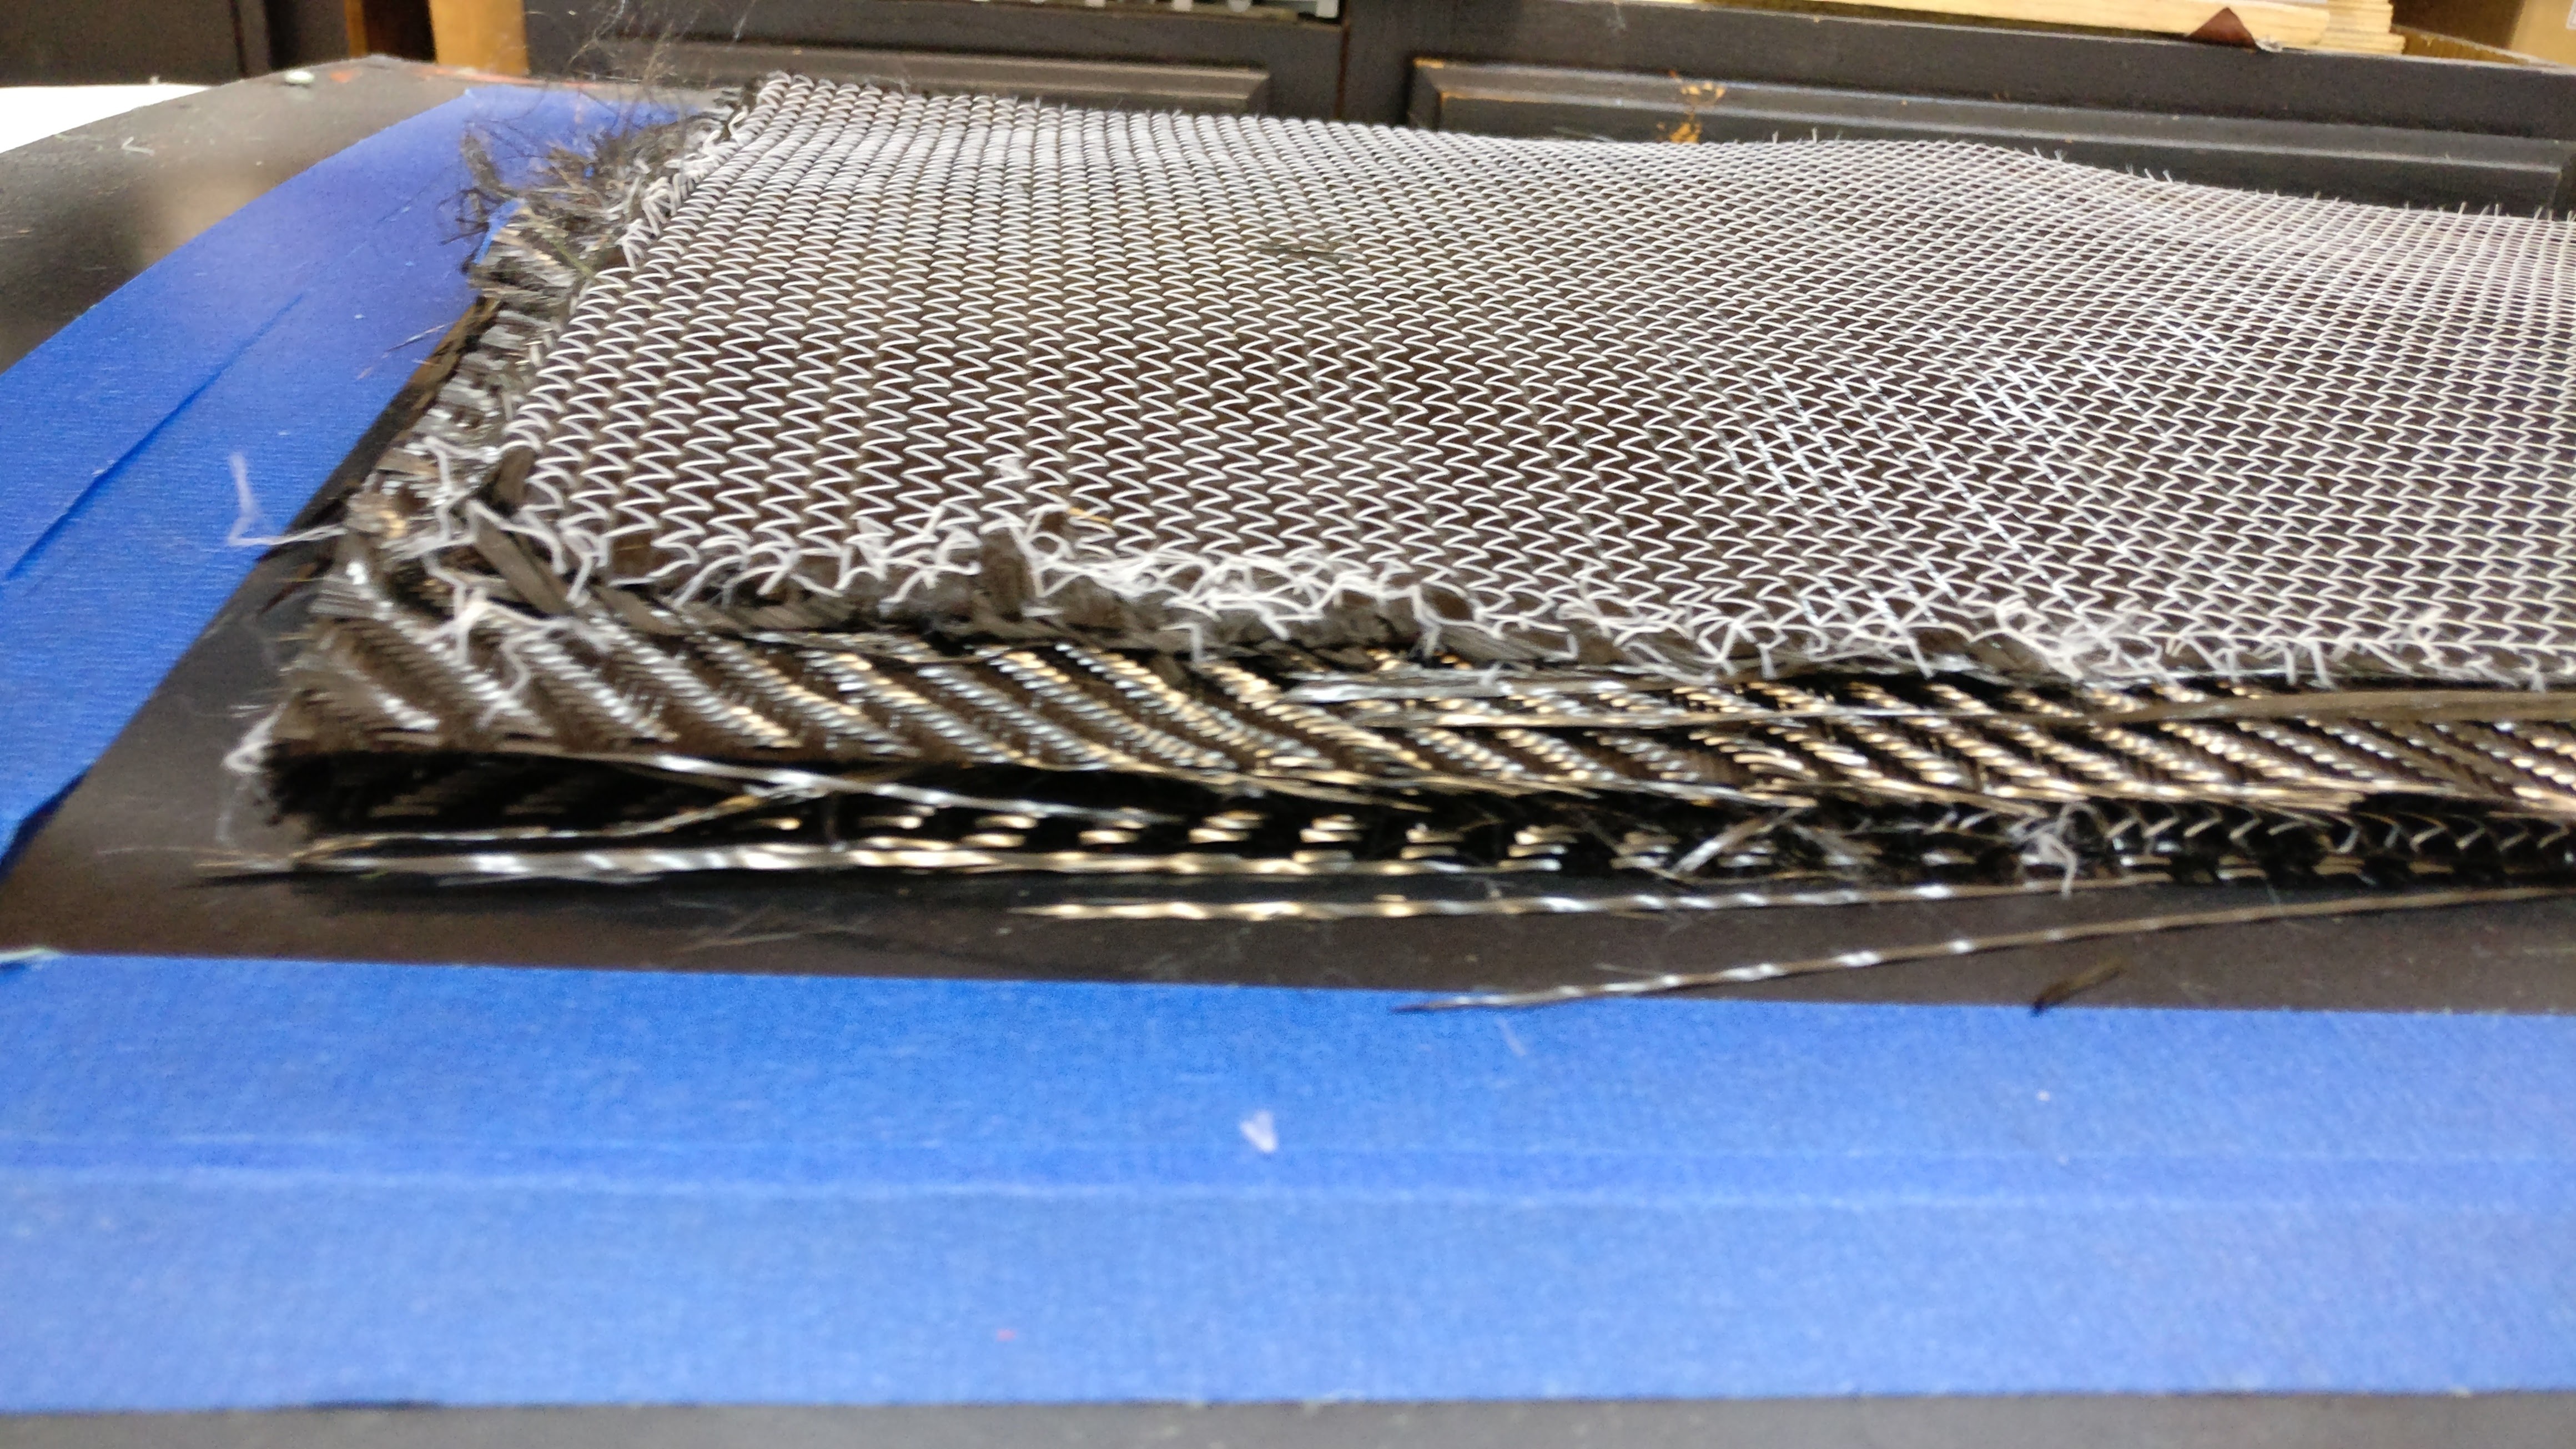
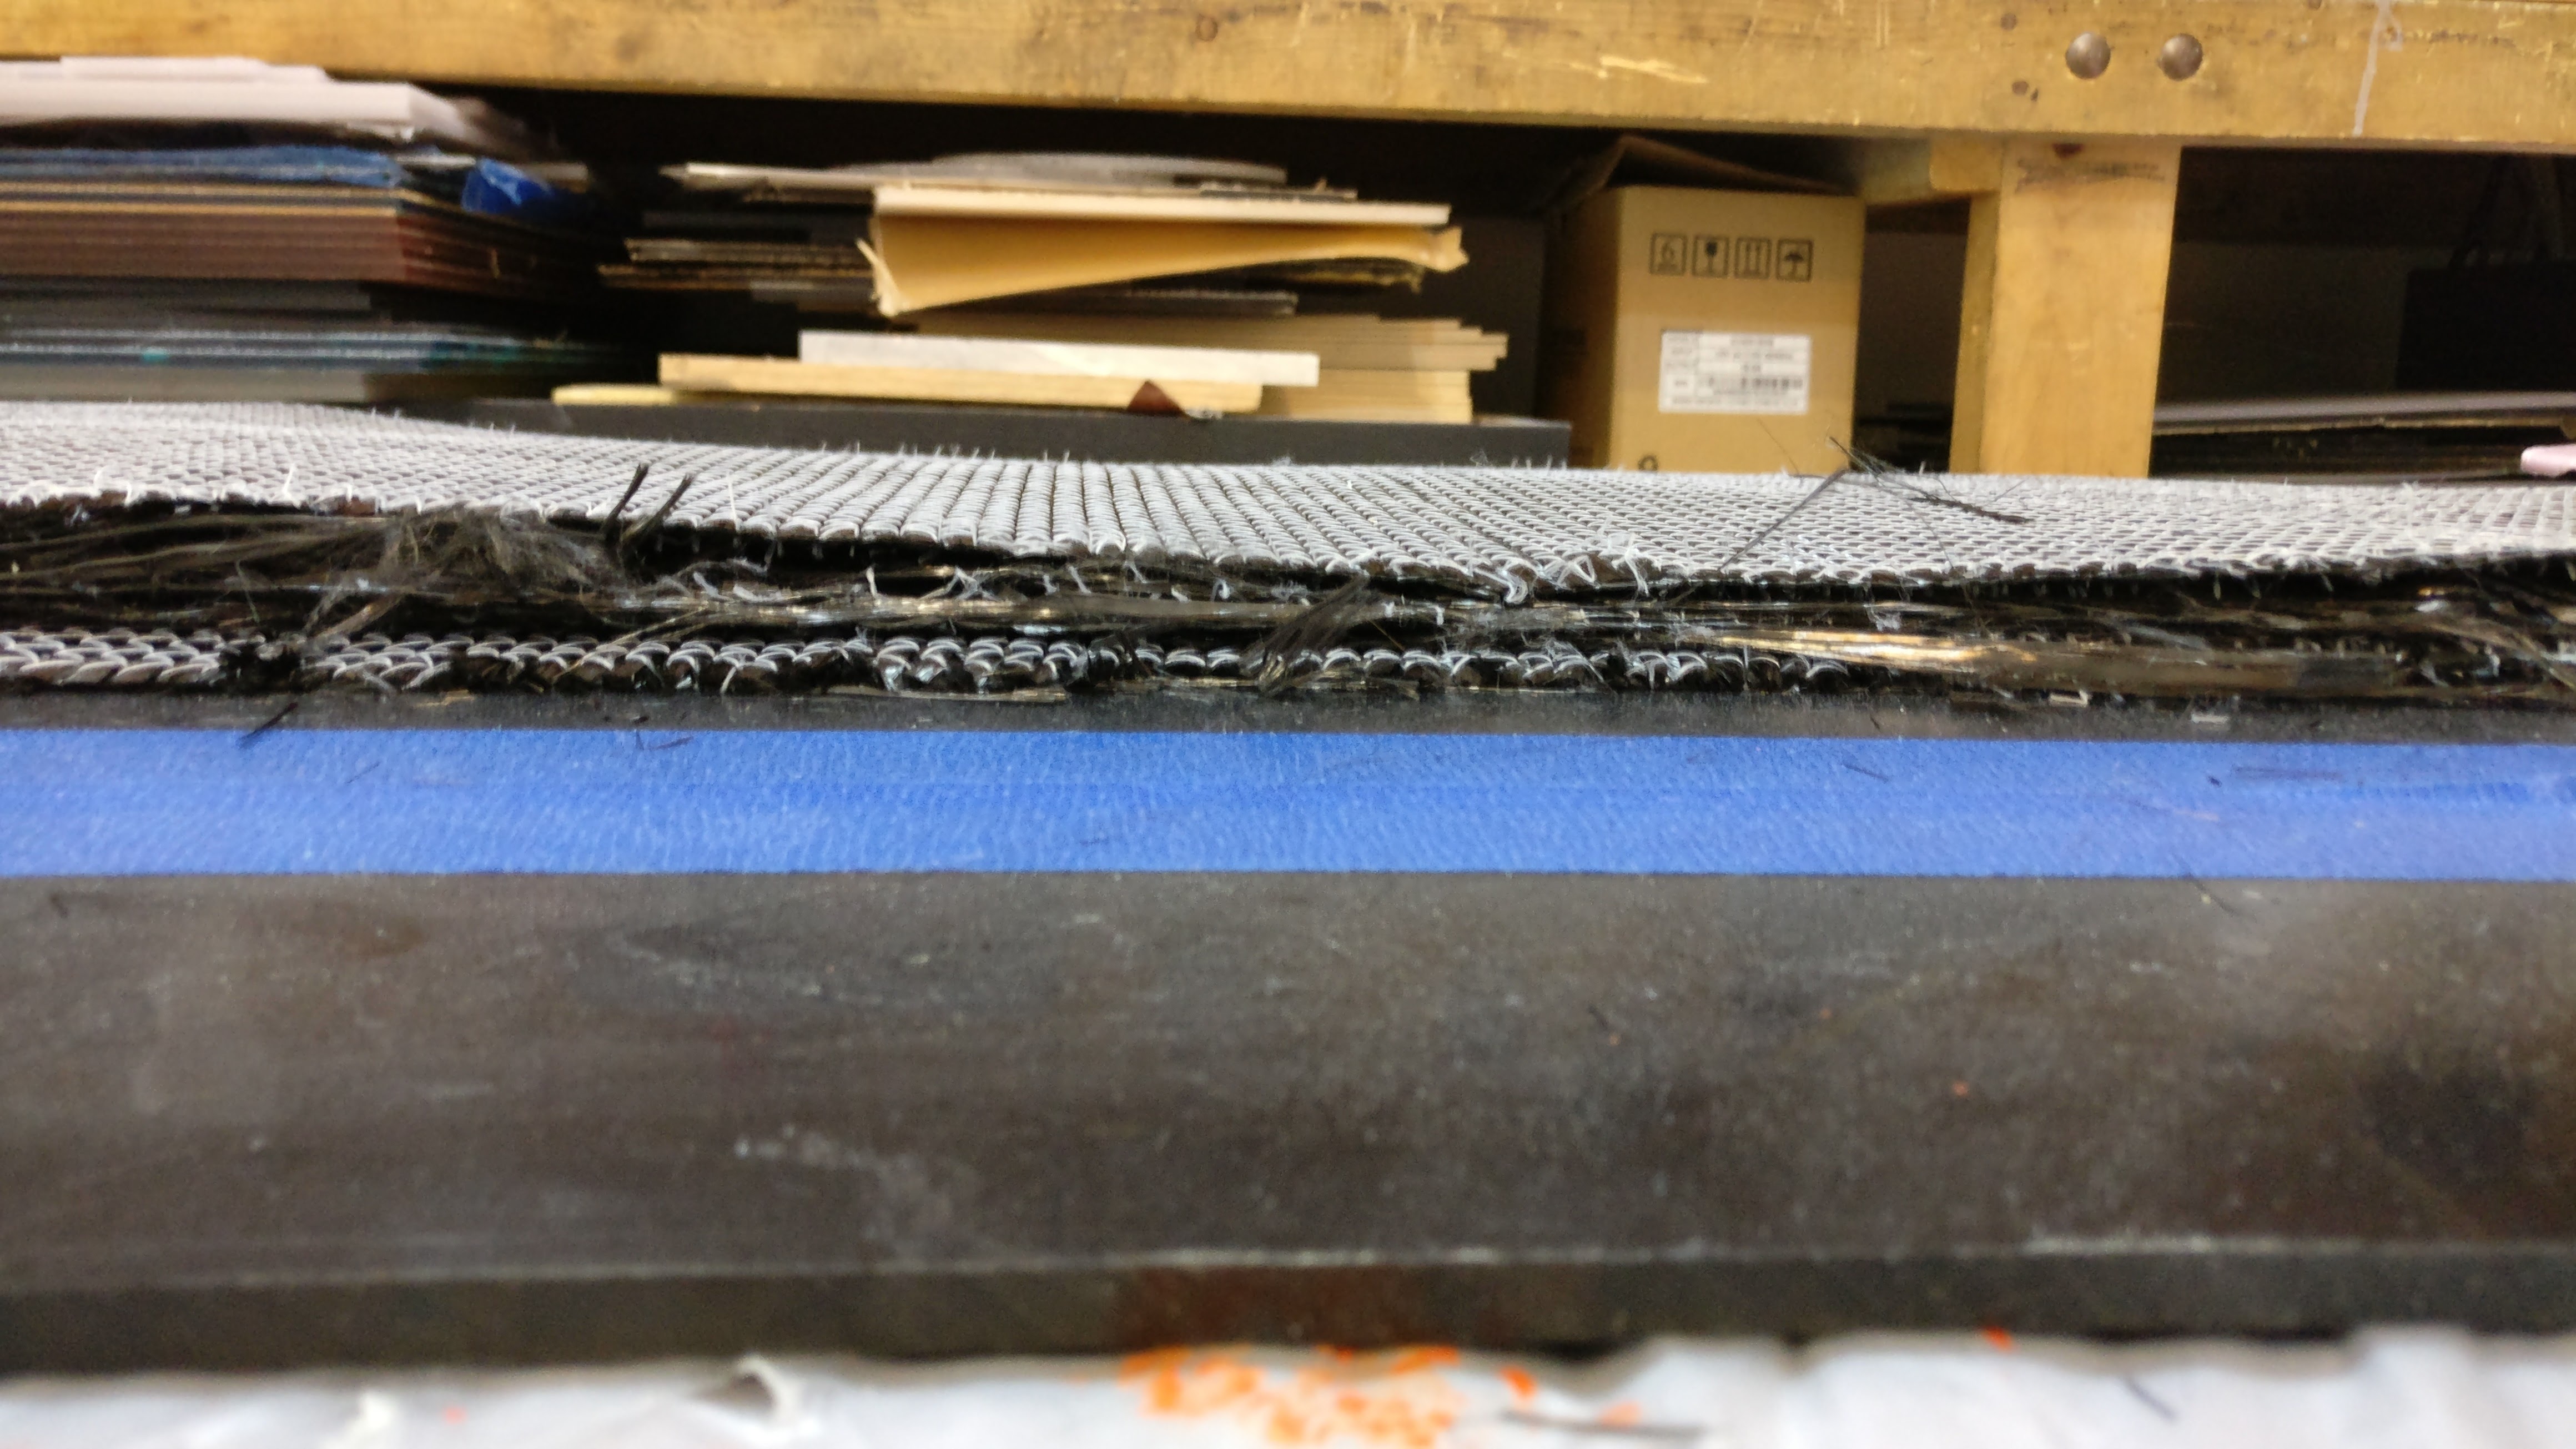
I saw air leaks while the resin was infused into the mold.
FAILED!

As you see, the cloth wasn’t fully saturated in the edges.
Stay tuned. I’ll try again with the new pump. I’ll take more pictures with the list that I am using.
10 Likes
wow, thats really beautiful with a mold - a perfect finish “for free”, exact sharp features and you can replicate it as much as you want. really impressive!!
whats the big bonus of vacuum infusion vs laminating by hand and then bagging?
Thank you for your kind word. The biggest advantage I think is the strength. The main goal is to fully saturate the cloth with the resin especially with the multi layers of cloth then remove the accessed resin effectively without burbles and keep in mind that you have only 60 to 90 minutes to do so after that, it won’t flow as much and thinning the resin is very important before the infusion.
The technic that I leaned a couple of years ago was to make sure the resin reaches the vacuum line in the other side so catch pot is a must.
This is a modified one. The resin never enter the vacuum pump.don’t ask me how I know.

3 Likes
The middle one goes to the mold. and I place the paper cup inside and close the lid.
thanks for posting. What are u going to make next
Seems more complicated and requires more parts than a typical vacuum bag and layup. I wonder if it’s worth it
I am altering the enclosure design little bit to go well with different shapes of the boards that I’d like to cut out and adding little more rooms in both ends for vesc,switches,Batteries Indicator and wire etc.

New design.


11 Likes
This is pretty epic. I’m loving it.
1 Like


Looking good!
Last weekend, I tried longboard resin infusion. I never tried this thickness(goal:5mm thick) before. I was little worried that if it would flow well in this thickness with a small pump.

10 Likes
And… Don’t leave us hanging
2 Likes
Haha. Thanks. Here is a quick design for Vacuum connector.Just make sure that there is no hard edges on the top for the vacuum bagging film.


