This is my second build, my first was about 3 years ago when parts were not so readily available.The deck and wheels were recycled but everything else is new.
The goal for this board is:
look good
relatively light
easy to maintain
good performance
I am building it for my son to ride around his college campus.
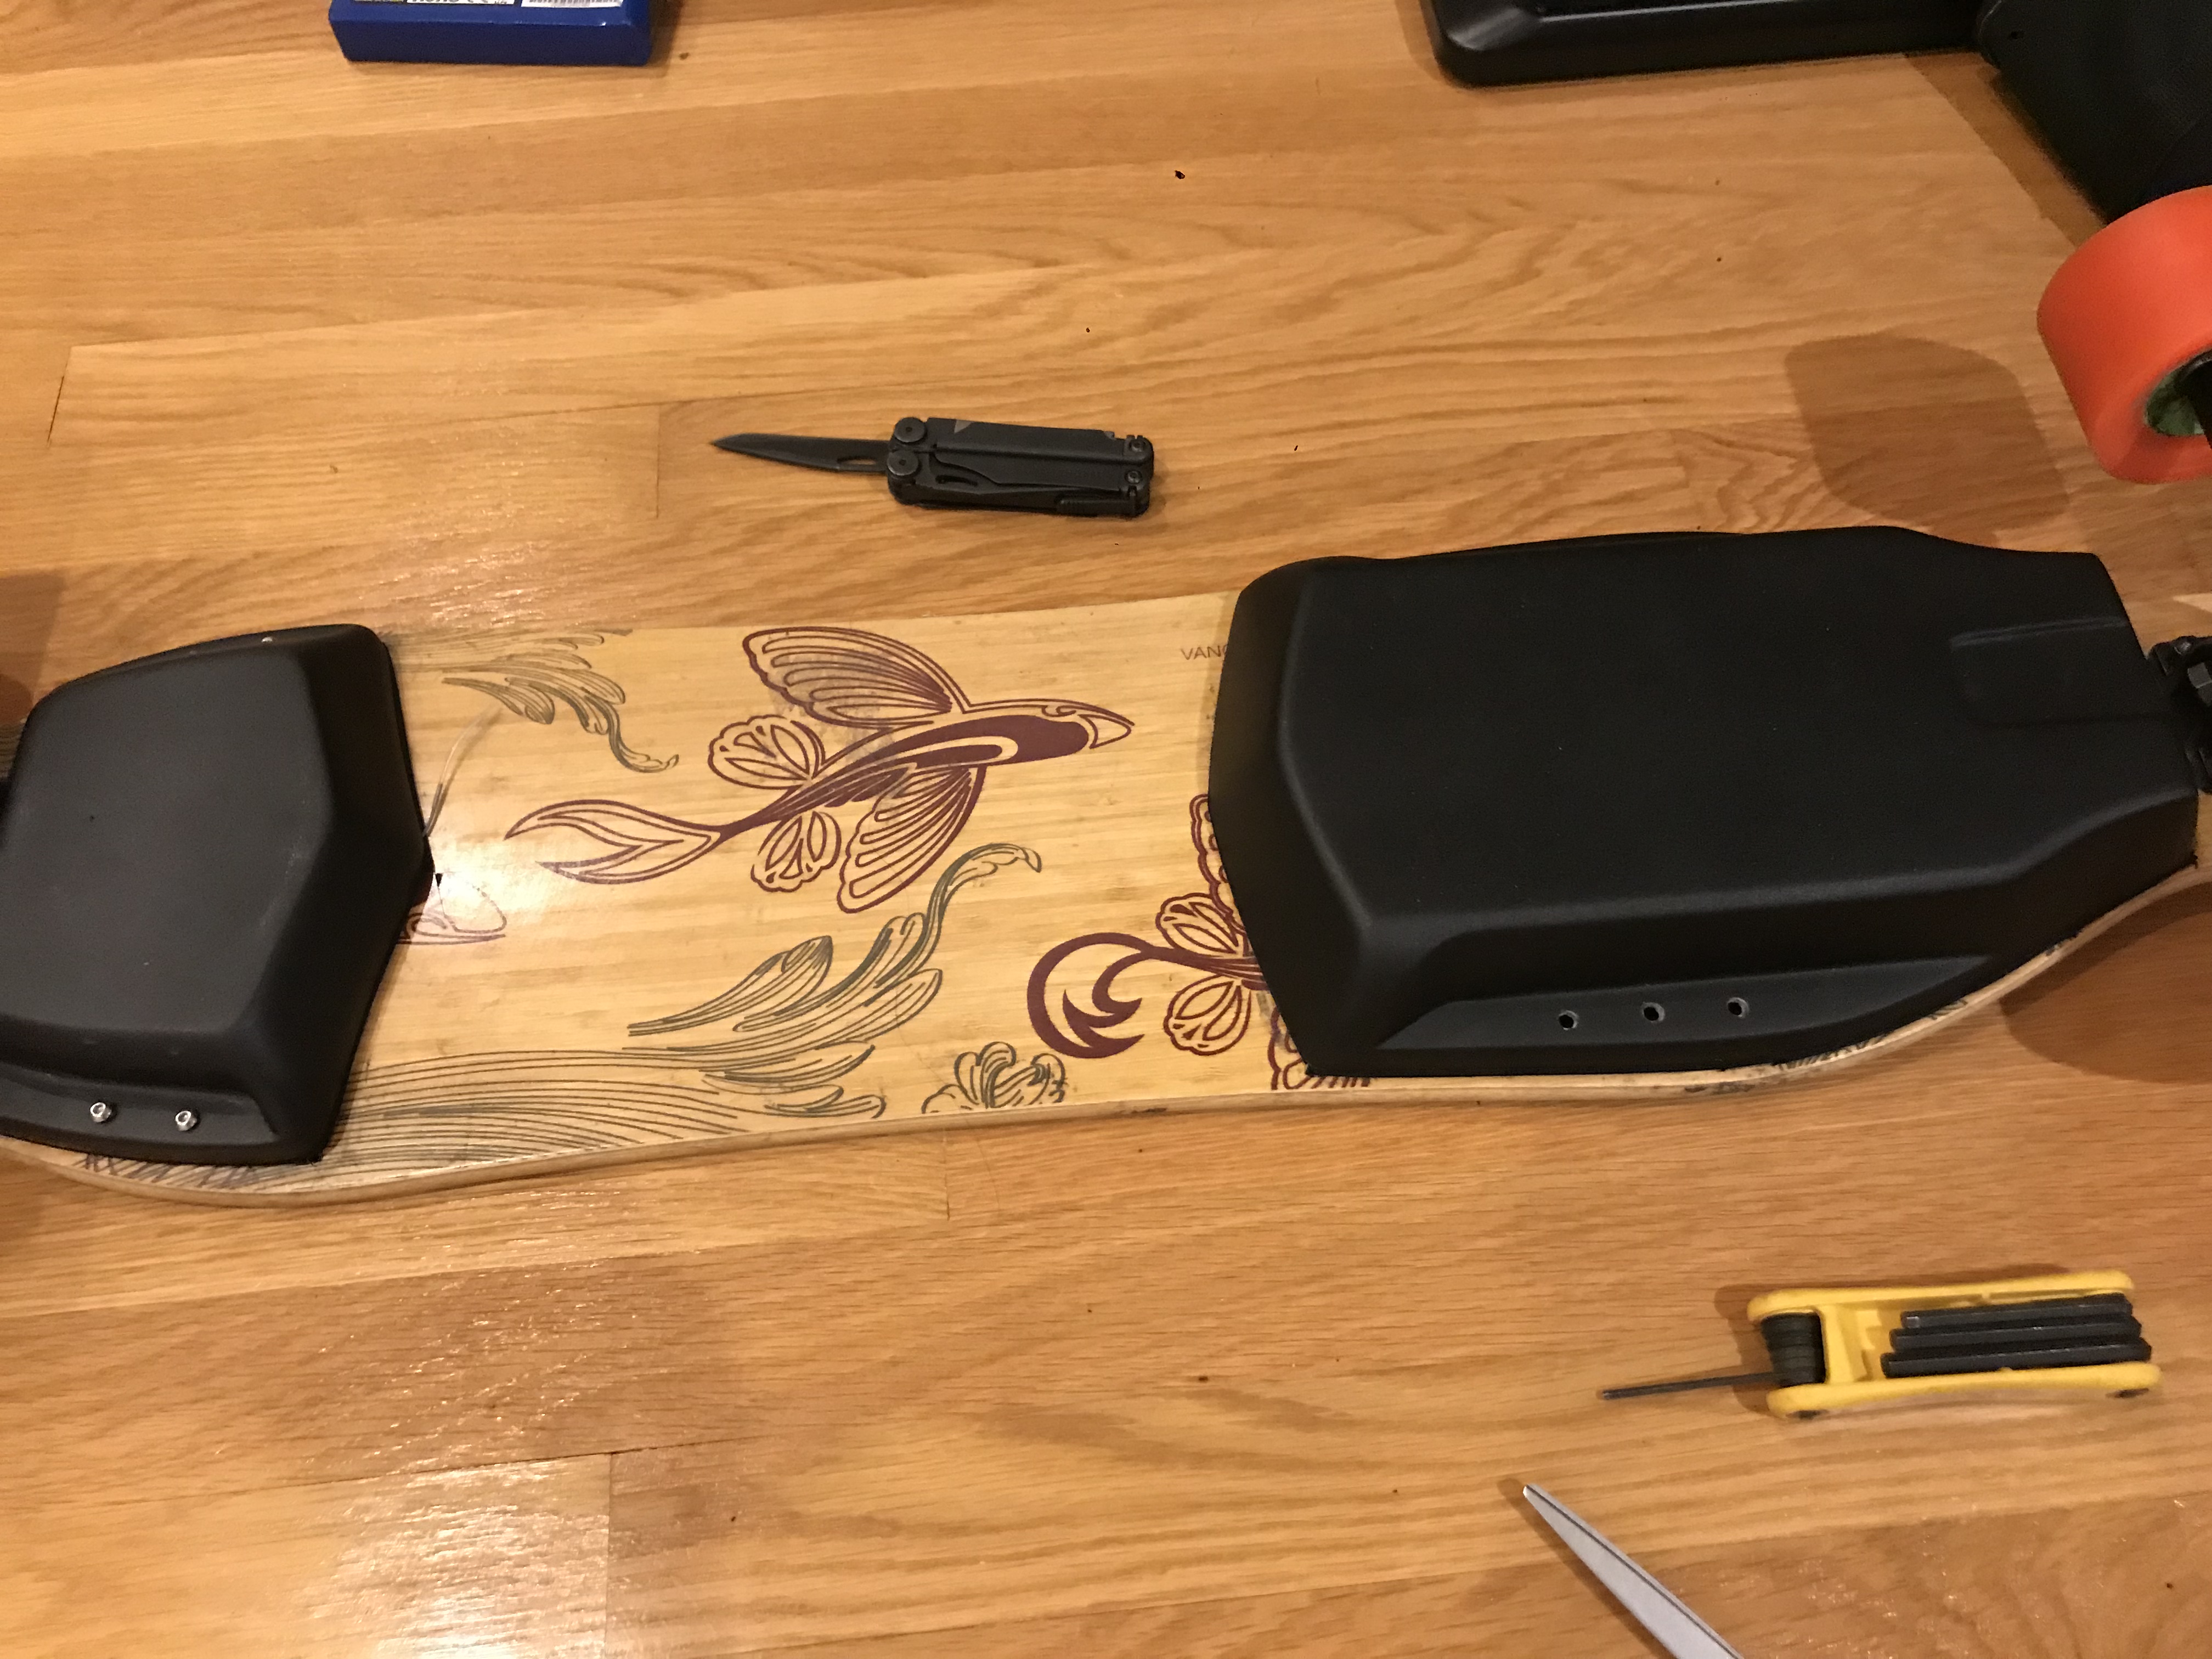
Current state. It is functional but still need to add some sort of BMS, power switch, better seal around the enclosures, grip tape, velcros to tie down all the components, and bunch of other minor stuff.
Thanks A-lone-tenno. I am still working on that area but current plans are for antispark switch with some sort of BMS. Will update this thread with my findings and progress.
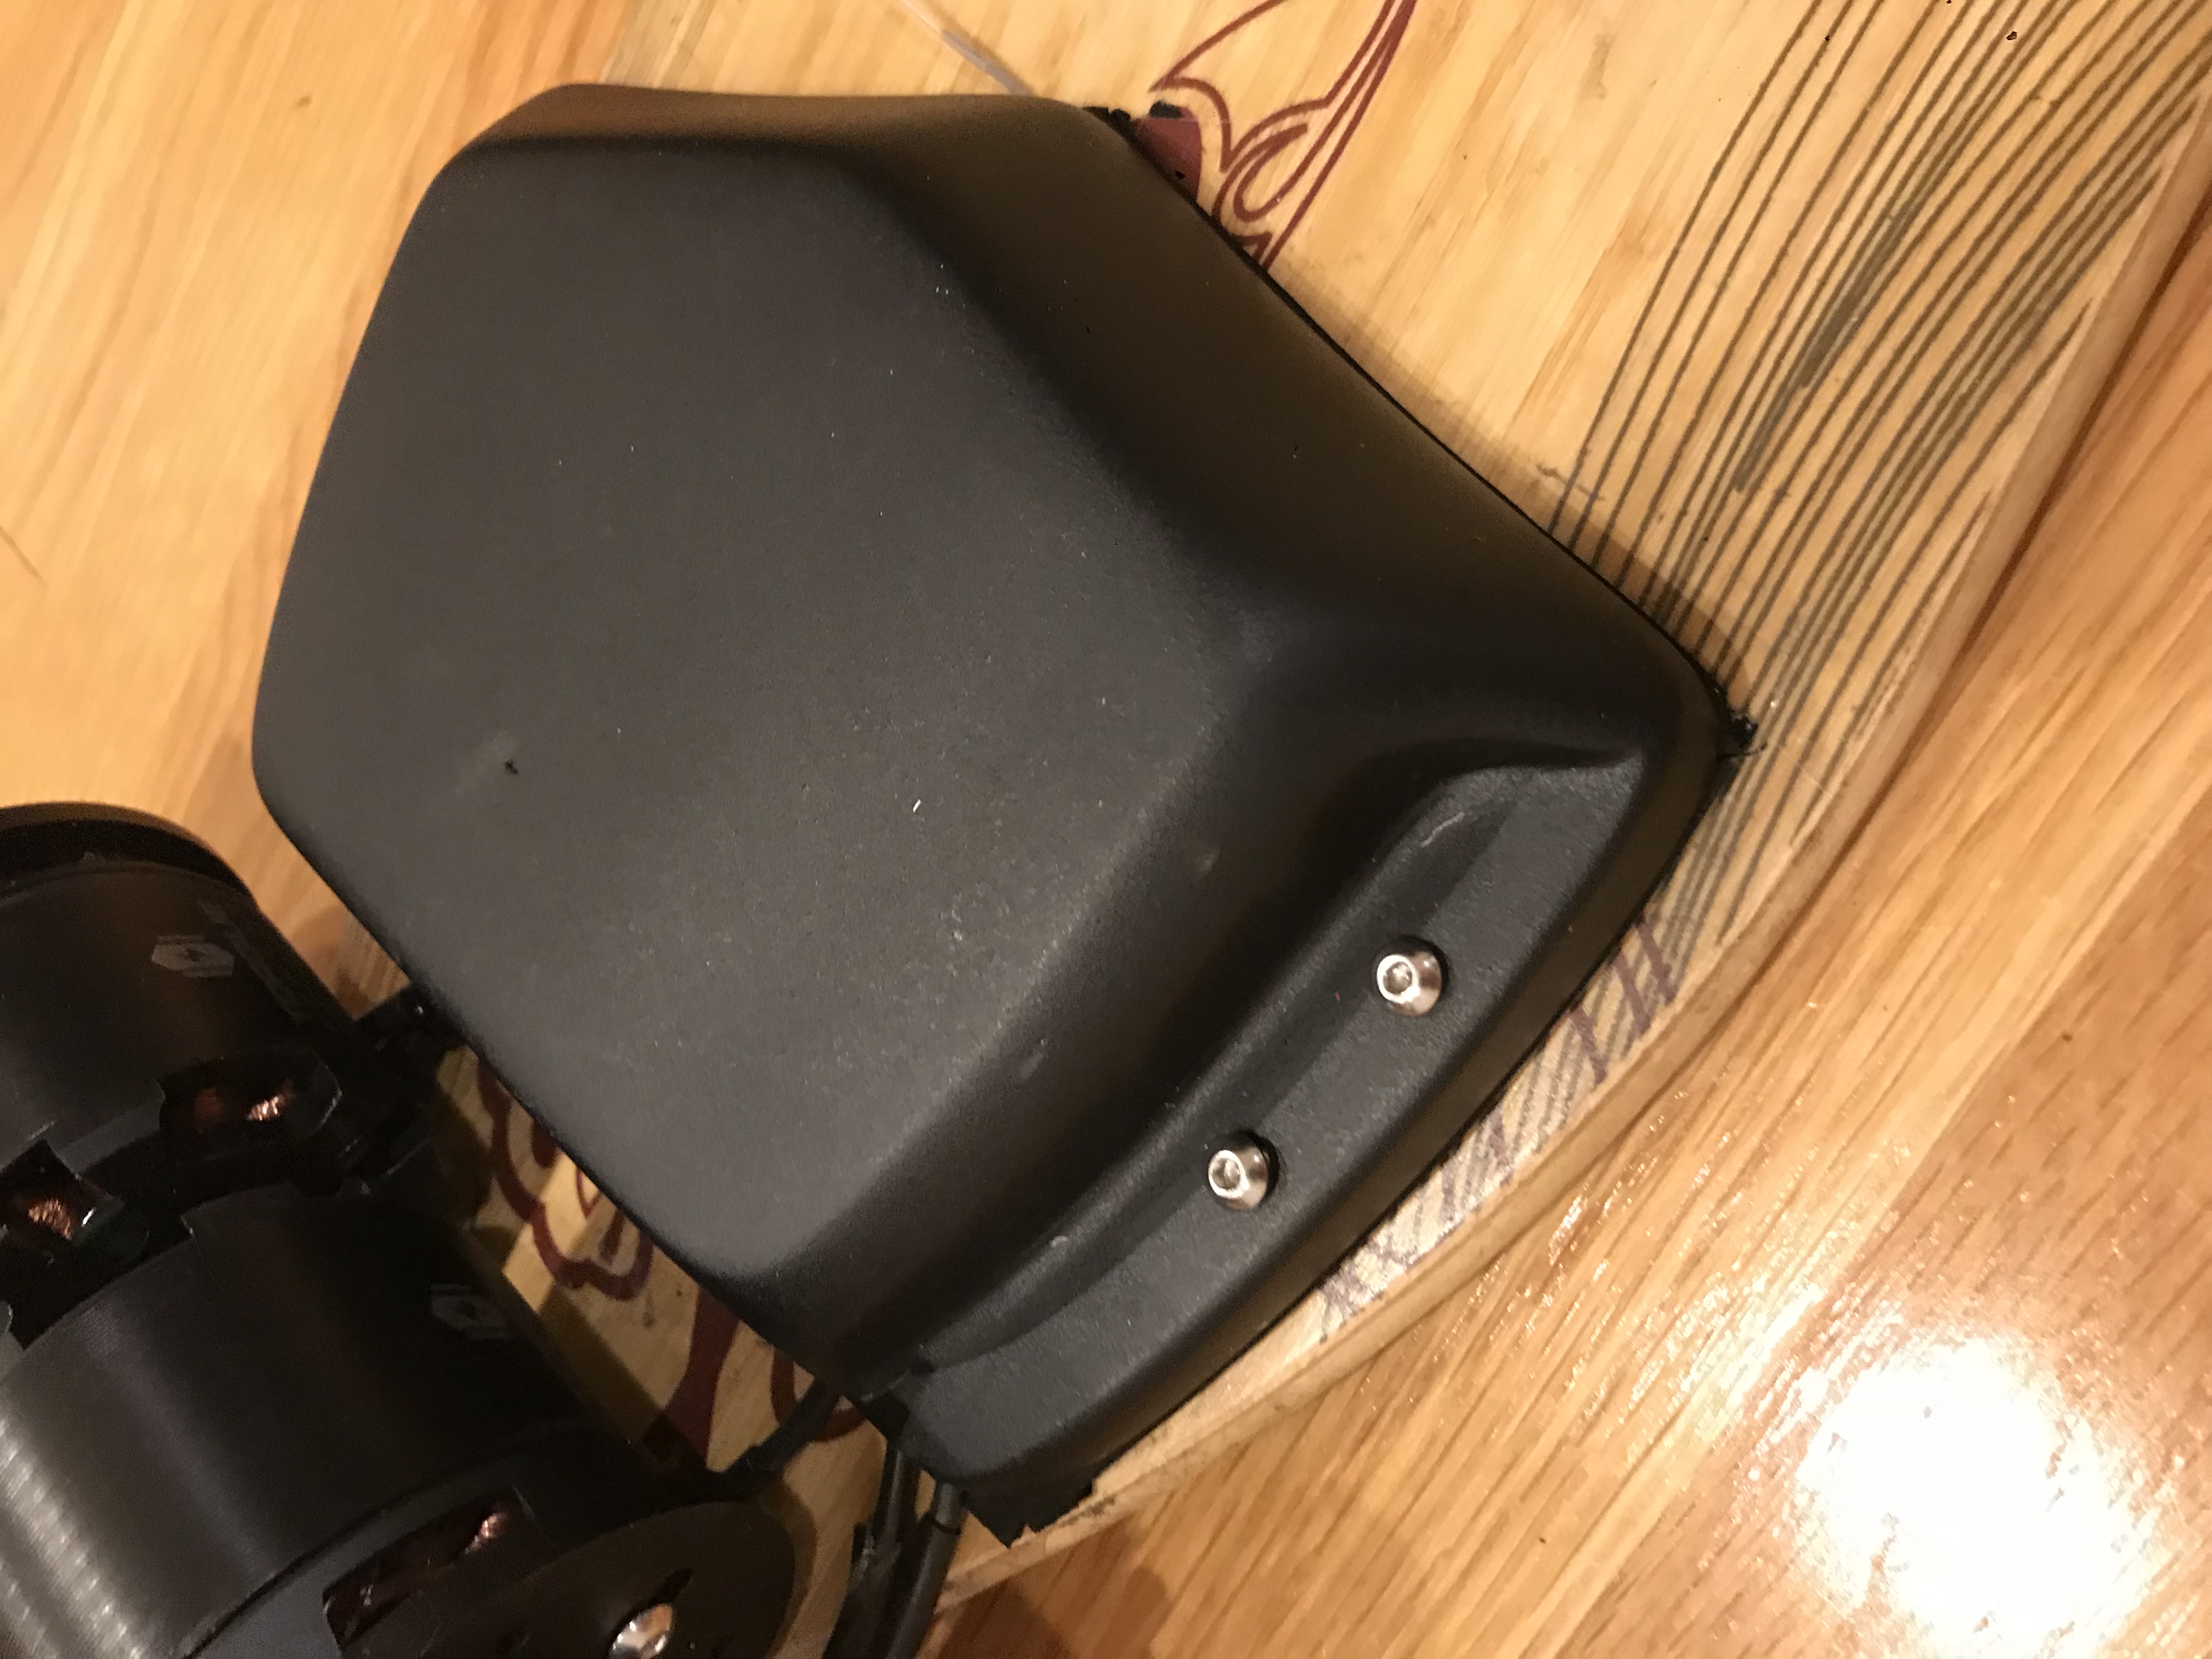
Today I got the neoprene rubber seal delivered so I spent some trying to figure out how best to apply it. I first I tried to put it on the enclosure but it didn’t work out well. It looked very sloppy and the fit was just not great. Then I just tried to estimate where the enclosure would touch the board and applied the strip directly on the board. But that really looked messy and amateurish.
After some more time trying to figure out what to do, I came up with the following process:
I think the result looks pretty good. It is very hard to tell that the seals are there unless you look really closely, and it seems to be doing it’s job of providing a tight seal.
I made some more progress on the board over the holidays.
First, I filled in the routed area with some resin and added grip tape which made the board look nice and new. It was quite messy and I ended up getting some on my fingers even though I wore gloves, which really sucks since I can’t use the fingerprint reader on my phone until it wears off!
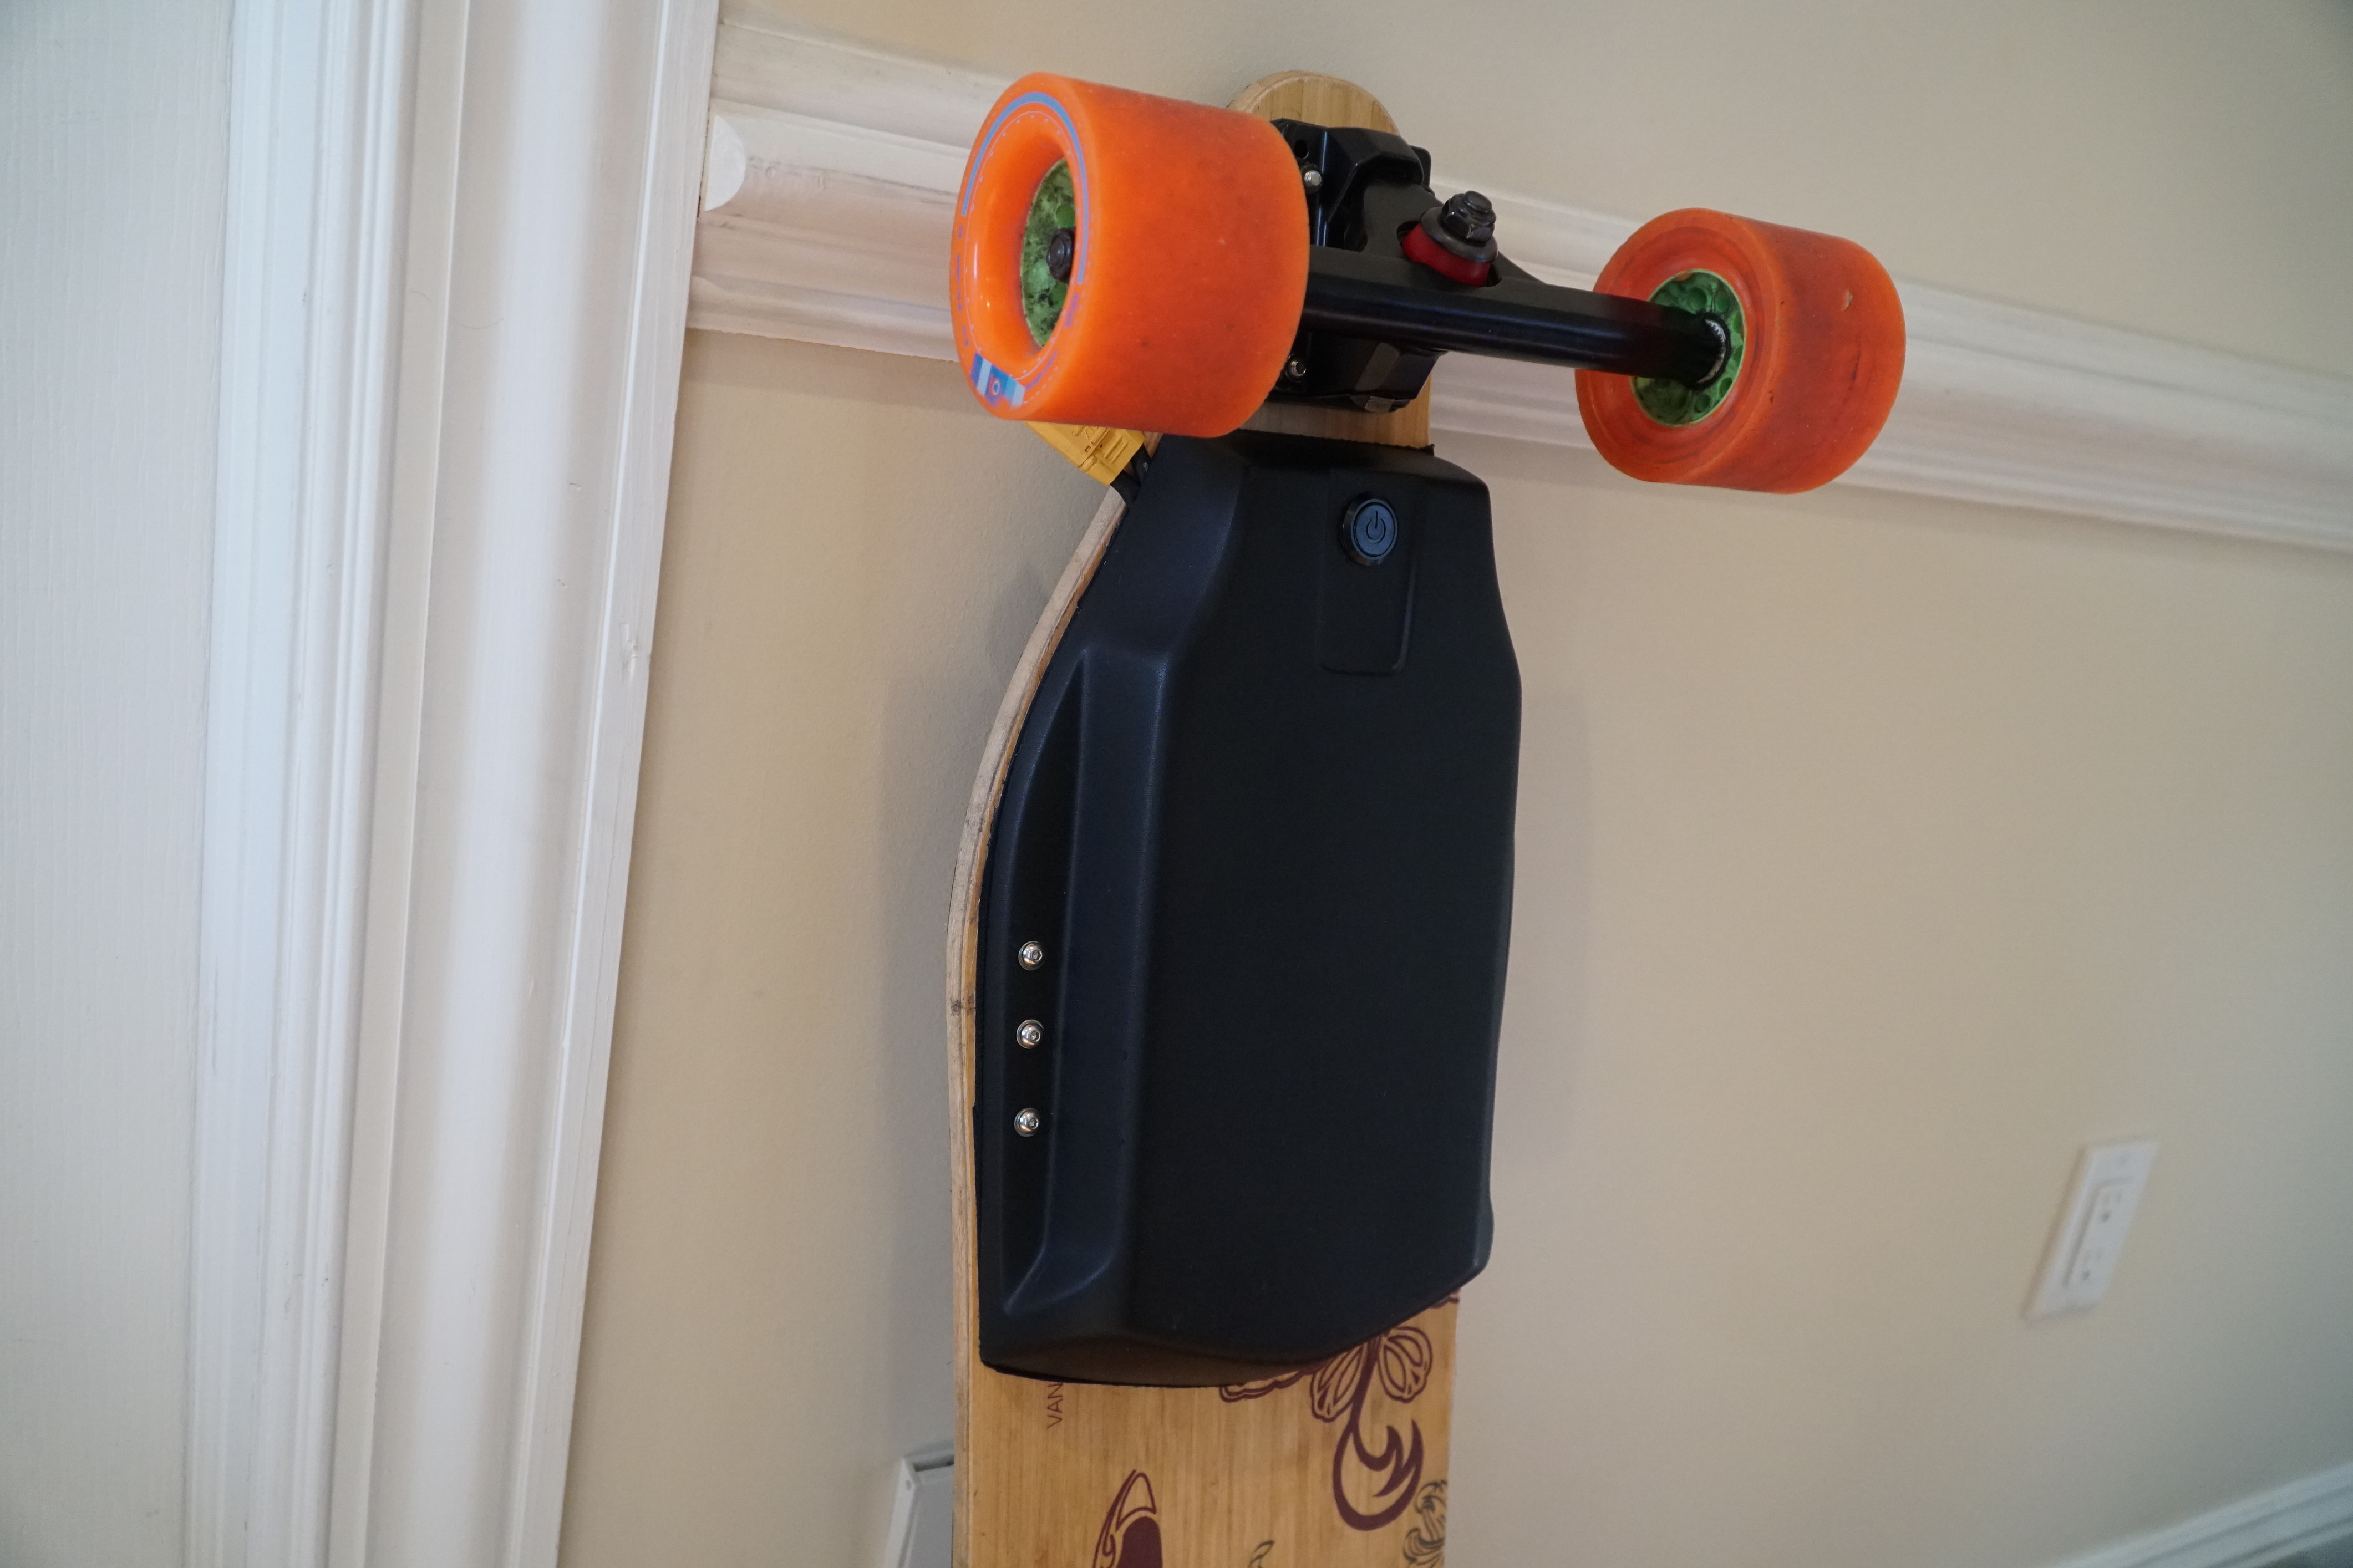
I then added a blue led power switch to control the antispark switch on order from antisparkheaven. It was quite long so I had to remove the plastic piece on and solder on the wires. For now, I am just using a loopkey sticking out the side.
Lastly, I had to add at 1/2" riser to give enough clearance for the motors. The buildkitboards mount is very nice but it angles down quite a bit. So given the way I routed the motor cables, I had to raise the trucks quite a bit. To keep the cables flat, I used a super sticky gorilla glue double sided tape.
Here is the complete board so far. I still need to add BMS, better charging, antispark switch, and possibly switch Lipos with Li-ions. Another lesson I learned is not to make the belts too tight. Before I set it to proper tension, it was causing incessant clicking and clacking noise which drove me crazy.
I know there are a few iphone apps for the Vesc already, some which look really nice and full featured, but none that I could readily try due to hardware restrictions or it being payware. So I ended up writing my own while waiting for other board parts to arrive. It was mainly to just learn about VESC and Bluetooth and see how it all worked.
It is still work in progress, but at this time I have the basic framework in place. It is able to scan for the bluetooth device, connect, and pull and display basic telemetry data on the iphone and iwatch. I was actually pleasantly surprised by how straightforward it was. So far I have about 10 hours invested, most of it involving googling for the info on VESC protocol and Bluetooth LE. It works with generic HM10 bluetooth module BTW.
I am thinking of offering it for free on the app store but not sure about open sourcing it. It is pretty much spaghetti code, and I am writing it just for fun on my spare time.


 keep us updated.