Continuing the discussion from NEW MEMBER? | Introduce yourself here - Tell us your plan:
Hello members,
I’m new in the forum and sharing board rebuild. I’m from the tropical country Singapore.
While waiting for my VESCs to arrive somewhere around end-July, i had decided to rebuild my board. Hope to have some improvement feedbacks and comments from the local members.
Meetup for any members live in Singapore?? PM me.
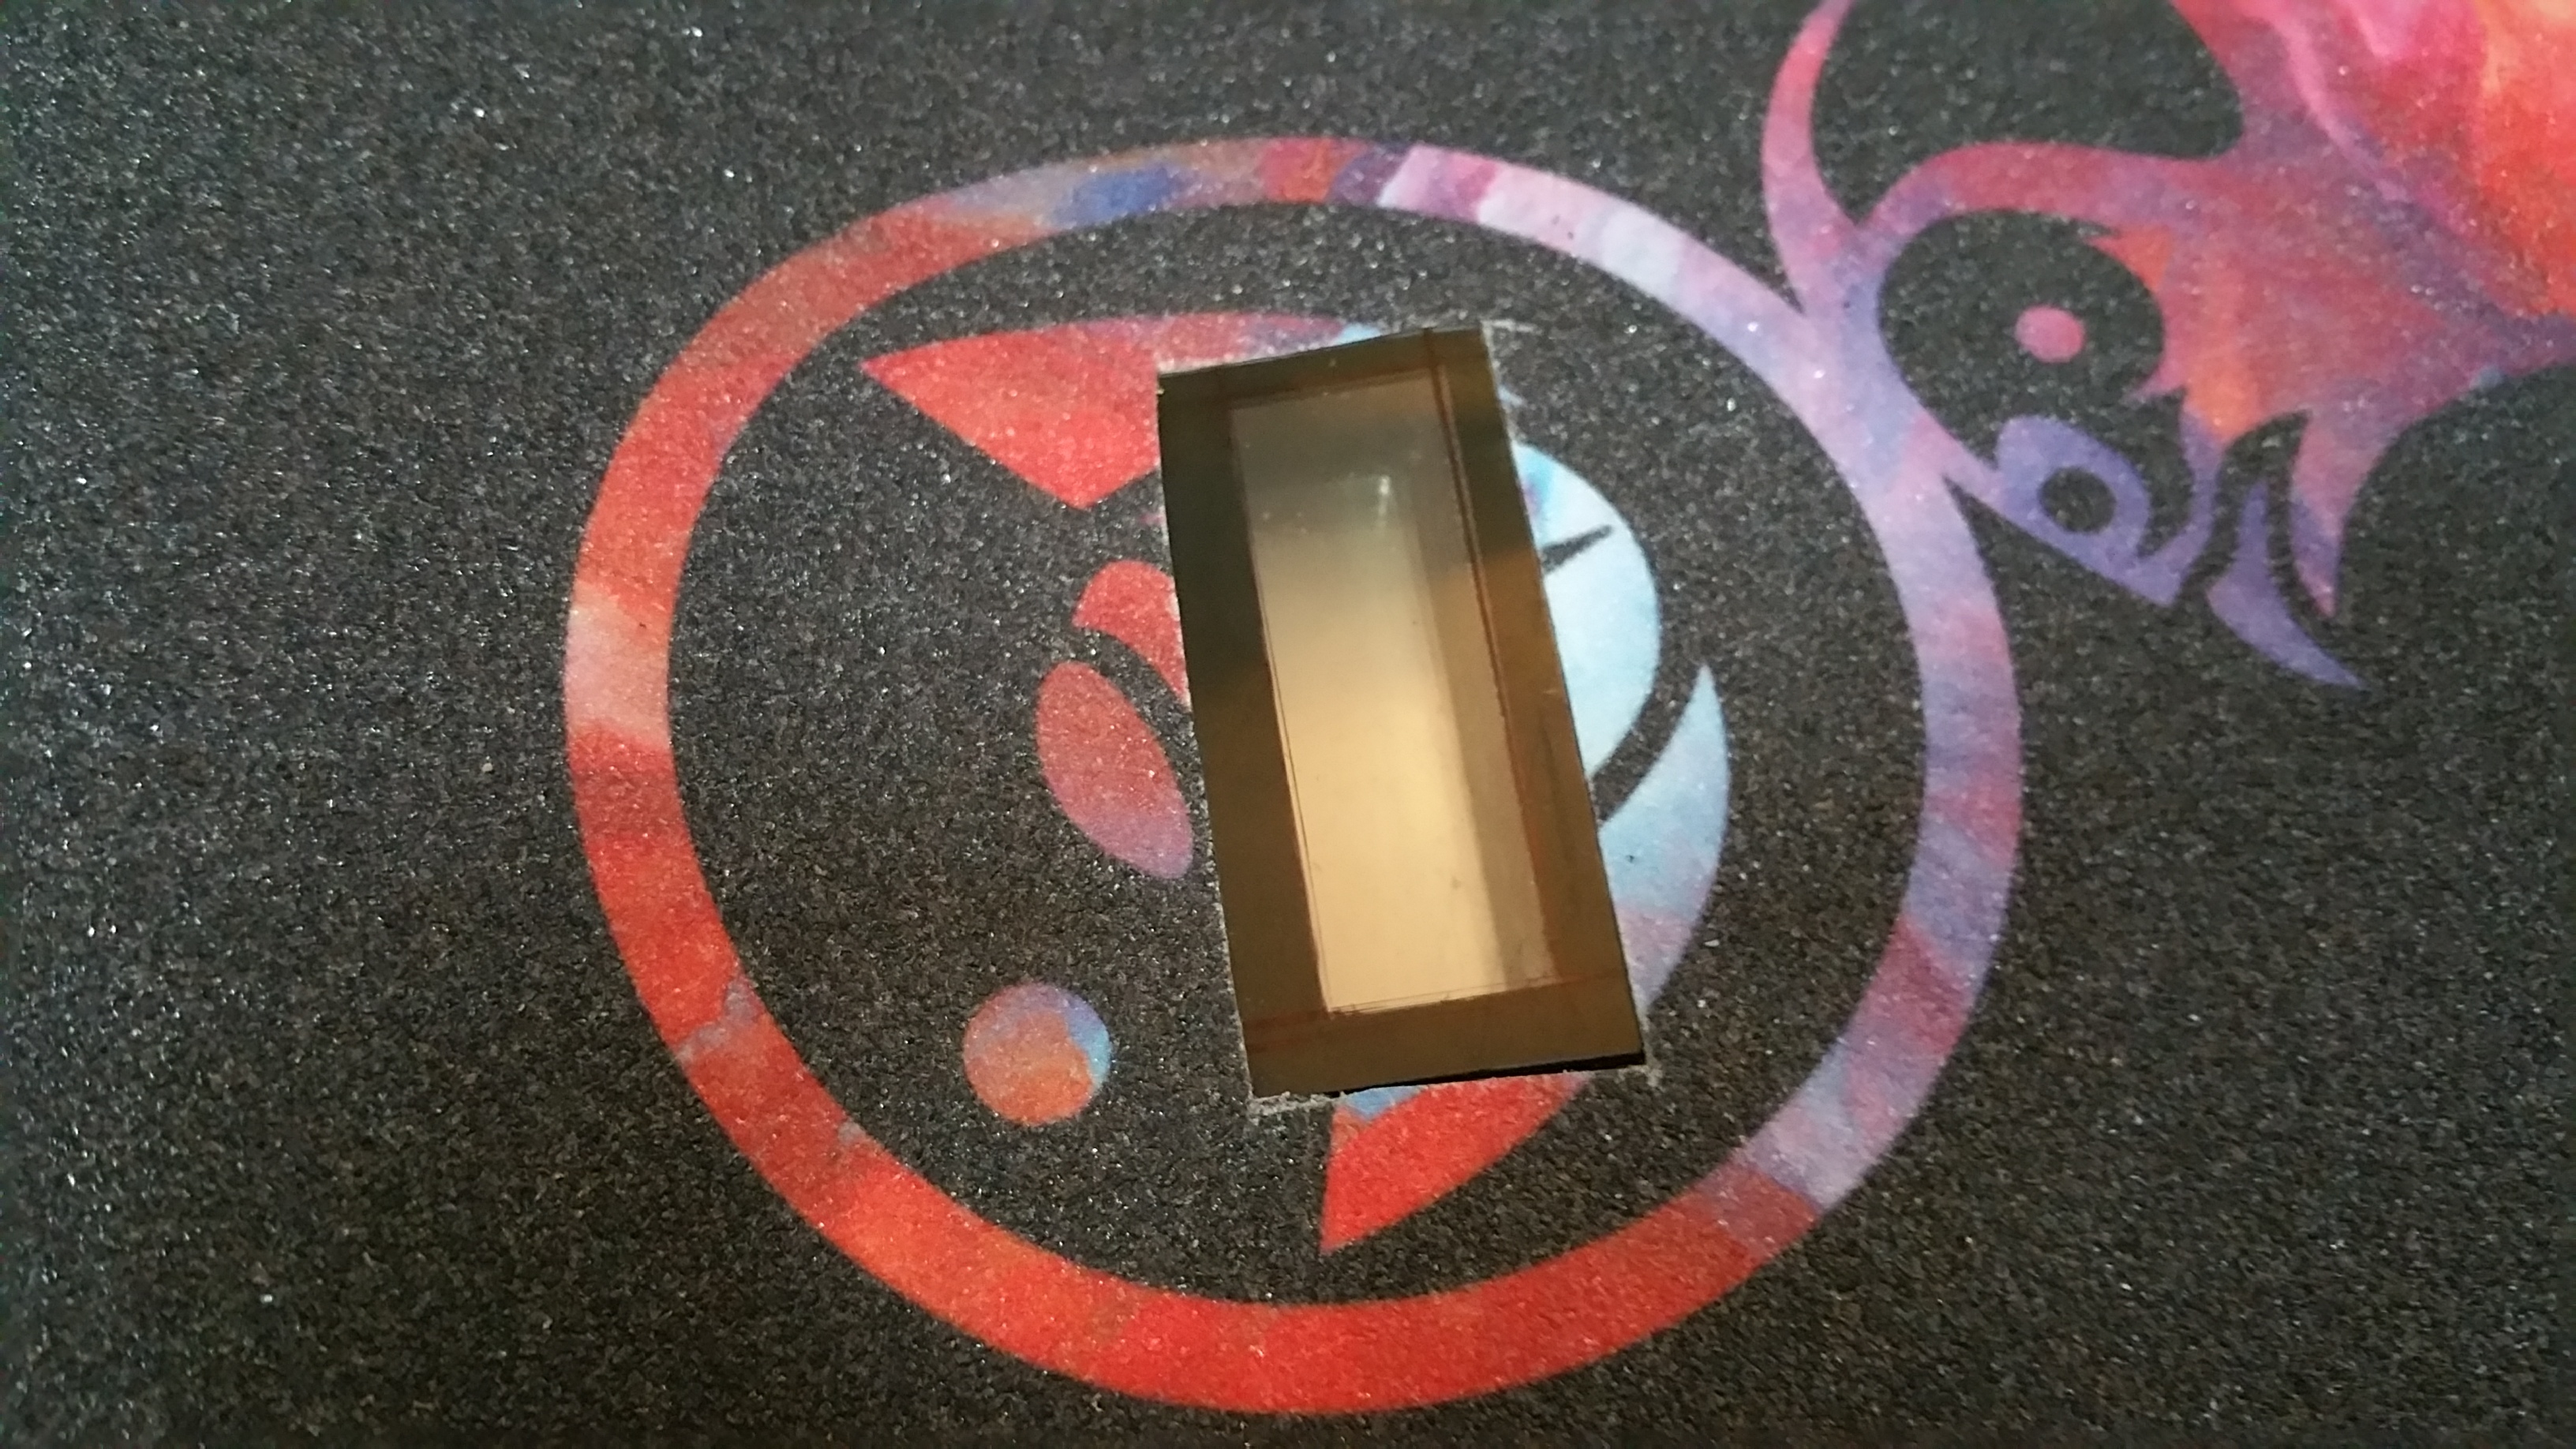
On the top side of the board, I made a canal for the hiding the wires and an opening for a battery display. The reason the the bigger canal around the display is to avoid any accident cut of the grip paper with penknife to the wires. The wires will be push aside to the right side leaving a safe passage for cutting the grip paper.

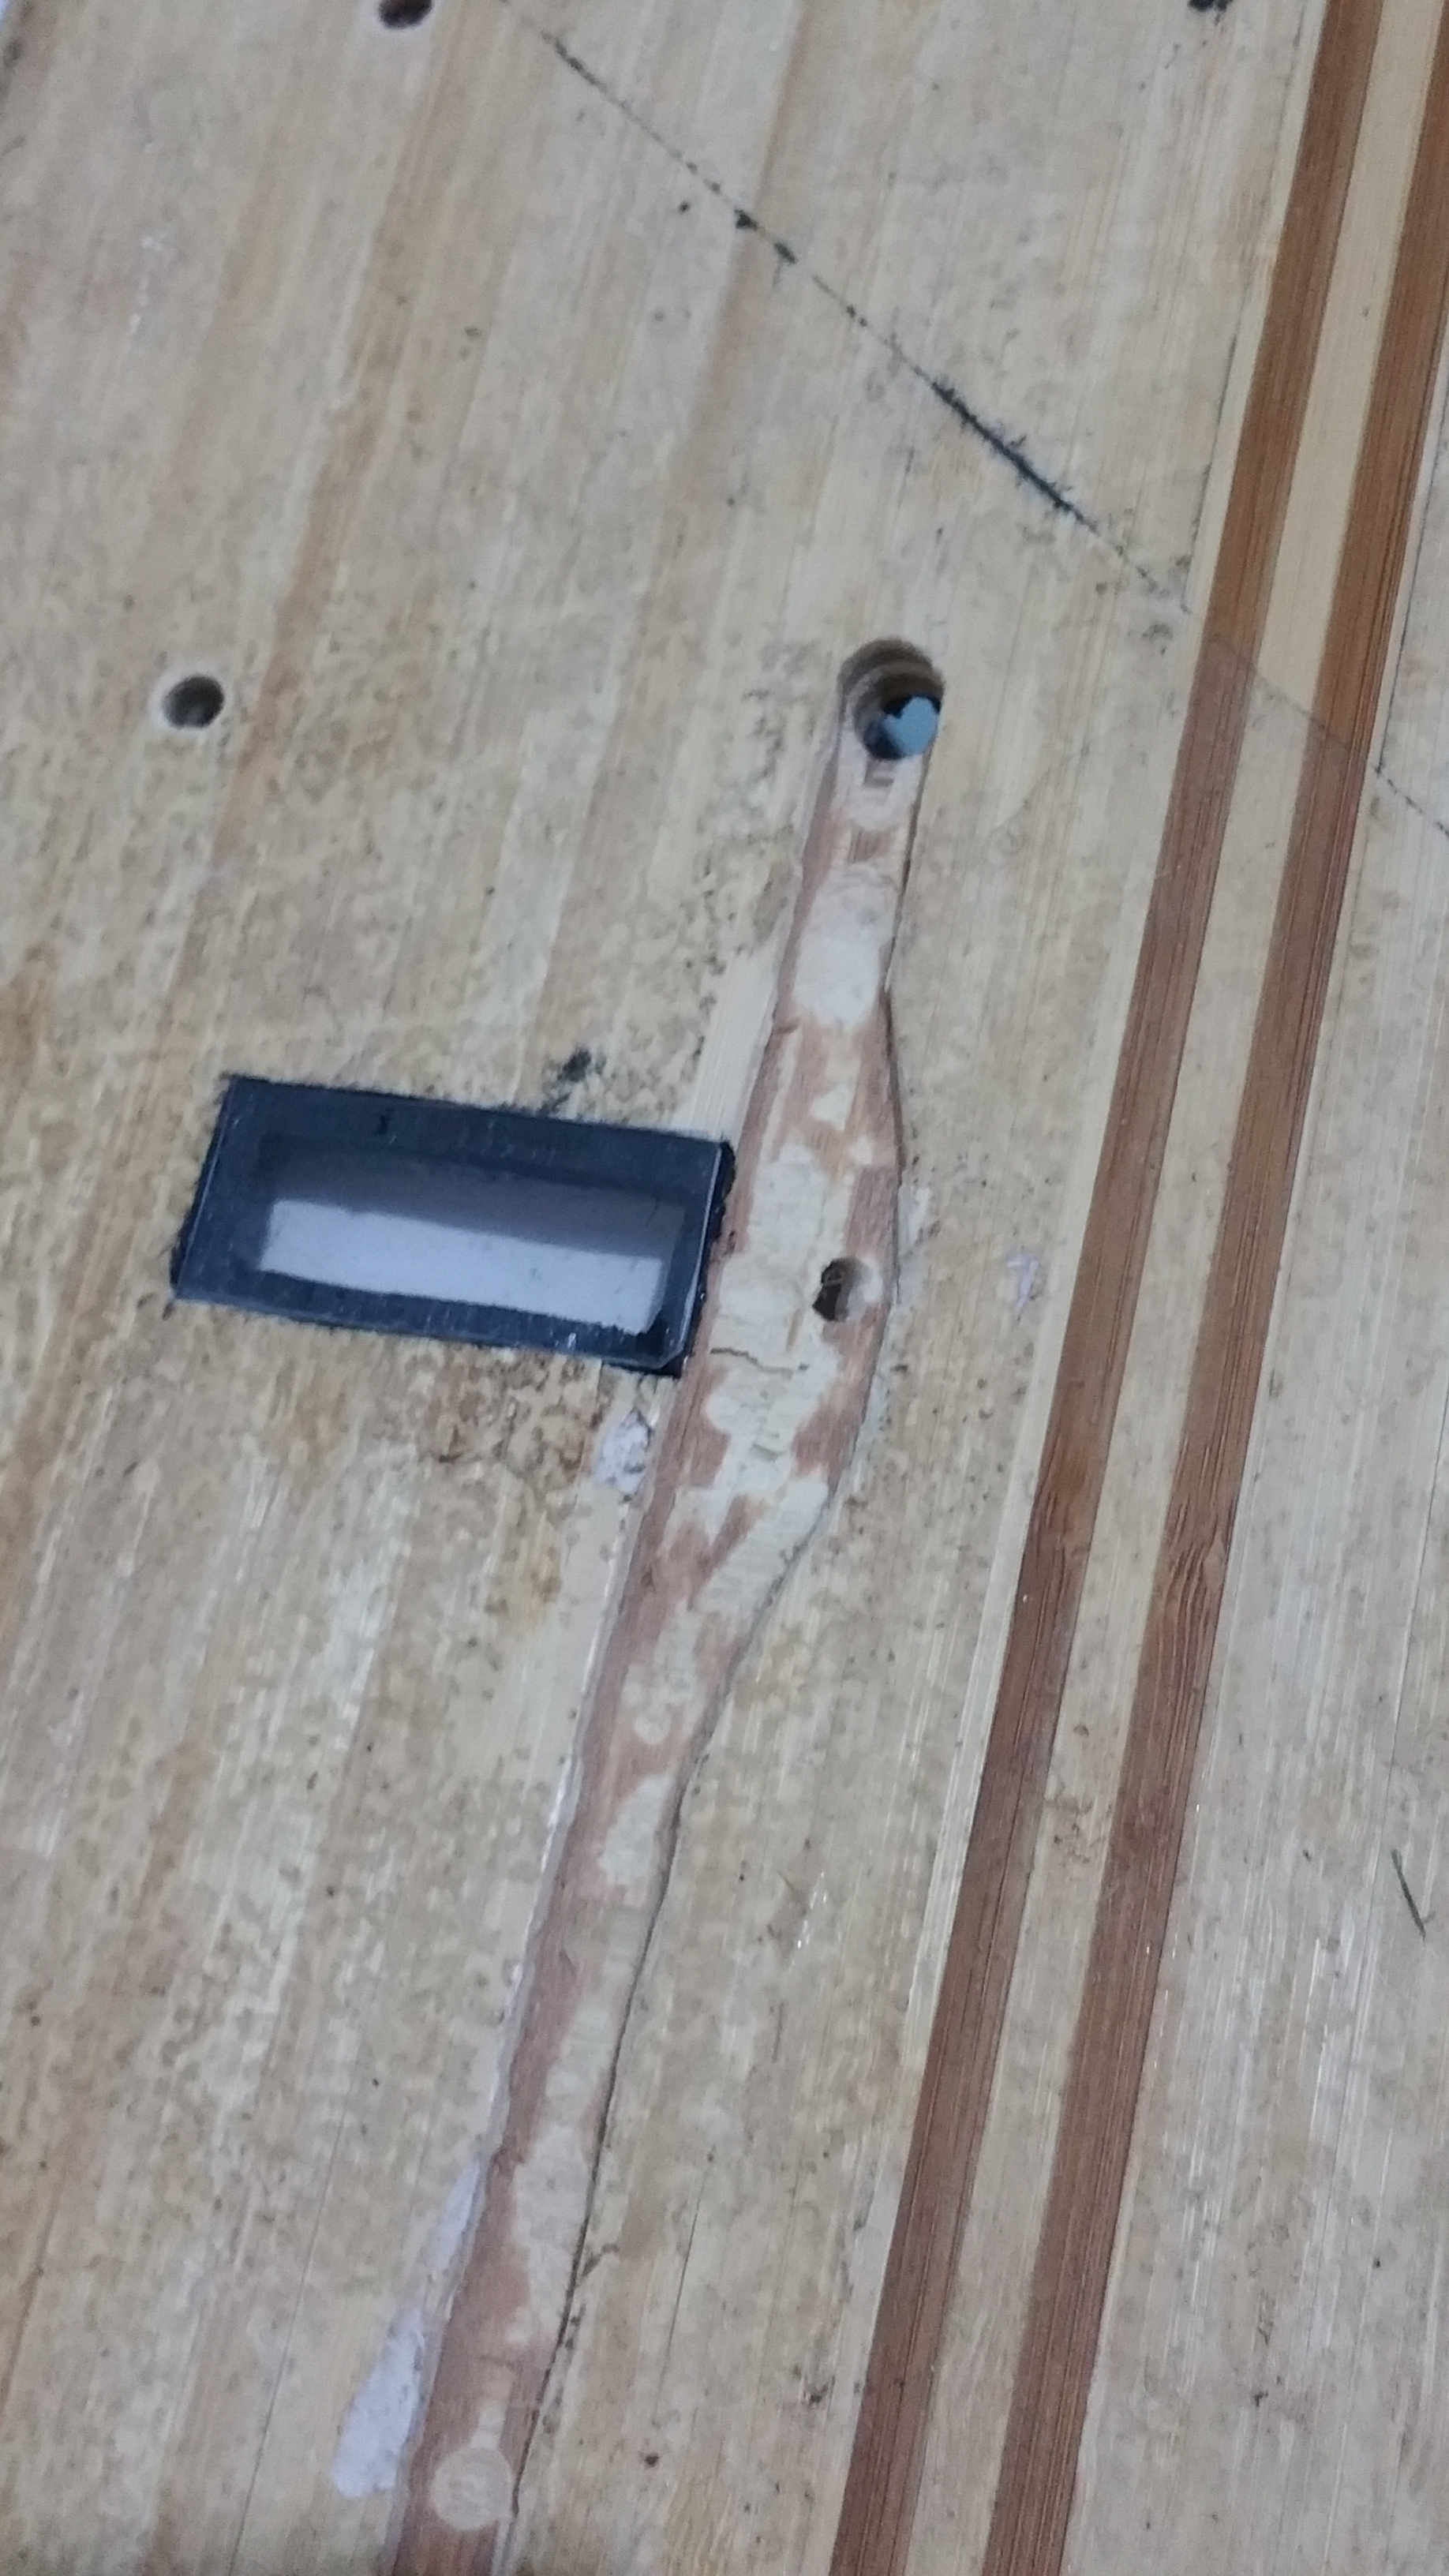
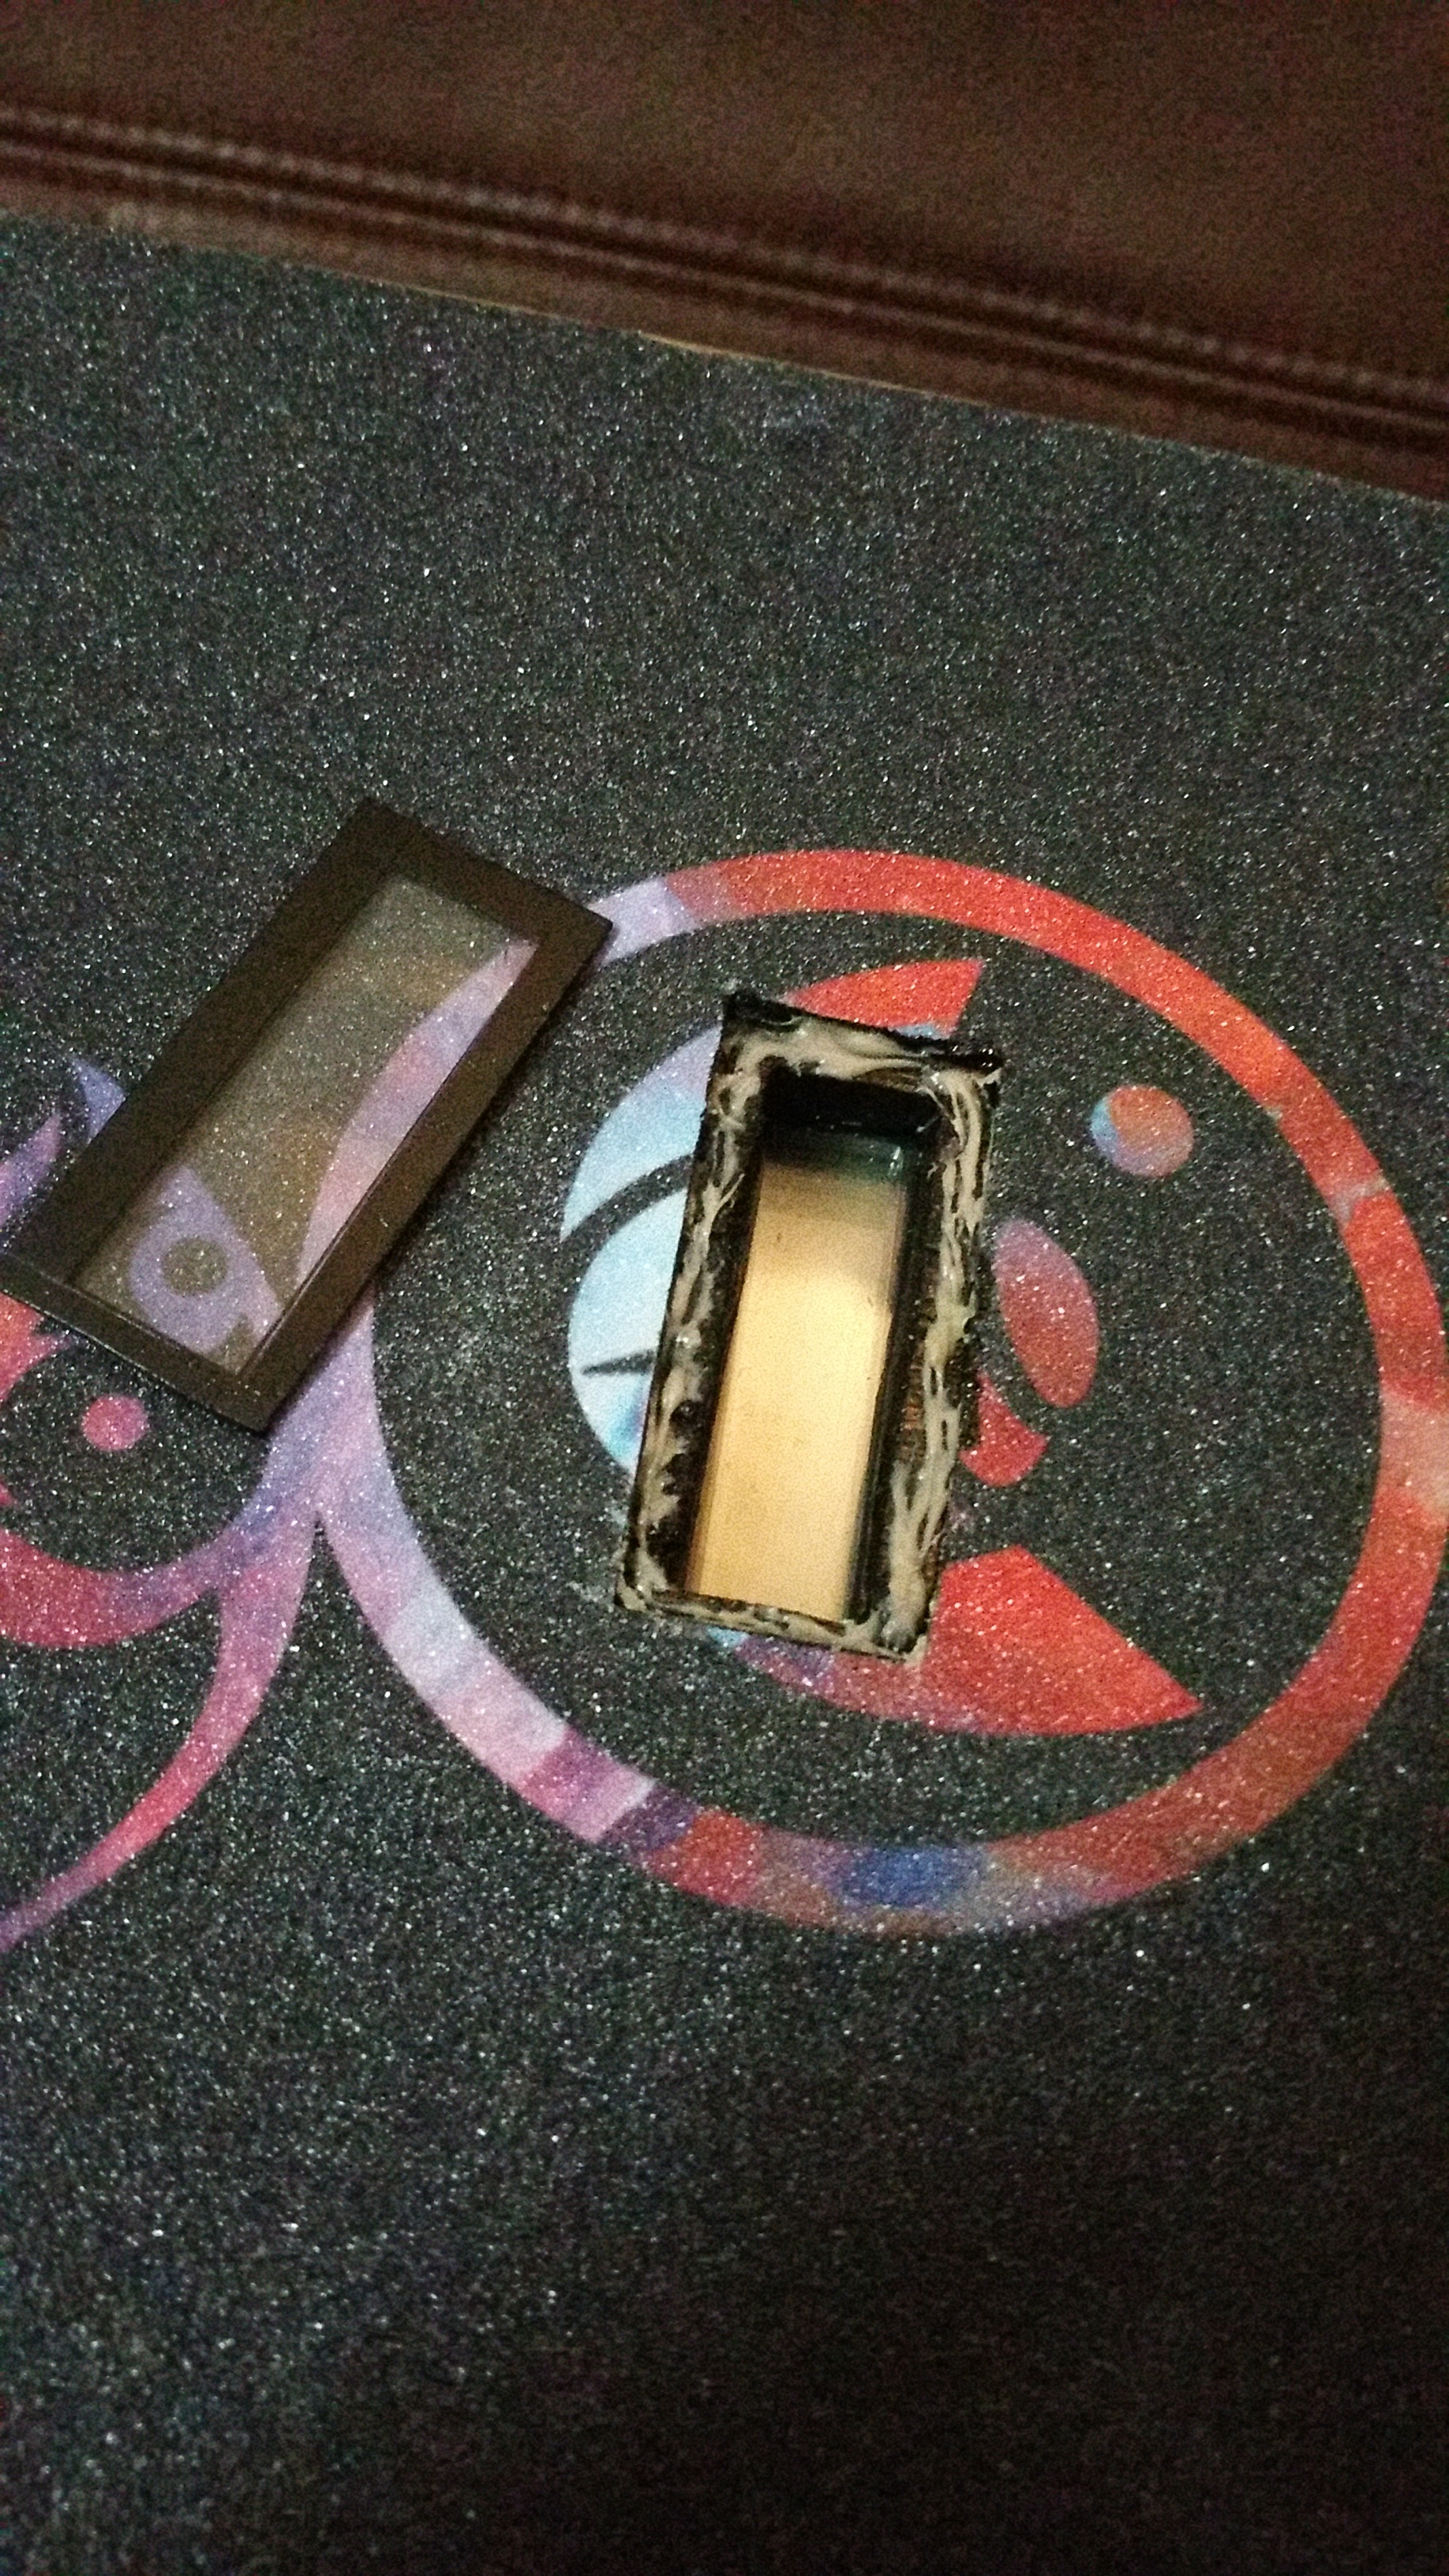
This is how it looks like from the back side of the board. I chamfered about 5mm of material away to let the battery indicator display enclosure to sit in.

The battery indicator enclosure sit in perfectly.


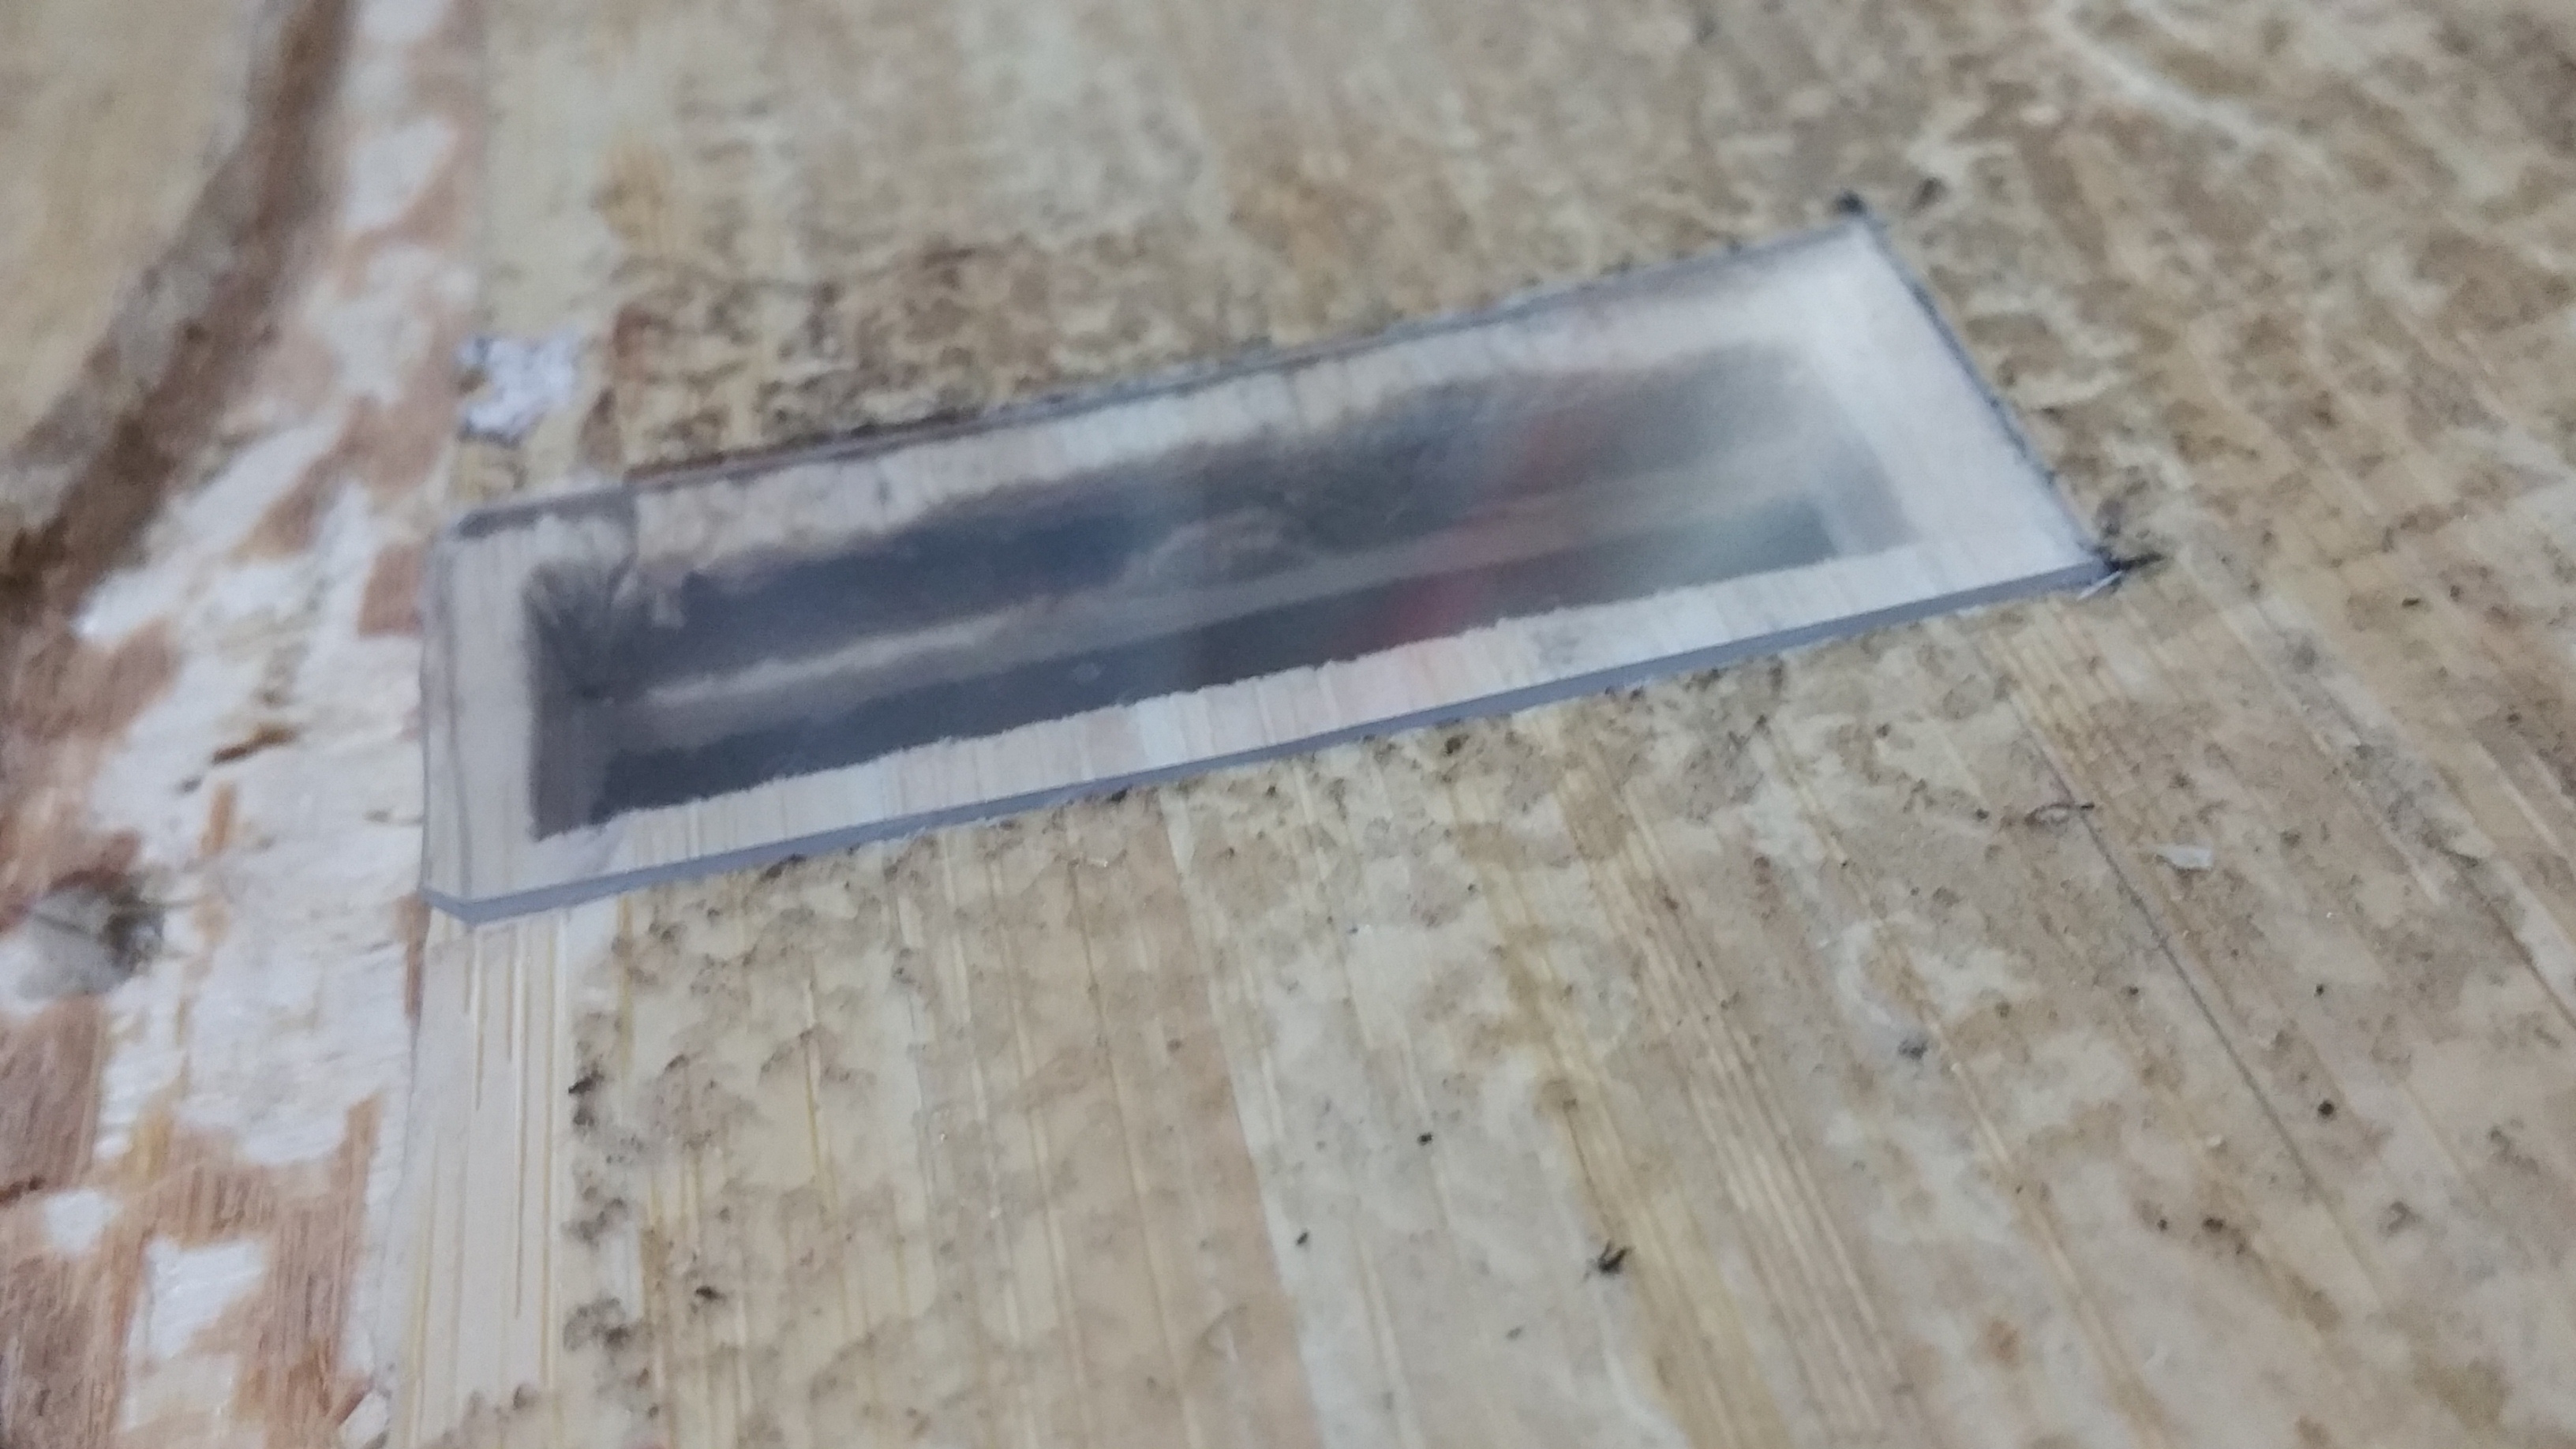
I had cut out a clear 1mm thickness plastic sheet for the hole.
Painted the hole opening black colour.

Time to shoulder the wires together.
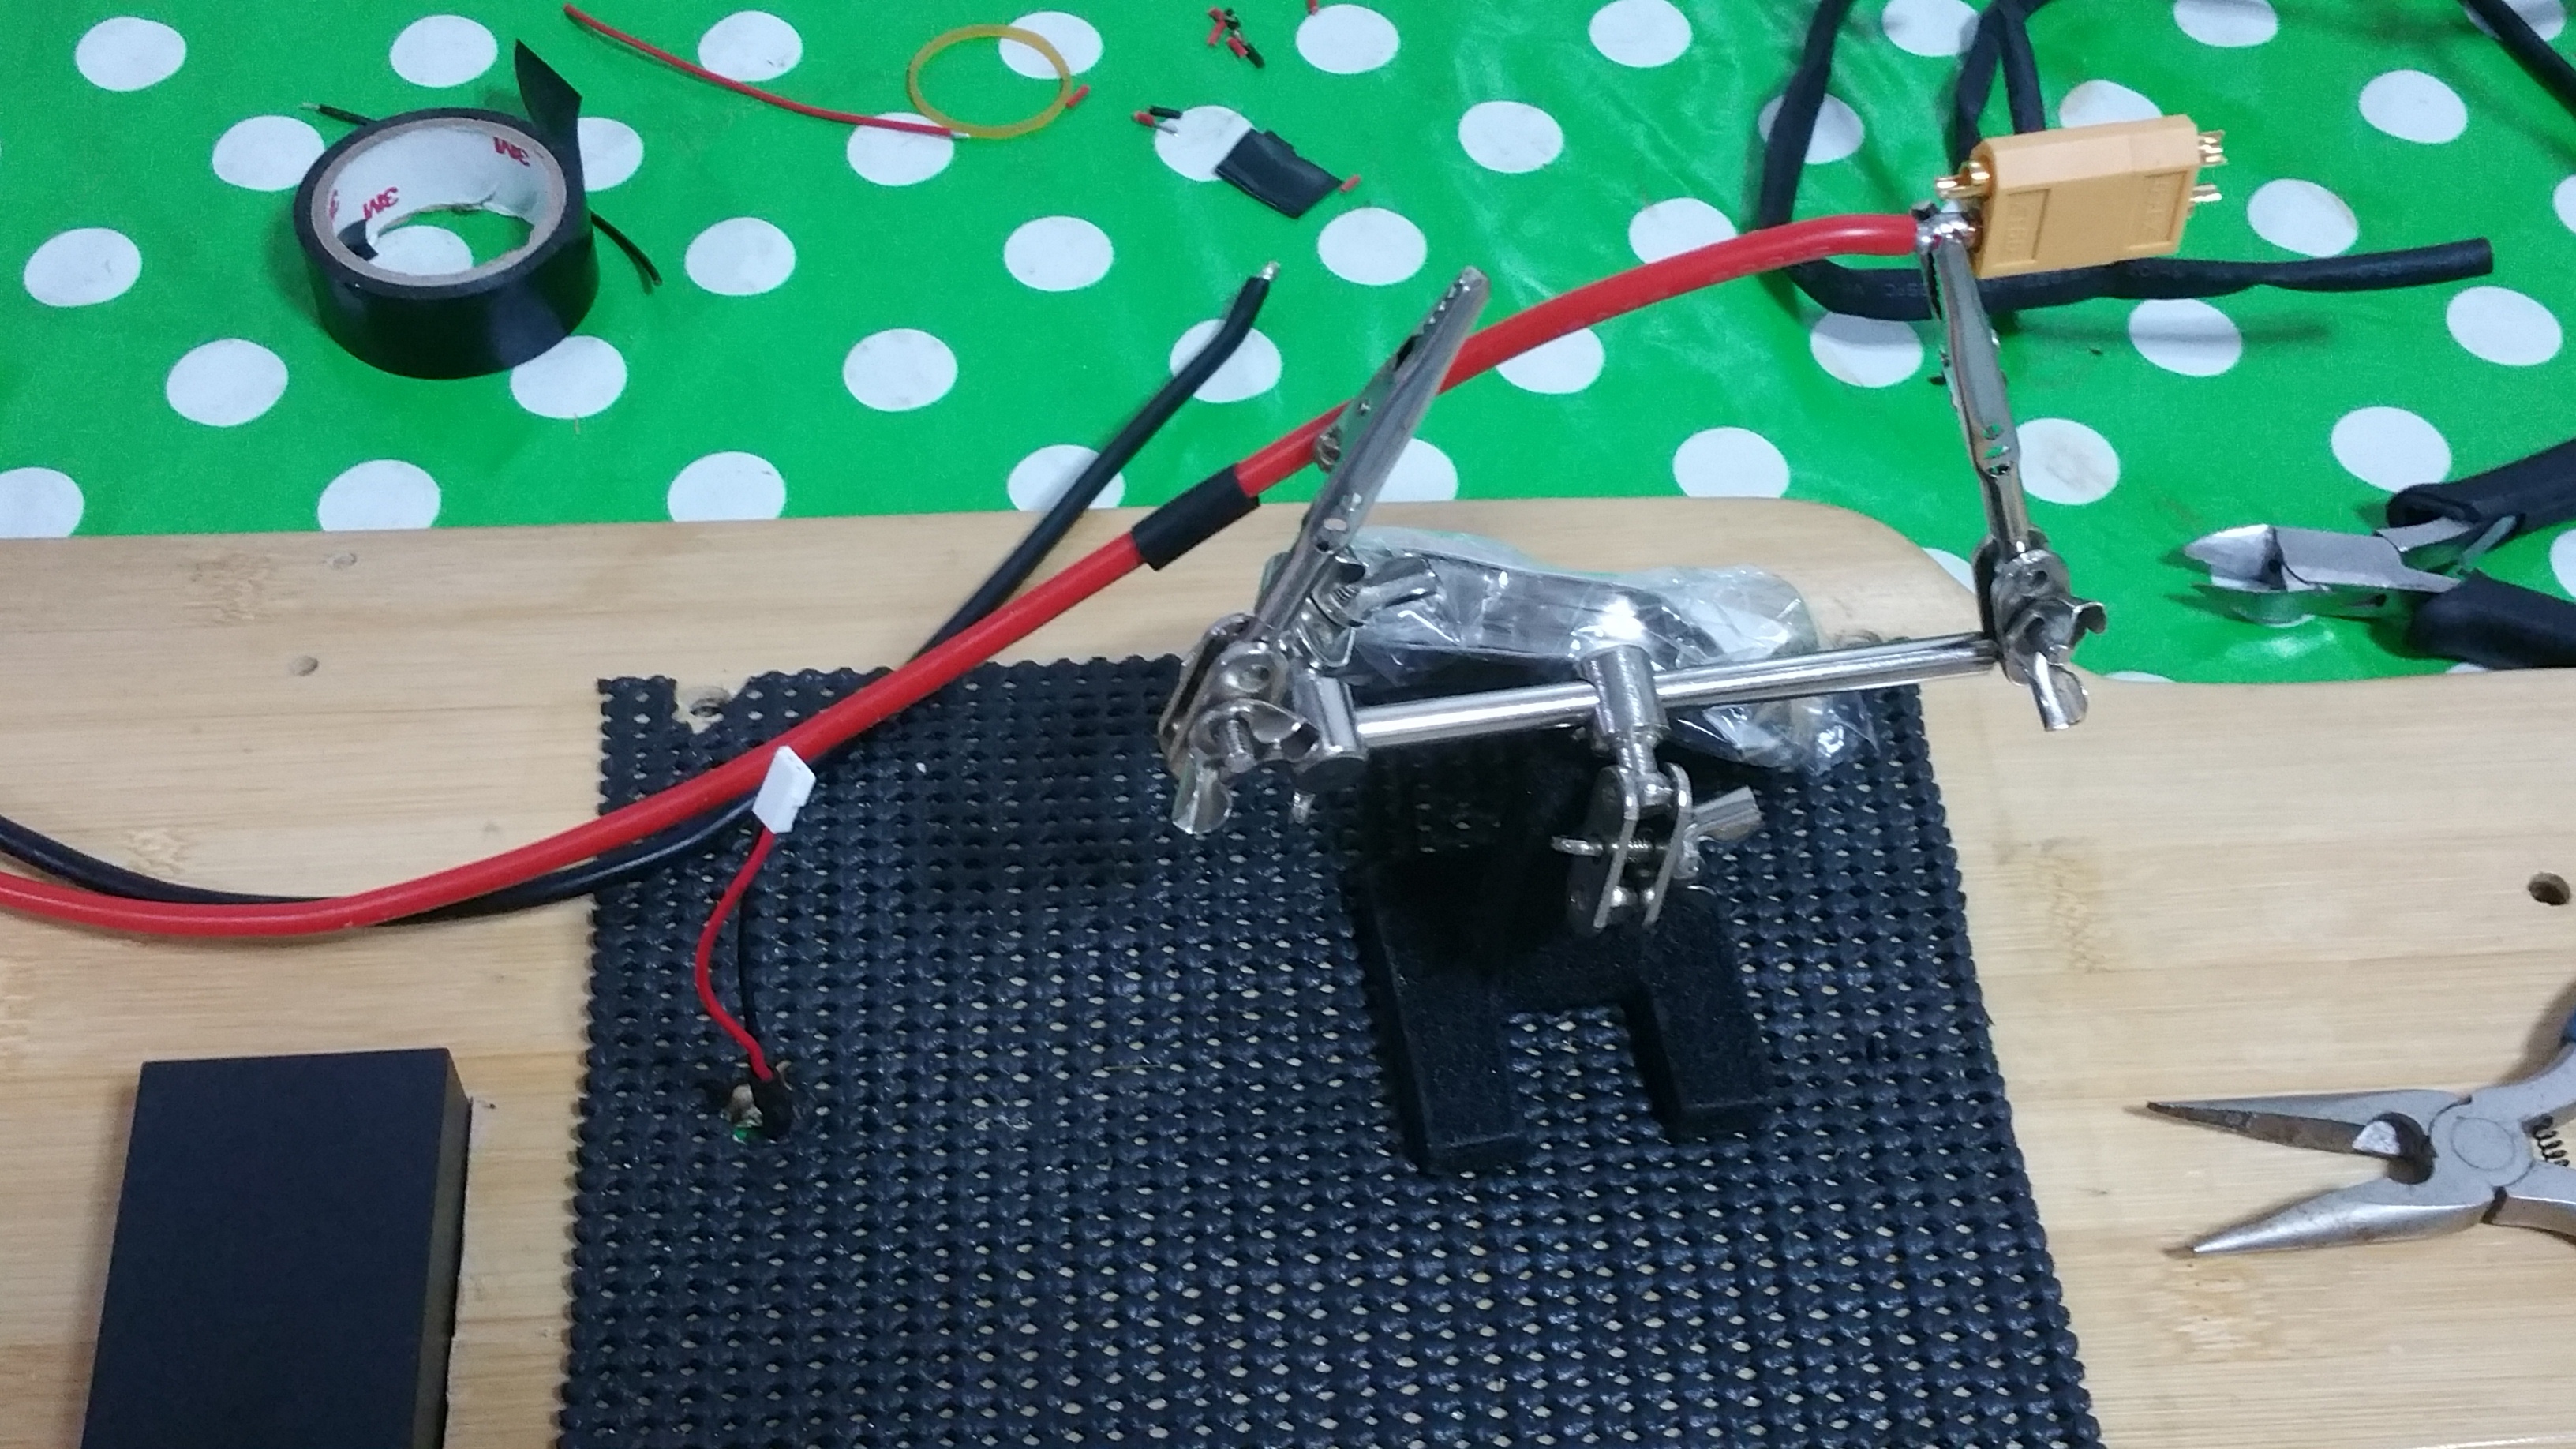

Test the wire connection with the battery supply.

Using super glue, I glued the wire to position.

I masked the board with masking tape in preparation to apply silicon into the canal.

I cutted a 1mm thickness clear sheet for the side of the hole. its very easy to slice the clear sheet with penknife, so I didn’t bother to trim it until I had applied the silicon.

Applying a nail silicon glue, very fast cured silicon.

Spreading the glue and into any can be seen physically.


This is how it look like after i took off the masking tape with the silicon still semi-cured.


I put some wood fillings on the this particular area because the silicon sink abit after fully cure. The wood fillings make this area flat.


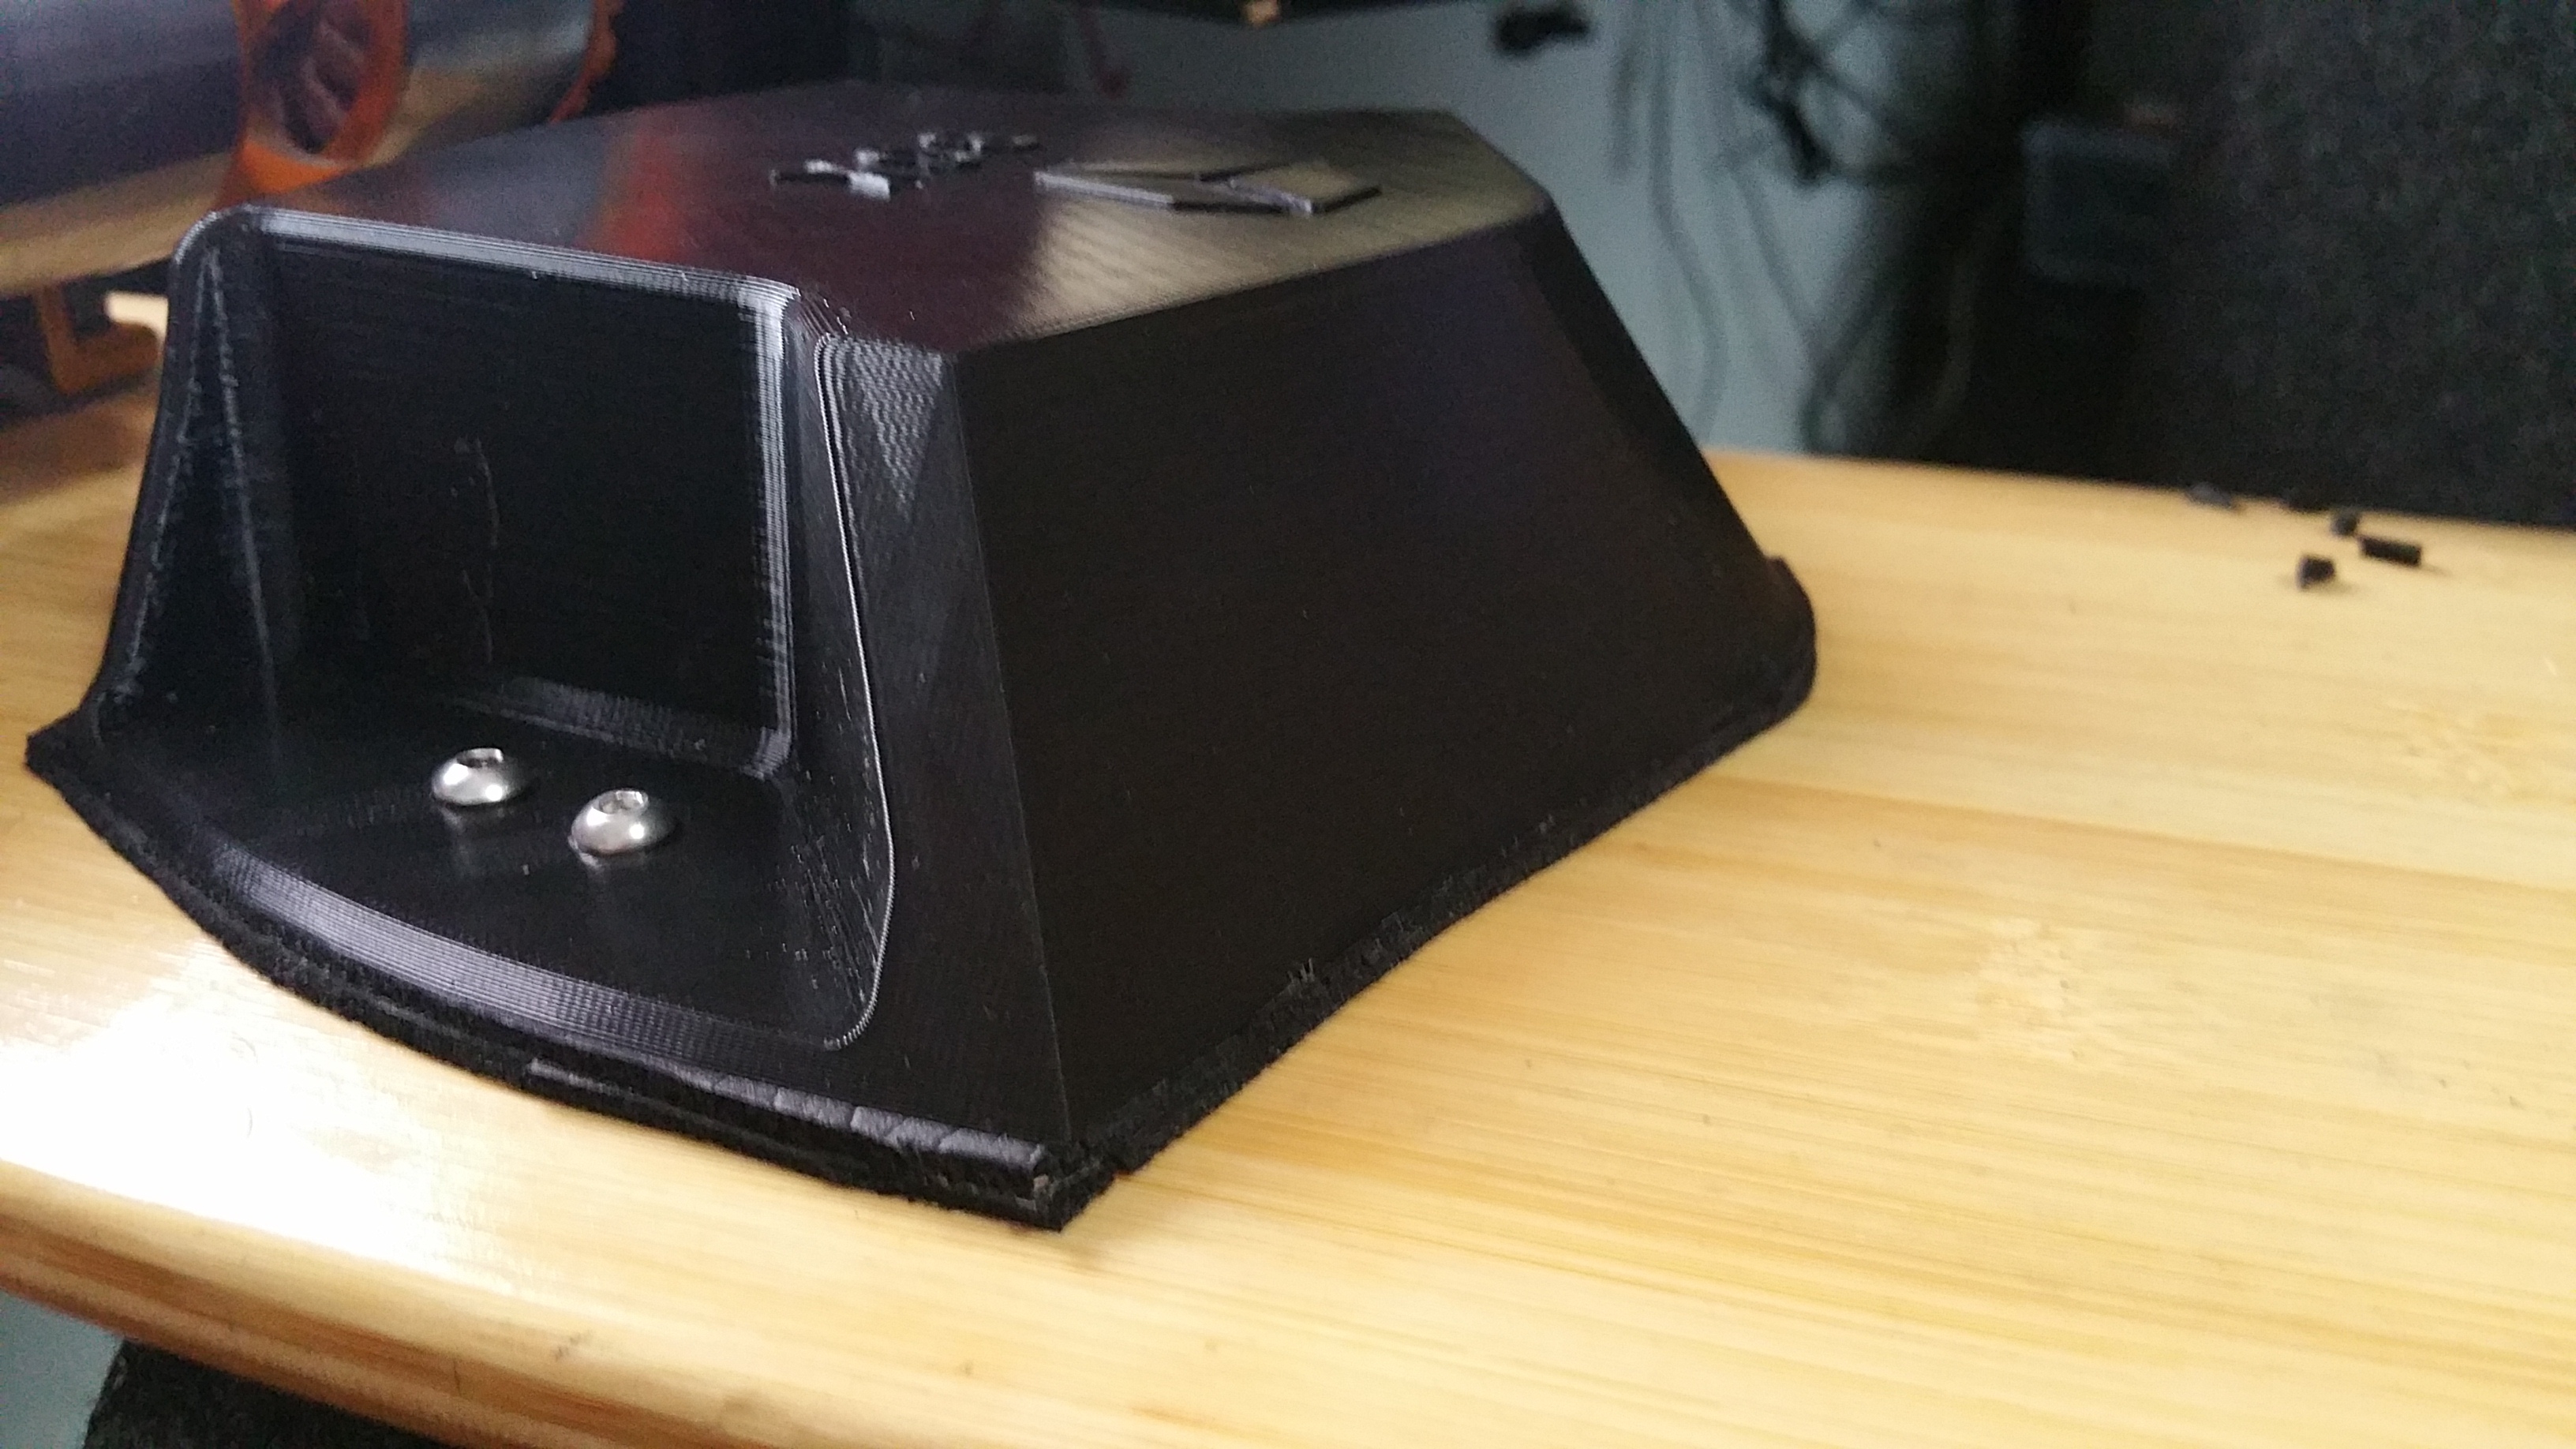
I decided to use the nail silicon glue to seal the battery indicator box.


Time to install the grip paper. To position the hole, I first cut out the hole in the grip paper. It will be easy to do it this way for alignment.
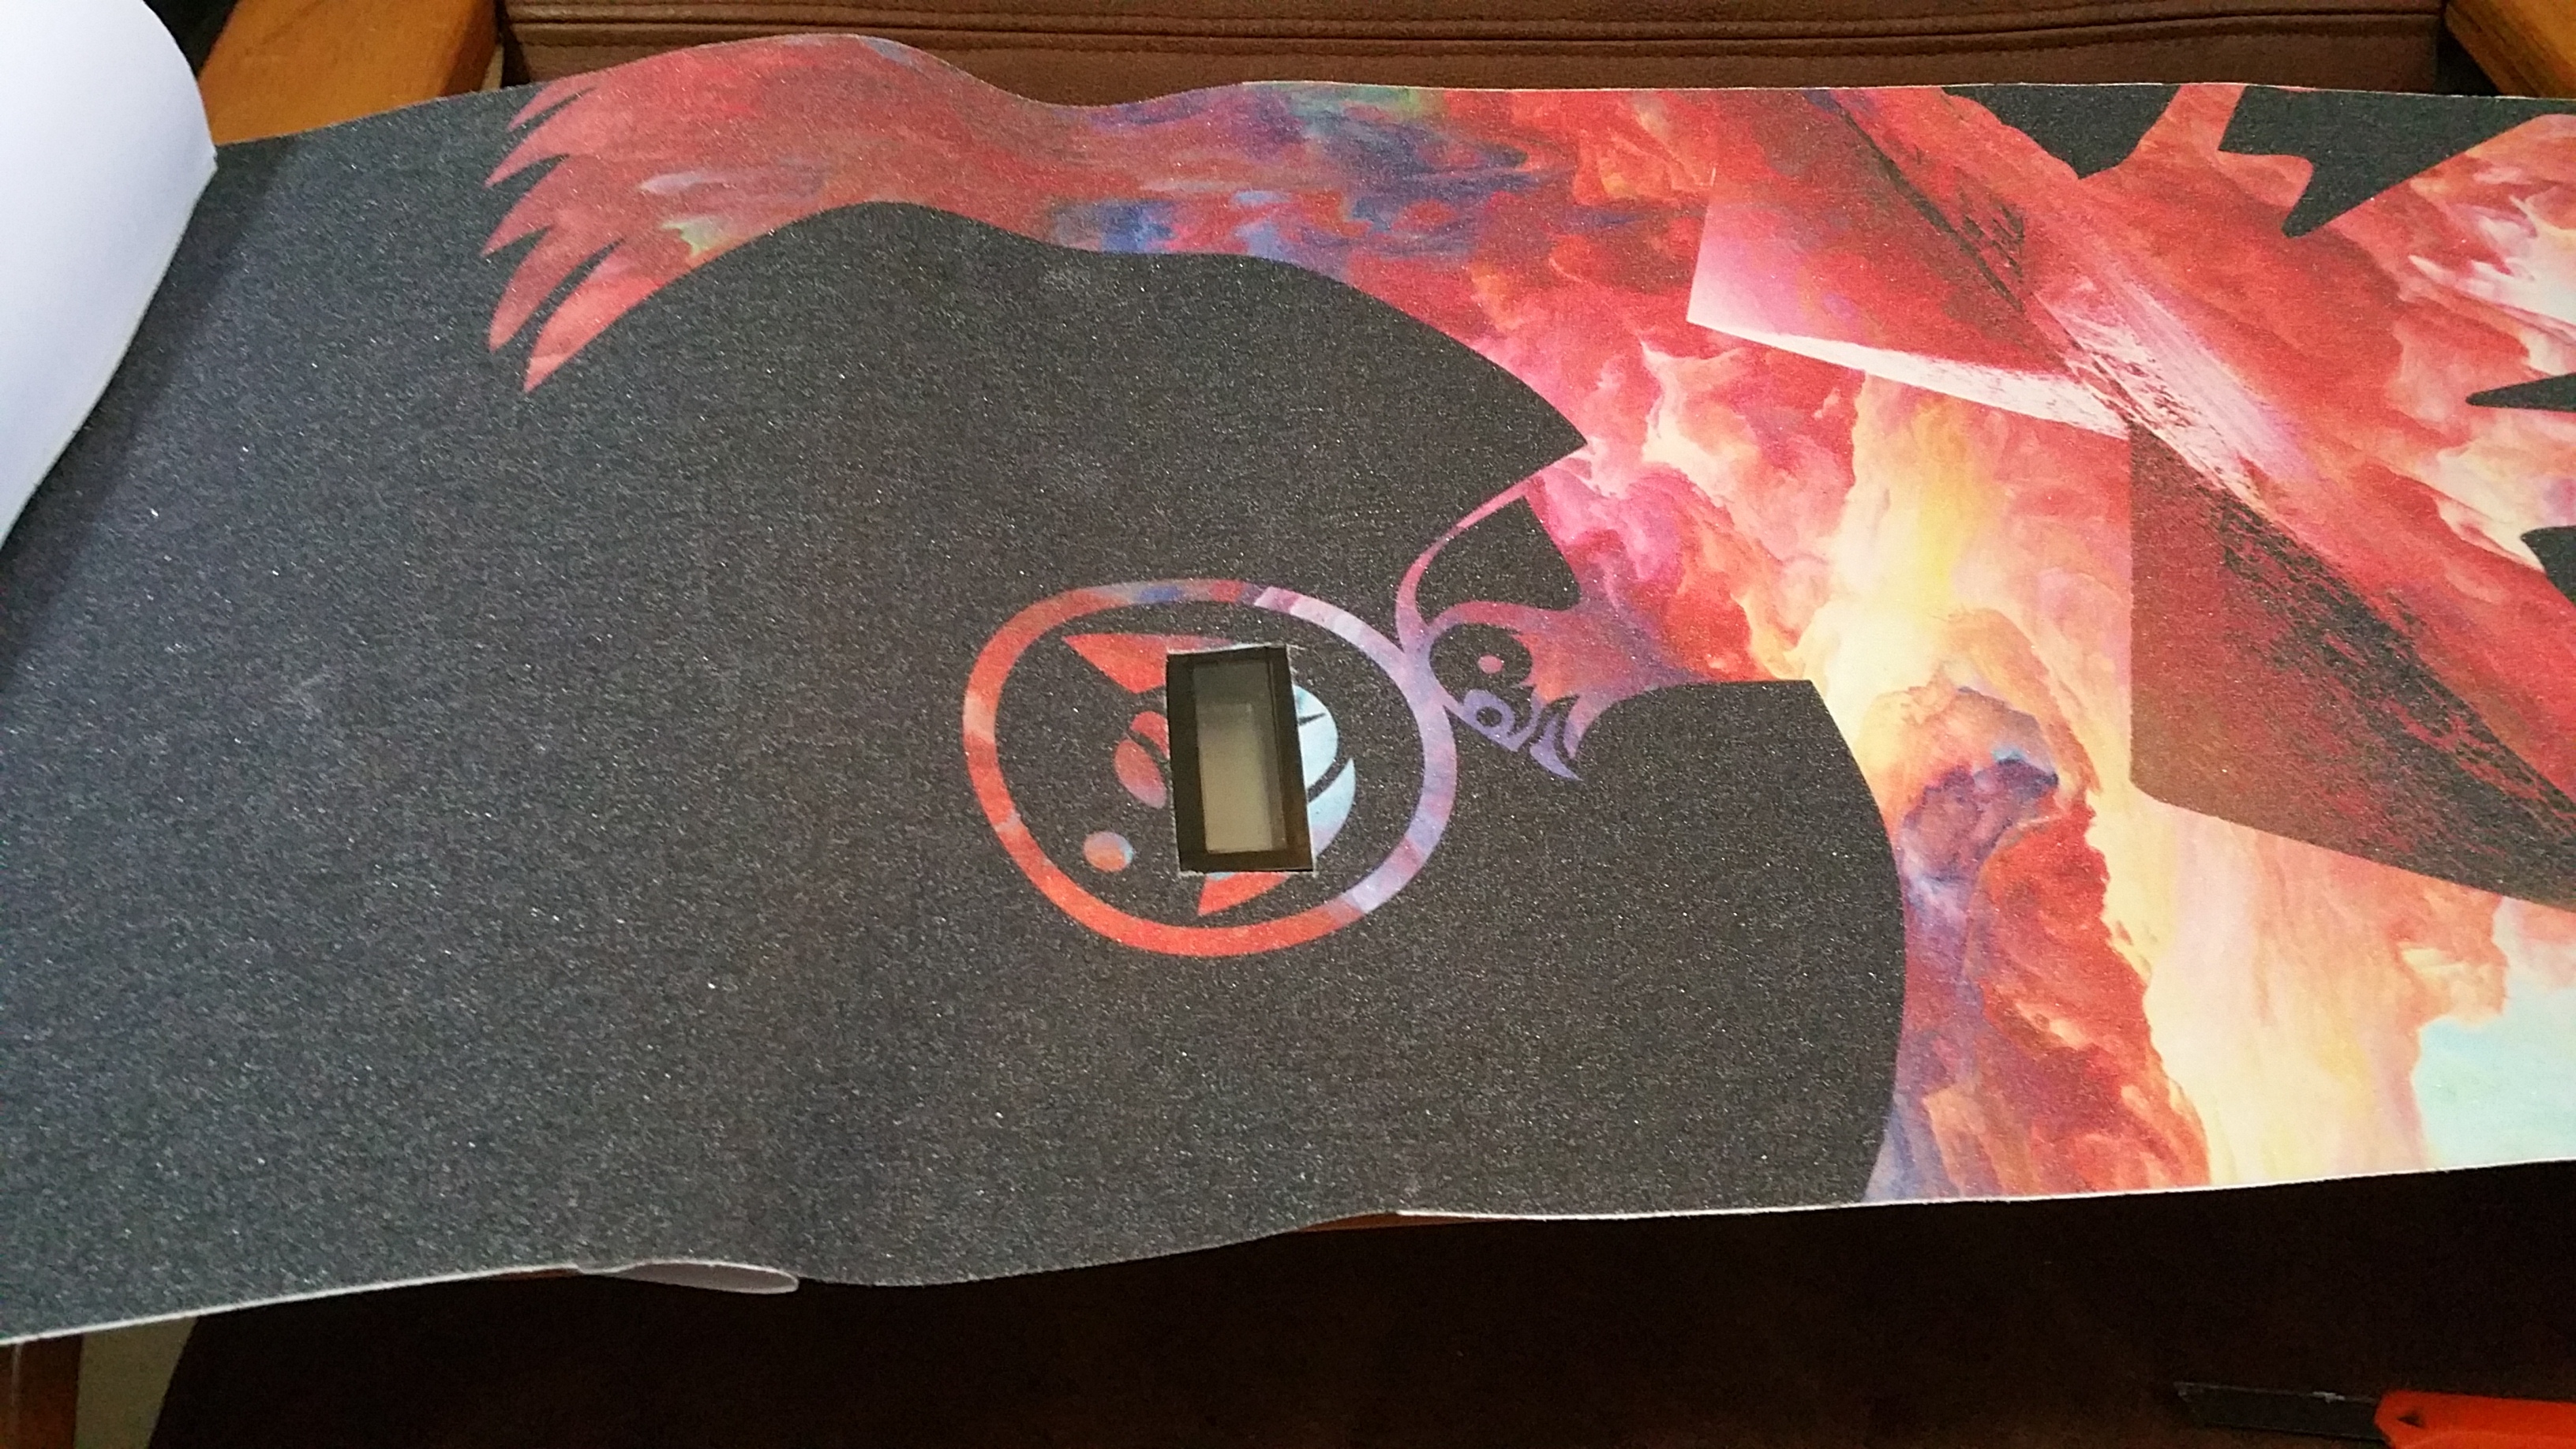

Cutted the grip paper and insert in the new locking nuts. The canal is not deep enough, some portions of the wire can still be physically seen.

I using some form material to create a water/air seal to my new dual VESC enclosure.

Adding some portion with additional forms because of the curve board. The VESC enclosure base is FLAT.

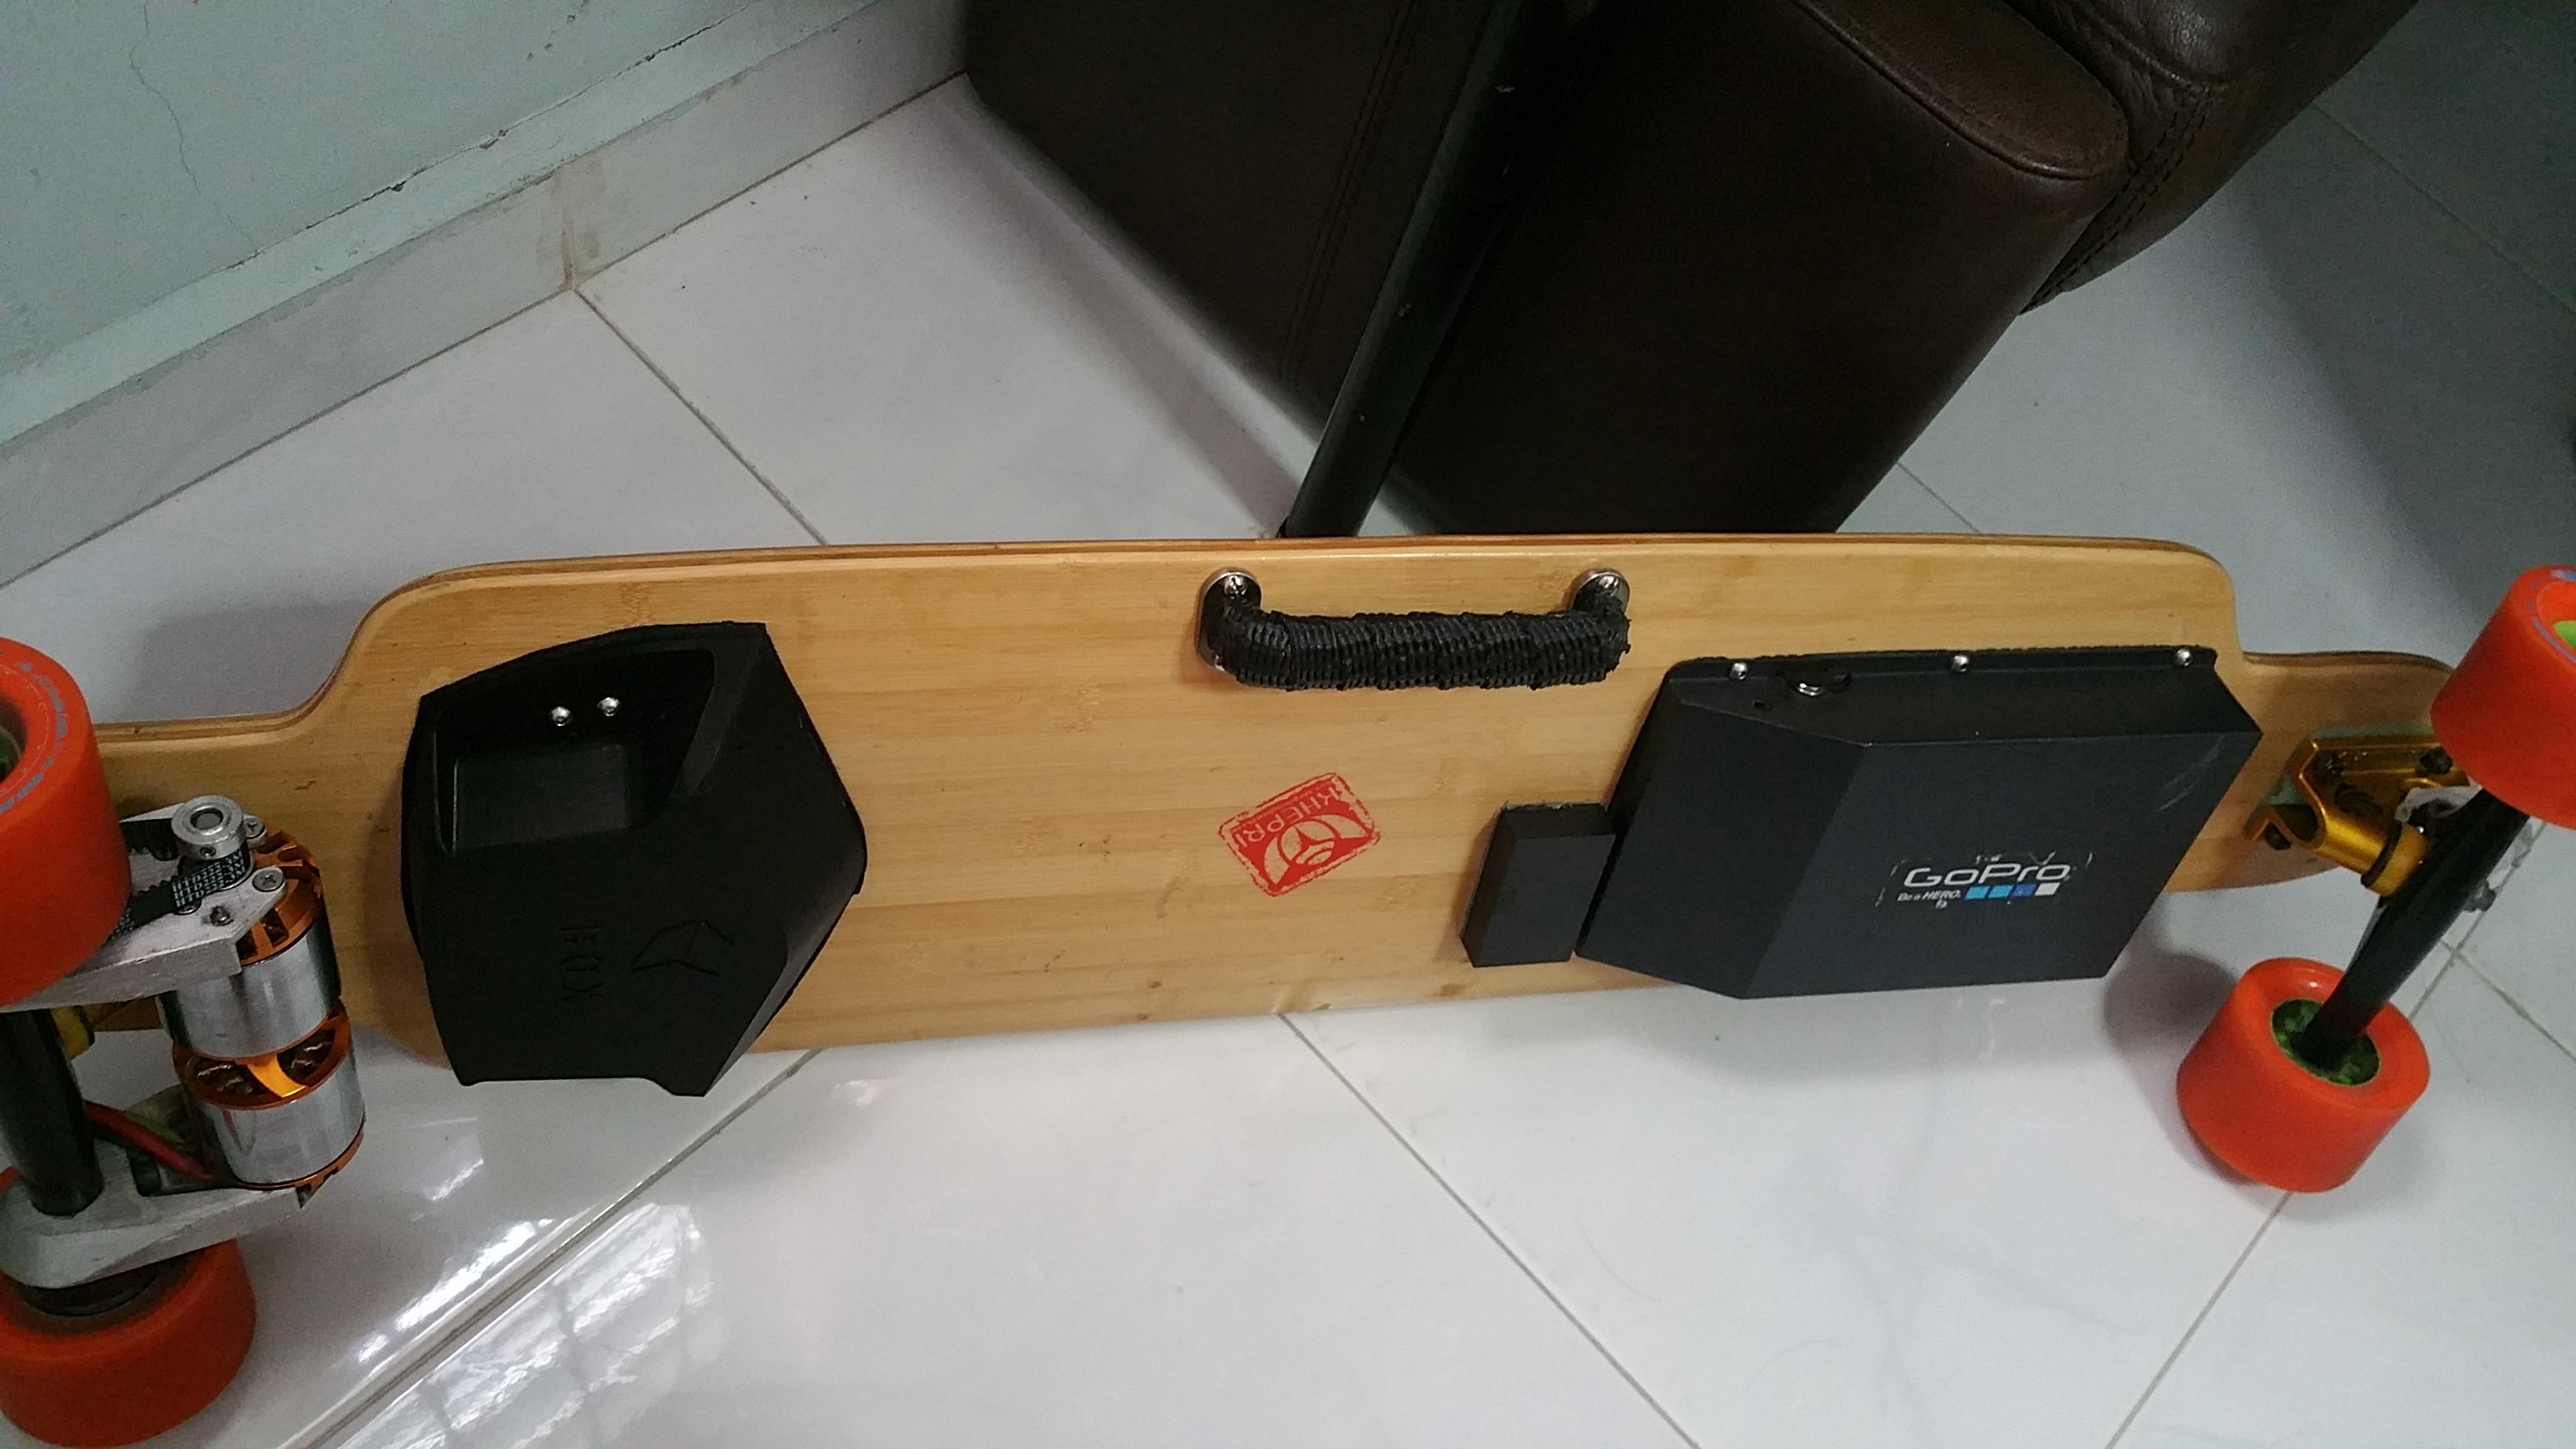
Finished

Glue the protection clear sheet.
Not perfect but I like it… 

Final look at completion.
NOW, waiting for the VESC and may need the members help to setup and tune the VESC.
FYI, some basic fact on my setup for current and new. *I had hit maximum 50 km/h on my previous setup (Change the rubber stabilizer to 80SHA hardness for better handling high speed) *Battery capacity is 8S10AH.0 *Motors are 320KV
Please leave any comments

 good work.