Hello E-Board builders,
This time I’m posting the whole process of building my second E-Board, I chose the Sector9 Bintang this time for my build (EVOLVE inspired)
I bought a set of Gullwing Sidewinders trucks with an upgrade on the hangers, which I took from the Evolve because I wanted my trucks to be very wide.

Some tools and stuff…

TORQUEBOARDS ESC

SUPOWER SYSTEMS BMS (Installed for charging only)
- I first installed the BMS for charge and discharge, but I had the problem that when my board is fully charged and I apply brake while riding it, the BMS turns of the whole system, so I have no braking available.

TORQUEBOARDS AntiSpark Switch

For this board I choose the Samsung 30Q, much more capacity in the same size.

15-40 pulley setup 15mm belt wide.

10S4P Modular pack
- I made my battery modular so I could bring it on the airplane with me. Each pack has 88.8Wh, and the airplane limit is 100Wh, I’m not sure yet If there is a limitation on the number of packs.

Putting things together.

I soldered the 5mm bullet connector to assemble the 10S4P


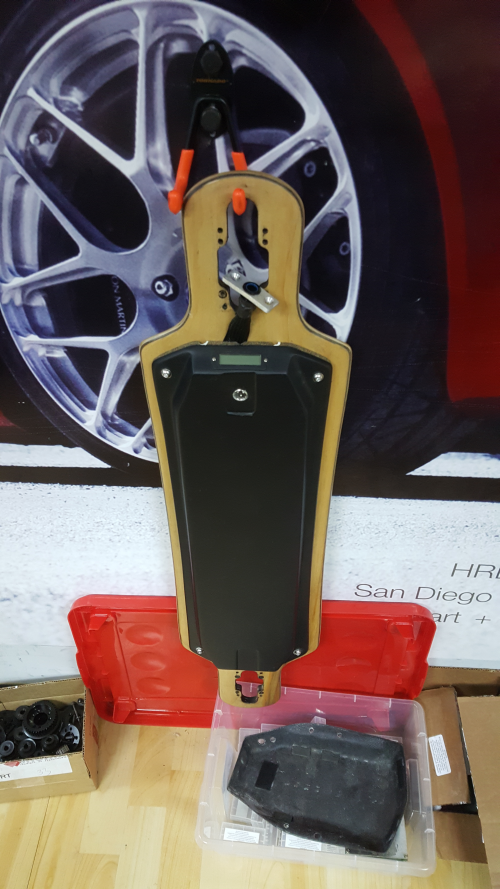
Custom flexy fiber glass enclosure.

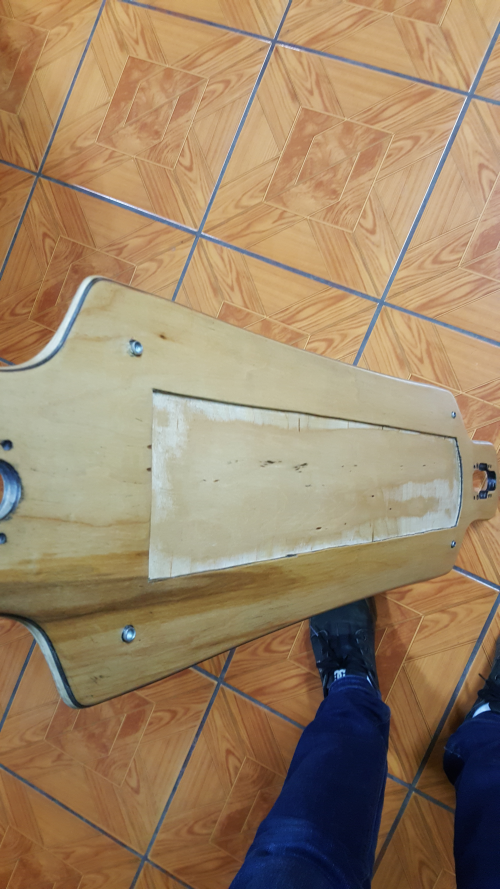
With the help of a carpenter, he grooved a section of the board to install the wiring without increasing the height of the battery pack.
Putting things together 2, I added a battery level indicator and a heavy duty charging port.
Finally, the 97mm ABEC 11 were back again in stock, I bought them right away.

I removed the griptape that the board came with to hide the nutsert that would hold the enclosure on it´s place.


I added an UBEC (MiamiElectricBoards) to feed the 5V LED Strip I installed in the front hanger.


Lightnin testing.


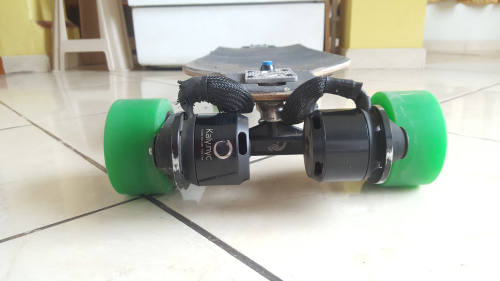
I rounded the EVOLVE hangers on the lathe to install the motor mount clamp.

I got the motor mounts plate from TORQUEBOARDS and the 6355 230KV motor from KALYNYC and this is the final result.

On/Off switch in the front truck.

On/Off switch for the lightnin in the rear truck

PS: Thank´s EBoosted for helping my with my build and letting me use his tools.


