I don’t know how thick the nickel strips are but they are designed to handle the full 30A that each 6s1p pack can provide. I did not weld the packs myself, they came pre welded in this configuration inside the tools I salvaged them from. 3 Packs are then wired in parallel direct to the 10AWG cable. This settup should easily be good for 90A. It will connect to a 80A bestech bms. I don’t think current handling will be a problem
1 Like
Good looking board and battery use


Hmmm interesting, wonder how they lay there cells out inside. Also wonder if there replacement packs would fit a Trampa board. Could be a nice solution for builders who don’t have access to equipment
I’ve seen these around Amazon and Instagram, but I’ve still yet to see one in person. How do all these esk8 companies stay in business if they don’t have a product to sell? Kickstarter is a sham
1 Like
I have a friend that has a board from this company and its not that bad. He has this one: https://www.slickrevolution.co.uk/dual-max-eboard-spec/ Its not as powerful as a boosted dual+ but it does the job for a lot cheaper. It feels very tall when you ride it and the lack of flex is noticeable but otherwise it looks well built.
2 Likes
Is a british company. Perhaps their currency, the pound, and a different economy which affects them in a different way. Who knows??
1 Like
Yeah man, I’m 127kg and i built my Trampa just because no other production ready board was useable, but now I’m switching to the mountain board deck because it’s wider so my feet aren’t hanging off the edges a lot and a bit longer.
1 Like
Update: I have been very slow about finishing the enclosure design. I have changed my mind multiple times about how im going to layout the electronics. So that this does not hold up progress i have decided to make the battery enclosure separate to the the electronics enclosure.
Final Battery Enclosure:


Buck to CNC that will go in the vacuum former:

Hopefully i get time to CNC this and vacuum form this week  then at least i can start using the battery even if im still having to charge it on a balance charger.
4 Likes
SHITSGETTINGDONE UPDATE:
Got some CNC time and was able to get the buck made. Looks great. Super happy with it so far.

Next job was to put the in the vacuum former. luckily I have a friend with some experience in doing this who offered to help me. I decided to try and use some 3mm poly-carbonate as i assumed that this would be strong and impact resistant.

So what happened?
Basically the part got stuck on the mould. I learned 5 lessons from this:
- Poly-carbonate is way stronger than i expected. It bends when in a flat sheet but as soon as it has shape it’s super rigid.
- You should put a small taper on every vertical surface. I thought i would be ok without tapering the sides of the packs . . . I was wrong.
- Take off the protective plastic. This seems to have melted in some areas basically gluing the plastic to the buck.
- Poly-carbonate can absorb moisture, when heated this causes the bubbling you can see. To avoid this it should first be dried out in an oven.
- If your having issues getting the the buck and the poly-carbonate apart again then Don’t smash it on a table. This will not help you but instead lead to incredible frustration. Furthermore you are likely to hear a large cracking sound, followed by the feeling of dread, then finally the realisation that you have broken the buck.
We had to cut the poly-carbonate off in the end. Then began a long and tedious job of repairing the damage to the buck. My friend helped me sand off all the melted plastic, glue things back together and filler the damaged areas.

Ready for round 2. This time we decided to switch to 2mm PETG as this should be more flexible and hopefully be easier to remove.

SUCCESS 
This time it released much easier and seems to have come out pretty good. There is a small amount of “webbing” in a few places between the battery’s however i dont think it notices much and it shouldn’t affect the performance so i think it will be ok. I haven’t had time to tidy up the edges yet however i decided i should probably check it fits on my board before i invest to much effort into tidying it up.

Also the battery’s look like they fit perfectly.

Overall im pleased with the result. Next job is to clean up the edges, Paint it from the inside & order some mounting hardware.
PS. I have a new appreciation for how professional some of the other enclosures in the forum are.
14 Likes
Looks great! What’s the “Buck” made of? is it durable to be CNCed as a mold?
The buck is made form Ureol. Its polyurethane like Material, almost like a super high density foam. It is often used for making prototypes or models. It cuts very easy on the CNC but is very strong and gives a good finish. cuts like this https://youtu.be/yCufLWWNTiM?t=45 Just happens to be what i had scraps of avalable.
Also “Buck” is what you call the piece you make a Fiberglas mold from. i dont know if its still the correct term for vacuum forming but im using it anyway
1 Like
I was asking because I am thinking of CNCing a mold from the CAM program directly, I would use High Density Polyurethane but isn’t commercially available the size I need or it’s damned expensive. Thanks for the link I’ll look it up.
Yeah, now I know people call it “plug or buck” I am not even sure if I spell “mold " right some people call it " Mould”
Keeping an eye on this thread, looks great!
Try googling modelling board, comes in almost any size.
The most dense stuff has a great finish and you can make molds to cast parts from. http://lcamtuf.coredump.cx/gcnc/cb-silicone.jpg
The lower density stuff is often used for large scale surface modelling
 https://www.rqriley.com/images/xr3foam2-big.jpg
4 Likes
This is what I was looking for! The shit is what I need for Kydexing my enclosure. 

Great for you to be able to share how your build is evolving. Love the new enclosure - very nice work man.
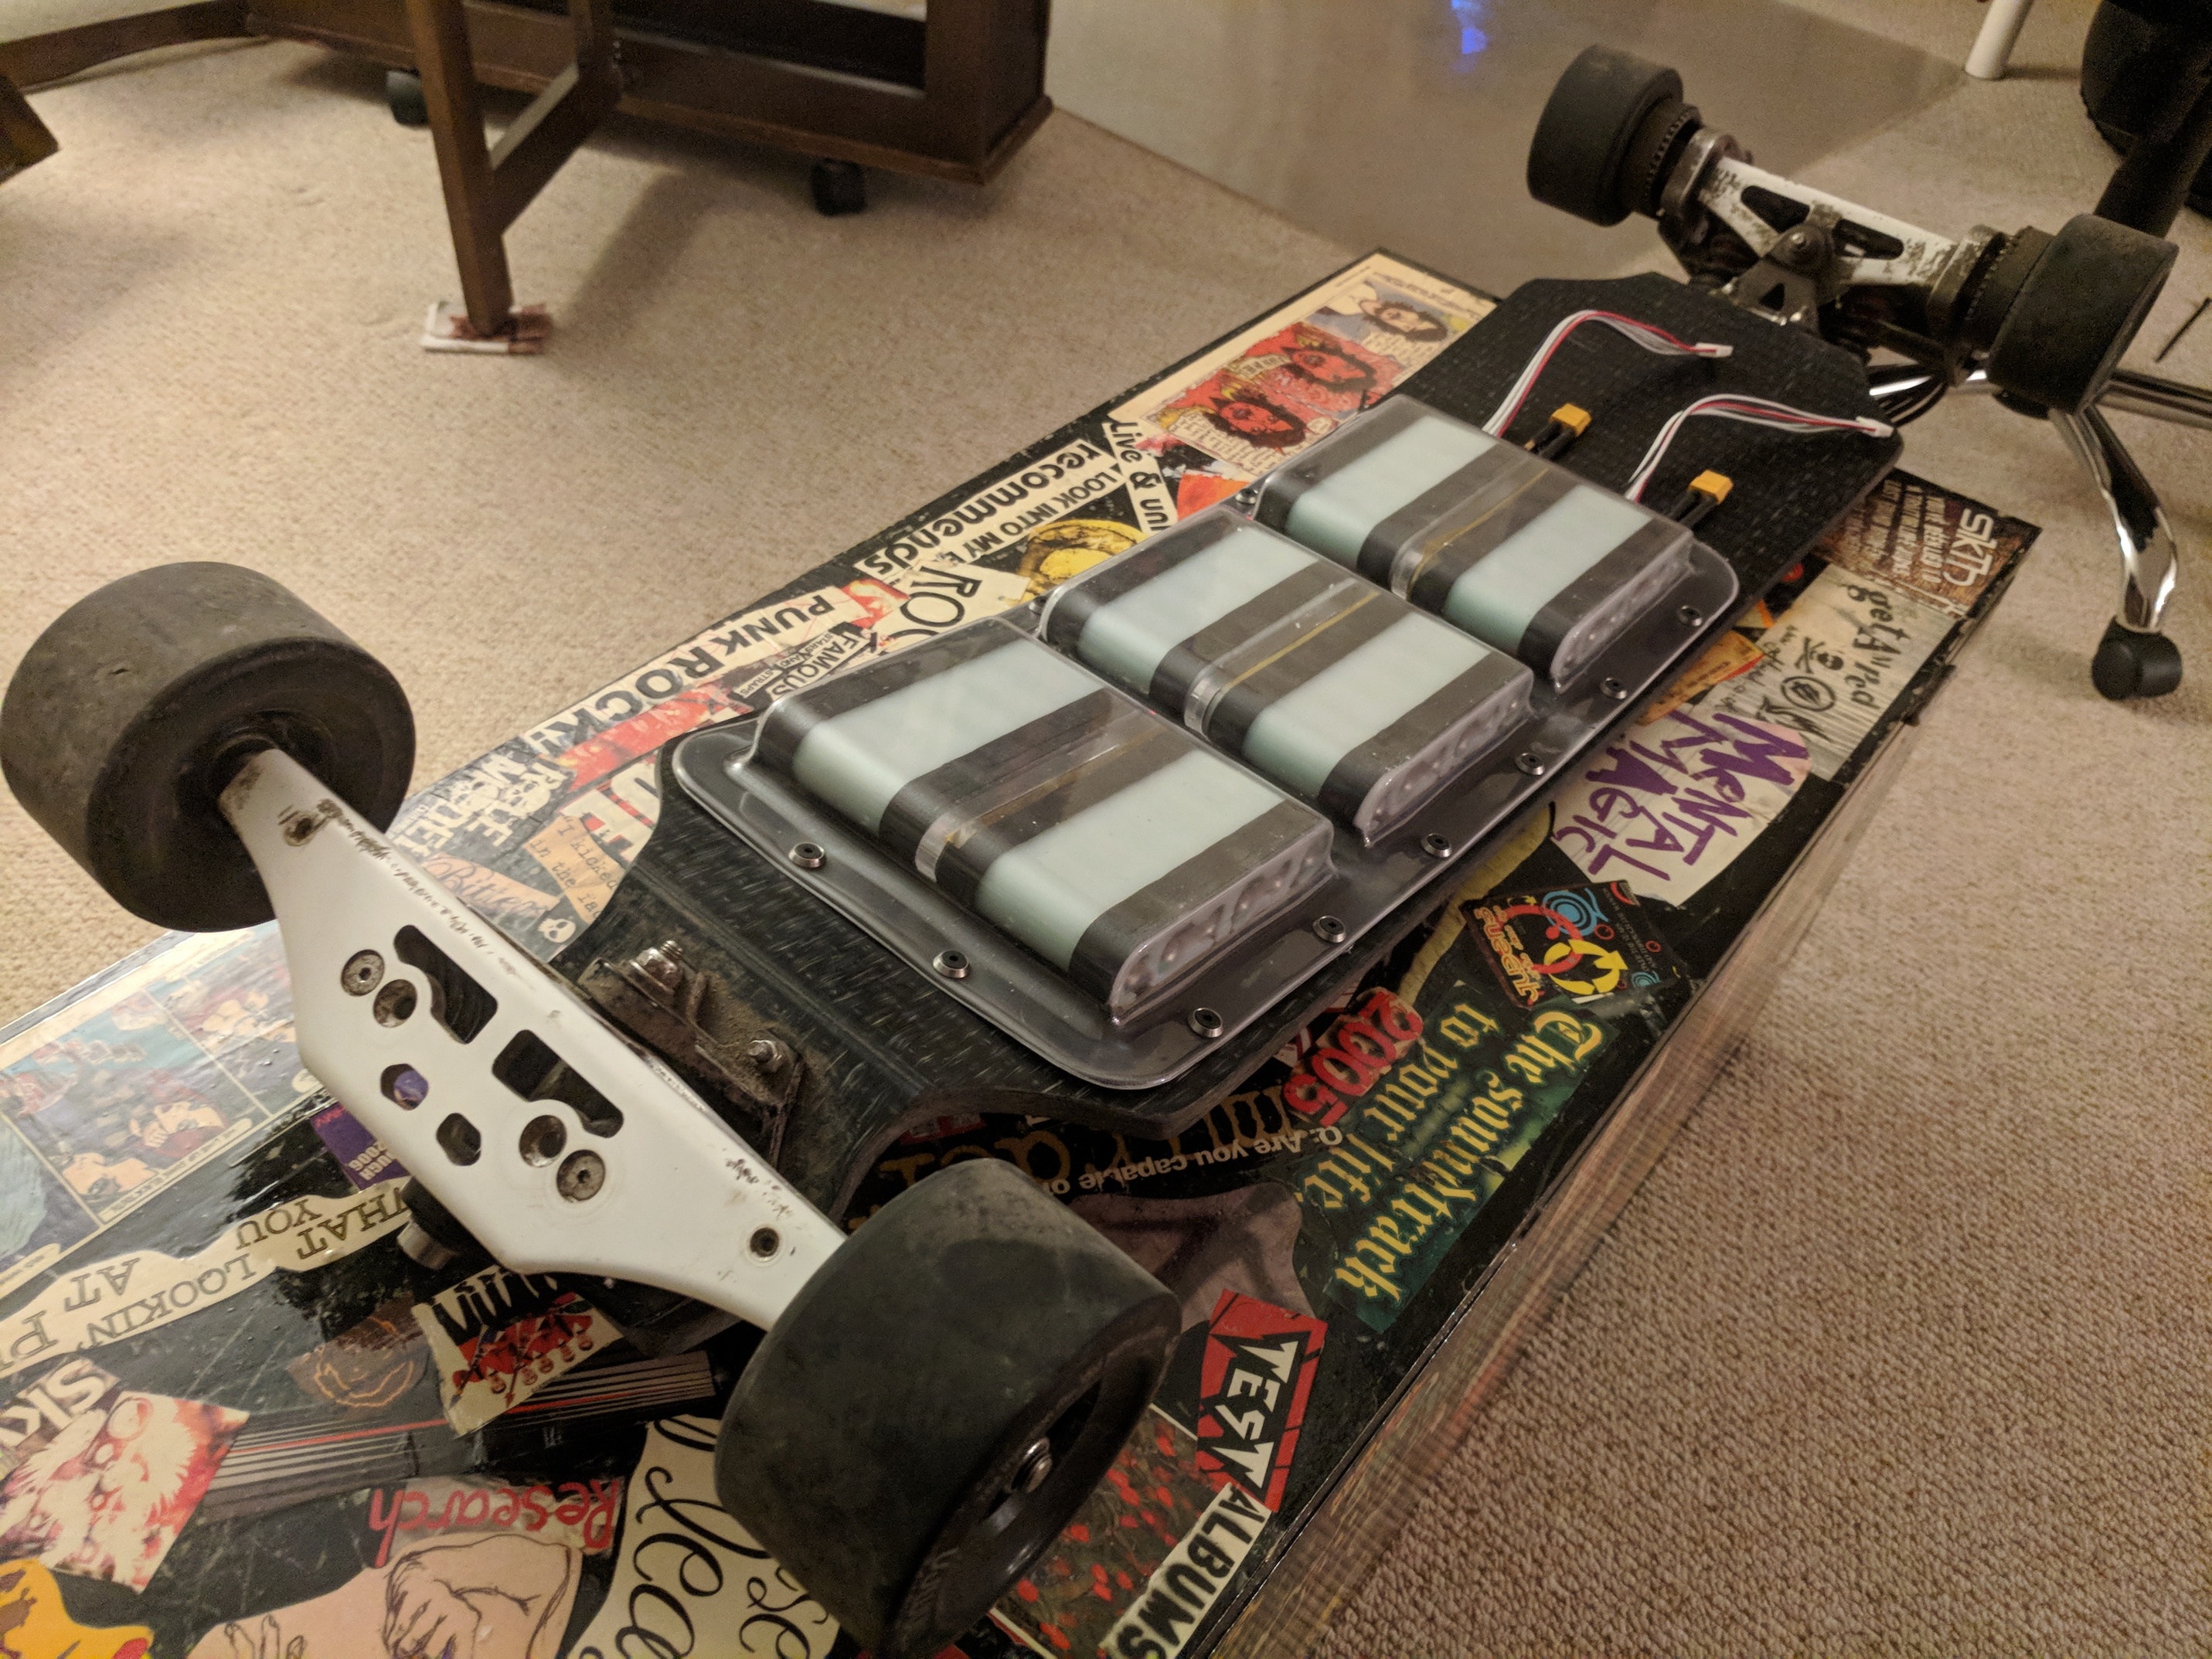
SHITSGOINGTOGETHER UPDATE:
Holes marked and drilled . . . Check. Battery packs fitted . . . Check. Wiring adjusted and tidied . . . Check.

Board marked and drilled . . . Check. Brass threaded inserts Fitted . . . . erm . . . . uhhhhhh. . . . . . . . . Check. EPDM Seal Cut . . . Check

Cover everything in Hot Glue so nothing Rubs . . . Check & Double Check Kapton all loose wires down . . . Check Get ready to awkwardly put both half’s together . . . yep

Lift . . . Flip . . . . . Bolt everything together . . . . . Check
Finally Ready For a test ride
17 Likes
Looking sweet! What configuration is the batteries in?
They are 12s3p but unusual in that each cell in a parallel group is in a different pack.
2 Likes