Hi,
Time to post pictures from my first build. I entered the esk8 scene this summer when I bought a Boosted V2 Dual+, my first ever skateboard. While I was happy with the board, I quickly learned that 6 miles goes by very fast. Looked around to see what else does the market offer and quickly learned about Evolve and their products. Really enjoyed the double kingpin wide trucks, I was hooked after the first ride. However, I found their battery and specially the controller / remote to be very twitchy. Coming from the Boosted, it was miles behind.
With the above in mind, I started learning about DIY boards and what people are building. I’m a software engineer with some background in electronics so I thought it would be a nice project to try and build one for myself. Since I enjoyed the carving and feeling of the evolve trucks, I decided to go with them.
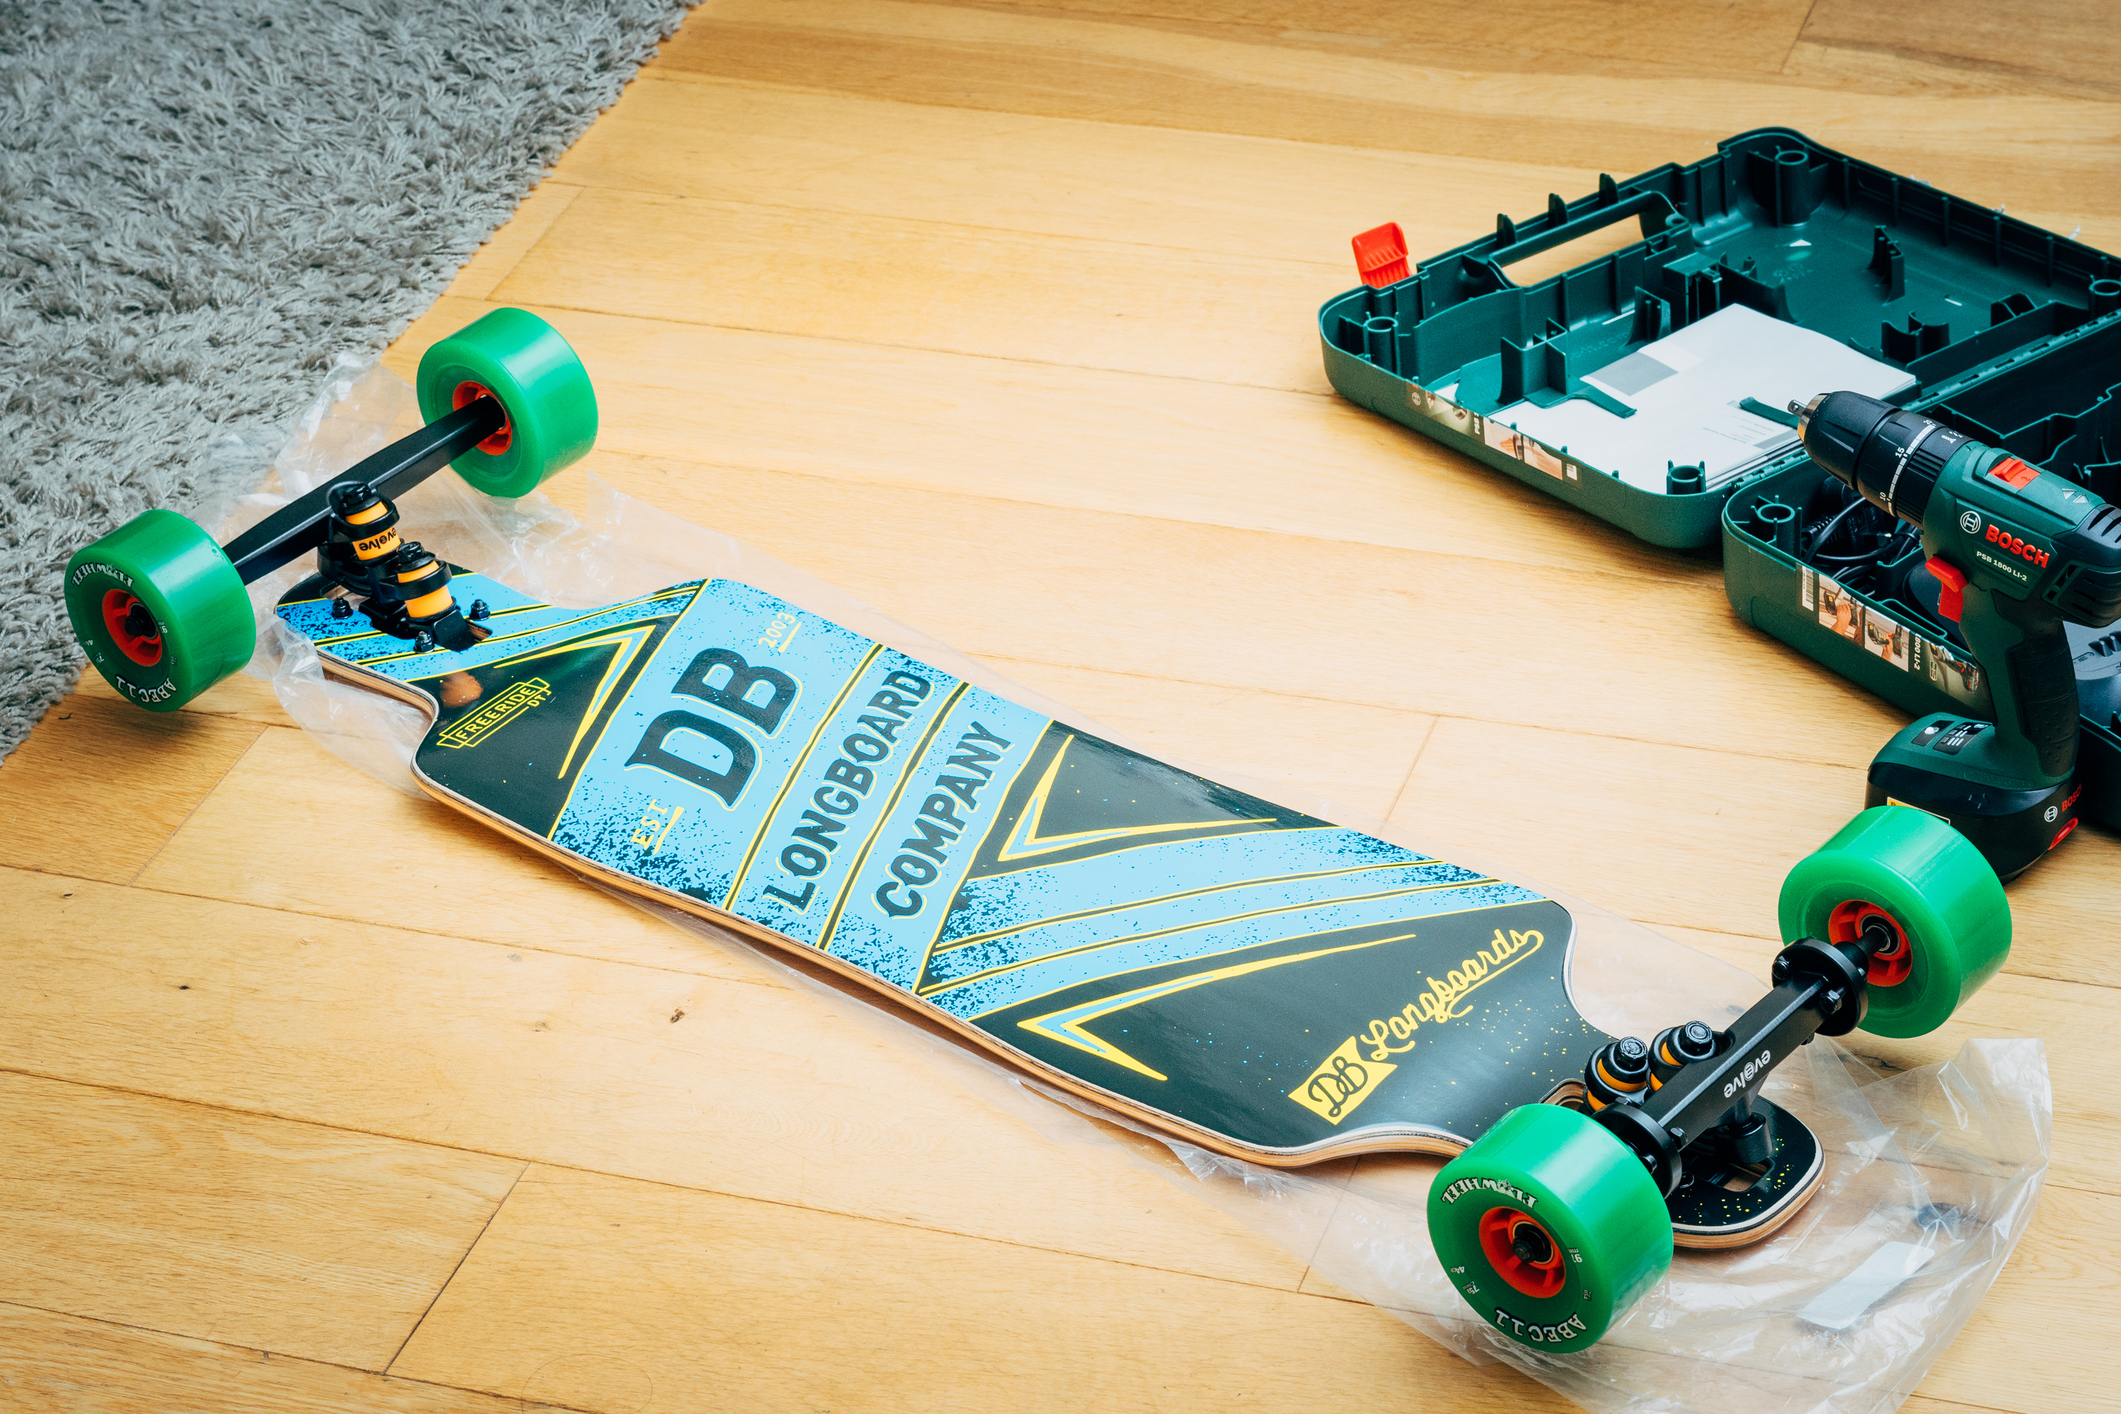
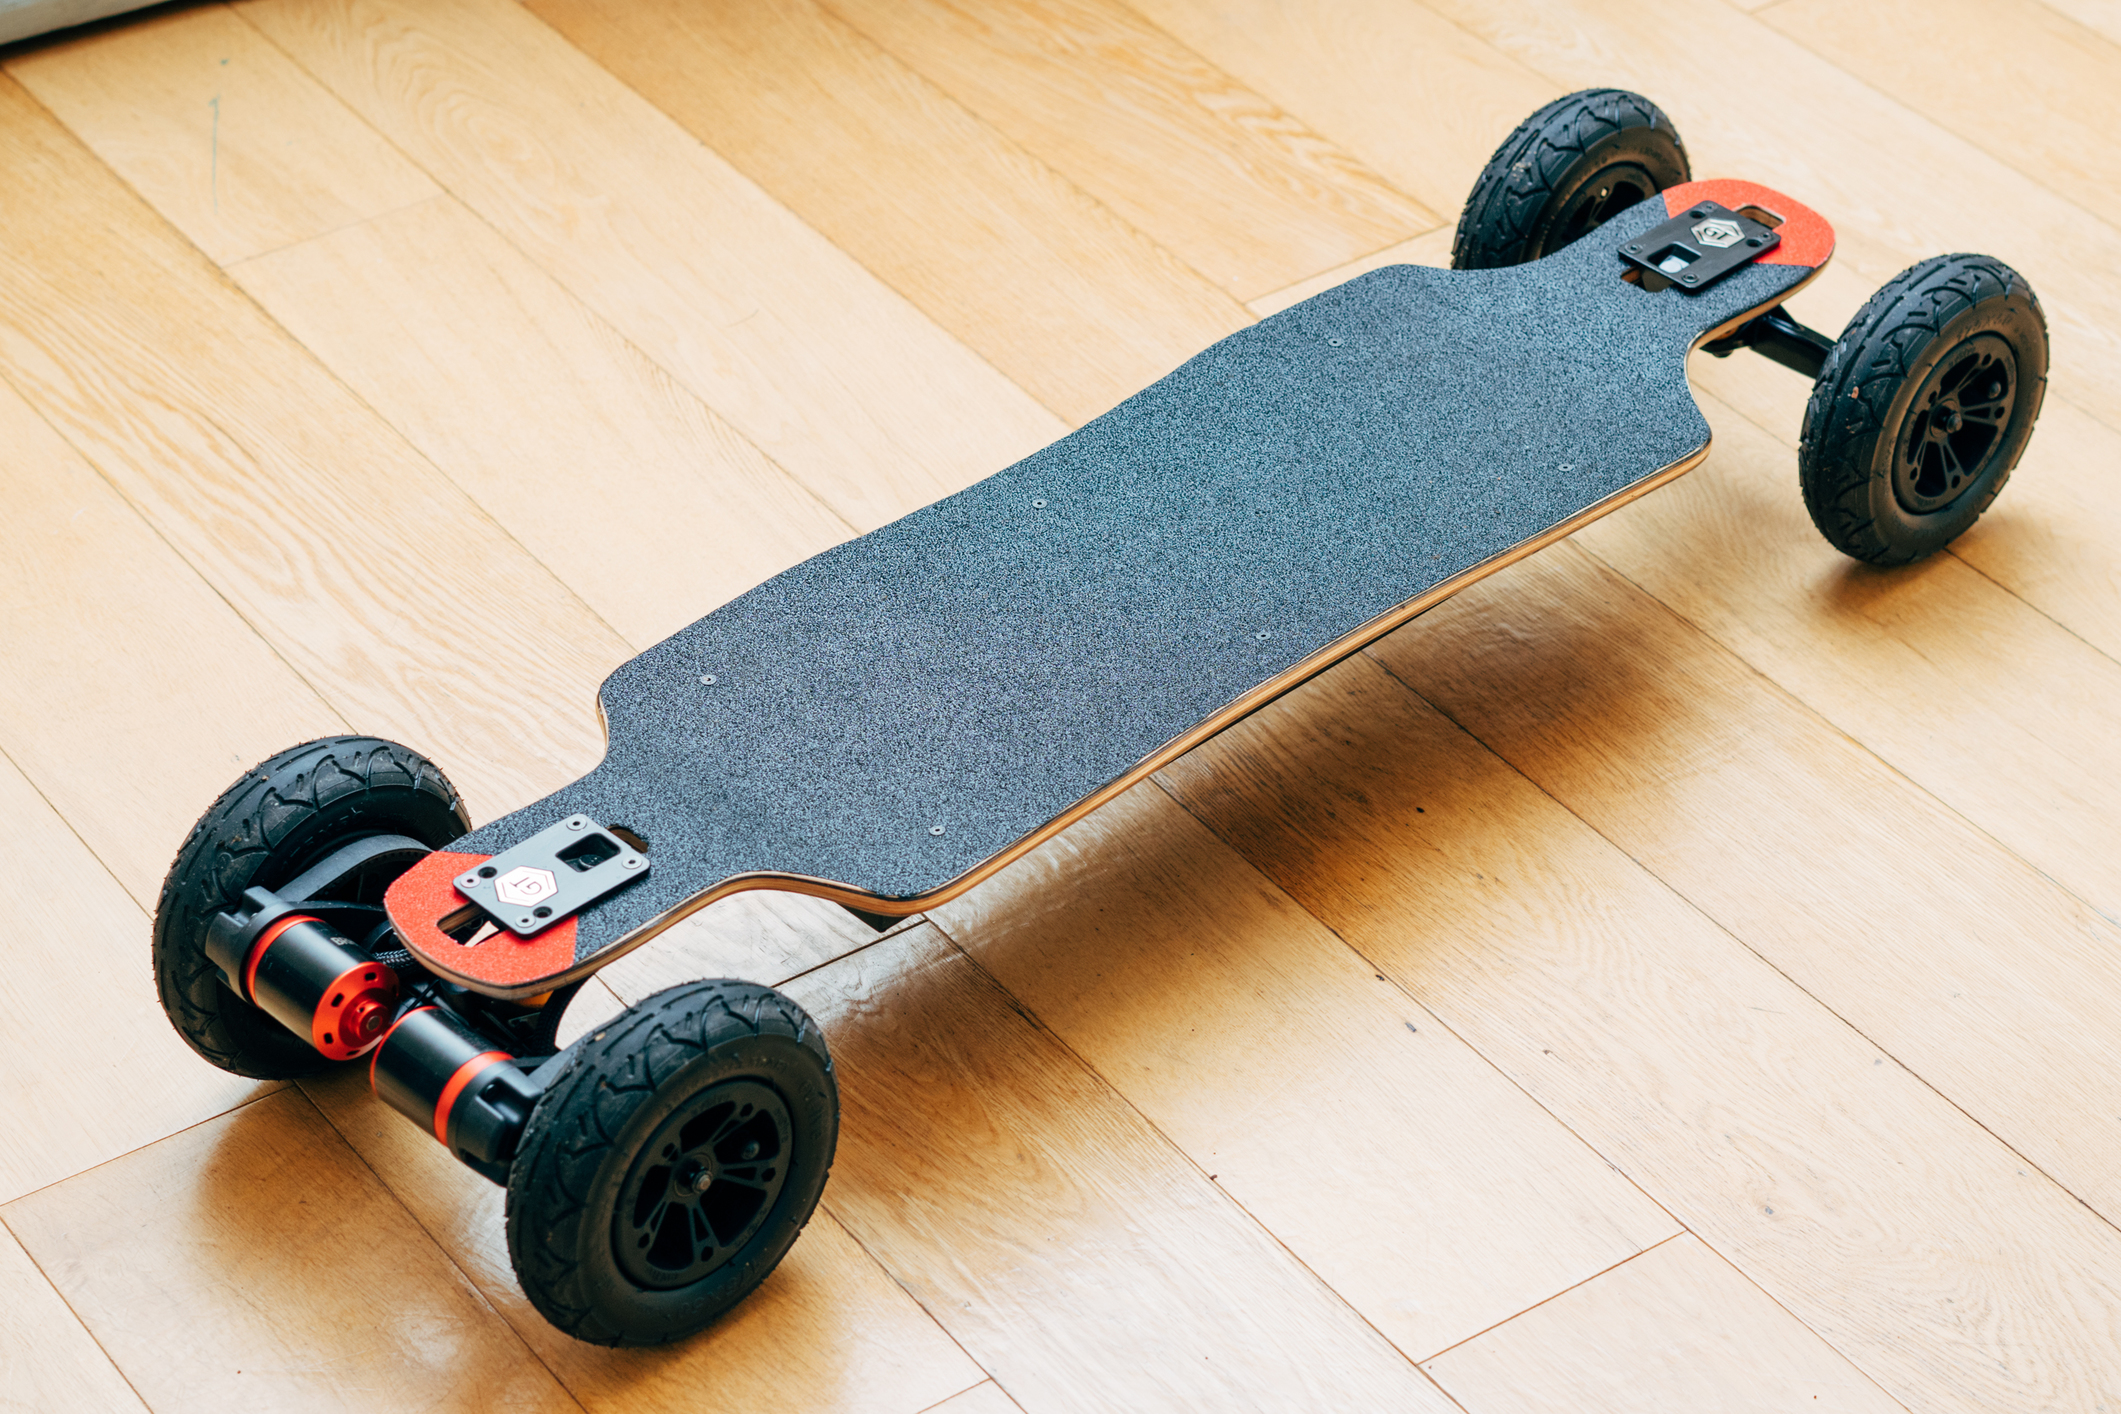
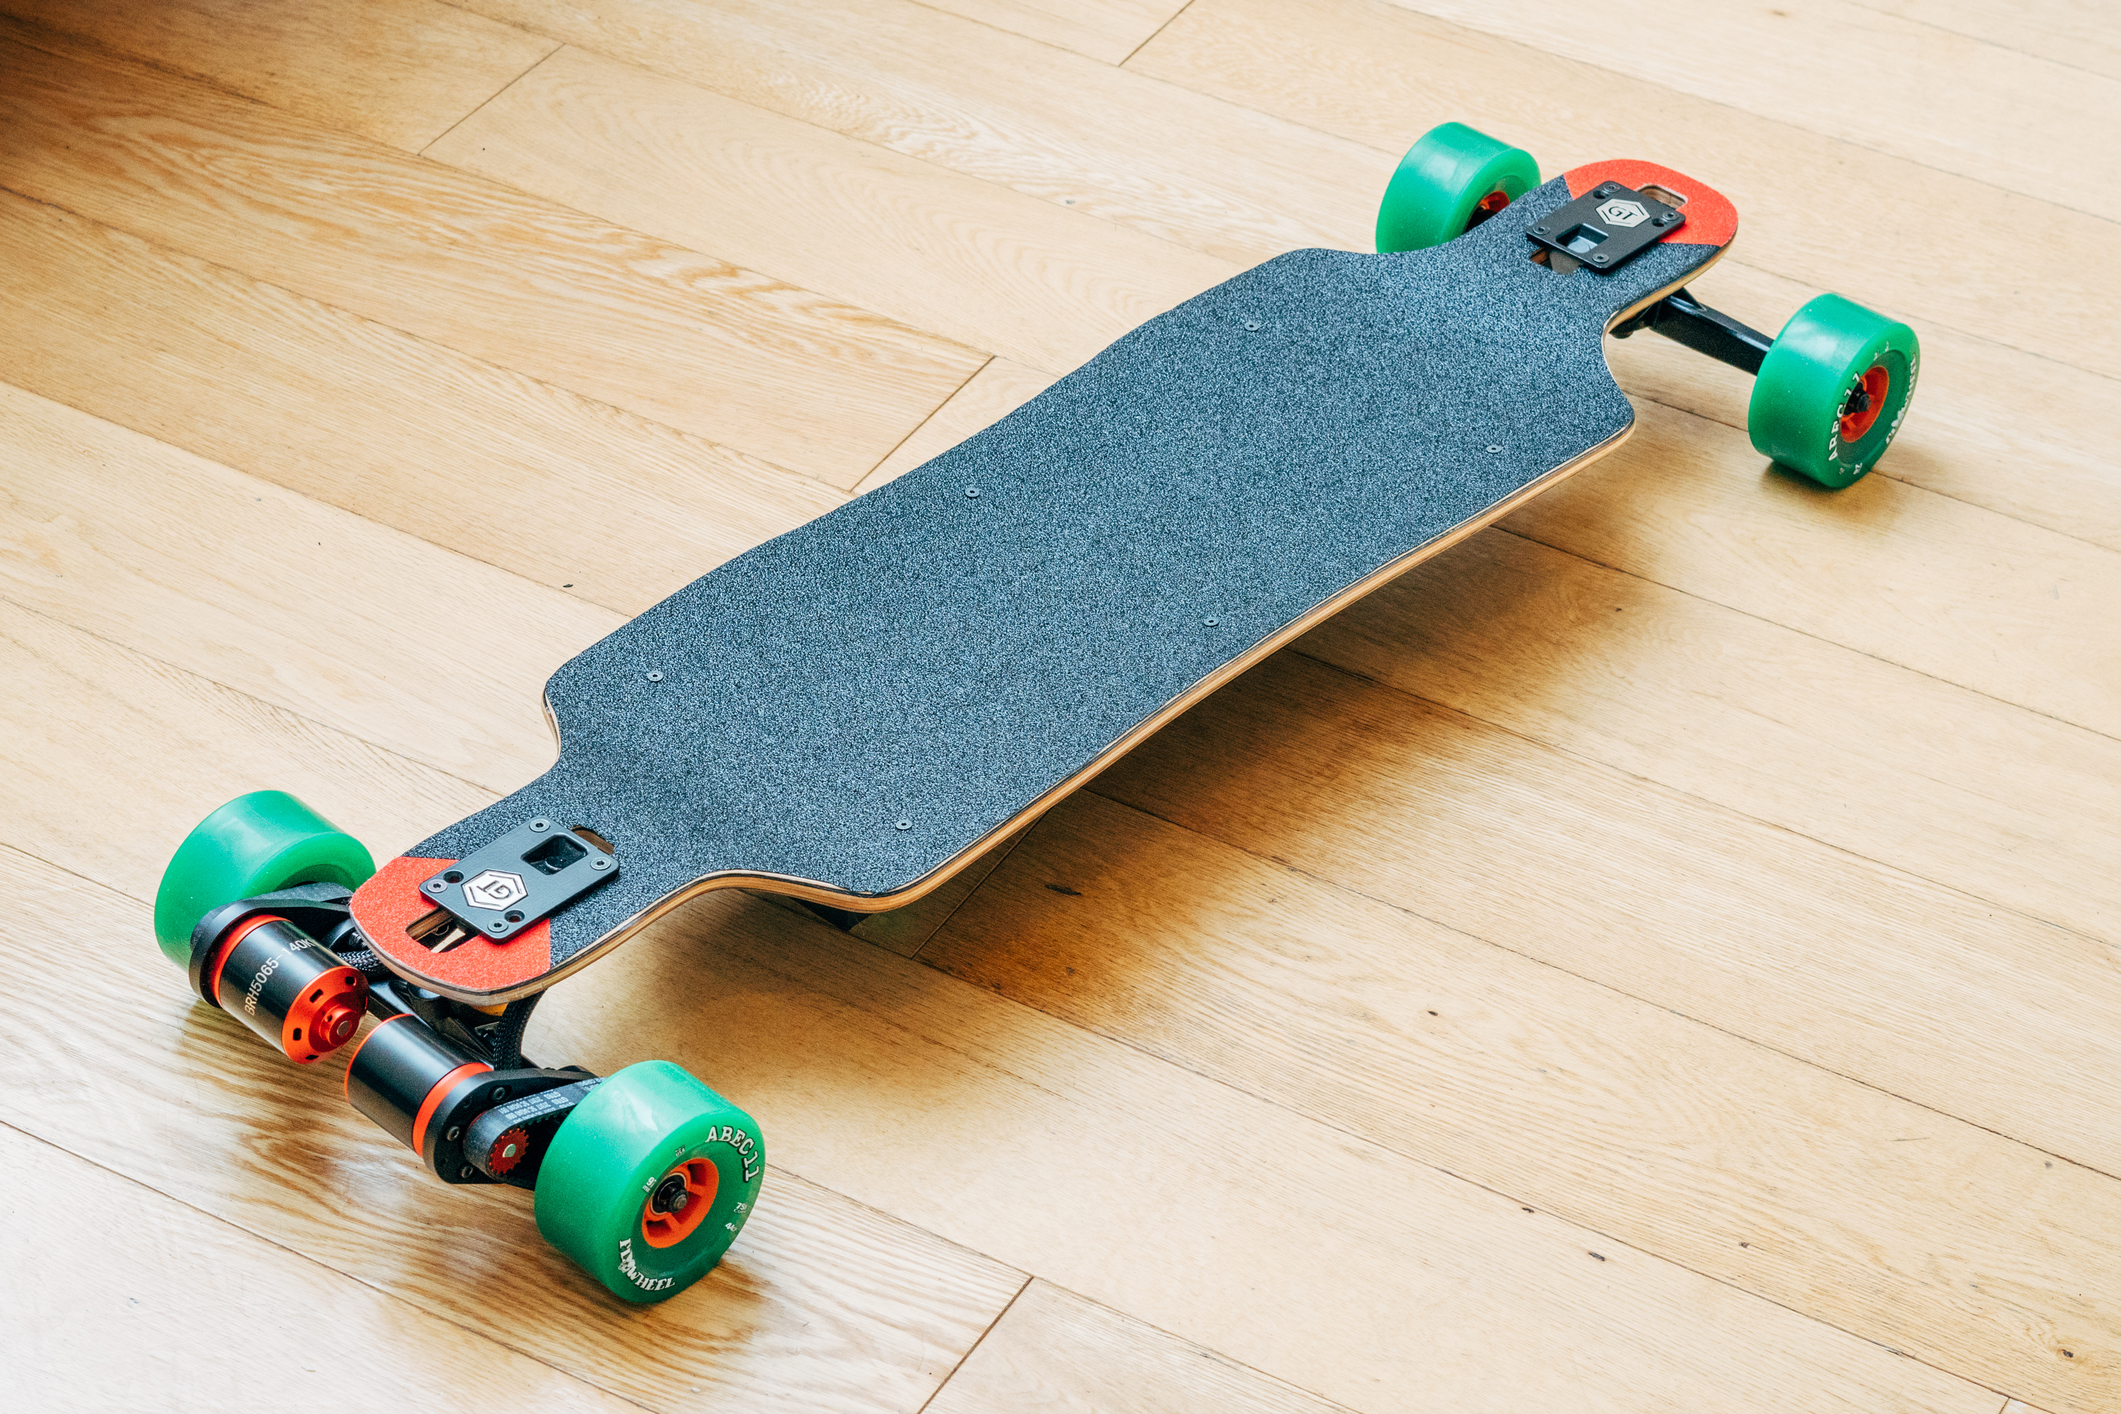
Finished board (more pictures below)
Parts list
DB Longboards Freeride DT 38"
https://www.skatedeluxe.com/en/db-longboards-freeride-38-96-5cm-longboard-deck_p87193
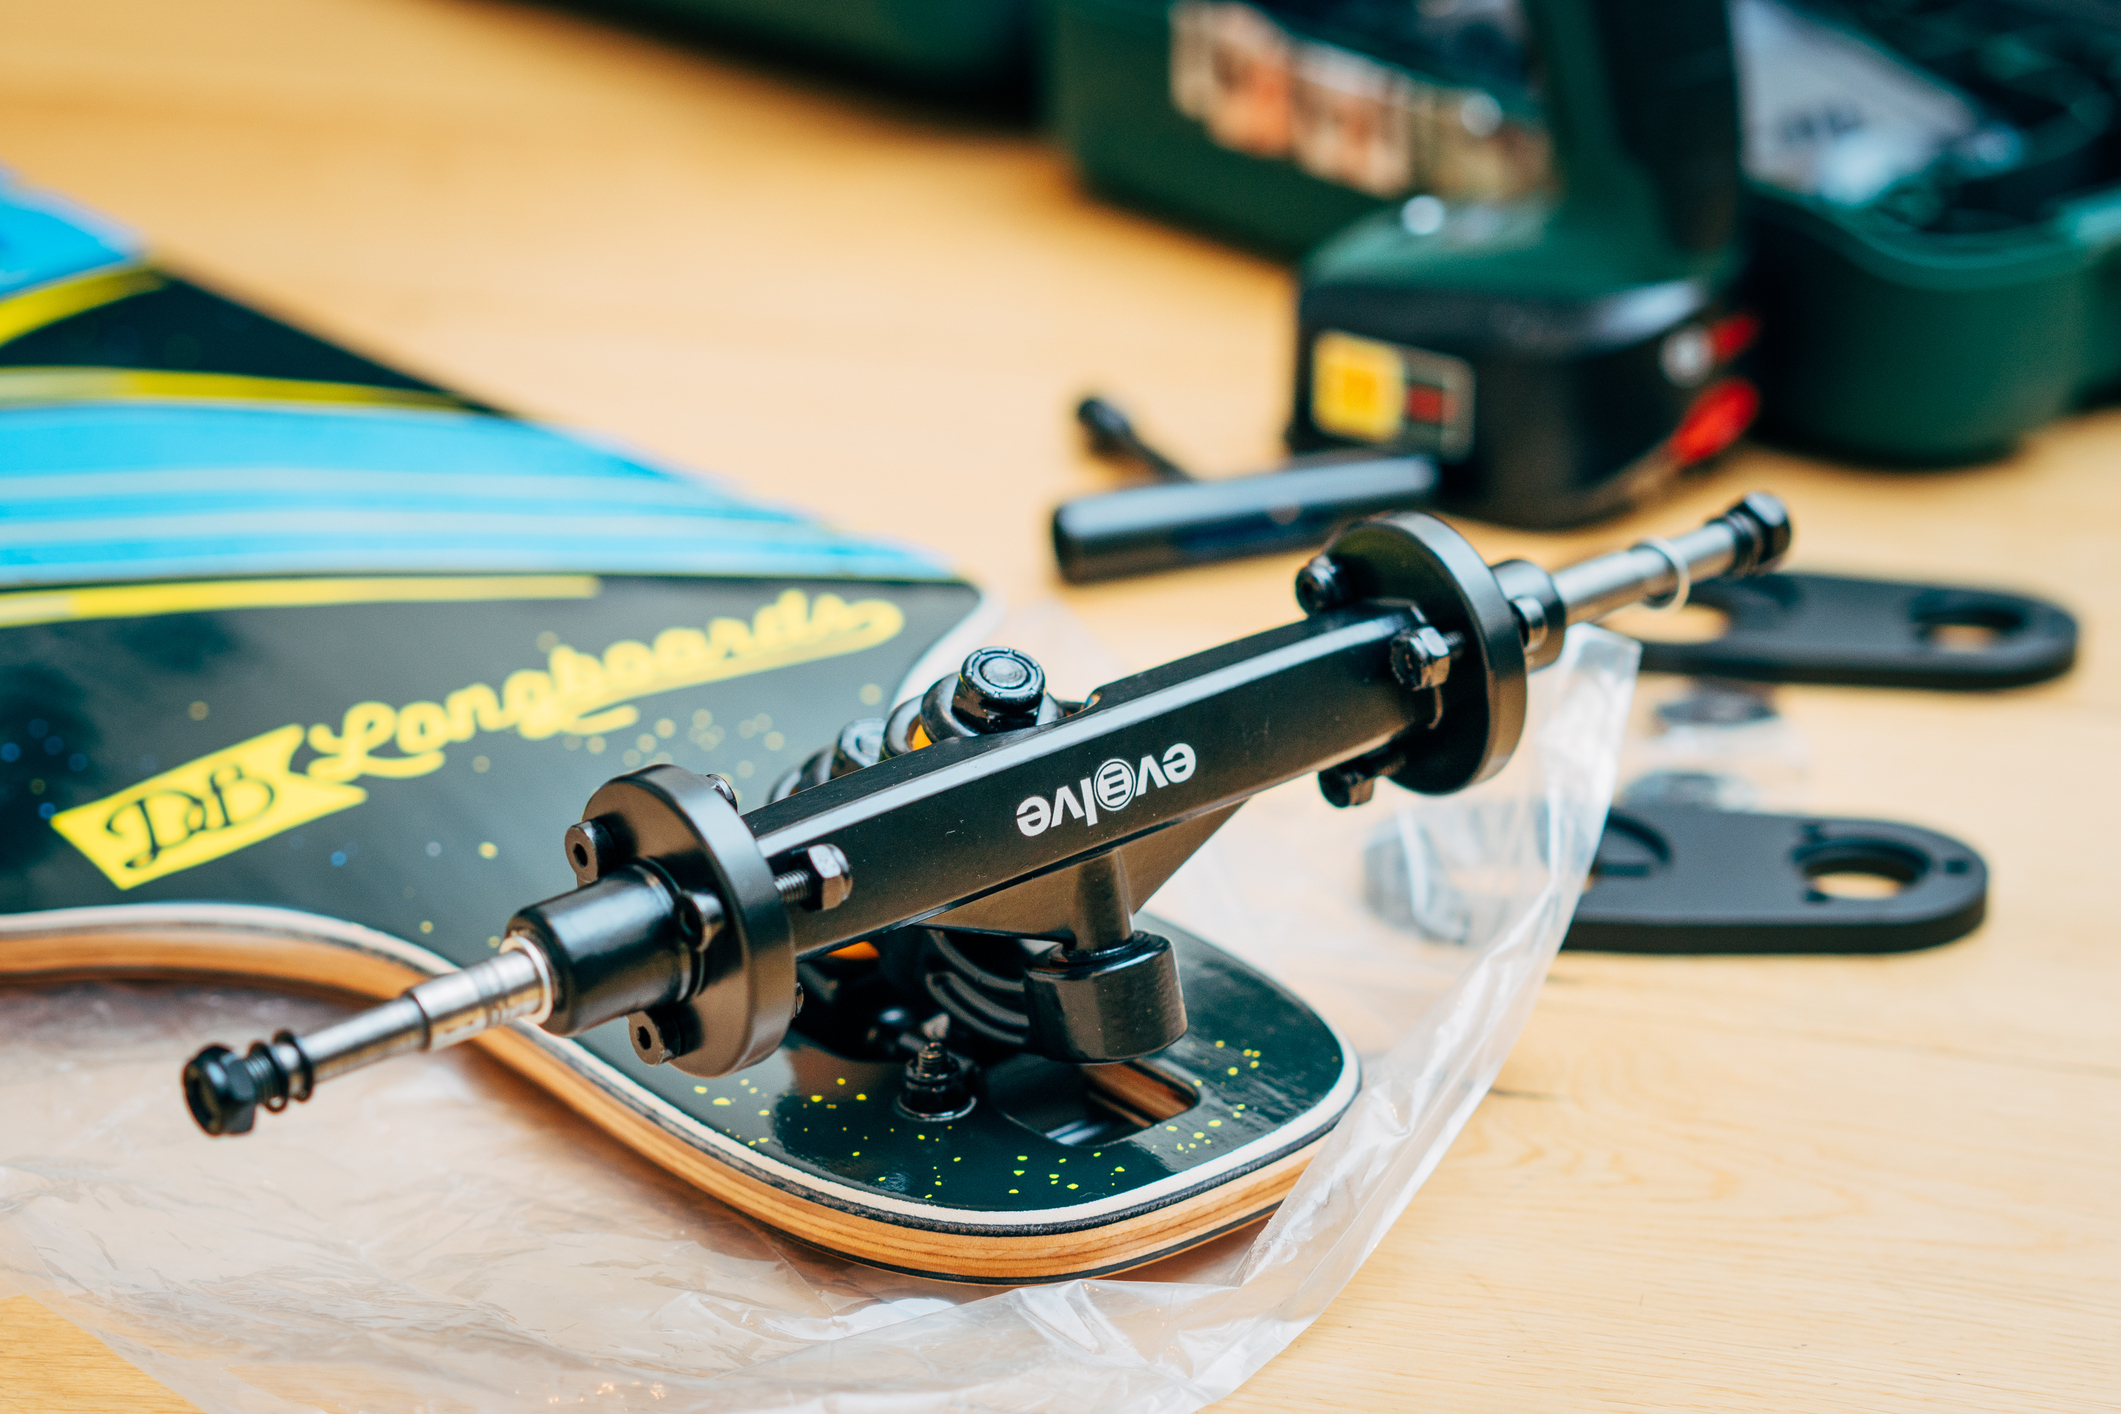
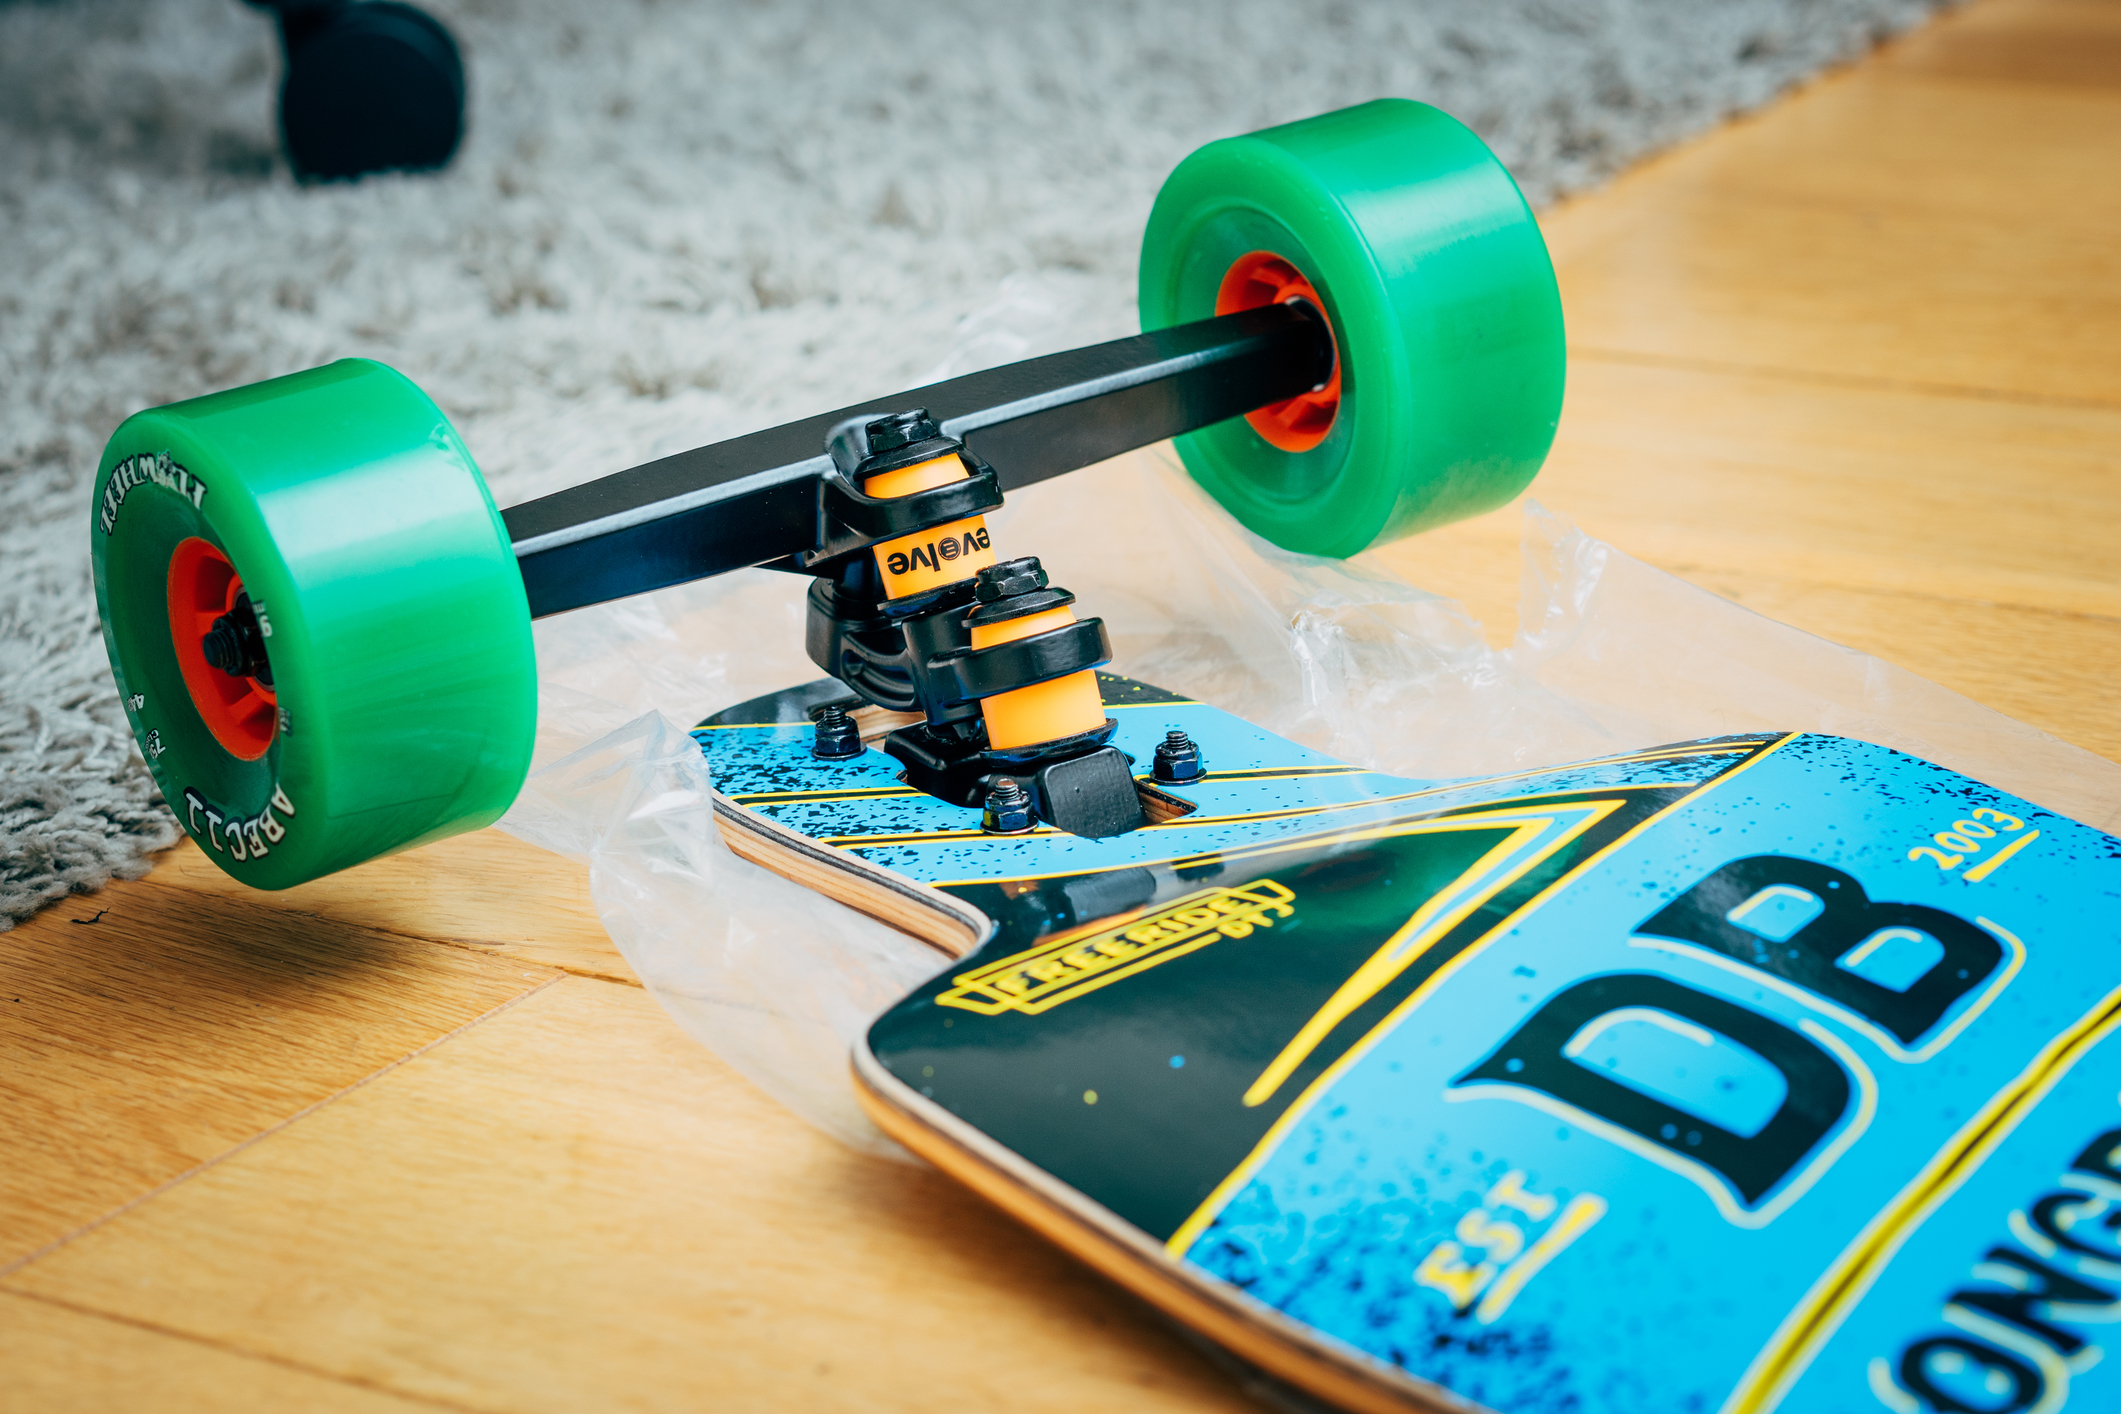
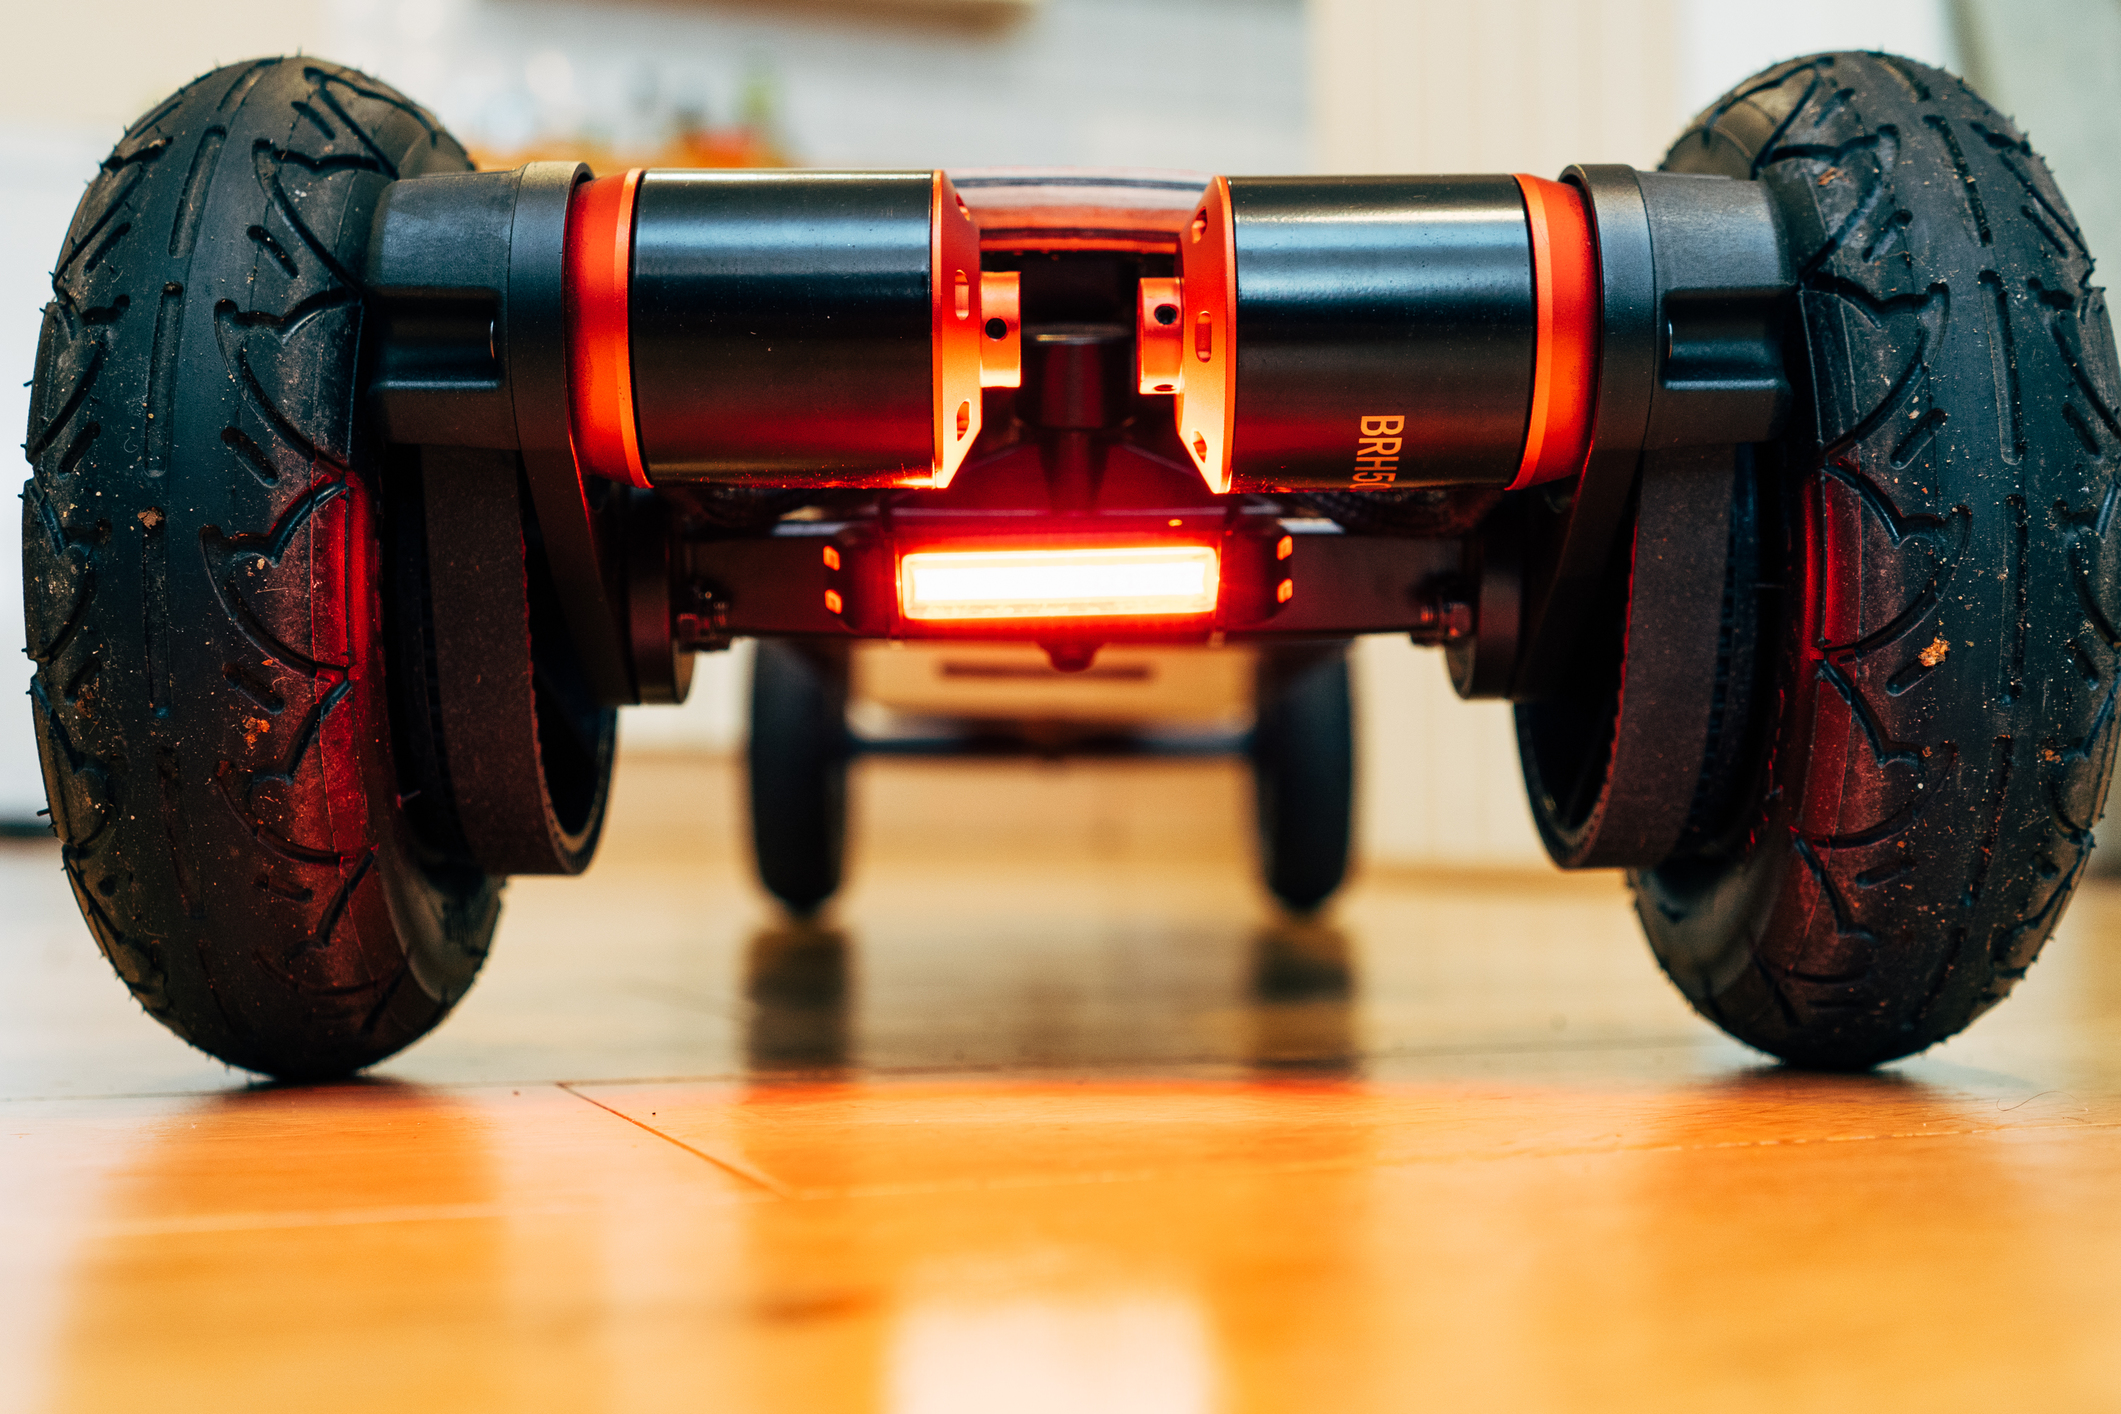
Evolve Trucks & Motor mounts
Racerstar 5065 140kv
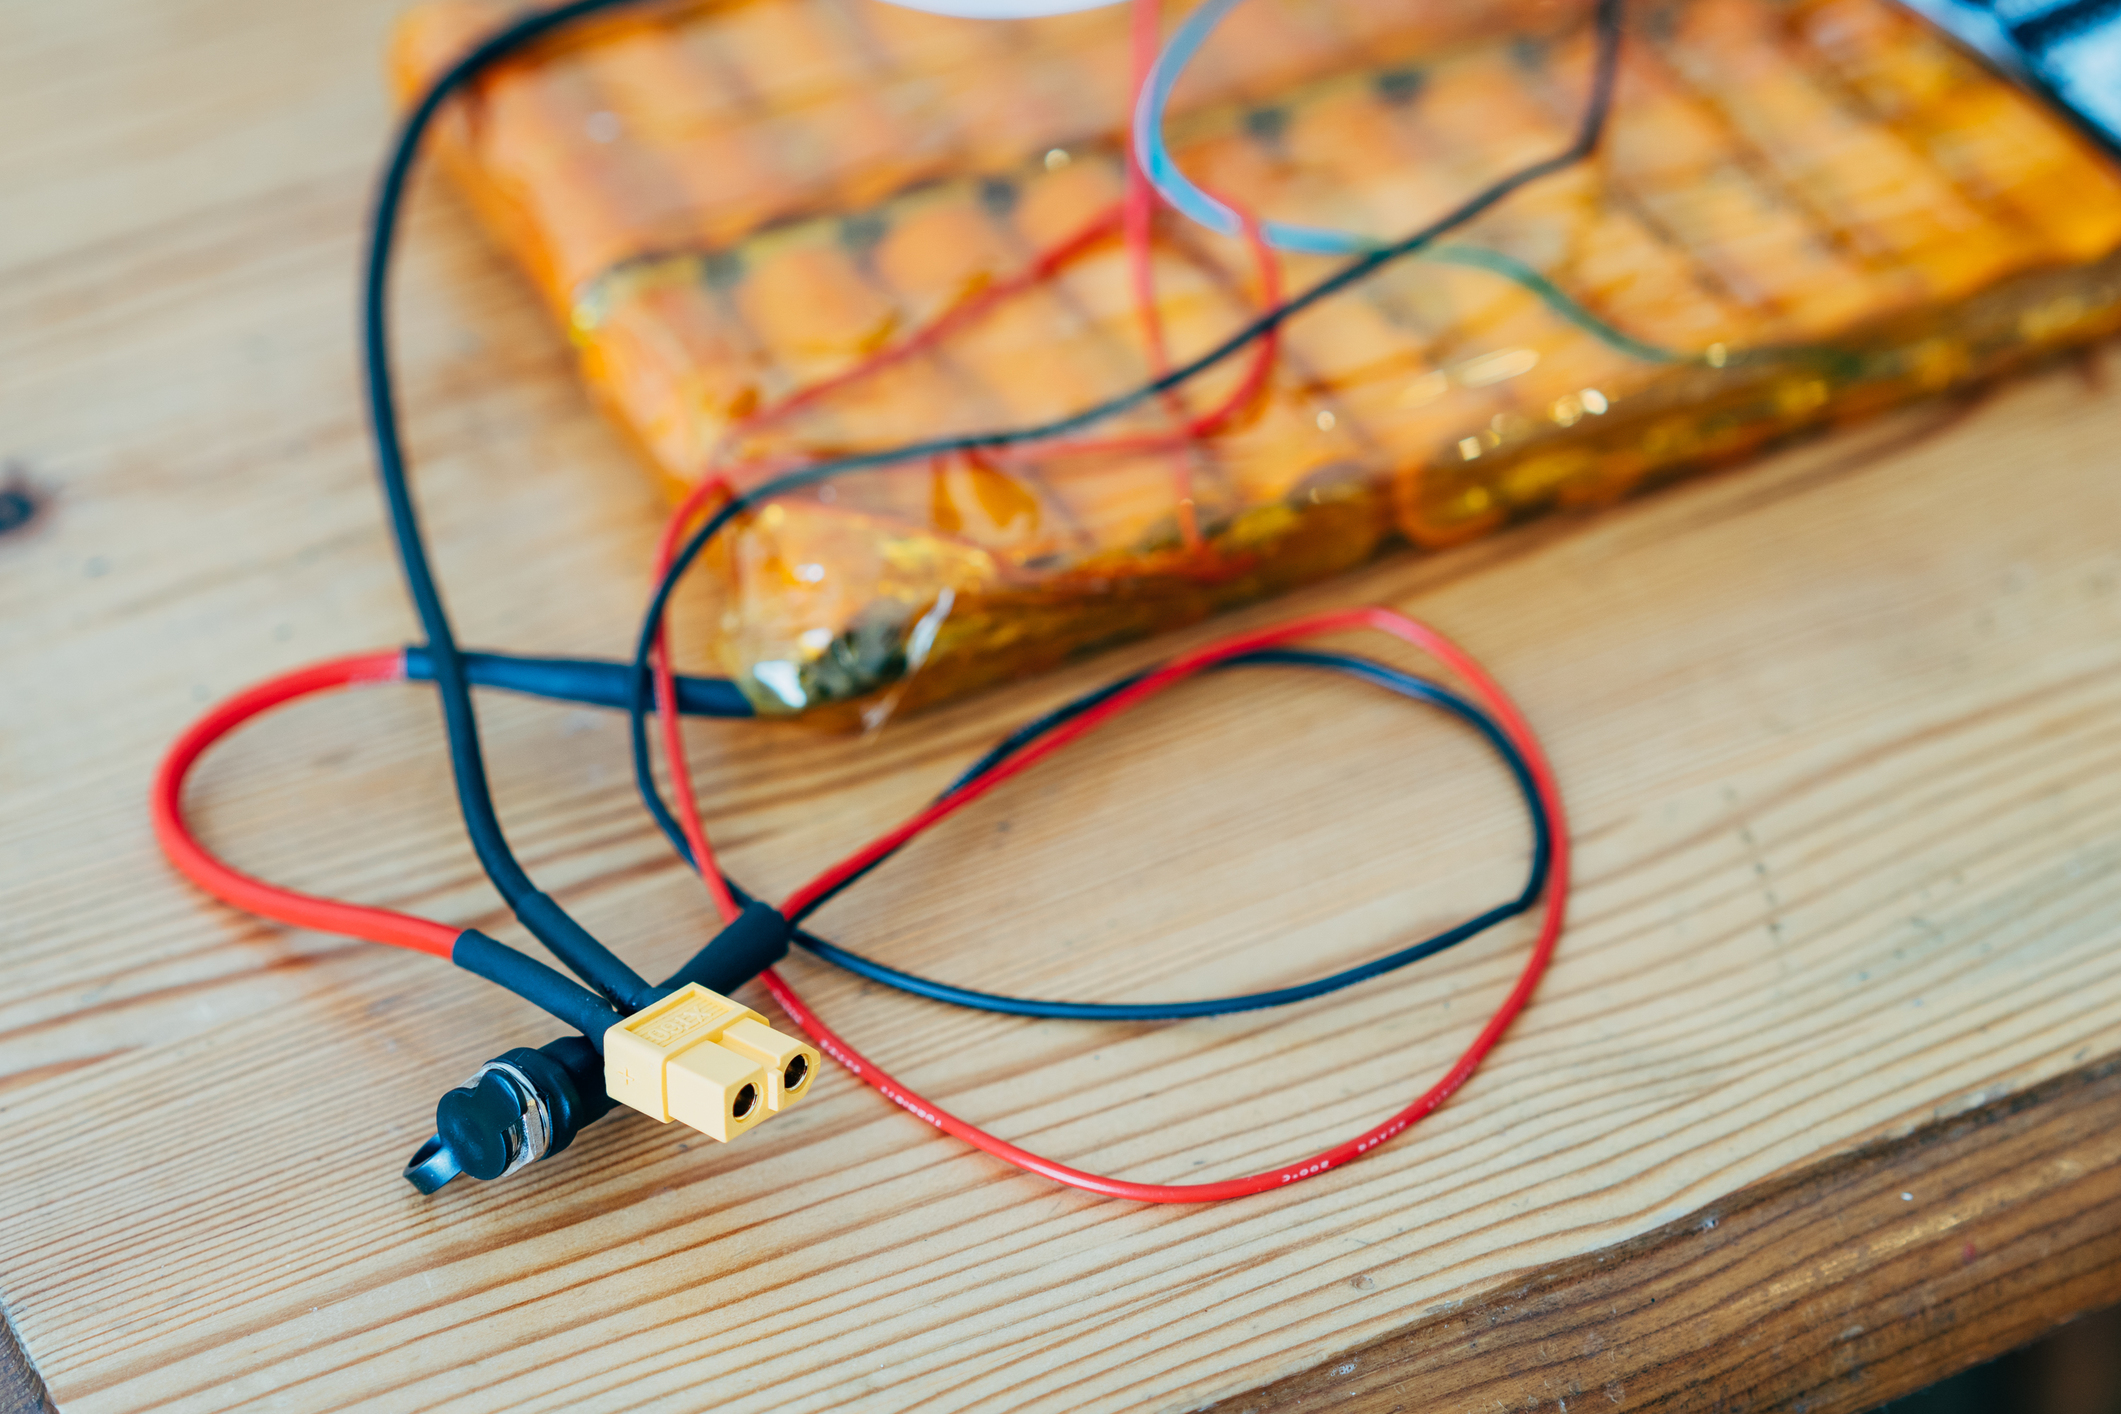
Custom 10s4p 12Ah battery pack using Samsung 30Q
https://eu.nkon.nl/samsung-inr-18650-30q-3000mah.html
Enertion @onloop FOCBOX
Enertion @onloop Nano-X remote
http://www.enertionboards.com/electric-skateboard-parts/nano-x-enertion-2-4ghz-controller/
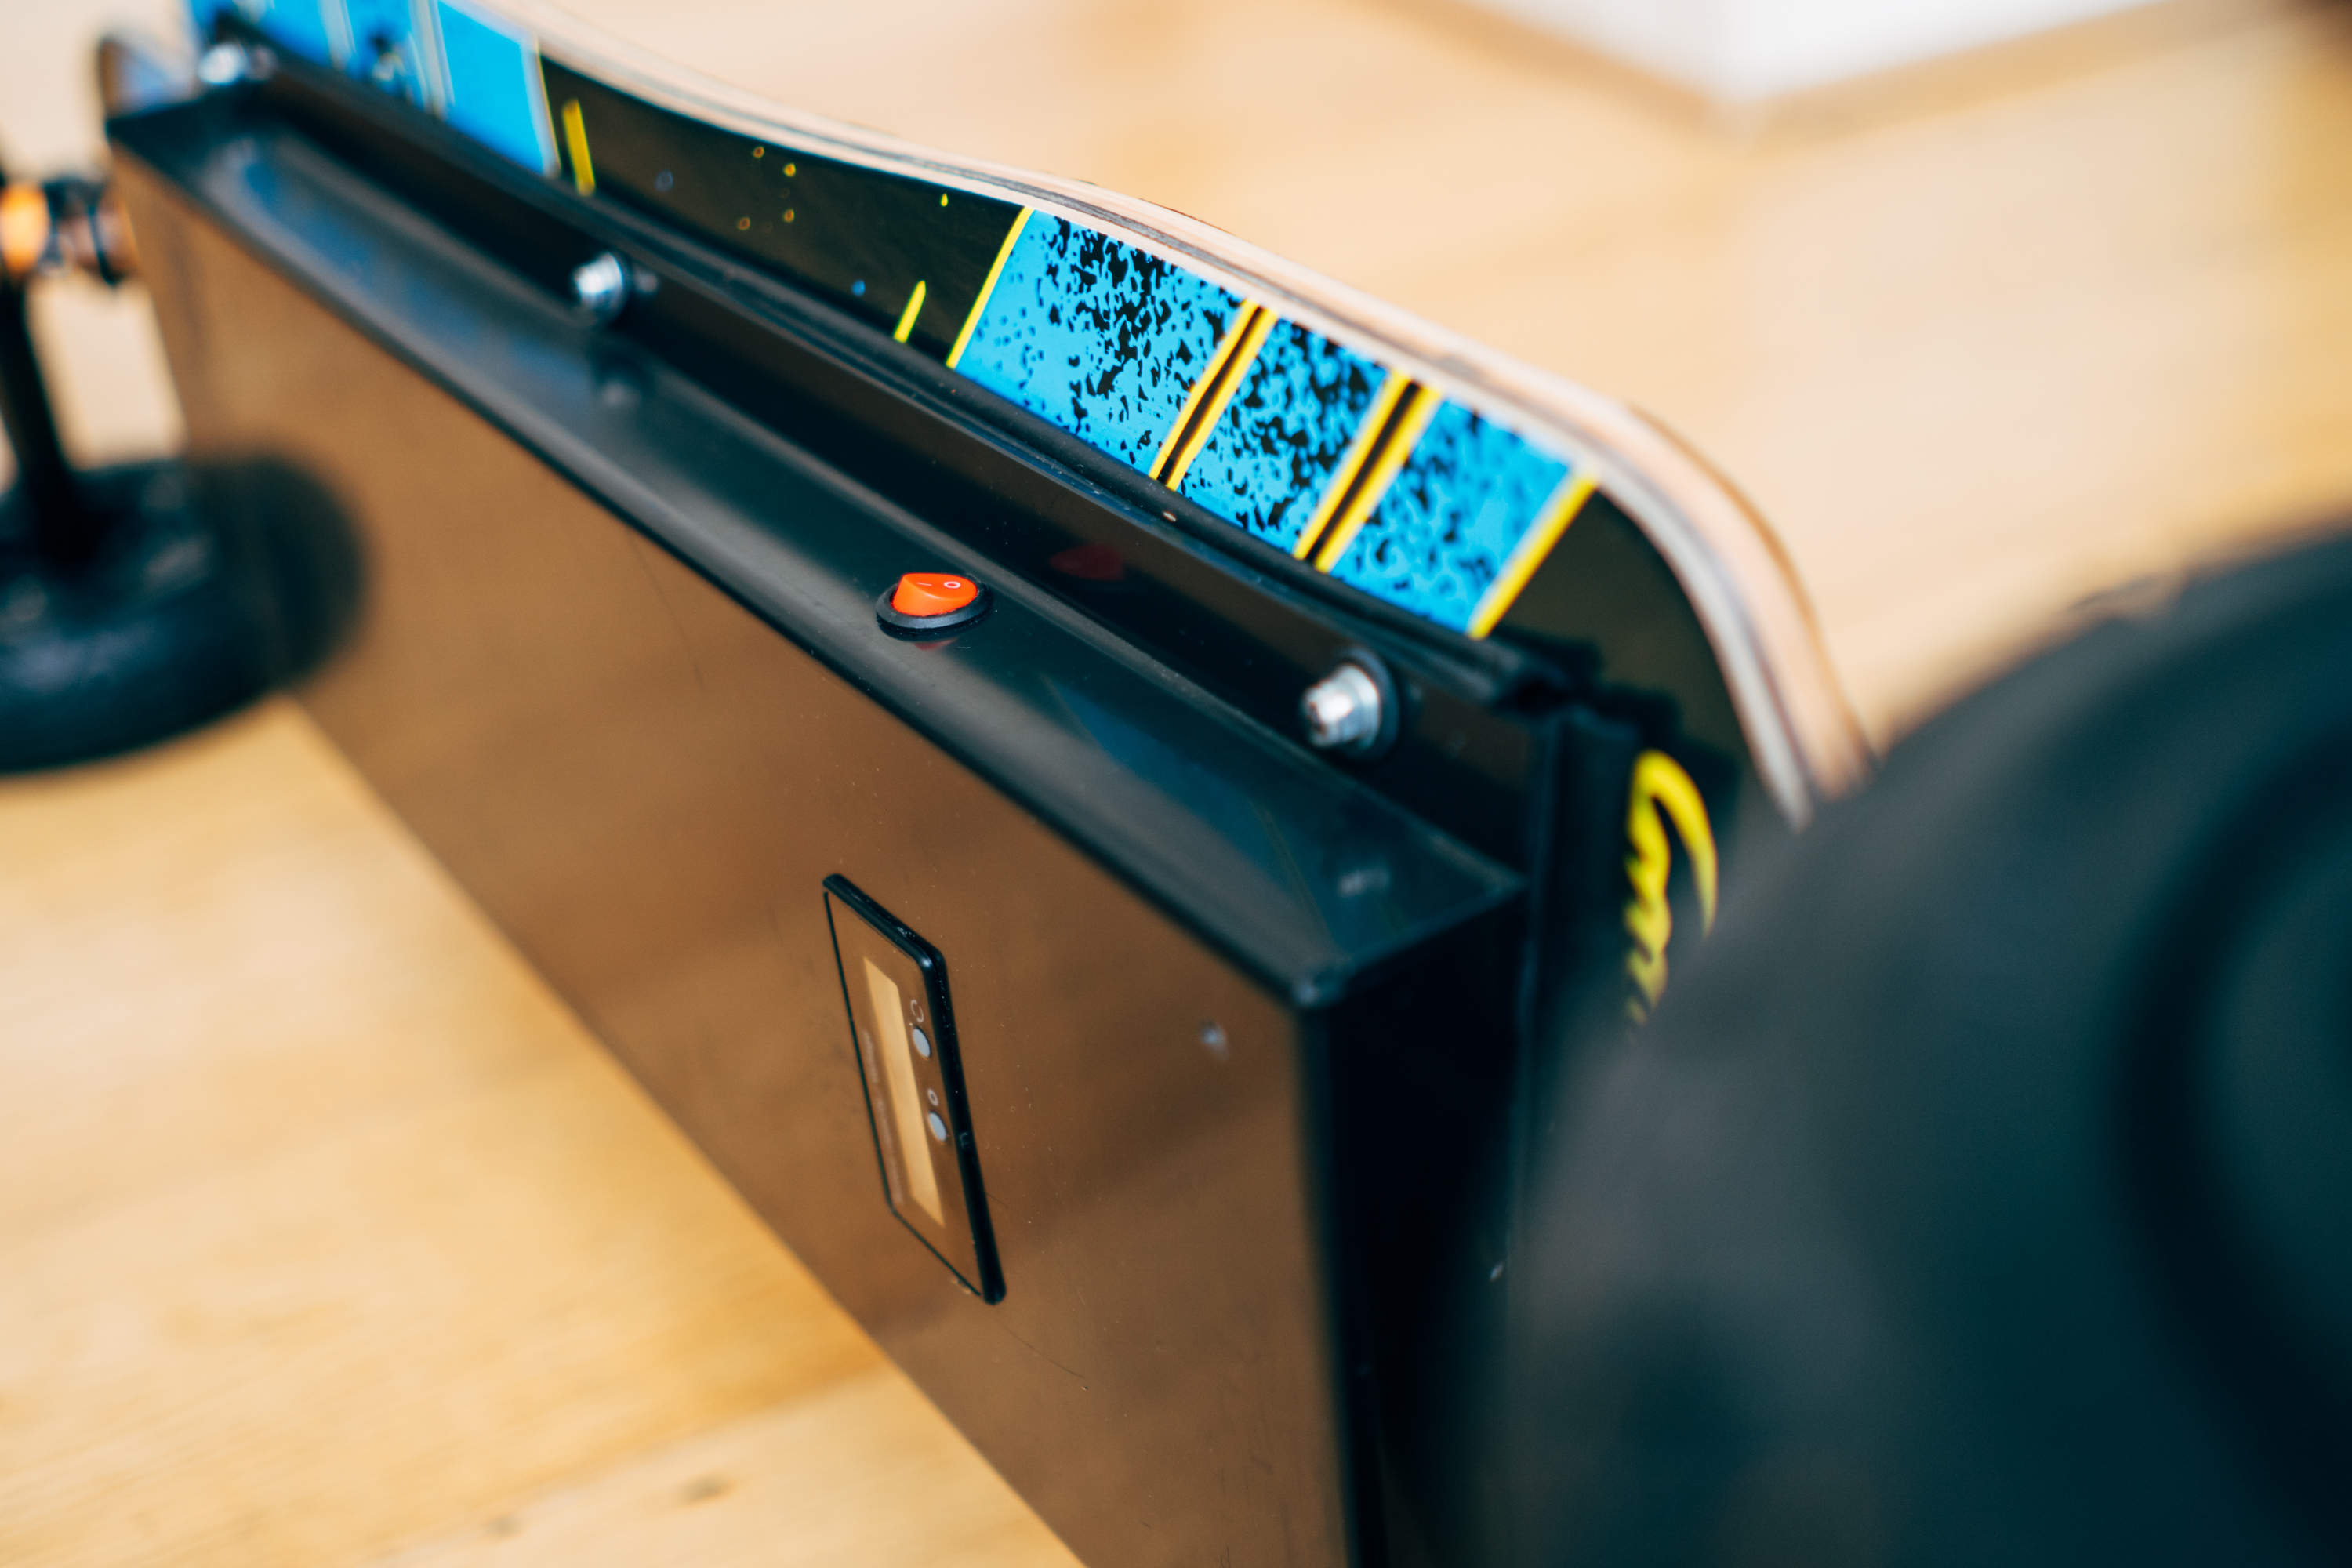
@esk8 Enclosure
https://store7570530.ecwid.com/#!/Akku-Box-aus-ABS/p/77922661/category=15842017
@esk8 vedder anti spark switch
@rpasichnyk Bluetooth module and metr app
Few notes about the build:
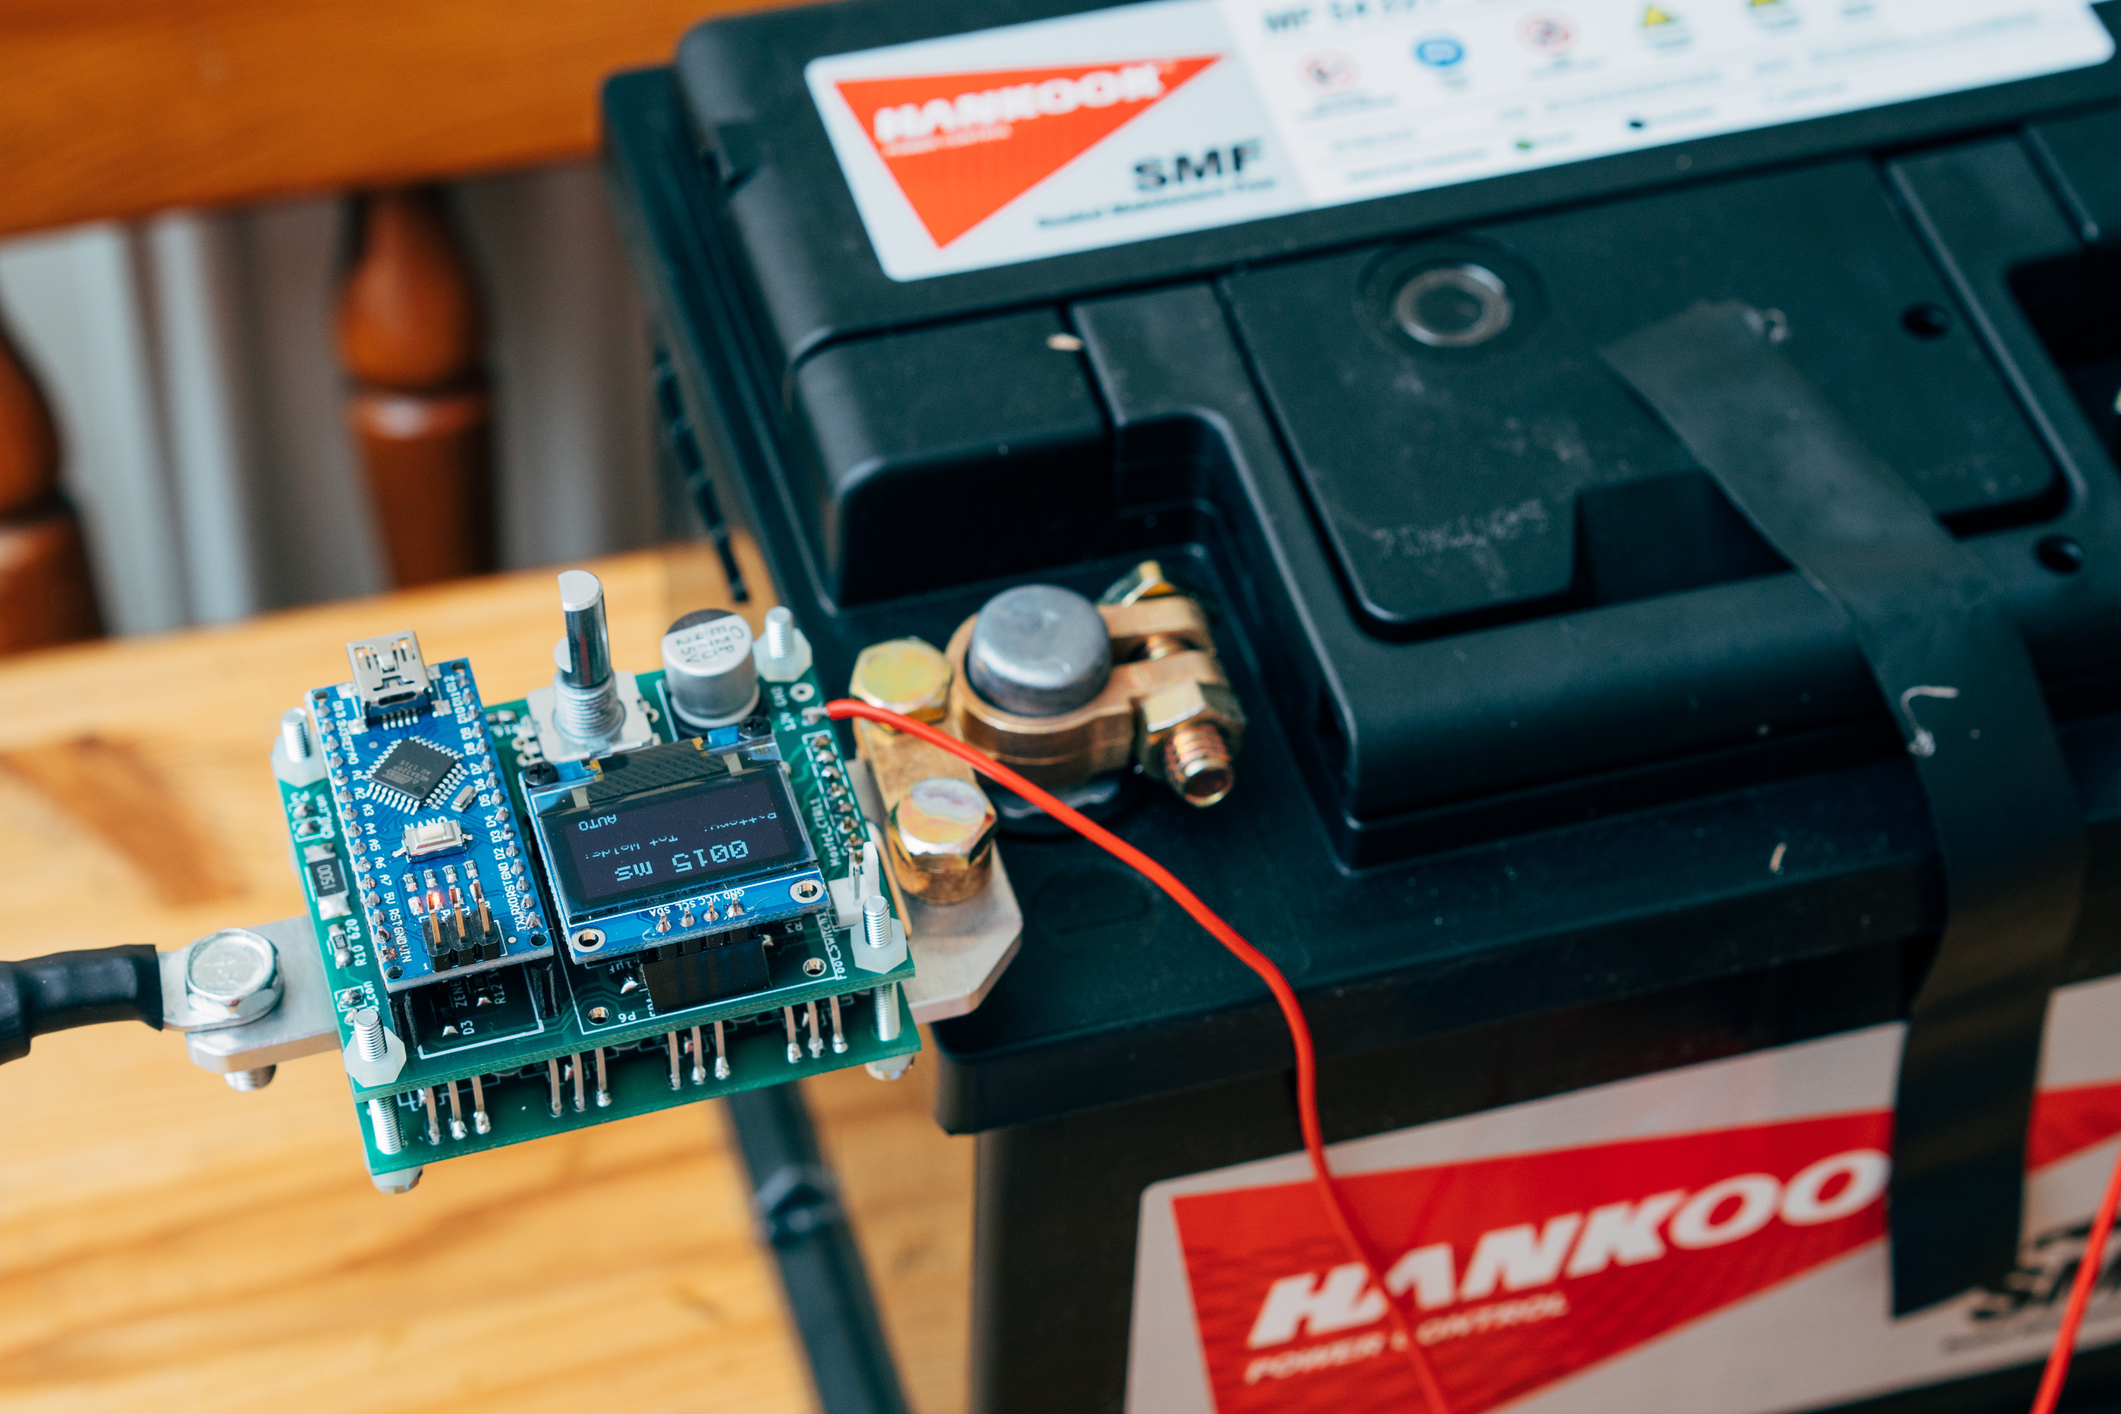
Battery
This was very fun to build. Got myself an Arduino spot welder from https://malectrics.eu/product/diy-arduino-battery-spot-welder-prebuilt-kit-v3/ and a cheap 40A / 440CCA car battery. 30Q batteries arrived quickly from nkon.nl, all sitting nicely at 3.6v. I didn’t have room for a Bestech 80A BMS so I decided to hook up a cheap one and bypass it. So far I did about 5 charging cycles (using a 42v 2A charger) and everything looks nice, charging stops at 4.21v per module and then cells drops at 4.2v. I’ll keep monitoring the BMS behaviour but so far so good.
In terms of nickel strips, I used pure nickel strips @ 12mm wide and .15 thickness. I never found a reliable source for A rating (seller said 40A per nickel strip but in other places I found people saying it’s a lot less). I ended up using 2 strips one on top of each other for the parallel modules and 4 strips for serial connections… and, for safety, a nice and thick copper wire that i soldered to the 2nd strip before spot welding it. I’m sure it’s an overkill but better be safe than sorry. Everything was then covered in kapton tape. The BMS sits on top of the pack.
Deck
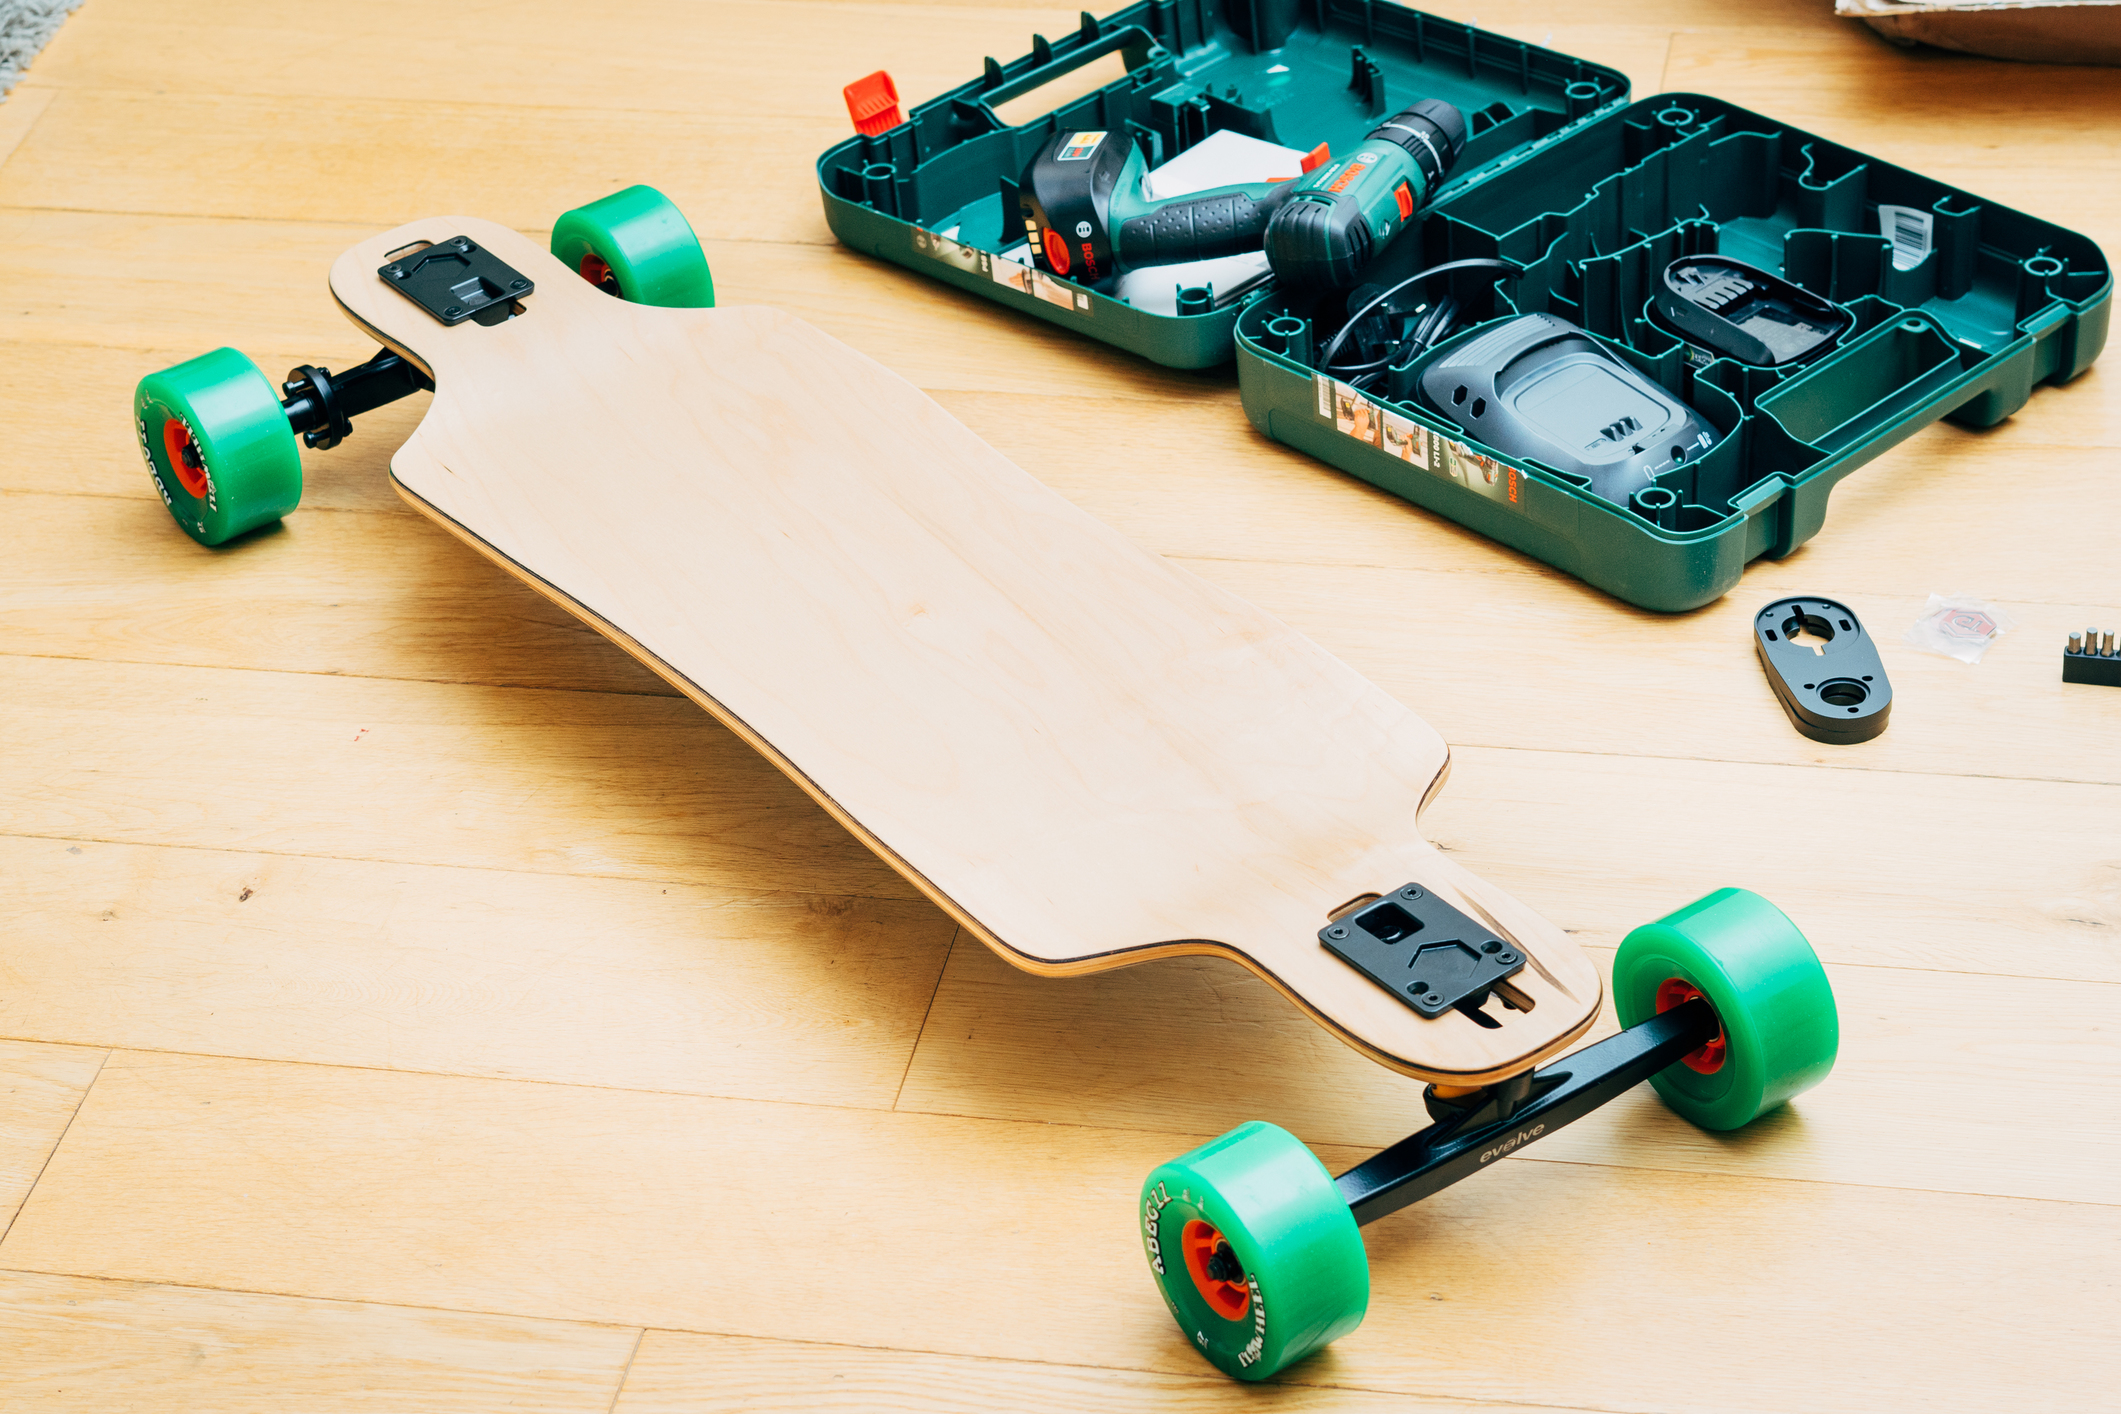
This was a bit more difficult to find. It had to work with both 97s and AT wheels and it needs clearance for the motors behind it. I used Photoshop to overlay various decks and compare them with the original Evolve one. Found the DB Freeride 38" to be very similar in shape and not too flexible. Once I mounted the motors I found out it needed a bit of shaving so I removed about 5mm from the end to make sure it wasn’t touching the motors when carving hard.
FOCBOX & Nano-X
After finishing the build I tried BLDC in firmware 2.18, Hybrid mode. Initially I forgot to calibrate the nano-x remote (turn on, full throttle, full brake, then turn board on… I know, there’s even a sticker that is saying this… thanks @Jinra for pointing this out). After doing everything right I found BLDC in hybrid was good, acceleration and braking very gradual and smooth right out of the box. However, I got FOCBOXes for a reason… upgraded the firmware to @Ackmaniac 3.100 and switched to FOC sensored. My god it’s smooth: startup is even better now, no cogging no drama. Even while rolling backwards, it starts like my boosted does. There is almost no noise at all and after tweaking the acceleration curves a bit and playing with ramping times, it’s now so good that I would compare the controller/remote with the boosted one: smooth, predictable and fun. The remote feels a bit cheap in hand, but apart from that it’s great. I like thumb control so I never tried the Mini remote I had as a backup.
Motors and settings
I had to switch the connectors since the Racerstars come with MT30 connectors and not bullet ones. The hall sensors connector is also smaller so I changed that as well.
In terms of settings, currently I’m using (per VESC):
Motor max: 40A Motor min: -40A Battery max: 30A Battery min: -10A
Ackmaniac 3.100 in FOC sensored.
I could go higher on the battery but I found that’s enough for now and I don’t need more. Motors are rated at 34A so 36A is slightly over the spec. They don’t seem to get hot at all (no temp sensor) so maybe it’s worth pushing them a bit more in the future.
I did a few tests and top speed is 22mph on ABEC11 97s. I could have gone with 200kv motors but I don’t really want more speed so I chose to limit myself to 22mph by picking these 140kv variants.