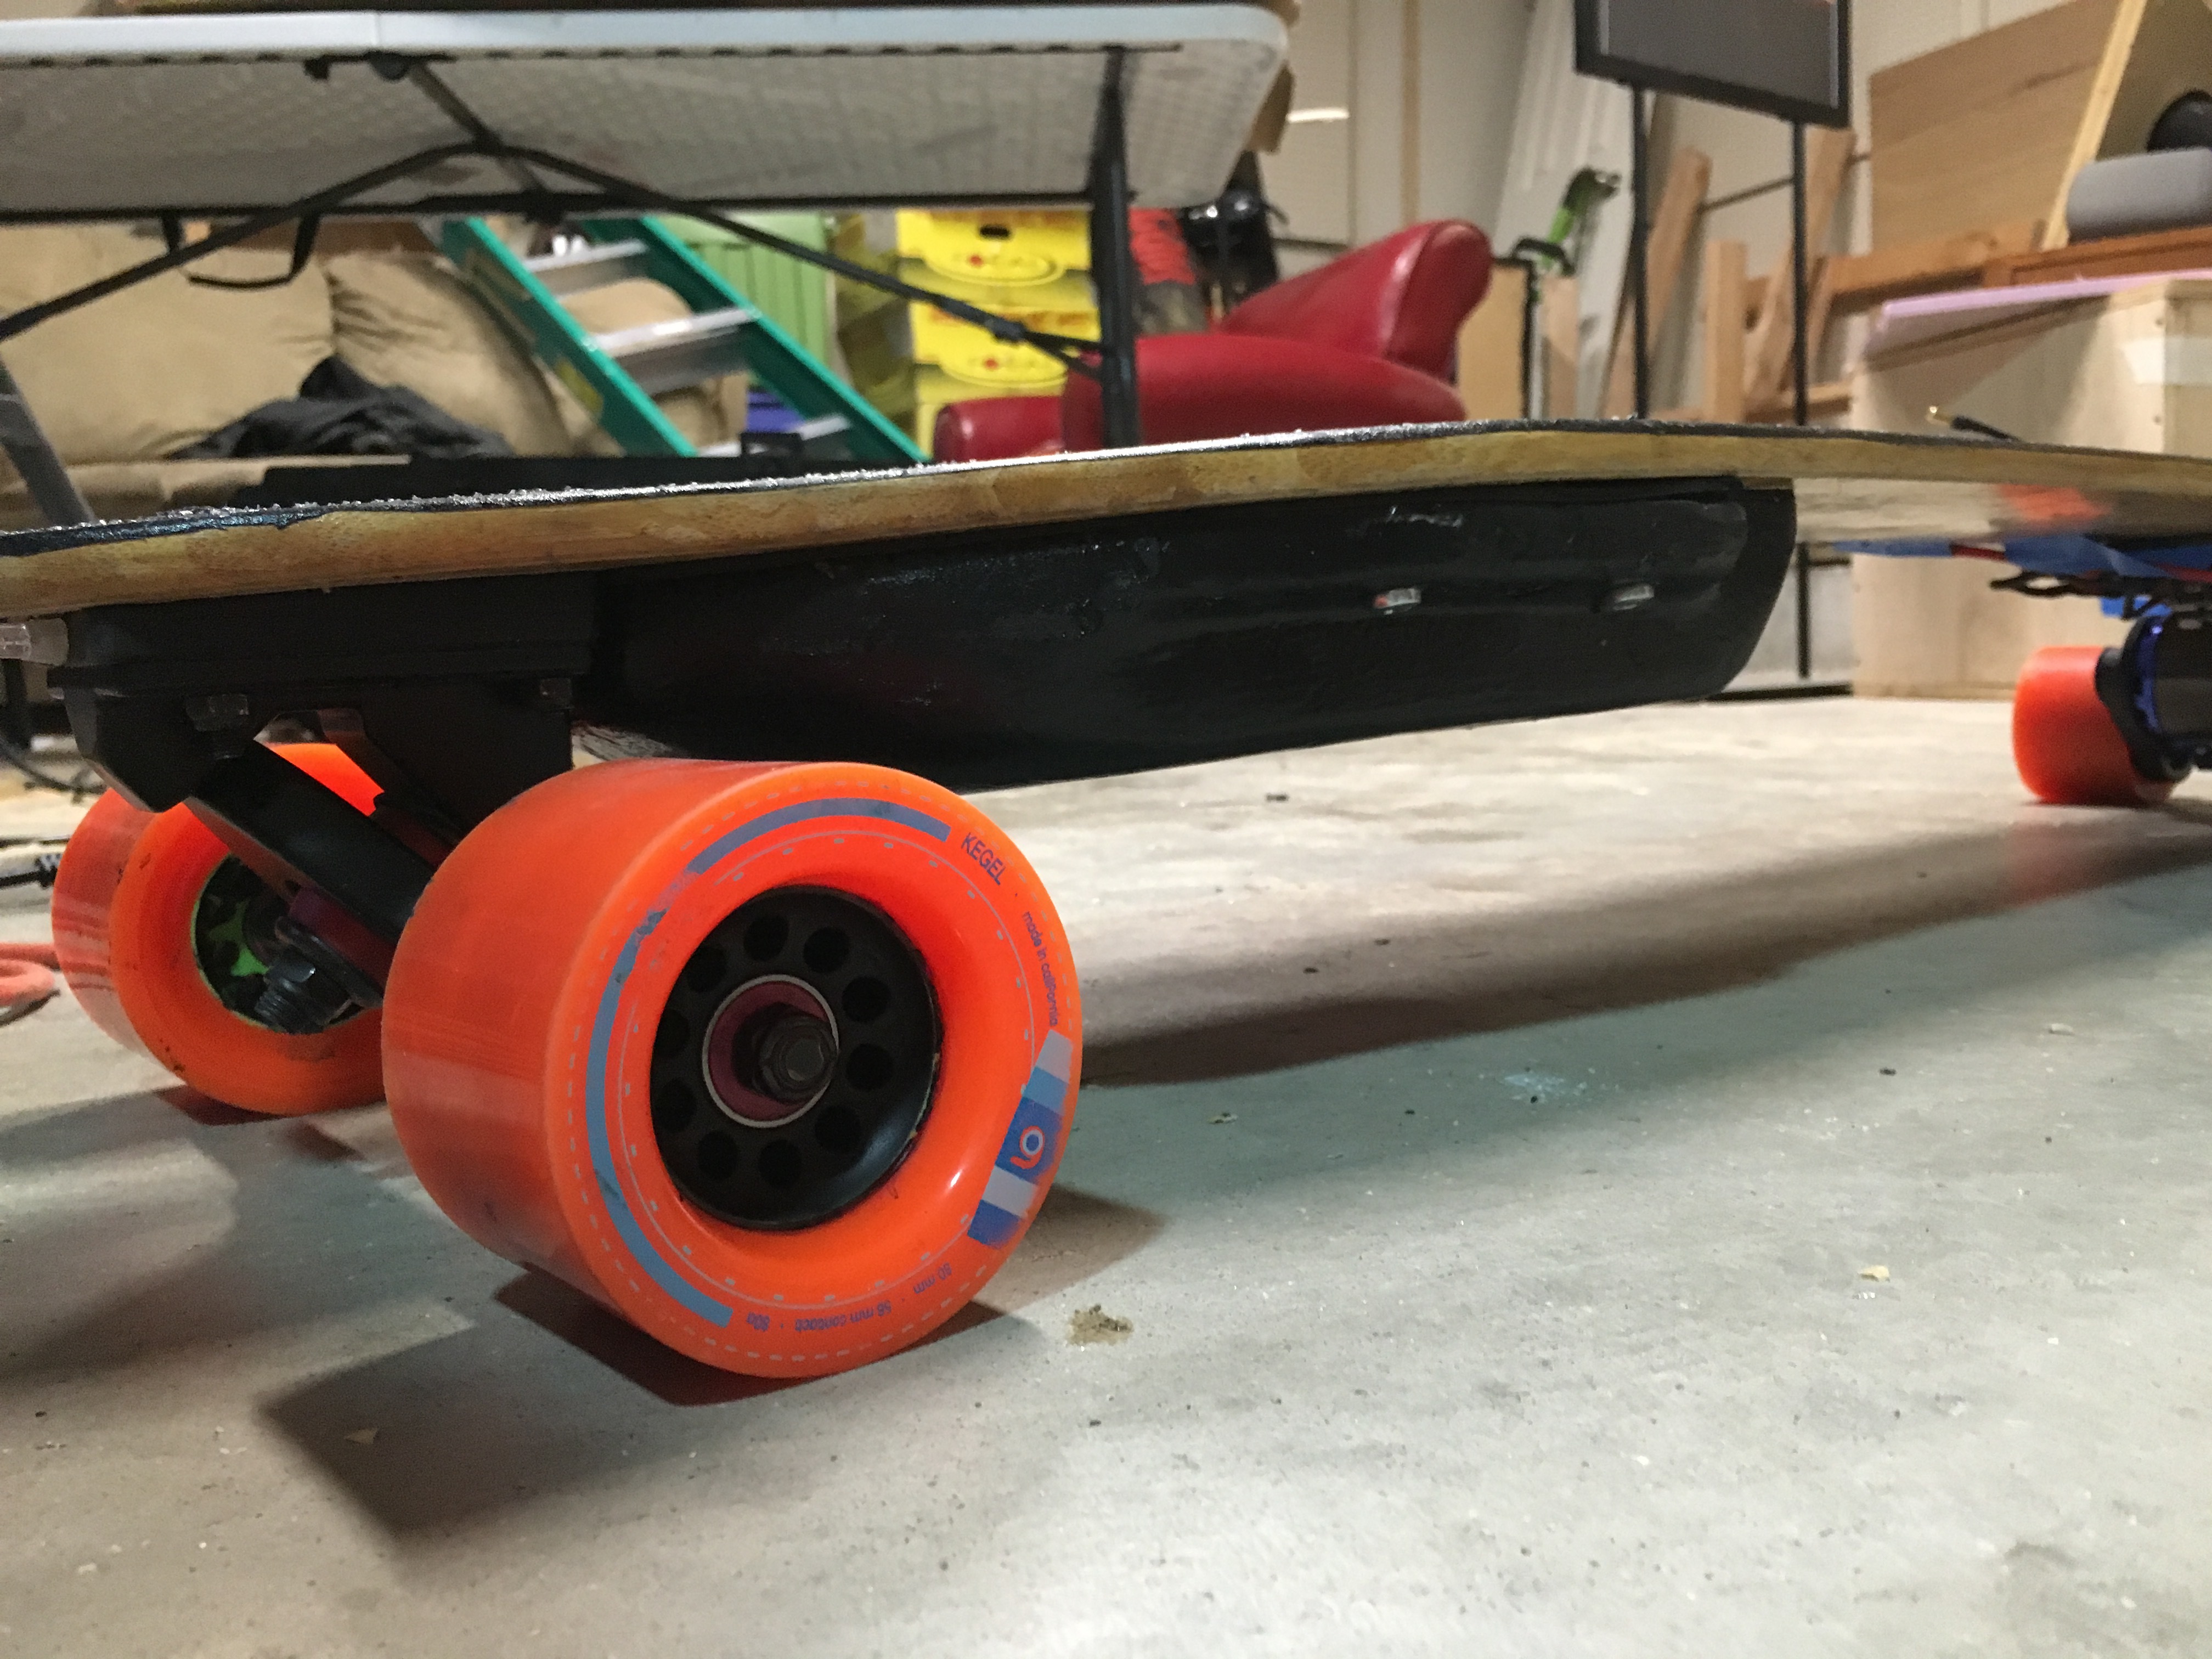
So I finally finished up the battery enclosure. I still have to make the one for the speed controllers. But I had to send my speed controller back to enertion because of a blinking red led.
Anyway. Here are the photos.
So I finally finished up the battery enclosure. I still have to make the one for the speed controllers. But I had to send my speed controller back to enertion because of a blinking red led.
Anyway. Here are the photos.
Nice job on the enclosures. Would you consider selling a set?
What spot welder did you use?
This is the spot welder I picked up off amazon and it worked fine for me. I wasn’t expecting it to last the whole pack but it totally did! I bet it could do more and I may end up selling it. I haven’t decided if I want to make a real electric penny board next.
And I guess I probably could, I want to make a better fiberglass molding setup first I think. I still don’t feel comfortable selling this to anyone, it isn’t quite to the standard I would like to see from what I make to sell it. Maybe soon, my brother and I still haven’t given up on the 3D printed enclosures.
If you make a good enough mold, vacuum forming it would be a better solution. Faster and better.
seems enclosures are the bane of us all !
I am waiting on my VESC to be repaired from Enertion for the last month so I decided while I wait and never hear a word from them no mater how many emails I send, I will build a better mold for my Fiberglass enclosure.
I made this one out of MDF instead of the pink foam insulation because the resin would melt the foam when it hardened. Also I decided to break out the graph paper and do this right instead of eyeballing it like I did on the last 5 enclosures…
Basically I had been thinking on what @Pantologist had mentioned about making a good enough mold for my vacuum bagging setup. Hopefully I will try it out tonight and it will be better, faster, and a much more accurate fit.
Nice! What is the gray paste thing?
Due to the curve of the board and the MDF is flat and square to the board I used Bondo To fill in the gaps and fill in those curved contours of the board. So bondo, not really like the best to use because I had to sand it off the board where I didn’t put down petroleum jelly as a parting agent.
This new mold really turned out way better then any of my last ones. I need to add another layer of glass but this fits great now!
Sweet setup man!
Only concernt/critique is the enclosure looks like it might be a bit close to the rear truck - room for motors/mounts?
That’s the front for just the battery. I will have to make another one for the speed controllers once I get them back from enertion.
ugh… that makes more sense! Cool man. Nice work!!
whats the weight in that case ? Would you consider carbon fiber ?
I don’t have a scale small enough to weigh it… SO That is a good thing right! And I don’t think I would because of the cost of carbon fiber vs two layers of fiberglass isn’t really worth it to me. This in total cost $10 to make at this point. And it works great!
I am currently building a board very similar to yours, so I have a few questions:
Thanks for posting your setup, this post has already been very helpful.
My Parts:
I’ll get back to you on this one. I’m only in for a quick update. I’ll try to get a better detailed list for you in the morning.
This build is inspiring! Good job!
Just a quick update. I don’t have internet at the moment so it has taken me a bit to get back with you guys. Sorry but here is where my enclosures sit as of now.
The design on this one is much better looking than the battery enclosure. I may go back to that one. But for now a bit of sanding then primer.
And everything off to get the truck bed liner.
Flat Wies I went with these but could have done without the third one on both sides. Honestly once it was fiberglassed over with like 3 layers the flex was no longer an issue and the wires are smoothly into the top of the board and feels great with the grip tape on it.
BMS
Power Switch I built into my battery pack. There are probably better ways to go about this and on my next build I will probably get the one built into the BMS.
Water resistance, I just sprayed everything down with this. I don’t know how well it’s going to work but you can see the photos above about how it looks on my VESC. I will get back to you on it’s effectiveness.
I like your choice of parts. I went with Enertion because it was “in stock” after several months of waiting and it not really being. I used Torqueboards stuff in the past and wish I stuck with them. I can honestly never recommend Enertion to anyone after dealing with their “customer service” So I may have an Enertion Parts sell soon.
It’s not that their parts are bad. Because they are really great quality. But if anything goes wrong, and that is highly likely, you’re going to be walking a few months without any communication.
I don’t mean to blast them, but it was a bad experience all the way around.