@evoheyax thats sick build brah! 
The Rocket | 4wd hummies hubs | 4x chaka vesc | 10s4p LG HE2 li-ion | CNC milled veneer pressed deck
That is insane, congrats! The acceleration is krazy, will want to know all about this and save a deck for me when you start to go production!!
This is awesome, glad to see some 4wd boards in the forum! Nice build so far!
extreme on all frontiers 
whats the advantage of “routing veneers first and then laminating” vs. “laminating veneers first and then routing”? the latter seems a lot simpler 
I feel like routing first could result in an offset.
1 Like
As @michaeld33, you get offsetting. I would prefer to cut them all at once. But it is difficult to even cut a veneer with a CNC machine, they are very fragile, and you must use very precise settings. I know if I used better equipment, I could cut them in one swoop, and the day that happens, production for this board begins. I think finding a board company who have better tools could produce them faster. Just cutting the deck took 20 hours of cncing. Then, sanding took 5-8 hours. If I had better tools, I could cut sanding down to an hour and cncing down to 3-4 hours. That’s when I can produce this deck. But right now, I have a lot of hurdles to get over before that can happen, most of which is money needed for tools if I choose not to or can’t find a company to produce the decks for me.
The biggest issue is how a veneer is usually some what warped. You have to really clamped them down. Here’s a picture of what I’m doing and the warpness some sheets have.


The veneers often fall apart during cutting. Even with optimal settings, I wasted almost 50 sheets, and got 20 good ones… Most of those were testing settings to come up with the right ones, but I will still lose 1 out of every 6 or so to random cracking due to a knot or just weak spot in that particular sheet.
Basically, the cutting before is way more difficult that cutting after. But cutting after requires me to make a mold, not use a nicely concaved downhill deck. It’s also hard because I’m limited to less than 3 inches of cutting height. The ends of the board stick up more than 3 inches due to its sharp concave. Many professional cnc milling machines don’t have these kinds of limitations. I just don’t have 15k laying around to drop on one.
1 Like
I have been thinking about getting a thick piece of wood/ ply and just cutting the board from that piece using a band saw(&other tools), including the space for battery and VESC. What’s wrong with that approach if flexibility if not what I am after? Or I could ask why is a pressed veneers construction superior to just using a ply board/ wood slab obtained from hardware shop?
So I started originally with this idea. I made my first board from a bed board at home depot. The issue is, how do you bend a solid thick board? you can’t. So you look at plywood. Flexy Plywood has little strength. It doesn’t hold up to weight, it just craxks and breaks. I had my second board, which was slightly l had different than my first board, break in half on me while riding. It was made of pine, which is rigid, but it still broke after a few rides. So I decided I needed harder wood (pun INTENDED). Maple is what most skateboard decks are made of, so it seems like a no brainier. But how can you make a board bend and keep that shape? The only way to do that with wood is by using super thin sheets (veneers) and gluing them together while being pressed into a shape. The glue holds the sheets in the shape they where pressed in using tension forces.
Using plywood wood is just starting with a bad material. It’s hard enough to do with the right materials, and maple veneers pressed in a hydrolic press would be ideal. But a poor mans choice is the vacuum bag press.
You want a slight bit of flex, but a slight bit is maybe 1/10th of an inch down when stood on. plywood flexs much further.
Thick pieces will give you no concave, which feels unstable, especially at higher speeds.
1 Like
That whole setup looks incredible!! How did you link the 4 VESCs? Also, if I may suggest, maybe staining the deck? I think it would look really nice with Danish oil or a dark oak stain (just my opinion though)
I removed the canbus port and soldered wires directly too the vesc. I connected them in pairs of 2, then run cabling between the two. It was a pain to get soldered up.
1 Like
I thought about staining it. Again, I’m too lazy to wait. I’m actually really proud of myself for at least doing the polycrylic lol. I also having had a working board (tore apart old ones planning for this one and reusing parts) for a while, so I just wanted a working board. But that’s a great feature to offer to customers, so thank you for the idea 
Awesome build! Why did you use 1/16" ? Wouldn’t 1/8 work?
Thats a fat deck bro!
Maybe, the more times you cries-cross, the more strength the board has. ou do a normal gain, cross grain, normal grain, cross grain, ect… That, along with the glue, is why the board stays in its shape and has so much strgth. You’d be amazed at how few sheets it takes to have really good strength.
1 Like
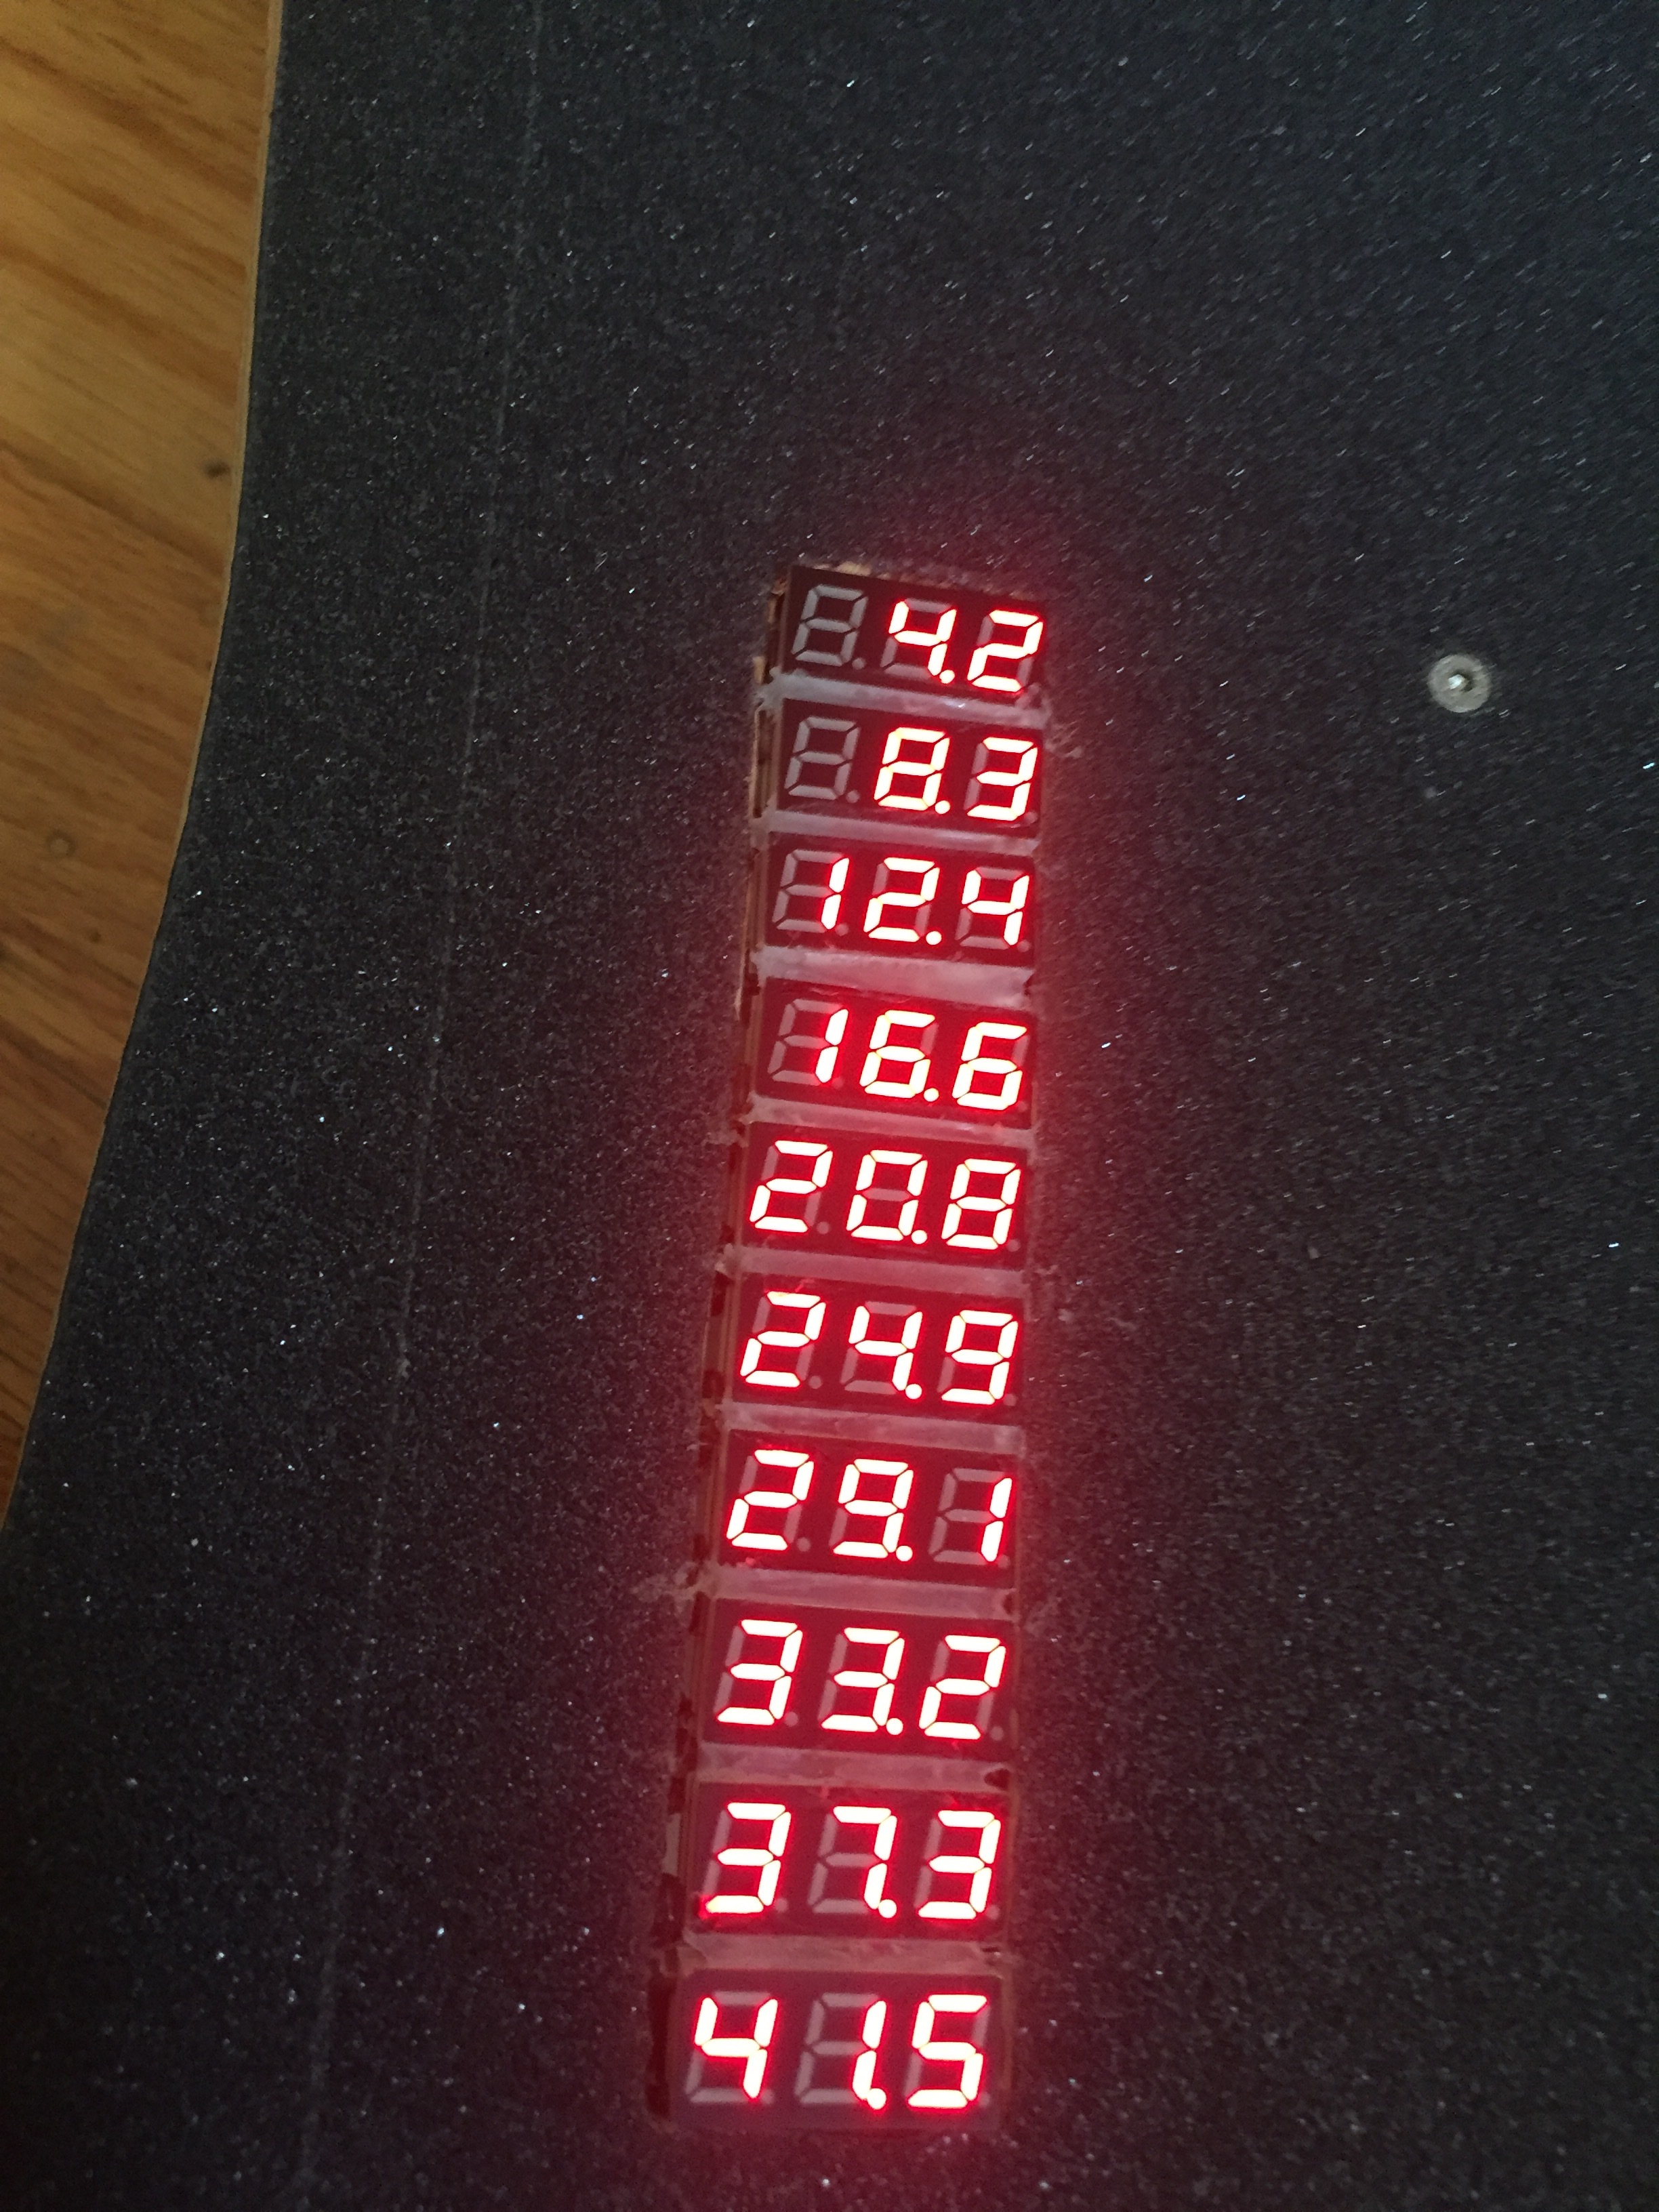
Just an update, I calibrated the voltage meters. So I can keep an eye on every cell while riding by doing some simple math.
4 Likes
Haha, doing math while riding the skateboard sounds like a bad idea. Why couldn’t you connect the volt meter between the cells so that you get just the cell readings?
3 Likes
I think that would be more helpful. But would look really lame lol
4.2 4.2 4.2 4.2 Etc lol
1 Like
Not these ones because they require a separate power source (they have 3 wires, power source +, power source - and measuring -, measuring +). Unless I use 10 separate power sources (one for each screen), I need to link all the negatives together. Since the negative must go to the power source and each cell, I would be shorting the balance connector which I connect them to. So I’m looking at a 2 wire on instead. I originally pictured that in my mind @barajabali. It’s more so there for testing purposes right now anyways, as I’m trying to see how unbalanced they come from riding, and so far, not more than .3 a volt difference in 1 pack, not more than .1 a volt in the rest. But In due time, I will replace them with ones that say…
4.2 4.2 4.2 4.2 ect…
This entire build is very innovative. Keep the updates rolling! A video would also be really cool.
This build is amazing! Super impressed by everything here and cant wait to see more! One thing I wanted to mention was you said that the board drew 72A max across the board though I was wondering what your actual current is going full speed? If you where actually drawing 72A and you had, lets say, a 10Ah pack, you would kill your battery in 8 Min and 20 Seconds so I know thats not the case lol.