I made this thread to show people some new information, maybe somebody will learn something and also give me some advice. You all know how helpfull and good community we are. So hope you will enjoy this thread ![]()
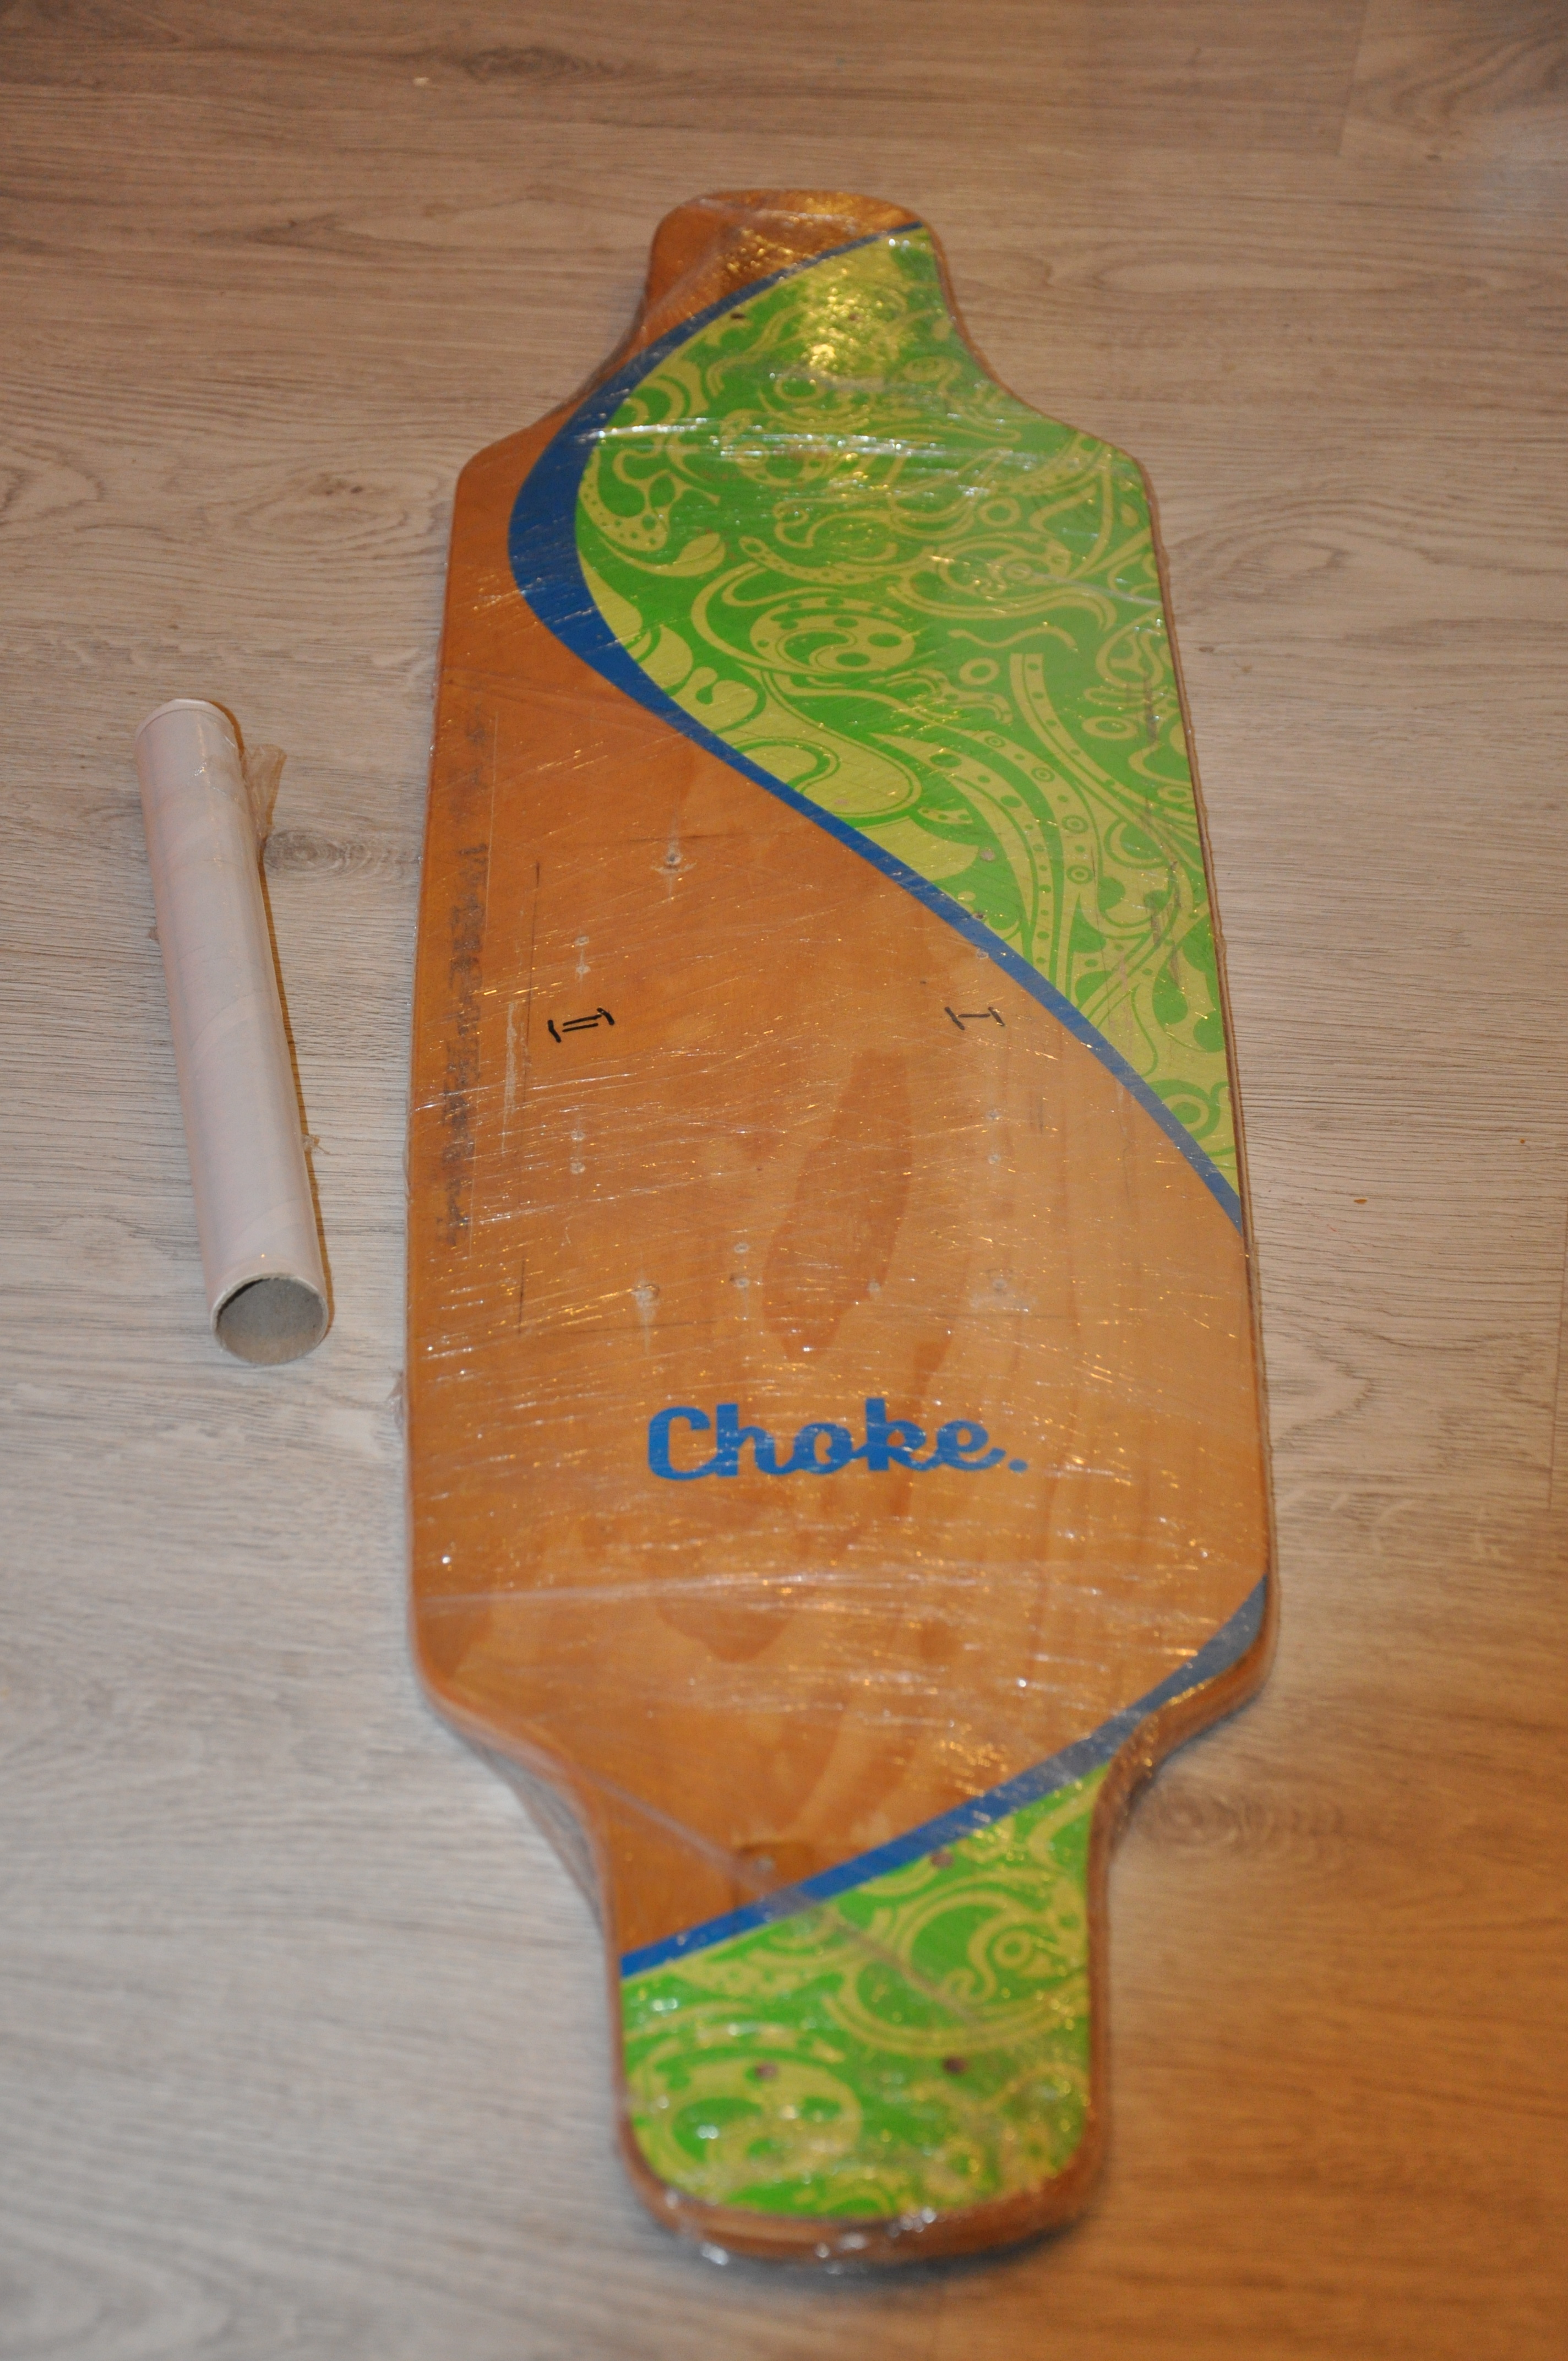
At first I made this board:

After a couple of rides I realized all the imperfections that I am unhappy with, and so I decieded to rebuild my build to get it how I want it to be.
I was unhappy with:
-
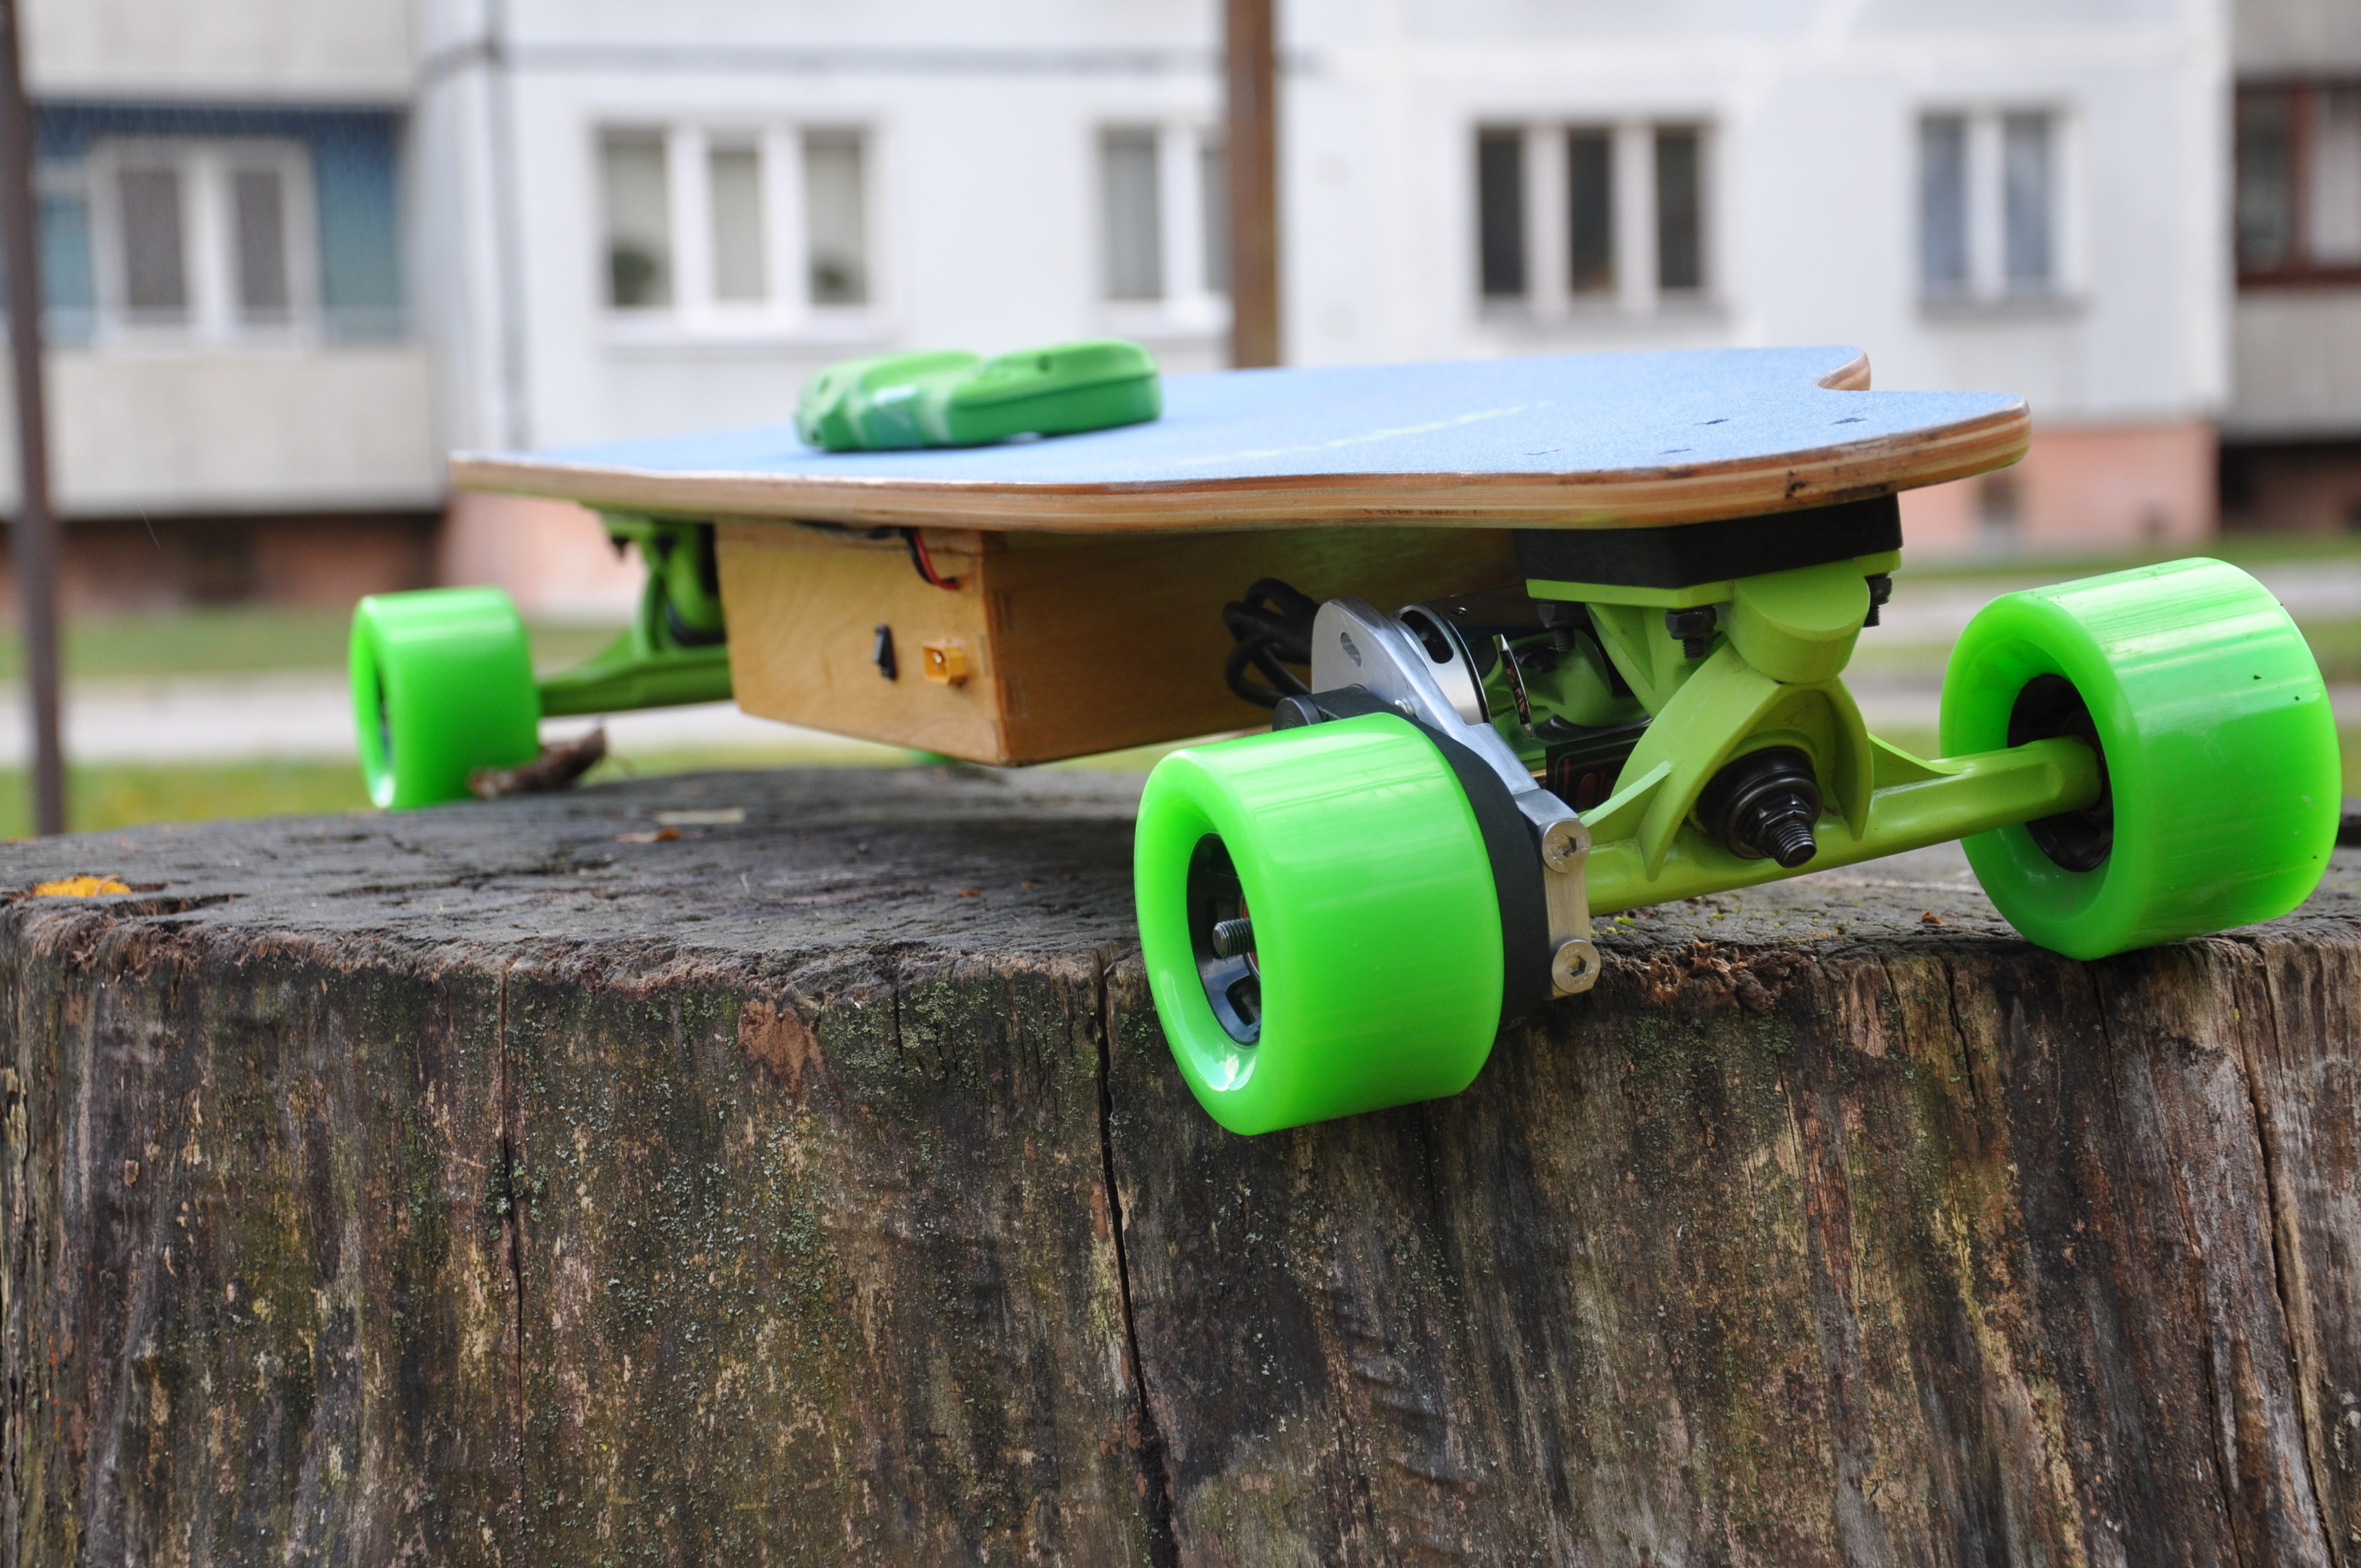
Motor mount was a bit moving after rides, I could move it with my hand even when it was tightened at maximum
-
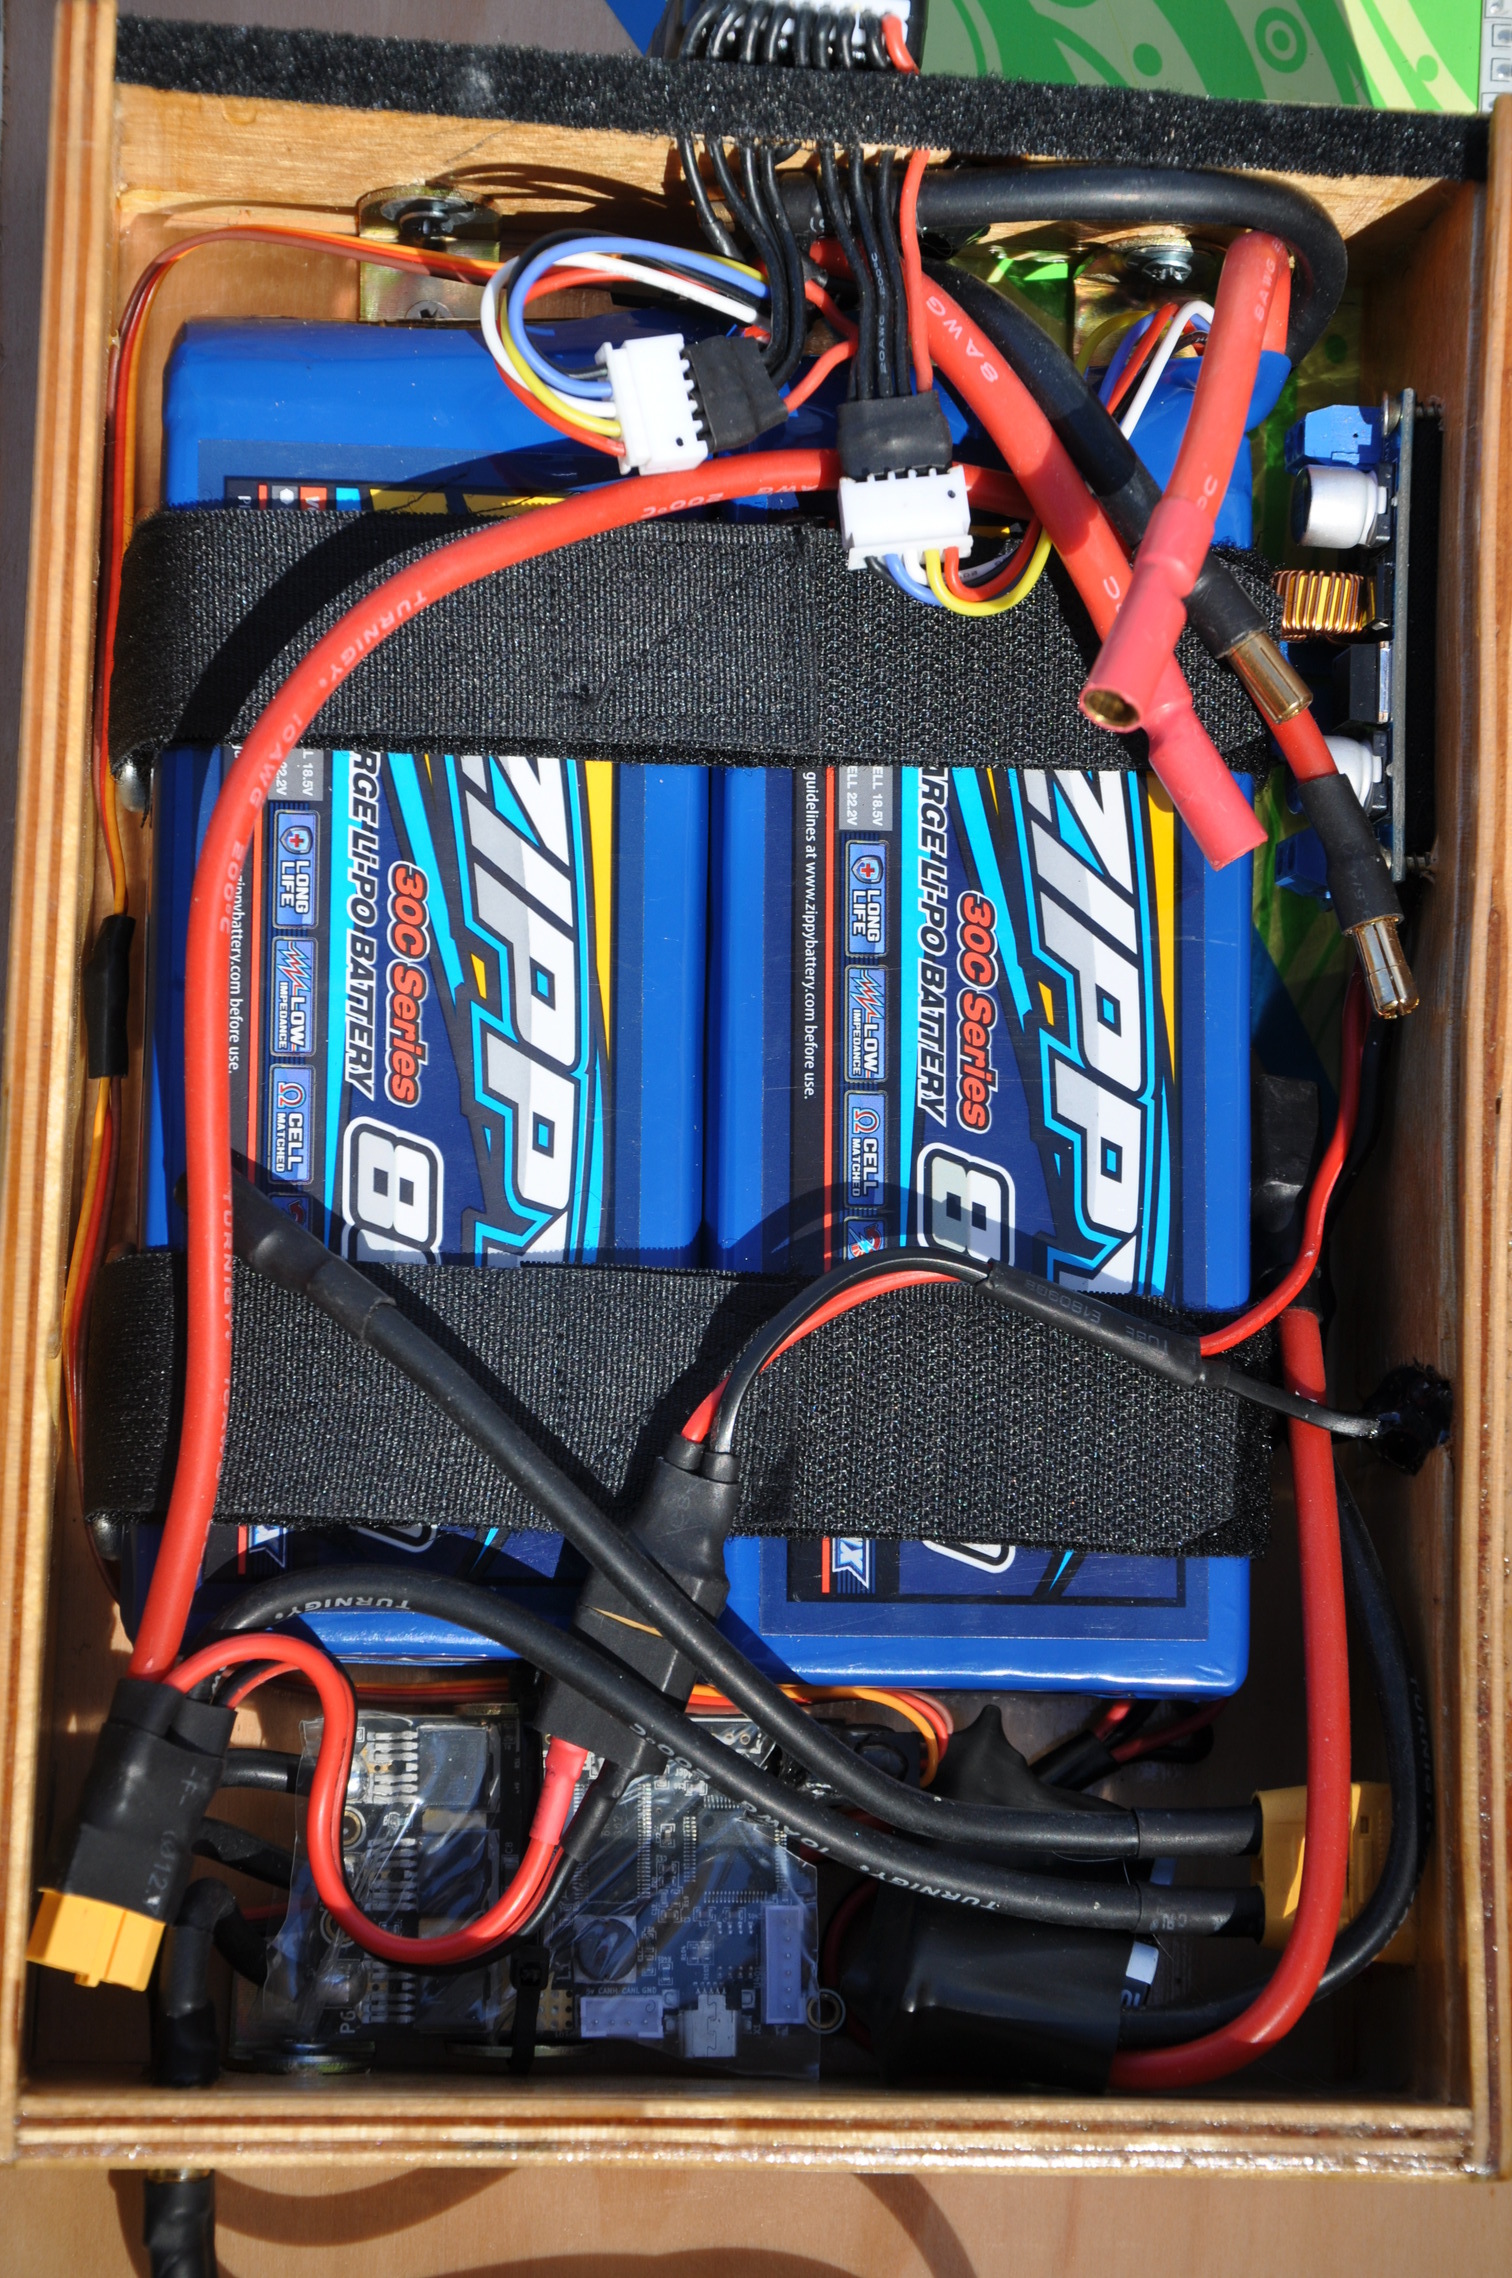
Electronics was so tight in that enclosure, that it was a massive stress for wires for openig enclosure every time when I need to charge my lipos. Also lipos were dameged by pressing against the vesc, one cell got punctured, I didn’t notice that at the beginning. I kept my lipos in military box for munition, it is sealed. Only after week or so I opened my box and strong smell was coming out, I was lucky that it didn’t catch a fire or poison me, my parrot and my girlfriend.
 Thanks to seal of that military box. I took that cell off and in the middle of the night get to open field, where I shoot it with my air rifle
  I felt very angry about that, because it was impossible to get same cell to replace it. Only options were to buy new lipo pack. I decieded to sell those rest 7s 8000mah and invest that money to li- ion batteries wich I’m waiting from EU group buy now. One of the reasons why that pack was punctured, was not only tight place in enclosure, it was also flex of a deck, so next …
 -
Flex of a deck- it was flex 2 I think, but I like stiff boards. Even my other non electric longbord is stiff and I like feeling of a solid deck under my feet

-
Charging batteries taking out of enclosure, since lipos are a bit danger I was charging them out of enclosure, just to be sure that if something goes wrong my board will not catch a fire
 Also charging time for those packs was just terrible- about 4h for each pack with imax B6. So all day charging and sitting next to them while they charging, no, no, no. That’s not for me.
 -
Bulky enclosure , it looked nice, but bulky in height + small for everyday opening, wires were crowded by force in that enclosure.
-
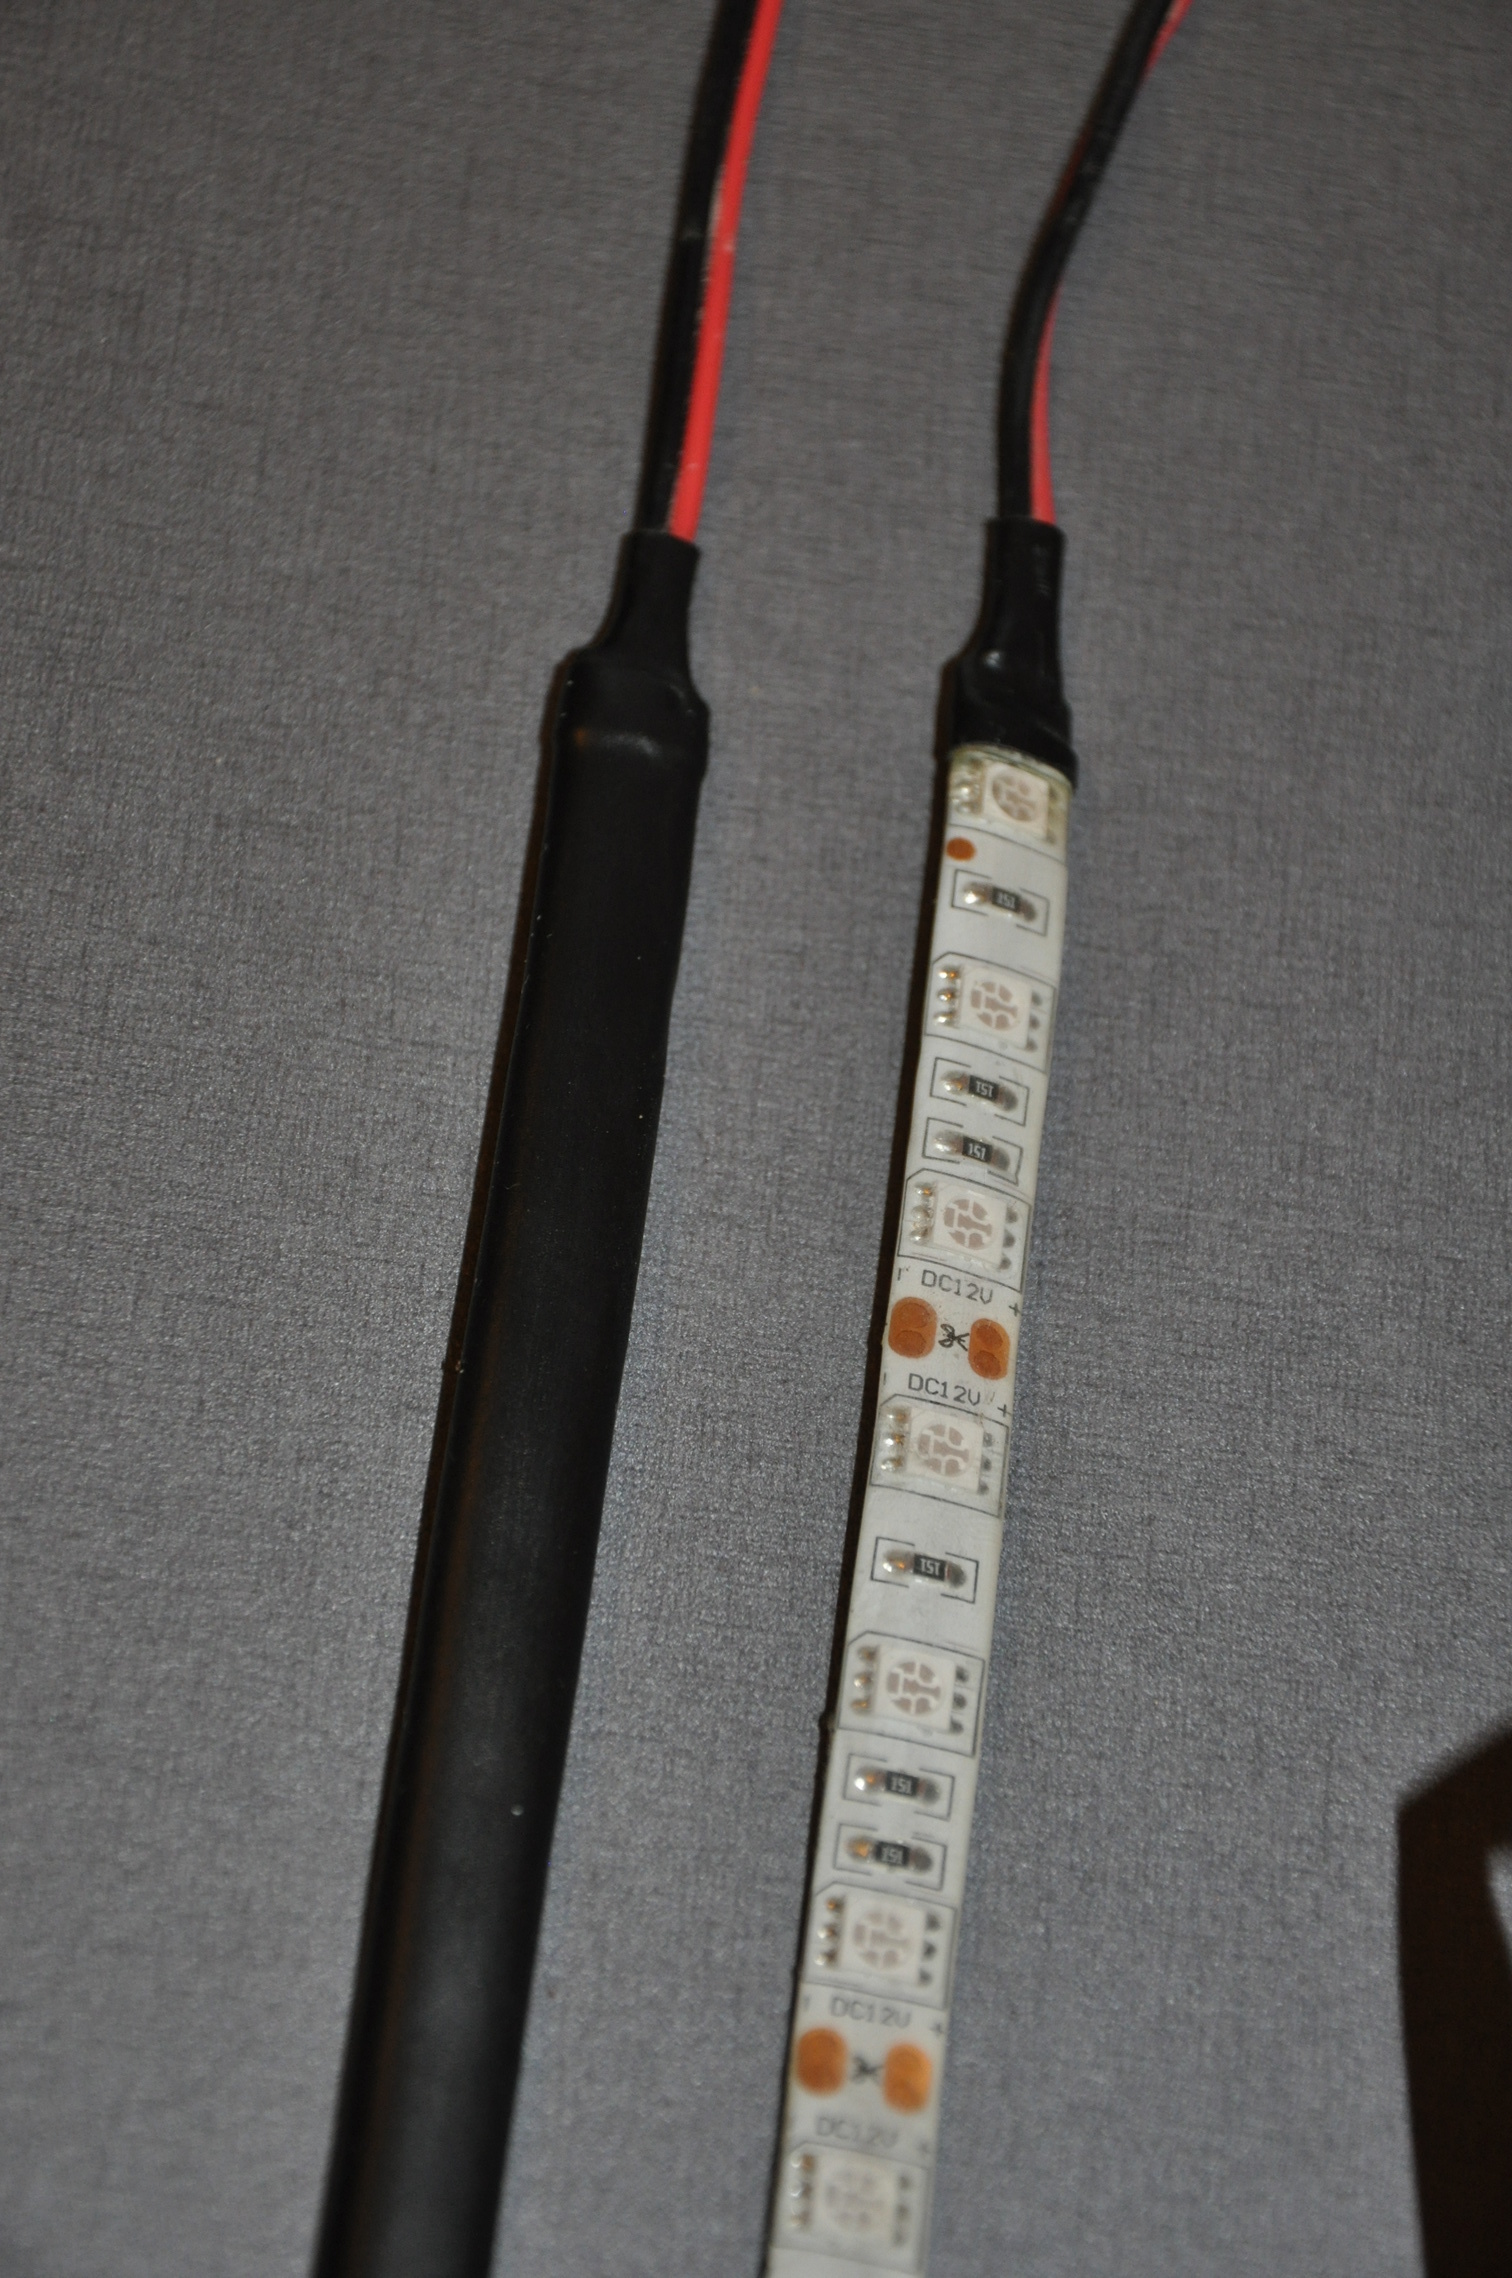
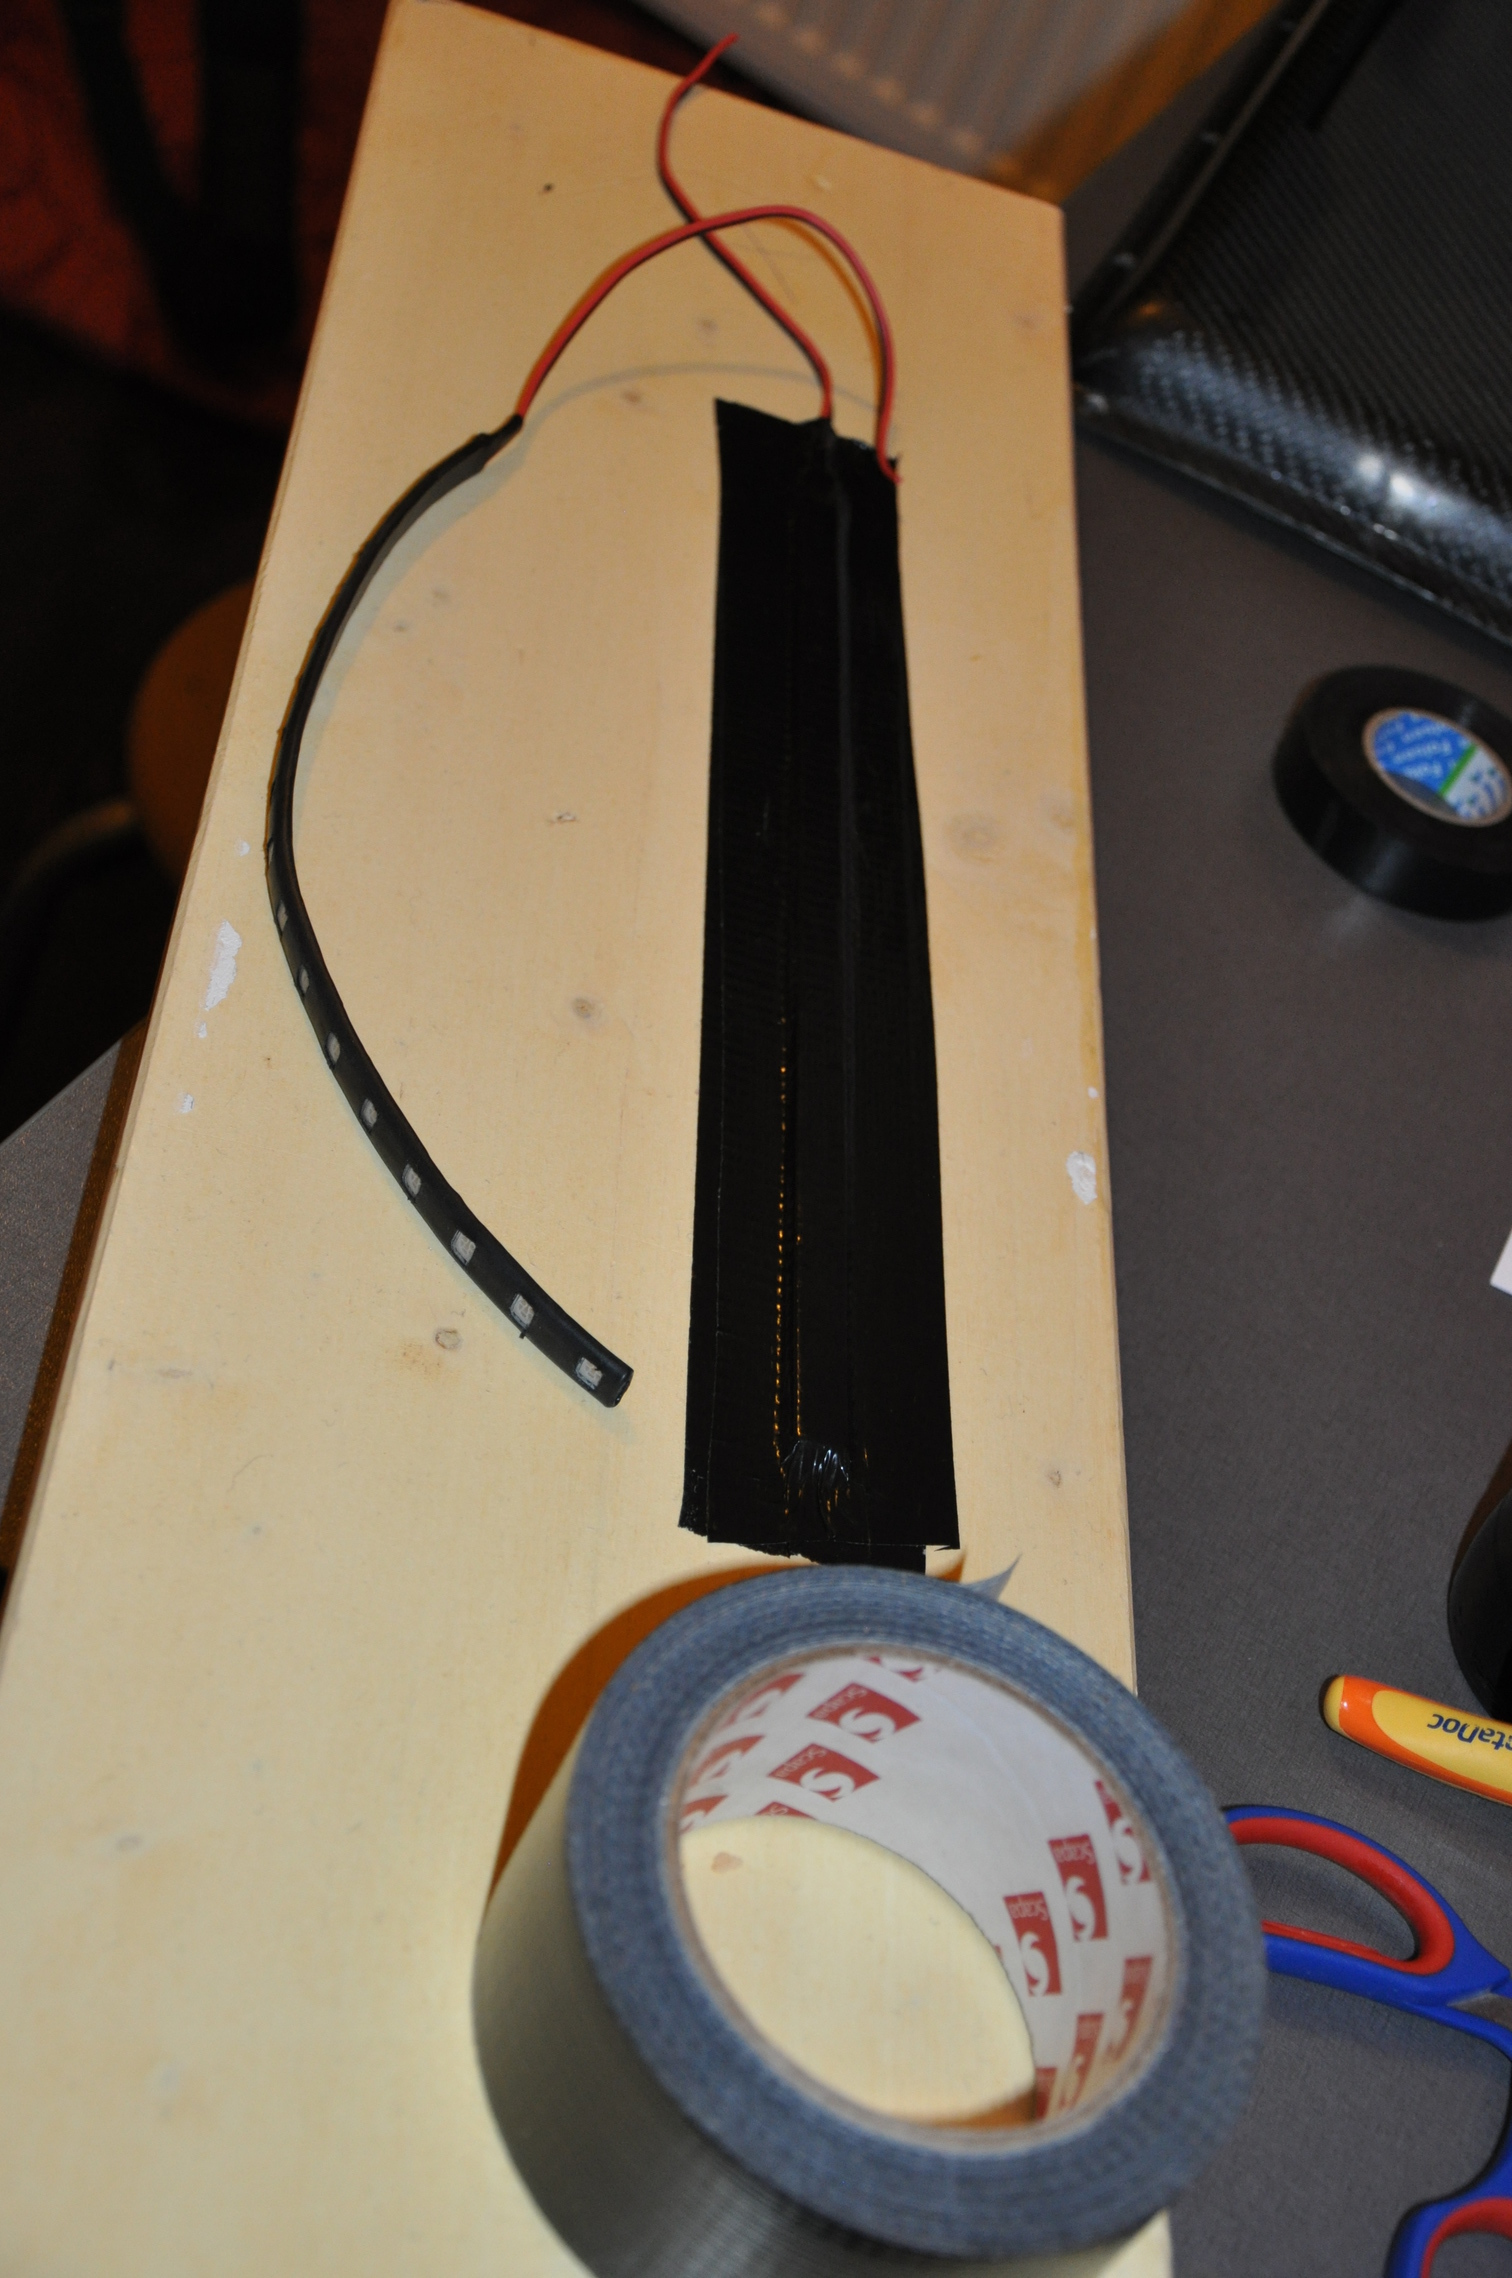
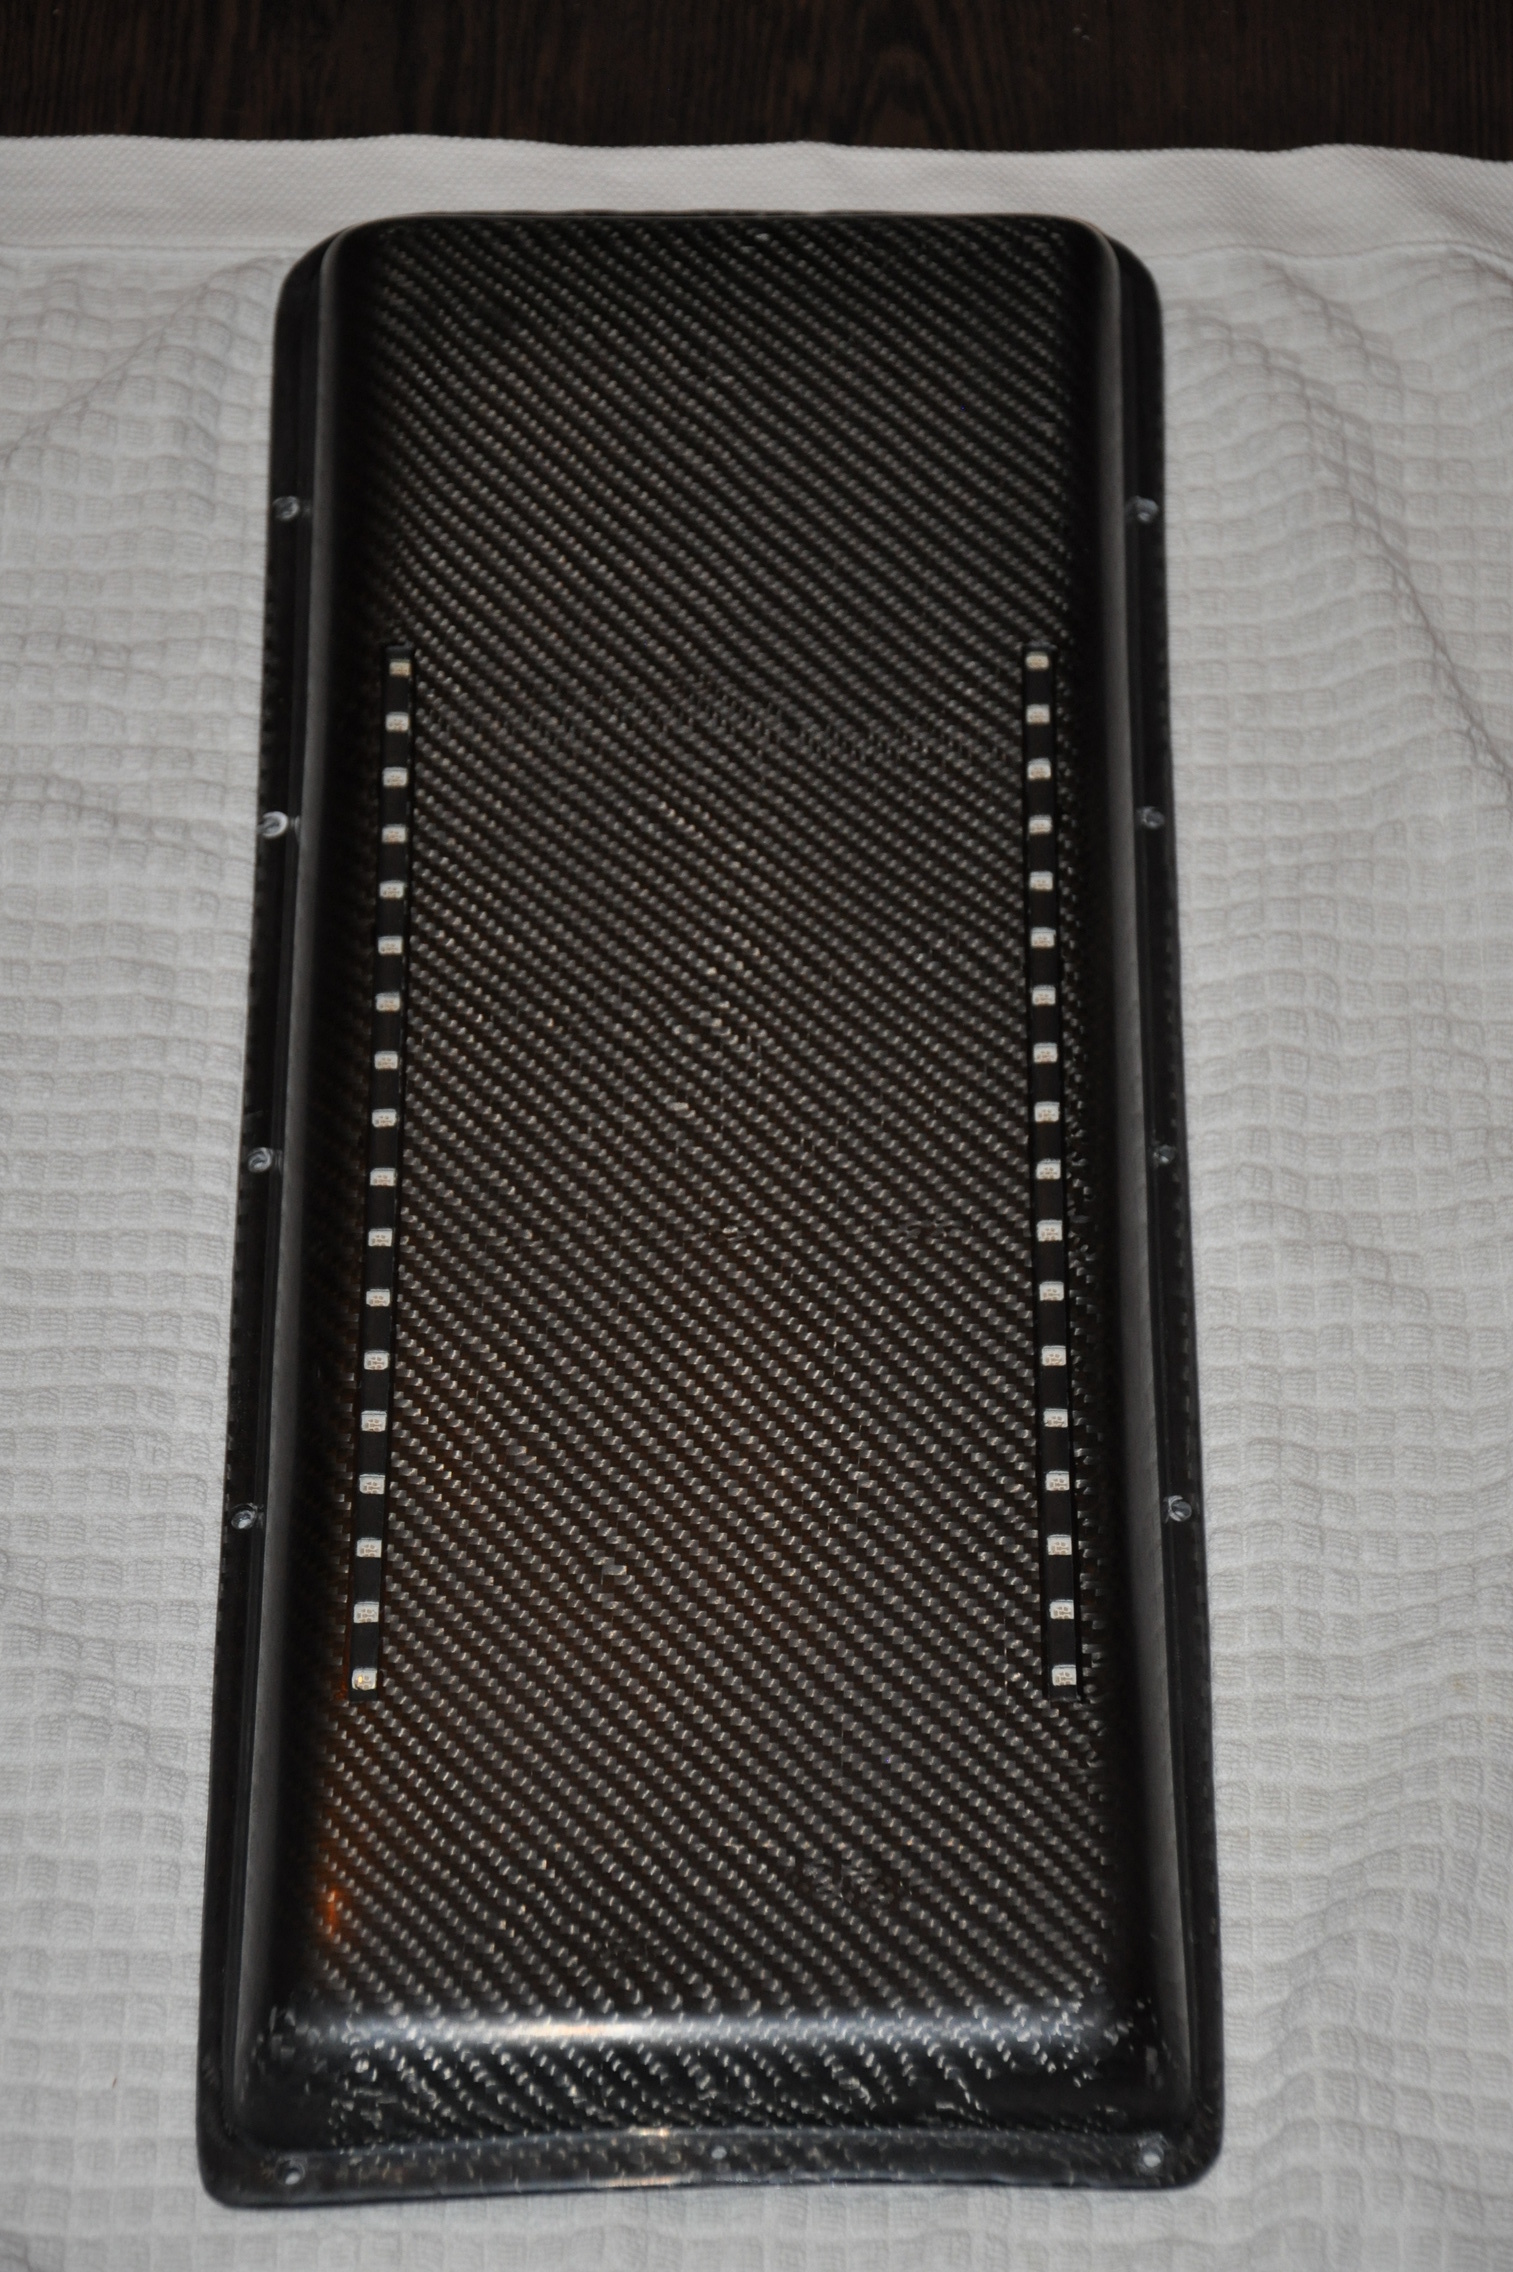
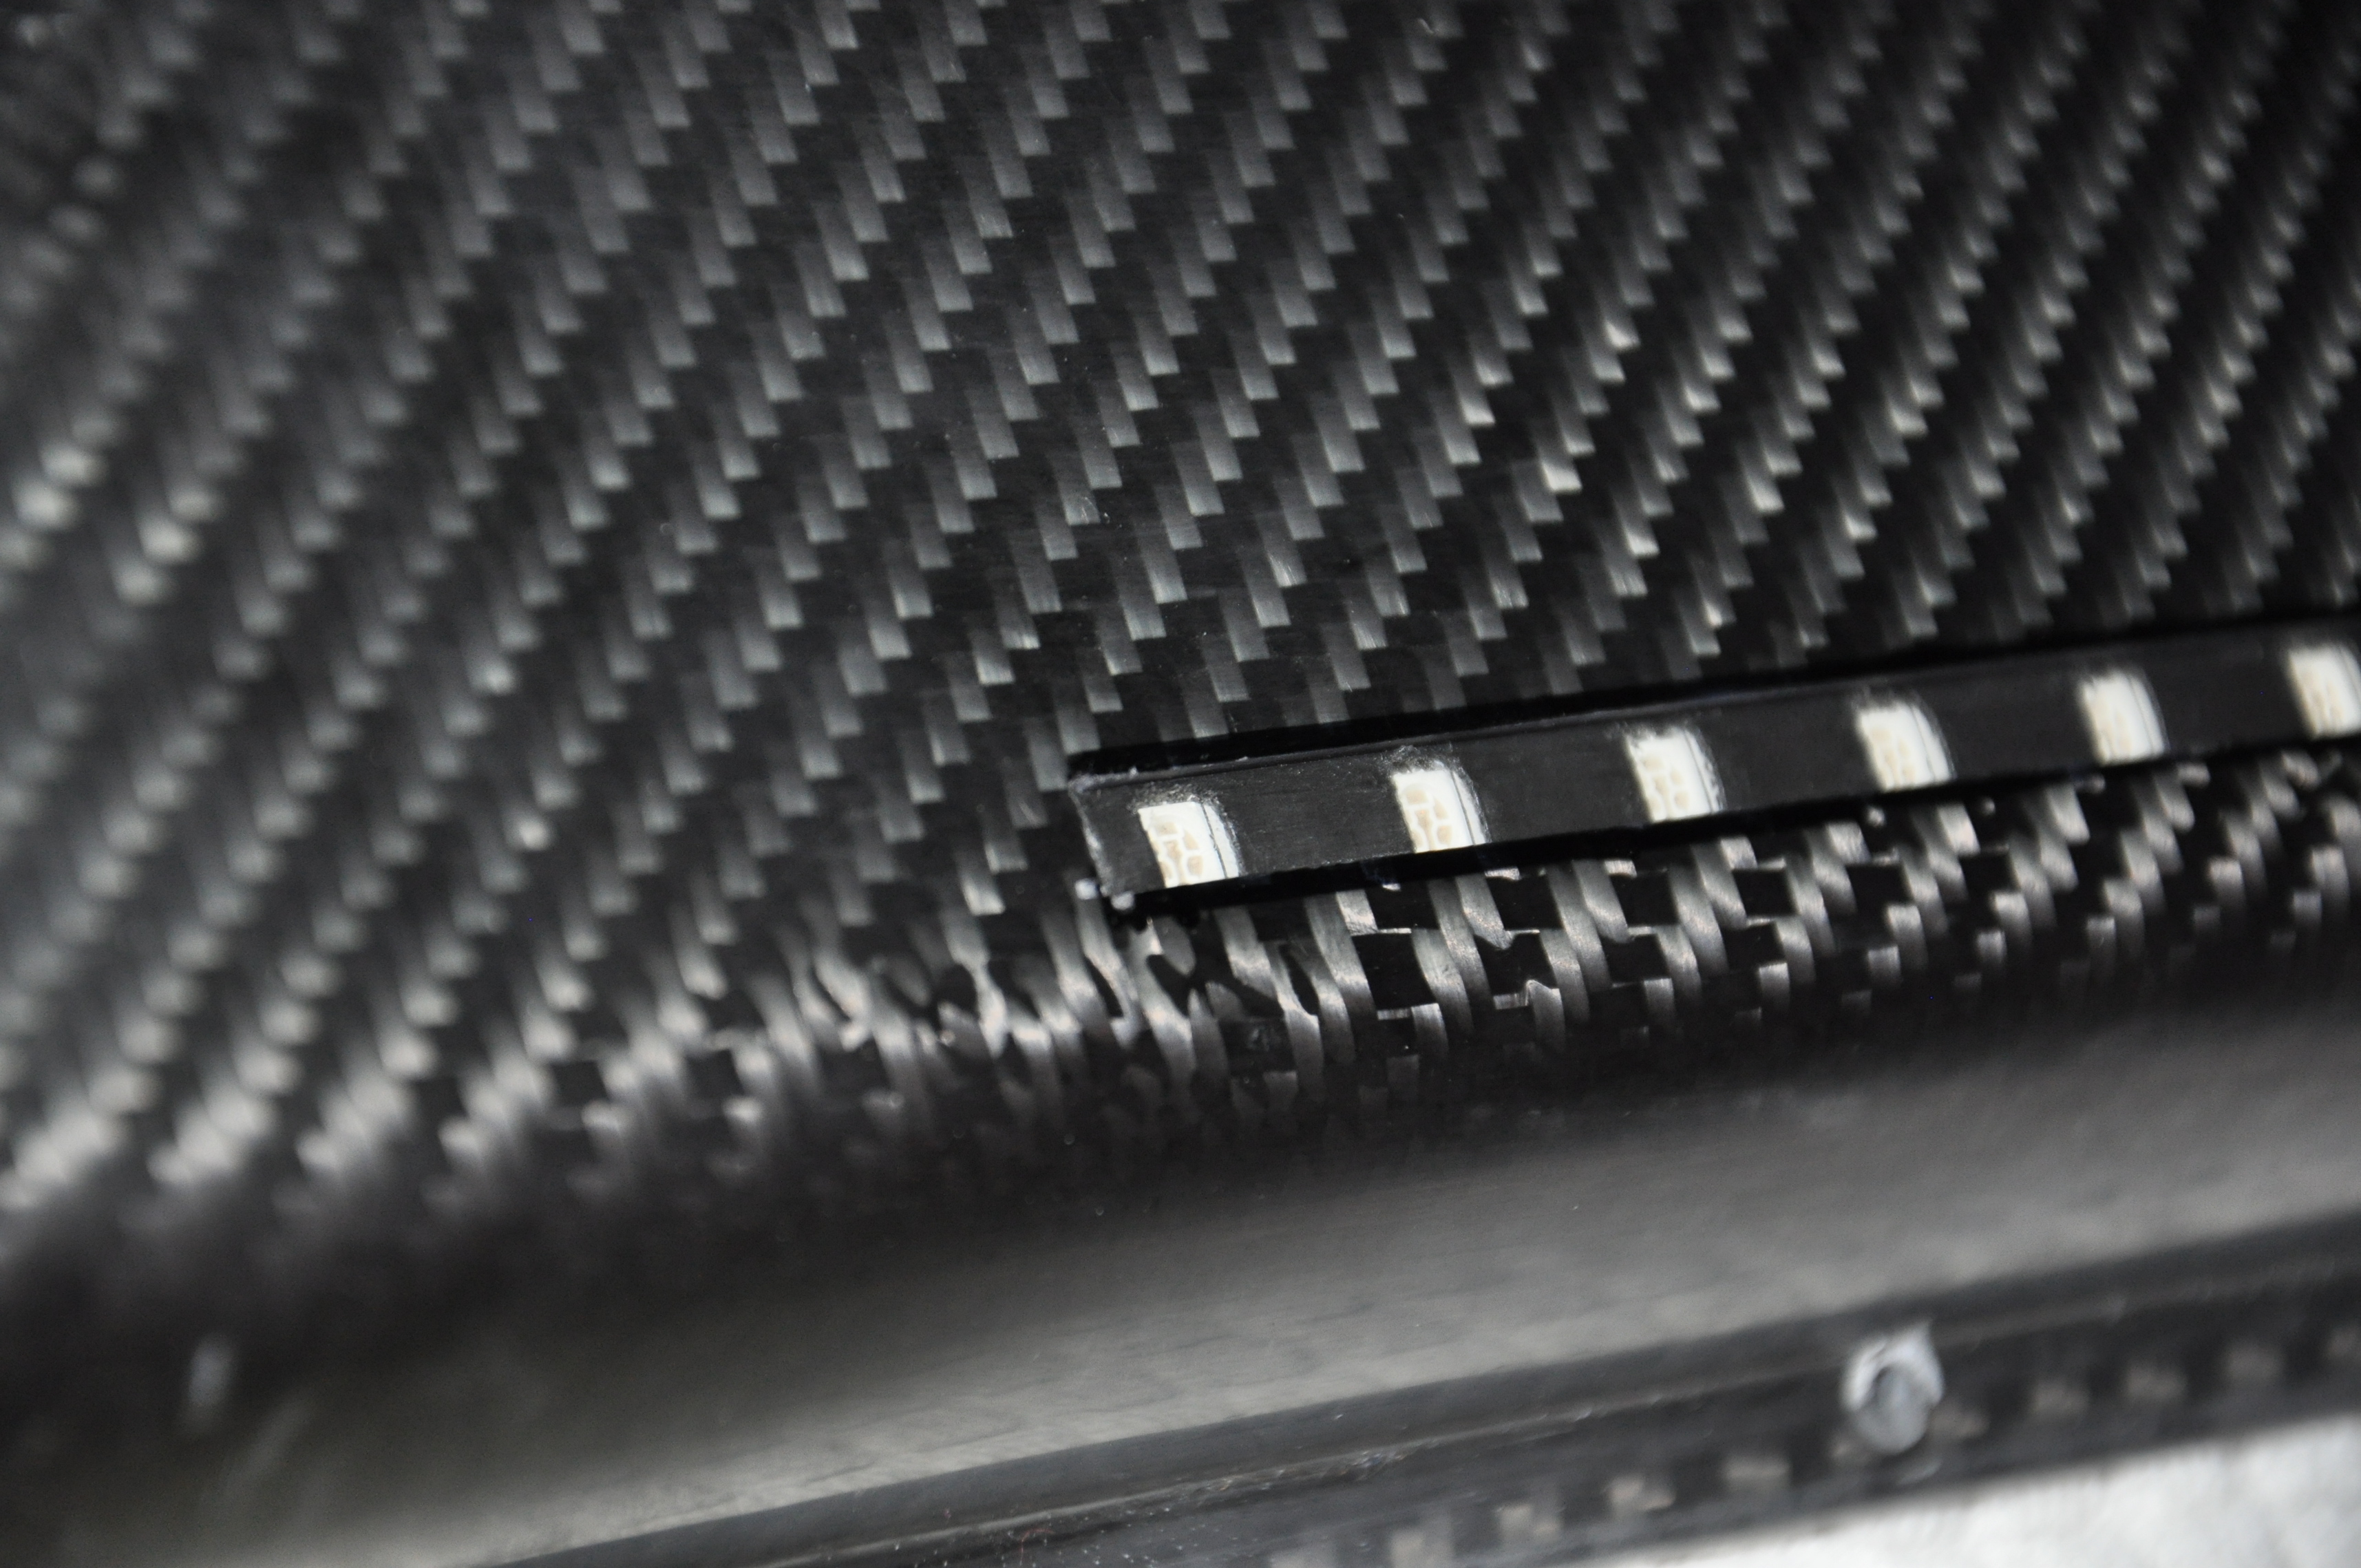
Ugly LED lights that started to comming off the board, so ends of those LED strips were unattached to the board. Color of those LED strips while they are not turned on was white, I prefer black.
-
Wires from motor to enclosure, so nothing here to add, just don’t like that
-
Cell checker outside the board, it got F***ed after riding in wet conditions


Part one: motor mount
I decieded to weld it to the truck, that I will never need to worry about it anymore. So I scratched paint off the truck so that my friend could weld it. It was a bich to get paint off, no acetone ore white spirit or other paint remover helped, not even hot gun. With hot gun was a bit easier to get it off with sandpaper and small files to get in corners. But I done it and my friend welded mount to truck. Then I sanded imperfections and repaint it and end up with this:


Looks cool I think ![]()
Part two: making sexy carbon enclosure
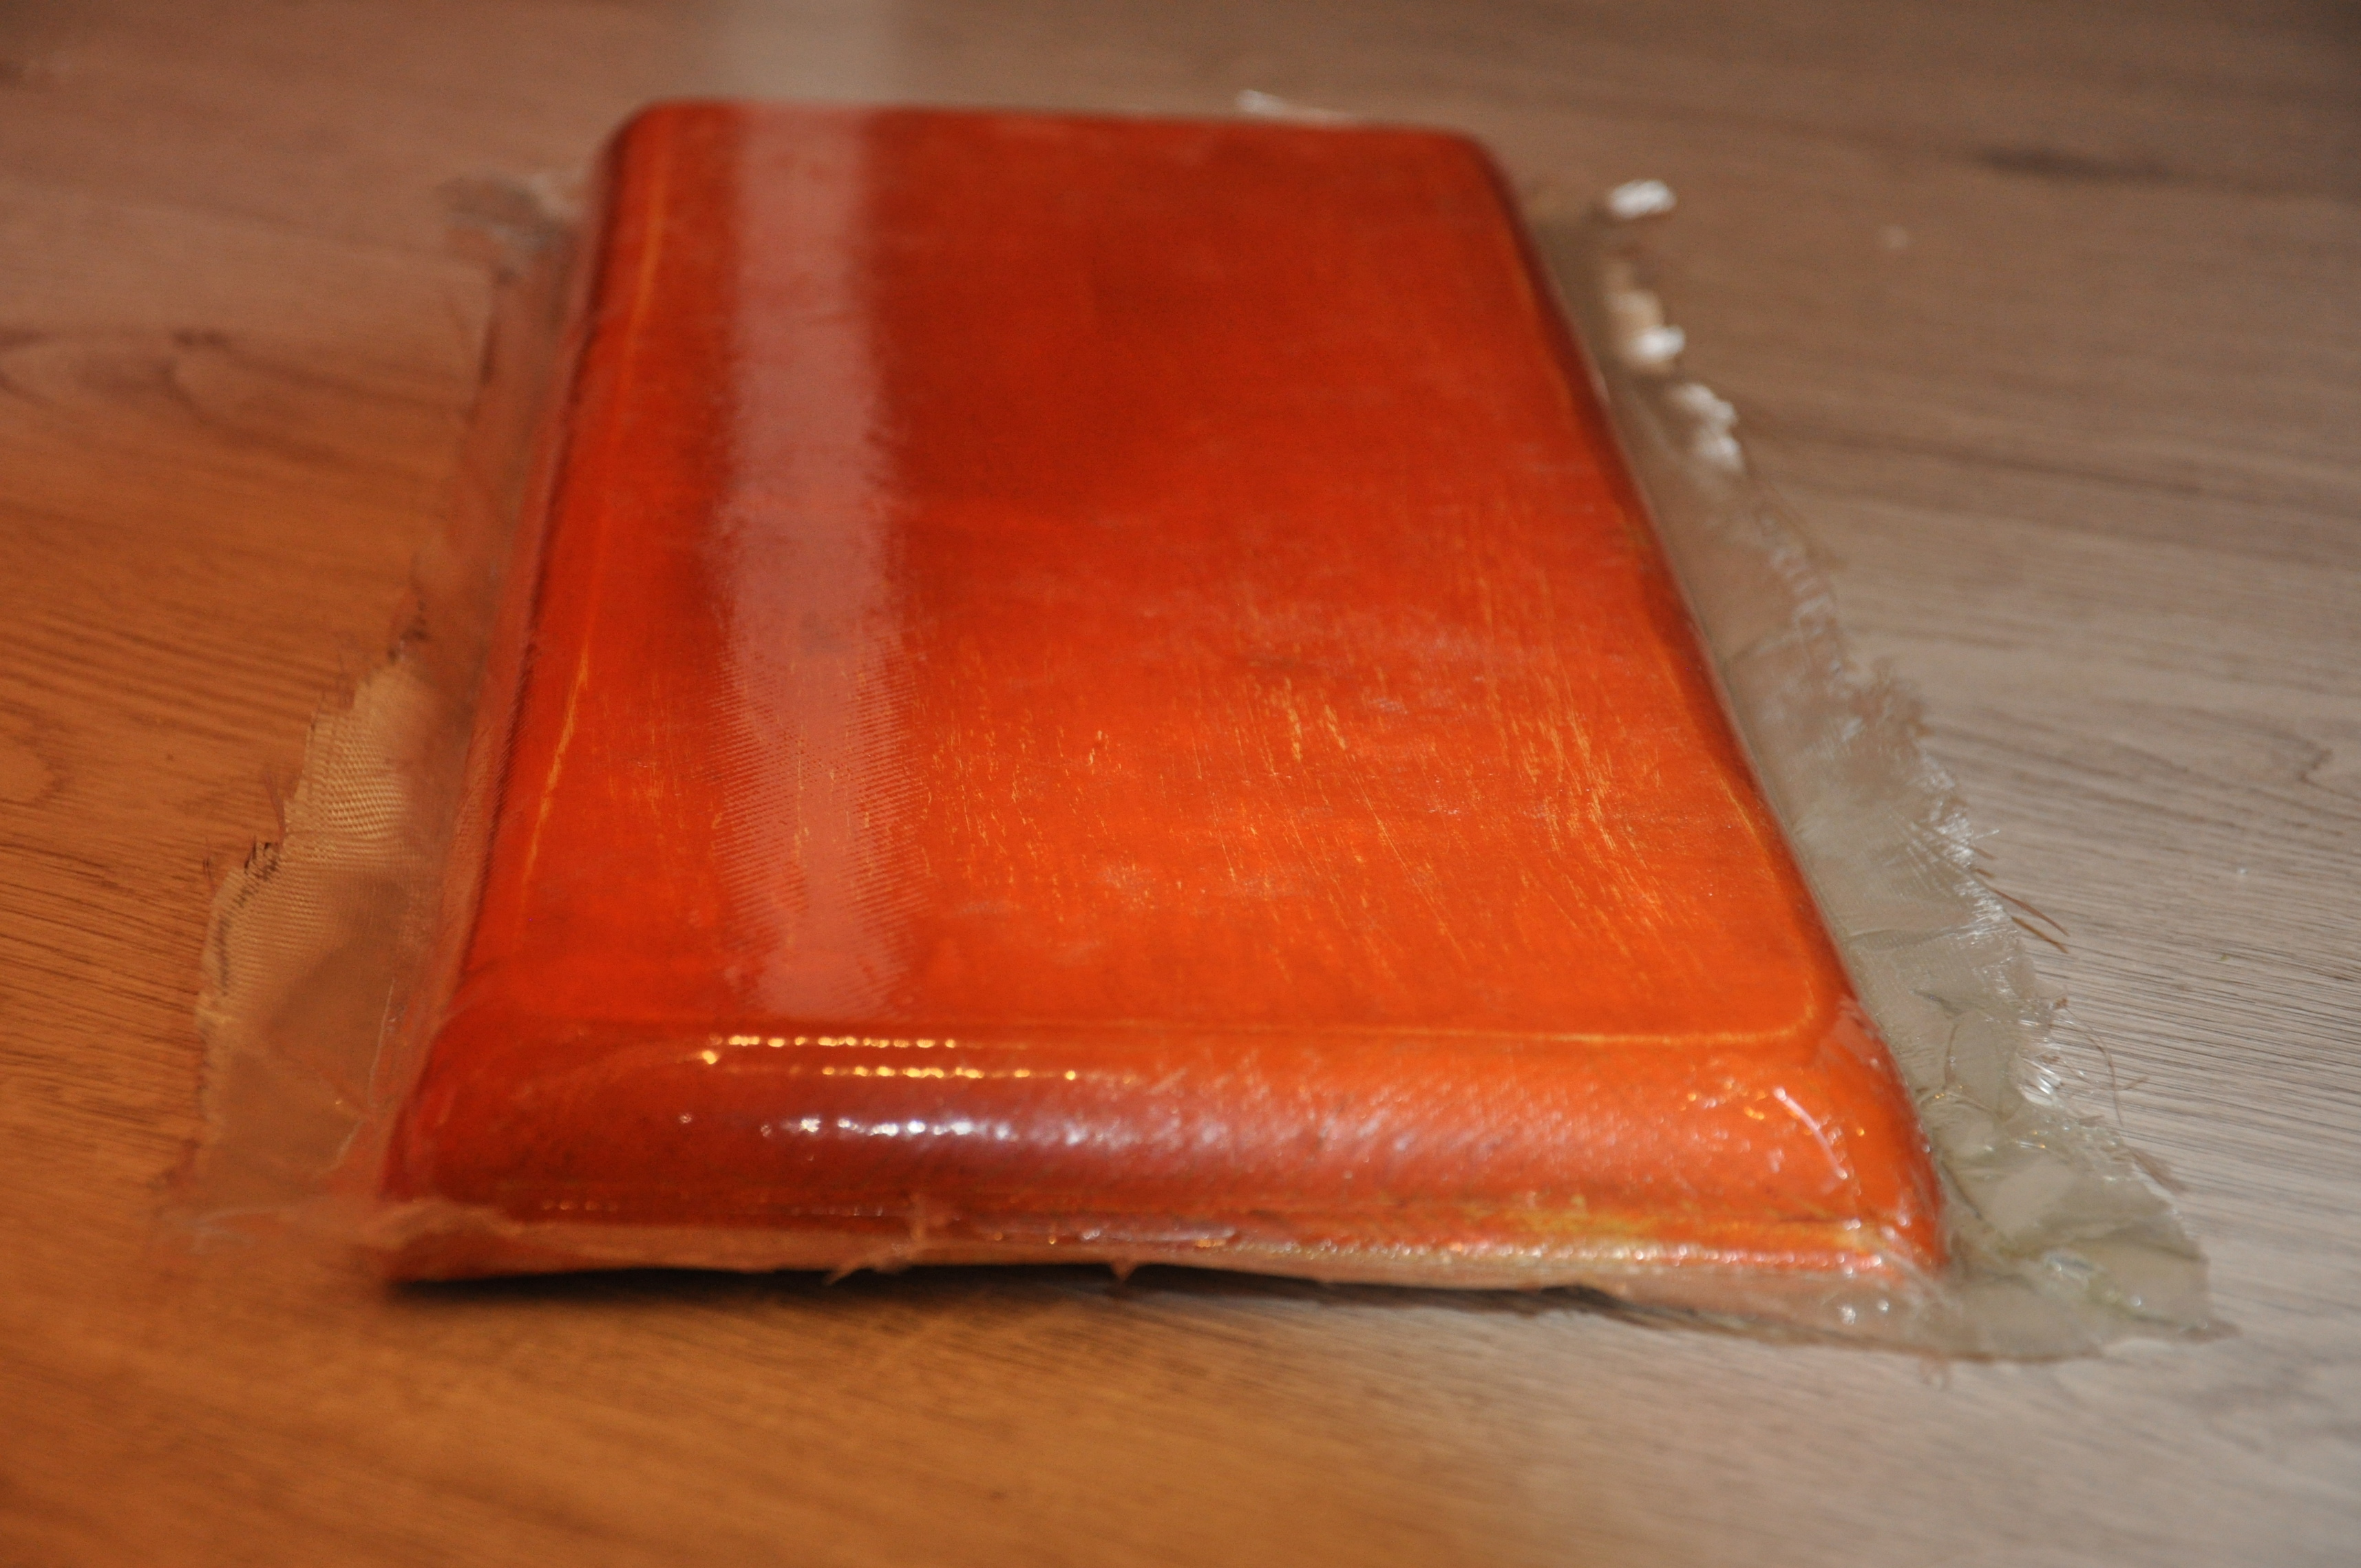
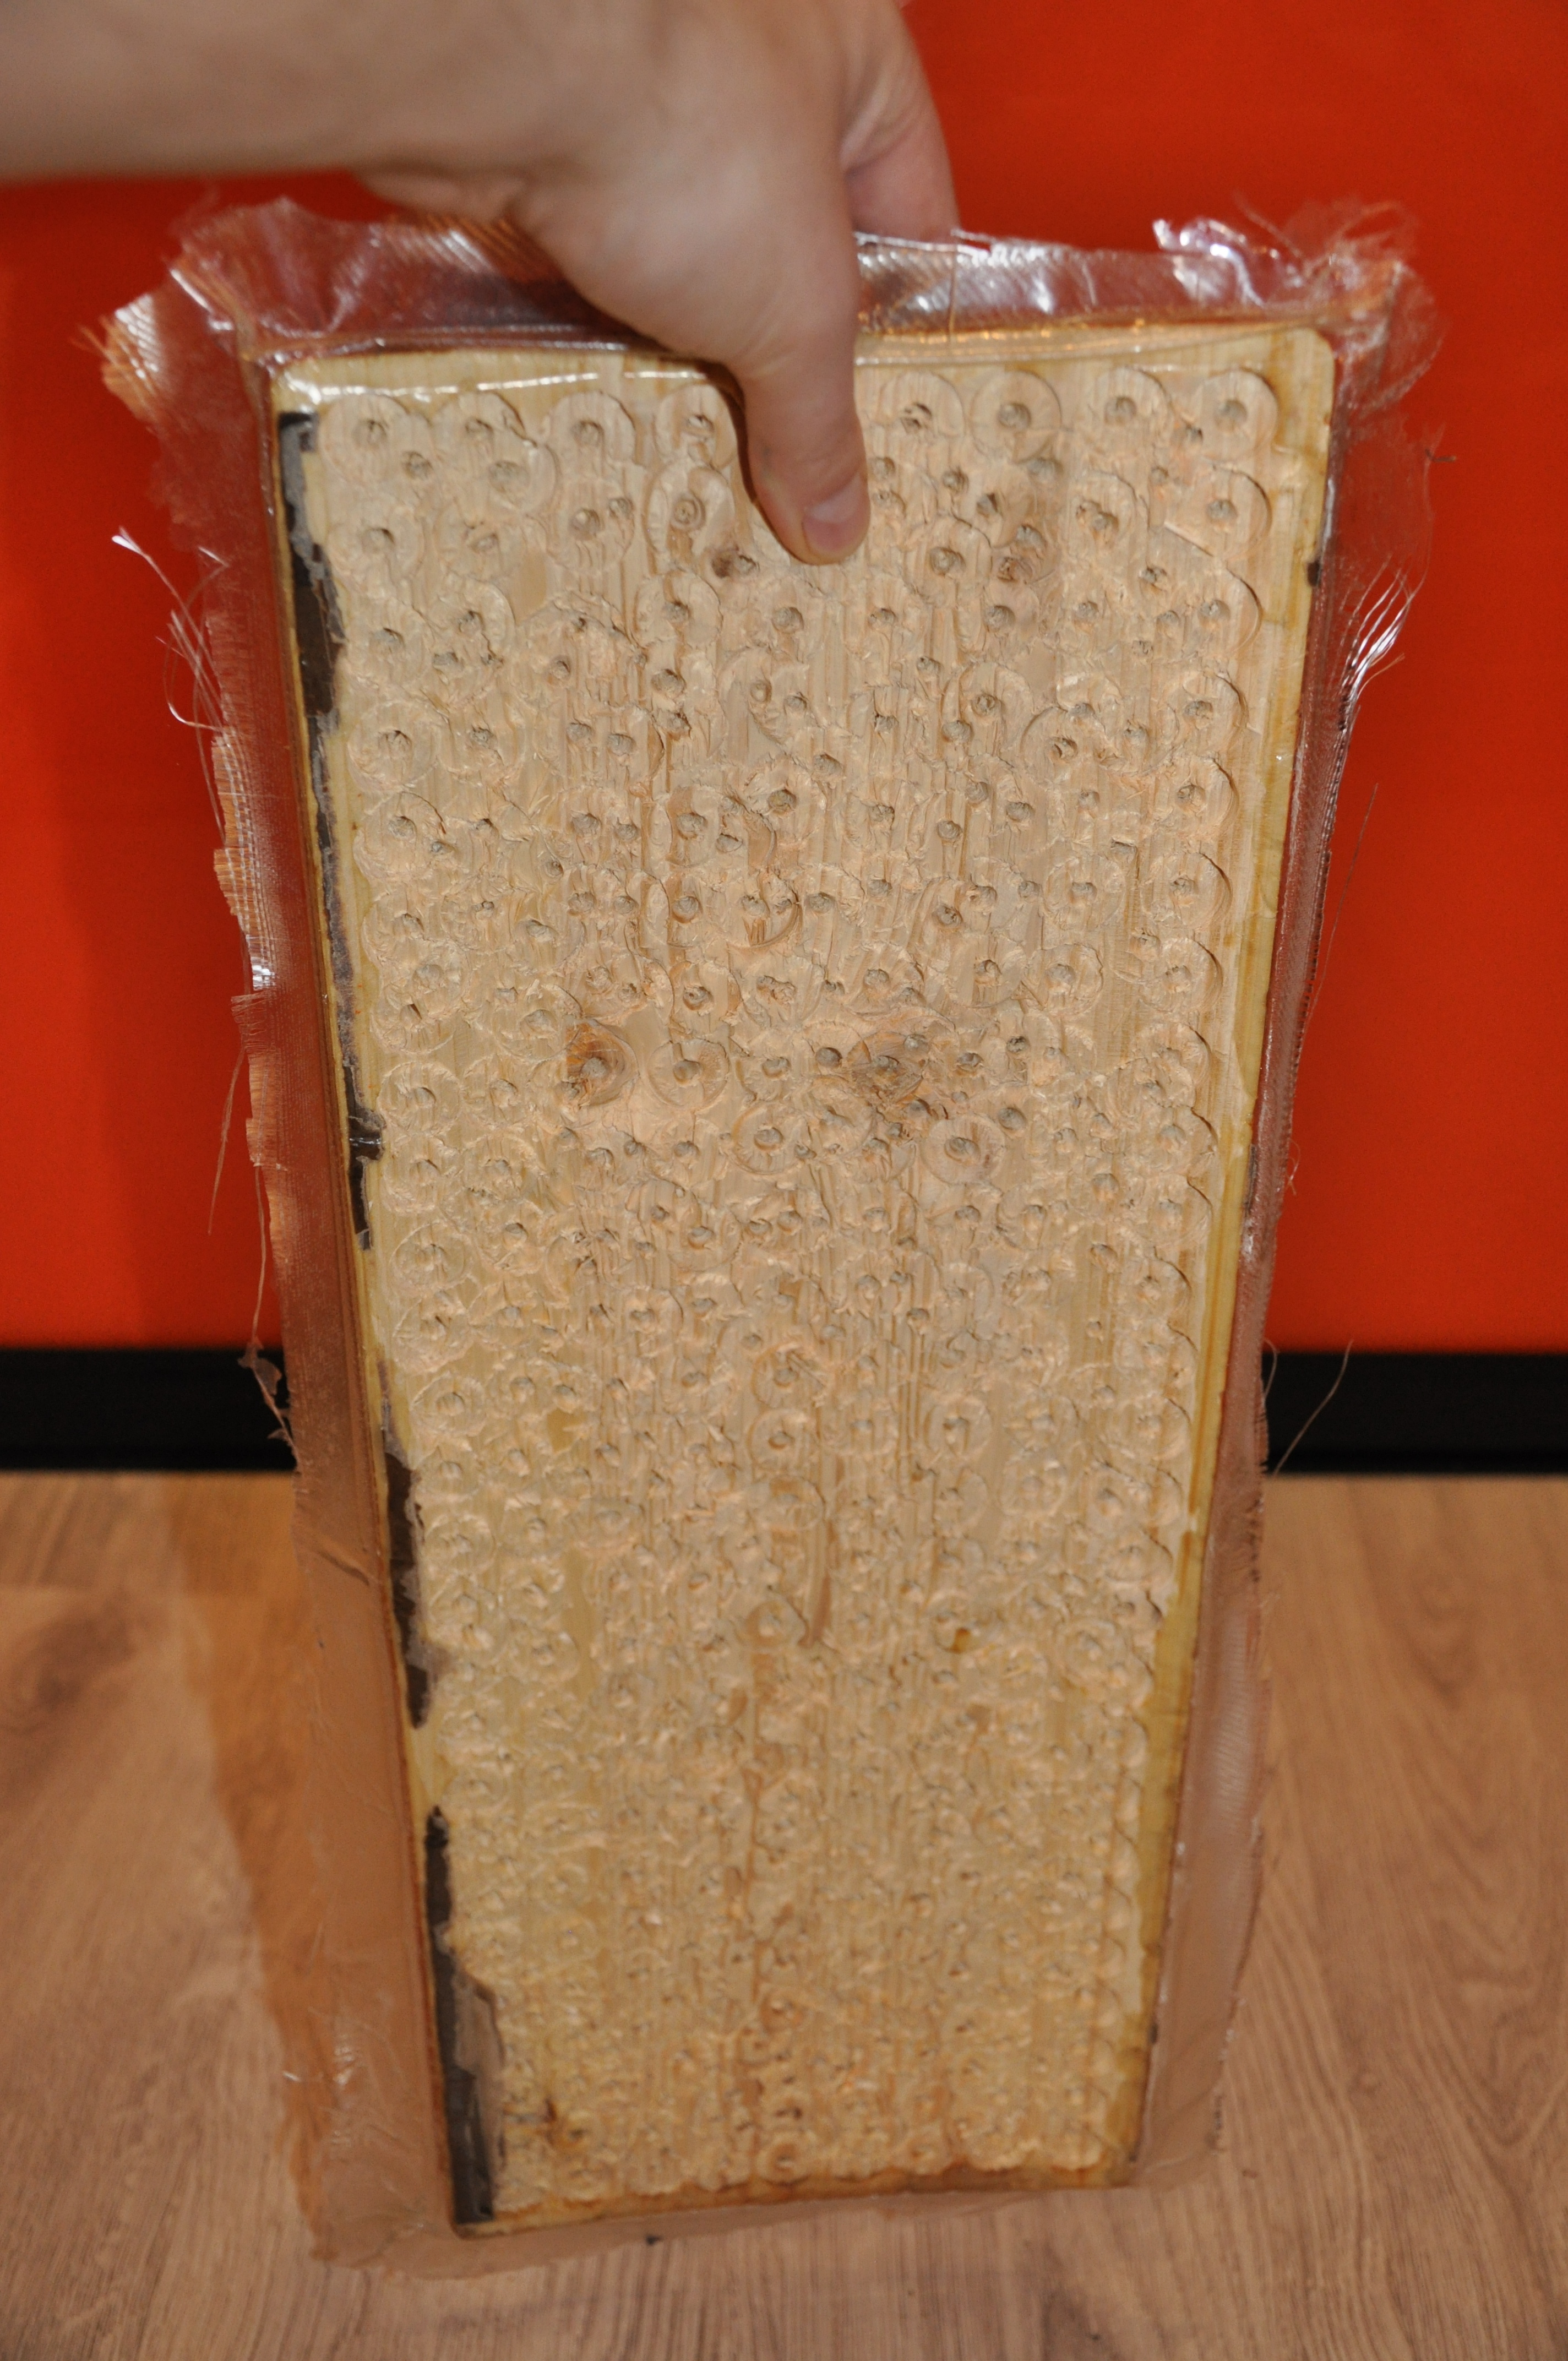
I made a mold from wood that was laying at my basement and using my style Ghetto wacuming to add a fiberglass on top. Mold is orange because at first I thought use only paint to get nice surface for mold, it also could work, but I decide use fiberglass with resin.

You need a vacuum!!
Without that, process will make you mad as hell, because corners will not stick. I recommend my style- I call it “GHETTO VACUUMING”! So items you need is:
-
Vacuum bag for cloth storage- they cost about 3-5$ it is strong bag with zip and hole for sucking out air (it has membrane inside, so air coming only out) . just choose right size of the bag.
-
Vacuum cleaner.
So that’s it, I invented this for myself, didn’t find this style anywhere ![]()
And it works! First time when I heard word vacuum for carbon part making, the first thing that came in my mind was vacuum bags for cloth storage. My girlfriend is using them to save space in closet for winter clothes.![]()
One thing- outside of part what touches bag will have pressed out resin bumps in bag form, but you can sand it or probably you can use peel ply in between part and bag. I heard that there is some kind of peel ply that sucks all not needed resin in, after you just peel that ply off and you end up with surface clean without deformation, but it will look like sanded, so not glossy. But I didn’t try that because didn’t know that peel ply exists! Will try it next time ![]()
This GHETTO VACUUMING works and it presses a hell out of that part in mold- So you end up with precise and stronger part due to compressing and less resin in your product!
Of course real vacuum bagging will suck out resin all the time till it cures, and end result will be more pressed and stronger part with less resin in it, so lighter as well!! But on buget GHETTO VACUUMING is Ace.
One tip: Use resin as little as possible, just to soak the cloth!!! More resin you use- Uglier and Weaker part will be. When you mixing resin use same weight as cloth you are going to use.
So about 5$ you can get GHETTO VACUUMING system at home, isn’t it great! And you can use that bag over and over again!!! ![]() Of course if there is no leaks, but even then some tape will sort this out, just cover the punctured hole and you done.
Of course if there is no leaks, but even then some tape will sort this out, just cover the punctured hole and you done.
Wood it self sucks a lot resin inside, so I soaked it with just a resin day before I add a fiberglass. Goal was to get smooth and good surface for molding. So next day I applied resin then fiberglass, and with my paint brush I brushed it to mold till cloth was soaked with resin. At this point is no need to add more resin, main thing is soak cloth from under. It wouldn’t be possible to get that cloth stick to corners and sides of a mold without vacuum. Fiberglass cloth was lifting away from sides and corners. So I put whole thing in simple Vacuum bag for clothes. And used vacuum cleaner to suck out air. At first it is important to press out air by hands so that bag stays smooth as possible on the mold, then close zip of the bag and using vacuum cleaner suck out air about 10 sec., maybe more if neded, but check that resin is not going in to the hole, you don’t want mess up your vacuum cleaner.


Visually I watch if resin is coming close to sucking hole, for me it never gets close to it! It’s very easy to see where resin is moving! Since there is vacuum, resin still slowly moves away by bag grooves, sometimes I help with my fingers to push out more resin. As I press with fingers from detail towards grooves. I can see a lot of resin mowing away from my fiberglass part. If needed again you can connect to vacuum cleaner for 10 more seconds to get more pressure ![]() Less resin- better part is!
Less resin- better part is!
After I took my mold out of bag I trimmed edges and water sanded with 400 grid surface to get it smooth.
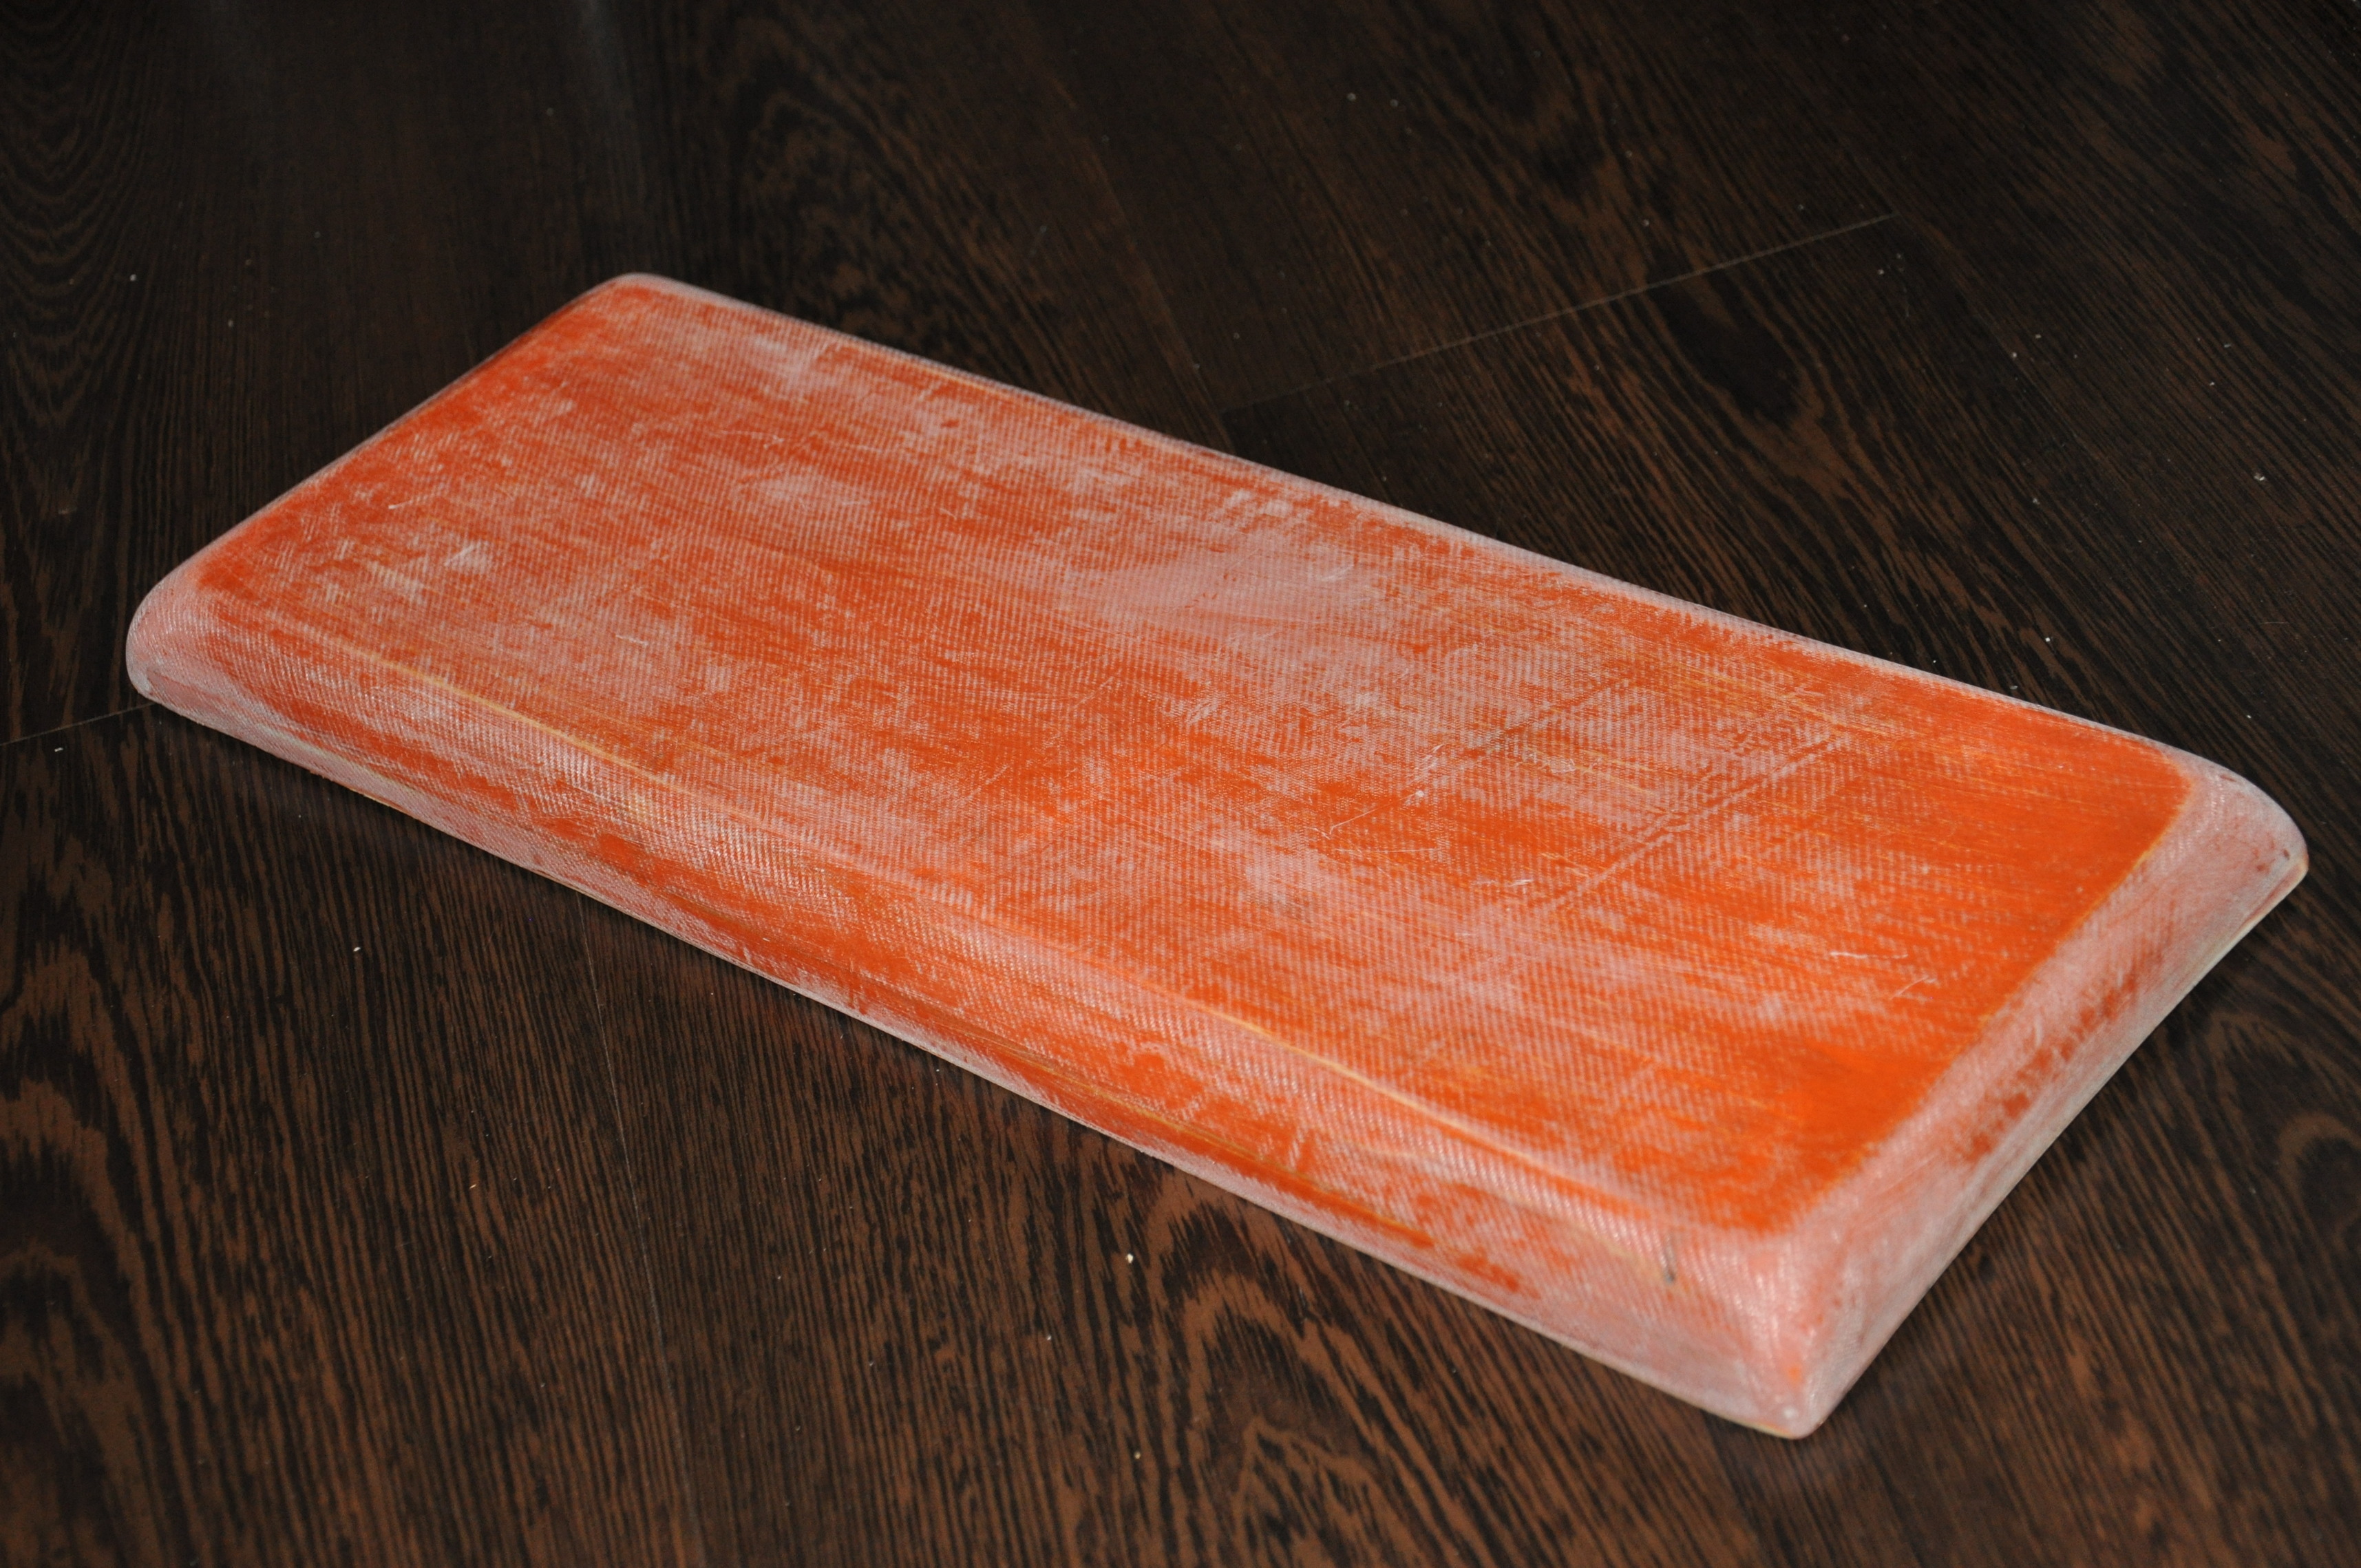
Then I wax it with molding wax, guy at compozite shop told me to wax it 7 times for new mold, after that I can wax once. so I did it. Waxing it with sponge - wait 15 min. - wipe with piece of T-shirt, again wax and so on till 7 times are done. But it was my wax, for you maybe it will be different, there are other options like relise agents and so.

Next step was wrapping my board in film (for food storrage), because I need to make exact shape of boards concave for my enclosures lips. So that enclosure will match with my board.

Then I drilled 2 holes through the deck, I think it was 3,5 mm or 4 mm. I needed them for my screws to hold mold in place. Later on I filled those holes with epoxy, so no much harm for board.


Next thing was to wax whole area of mold + a bit on film, but resin will not stick to film anyway, but I did it anyway.

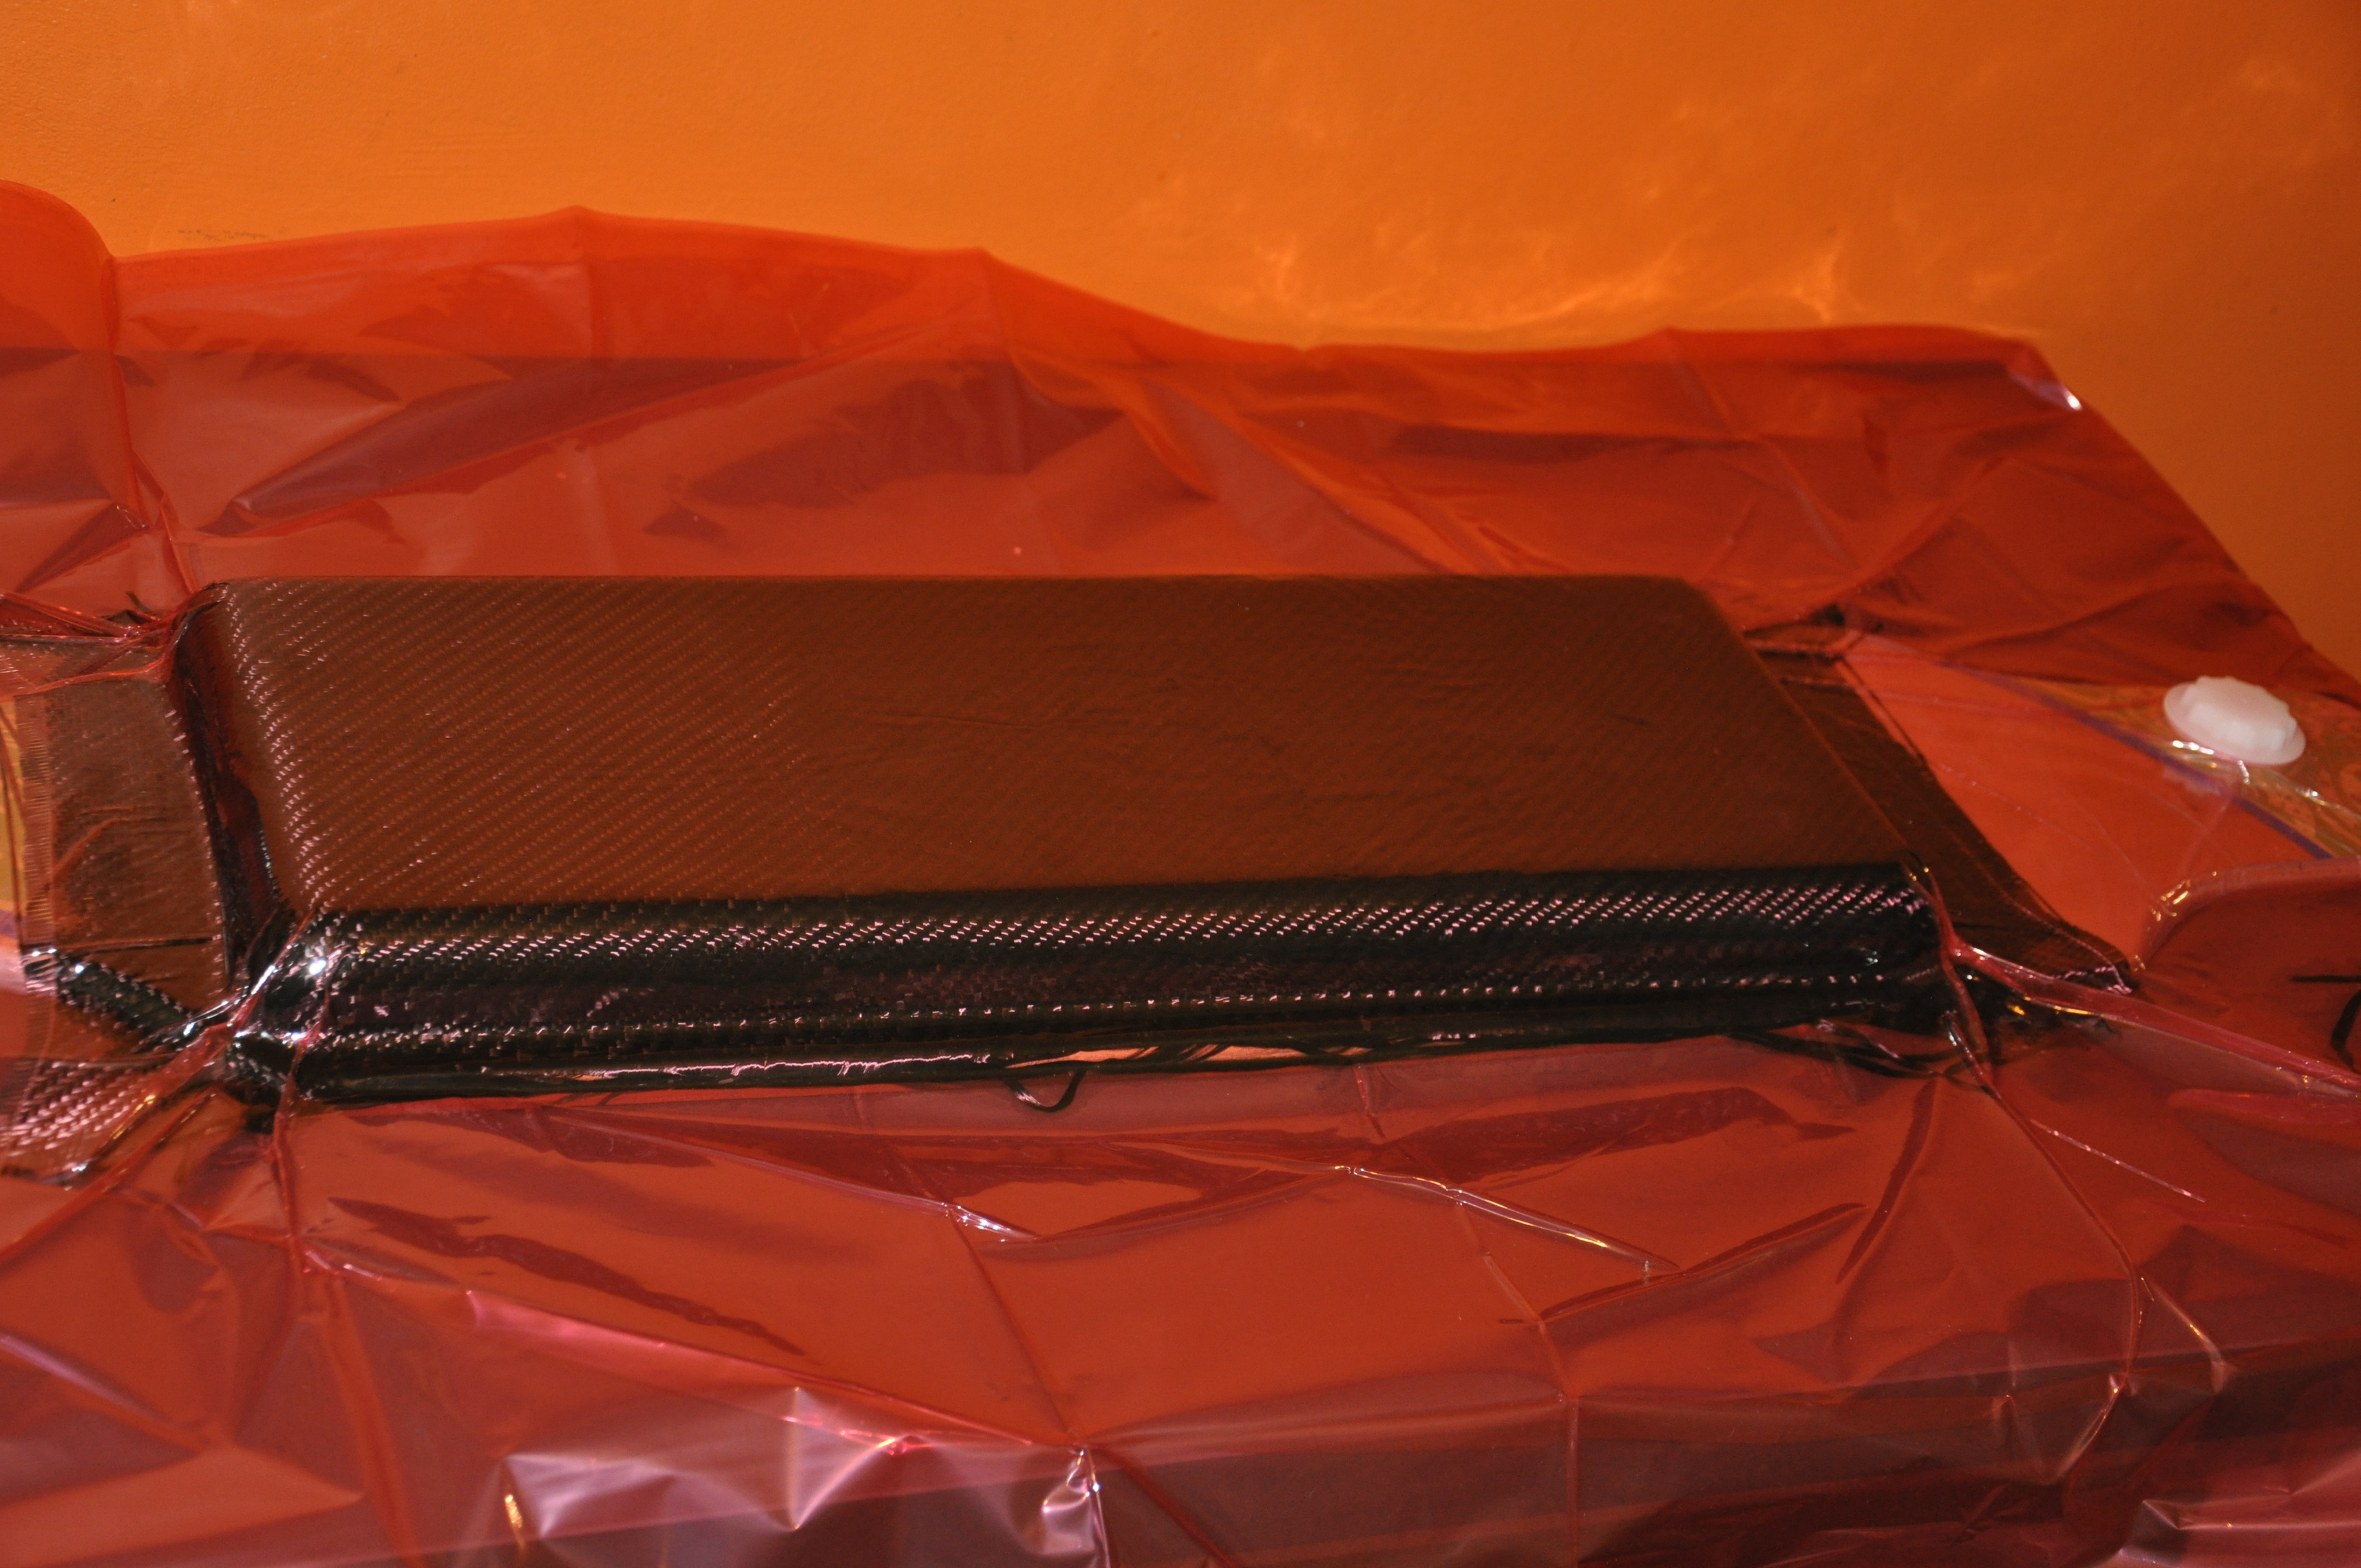
!!! But I suggest to fill a gap between mold and board with some plasticine or wax crayons, because I didn’t do that and I had a very tough time to get part off the mold. My part was glued to mold all the way around the edge, in one place even carbon was curled under of mold ![]()
I weighted a carbon cloth what I’m gonna be using and made same weight resin. I used 4 layers of 200g/m2 Twill carbon cloth to make my enclosure. Why Twill, because Twill carbon better deals with corners and more complex shapes. Also it looks awesome.
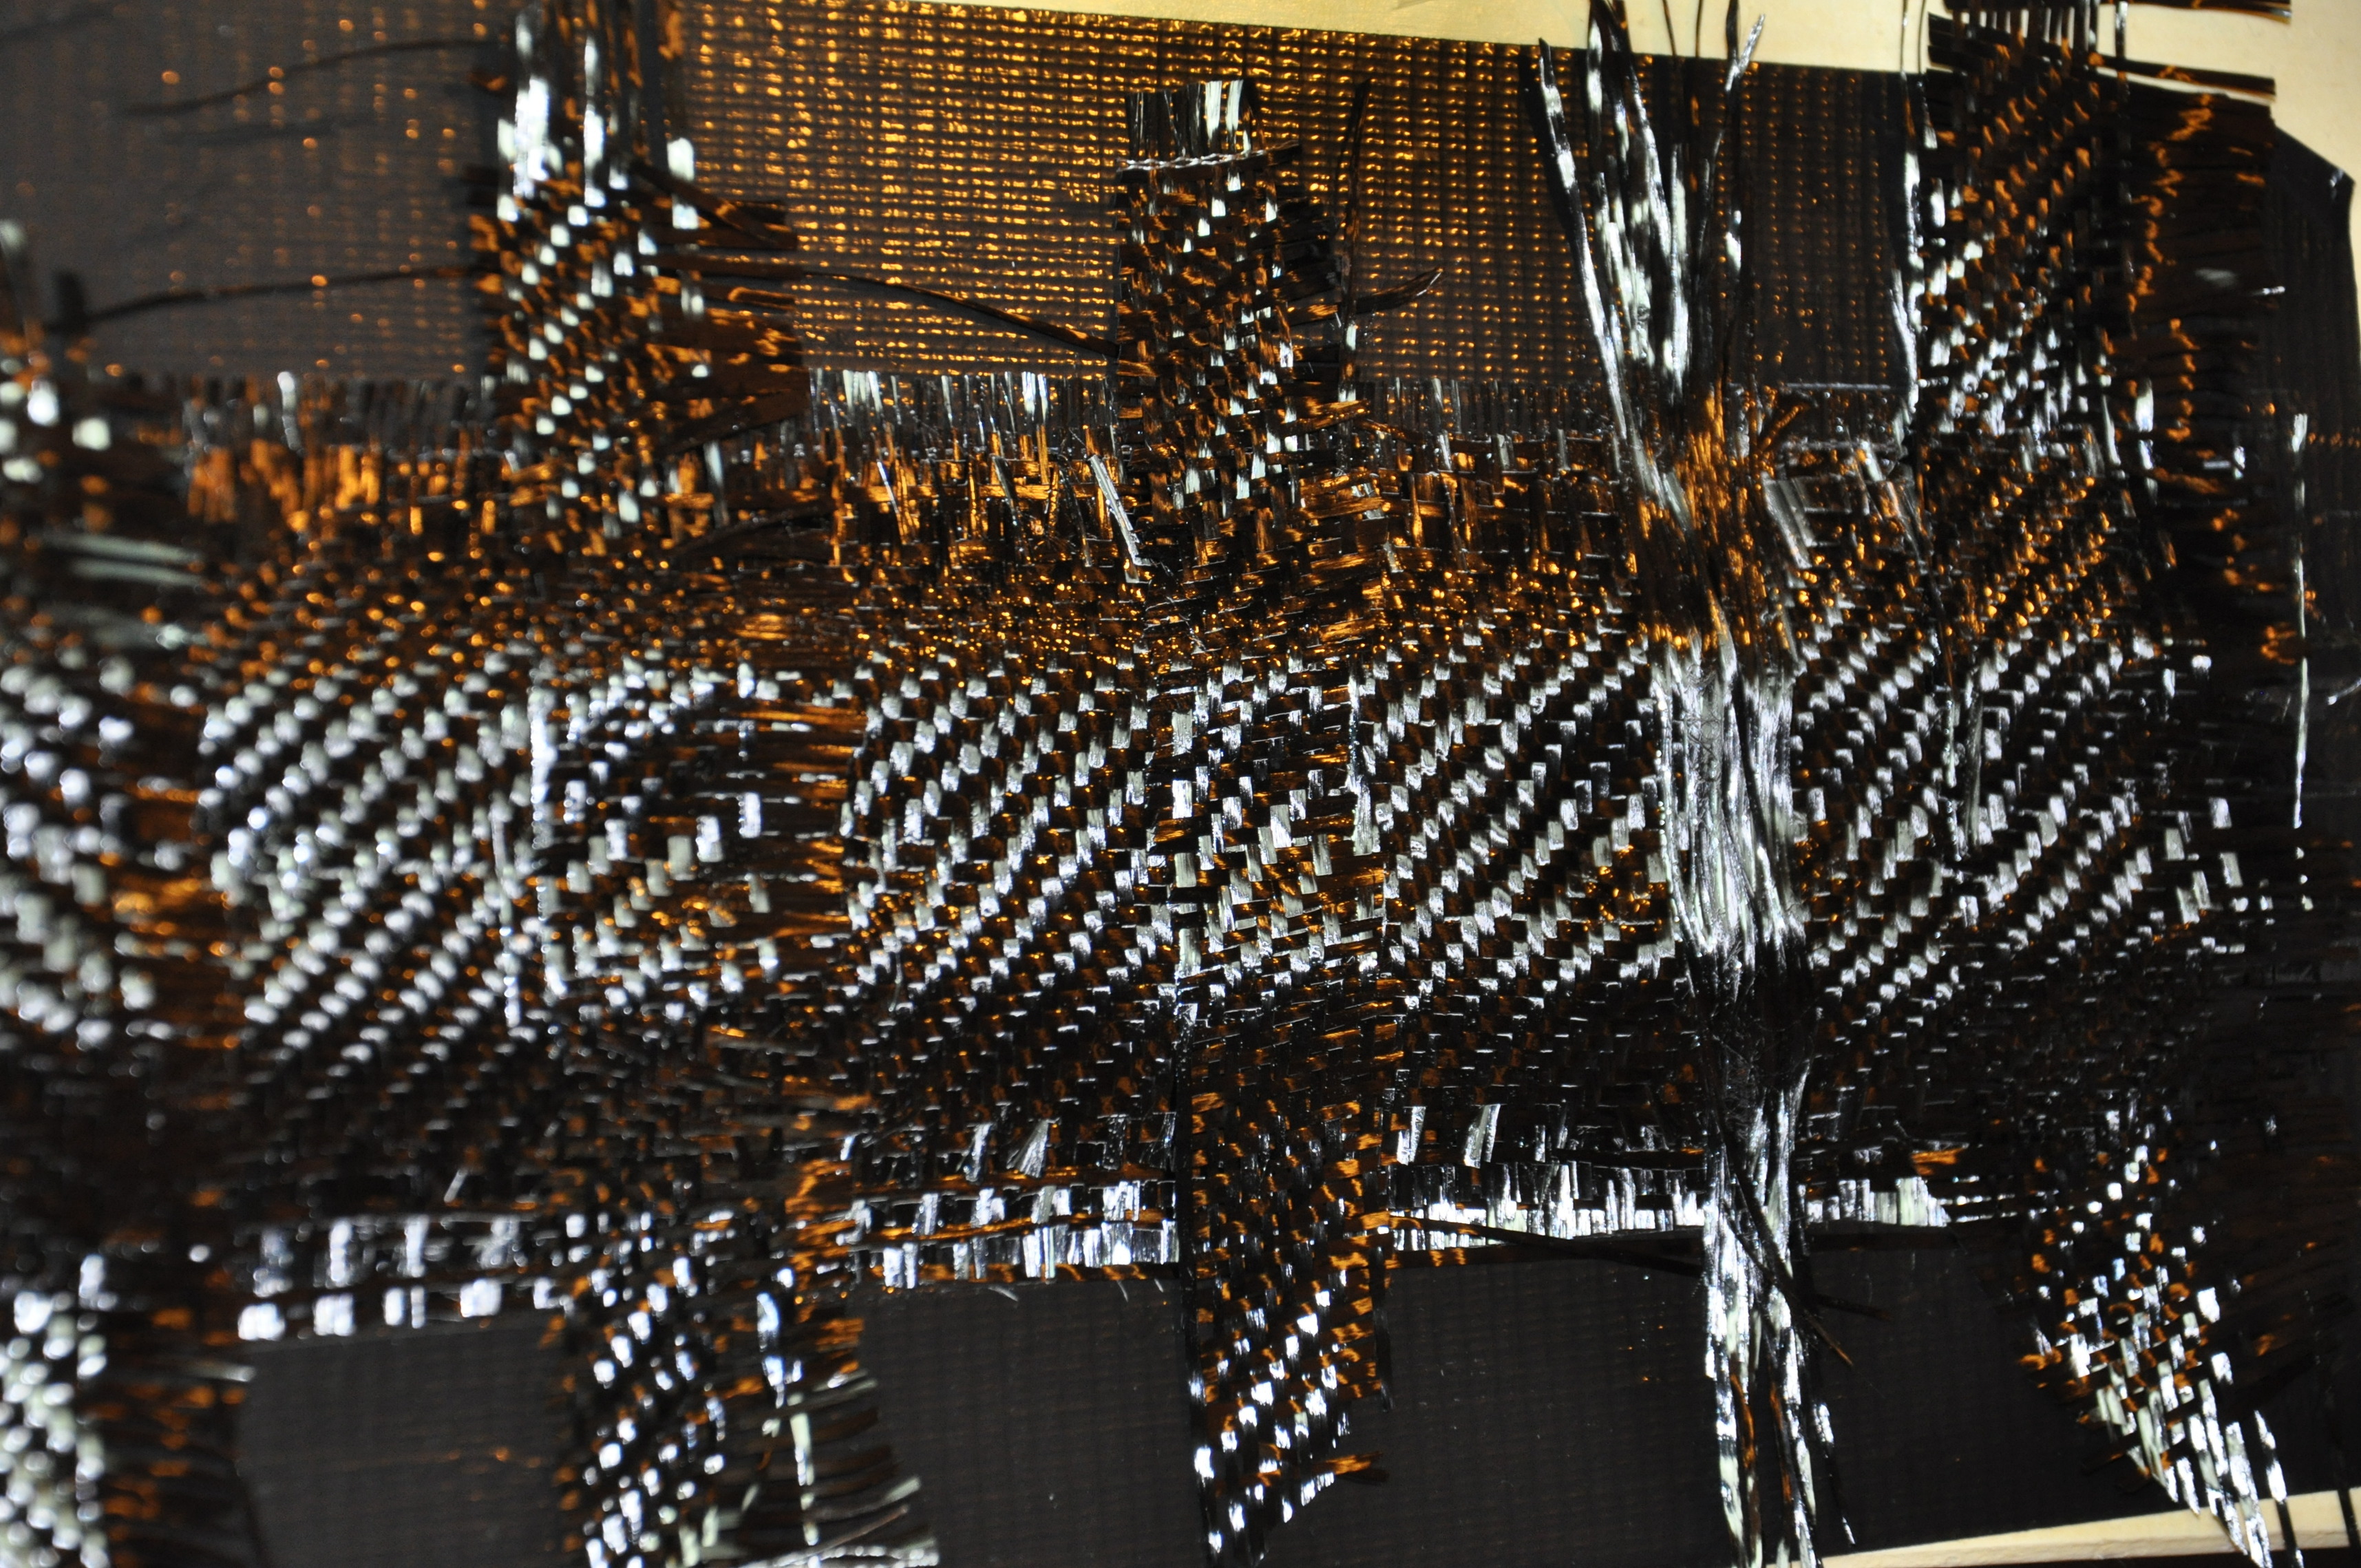
Next step is to add resin with brush to mold, then lay carbon, try to get all air out by moving bubble with brush or creditcard ot special roller for that purpose, brush it with paint brush, again add resin, cloth…so on till last layer, in my case it was outside of the enclosure, so this part will be visible. That why pay attension to not disarrange weve, better keep it weaves compressed together, it is better that somebody will help to add this visible layer of carbon. I had no body to help me at this time, also did not pay too much attension for the weave, now I can see that weaves on my enclosure are bit deformed. So, PLEASE, pay atention for laying visible layer of carbon, so that you can make a nice looking part!!! Also I want mention that I used that roller that guy suggested at compozite shop. It is o.k. but you need to be cearfull, to not deform weaves when you pressing air out, I f***ed up few weaves because of too much pressure on my roller, So be carefull- ask for assistance and compress a bit cloth from all sides to middle that weaves are similar, before adding to mold.
Use about 3cm longer cloth to all sides, because it will be much easier to work with, I had not too much carbon, I bearly could made my parts with it , so it was hard to work with material when you cannot lay it to one side more, if you do so an other side isn’t enough material, so need to peel it off and redo it again. That way weave is deformed. So extra 3 cm is brilliant to each side if you have, 2 cm also works, but 3 cm make everything easier.
When you done place all your deck/mold in vacuum bag and do as I mentioned before, when I was making mold with fiberglass layer. So it should look like this:


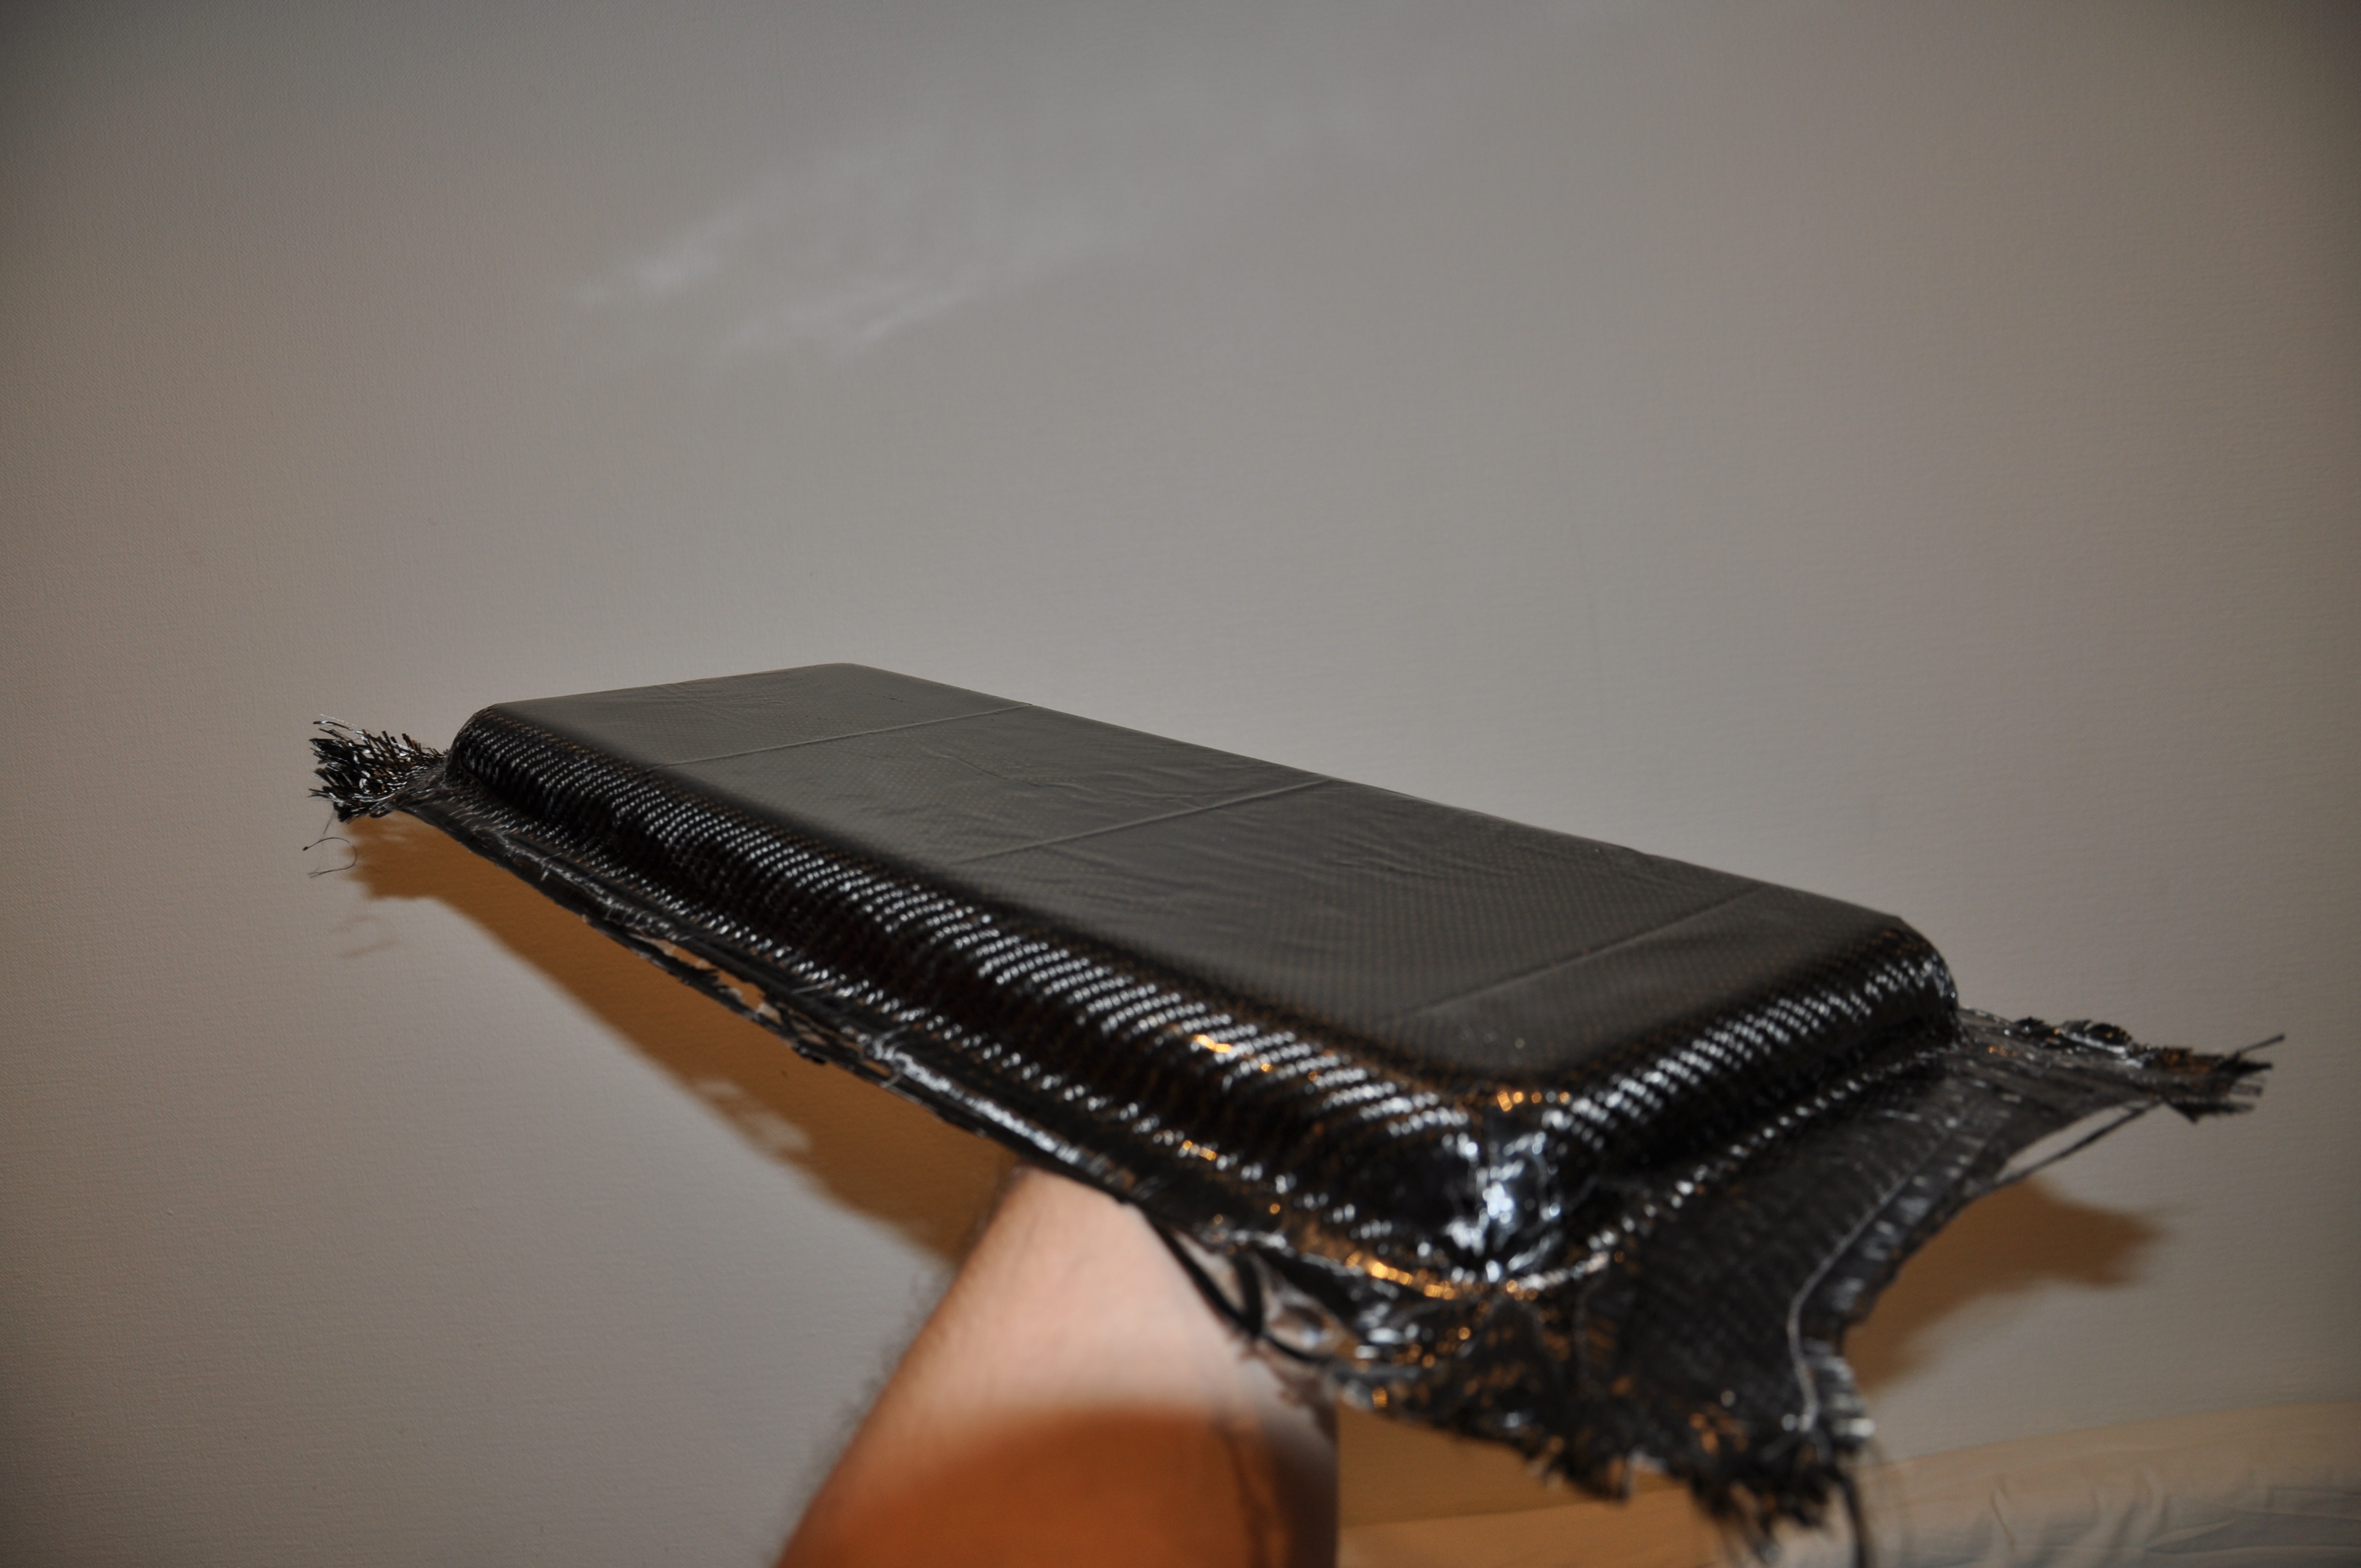
Leave till it cures, moustly it is 24h. Then open it, gett your part out of mold.
Trimm sides then water sand it. Since I was not using that peel ply (but I don’t know much about it), surface was with imperfections, resin was getting in form of bag grooves and so, but nothing terrible. Sanding, applying resin, sanding…so on- can help! But keep in mind, that it will add weight. So better it would be to get as smooth surface as possible from the beginning, so that you just add two layers of coating resin with sanding in between. In my case I added resin 3 or 4 times till everything was smooth and then two layers of UV coating resin. But I think these grams are nothing special for e-skate, it will perform the same if it’s 100g havier or 100g lighter. In our body in day time our weight shifts even for 4 kg. So not a big deal to add those layers of resin on top. At the beginning my enclosure was 235g after all sanding and applying it’s 350g, so it is not rc plane, it is e-skate, it supposed to get my 90kg ass around the block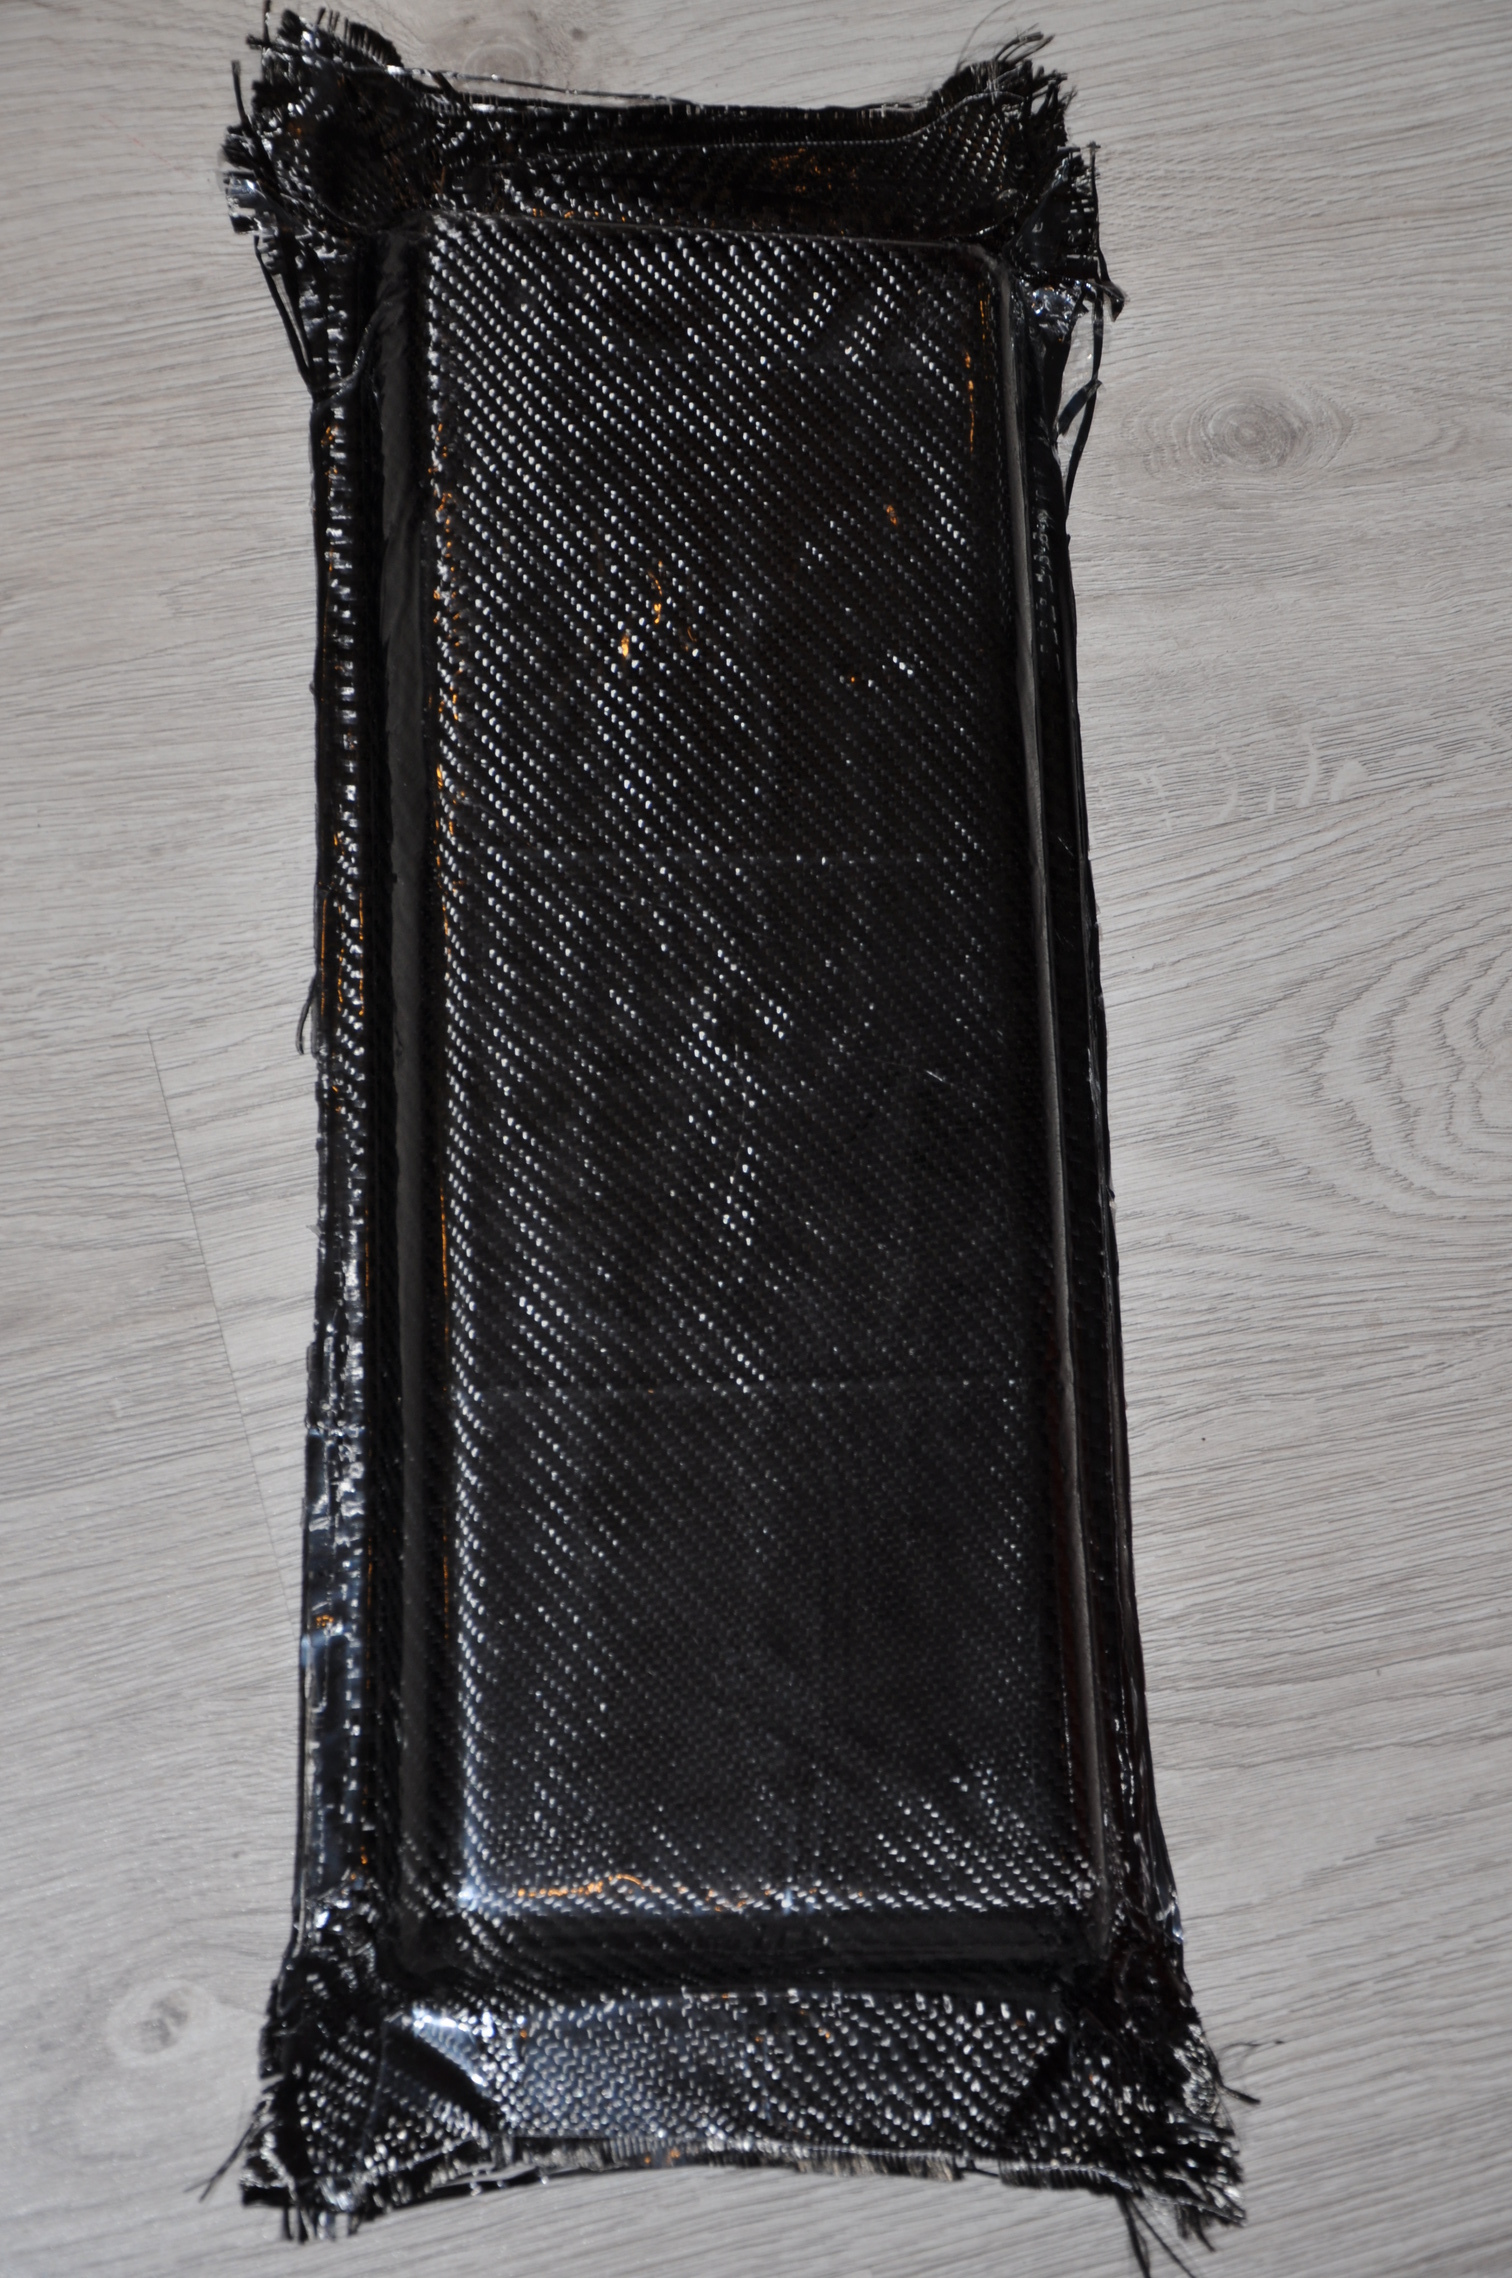


Here is nice video, how to get sexy lookin parts, when they are a bit ugly, except I didn’t use that spray coat I think it is not durrable, I use super clear, self levaling, UV protected coating resin! :
")
You can see my imperfections of the part from bagging without peel ply:


So I water sanded it at the start with 320 grid I think, just be careful not to sand till fiber, I did that, it looks nasty, so avoid that ![]() So picture after sanding:
So picture after sanding:

So I end up with this after 4 times applying basic resin and two times coating resin, I know that I could use that self leveling coating resin all the time in this process, like in that video, but I hadn’t that resin at the time, it was hard to find it, only after month or so I found it in other compozite shop in my city:

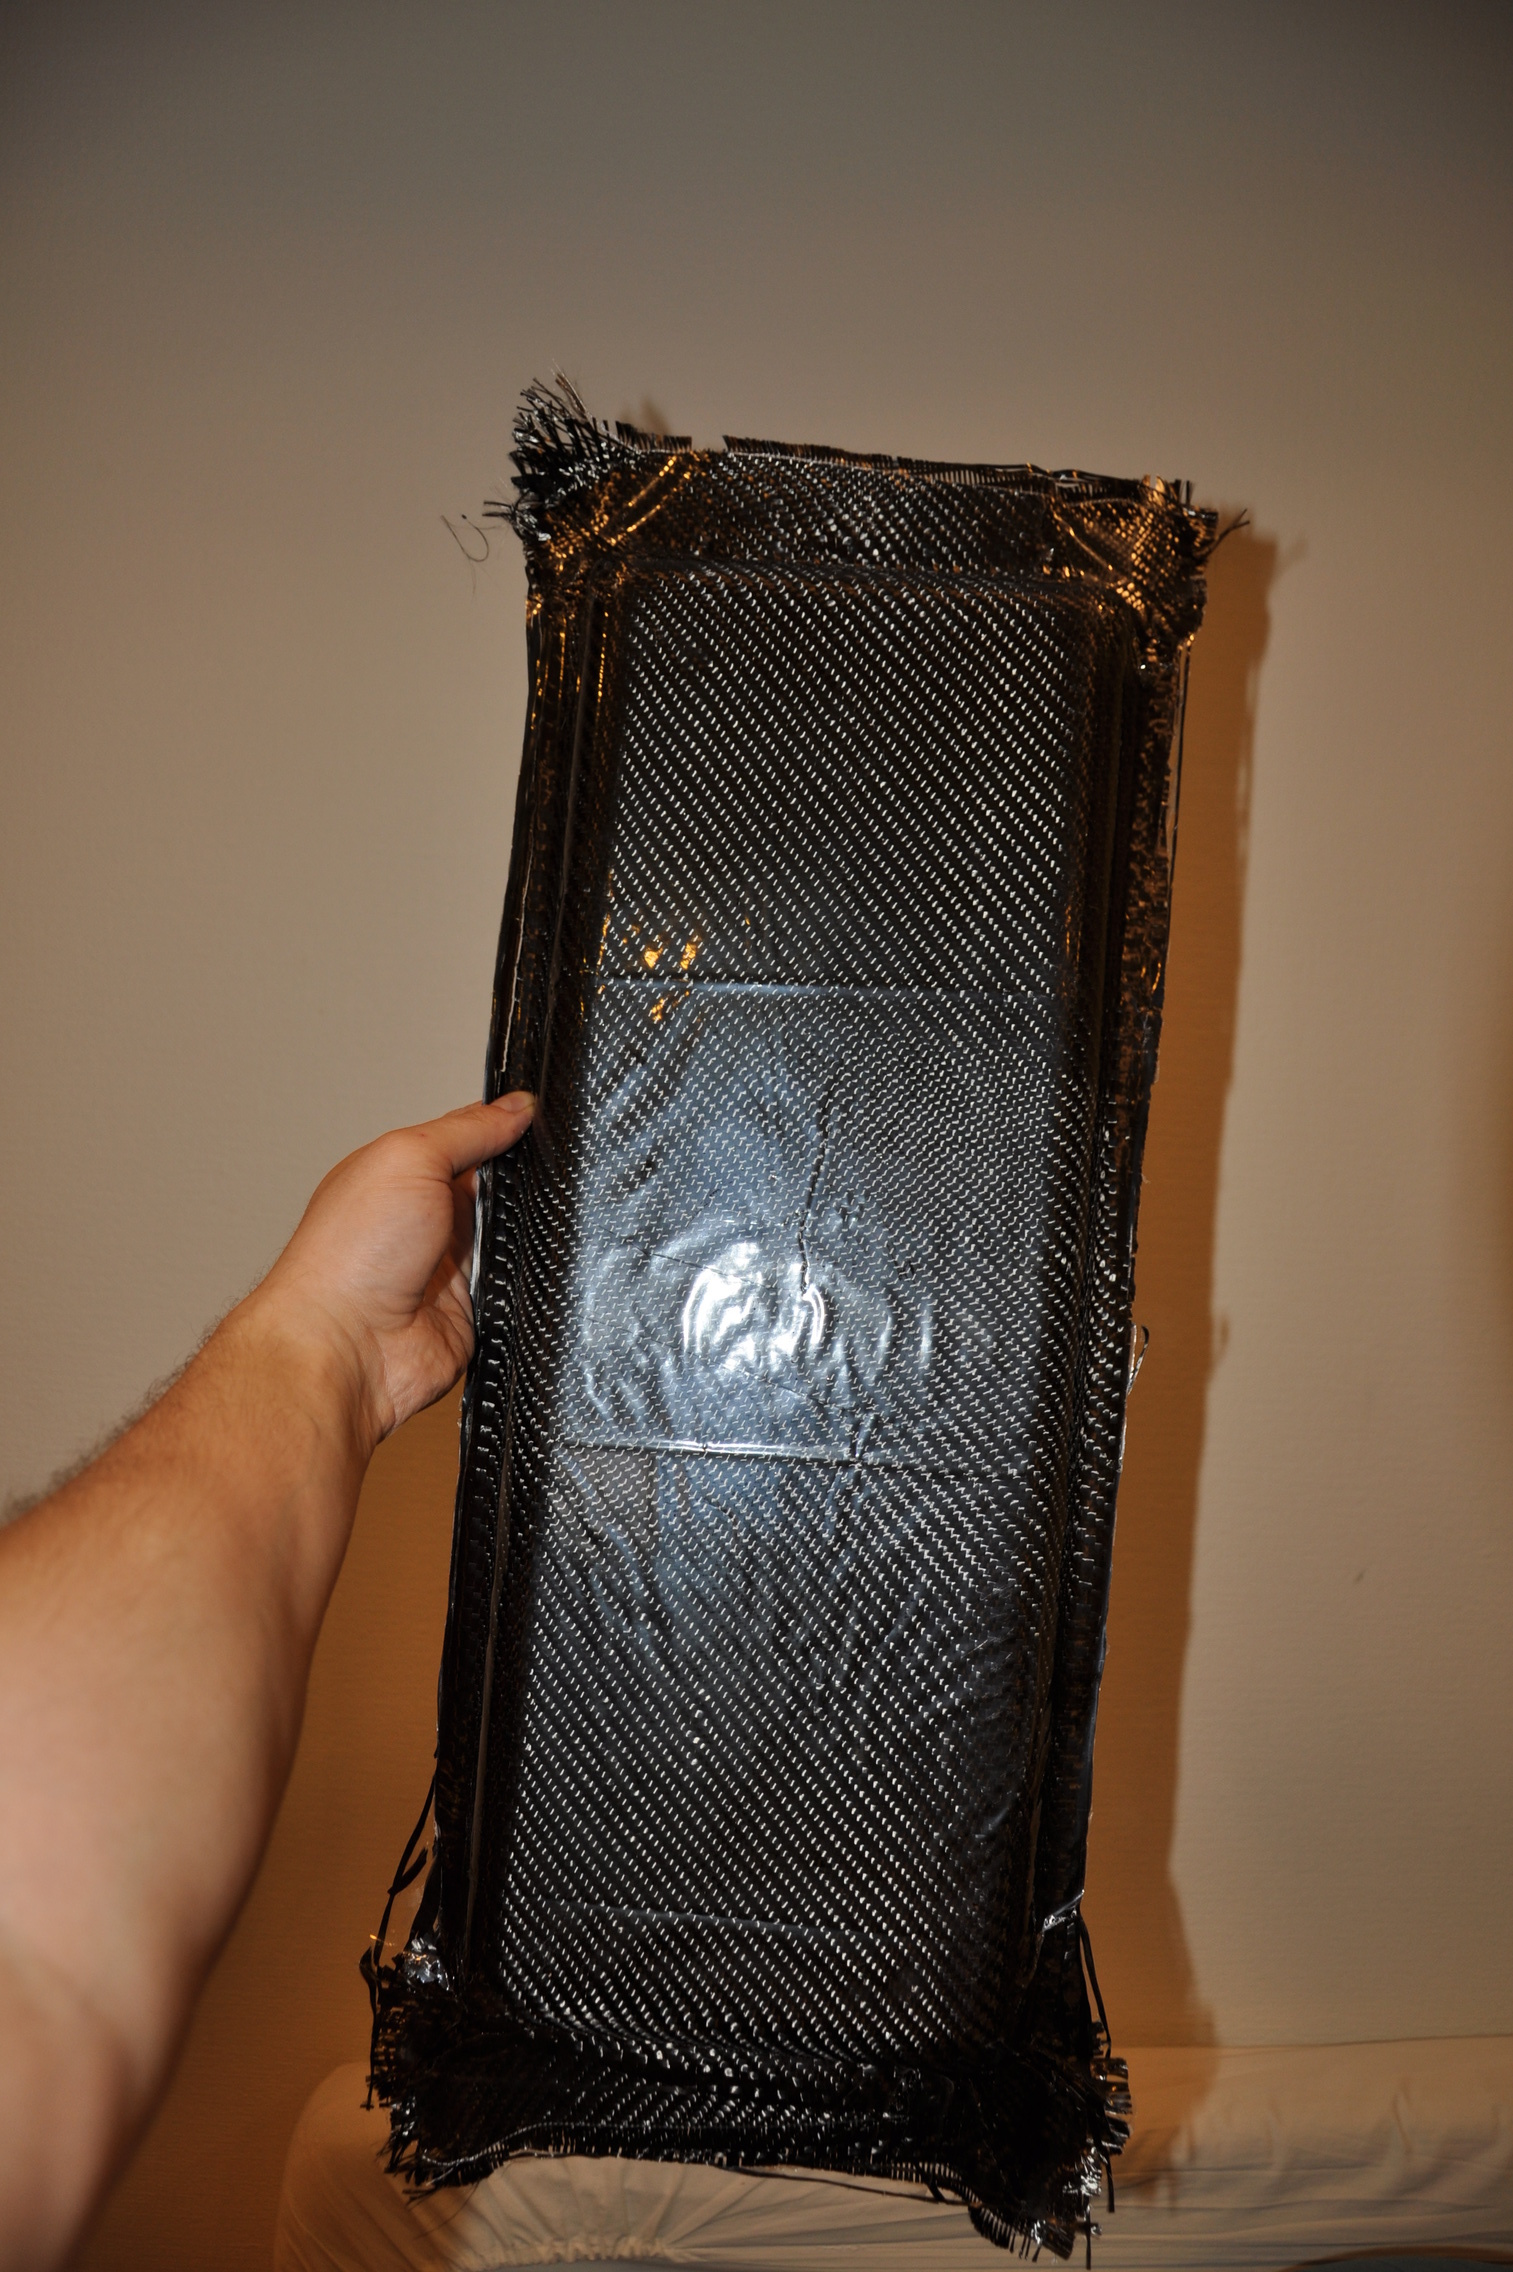
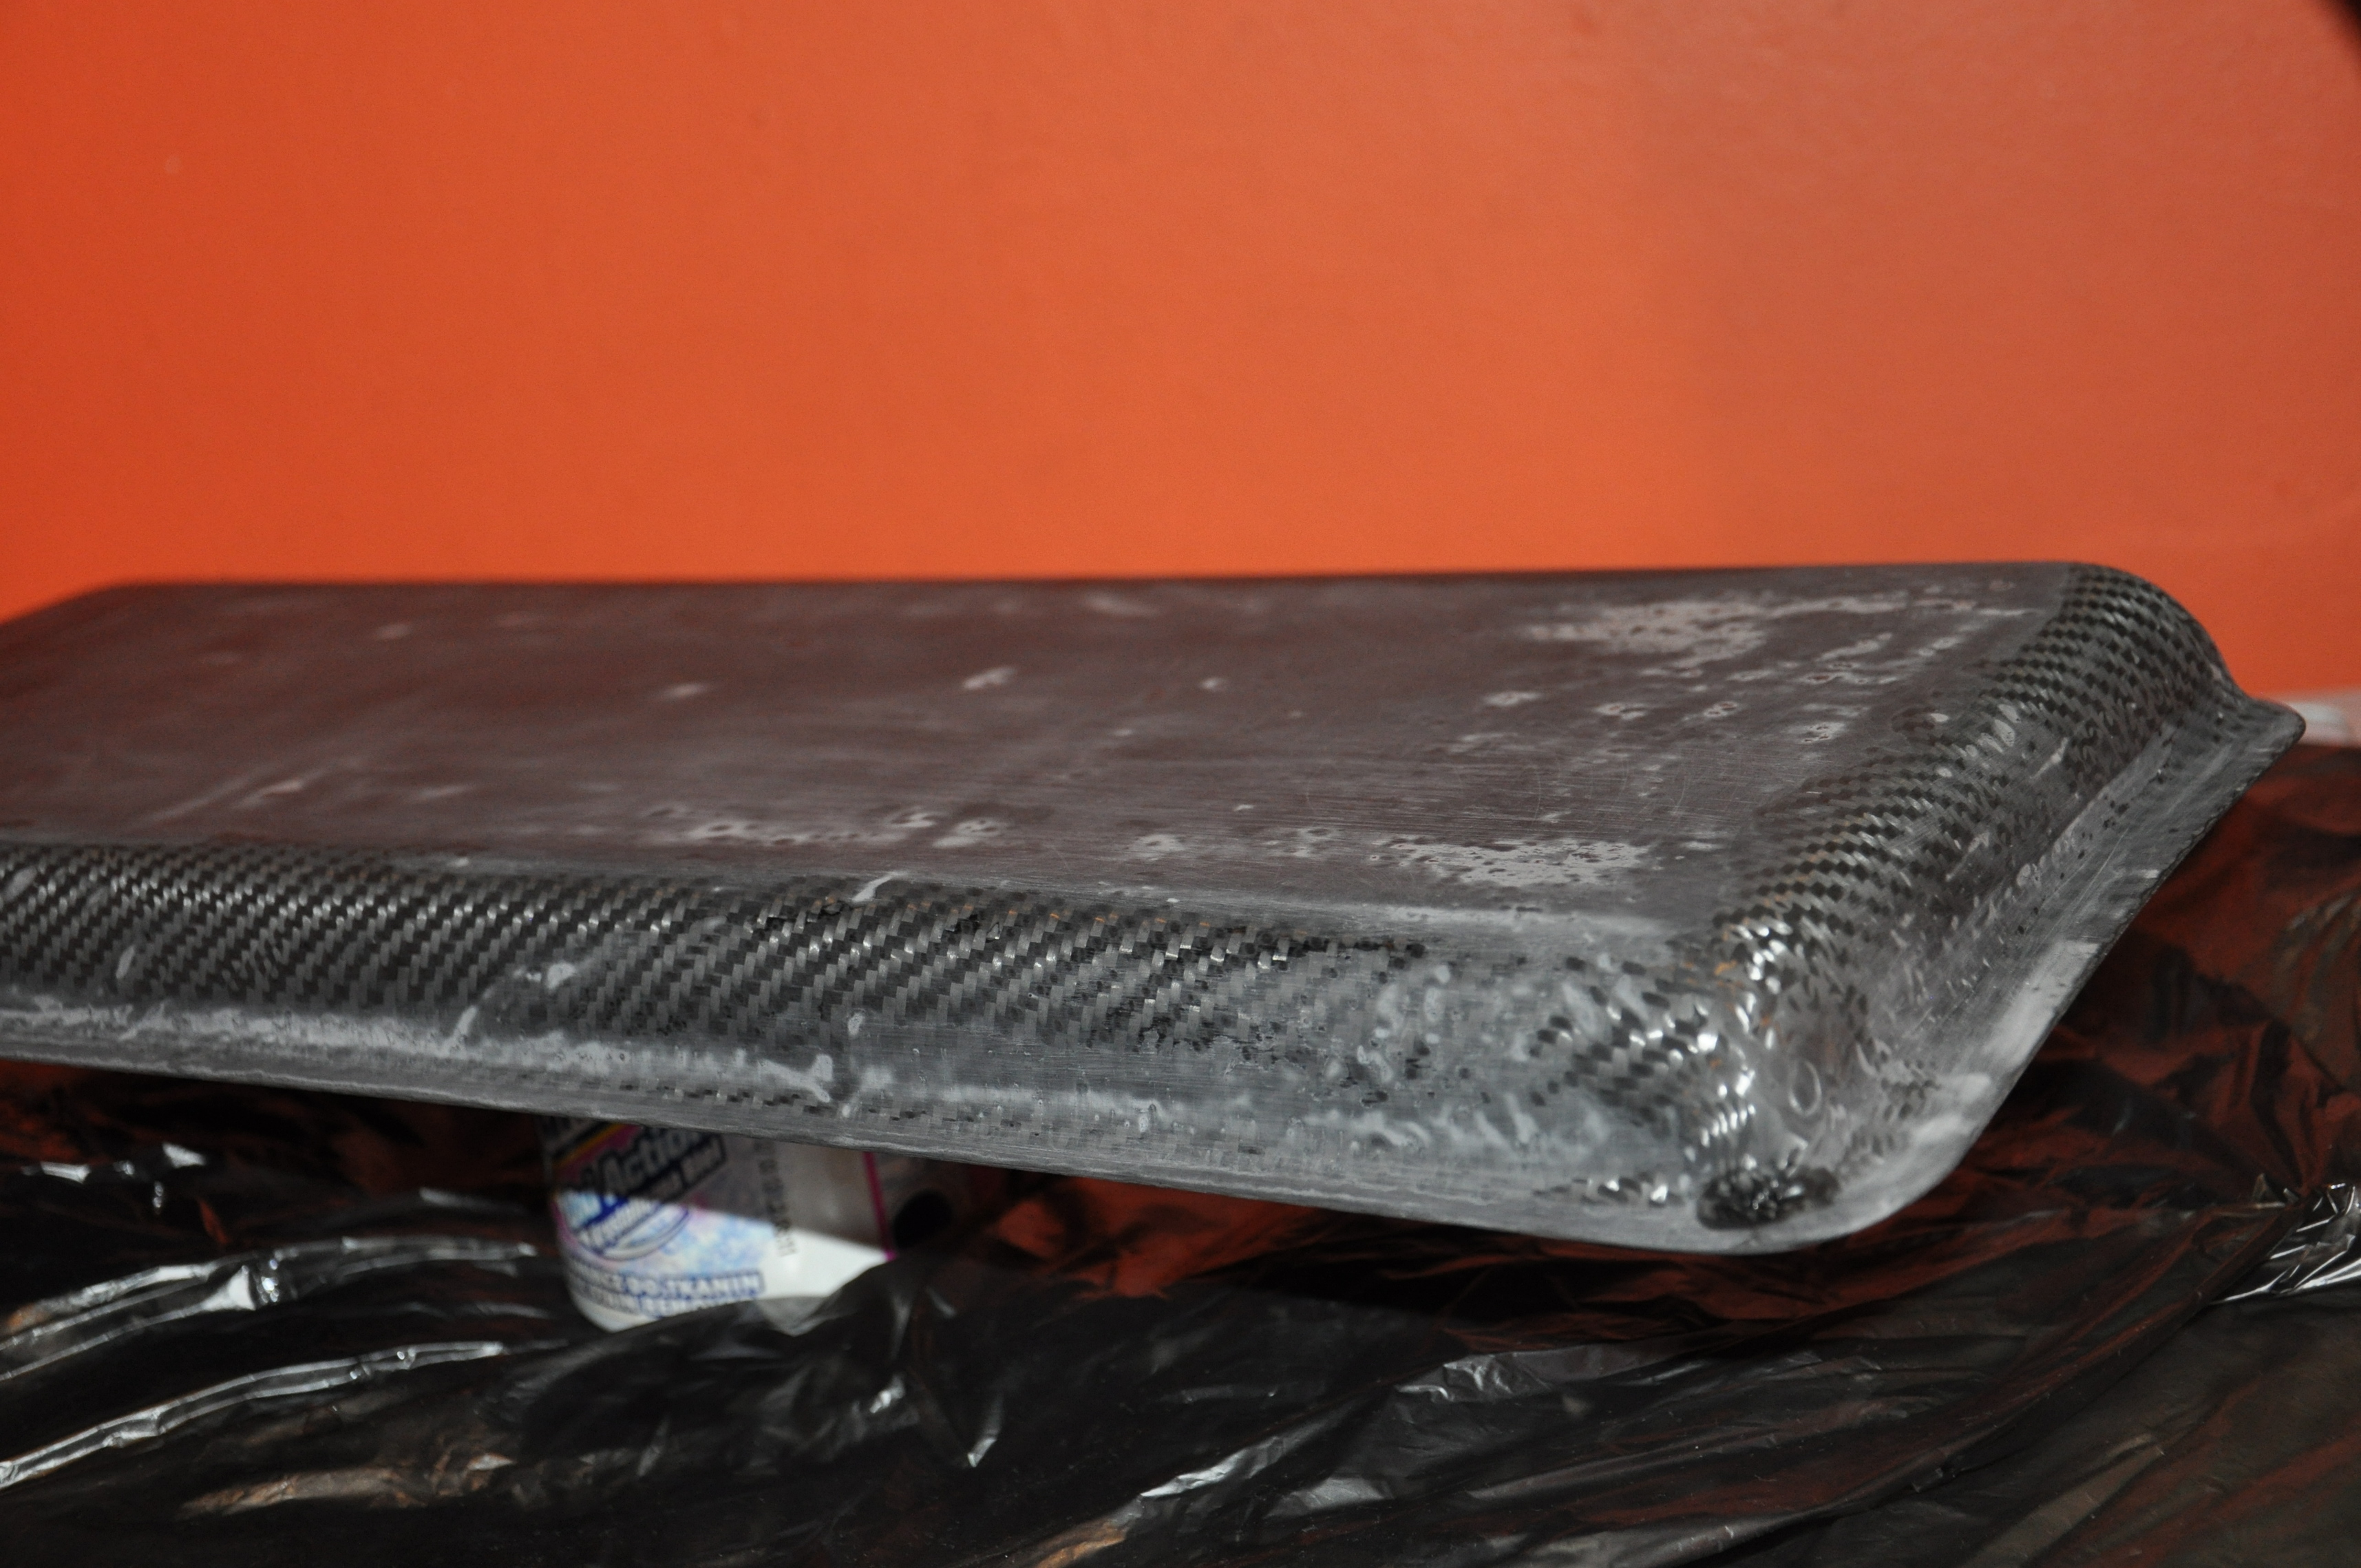
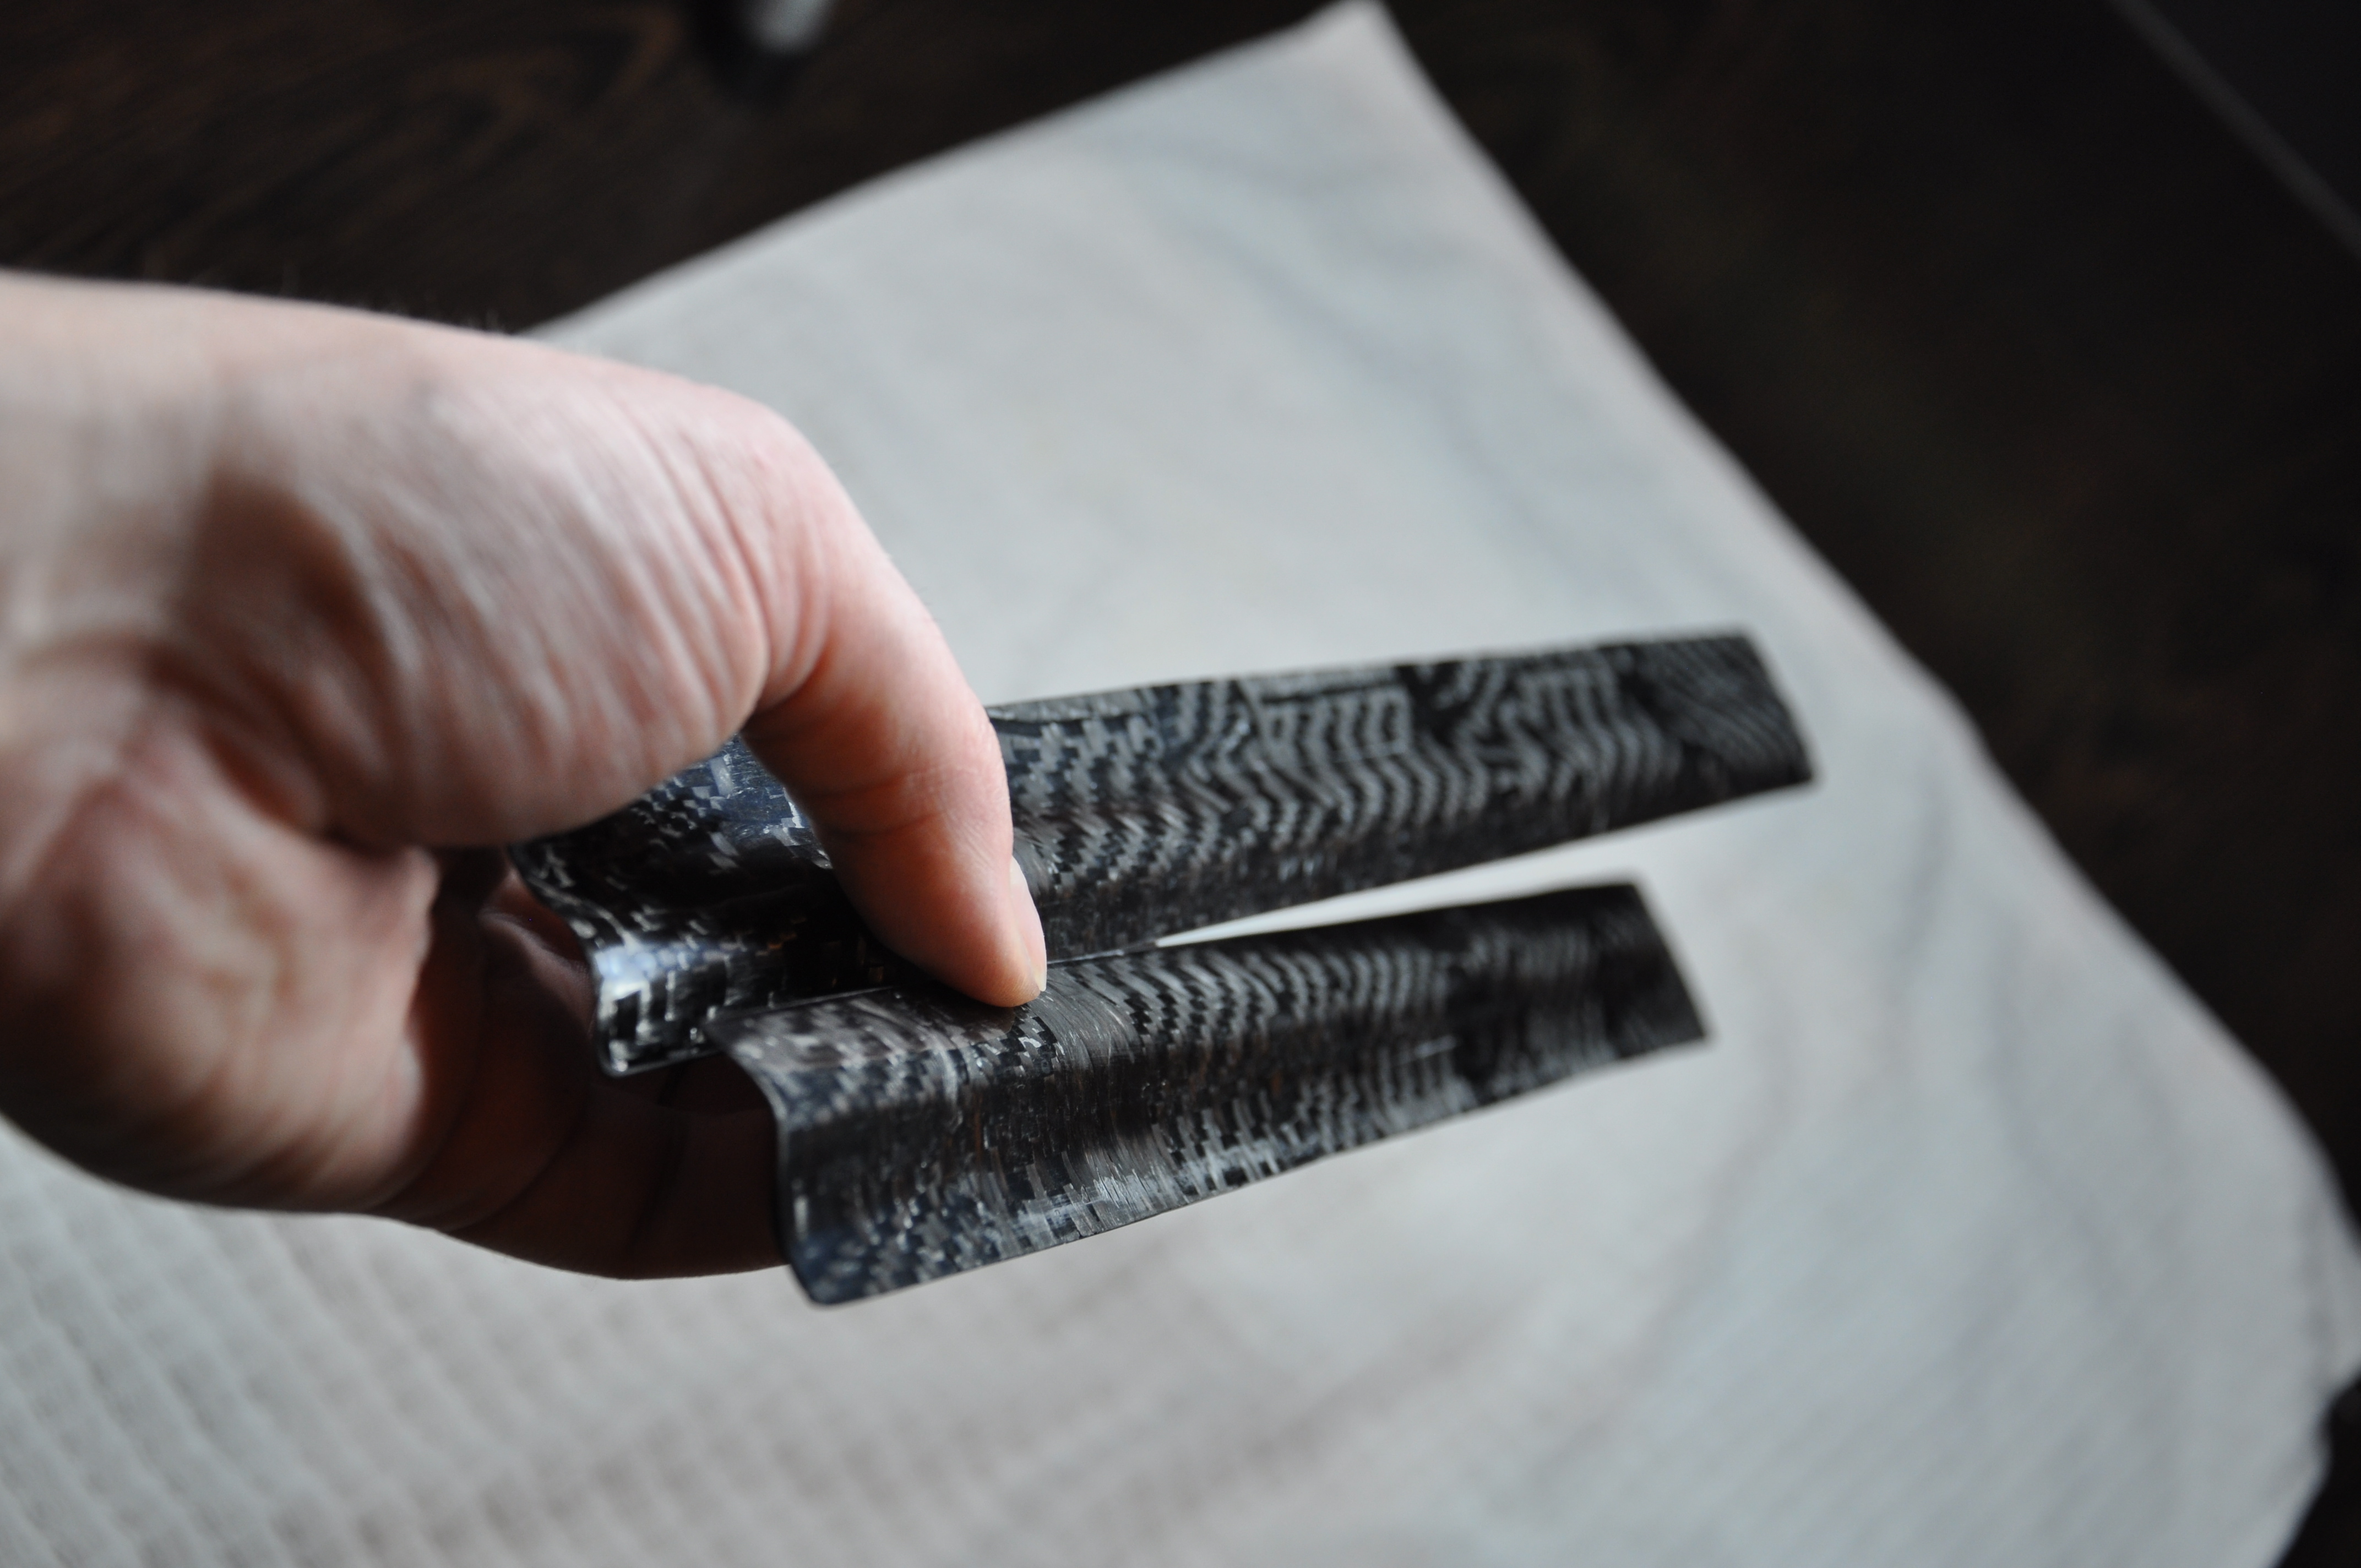
I added two layers of unidirectional carbon fiber on the edges of my enclosure, so that they are much stronger. I have very narrow edges and holes are close to edge, extra carbon will only help. I should made a bit smaller mold, I thought 1cm for edges will be fine, but 2cm would be much better, but anyway, I did what I did. So that’s how looks those edges after adding extra carbon and sanding:


So part about making enclosure is done.


 :
:
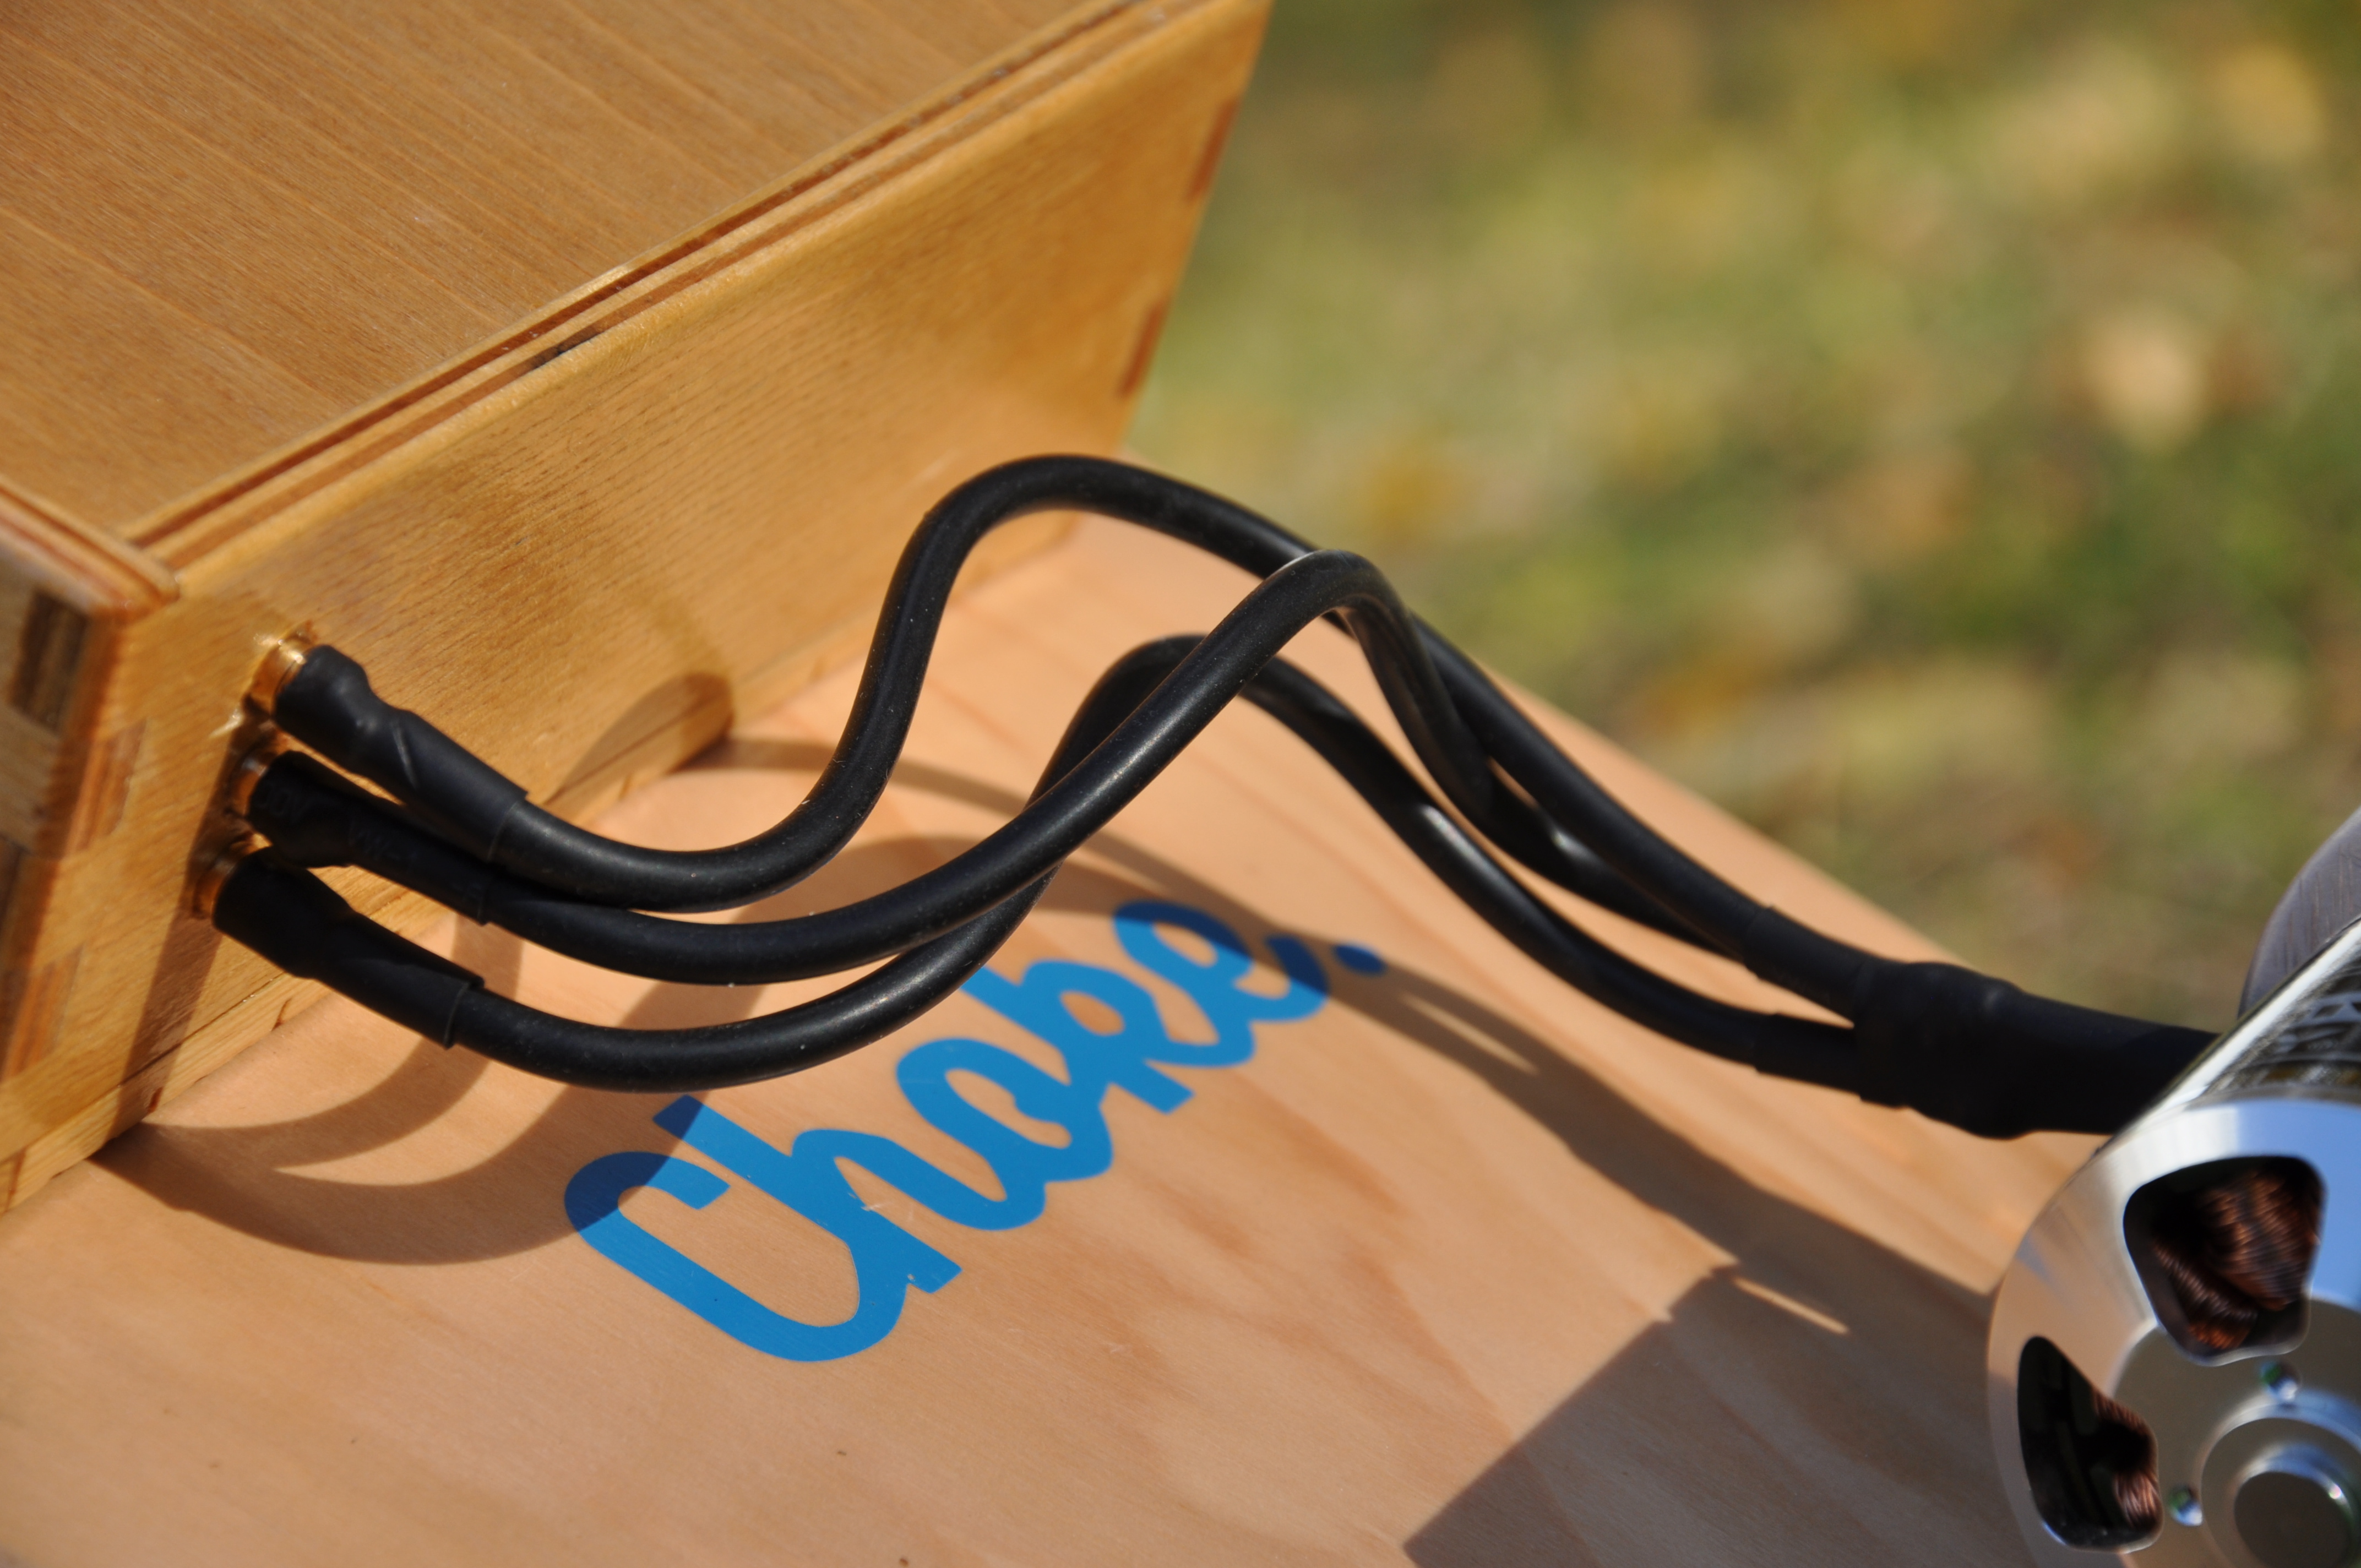
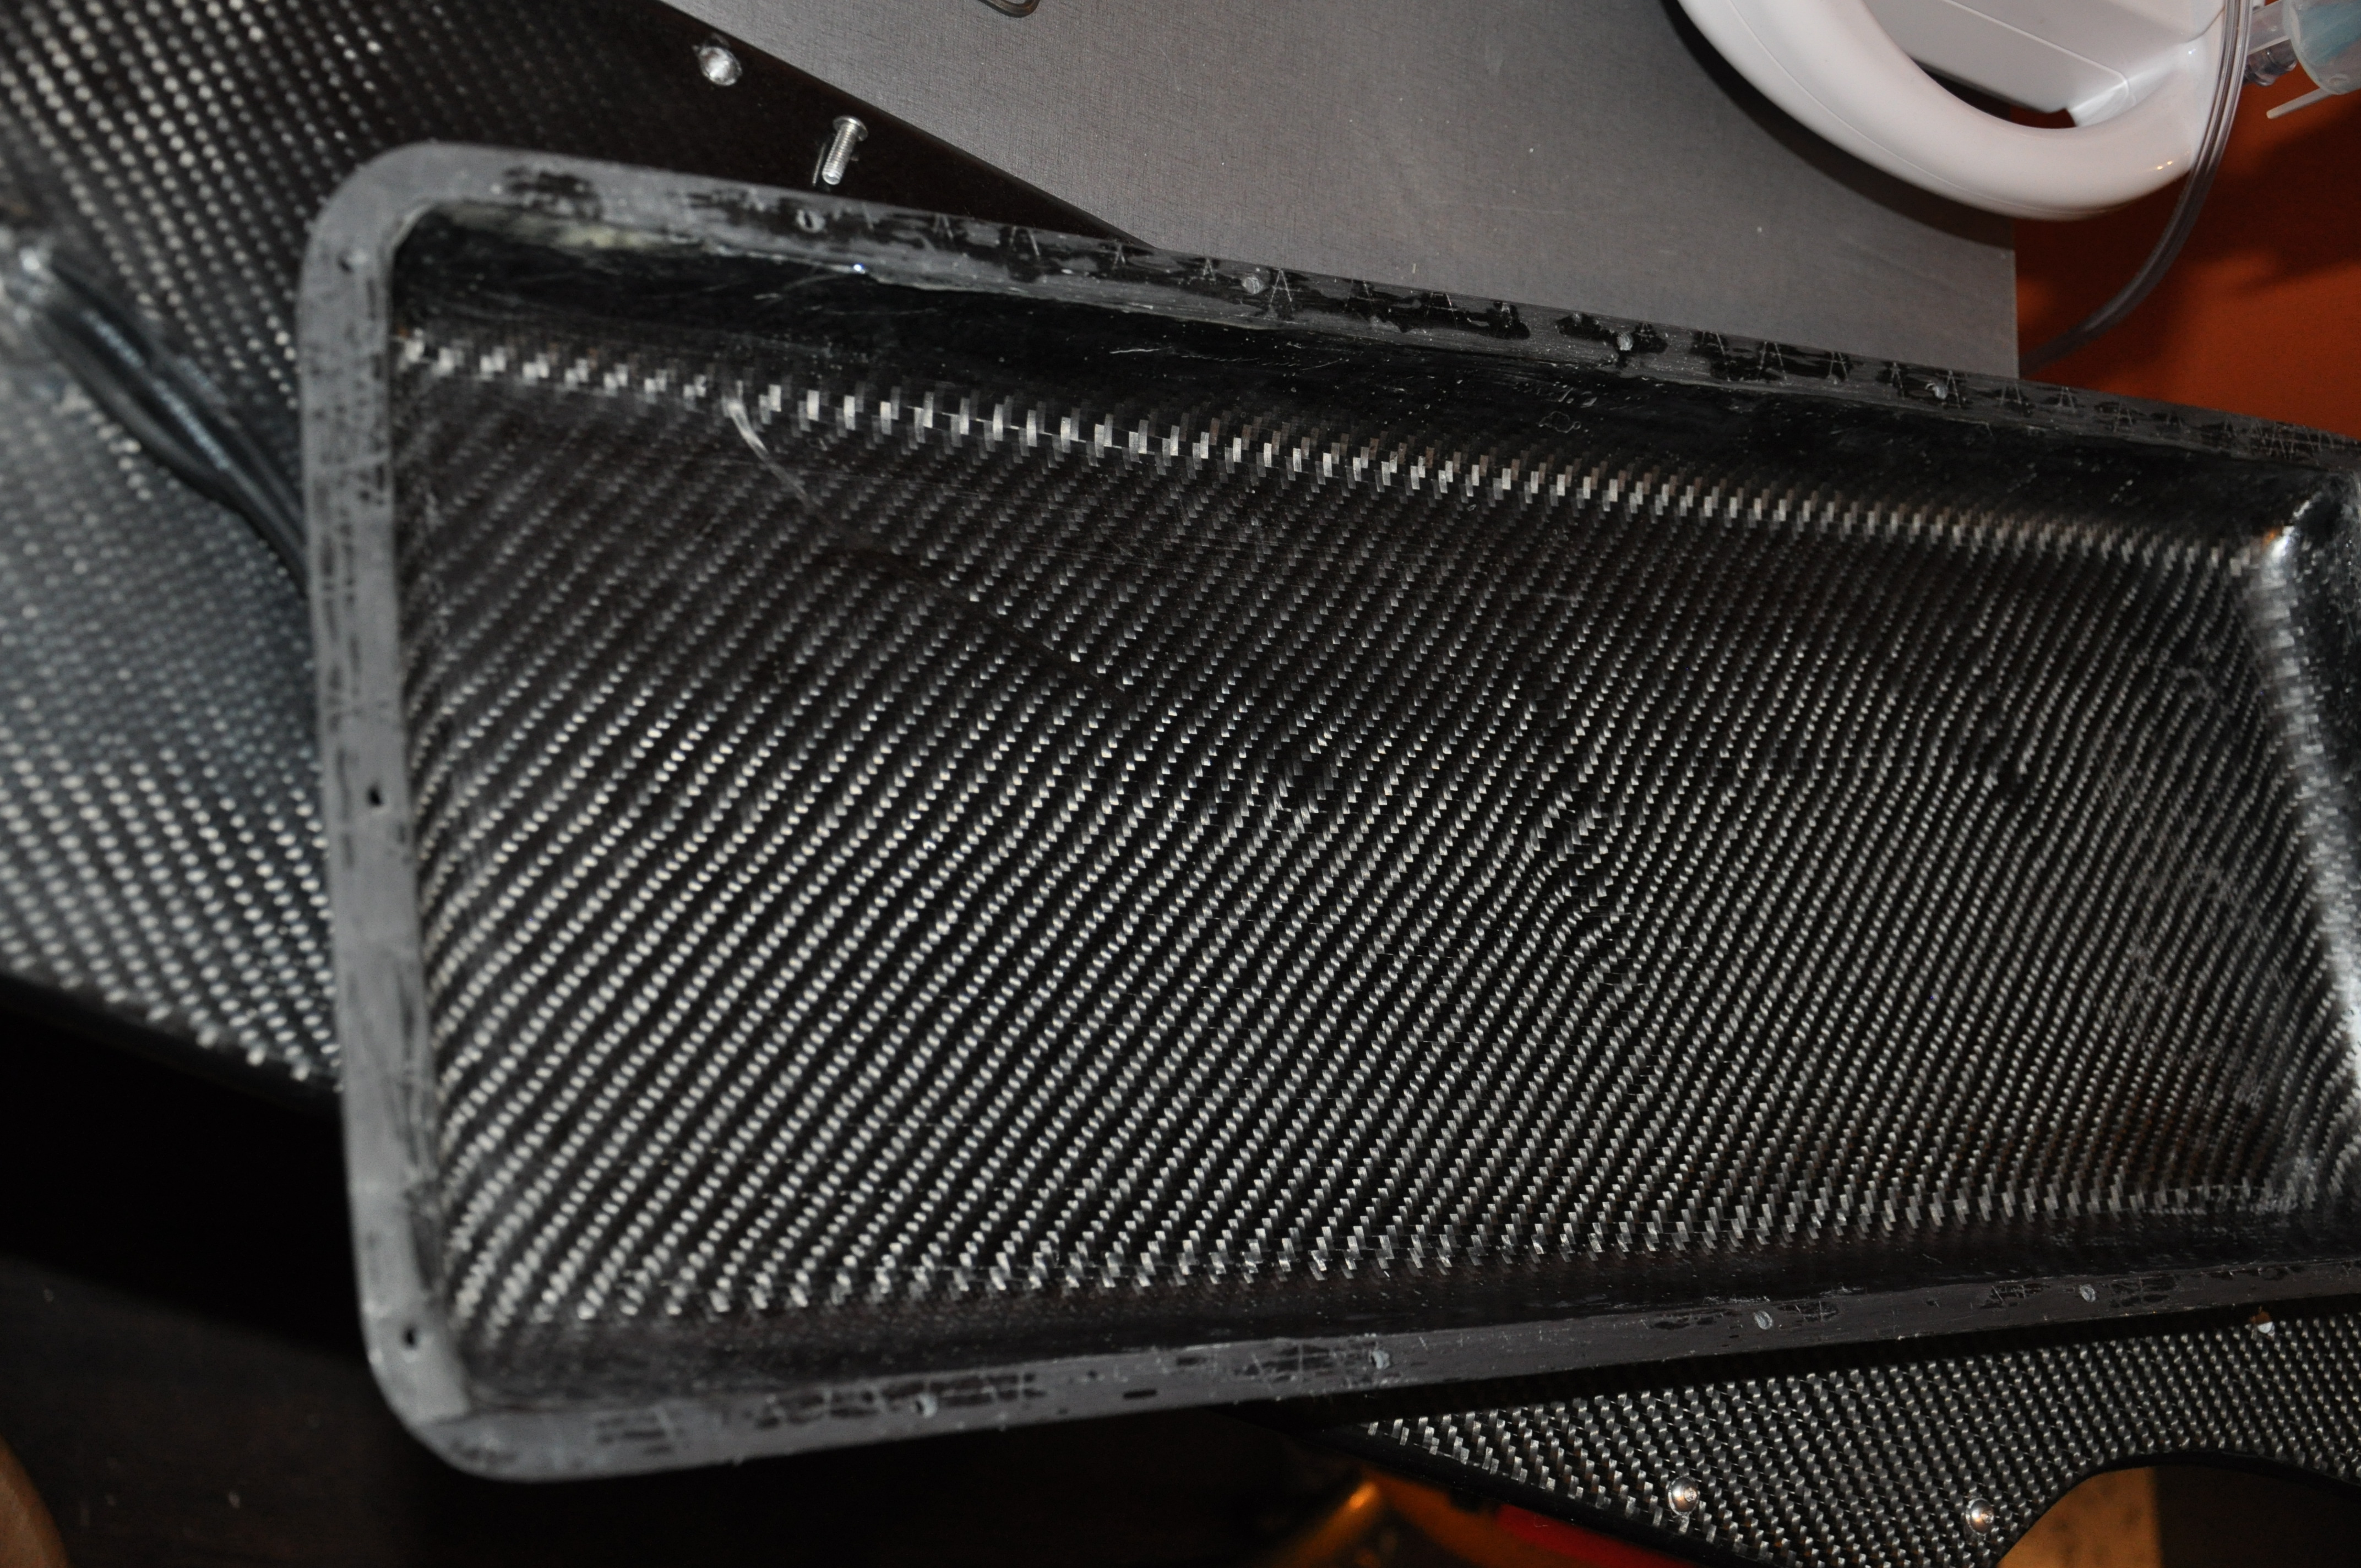
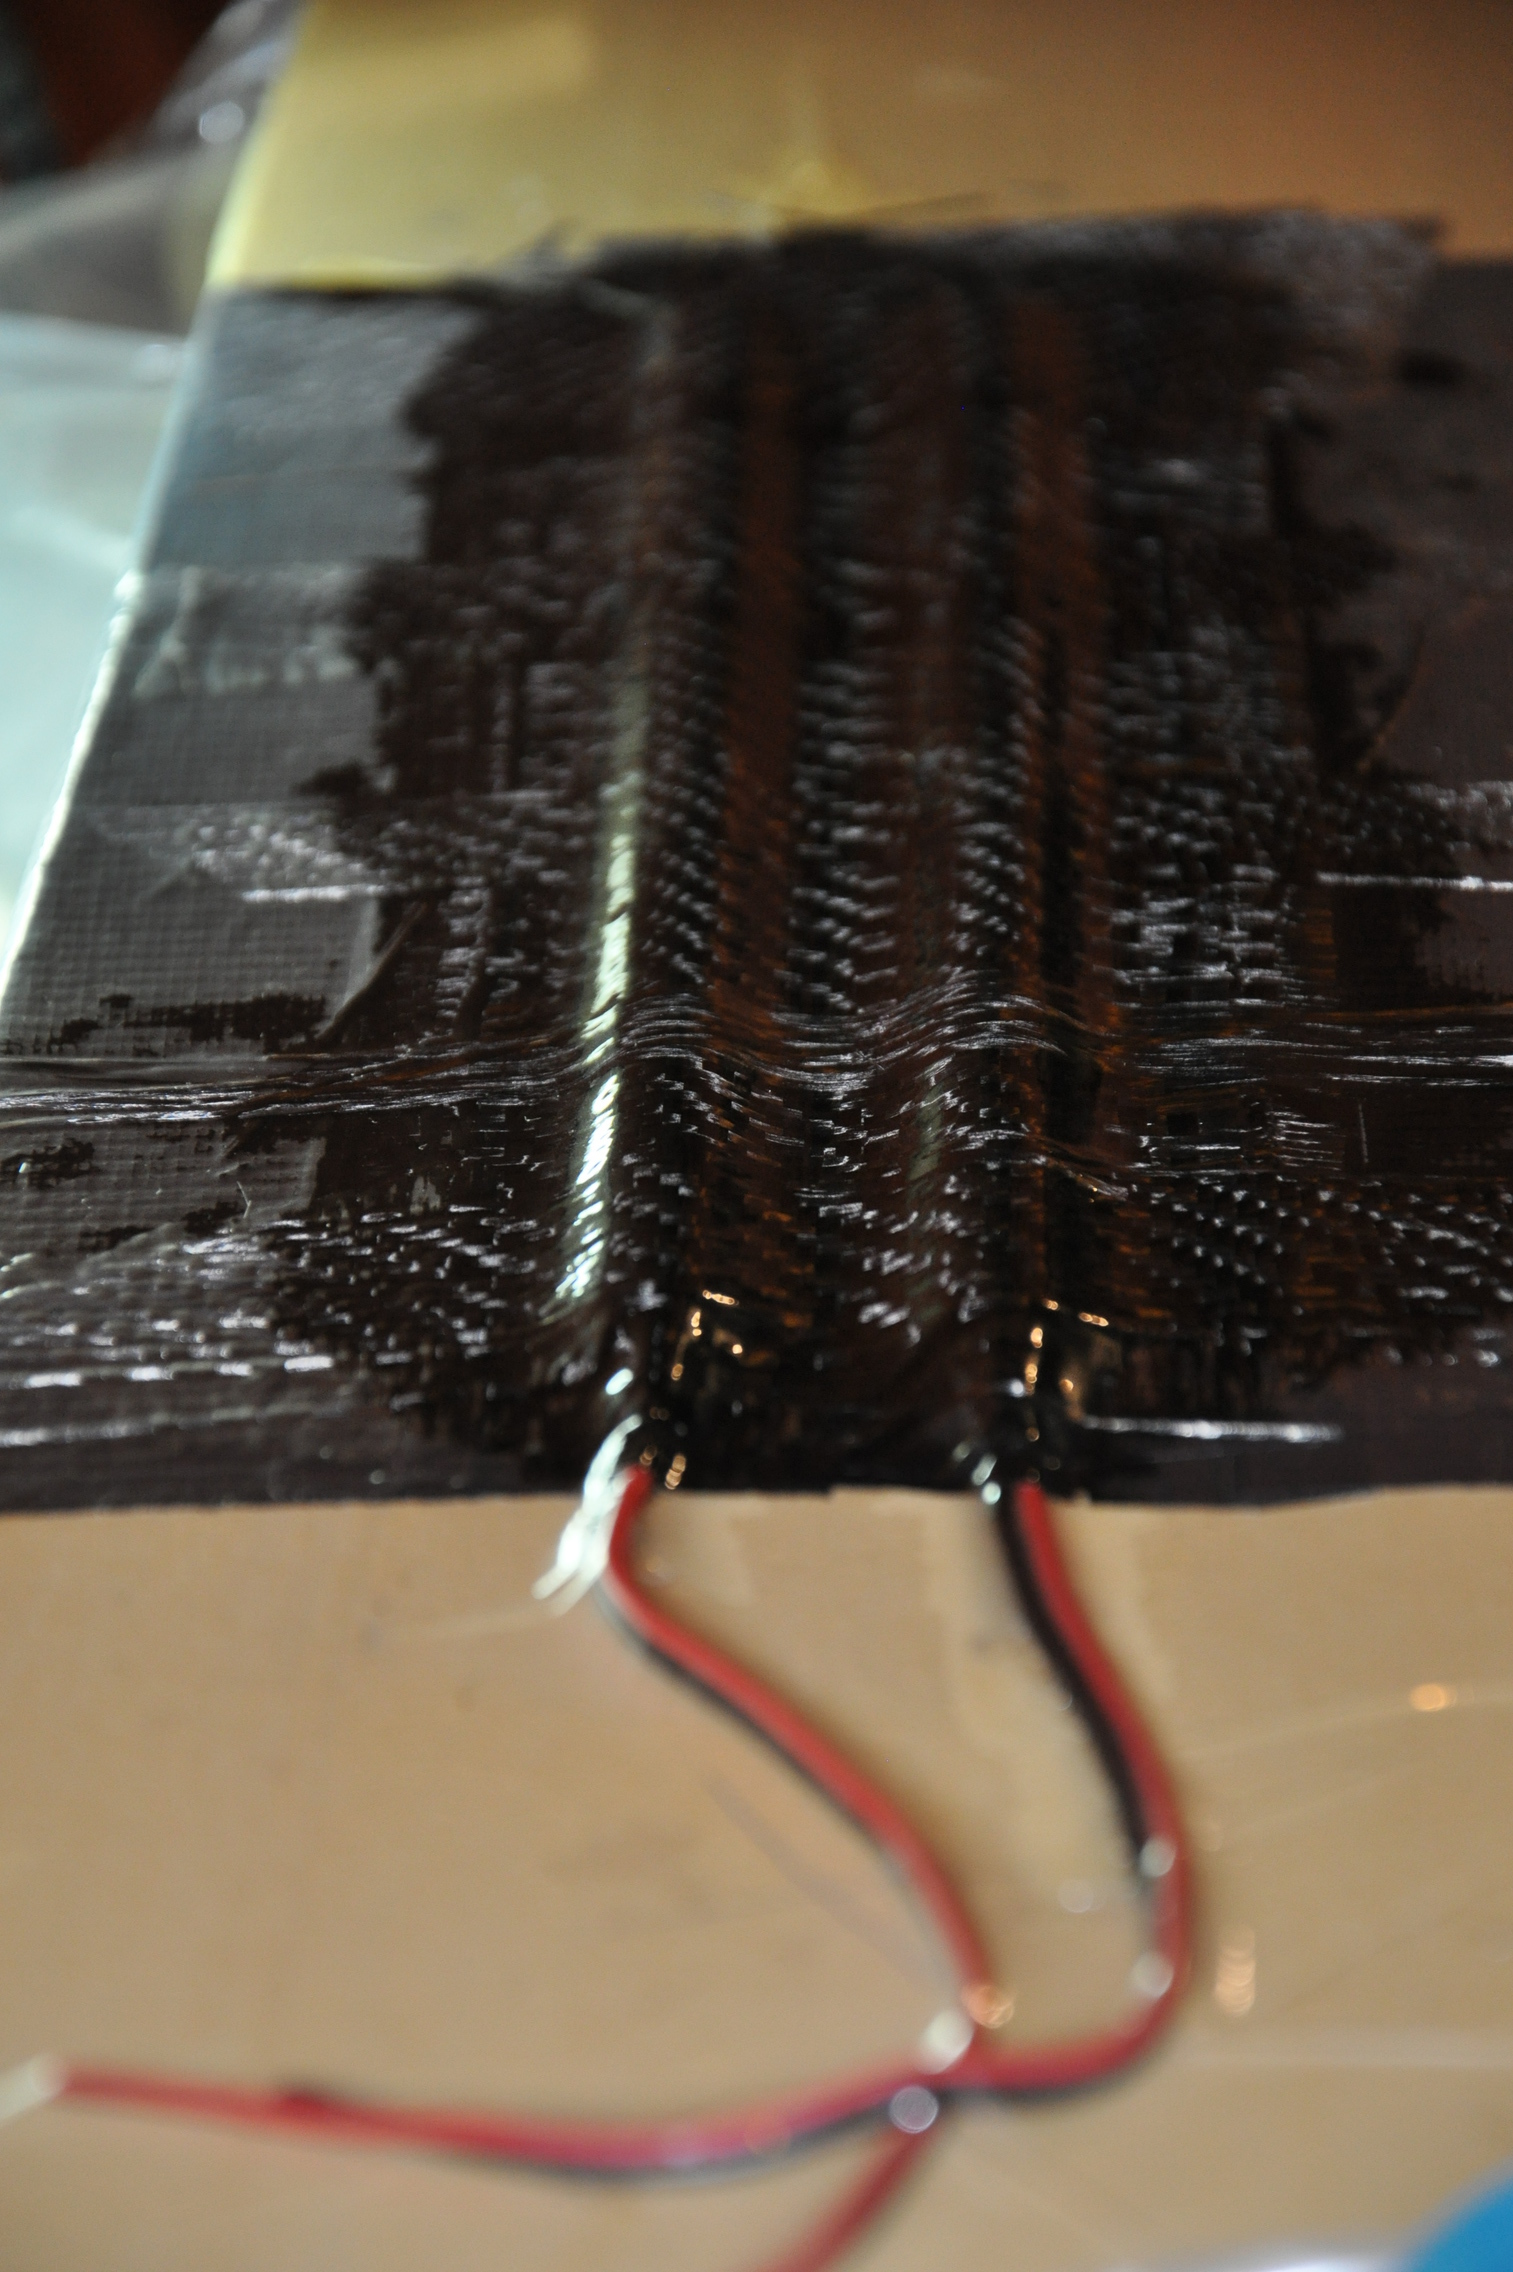
 Idea is to seperate carbon from conectors, also with this submarine efect, connectors are reinforced even more to the deck!:


 Not like normal griptapes are made of some kind of plastic. Anyway, took it off, it was tearing by the small peaces. Then I sanded top of a deck to get it clean and nice:


 Also drilling those holes I needed to get them same angle as concave of a deck, so that head of the screw matches with enclosures angle of the concaved lips. And I glued them in with a bison epoxy:
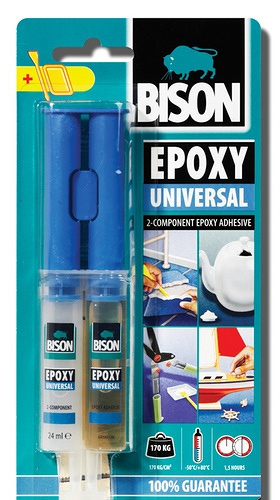


 I started to rebuild my build in November, I’m doing it in night times.
