Really cool design. Haven’t seen heatsinks like that in a diy before. But my question is what makes you think you need that?
10s4p means 80a max total, that’s 40 amp per focbox. And the focbox can already do that without any extra heat sink. On top of that, those motors might not even be able to do too much more than that, even if you increased the battery output.
Not trying to put you down or anything. It’s a cool design. Just trying to gauge where your coming from with that heat sink.
2 Likes
I guess overkill cooling? I don’t mind if it’s a bit overkill 
I did a bunch of research on gear ratios and came to the conclusion that running 1.6:1 or 1.8:1 and attempting to climb hills means a lot of amps drawn and heat buildup in the vescs. I want to make 100% sure that my VESCs don’t die from heat if I try to climb hills my gearing can’t handle and end up pulling too many amps.
Although 40A max each, your right. I’d rather just overbuild regardless… And I wanted it to look awesome while serving the purpose of what otherwise would have been some holes drilled in the enclosure for a tiny bit of airflow.
It will be interesting to see what over heats first, the motors or the esc’s.
“challenge accepted”
1 Like
Maybe consider using a lipo? Since your gear ratio is geared so much towards speed, your torque won’t be that great on hills at 40 amps each. You need more amps than a lower gear ratio to get torque. And going up in battery size isn’t always an option. But with a lipo about the same size, you could easily do 160-240 amps total, or 80 amps - 120 amps per focbox/motor. Then you can really test the heat sinks (they will totally be needed).
If you have the bucks, you could also try both setups and make it so they could be easily swapped out so you can compare first hand the difference 
2 Likes
Now this is the kind of thread me likes.
1 Like
In the interest of better maneuverability, stability, and almost reducing slop completely on my TB218 trucks, I realized there were some things I could improve upon.
Originally when turning on my trucks (in the living room on carpet), they felt sloppy and would pop quite a bit if I wiggle around center weight without really turning the trucks at all. I know this is not good for stability at speed and really doesn’t help with control at all… slop that is:
- I noticed that the inner diameter on my bushings is larger than my kingpin diameter by quite a lot. combine this with flat washers that don’t adequately hold the bushings centered around the kingpin is no no no good.
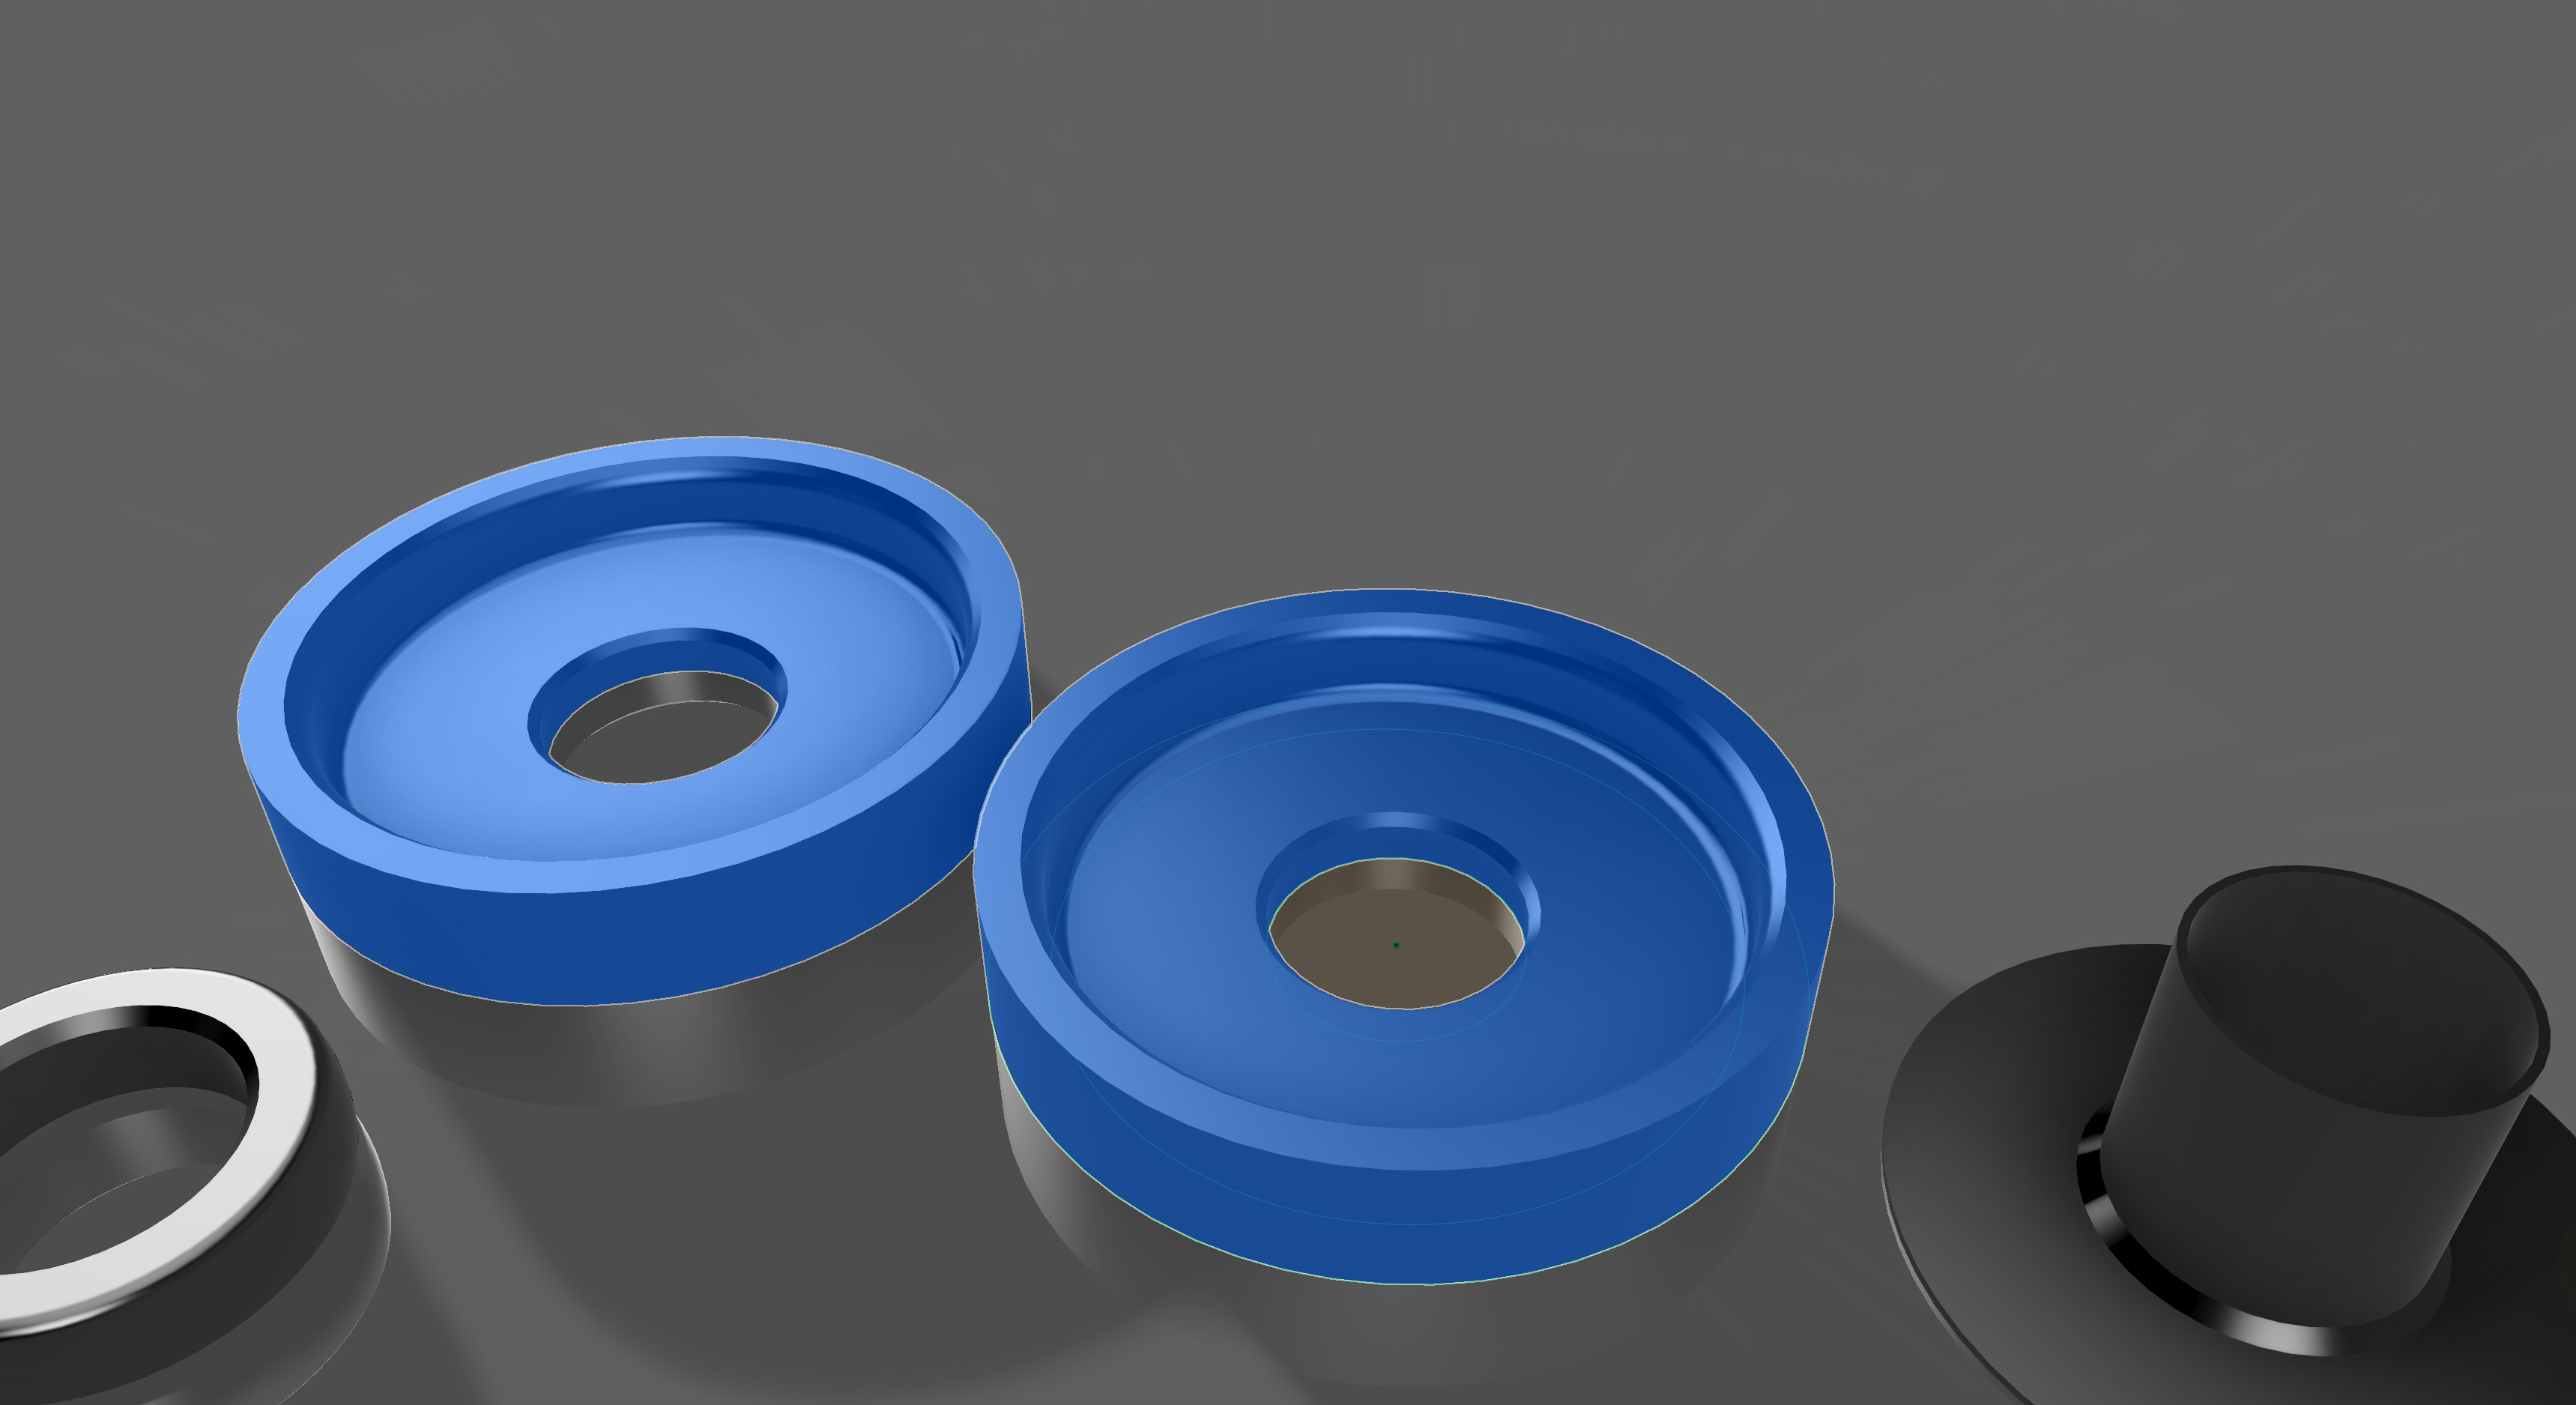
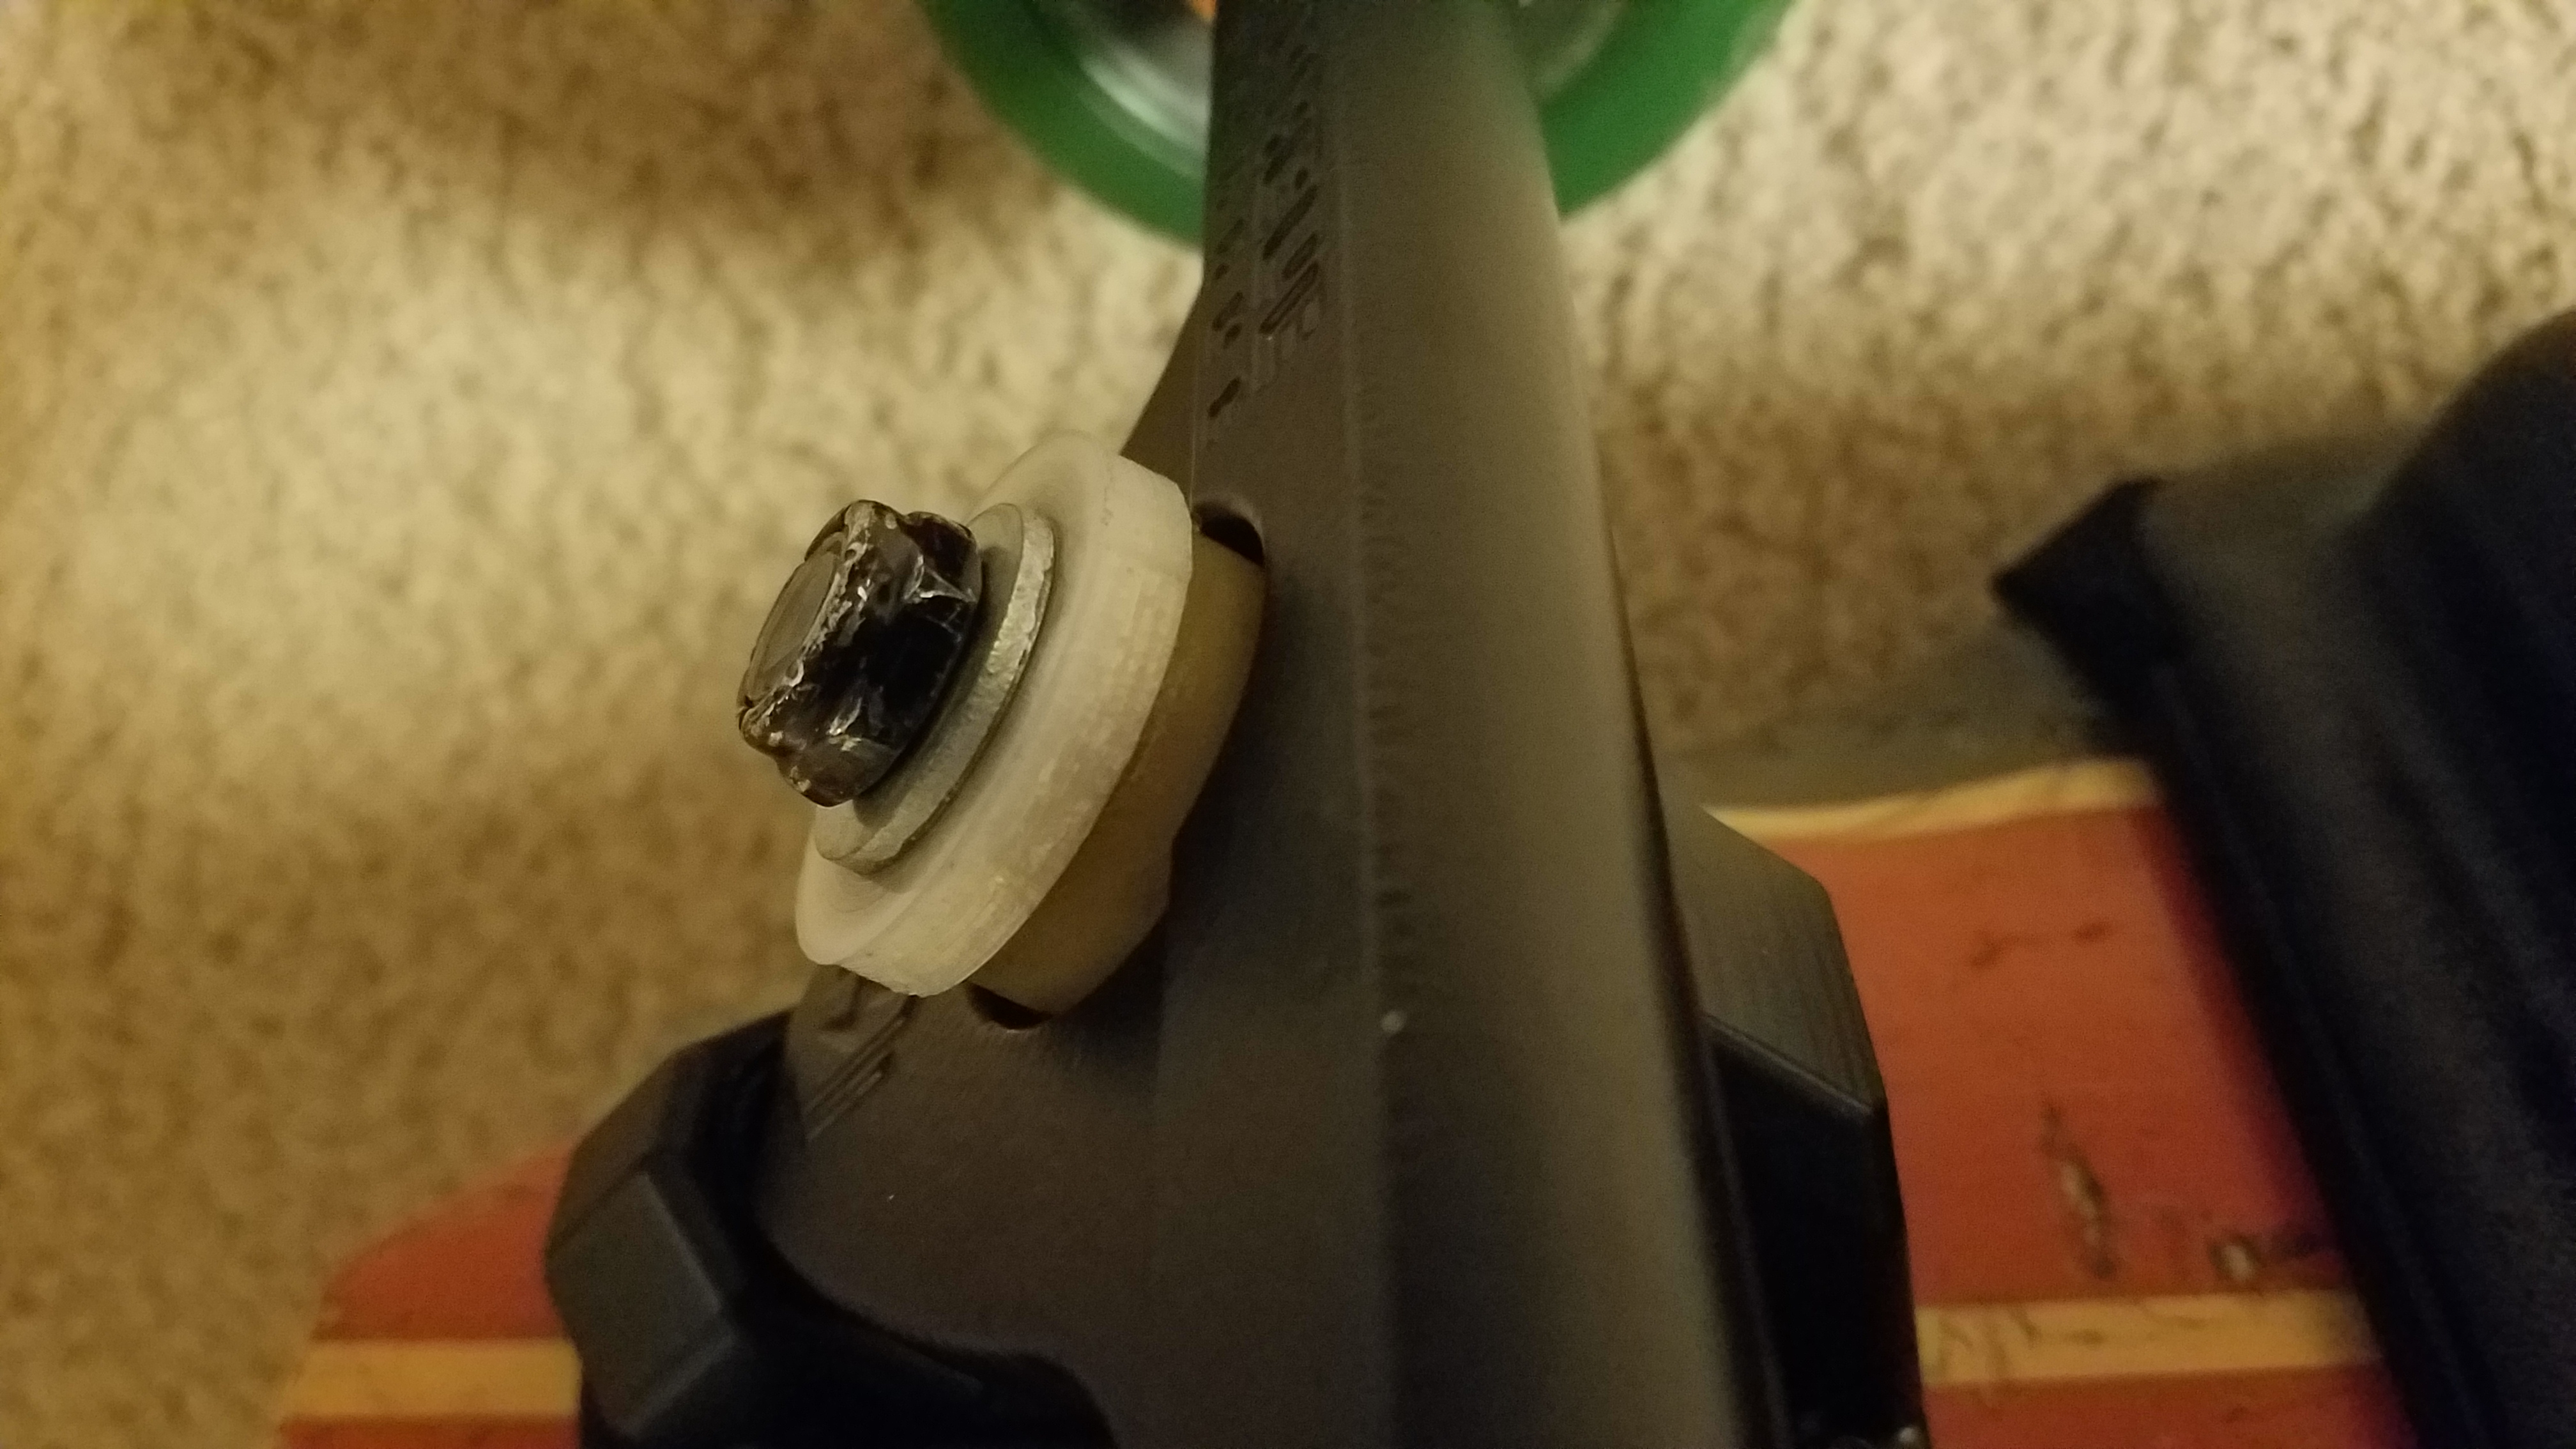
- To keep the bushings perfectly centered but not get torn up like metal tends to do, I printed out some very snug precision cups out of Nylon. They flex just right in contact with the hanger when turning hard… great! They are so snug on the kingpin I have to screw them on. Even better! I am not putting these on the rear trucks, just sticking with double barrels and flat washers, because I don’t need rebound in the rear for stability… I need dampening back there. Anyways, check it out:
- Surf Keyz on Surf Rodz are awesome. They are like spherical bearings on precisions, but they are cheap and simple plastic bits that fit snug between your hanger and kingpin to keep everything nice and perfectly centered.
-
So, I wanted to apply the Surf Keyz idea to Caliber style / my TB 218 trucks!
-
Nylon is also a great material for this… it’s super durable, semi pliable, and super slippery… you don’t want some little keys messing up your carves. They fit super snug on the kingpin almost to the point where it’s difficult to screw them on… use a flat washer and screw it down there to seat it in. The nylon stretches out as you push it on to make a great fit into the hangars.
-
Has anyone else tried making their own keys/spherical bearing type things for your trucks? let me know… interested to see your solutions to the slop issue…
-
If anyone wants to download these, here you go for the cups and keys, and here’s just the keys on thingiverse. Anyways, enough talking. Check it out:
- here’s a video of these Caliber keys in action, you can see how much slop they reduce… at the end of the video, keep in mind I am on carpet and these things are still keeping the trucks turning great with little effort:
- Finally, I tried making some pulley covers to go over my 20T pulleys… they are still too small and rubbed the belt a bit, so I tore them up to see how durable they were- they were pretty strong, but I am not sure if I like the look or really even believe in the function of pulley covers, so I might just leave them off and forget the idea. Here’s a CAD look I guess:
14 Likes
Awesome, I would def like to try these keys out.
Will it effect really sharp turns?
1 Like
On Wednesday i’ll get the thing on the road and let you know…
In the meantime, keys on my Surf Rodz (if you haven’t tried them) really only help - a ton - with really sharp turns.
The TB 218 trucks actually have quite a bit of depth/spacing between each side of the bushing seats. That was the one thing I was worried about before starting this little side project was that the distance looked too thin, leading me to think that they would pop out and get stuck outside the kingpin cutout between the bushings and mess things up…
But, the center hole is about 4 - 4.5mm deep… plenty thick enough to fit a key in, and keep it there. For reference, my surf-keyz are about the same thickness, maybe even less- and they stay put 100% of the time I ride, never messing things up for me.
I also think that if anything the perfectly circular shape of the cutout helps the centers of these keys to pivot just right in there, keeping them snug. This is also the reason I made the edges rounded, based off the diameter of the circular cutout in the hangar.
So… to answer your question: I anticipate these making sharp turns much easier, requiring less lean since the basic idea is that less of your lean goes to slop and more to turn, and surf-keyz on surf rodz work AMAZING serving this purpose on my other boards.
2 Likes
I’d call this one a success.
I set everything up just right the first time. One wheel was going backwards, decided to reconnect and reverse it. Forgot to read. Borked settings and one motor would stutter on the bench. Re-ran detection and all is well now. Just need to reset Bluetooth stuff to get the app working again, borked that too when I didn’t read before editing.
And my jeebers!!! I need to increase the brake force. All padded, slide pucked and helmeted up, this thing goes fast!!! Just as fast as I want it to. I haven’t pushed it to the max, only had 25% charge. But man is 1440W to each wheel a doozie. Charging it now. Anyways, shaky right now, but that brake force. It coasts slowly going slower when braking, which is better than I’m used to- I had to foot brake a couple times I didn’t anticipate 100ft in time.
SO much funnnnnn!!! AHHHHH!!! The insert keys seem to do a great job, this is the most responsive and controllable board I have now, analogue included.
Thanks SO much @barajabali, @johnny_261, @onloop, @torqueboards, and @psychotiller, and a couple more people I can’t remember off the top of my head. I’m in love now!
Hopefully I’ll post a video soon when I get the app up again. Oh yeah, @Ackmaniac thanks for the amazing firmware edits and vedder of course too
11 Likes
Wife had me doing chores - didn’t get to get it fully setup until night but I had to try it out. Stats froze, I am pretty sure it’s because my wifi cut out for some reason… i’ll disable wifi for next time to see if it’s just me disconnecting that froze the stats:
I’ve since figured out the bluetooth module. My BT is connected to the MASTER! DUHH! lol, now I have modes working… easy to limit watts in the app, so I setup a beginner mode, economy mode, and performance mode with max settings. This is sweet… I can’t wait to ride more tomorrow!
5 Likes
Data Graph stuff I made from today: link to PDF
And below is a video of my first real ride with the board, now I realize the settings were pushed a little bit high. Thanks to community members noting the amp draw and voltage drop, I have gone from 40A per vesc in this video to now 30A max batt per vesc, and my battery seems much happier now, as you can see in the graph linked above. Even at 30A per vesc and gearing changed to 20/36, it’s still plenty powerful and plenty fast for me. Anyways, heres the video…
4 Likes
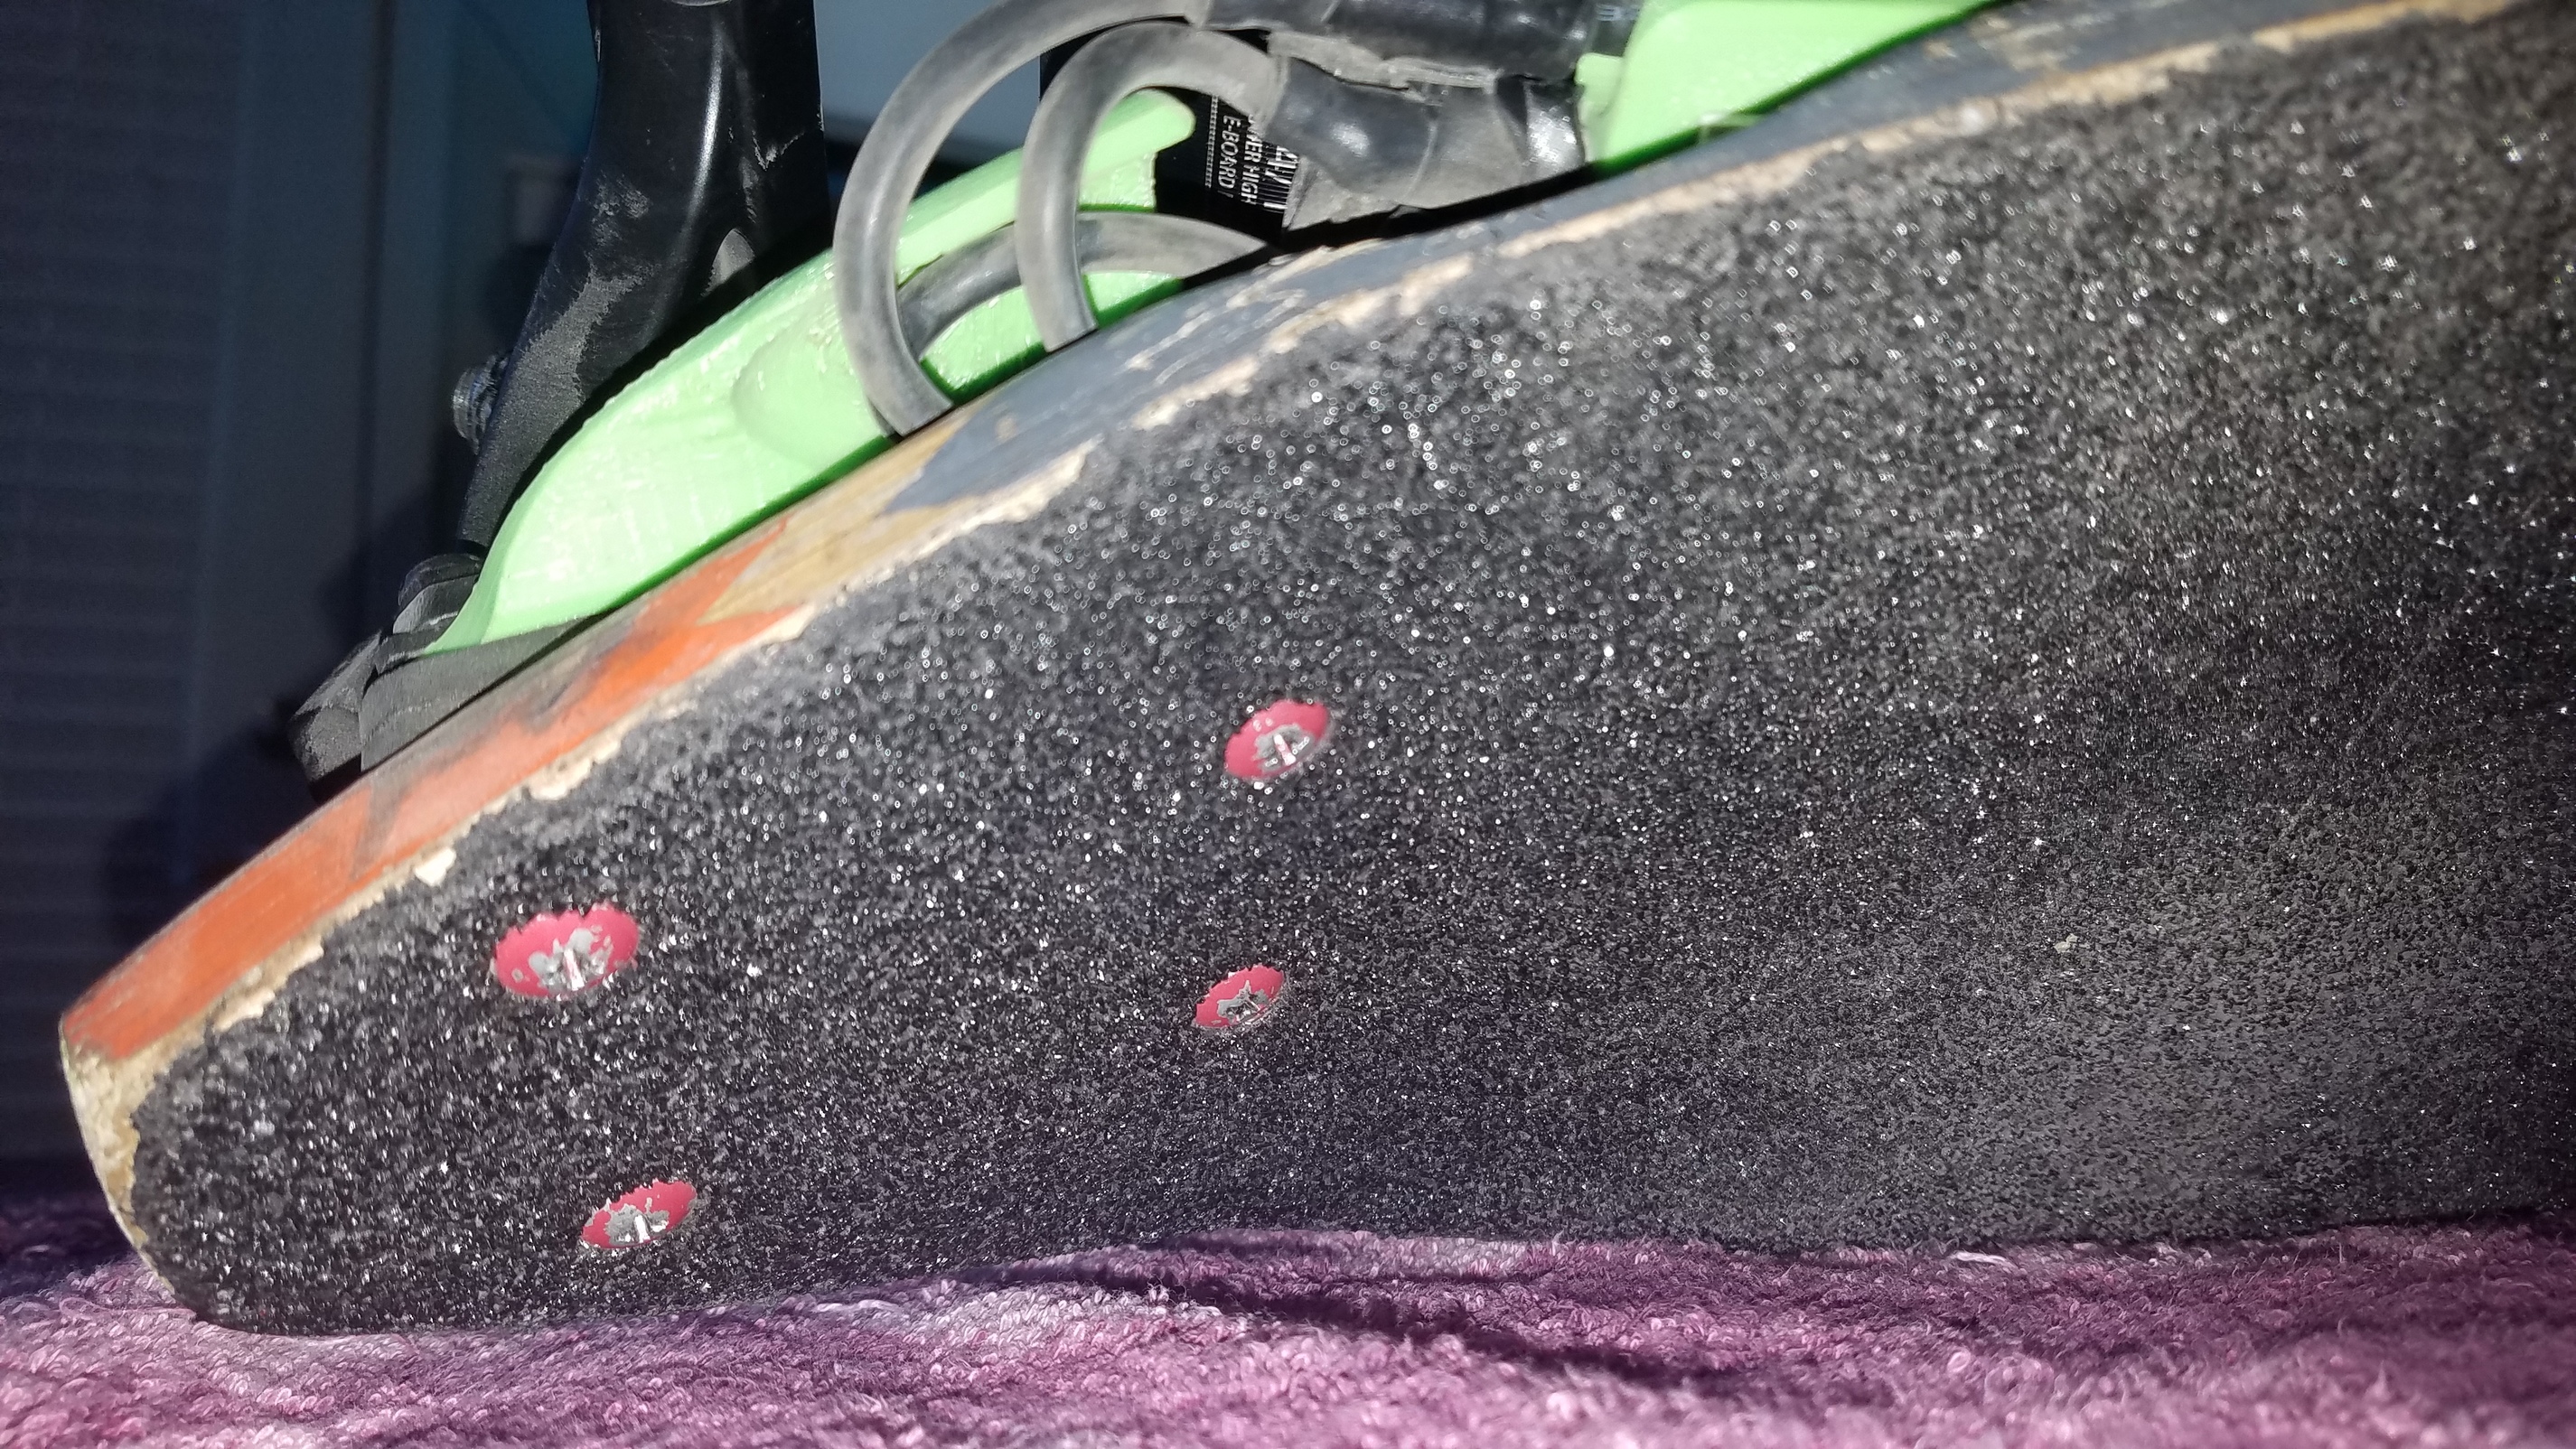
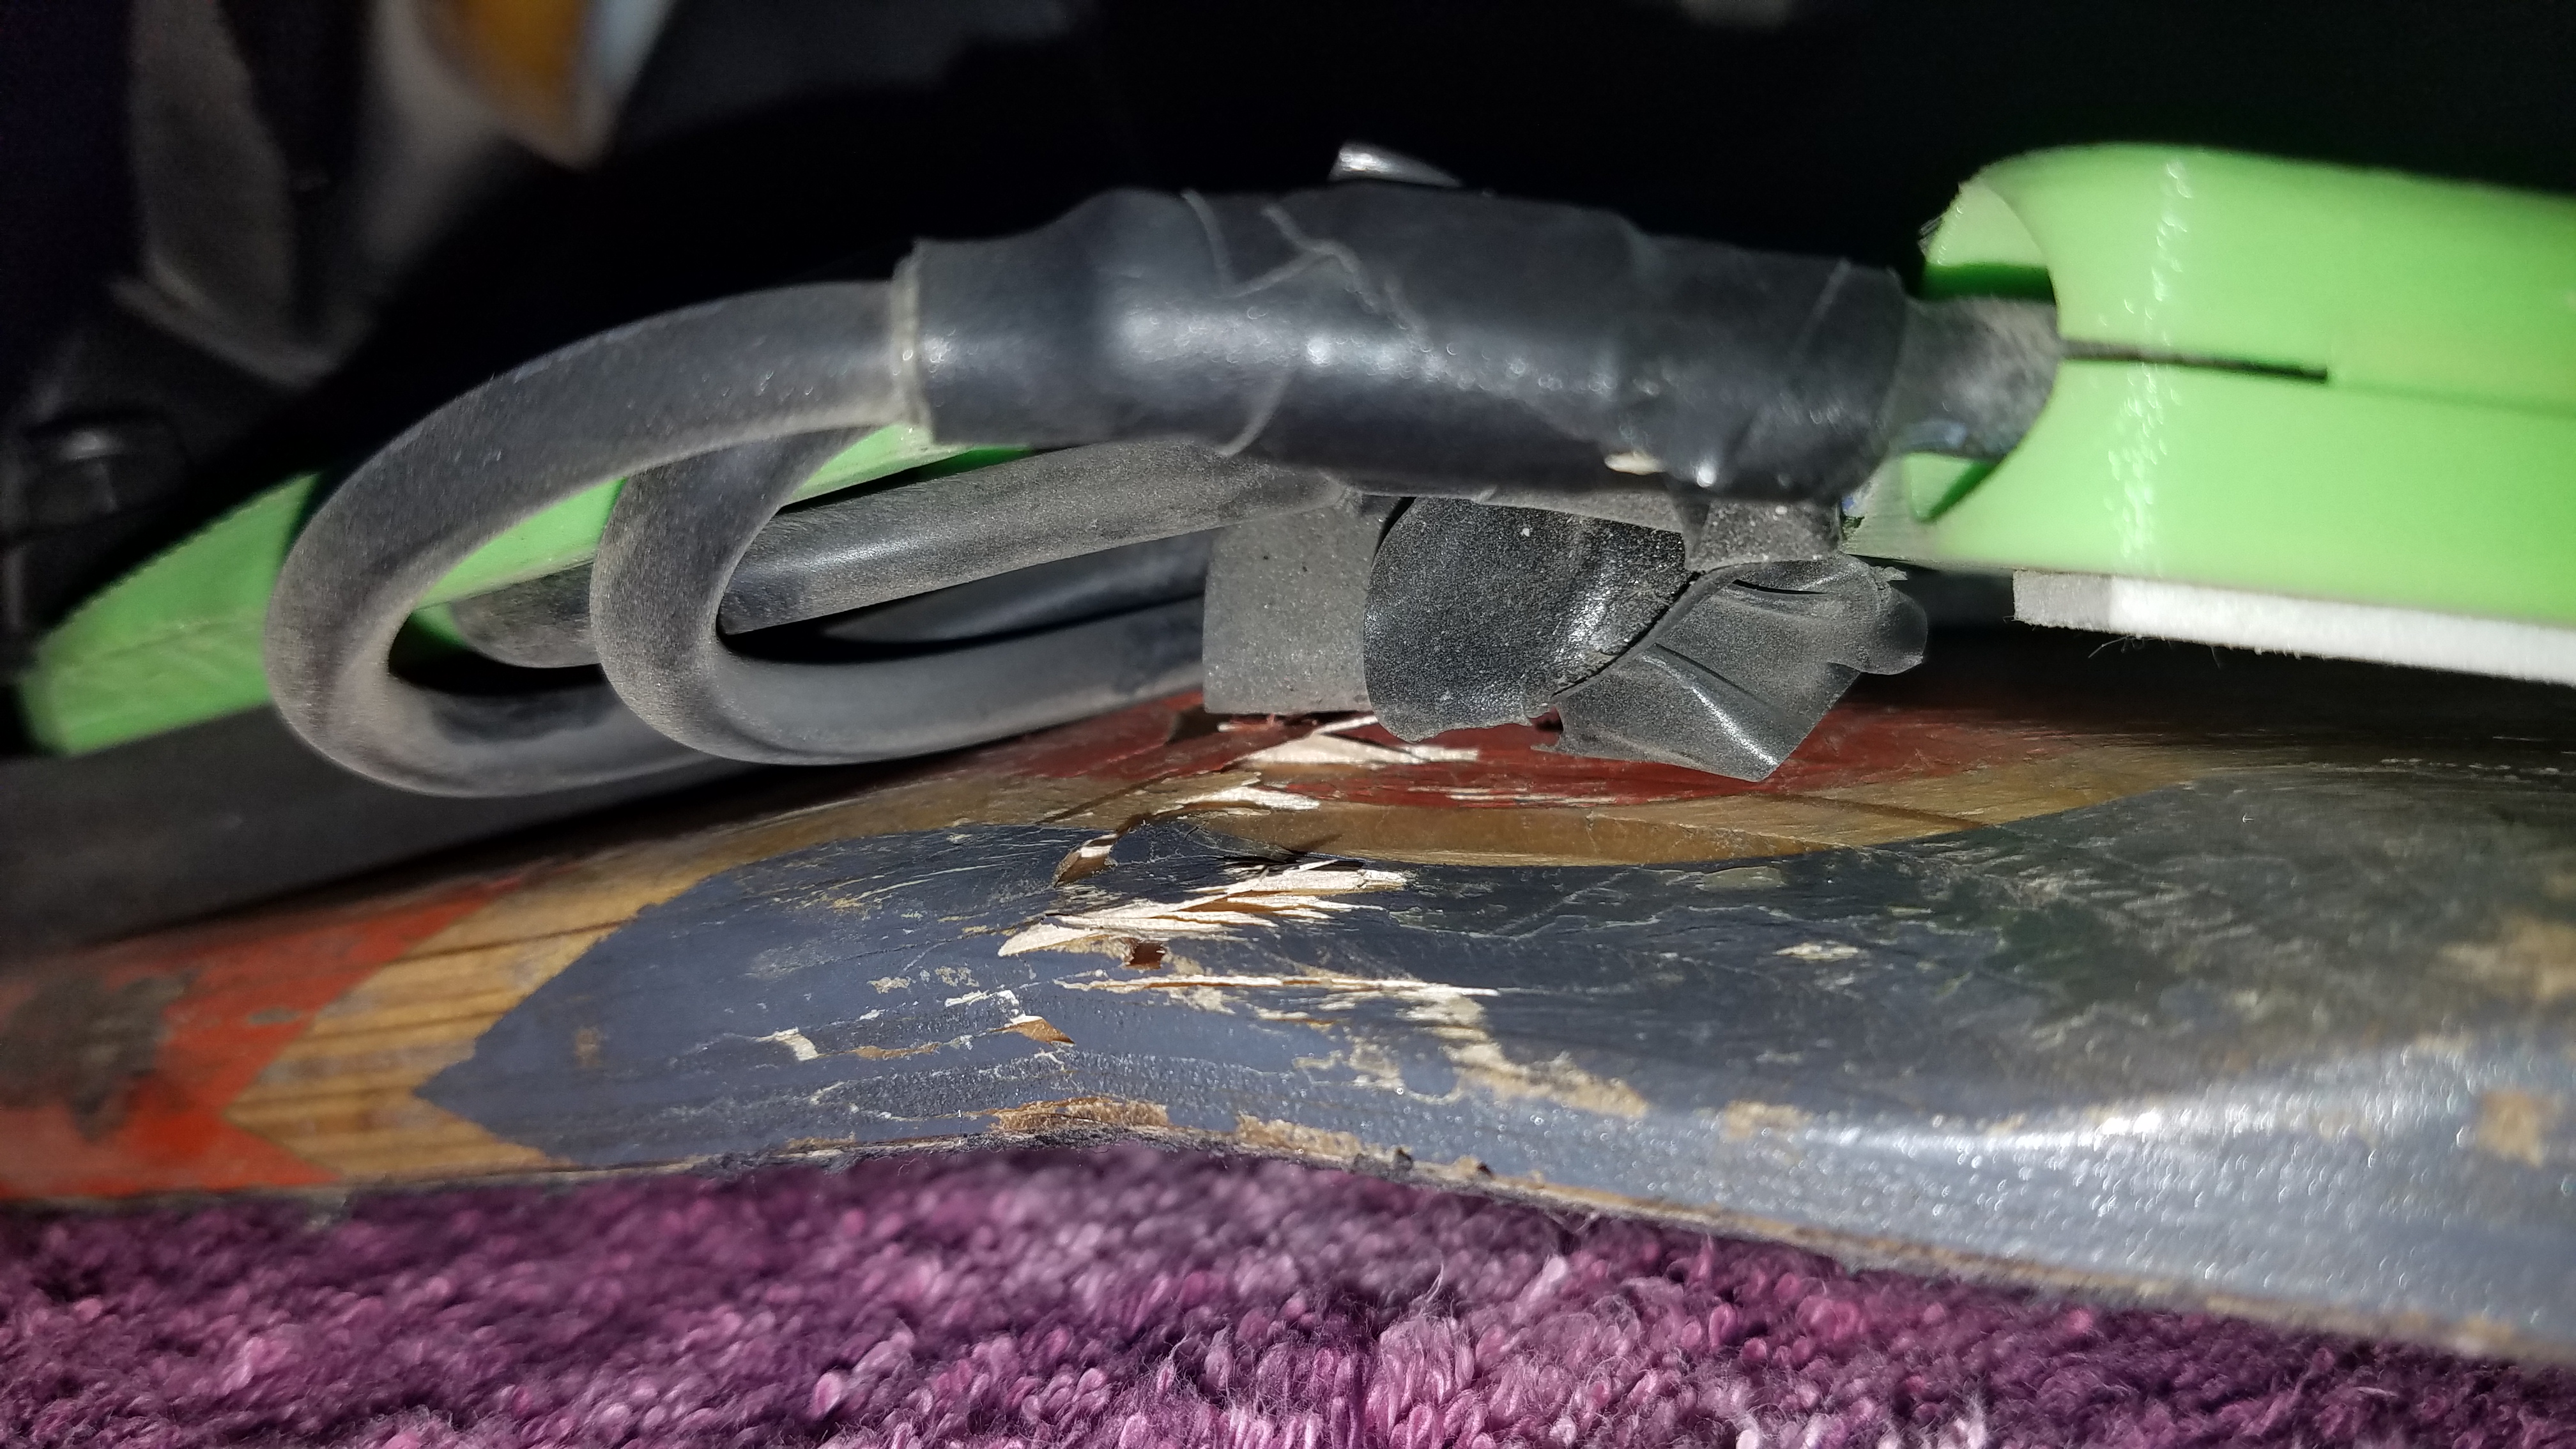
Big crack took him out. He will be missed. I’ll keep this thread and update with whatever board the electronics end up going on next- probably the demonseed that’s been getting no love lately.
Had I stuck with -24A I was testing out today instead of going back to -16A mid ride… No regrets though. Haven’t felt the thrill of roadrash in years, thankfully I had slide gloves and kneepads, only got a minor football sized scuff on my hips and elbows.
3 Likes
Sorry for your loss. Must of been his time. Must of been a HUGE crack.
More pics of the carnage?
E-skate can be pretty harsh on the deck, the drop through’s are more prone to cracking. Unless they are super thick, having a top reinforcing plate helps too.
1 Like
Yeah, and I knew about the crack too, I should have anticipated it. Regardless… Purging the weak- the demonseed is thick, bamboo, and fiberglass reinforced too so I’ll trust that even though it’s drop through.
Pics for you.
Won’t post pictures of roadrash, I feel like we all know what it looks like, it’s not too bad that it’d be interesting and the big one is close enough to my junk to be probably uncomfortable to look at. 


5 Likes
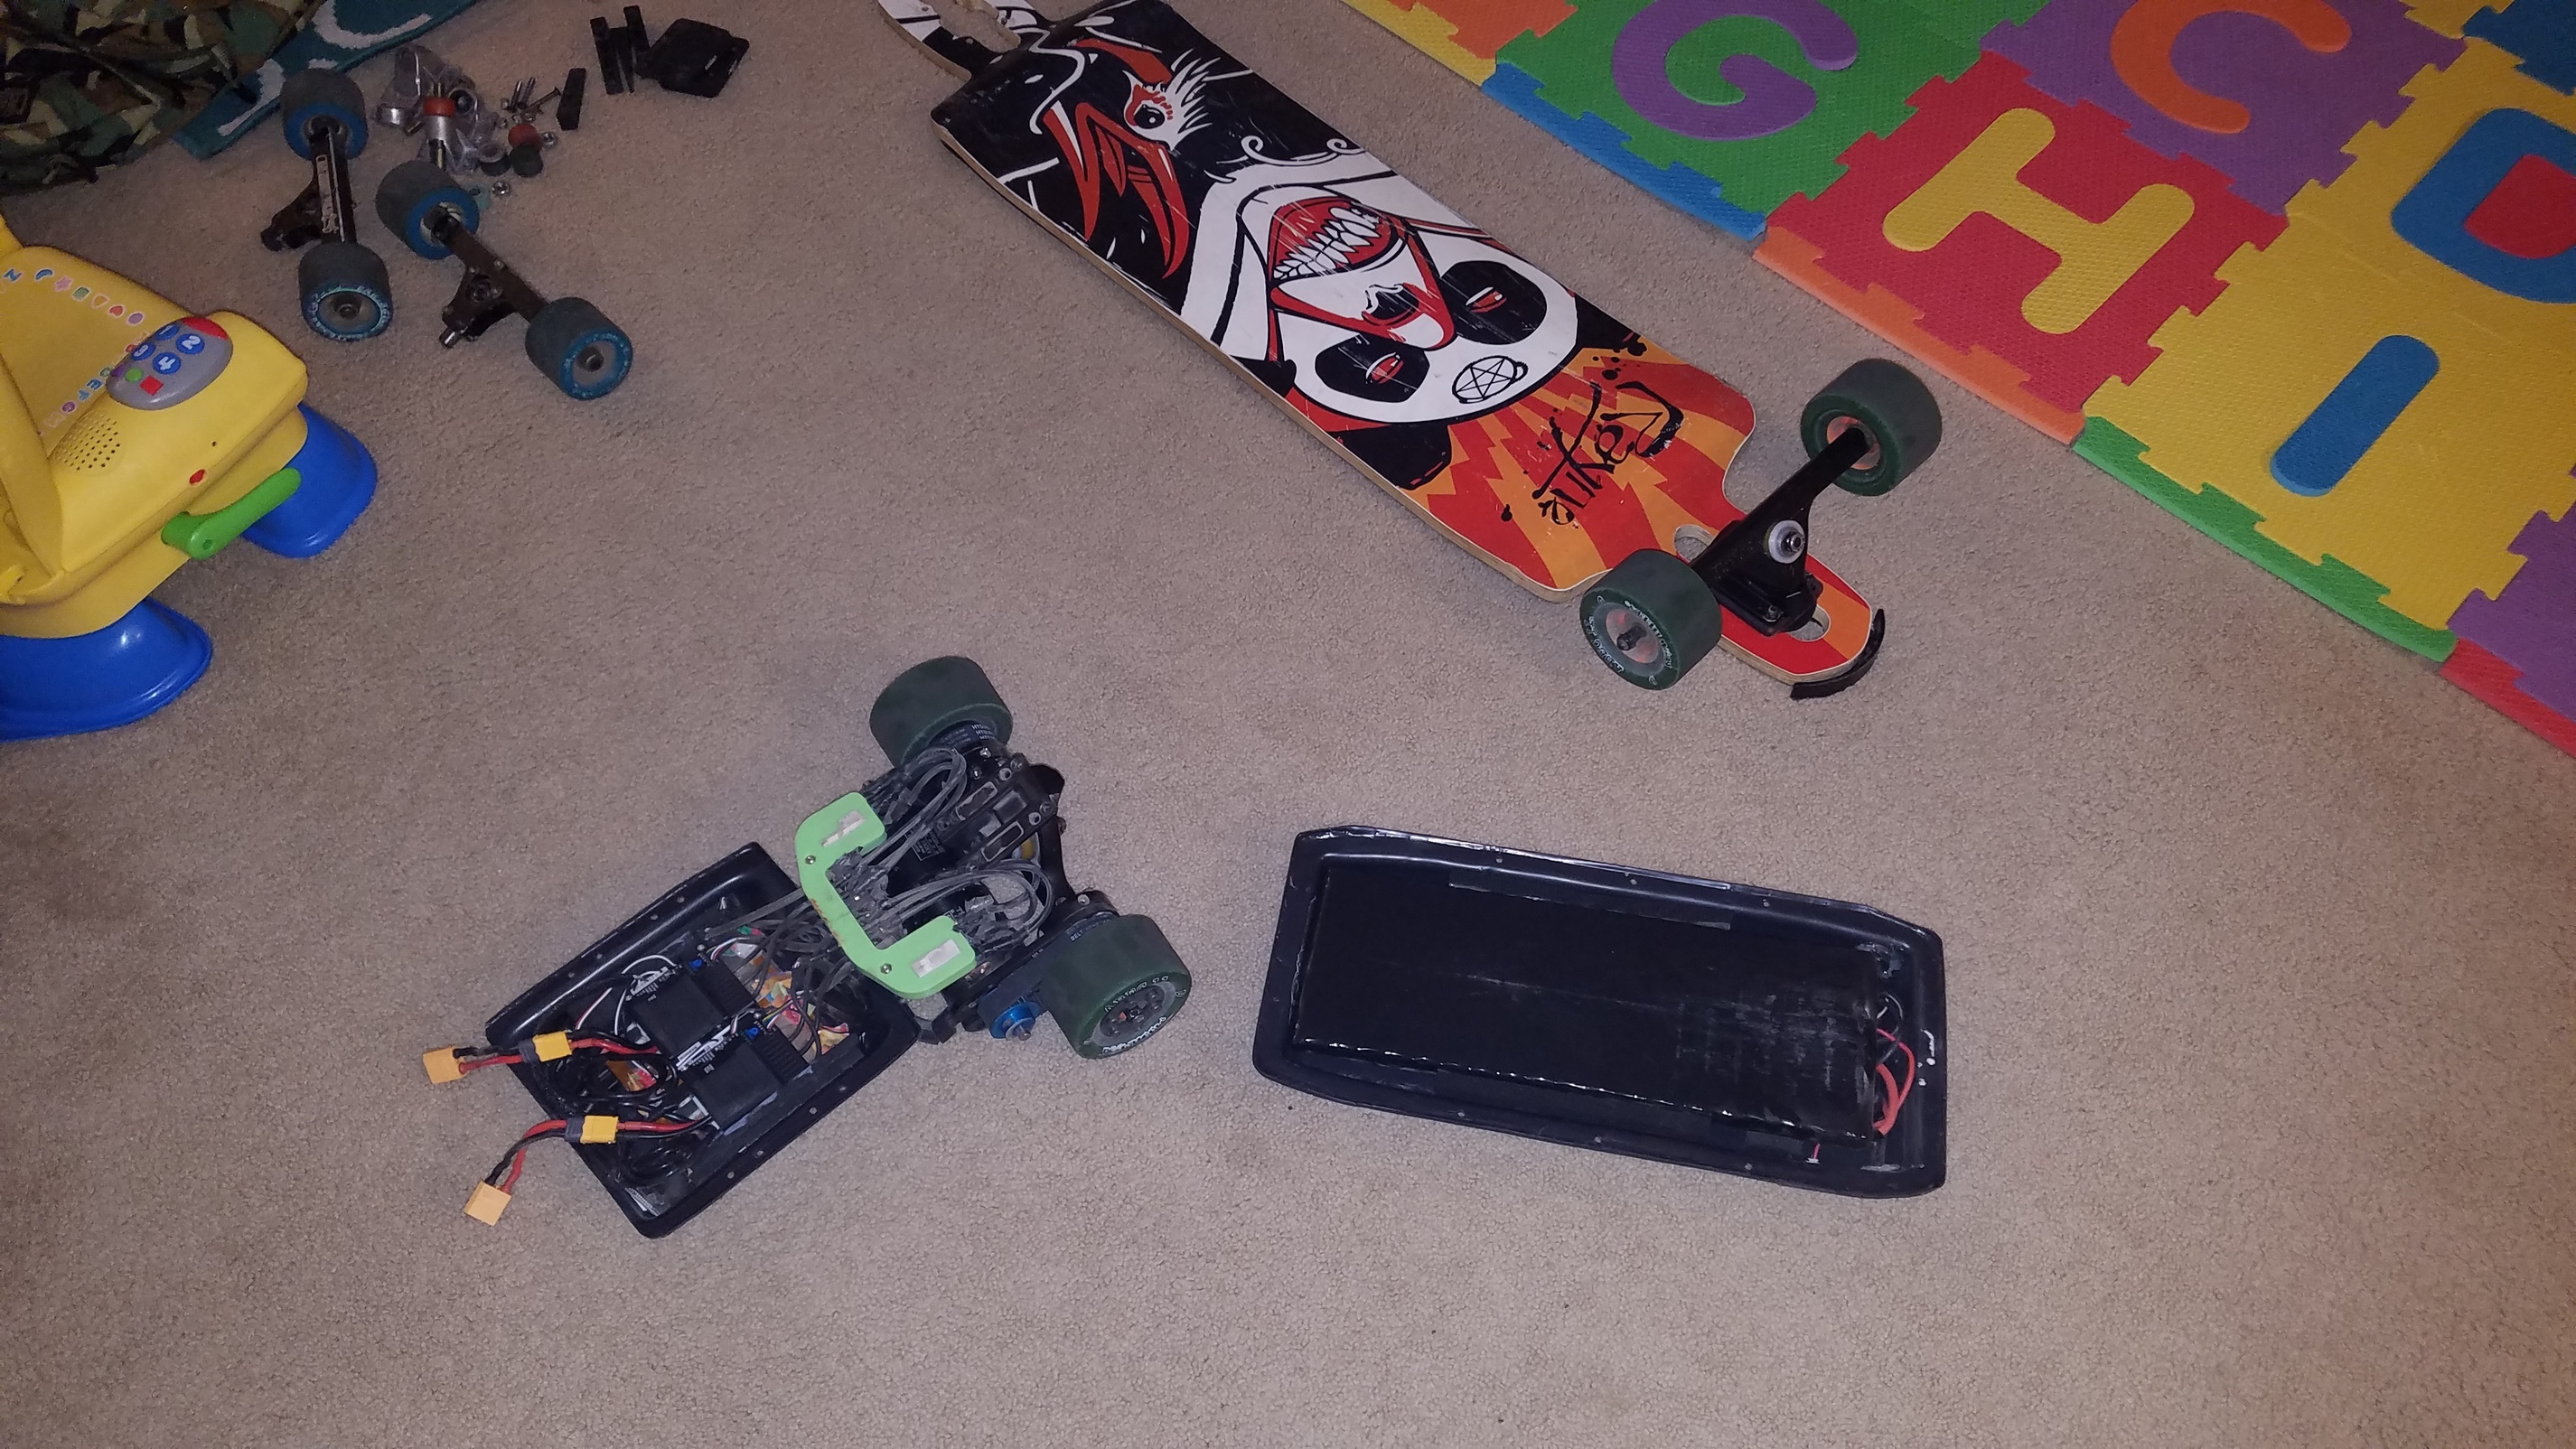
Transition in progress. The wife has my drill battery for the flashlight. Afraid I won’t be able to finish this as soon as I want.
2 Likes
On the carpet, better clean that up before the wife sees it. 
6 Likes
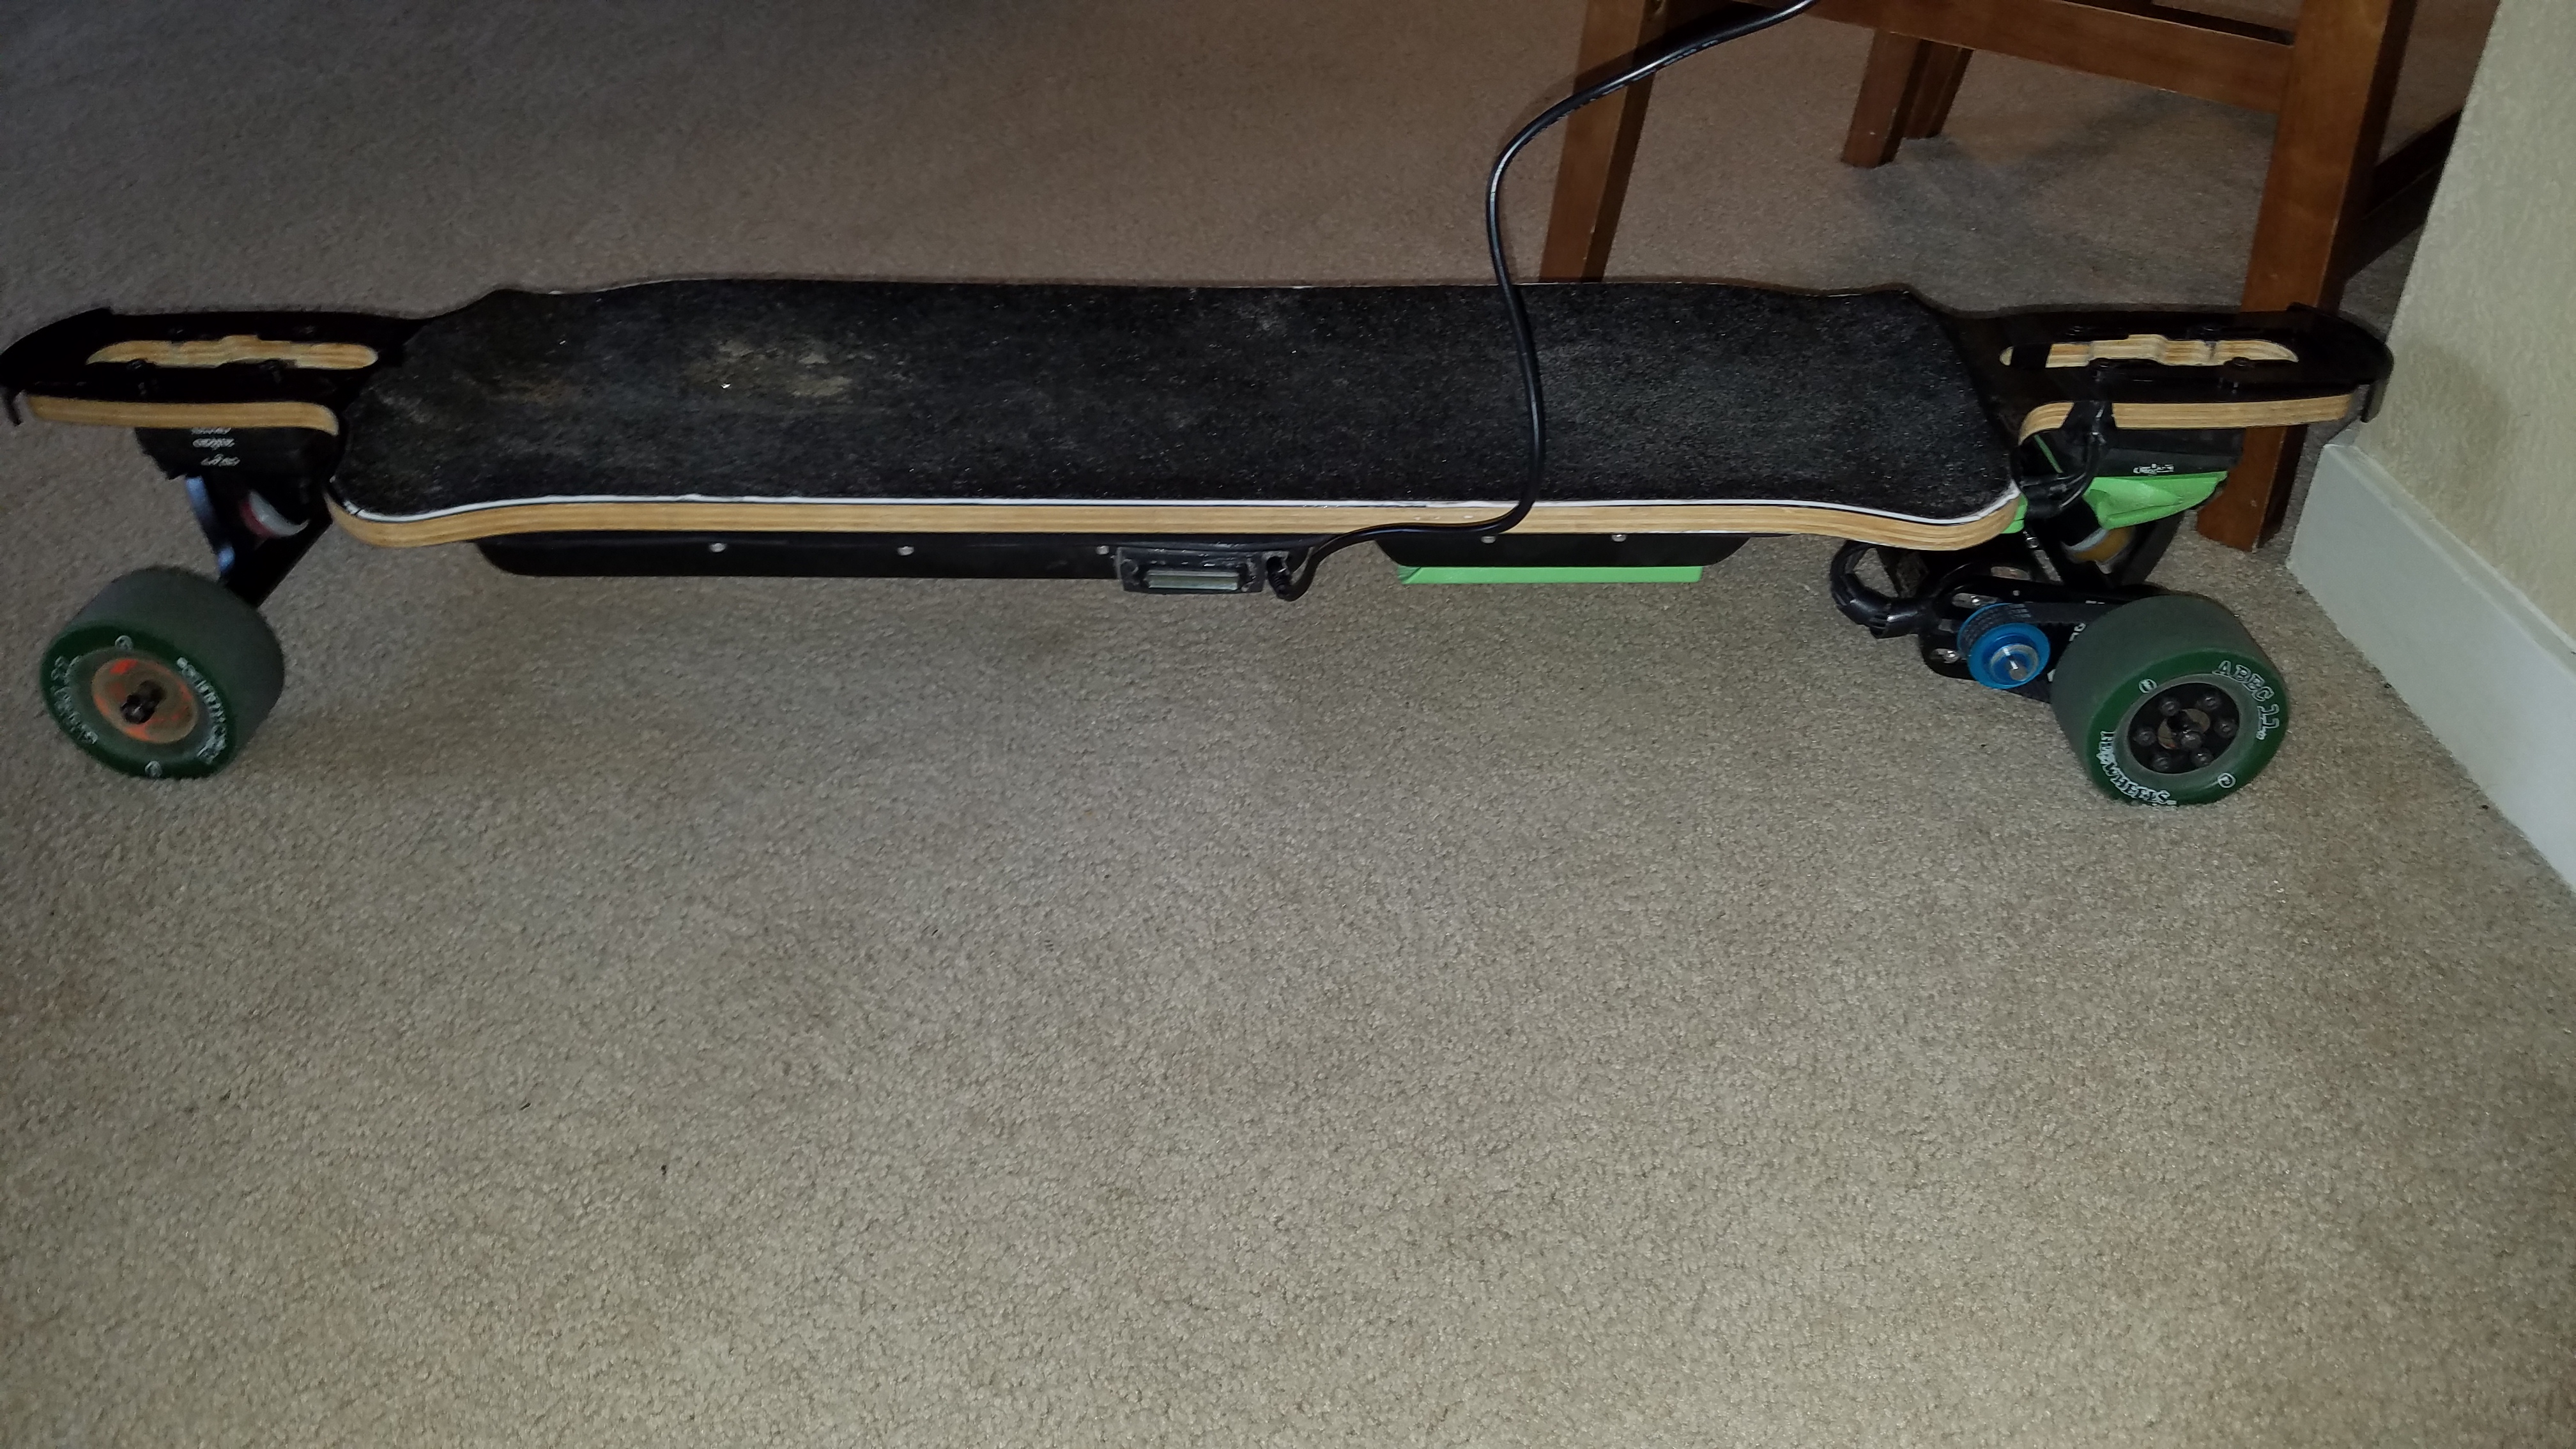
Cleaned up the carpet, got everything transferred over. Between the fiberglass and bamboo deck and heaps upon heaps of soft risers, the ride is a million times smoother now, and the long platform to stand on is wonderful. Going to make a few small adjustments to the mounts and add some extra dampening, but beyond this I think I’m done.
5 Likes
Changing things up a bit now.
First of all, after shorting and replacing my charge port, i’ve upgraded from my 81a 90mm flywheels to some black superflys. For $114 these things were a steal compared to other offerings on the market. Link incase anyone was wondering… thanks to someone else who posted this link in the forums elsewhere. I almost ate shit during some high speed carving on the fresh shiny thane- these needed some hard breaking in before they got predictable… so I took them out for quite a bit of hard controlled carving, drifting and light sliding to get them worn in the second afternoon out on them.
Second change i’ve made was to get rid of all those soft risers. The front riser is printing right now as I type this, both in nylon. I drew this up to fit snug inside the drop-through cutout… these things are rock solid, hefty, and have a tiny bit of flex when tightened down to take on the curve of the deck just right. They have about 7mm of floor all the way around the cutout to rest the weight on the bottom of the deck evenly, instead of the small contact points of trucks alone or the old risers I had on that would flex into the cutouts. Tomorrow I plan on riding up to the fabric store up the street to grab a couple $$ worth of black dye, to dye these to match the rest of the board… deep black!
Next… this board is heavy as hell. I couldn’t stand carrying it by the trucks or nose, or fumbling around with it like a normal longboard. So I made some handles… also printed in nylon (sturdy as hell), and plan on dying these black with the other parts tomorrow. This thing works wonders… balanced just right:
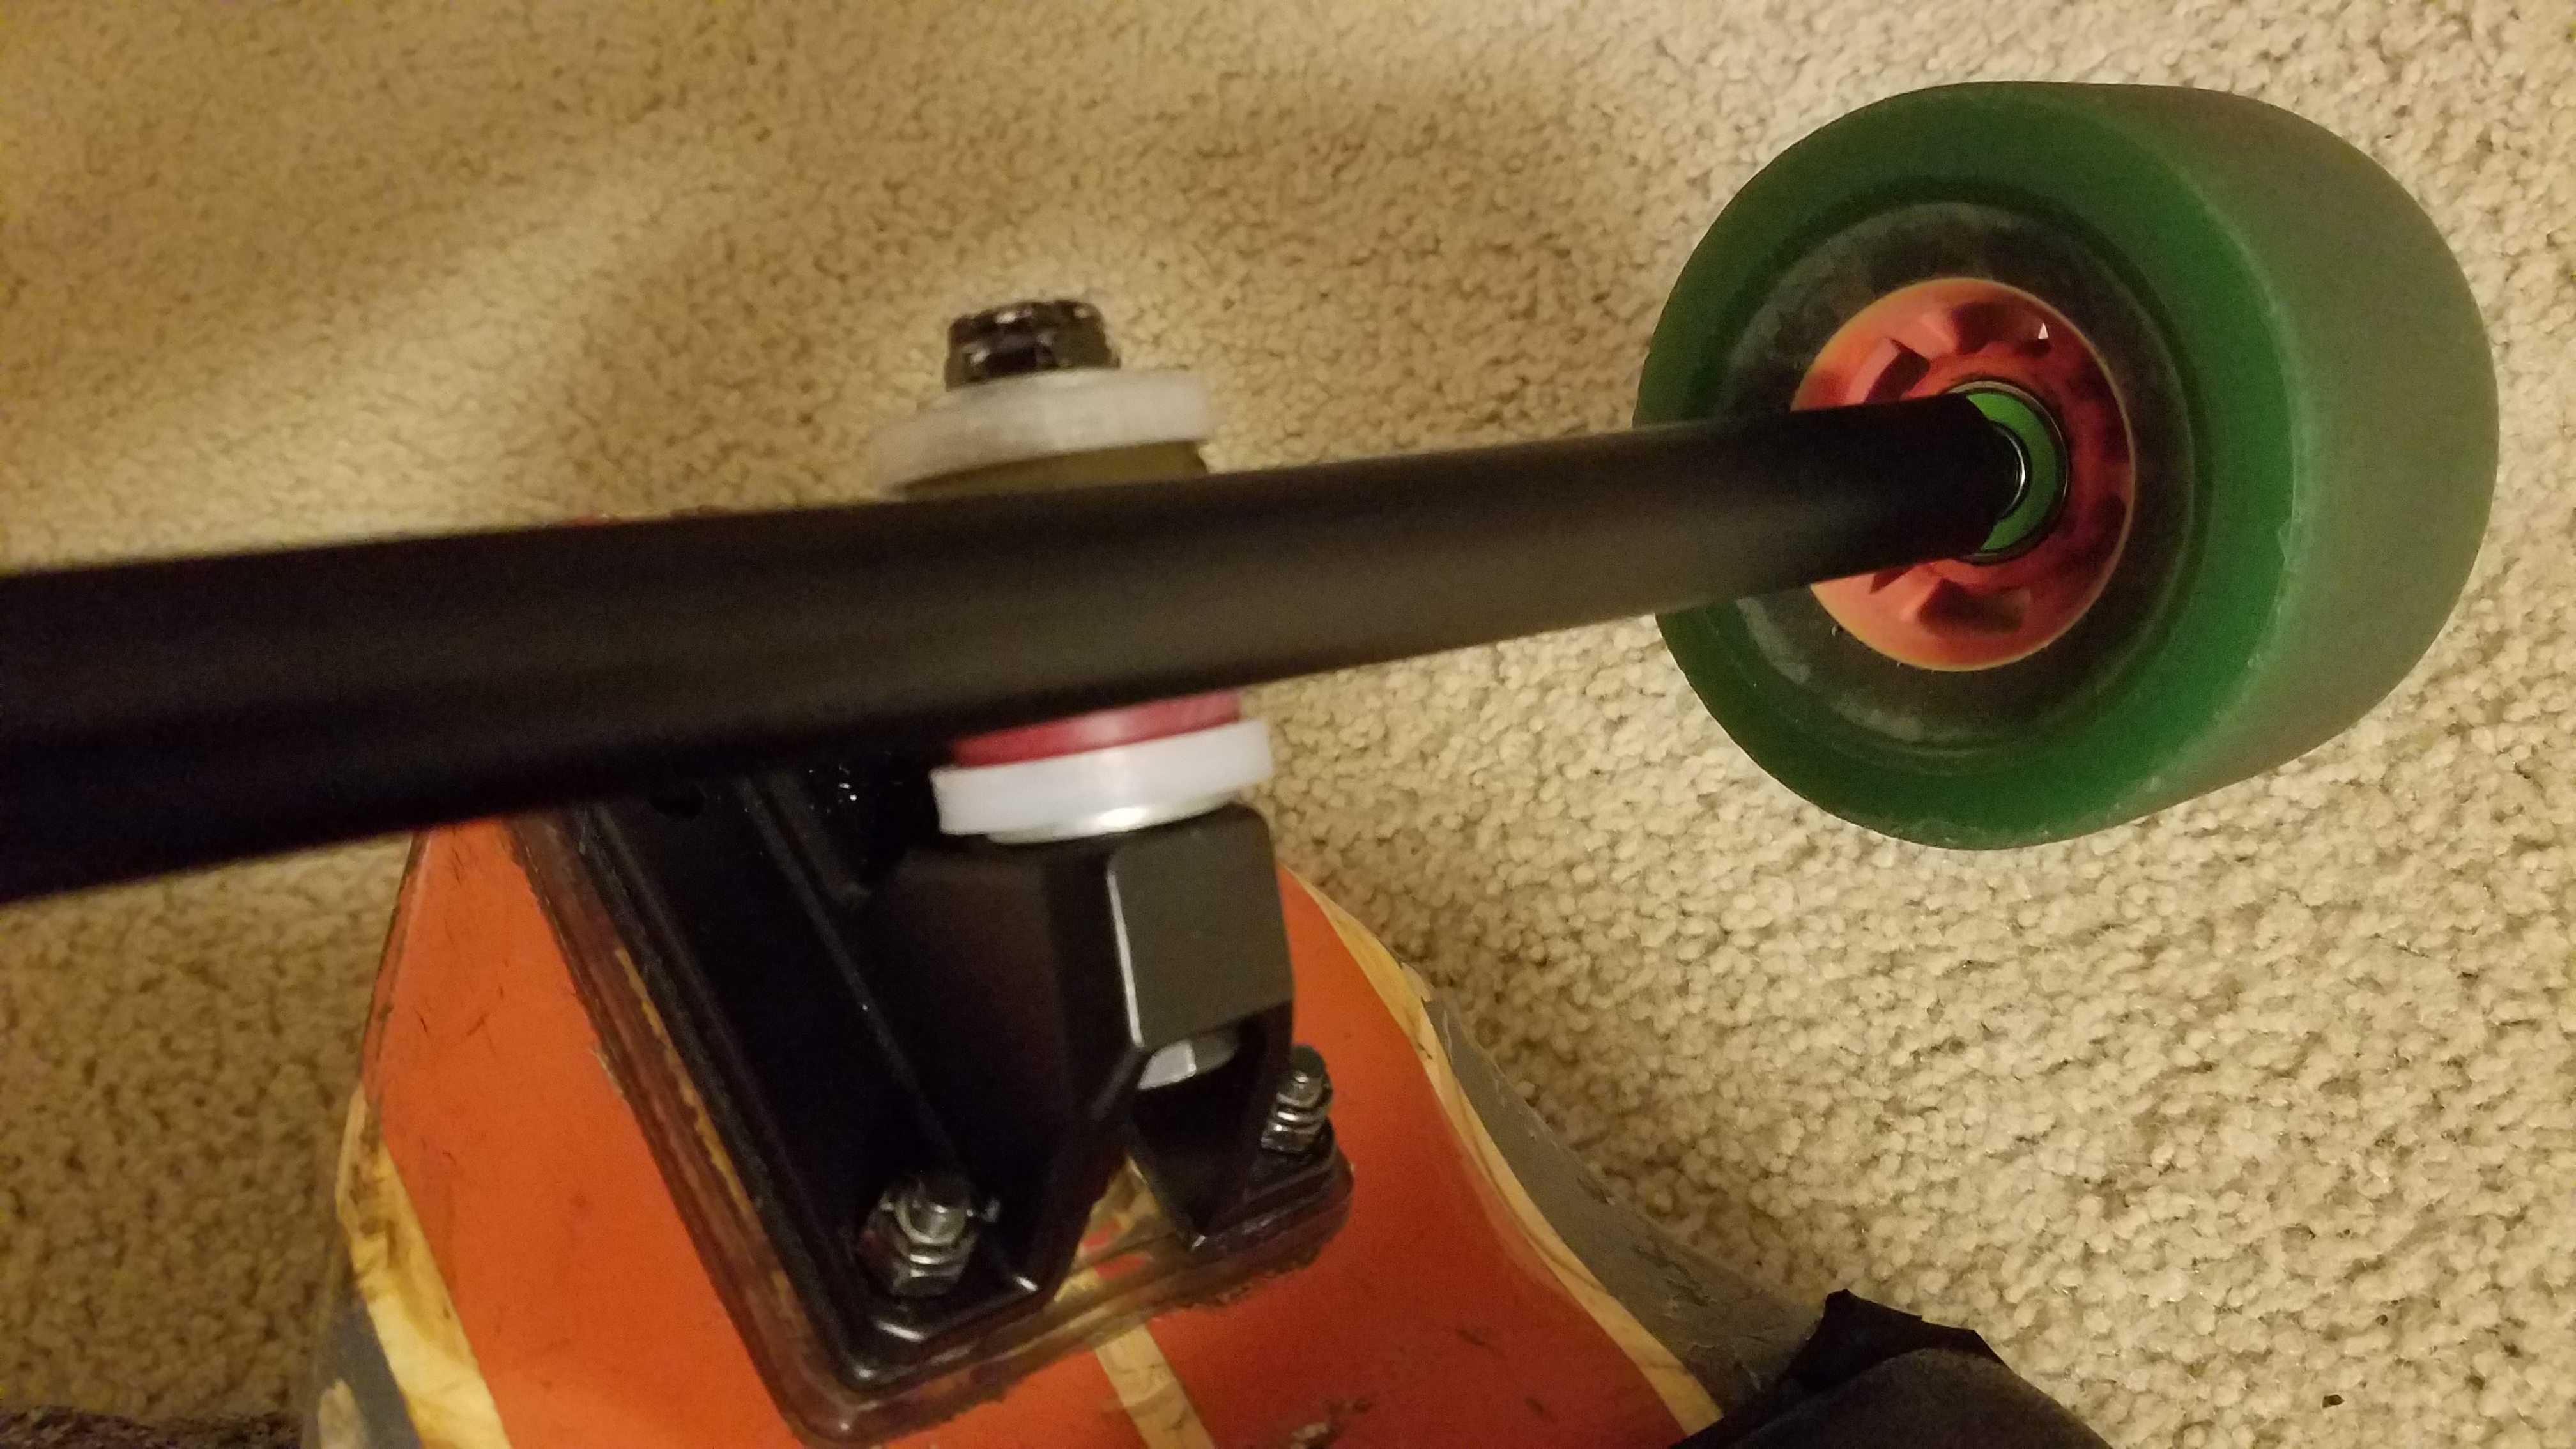
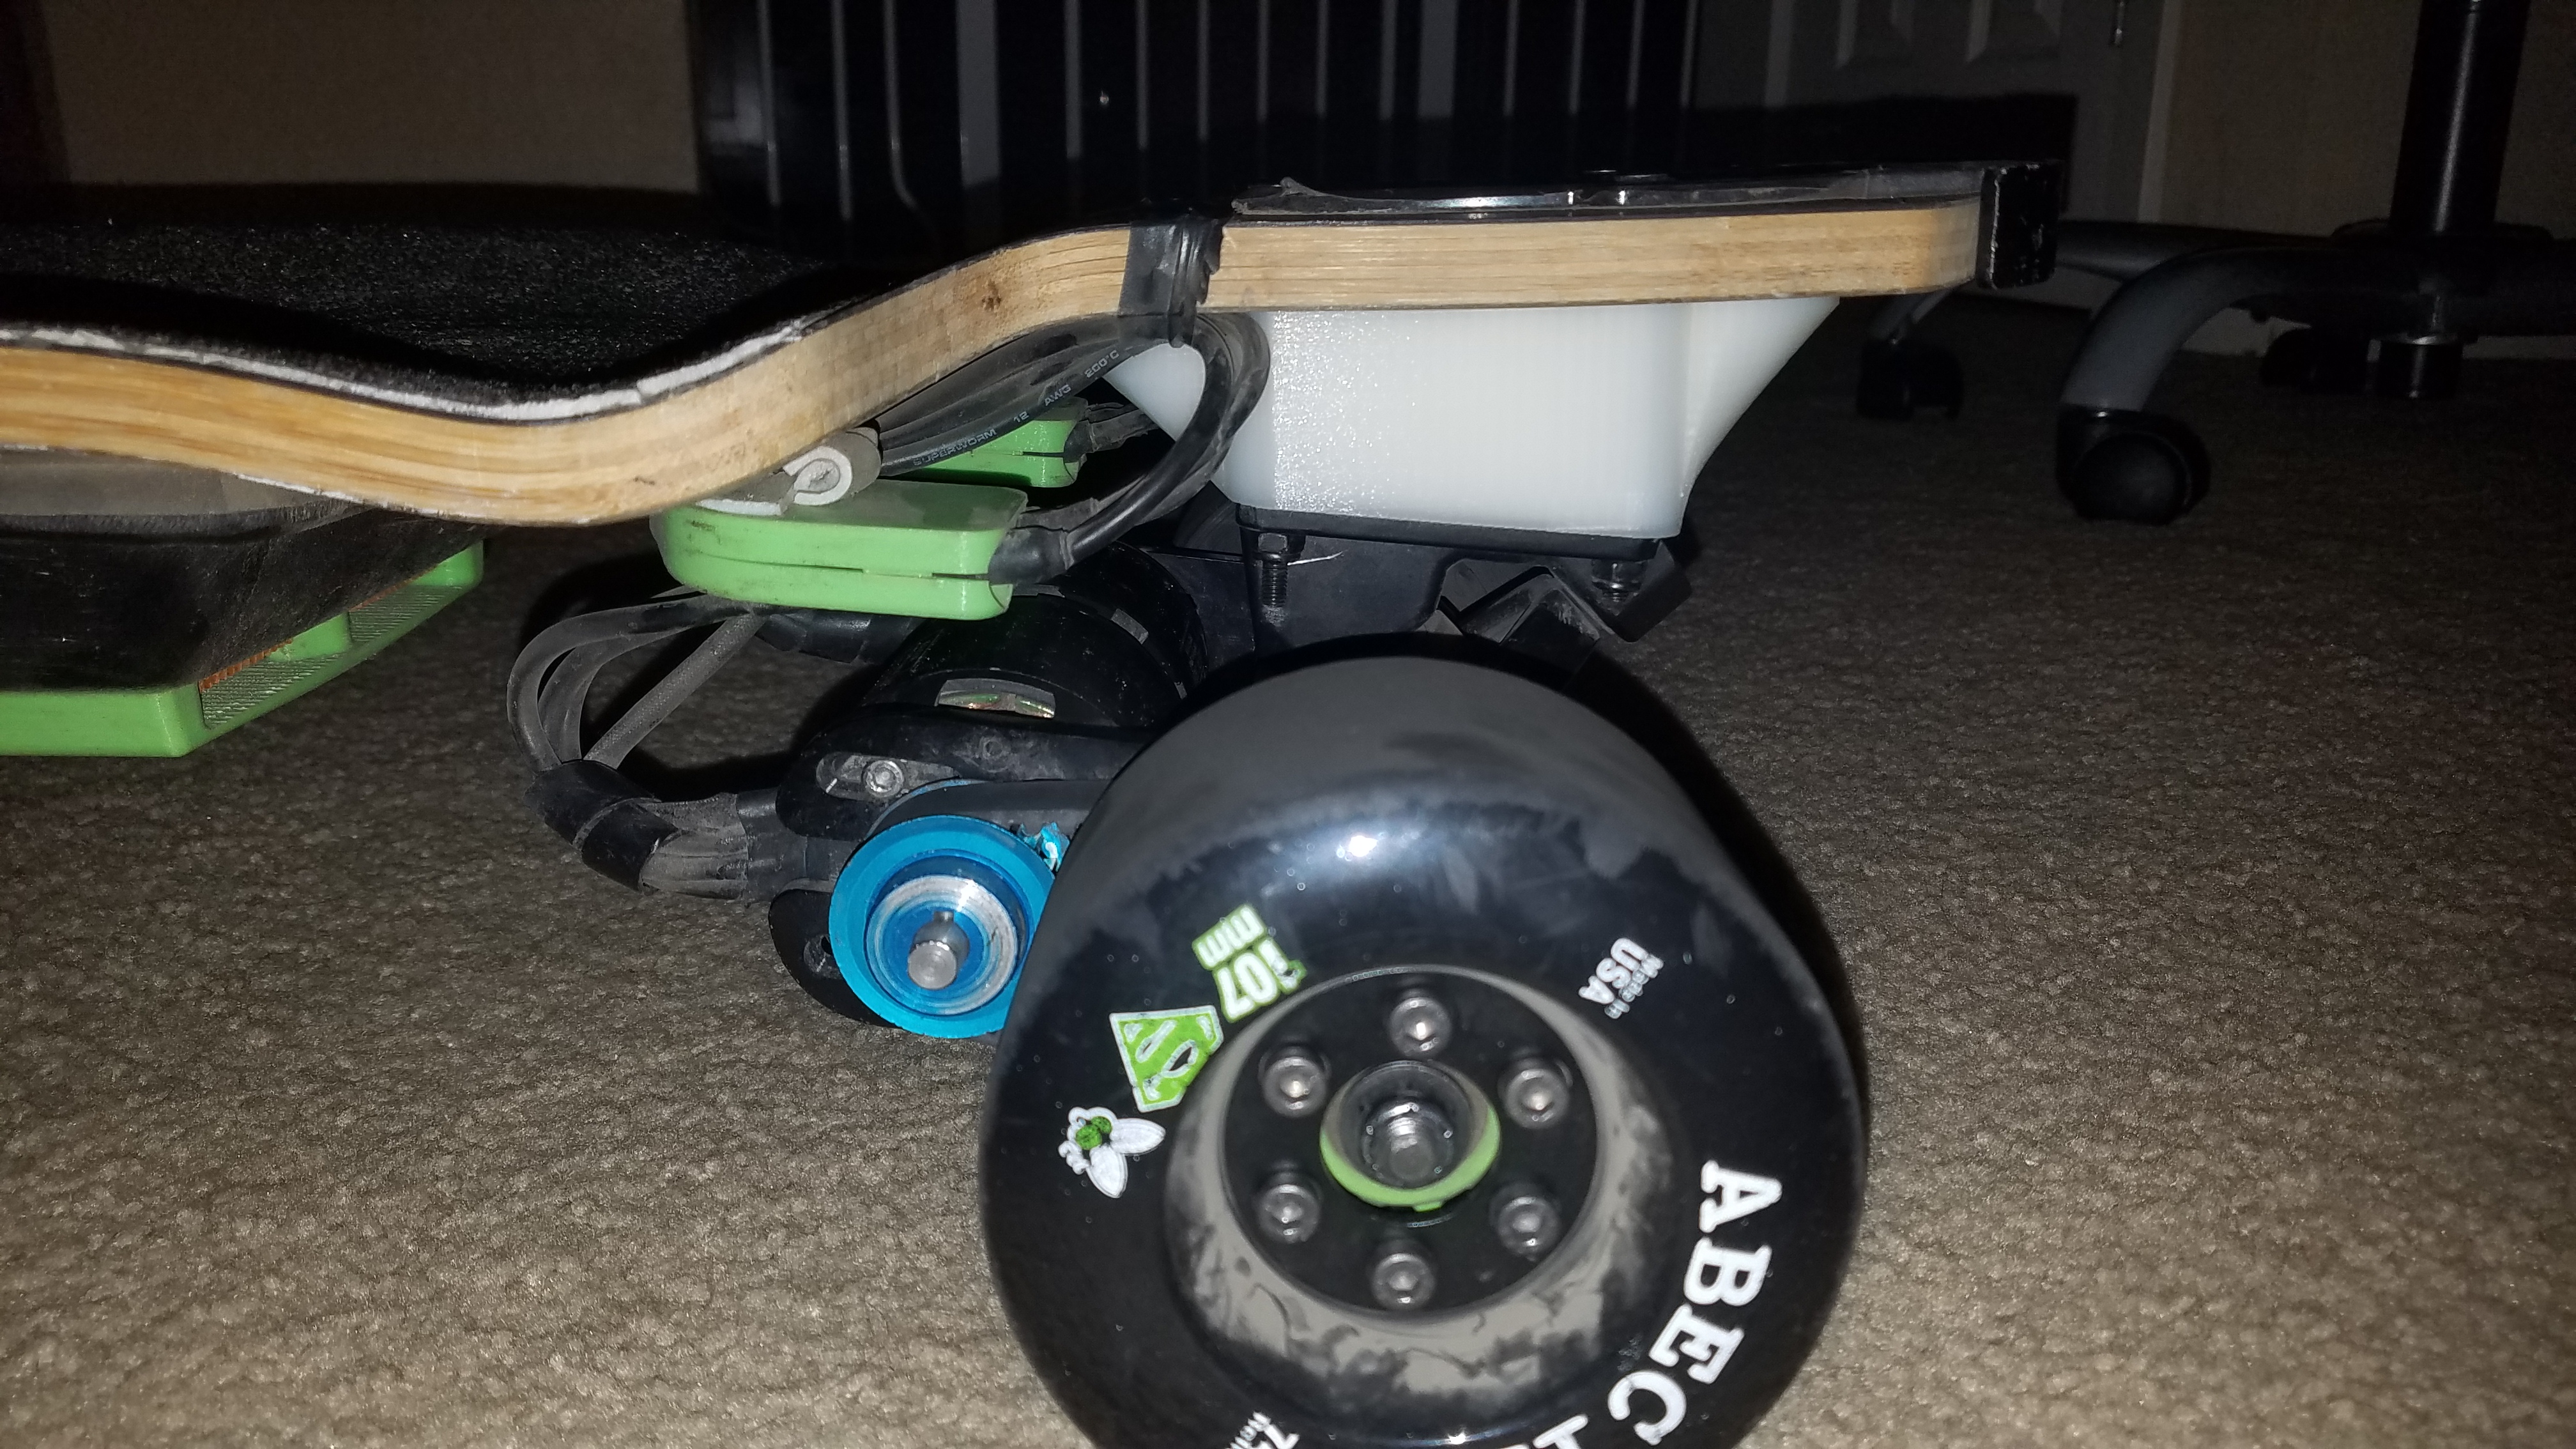
Another minor improvement… I got my belts perfectly aligned thanks to some ABS spacers, that add 4mm of space between the flywheel hubs and the start of the wheel pulley. They are indented just right to cup the wheel pulley to center. You can see them a bit here in green:
Well… this one is coming along nicely, and it will probably continue to evolve more from here. Riptide 100a pivot cups are on their way, a needed pair with the nylon riser attempt to reduce all slop. Griptape needs replacing, it is some old viscous tape that’s literally double-sided-taped to the deck because it was coming loose. I decided to keep my 1.6:1 gearing (20/32) on the 107s, and now 45mph is easy. Here’s a quickie pass of a friend going full speed on his evolve: https://youtu.be/WgJXWn-yJLE?t=430
6 Likes
$113 for some genuine 107s?! that’s nuts. real nuts
2 Likes