Greetings from a snowy southern Sweden! I’m currently building my first electric skateboard and thought I’d share the process with you. Any and all input is greatly appreciated.
So, the idea here is to build a proof of concept board. Since I have full access to a mechanical/electrical workshop and I also own a 3d-printer, my initial plan was to build the motor mount and drivetrain myself using all the awesome free stuff from here, thingiverse etc. However, I recently won about $500usd on online betting so I figured I’d put that money into this project by buying ready-made stuff instead since it’s my first board.
Parts list
- Deck: Generic complete longboard
- Motor: Turnigy Aerodrive SK3 6364 190kv
- ESC: Flier VESC 2.18/4.12
- Trucks: Caliber II
- Wheels: 83mm Flywheels from Torqueboards
- Drivetrain: Torqueboards 16/36T, 260mm belt
- Motor mount: Torqueboards v4 for Caliber trucks
- Batteries: 2x Zippy Flightmax 3s1p 5000mah 20C
- Controller: Winning 2.4ghz mini controller
- Charger: HobbyKing 3C 50w charger/discharger
Pictures (Sorry for poor quality)
The deck is pretty long. 103cm (40 inches for the imperial people). I got this as a complete longboard for about $50 some years ago. It’s crap but it worked.


Overview of parts

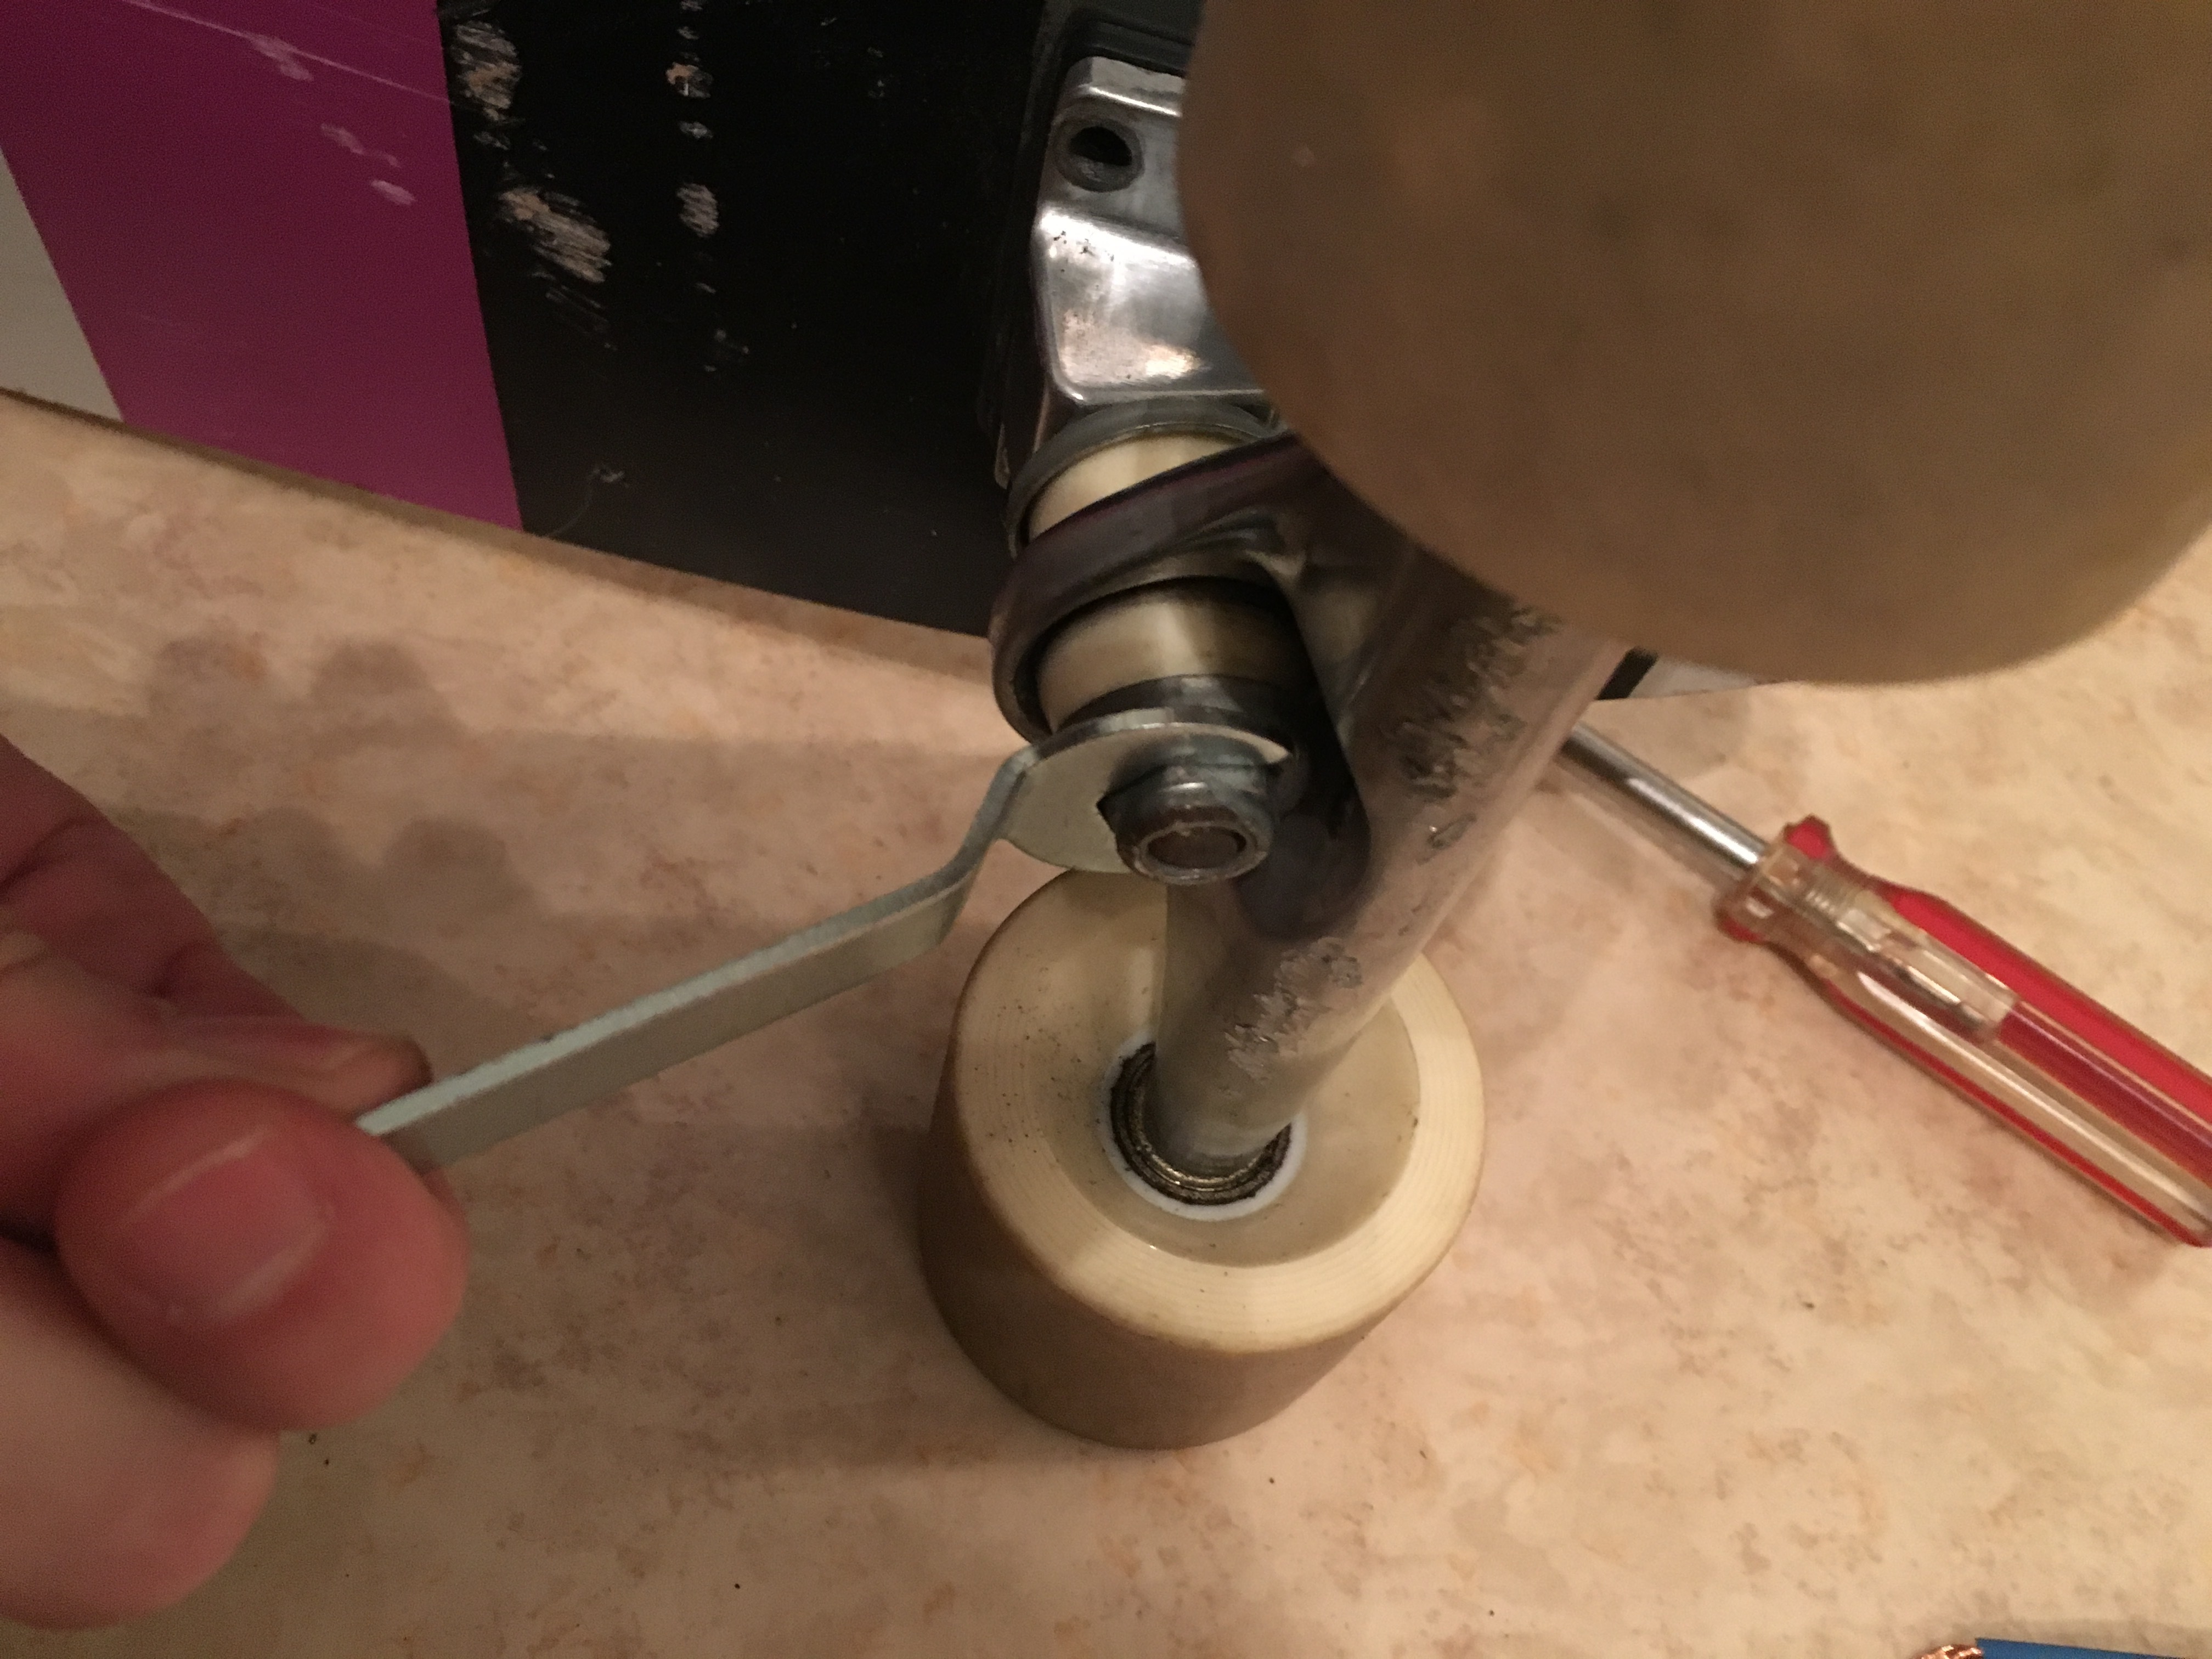
All the parts where delivered to my apartment and I couldn’t wait until I had time to go to the workshop so I began disassembling the old board right away, which was a challenge since I don’t have all the proper tools at home. For example, I found that my wrench wouldn’t fit between the truck axle and the riser plate to get to the bolt. Luckily I found some obscure IKEA tool that I could use to disassemble the truck so my wrench could access the bolts for the truck mount.

Disassembled old board

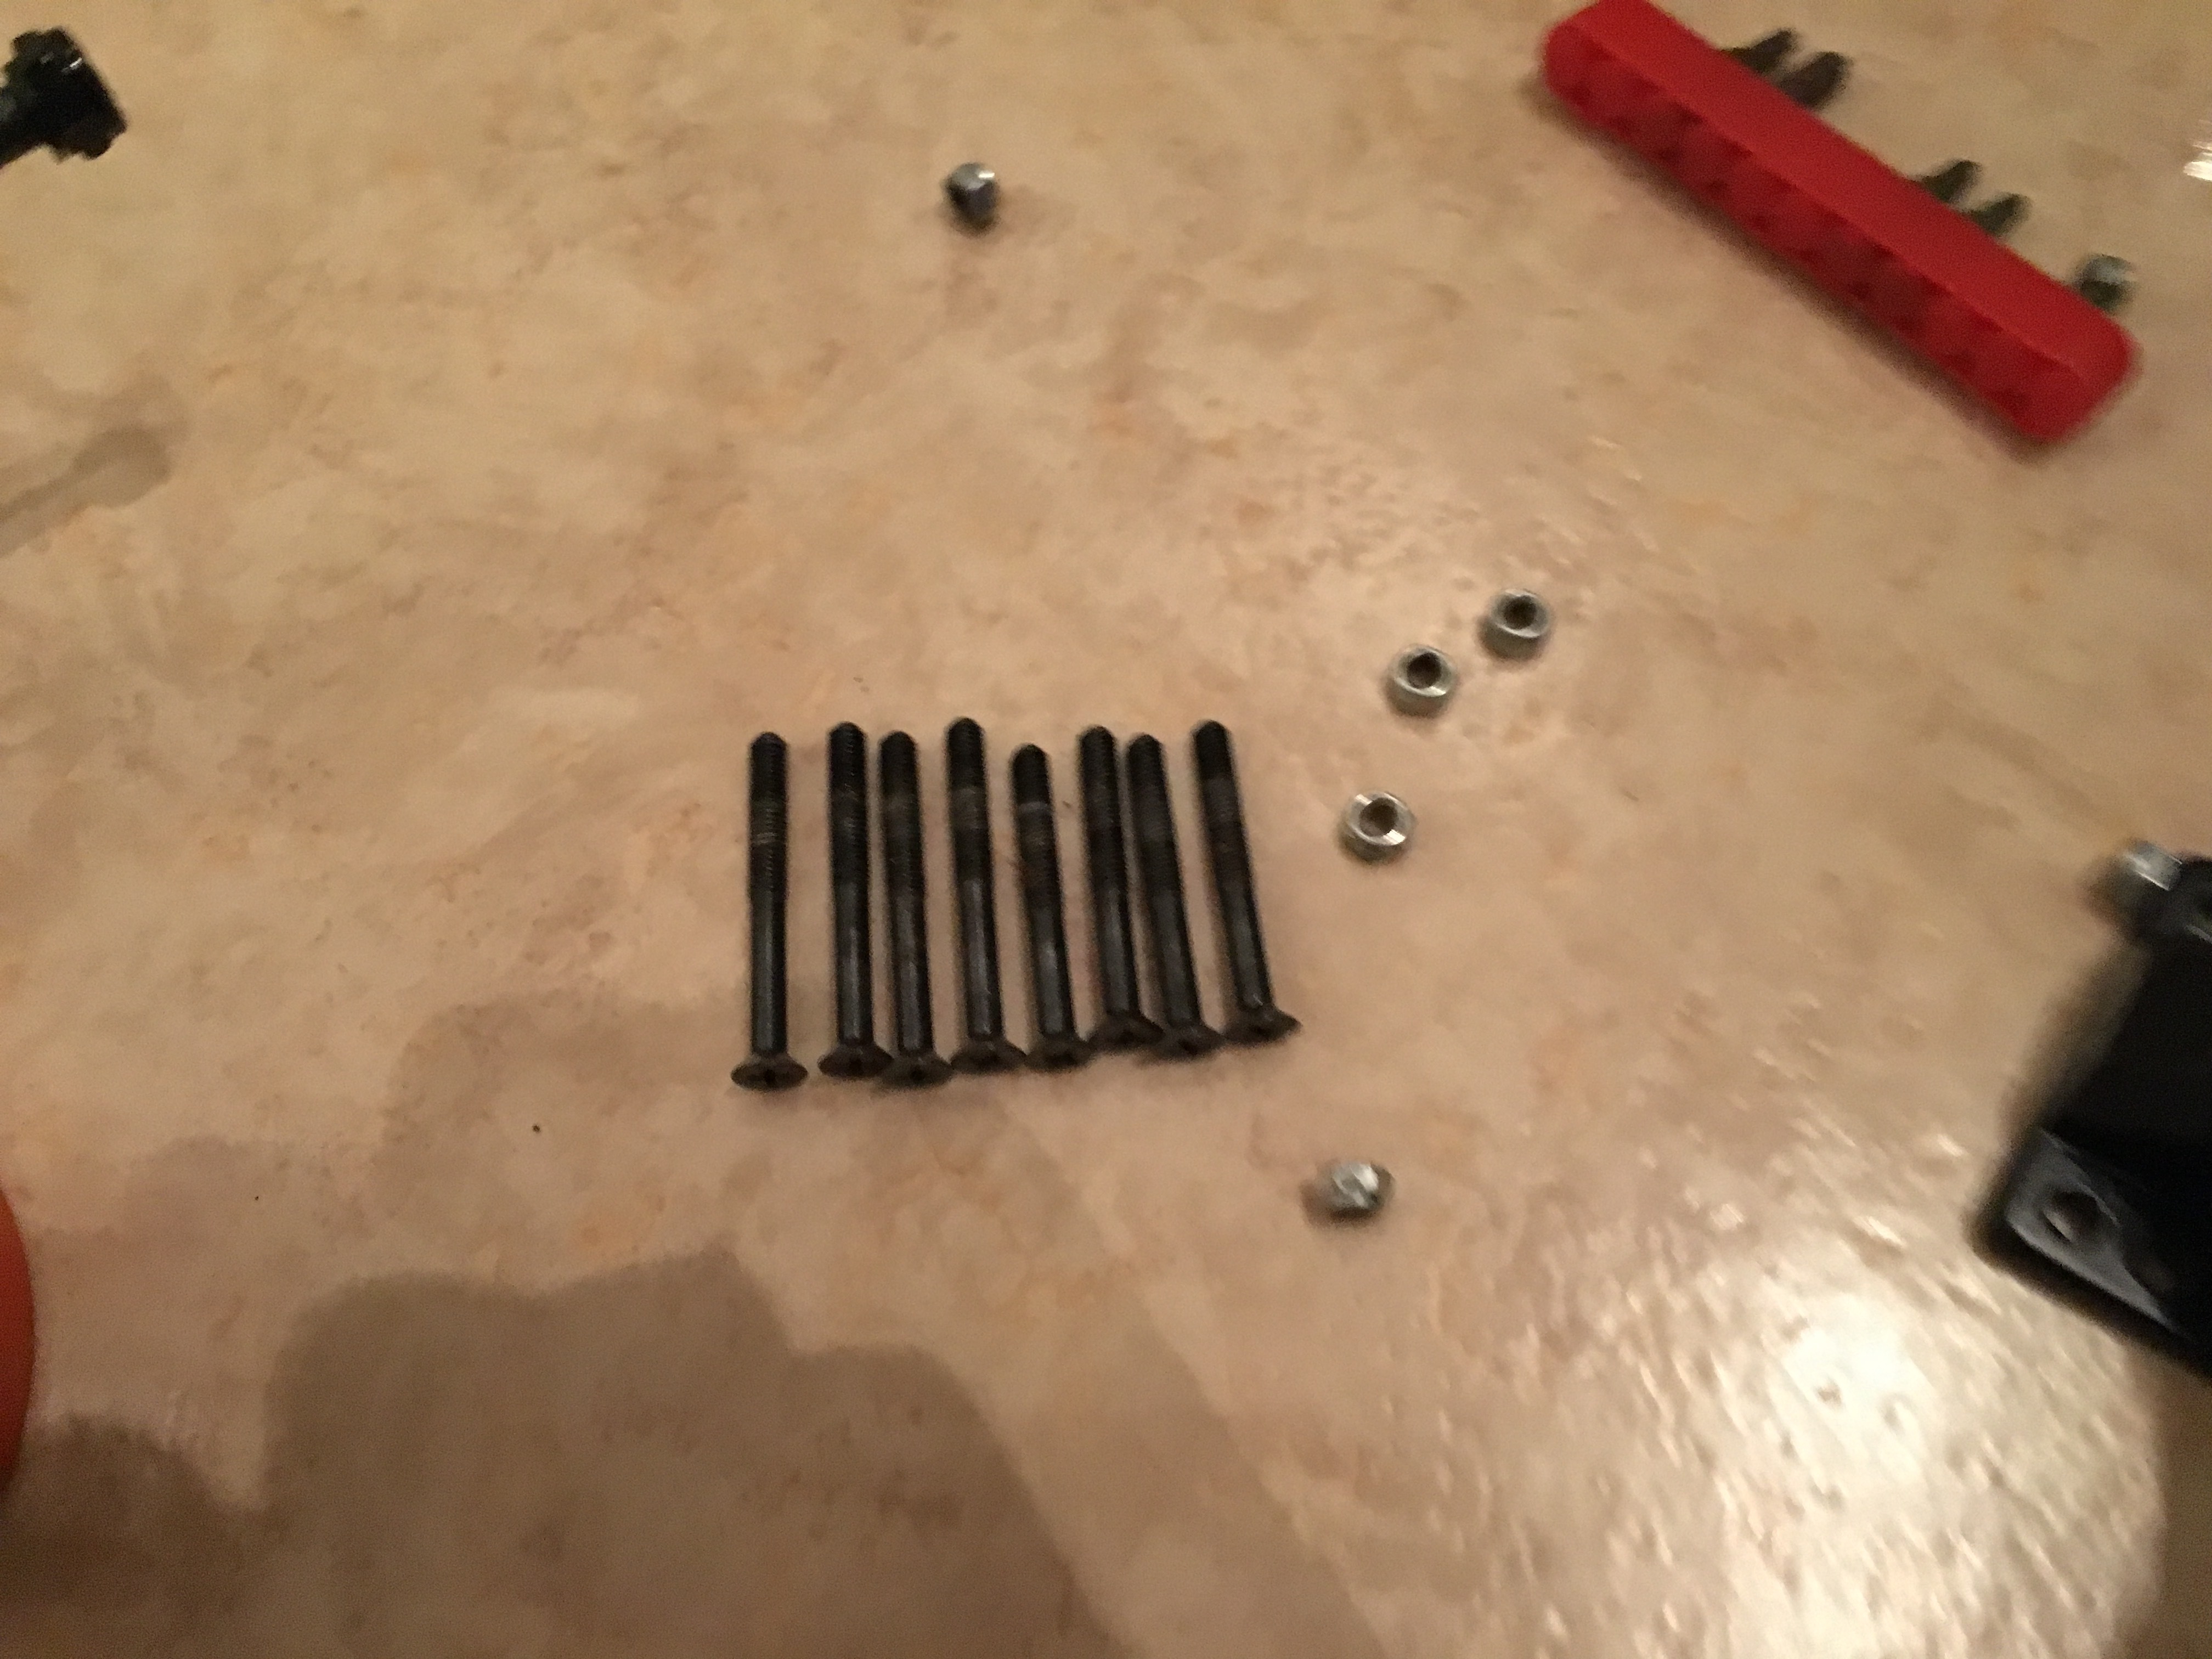
You can tell that the old board wasn’t of the highest quality by the uneven length of the screws for the truck mount.
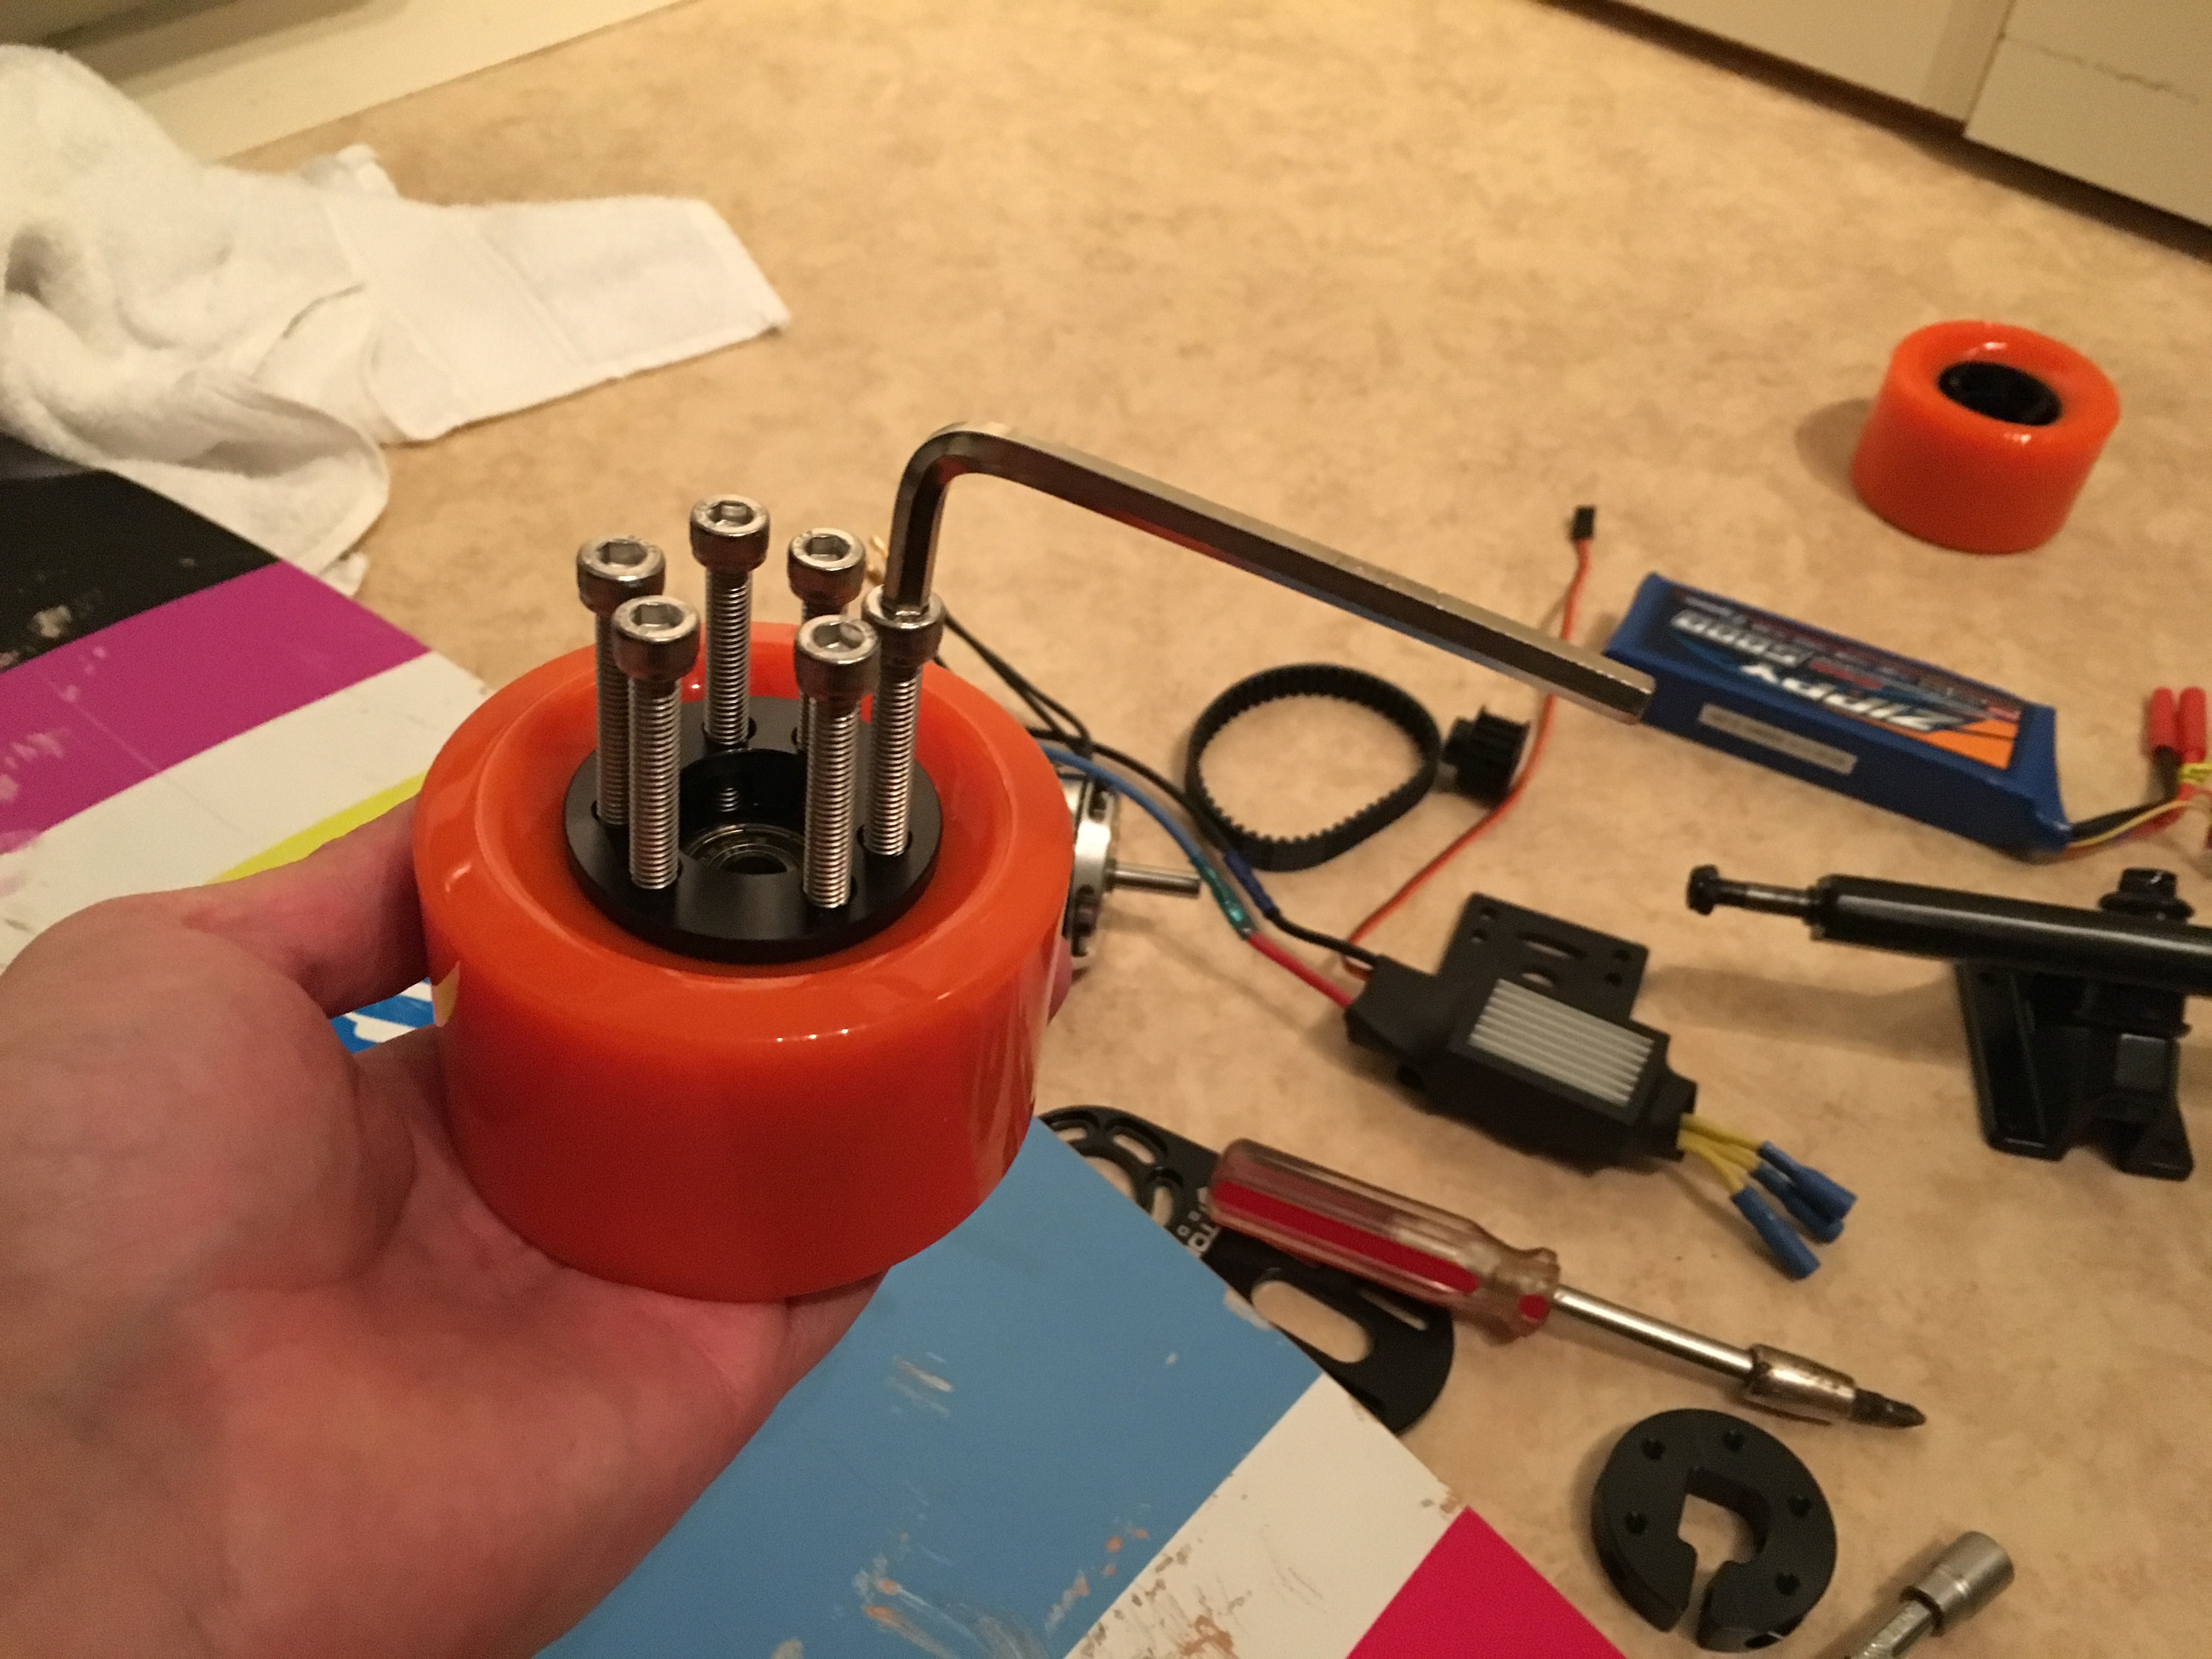
The assembly of drive wheel was actually kinda tricky. You can’t just push the screws trough the wheel so you have to screw them through and then align the drive pulley and carefully tighten the screws in a cross sized pattern to make sure that all screws are gripping at the correct angle.

The assembly of the motor mount is more straight forward. Make sure to do a loose fitting first so you can see that all parts align correctly. When everything is aligned, just tighten all the screws.
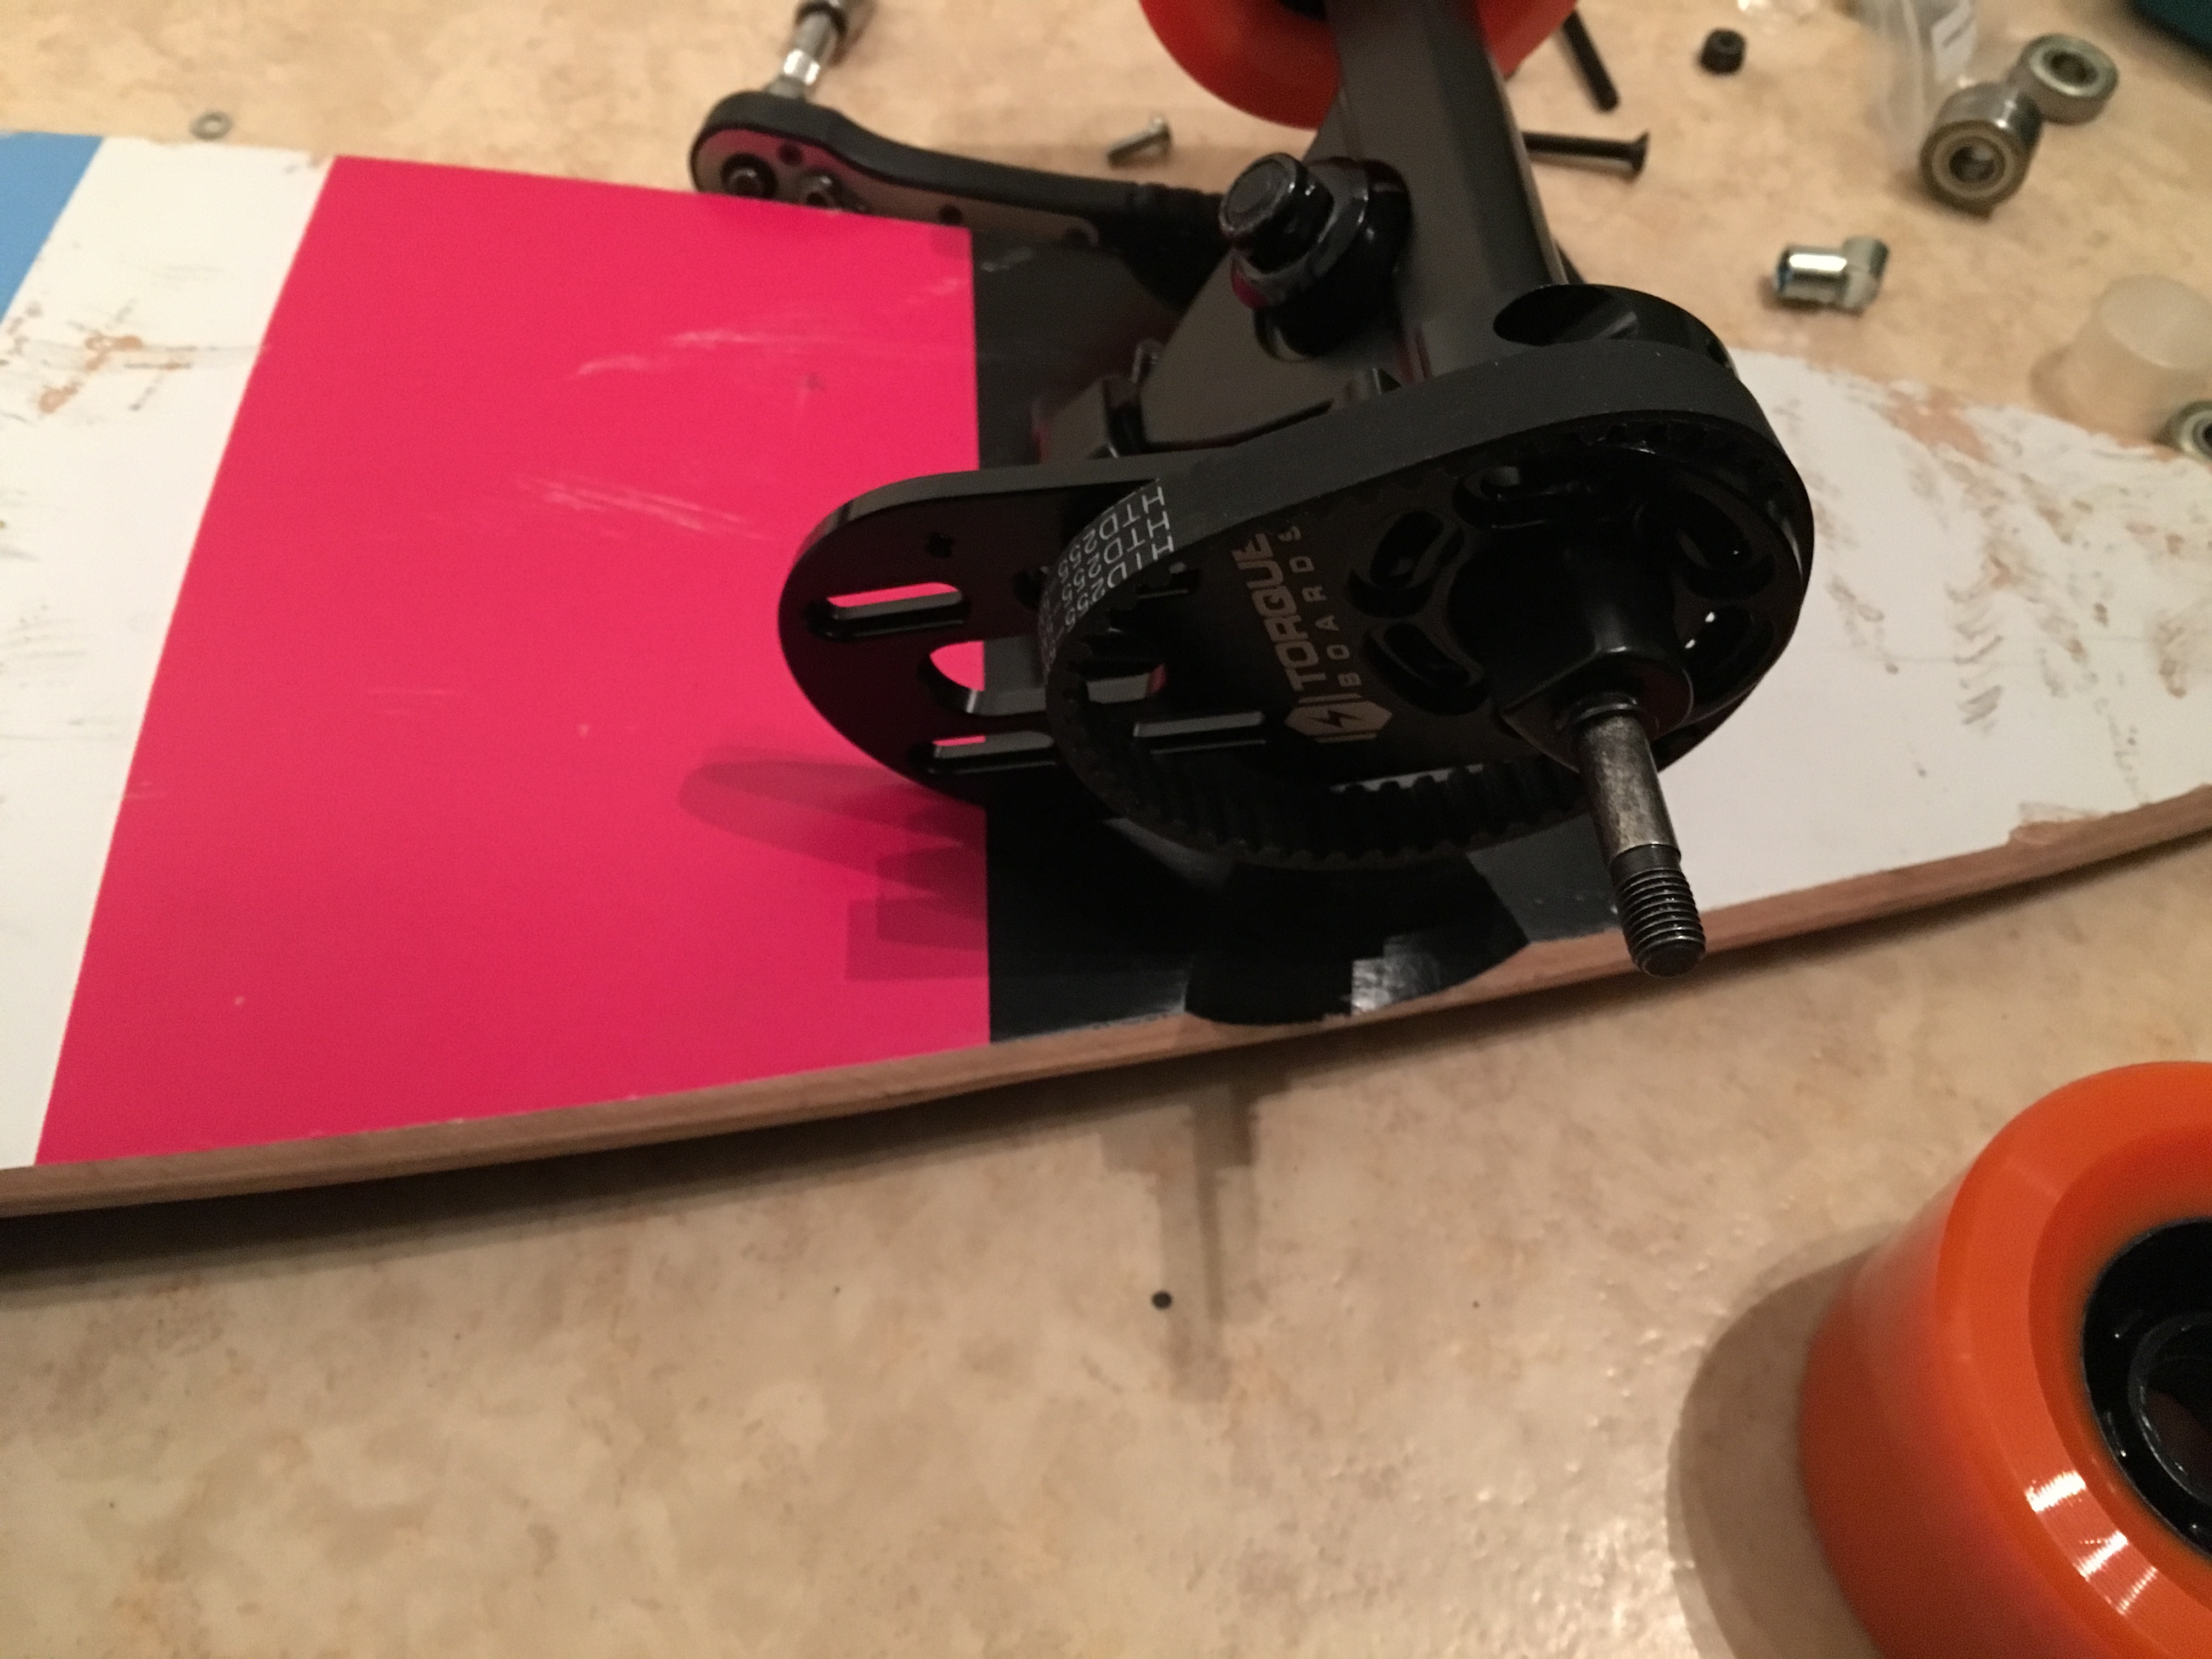


Also, when setting the angle of the motor, make sure there is room to turn the board without the motor touching the board.

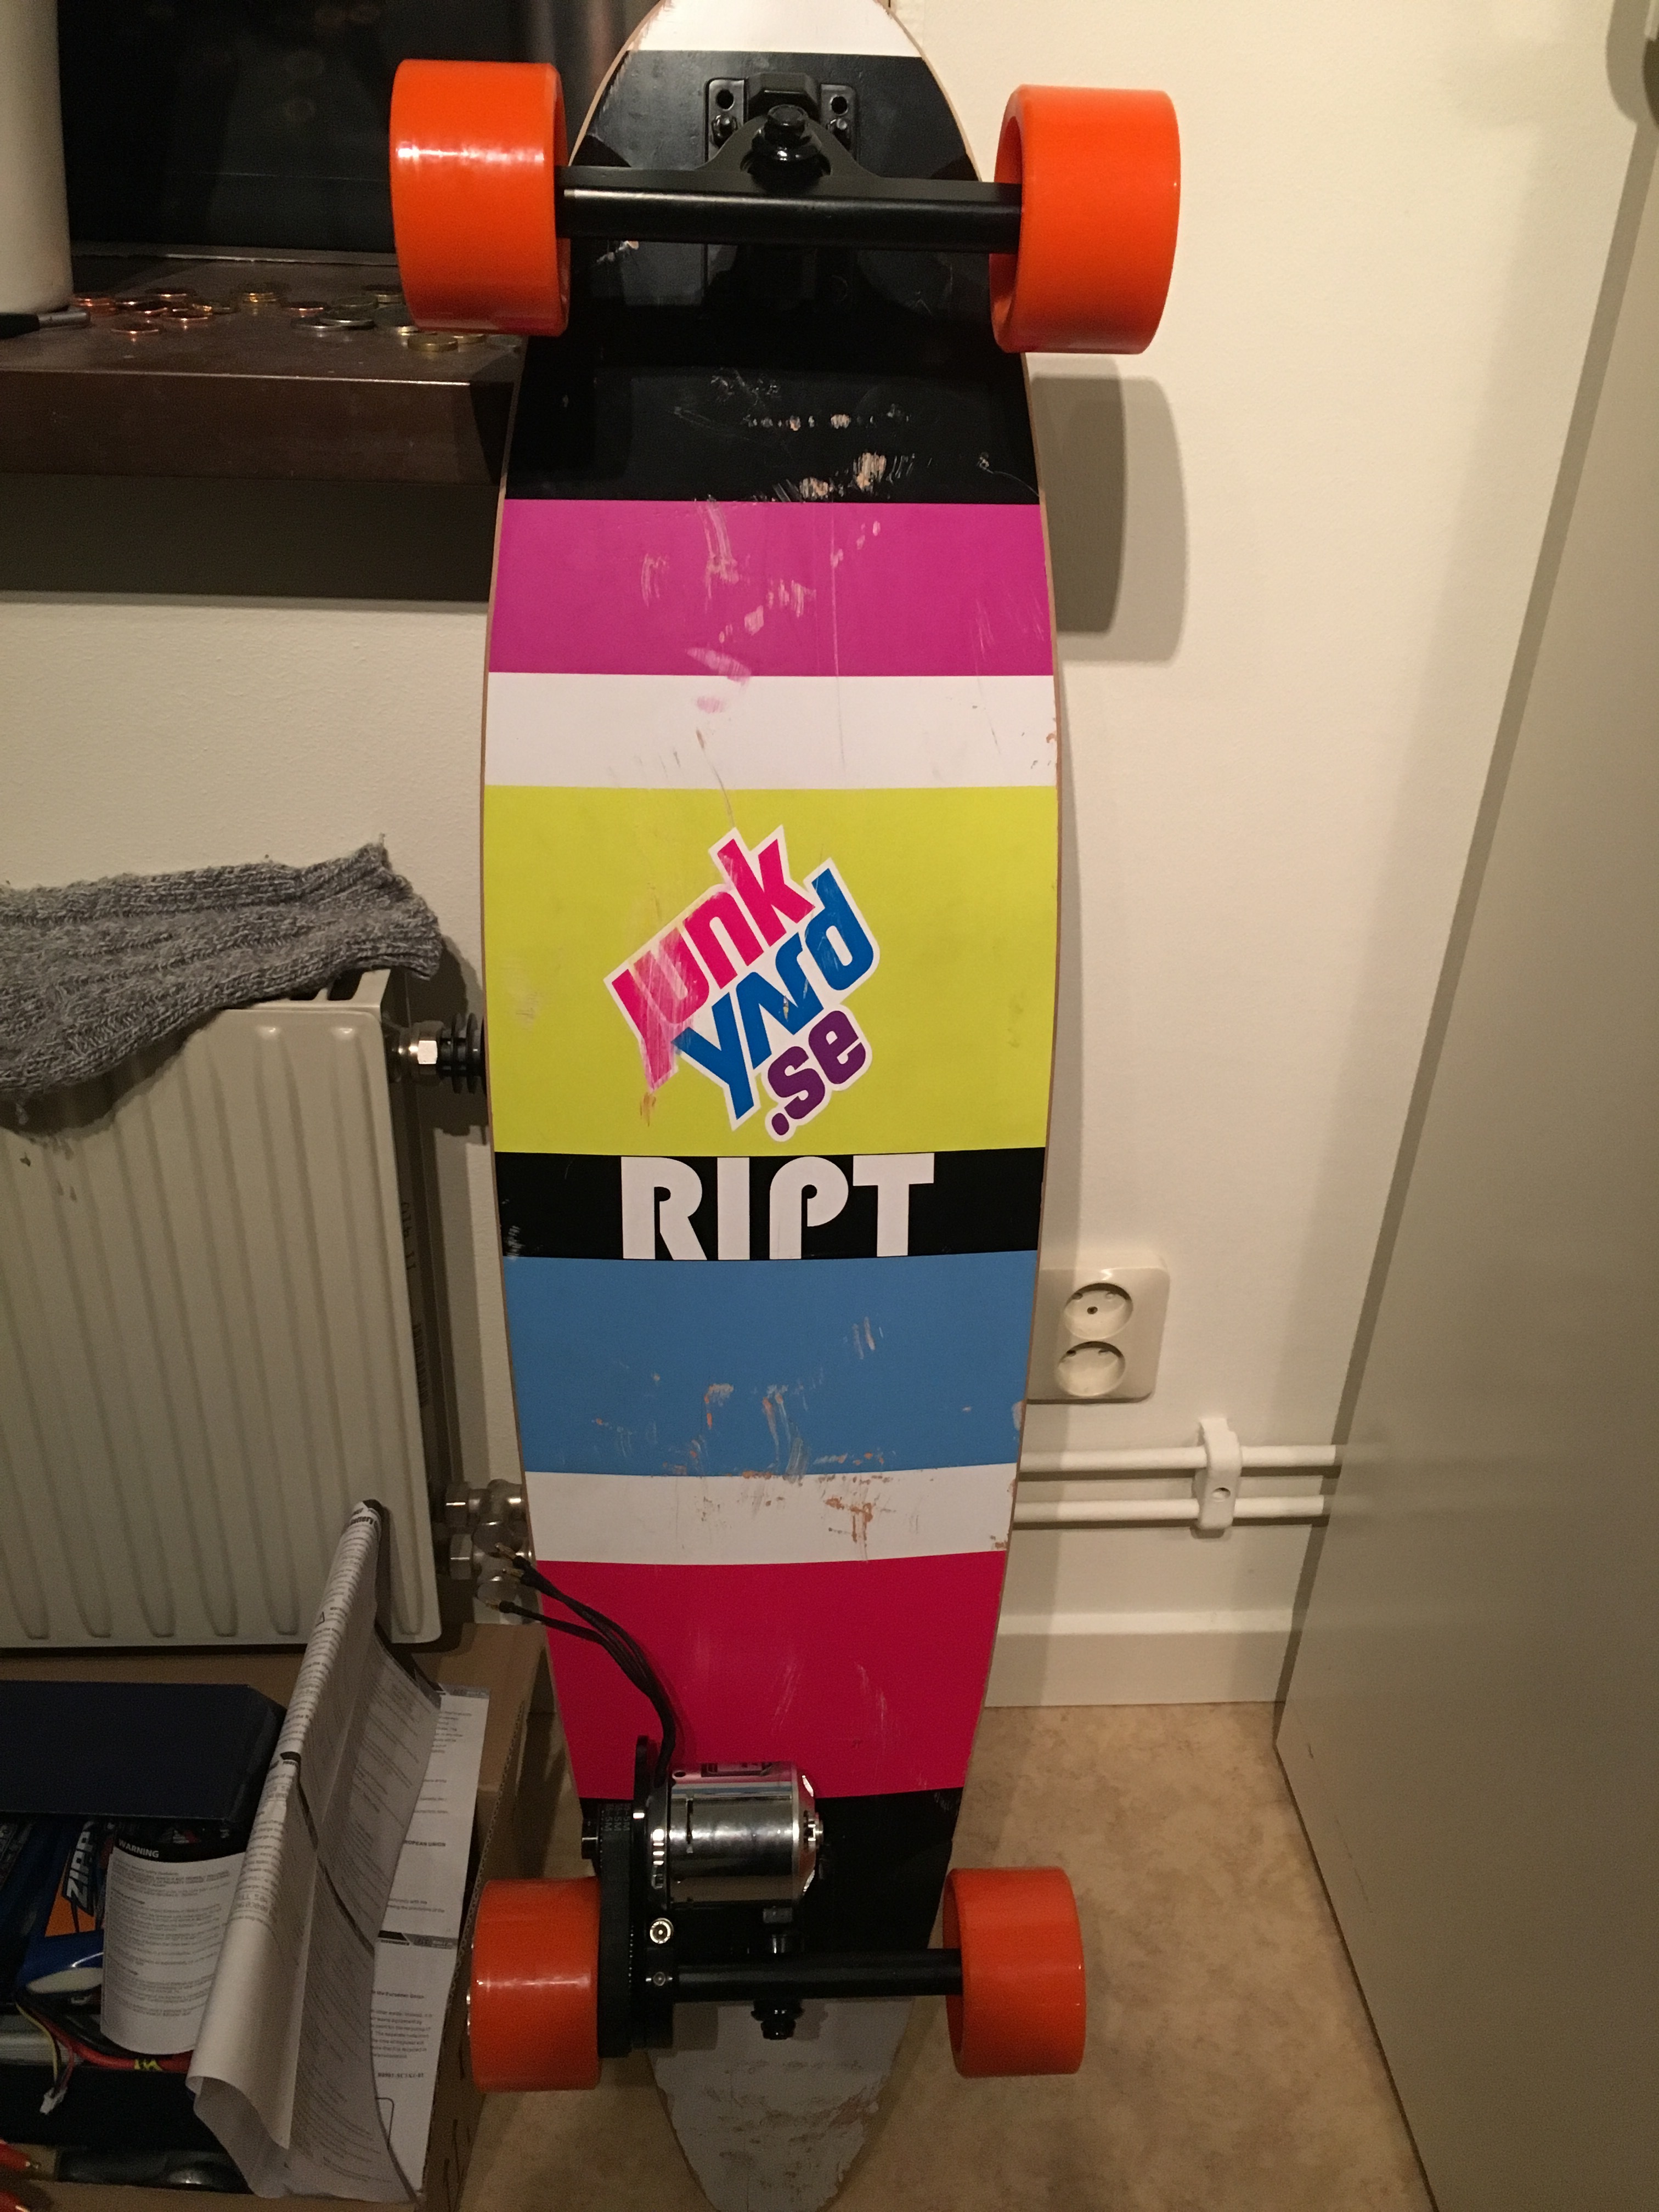
Complete deck and drivetrain

Next up is the electrical system and controller. The controller got stuck in transit so I haven’t received that yet. I’m also waiting for some XT60 connectors and a cable harness for connecting the two batteries in series. Will post more updates when I get the rest of the parts.
Cheers!