My contact is Lucy Li [email protected] the Bestech factory will be closed until Feb 6 in observance of the Chinese new year
Awesome, thank you sir.
Below is the spec sheet showing the adjustable values. When you order, you will need to specify the values you want for those. They are only adjustable at the factory. Lucy will send you a spec sheet with recommended settings and you will need to request the over discharge voltage set at the max 3.0v for use with Lipos. The maximum for over current detection current is 240a Apparently, this module can easily handle 80a continuously and up to 240a peak. It is probably the most robust BMS currently available to us.

1 Like
For a controller, I recommend this one. It’s every bit as dependable as the gt2b and is very compact. the trigger action is precise and smooth. It runs on AA batteries. If you put AA lithiums in it, they will last for up to 1 year depending on how much you ride. I like the fact that i don’t have to keep charging it all the time or worry about the battery going down. And the steering knob is removable making it more compact. https://electric-skateboard.market/product/2-4ghz-mini-remote-receiver/
1 Like
I’ll second this remote pick. I bought enertion’s new nano-x, and in comparison I find the finger trigger way more controllable than thumb, especially with my wrist guards… nevermind the connection issues of the nano-x.
Good to hear it works well, Ill probably pick up one of those too. I was looking at the nano x controller after realizing that the gt2b with a case mod is just as expensive, but I the feedback on the nano x on the forum seems mixed.
@Namasaki I got my batteries in the mail! They have a sticker on them that says to charge them back to storage charge asap. Since the bms is not going to be here for a while do I need to get a lipo charger to make sure the batteries aren’t harmed?
I wouldn’t be surprised if we got the Bms’s in a week or week and a half. Bestech is fairly quick on delivery. And this is my 3rd order with the same sales rep. and she has been very good to work with. I sent her a couple emails this evening and she answered them within minutes. I’ll let you know as soon as they arrive. As for the batteries, did you check them with a volt meter? HK doesn’t usually send batteries with full charge. 3.7-3.8v per cell is good for storage voltage. It is a good idea to have a hobby charger though. You want all the cells to be the same within 1 or 2 tenths of a volt when you connect them to the bms. Because if any of the cells is way off then the bms will not be able to balance them. I experience this once when one of my packs got a loose power wire and I had to replace it with a new pack. the new pack was at storage voltage while the rest where around 4.0v and the bms would not fully charge. I had to hook my hobby charger up the the new pack and charge it up by itself.
1 Like
Here is the final spec sheet for the Bms’s Lucy said the operating temp was wrong on the other sheet and she made the correction. so it will be 0-85c

well, I have my controller and a pulley kit coming from https://electric-skateboard.market/
I am trying to figure out the best layout right now since my board is on the shorter side. I think the bms should fit length wise right beside the vesc since its about 3x5 inches. It will be a little tight with the other boards like the remote receiver but it should all fit!
Next thing to figure out is the wiring. Looks I’m going to have to get a bunch of connectors. Not sure what kind is best. The vesc has 5.5 bullet connectors going to the motor and a XT60 connector. So I think I will just need a female XT60 and a few more bullet connectors also something to split the wire where it goes to the bms.

1 Like
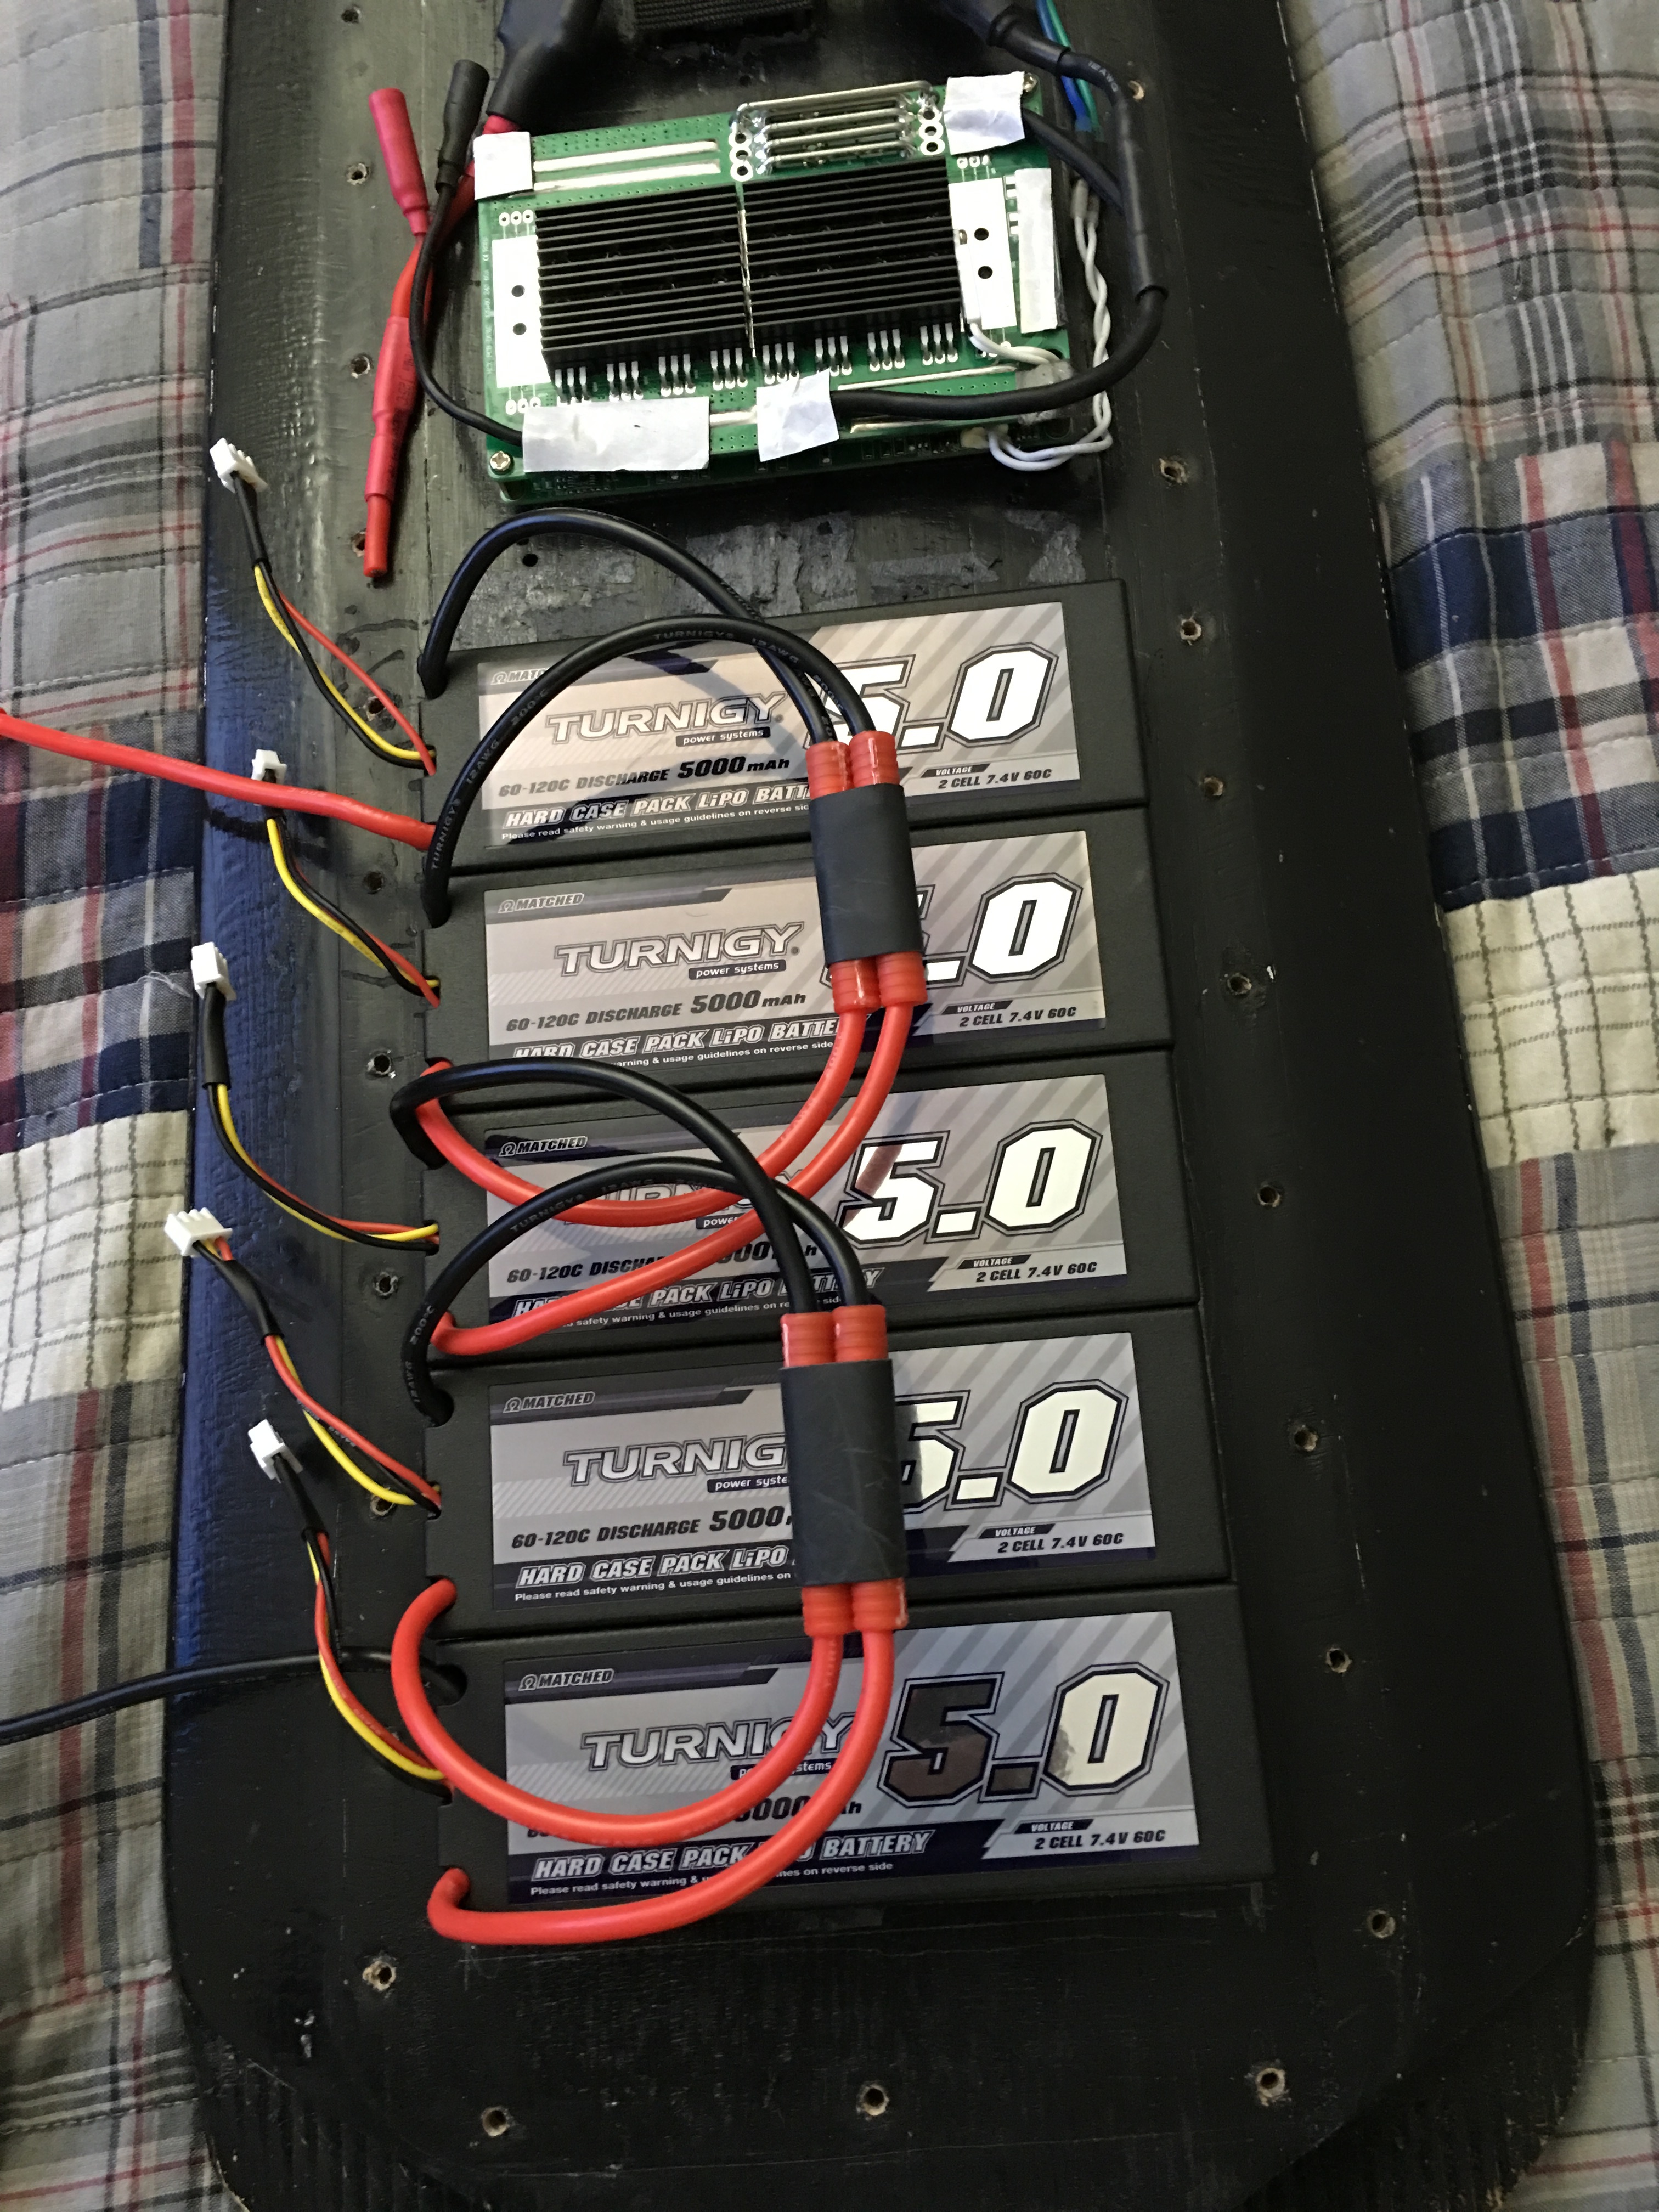
I used double stick servo tape to attach the batteries to the deck. Racers Edge 1502 Wide Servo Tape, 1 1/2" https://www.amazon.com/dp/B003U1NWJM/ref=cm_sw_r_cp_api_Ae8NybN47F7P3


Well I tried real hard to get all of the soldering done today but I was too slow. On the bright side my dad told me to get some flux which made it way easier. Just need to solder the jst connectors to the bms balance port wires.
I’m tempted to add bullet connectors to make it easier to disconnect the whole battery pack. Almost started to put them in between each battery but I decided that was overkill. Its probably pretty rare that they get unbalanced right?
Also noticed that in the picture above you don’t have the charge port connected. Did you just splice it in where the wires branch off to the VESCs ?
The pos wire from the charge port splices into the pos wire from the battery. The neg wire from the charge port goes to the C- solder pad on the BMS. Take your time especially when connecting the balance wires. If you get the cell order wrong, it might fry the circuit. Double and triple check.

It might be too late, but don’t need to solder your battery cables to put them in series. Just modify the HXT connector by carefully cutting the thin plastic between the two leads. The HXT then becomes a male/female 4mm bullet connector with protective housing. You can directly connect the positive of battery 1 into the negative of battery 2, and so on. Very little bulk
1 Like
I tried that option and it was more bulky and didn’t leave a clear space for the balance wires. When using a low profile enclosure every mm counts. Besides, less connectors=less resistance.

2 Likes
Speaking of enclosures, I think there are people on here that make custom ones. Any suggestions?
