@ndwallick you can use thin double sided tape and pvc sheet to waterproof that enclosure


Awesome! and nope I’ve only made that one enclosure
how many degrees celsius and time you need to mold the kydex with the heat gun?
I put it on a sheet of cardboard In a convection oven and set it to 330 farenheight (166 Celsius). It was probobly in there for 10 minutes. I just kept feeling it with gloves to see how flexible it got then took it out when it was soft enough.
Then after molding it I used a heat gun to finish off the corners. I had to use the low setting on it cause the high setting makes the surface too hot and messes up the texture.
I just heated a certain area (keep the heat Hun moving a bit) then held it onto position with some cardboard while it cooled.
Good luck!
I can confirm that a yoga mat works very well as a watertight seal. I put this piece of one between my enclosure and deck, filled the enclosure with water before I bolted it on, shook it around and no water comes out at all! If water can’t get out then it can’t get in. I just have to cut the mat to the right shape now.
’

If anyone’s gonna do this I suggest a thin yoga mat with not a lot of texture on it.
10 Likes
just got everything squeezed into the battery enclosure, it’s a really tight fit. I am using parts of a yoga mat on all sides of the battery to hold it in place and to dampen vibrations. I used corrosion X on the BMS (its under the fuse, hard to see in the pic) just in case water gets in and I used Loctite marine adhesive sealant to seal the holes where the power wires and the charging port come out.

8 Likes
Looking good!
What kind of connectors are you using for charging?
I’m using xt60 connectors for charging. Here’s what the outside of the enclosure looks like:
I’m gonna make a cover for the charging port on the board to keep it from shorting out.
and here’s my charger: (I just bought it without a connector on it and soldered that one on)

3 Likes
Also shoutout to @chaka for letting me exchange my 170 kv motor with a 200 kv one! I just got it a couple days ago. Happy I went with his motor instead of a HK one.
How are you going to seal the XT60 on the outside of the case? I found some rubber covers on eBay but they doesn’t seems to be waterproof.
I’m gonna use a male xt6 connector with some hot glue over the places you normally solder to. Water may still be able to touch the terminals but it won’t get into the enclosure because of all the sealant I put on the inside around the connector.

It won’t be a super big deal if water shorts the terminals (as long as it’s not salt water) because water isn’t that conductive. Same reason you can spray a car engine down with a hose and the battery will be fine even though the connectors are exposed.
Water mainly causes problems with circuitboards that are very sensitive to being shorted just a little bit. But also I will put some Corrosion X on the terminals just to be safe.
1 Like
On the battery terminals, you have 42V.
The resistivity of the drinking ( not salt ) water is 2-200 Ohms at 20C ( according to Wikipedia ).
In the worst case, 42V/2R=21A which is not a big deal for our battery packs.
But 21A*42V=882W of energy wasted. How much heat is that? 
1 Like
Very good point, my batteries are actually ~33 volts so that’s about 16.5 amps if water bridges the terminals. Those terminals are connected the the BMS which I know has some kind of over current protection. But that still would be bad. I wouldn’t want my BMS to keep shutting them off and back on. Sooooo that’s what the Corrosion X is for ![]()

Also I’m sure the resistivity of water changes based on distance and the “thickness” of the water bridging the terminals. I wonder exactly how many ohms it will be in this situation.
I’m going to do a little experiment on this I’ll post it here when I’m done.
2 Likes
Alright i just did the experiment. Here’s what I did:
I took some spare lipos I had (22.2 volts total) and hooked them up to my multimeter in amp mode and a female xt60 connector. I then dipped the connector into tap water from my sink and checked the amperage. I sprayed Corrosion X on the female xt60 connector and I dipped it again.
results: without corrosion x: 0.015 amps with corrosion x: 0.003 amps
This is how many amps the water allows with the connector fully submerged, so I think it will be pretty safe on the bottom of my board with water just spraying on it. 
Amps will be a little higher on my 33 volt batteries but should be pretty close.
3 Likes
Thats interesting. That would mean the water has resistivity of around 1500Ohms. Anyway, good to hear it works fine to you.
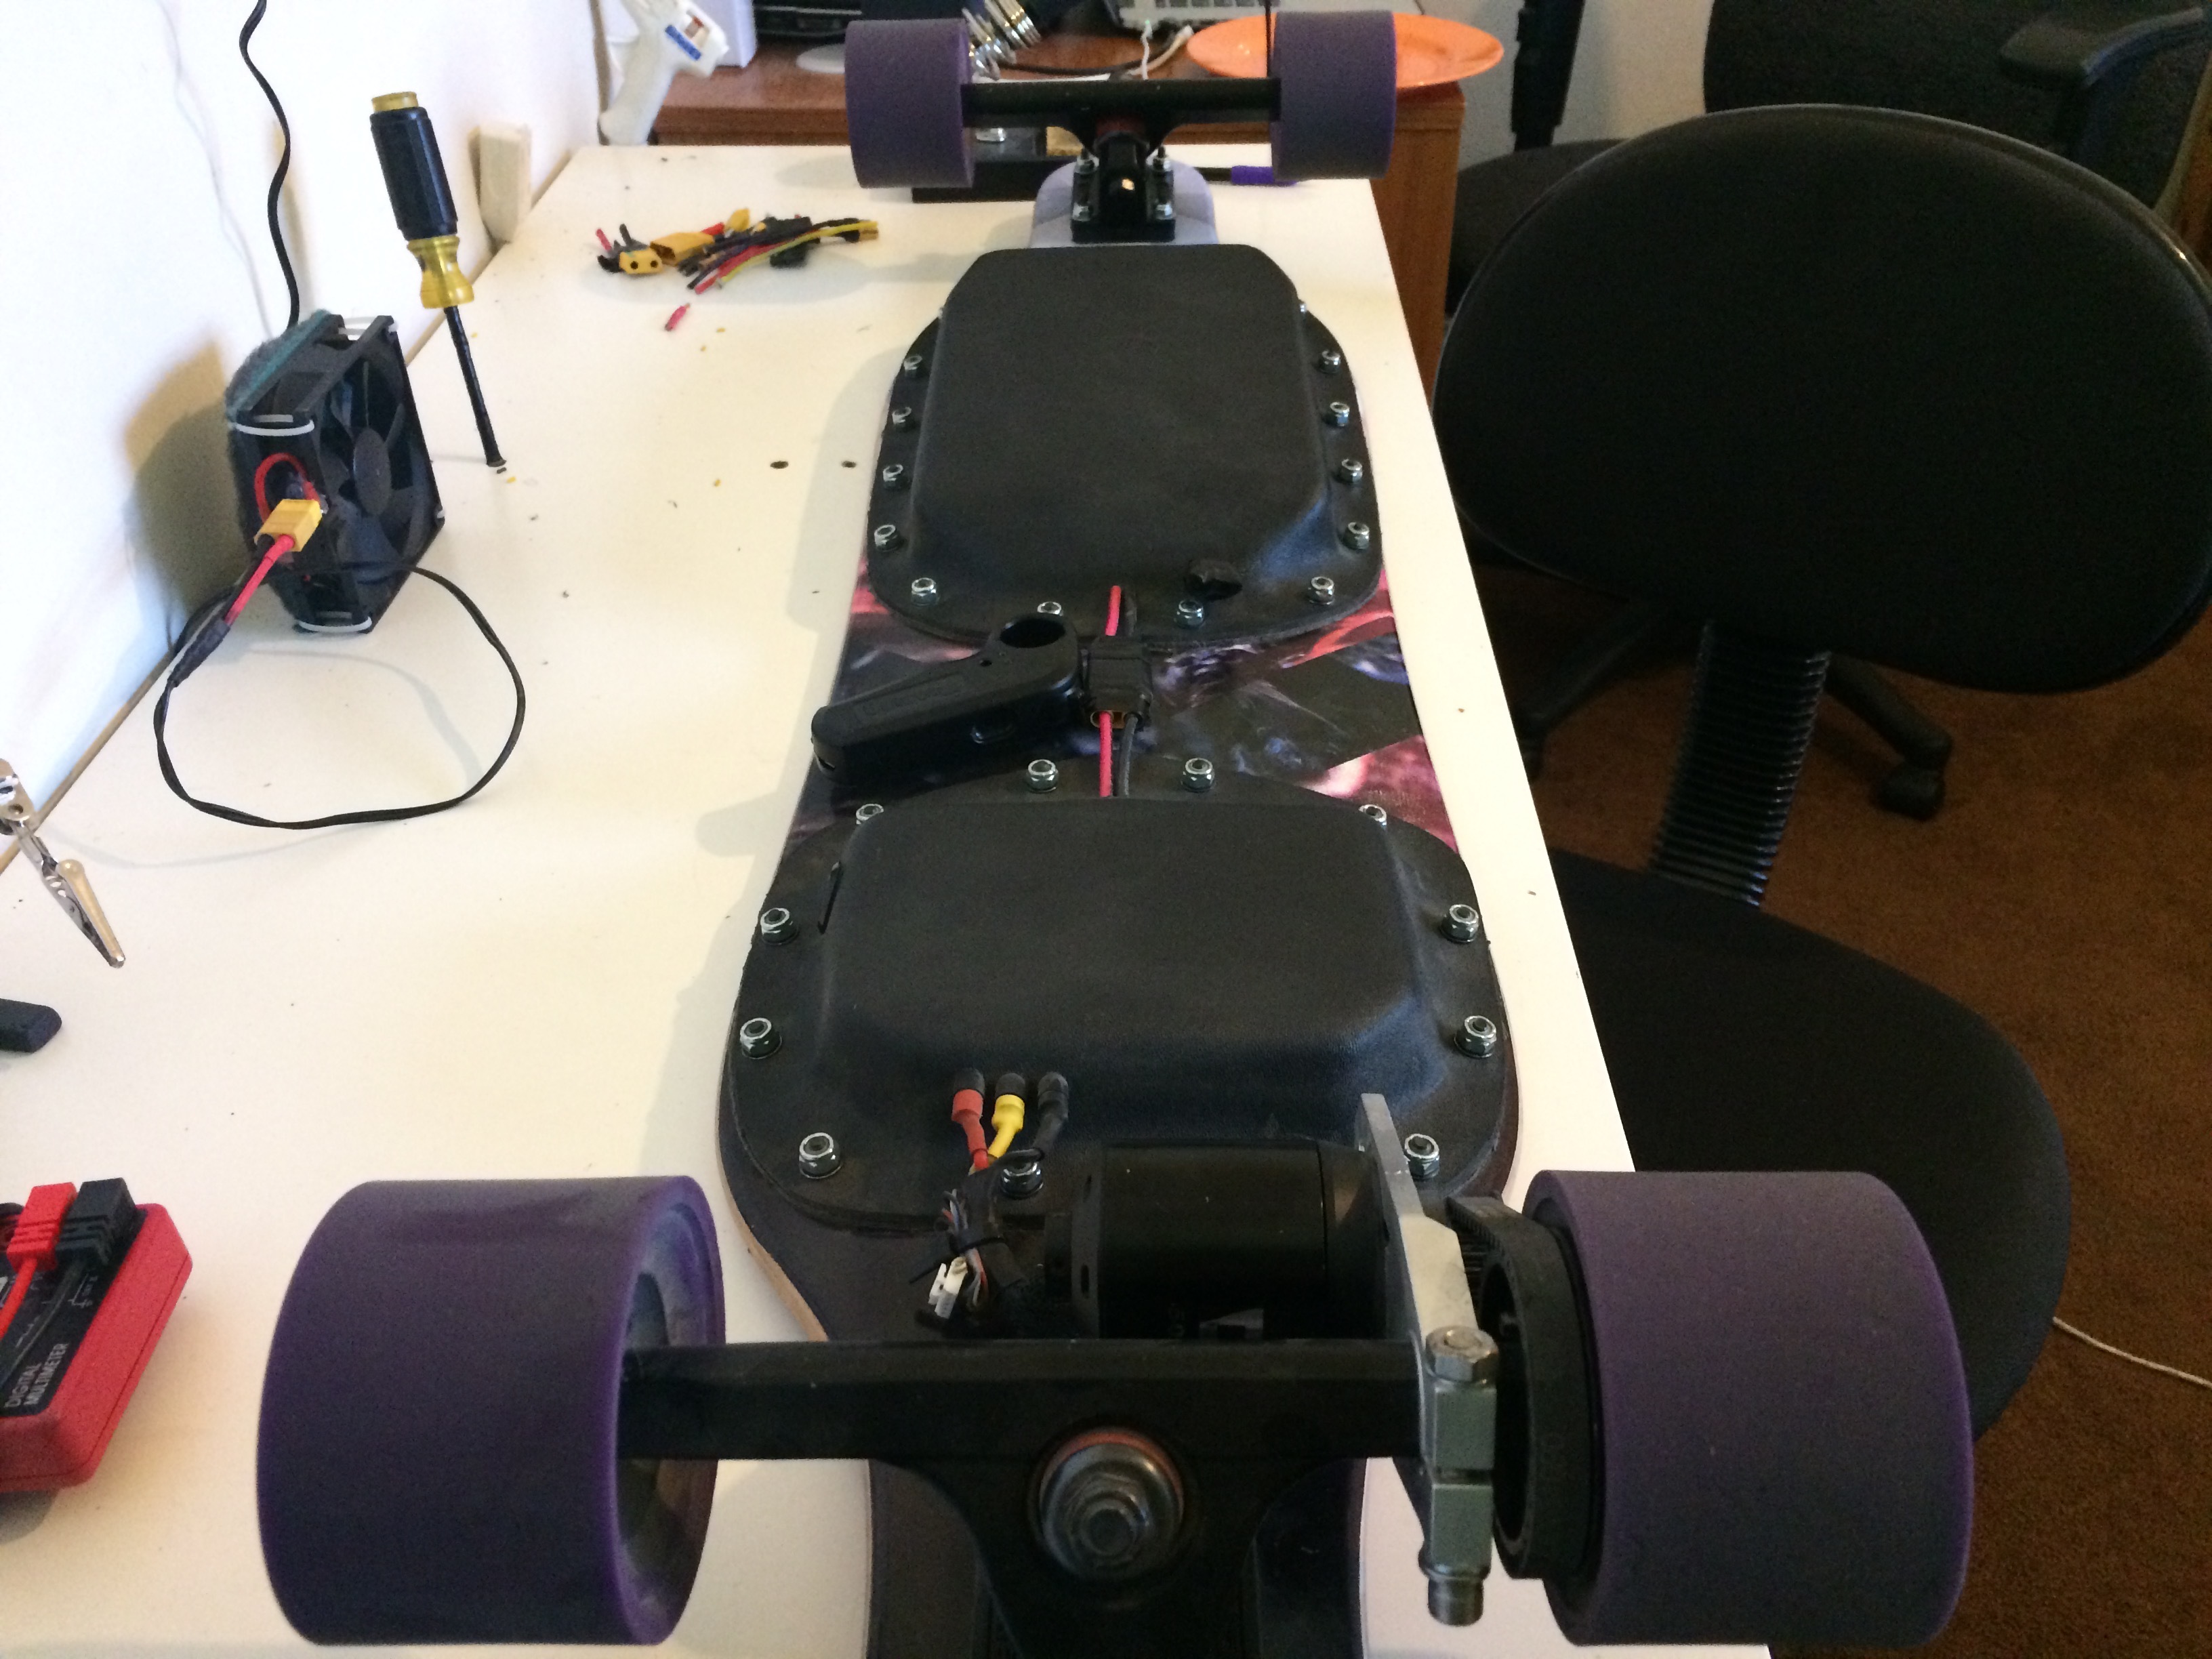
The second enclosure is done! This one was actually a lot harder to form because the kydex had to stretch and compress more because if the smaller size. But it still turned out pretty good.
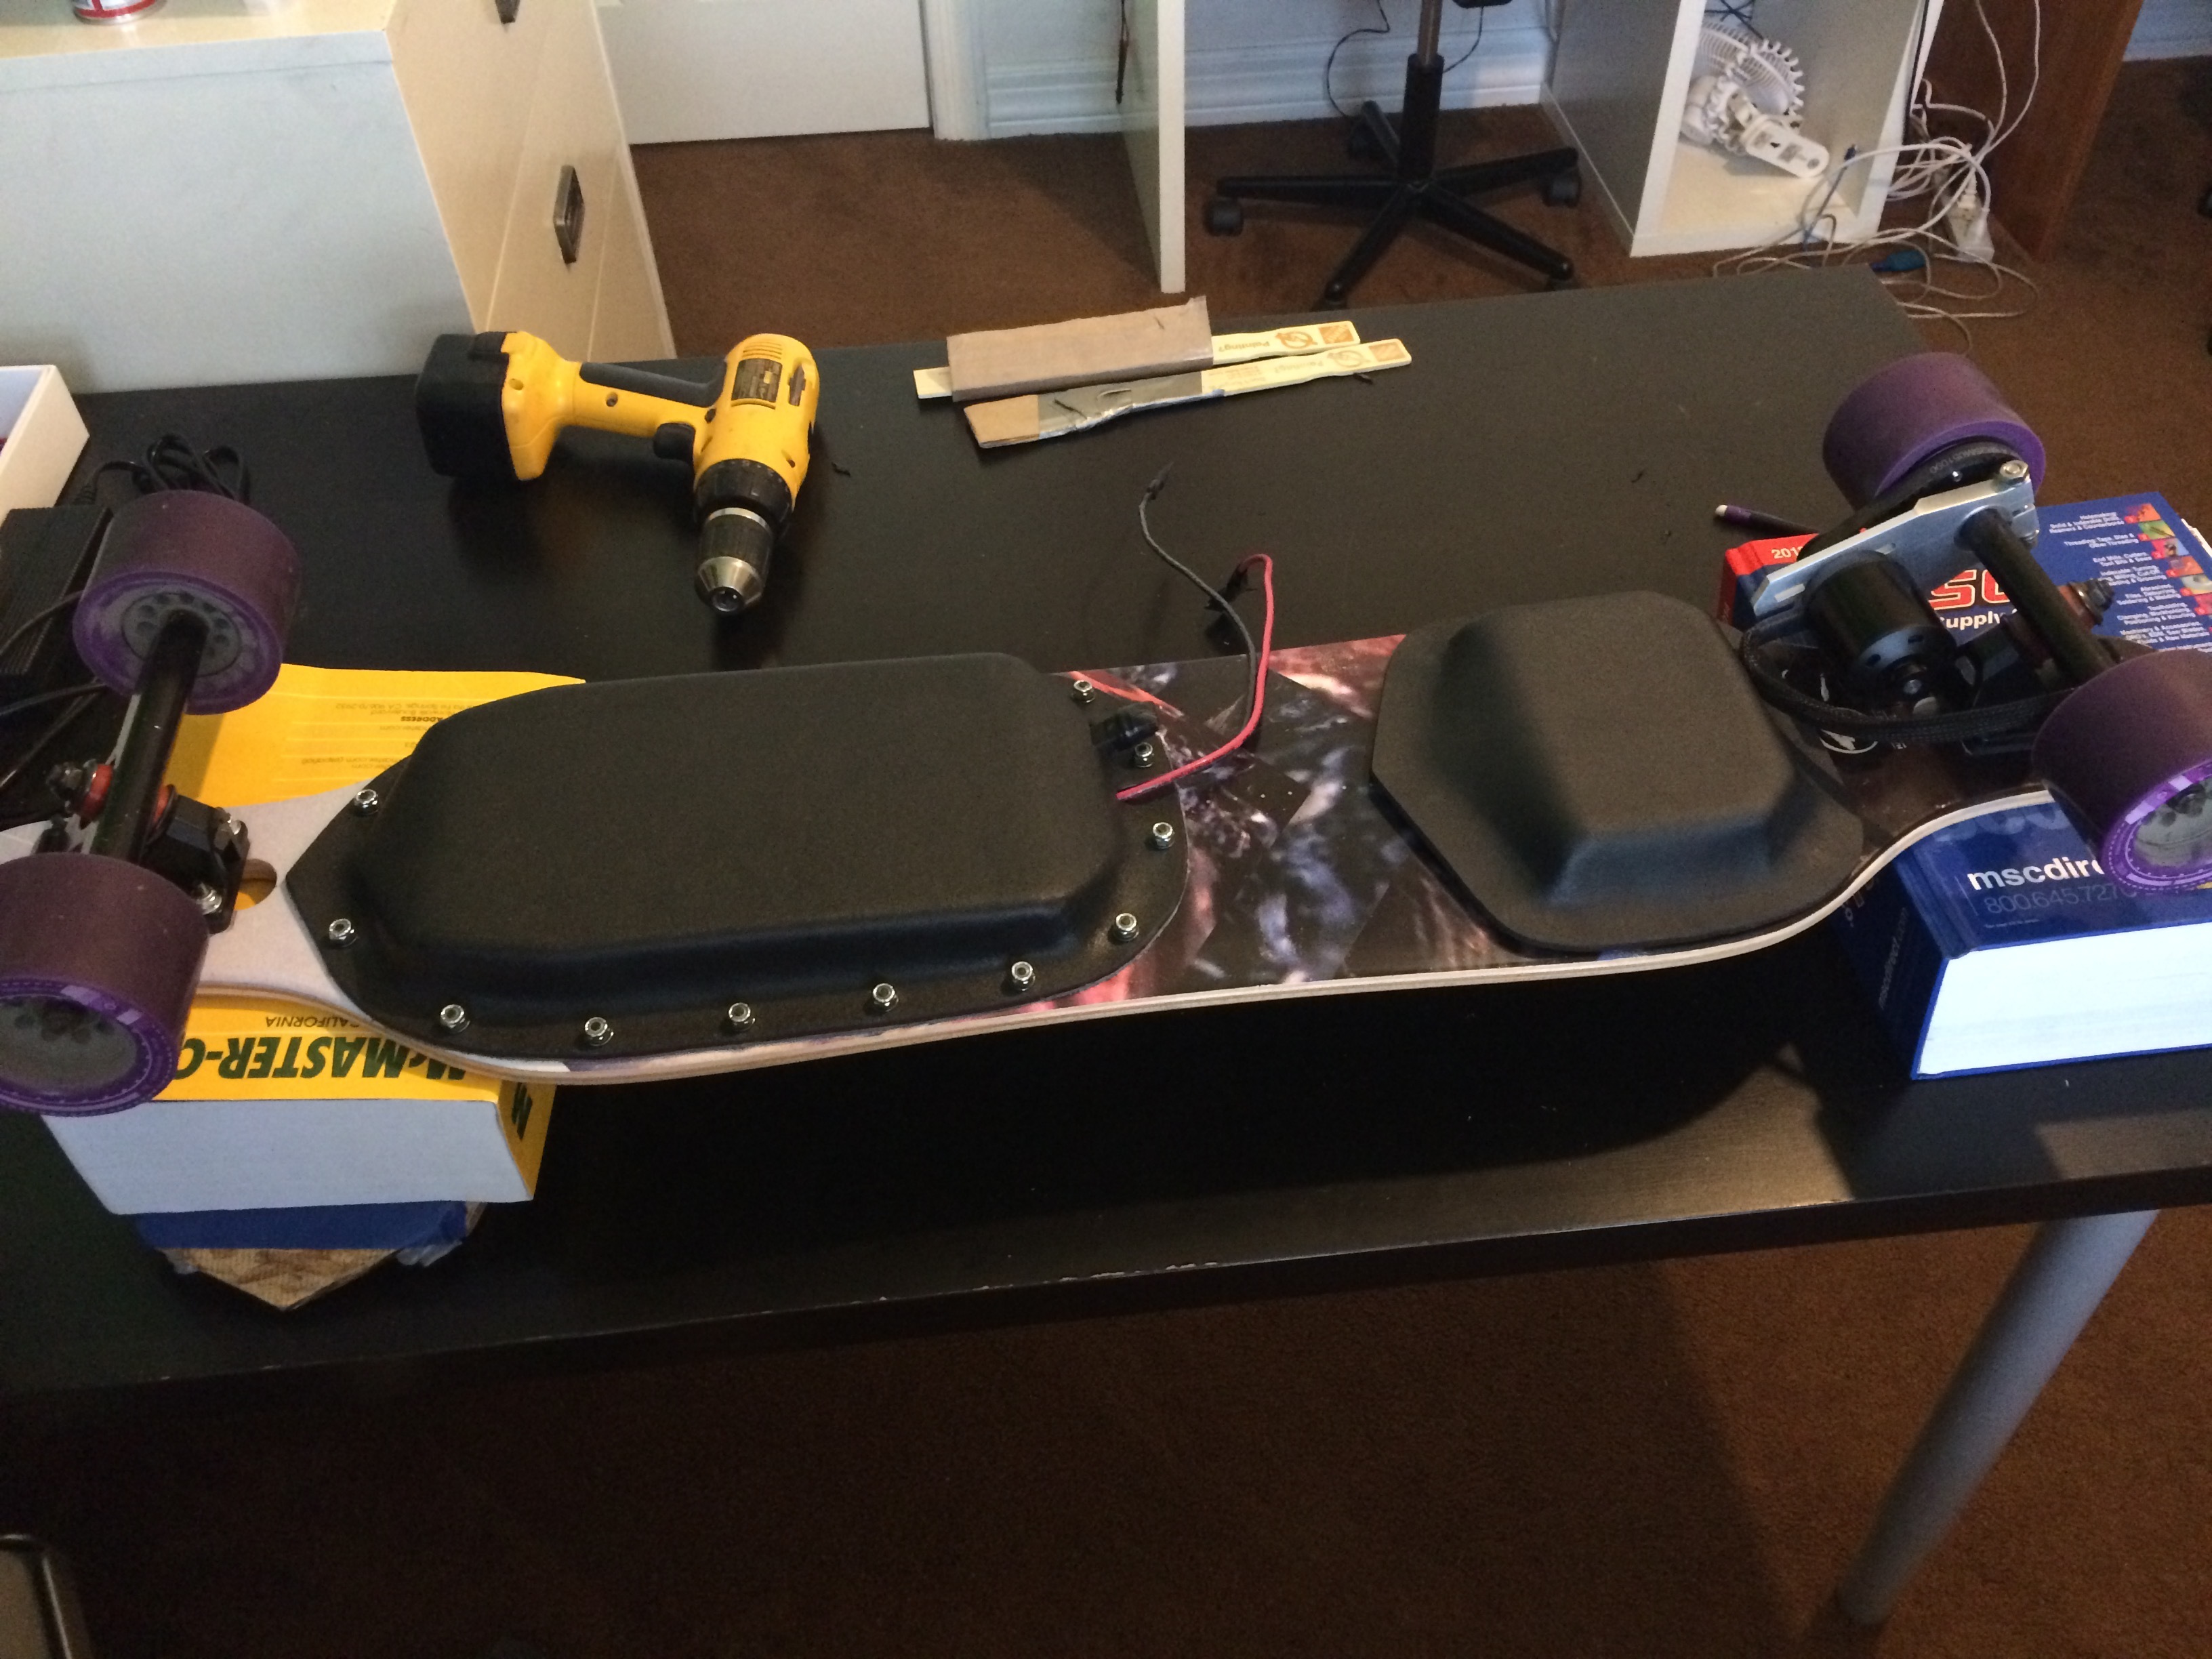
Got all the electronics in it and sealed all the holes with loctite marine epoxy. I also used a yoga mat again between the board and the deck.


And here’s the (mostly) completed board!


20 Likes
That looks sick with the LED light
1 Like
My board is officially complete!
Here are some pictures of it:


Here are the measured specs: top speed: 20 mph range: 11 miles (farther than I expected) charge time: about an hour (charging at 1C) weight: only 15 pounds
I meet all the goals I set for this build. It’s (most likely) completely waterproof. I’ve only rid it through puddles so far but it’s been doing fine. It’s easy to charge with the BMS. The batteries are a safe chemistry (LiFe) so they shouldn’t ever catch on fire. The ground clearance is great, and the winning remote is working pretty well for me (I’ve only had a few drop outs when I’m pulling lots of amps. I am gonna try more loops around the ferrite ring).
Also I haven’t posted anything about my Arduino battery meter here yet. I wanted an easy way to see how much battery life I had left so I made this:
This circuitboard has @JdogAwesome’s mosfet switch and an arduino that I’ve programmed to read the battery voltage and display it on 5 LEDs on the outside of the board.
I’ve found that just reading voltage isn’t the best way to monitor LiFe batteries because their voltage goes up and down a lot depending on load but it works good enough.
I’d like to thank all these people for making this board possible:  @JdogAwesome for the mosfet switch
@torqueboards for the wheel pulley kit
@chaka for the vesc and motor
Benjamin Vedder for designing the vesc
@stealth71 for the kydex enclosure idea
@onloop for making this forum possible
and everyone else here for posting their builds and ideas.
@JdogAwesome for the mosfet switch
@torqueboards for the wheel pulley kit
@chaka for the vesc and motor
Benjamin Vedder for designing the vesc
@stealth71 for the kydex enclosure idea
@onloop for making this forum possible
and everyone else here for posting their builds and ideas.
Some things I still want to add in the future: a headlight for seeing the road better at night a handle change from 9mm to a wider belt a gps tracker (any ideas for this?)
8 Likes