Nice grooves, but I’ll have to say these are terrible in riding through water even though the purpose of putting groves is giving water a way to move through urethane. Putting groves are terrible because it kicks up so much water while riding on wet pavement.
To be honest I’ve never done it myself, only seen other longboarders do it. They did not report water kicking up but they may not have been looking out for it or been too worried about it with non electric boards

Found that video of some commercial wheels with grooves, they dont seem too bad
Alright so I finally got a chance to attach everything temporarily and ride it for the first time.

The only problem is it only goes 17 mph. My last board I calculated to go 20 mph and it went 18 mph, so I assumed that since I calculated this one to go 22 mph it would go about 20. But it went 17.
I just recently found out that LiFe batteries have a voltage sag when under load so I hooked my multimeter up to the batteries and rode at full speed. The voltage dropped from 33.4 volts to 32 volts. So that must not be the only reason it goes so much slower that calculated.
How big is everyone else’s difference from calculated speed and actual speed?
Anyway to fix this problem I will probably have to increase my motor kv to 200. This will give me a calculated speed of 25.7 mph so it should really go 19 to 20. (then if I want a little more speed I can up the gear ratio (it’s already pretty high at 15:36))
Hey @chaka can I send you my OM5065 170 kv motor and exchange it with a 200 kv one? I barely used it, it still looks brand new.
I also just got the Kydex I ordered and I will soon start making an enclosure.
Yeah, go ahead and send it back. I can use it on a campus cruiser prototype. The VESC runs at 95% max so you need to calculate for that when running numbers.
I just finished the forming part of my kydex enclosure using @stealth71 s method here. It turned out great . I used the 1/8 inch kydex which is the thickest I could find and it was very difficult to form but it’s extremely strong.
First I made this wood piece to simulate the shape of my batteries:
I glued it to the deck and laid the hot kydex over it and clamped it with foam for about 15 minutes. The corners weren’t very well defined at all at this point: Then after a lot of using the heat gun and pushing the corners in with a paint stick, then lots of sanding, I got this:


This was pretty much an all day job with how hard the 1/8 inch kydex is to form, but it’s well worth the extra strength for me. Next I just have to drill some holes and find the right hardware.
17 Likes
Nice work!!
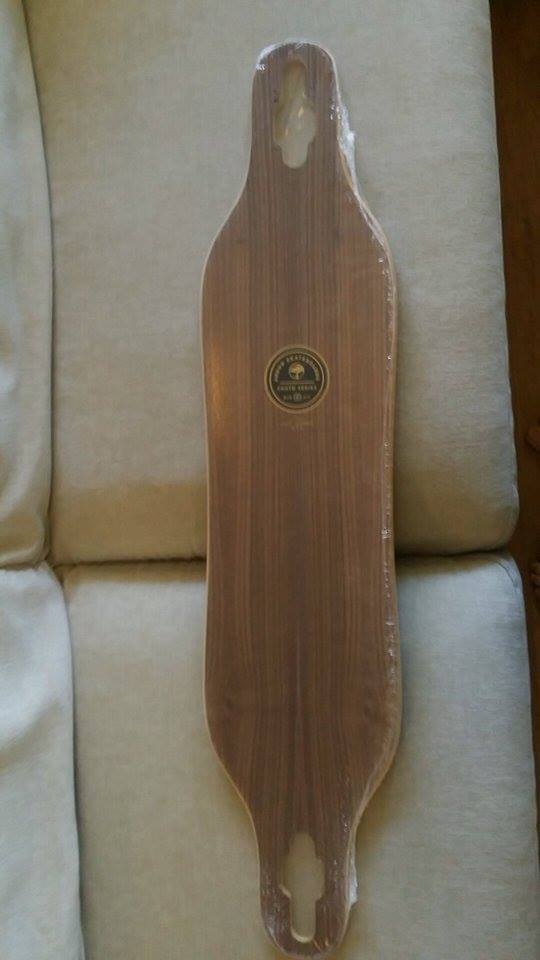
Am waiting on this deck from the nile myself ! The walnut looks awesome
2 Likes
Finally got the hardware in. I countersunk all the bolts to be flat with the top of the board and it looks super clean


@stealth71 thanks! @Jebe good choice it’s a nice deck
9 Likes
nice work on that kydex 
2 Likes
why so many bolts? The enclosure looks great.
3 Likes
haha I knew somebody was gonna ask that, for watertightness. I’m gonna put some kind of rubber sheet between the kydex and the board and I just wanted to make sure the entire perimeter is tight against the rubber.
 got a spare enclosure handy ?

Awesome! and nope I’ve only made that one enclosure
how many degrees celsius and time you need to mold the kydex with the heat gun?
I put it on a sheet of cardboard In a convection oven and set it to 330 farenheight (166 Celsius). It was probobly in there for 10 minutes. I just kept feeling it with gloves to see how flexible it got then took it out when it was soft enough.
Then after molding it I used a heat gun to finish off the corners. I had to use the low setting on it cause the high setting makes the surface too hot and messes up the texture.
I just heated a certain area (keep the heat Hun moving a bit) then held it onto position with some cardboard while it cooled.
Good luck!
I can confirm that a yoga mat works very well as a watertight seal. I put this piece of one between my enclosure and deck, filled the enclosure with water before I bolted it on, shook it around and no water comes out at all! If water can’t get out then it can’t get in. I just have to cut the mat to the right shape now.
’

If anyone’s gonna do this I suggest a thin yoga mat with not a lot of texture on it.
10 Likes
just got everything squeezed into the battery enclosure, it’s a really tight fit. I am using parts of a yoga mat on all sides of the battery to hold it in place and to dampen vibrations. I used corrosion X on the BMS (its under the fuse, hard to see in the pic) just in case water gets in and I used Loctite marine adhesive sealant to seal the holes where the power wires and the charging port come out.

8 Likes
Looking good!