BIEDA Board | 15ply Vertigo Trampa Urban Carver | Roadside Trampa Carbon Enclosure | Dual Trampa 136KV Motor | Trampa Motor Mount | Dual Enertion VESC-X | 12S4P Li-ion with 60A BMS | 2.4Ghz Remote

Here’s my take on it… Roughly based on Frank’s take on it
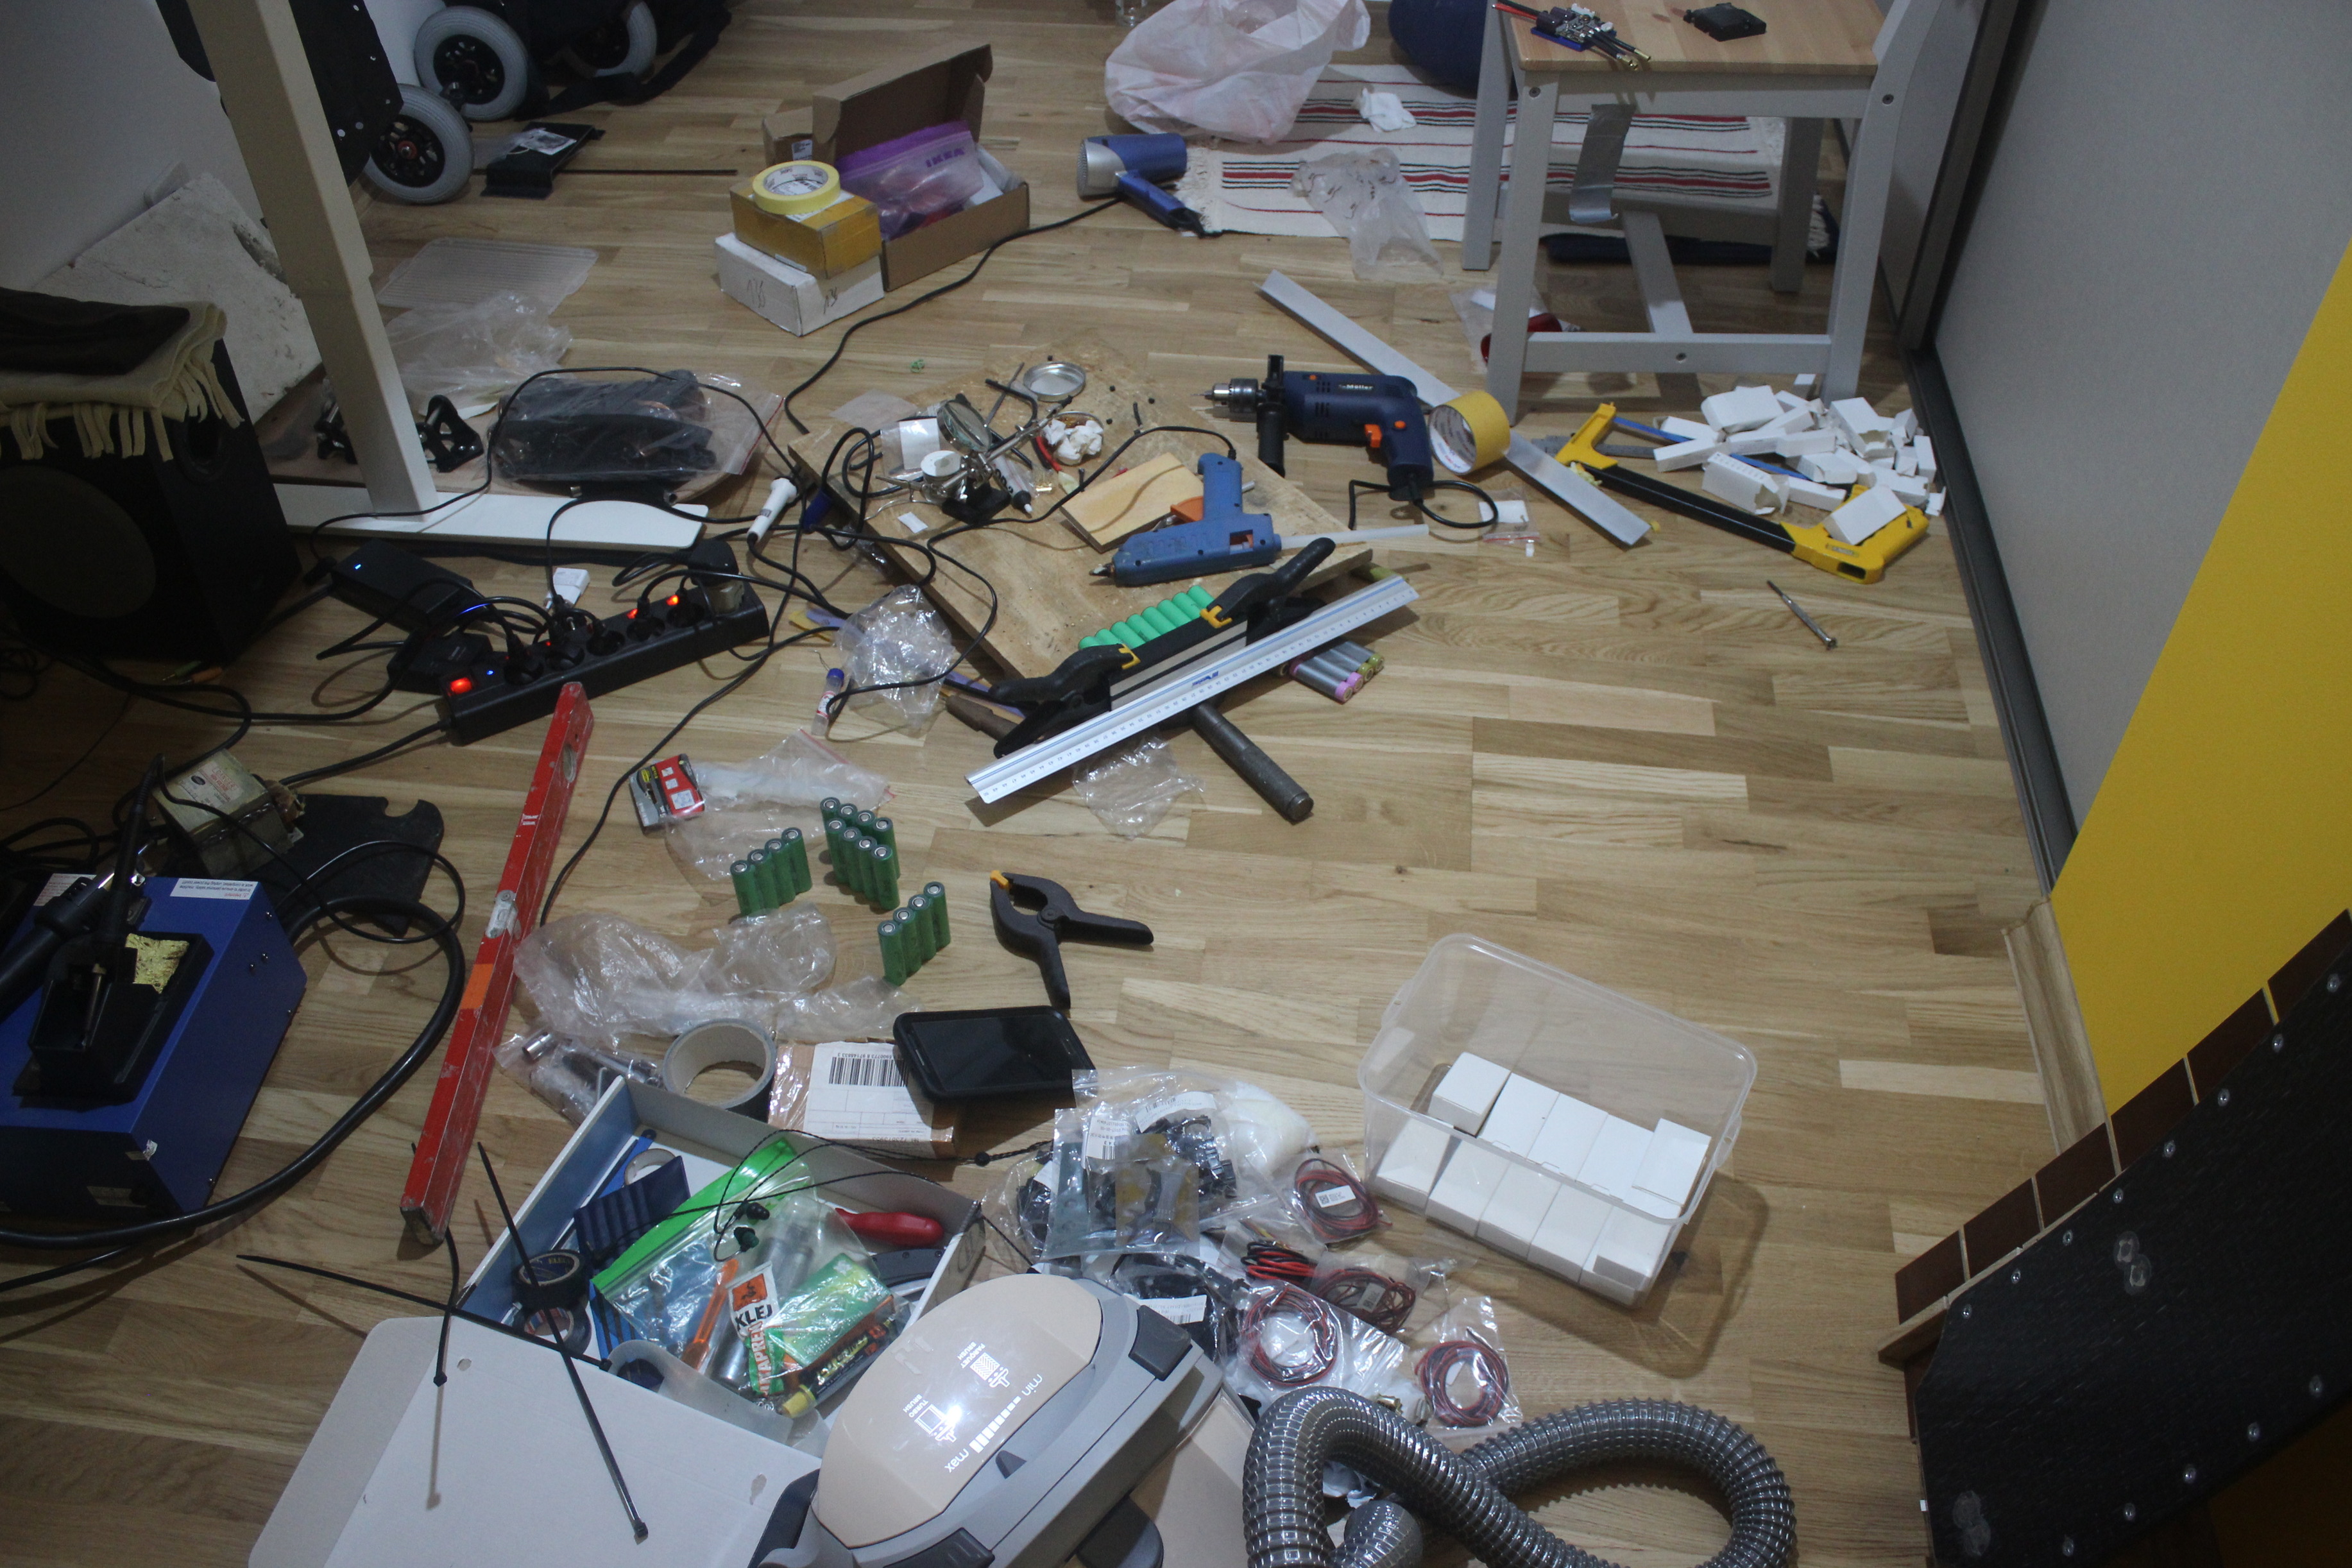
 :wink:

Messy beginnings.

I know that @trampa justified the whiteness of the motors as to make them more eye popping in relation to their quality and in comparison with others, but… screw taht :stuck_out_tongue: Ima want dem black :wink:

Mesh sealing.

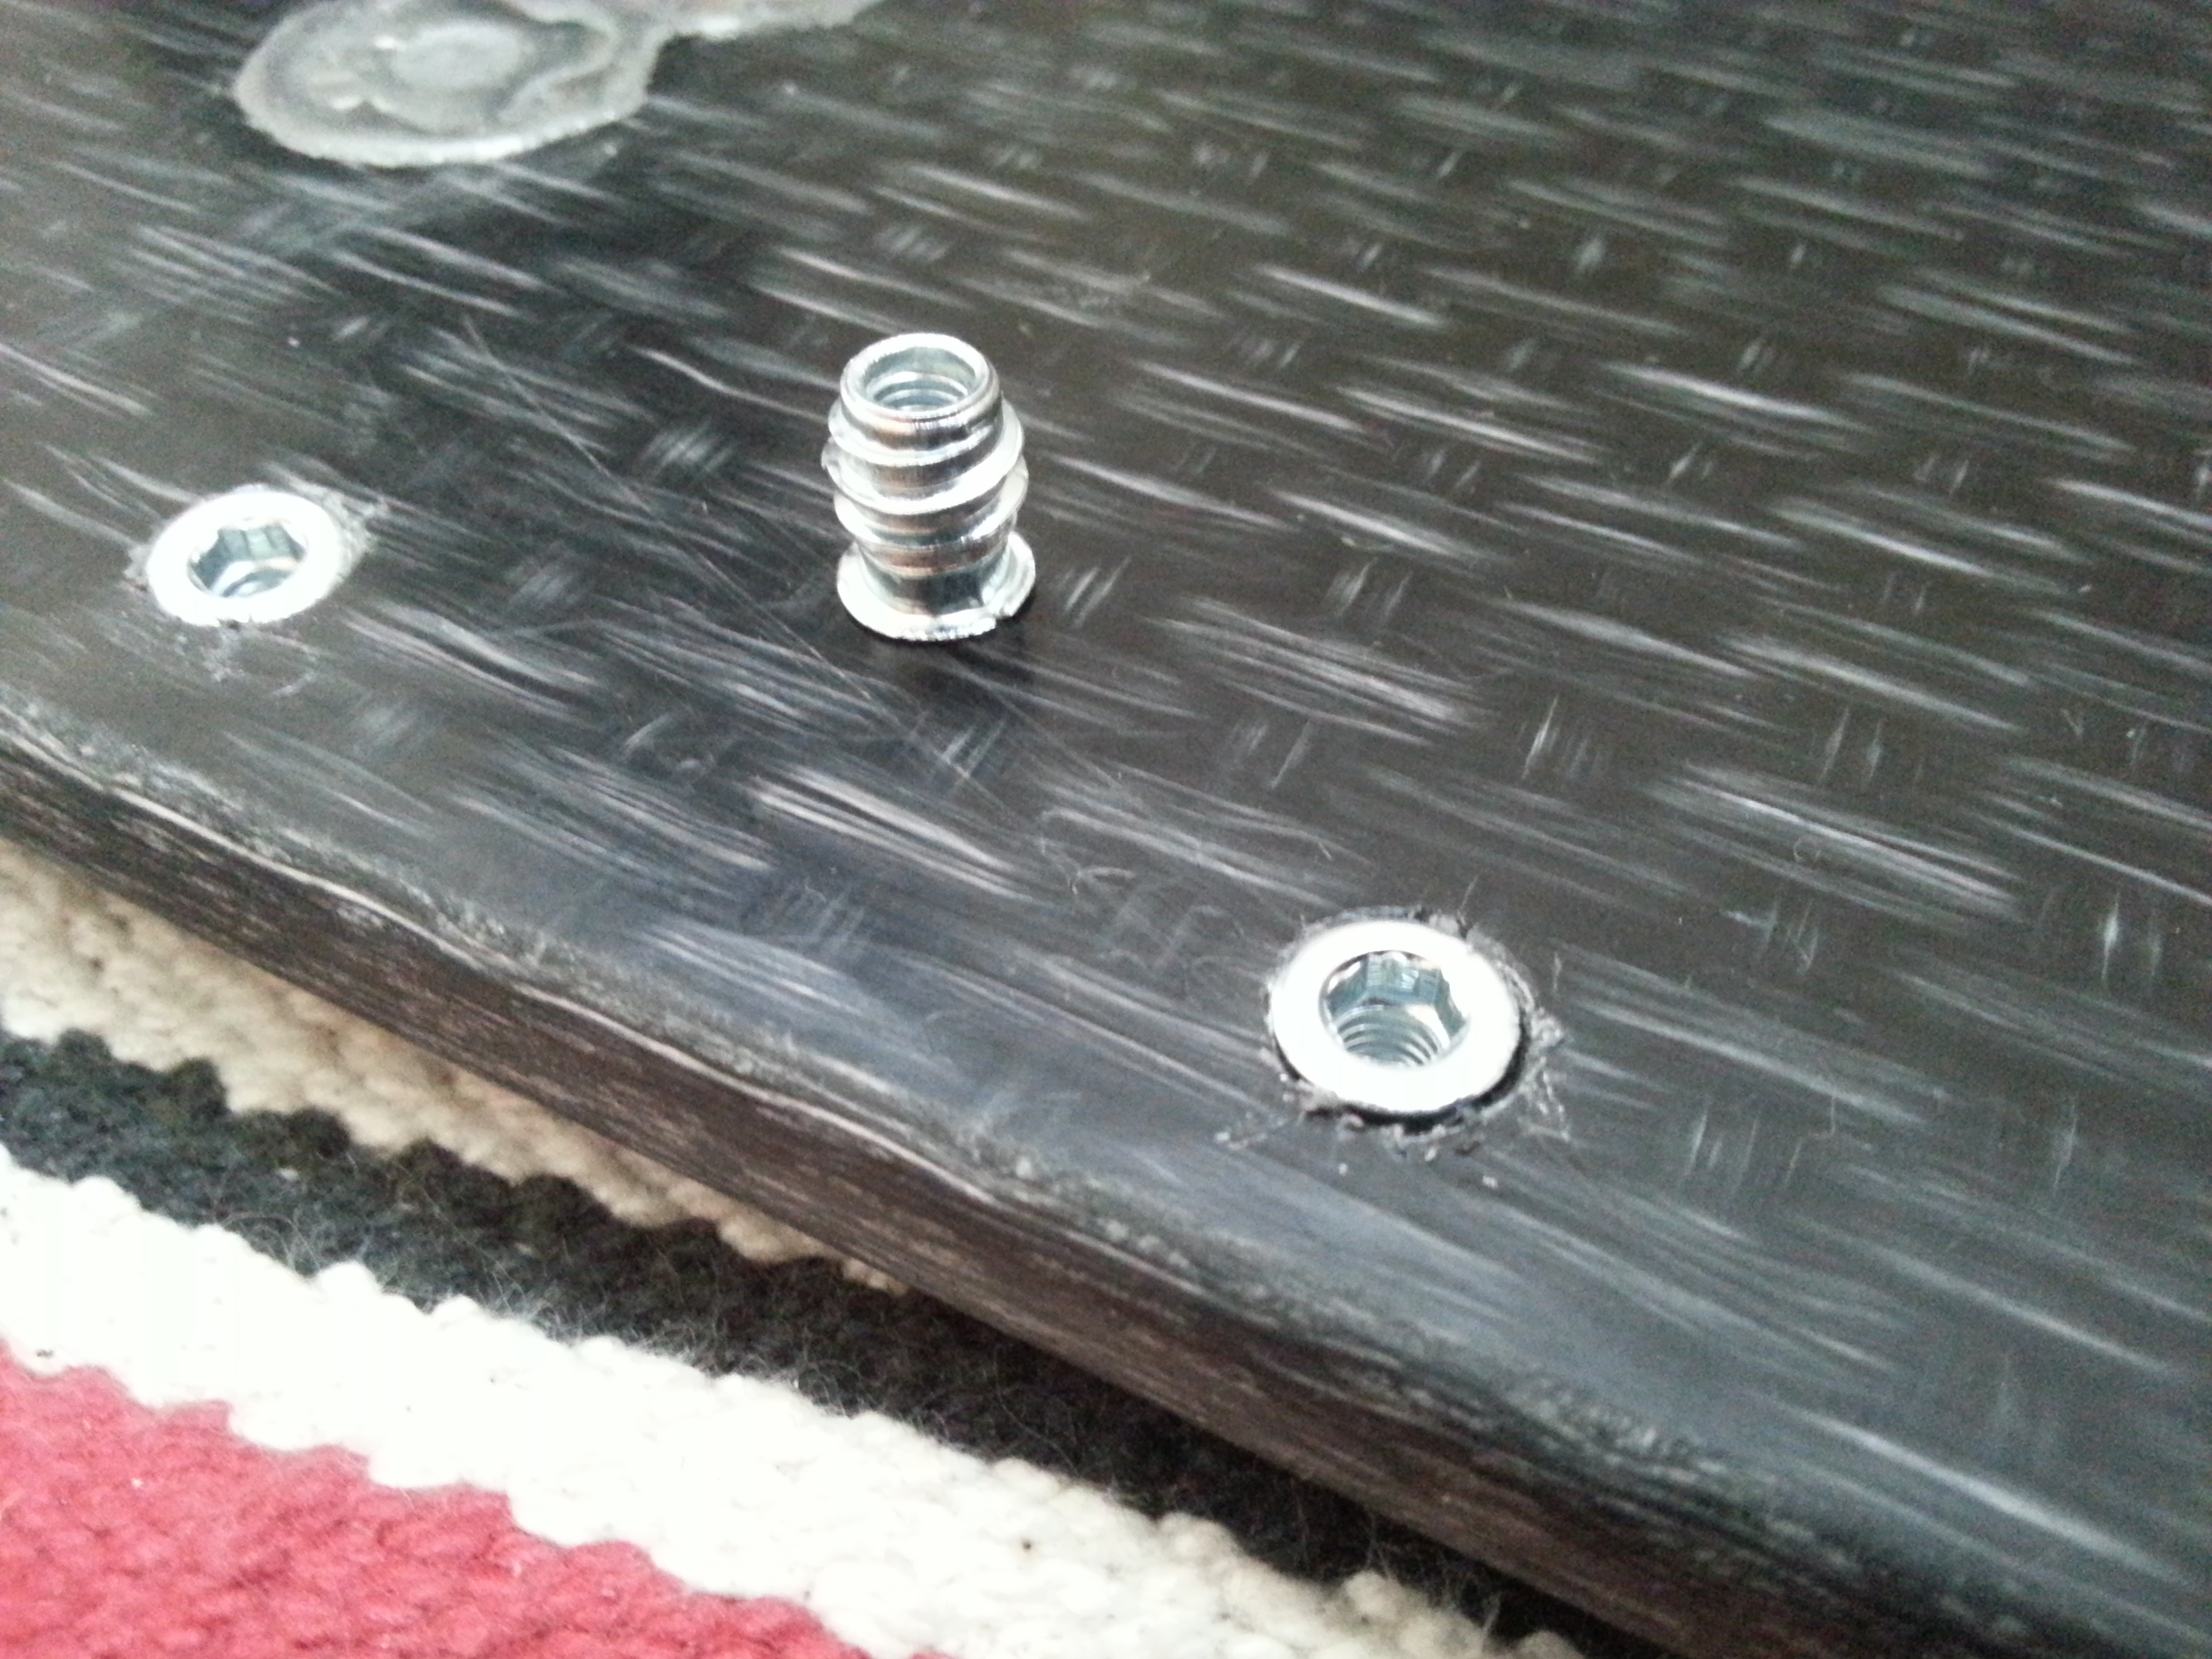
Circular incisions to insert insertional inserts making it possible to install footstraps from the top only (the bottom will be lava).

Here’s how flush they are.
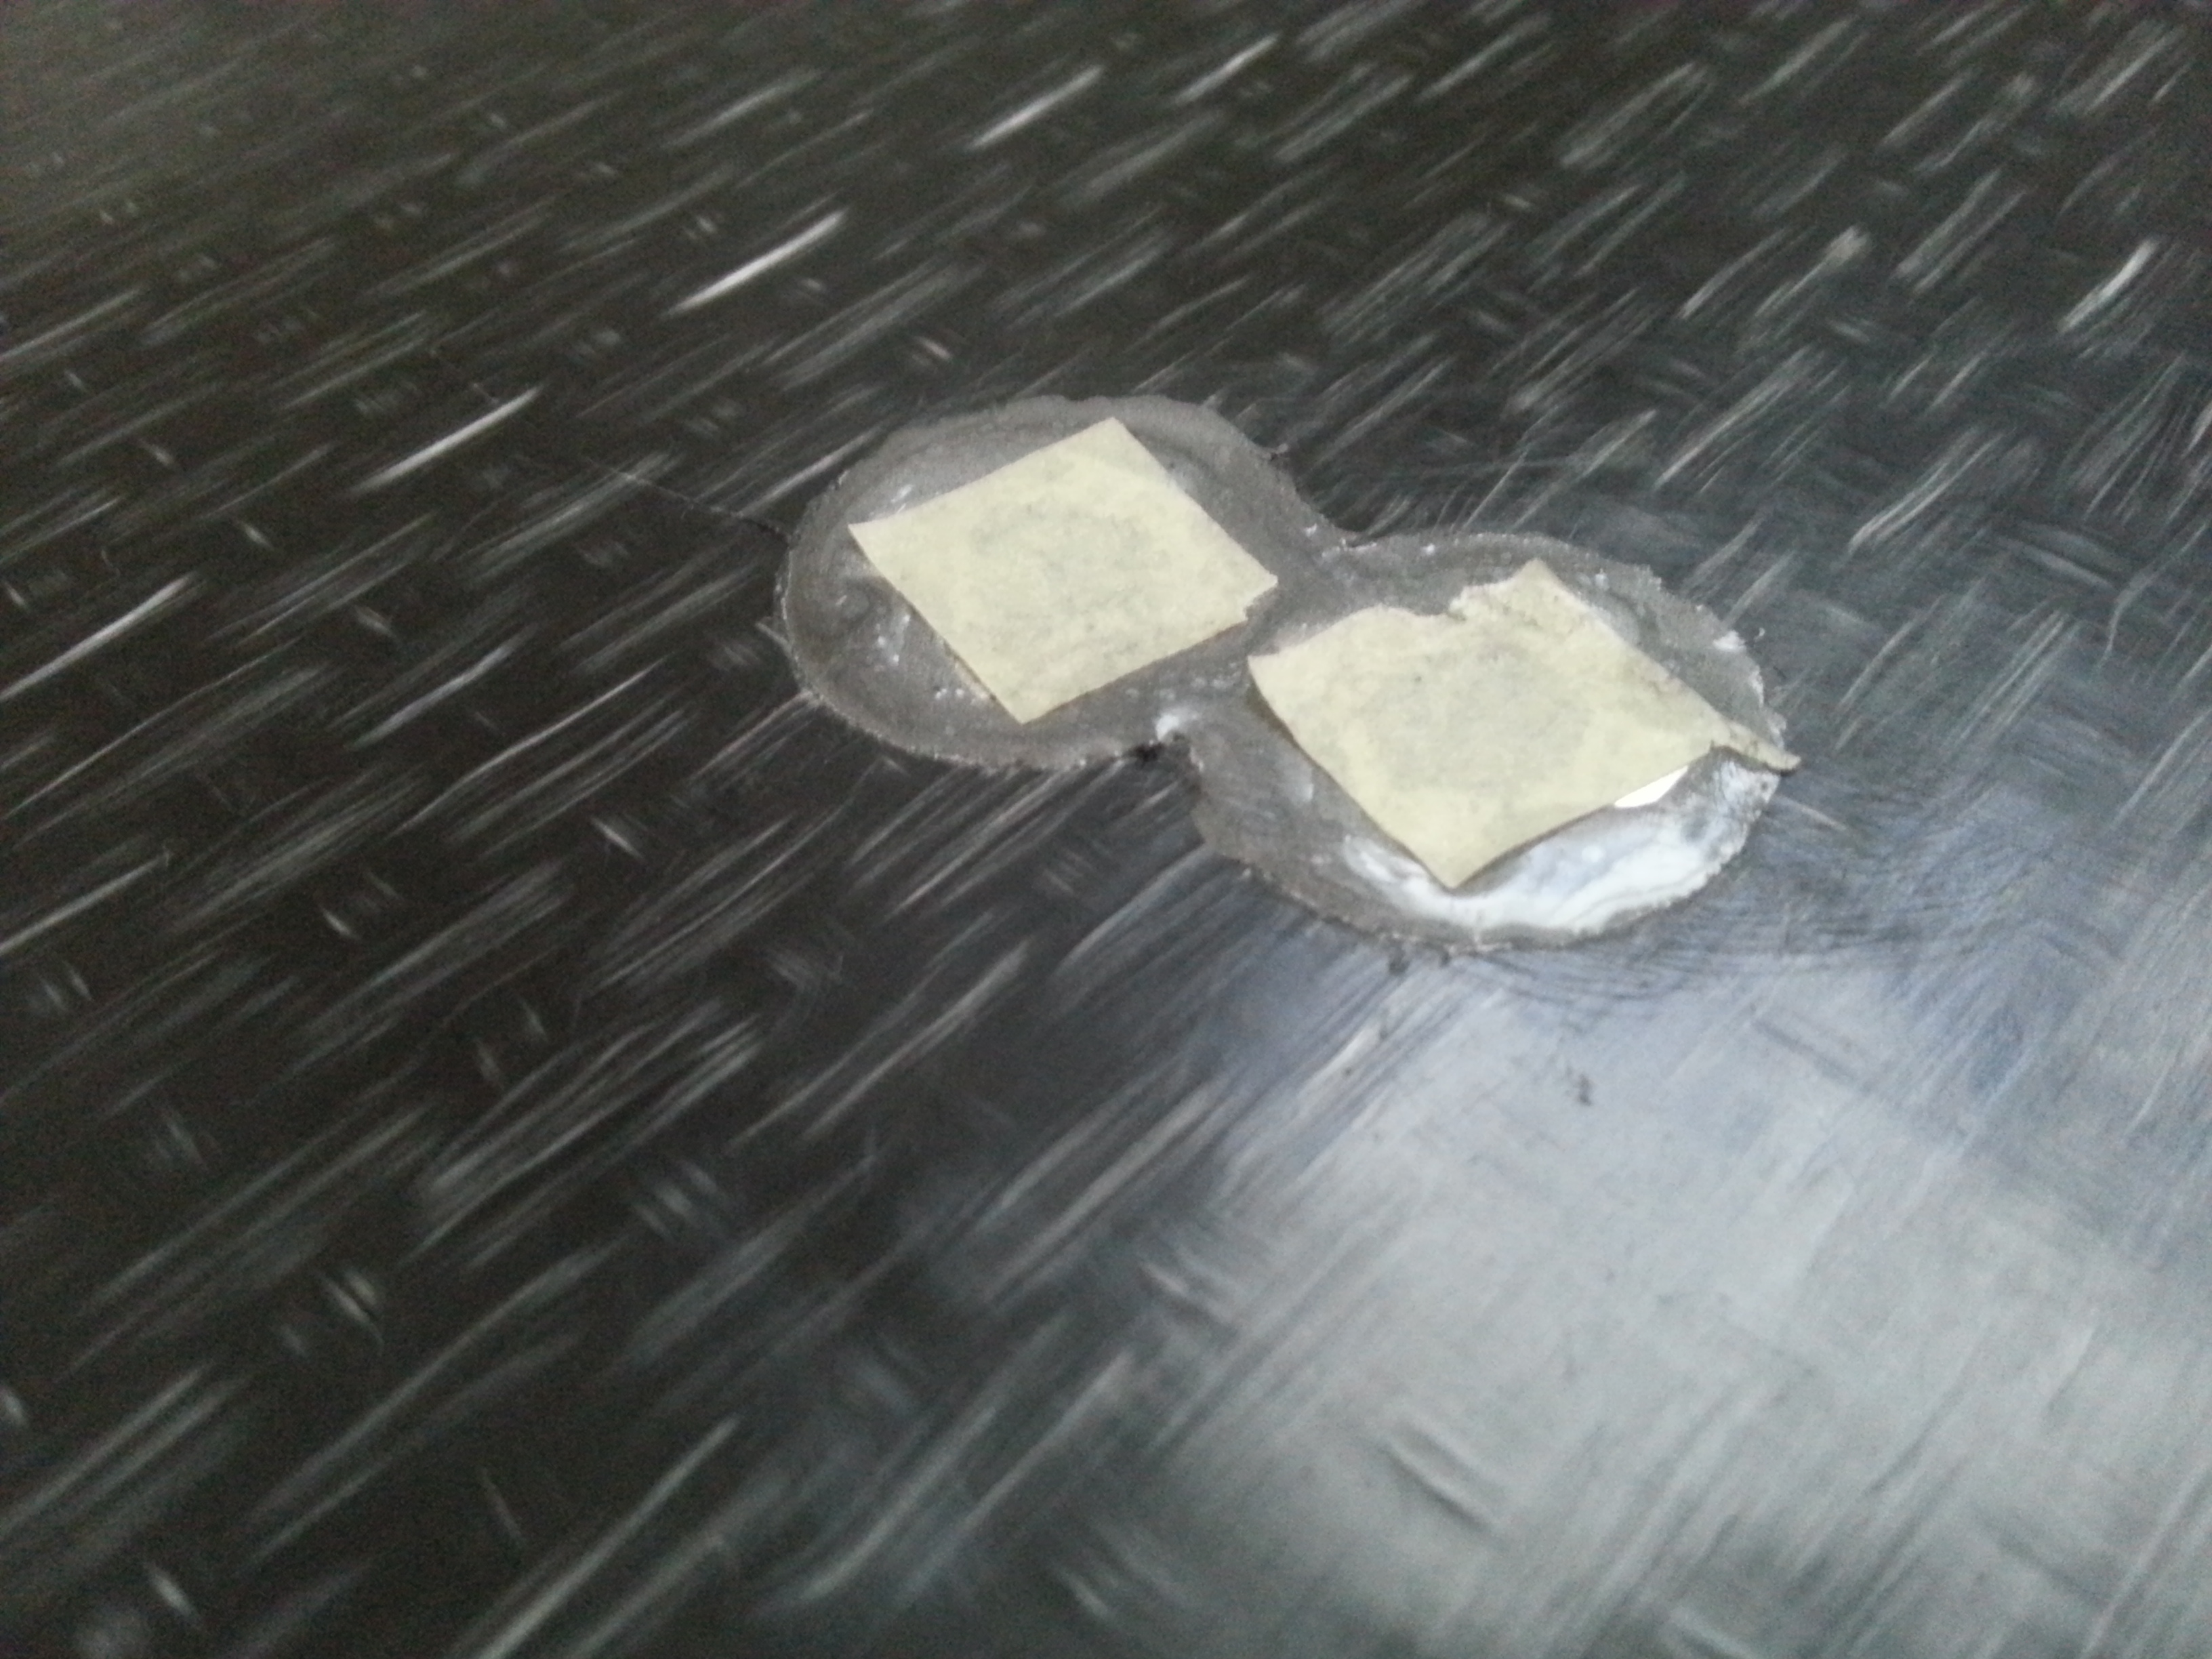
All insert’s epoxied :slight_smile: To seal the screw holes I’ve covered every insert’s bottom with some paper paint-tape and dropped a single drop of epoxy from the top to create a thin layer of it over the tape.

Here’s how it’s turned out.
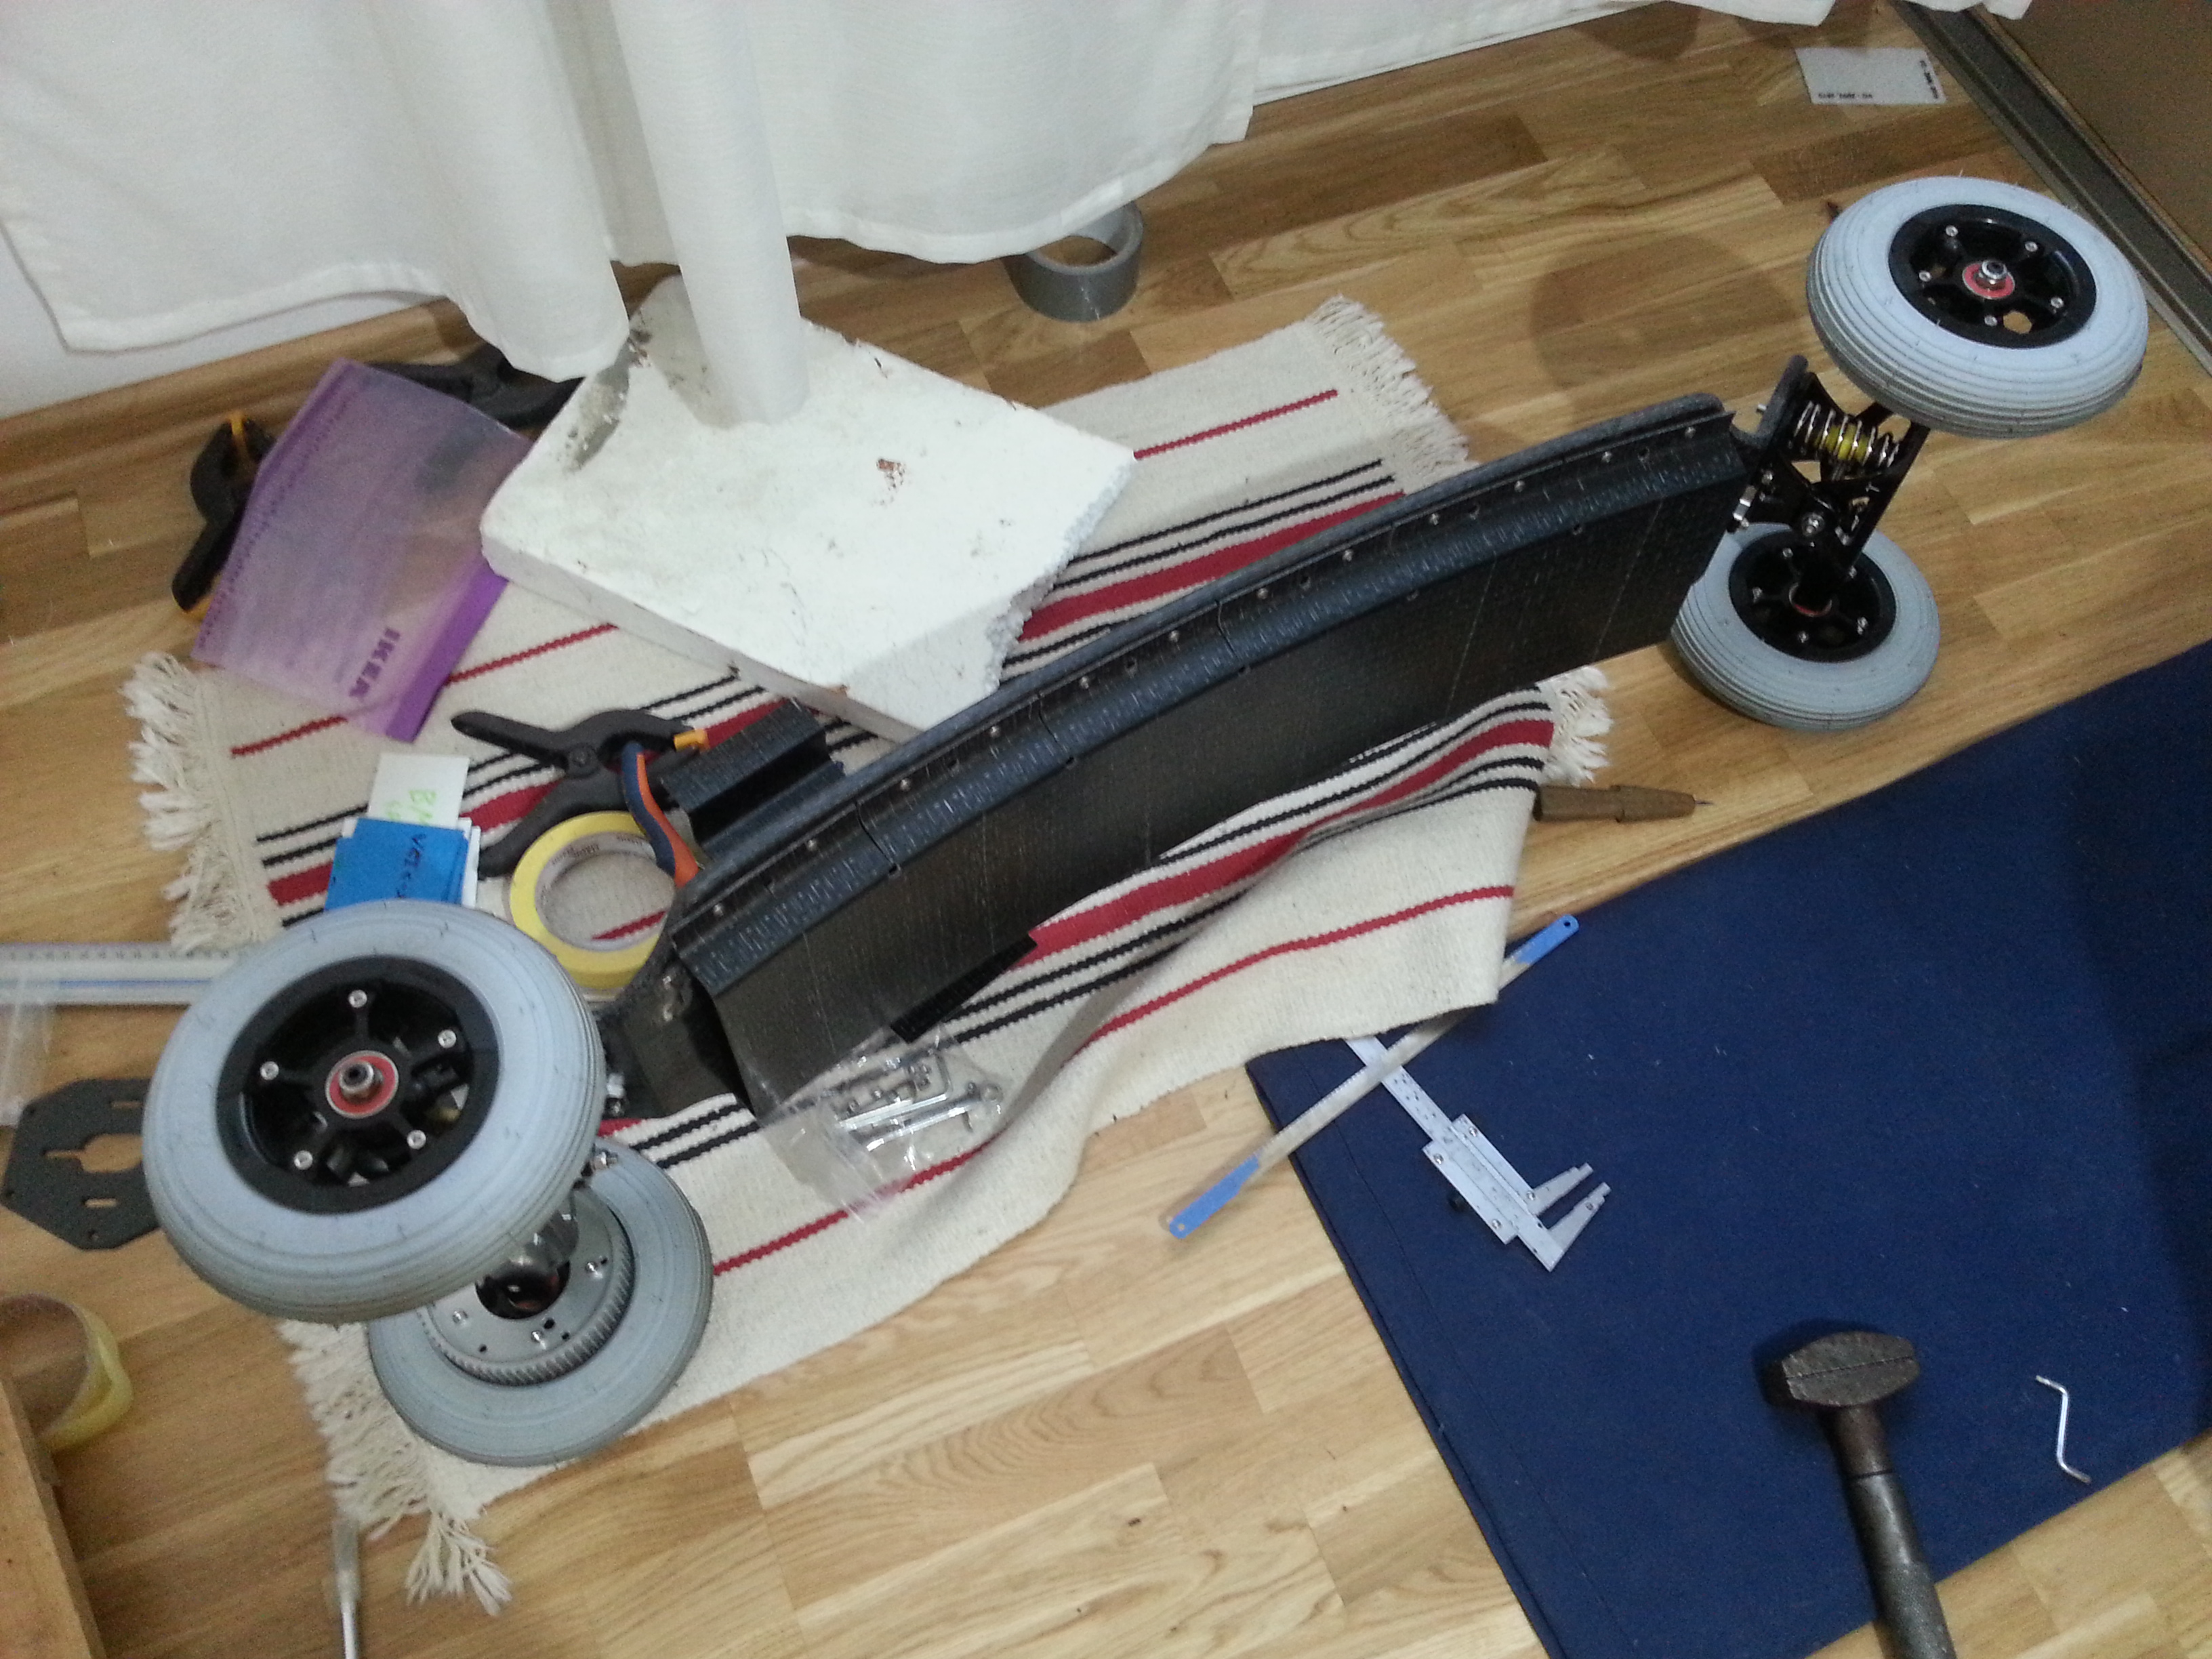
Enslosure time! yay :slight_smile:

One lip already shortened; the other one waiting to be.

Holes drilled and top incisions marked.

Slide made of two planks to guide the blade in a straight line. All the cuts ware made using such slides - straying from those pencil marks without guidance is all too easy, and all to easy to fuck your carbon beauty up for good.

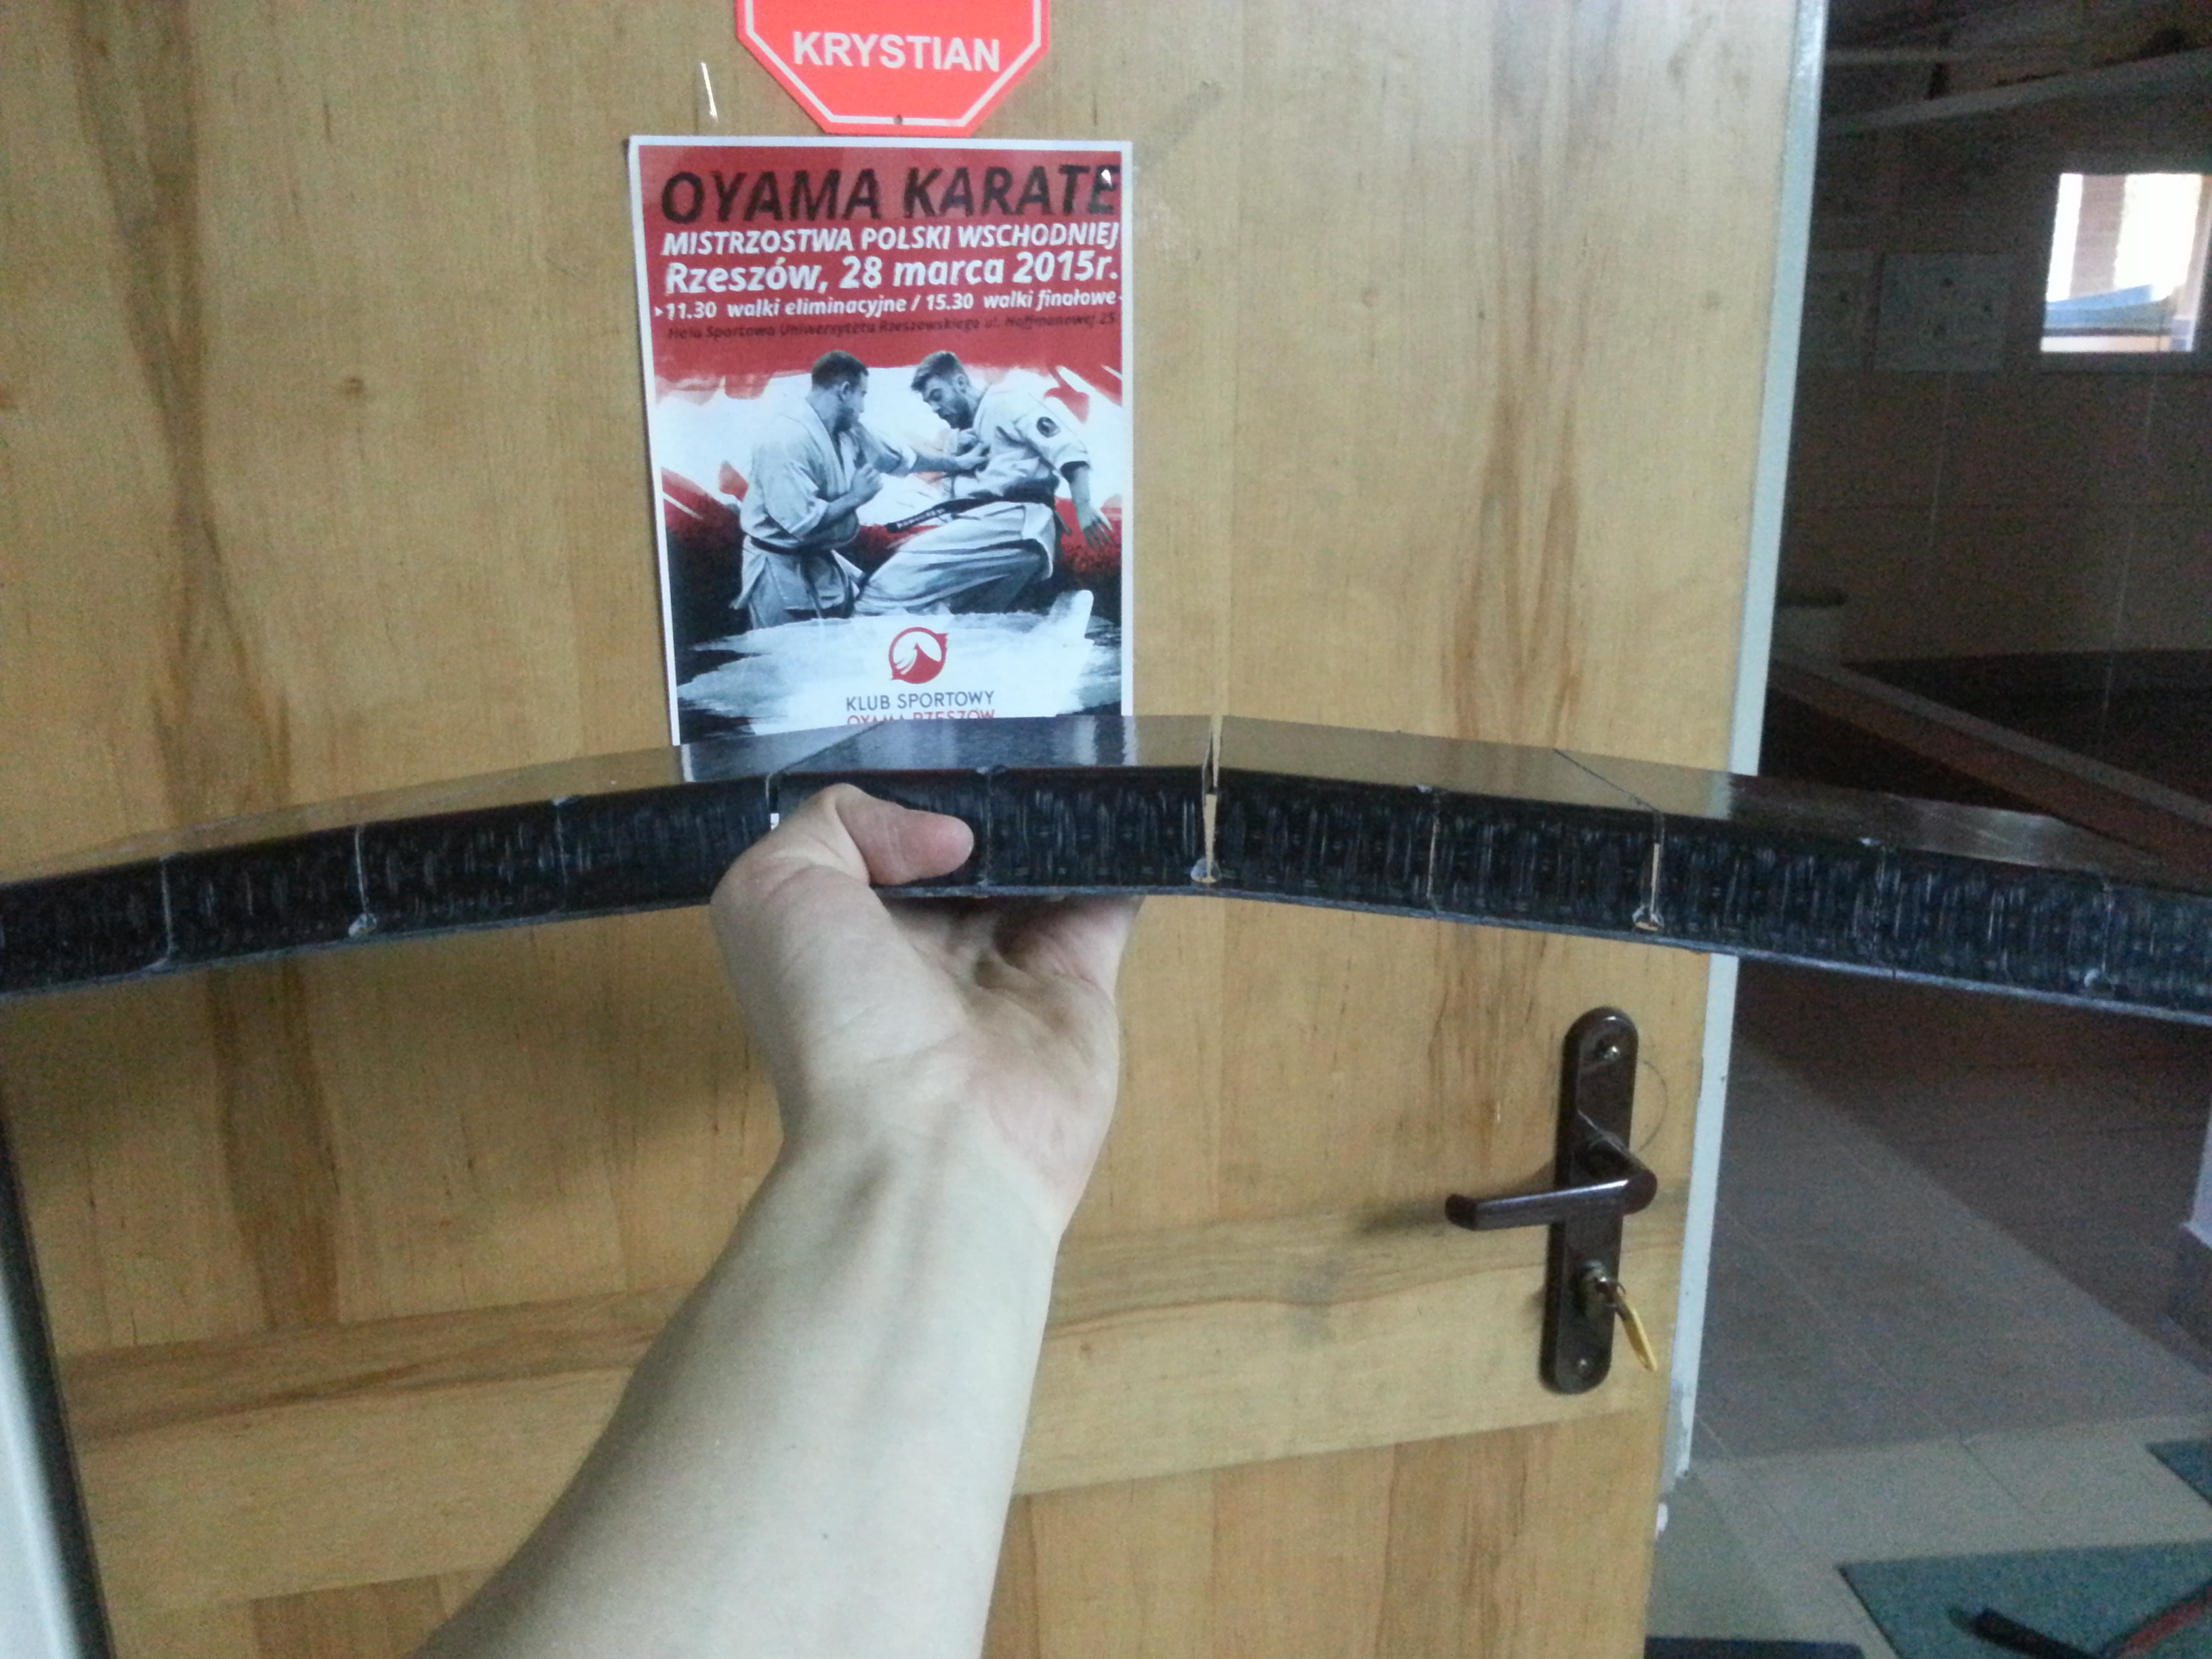
All cut up, bendy and springy as hell.

This. Is. Gonna. Be. Nice. AS. DOG. DAMN. HELL!!!

Enclosure screws’ inserts epoxied into the deck.

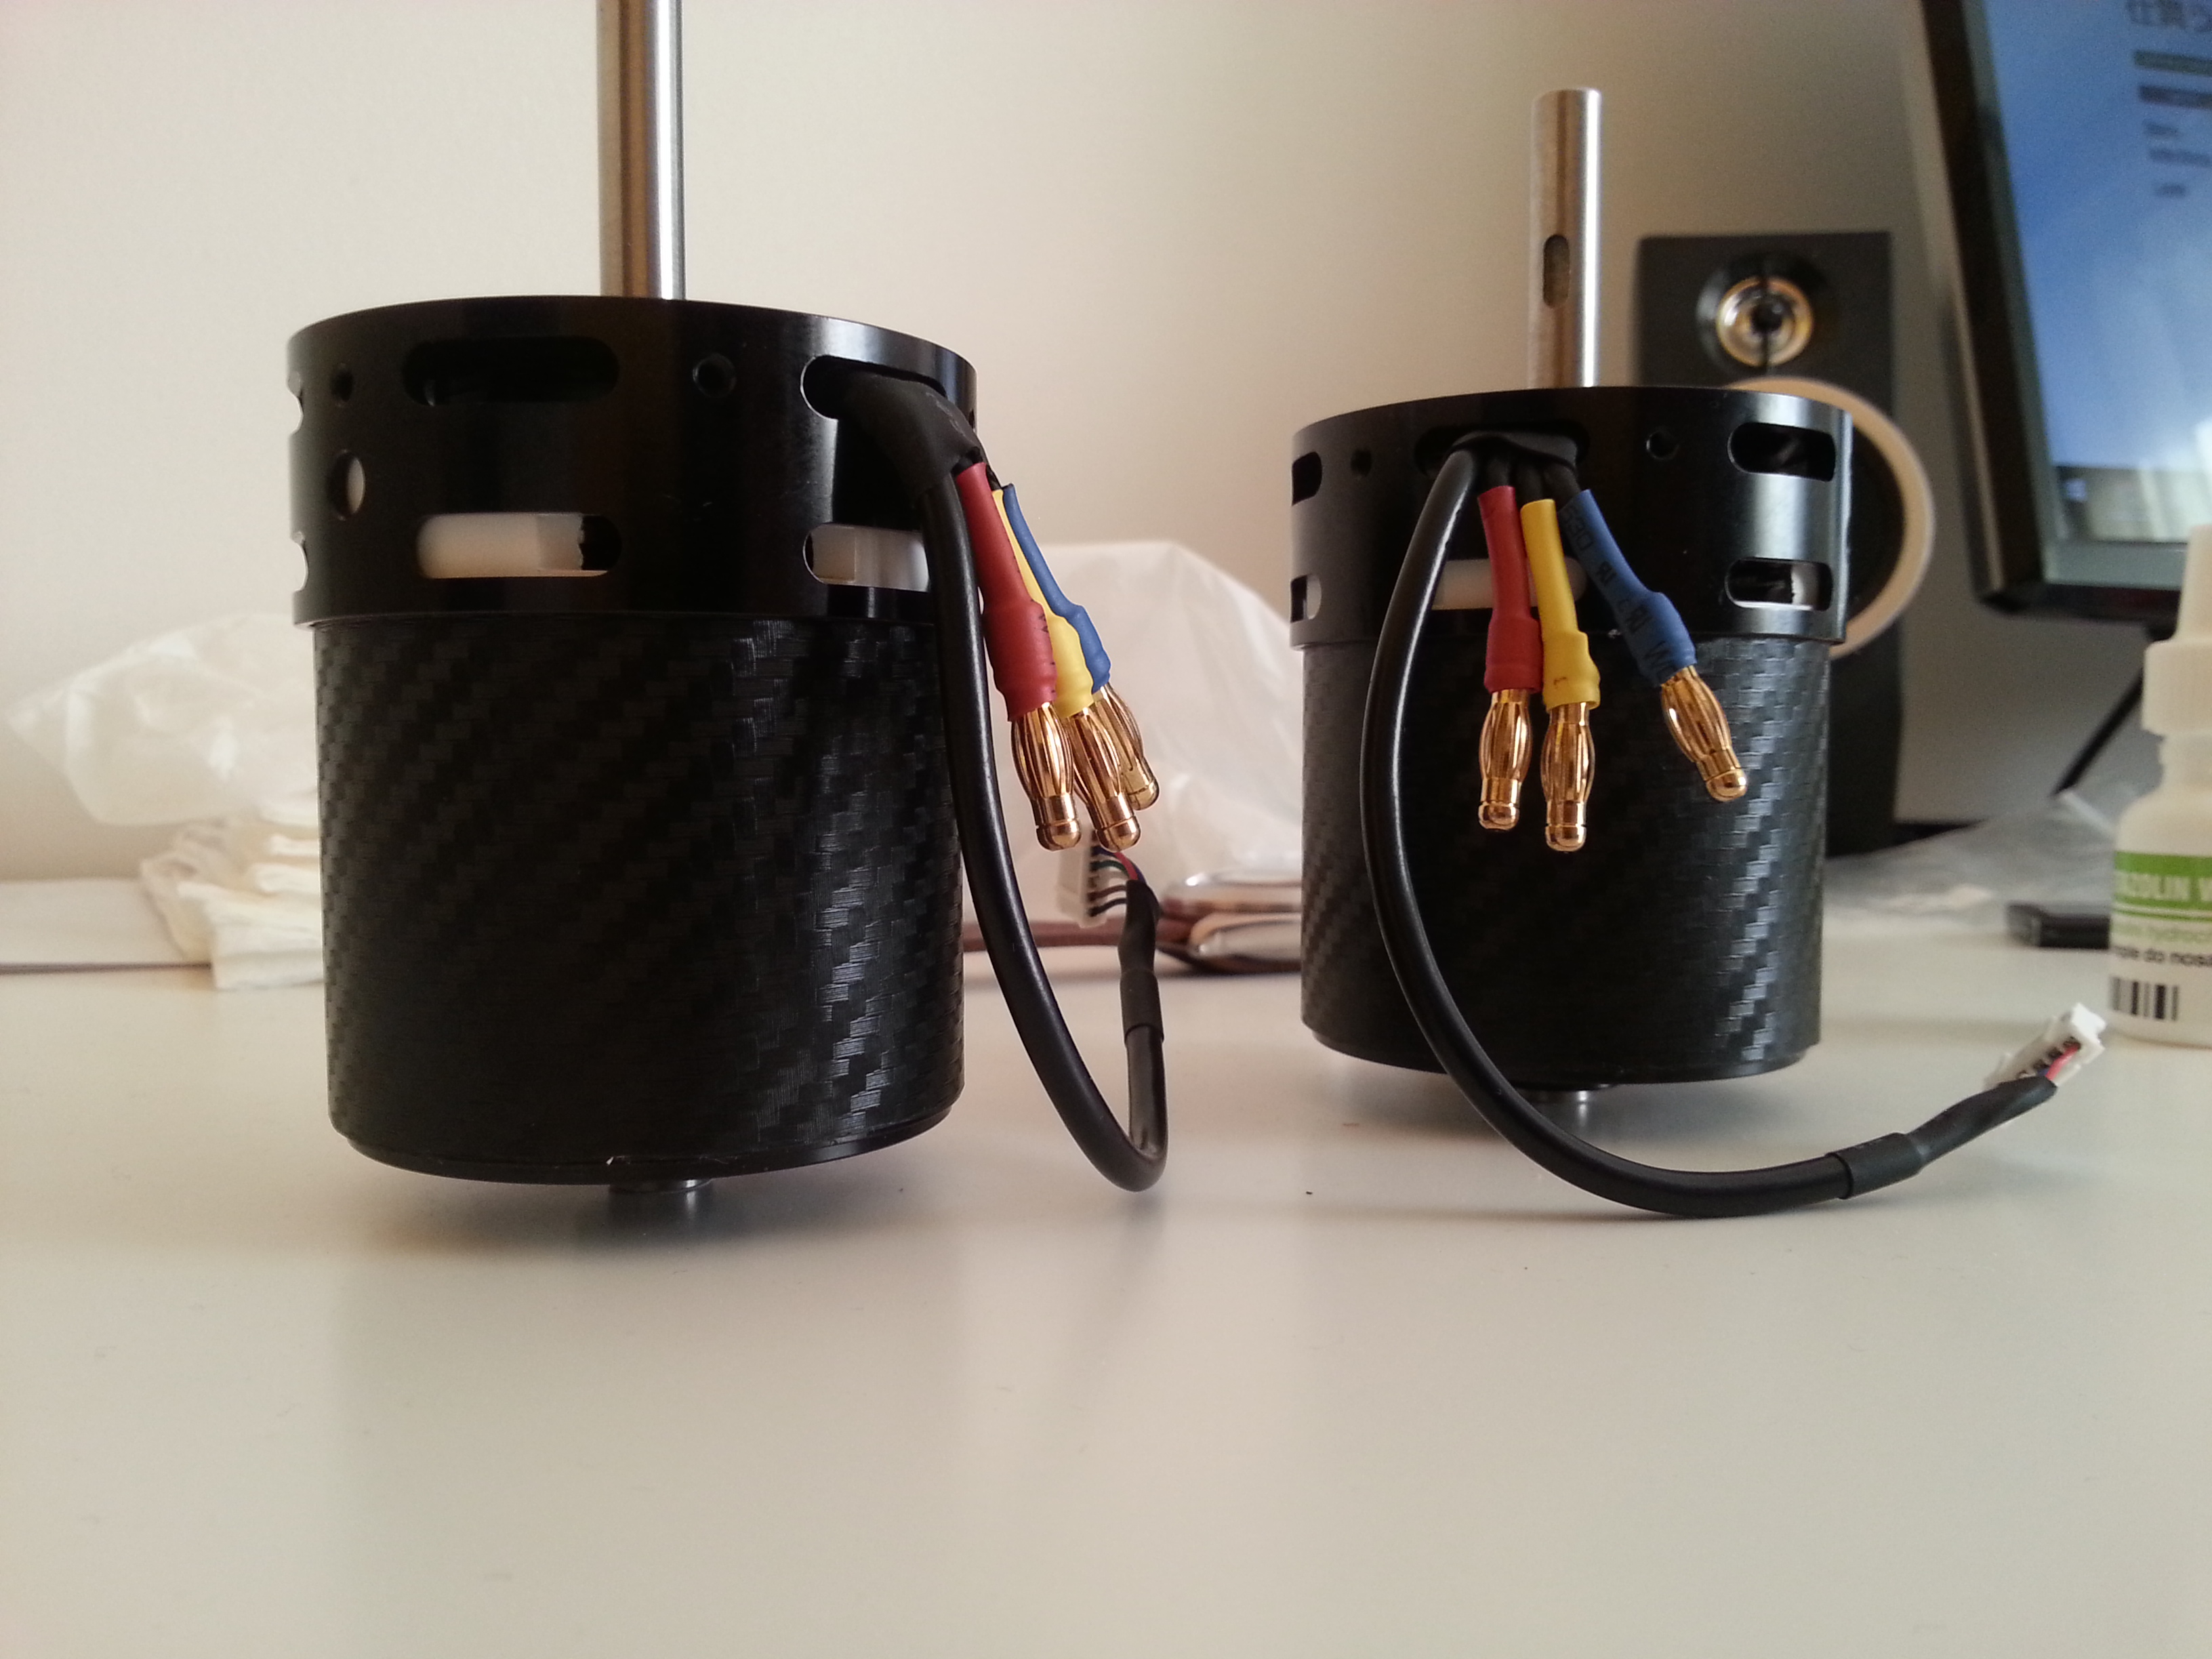
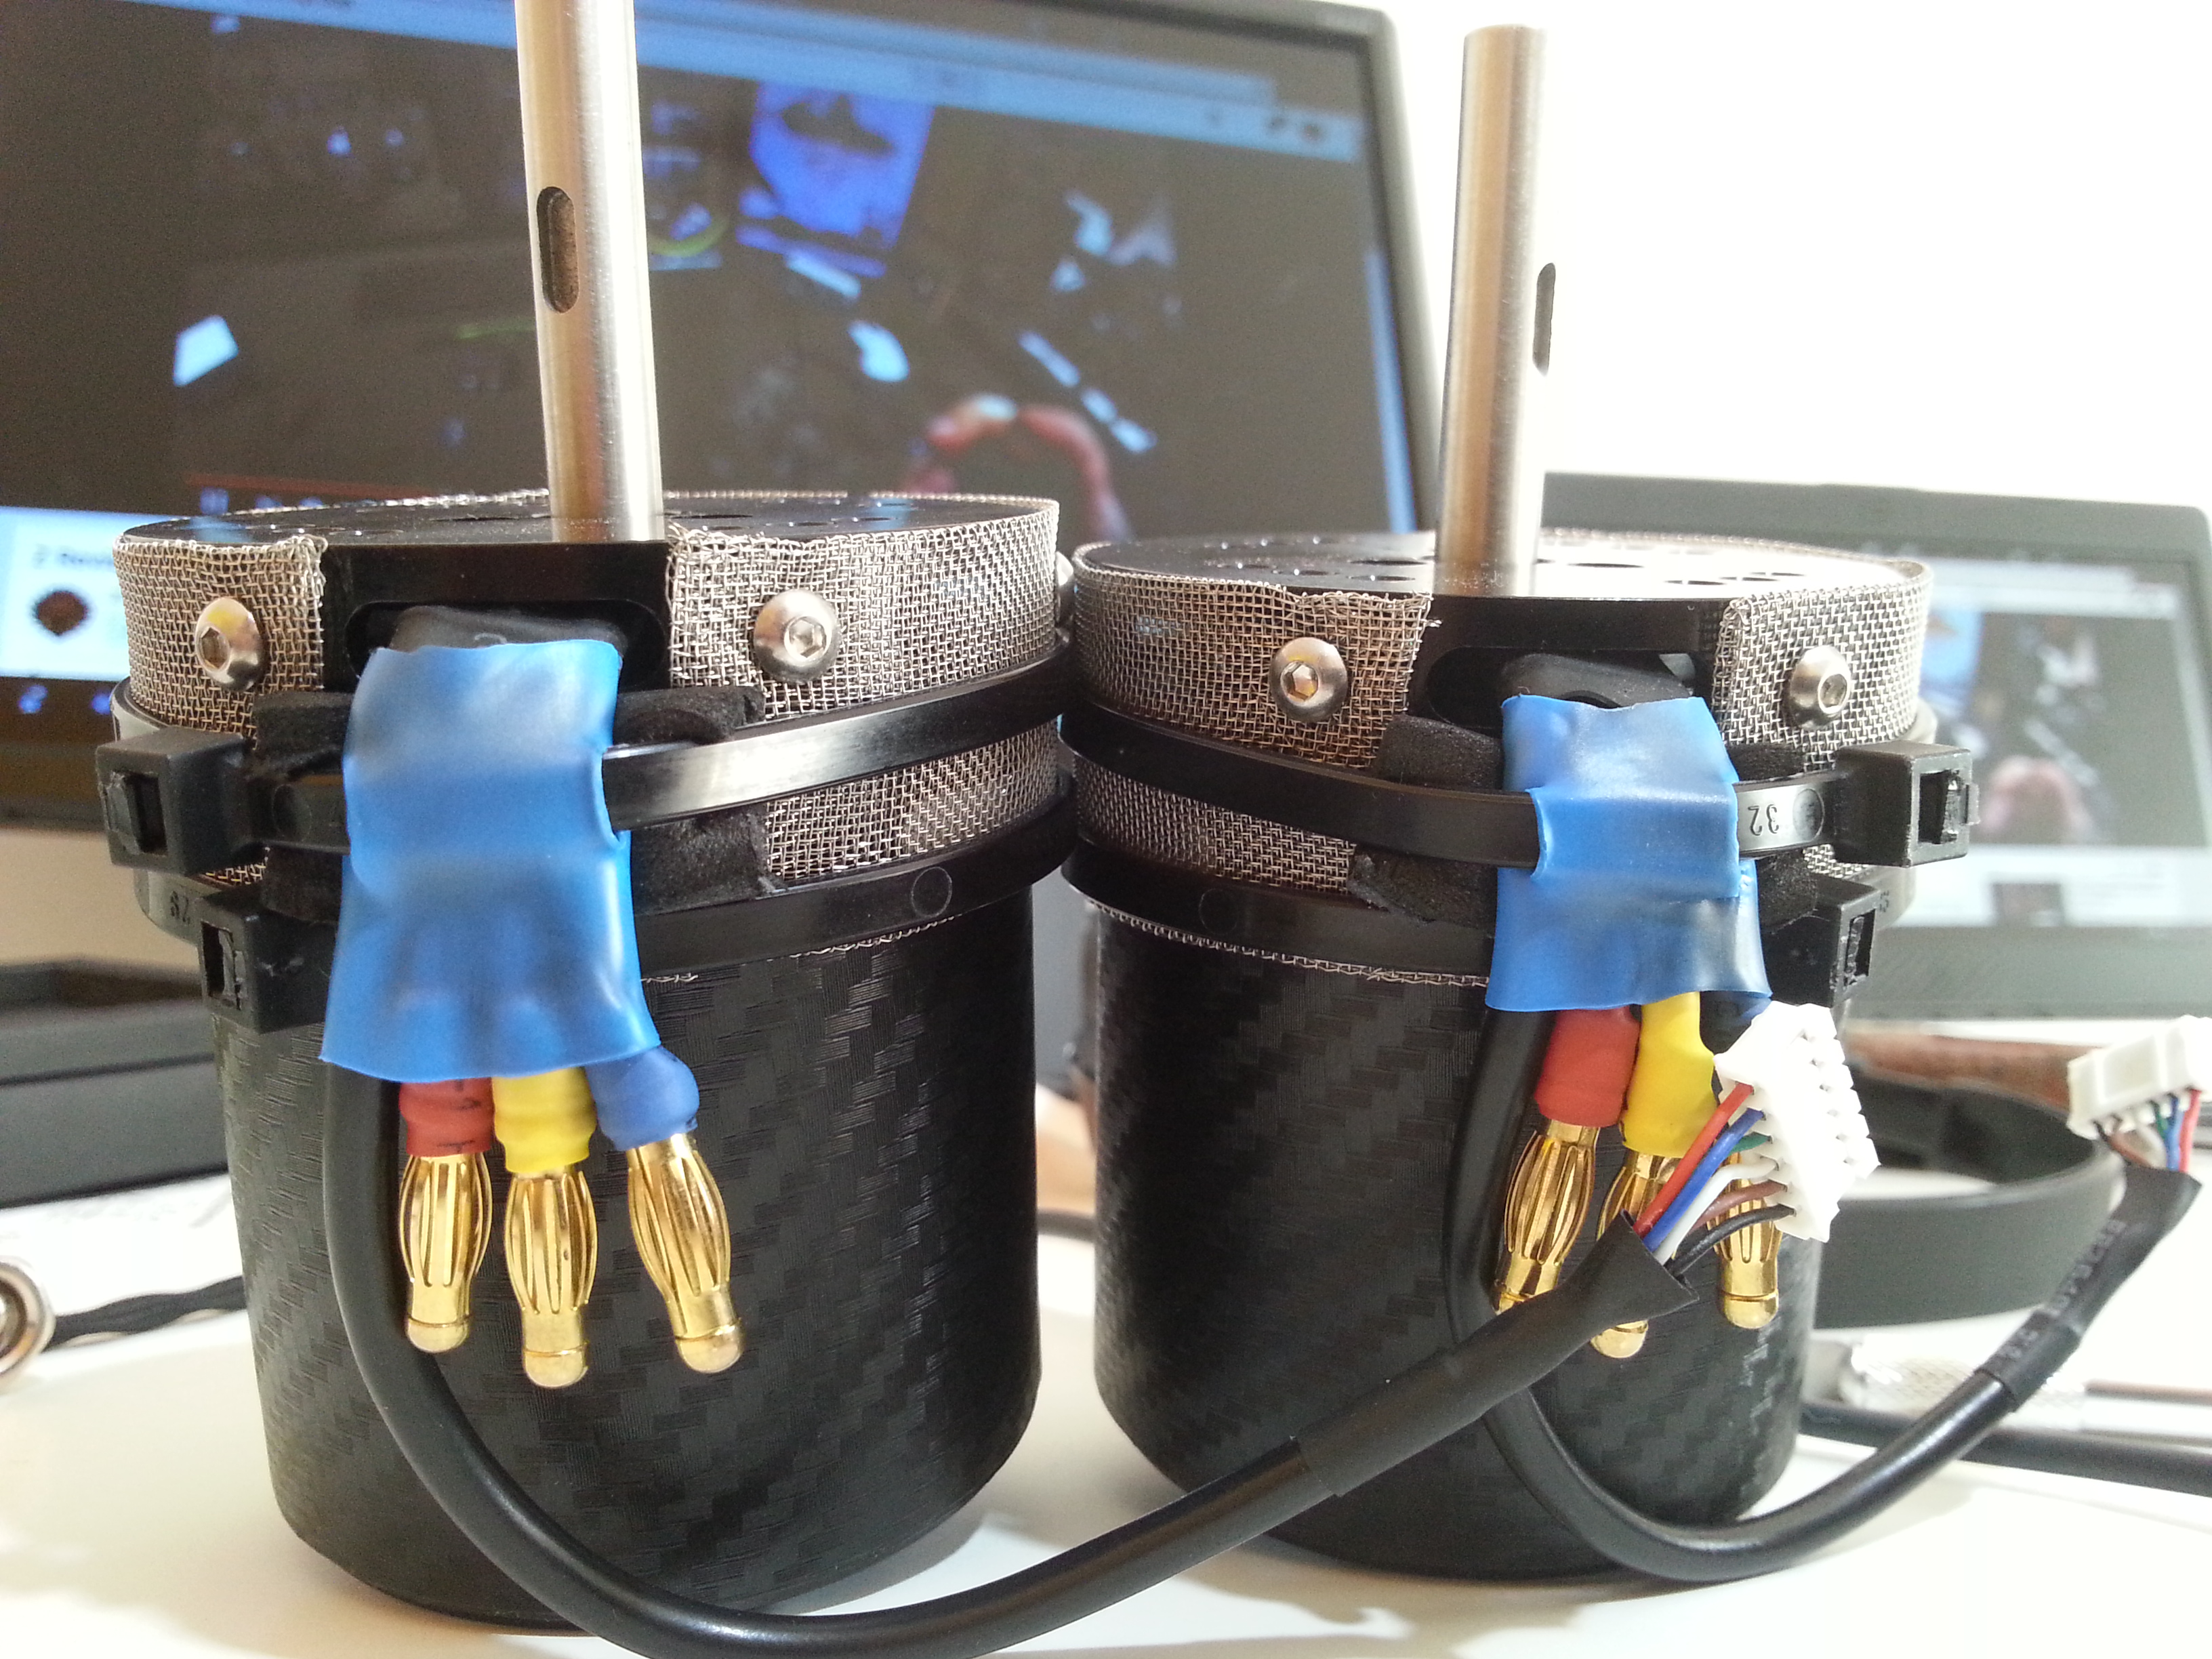
And some final touches on the motors.

Fitting the silicone lining inside of the enclosure, sealing the yet to be installed electronics.

Roadside finally populated… at least partially :wink:

The slits really make the deck’s springiness virtually unaltered.

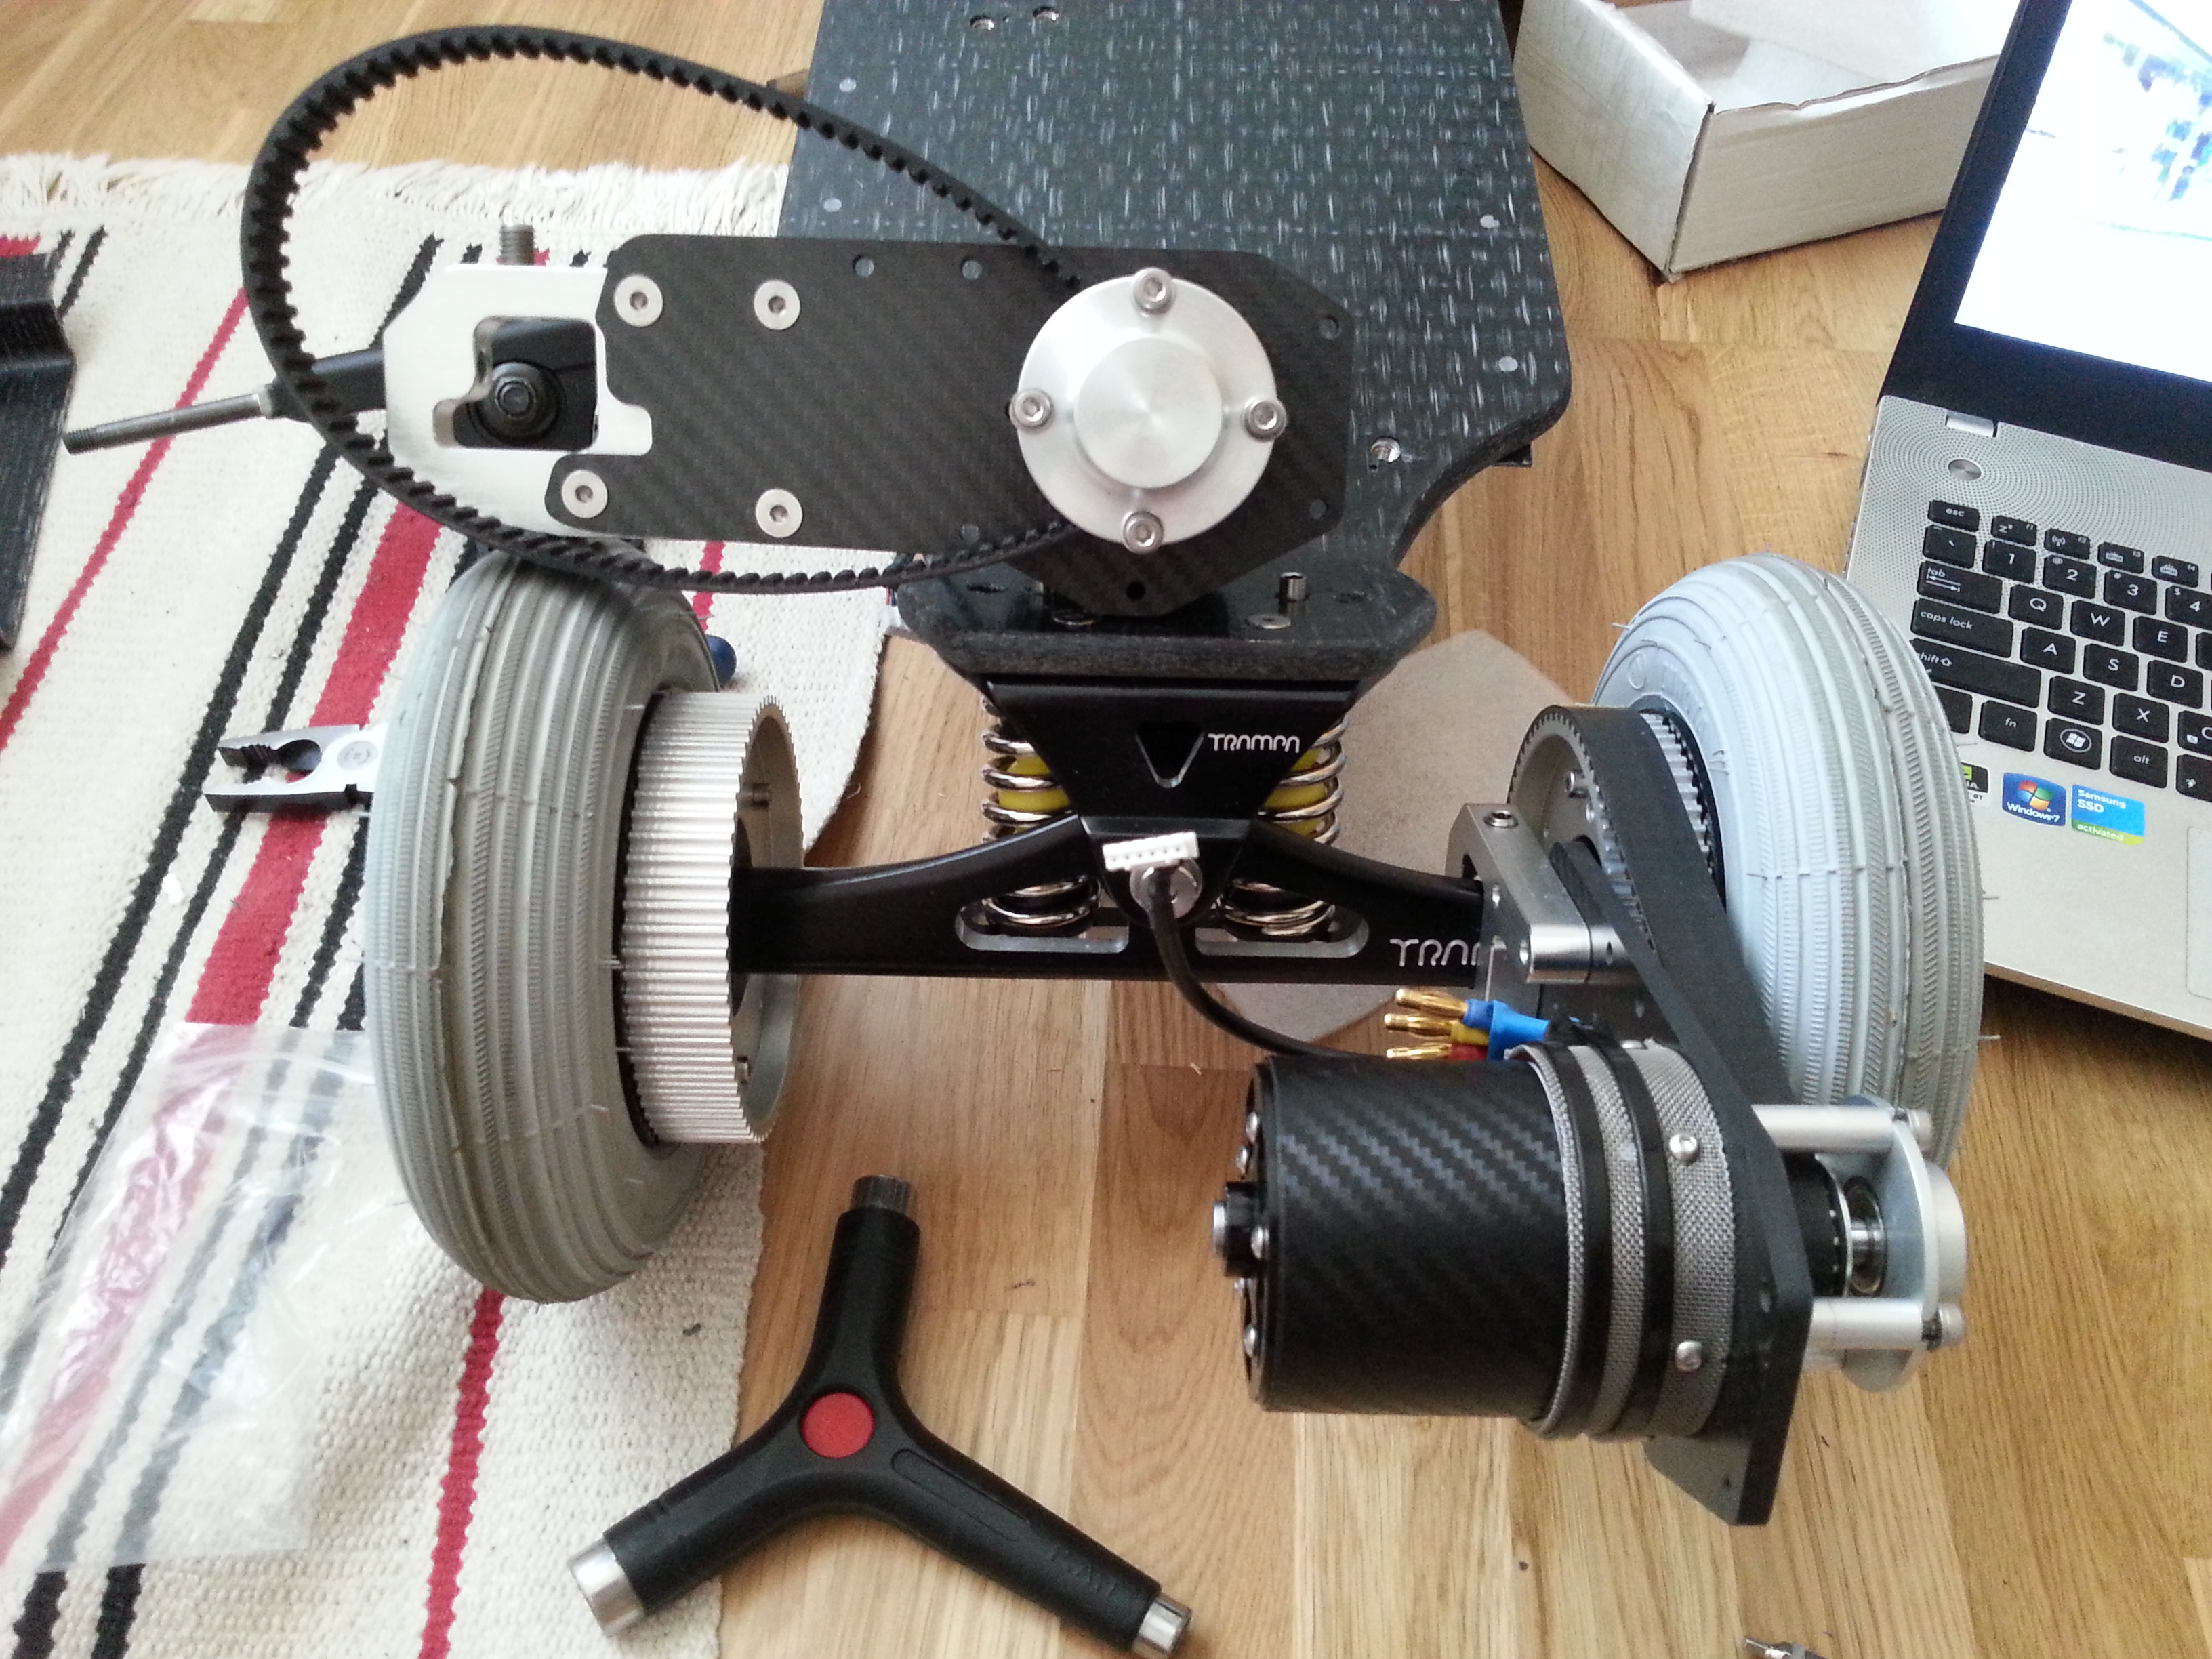
Motors installed… it starts to seem like it’s gonna be one piece of a beefy vehicle fo sho.
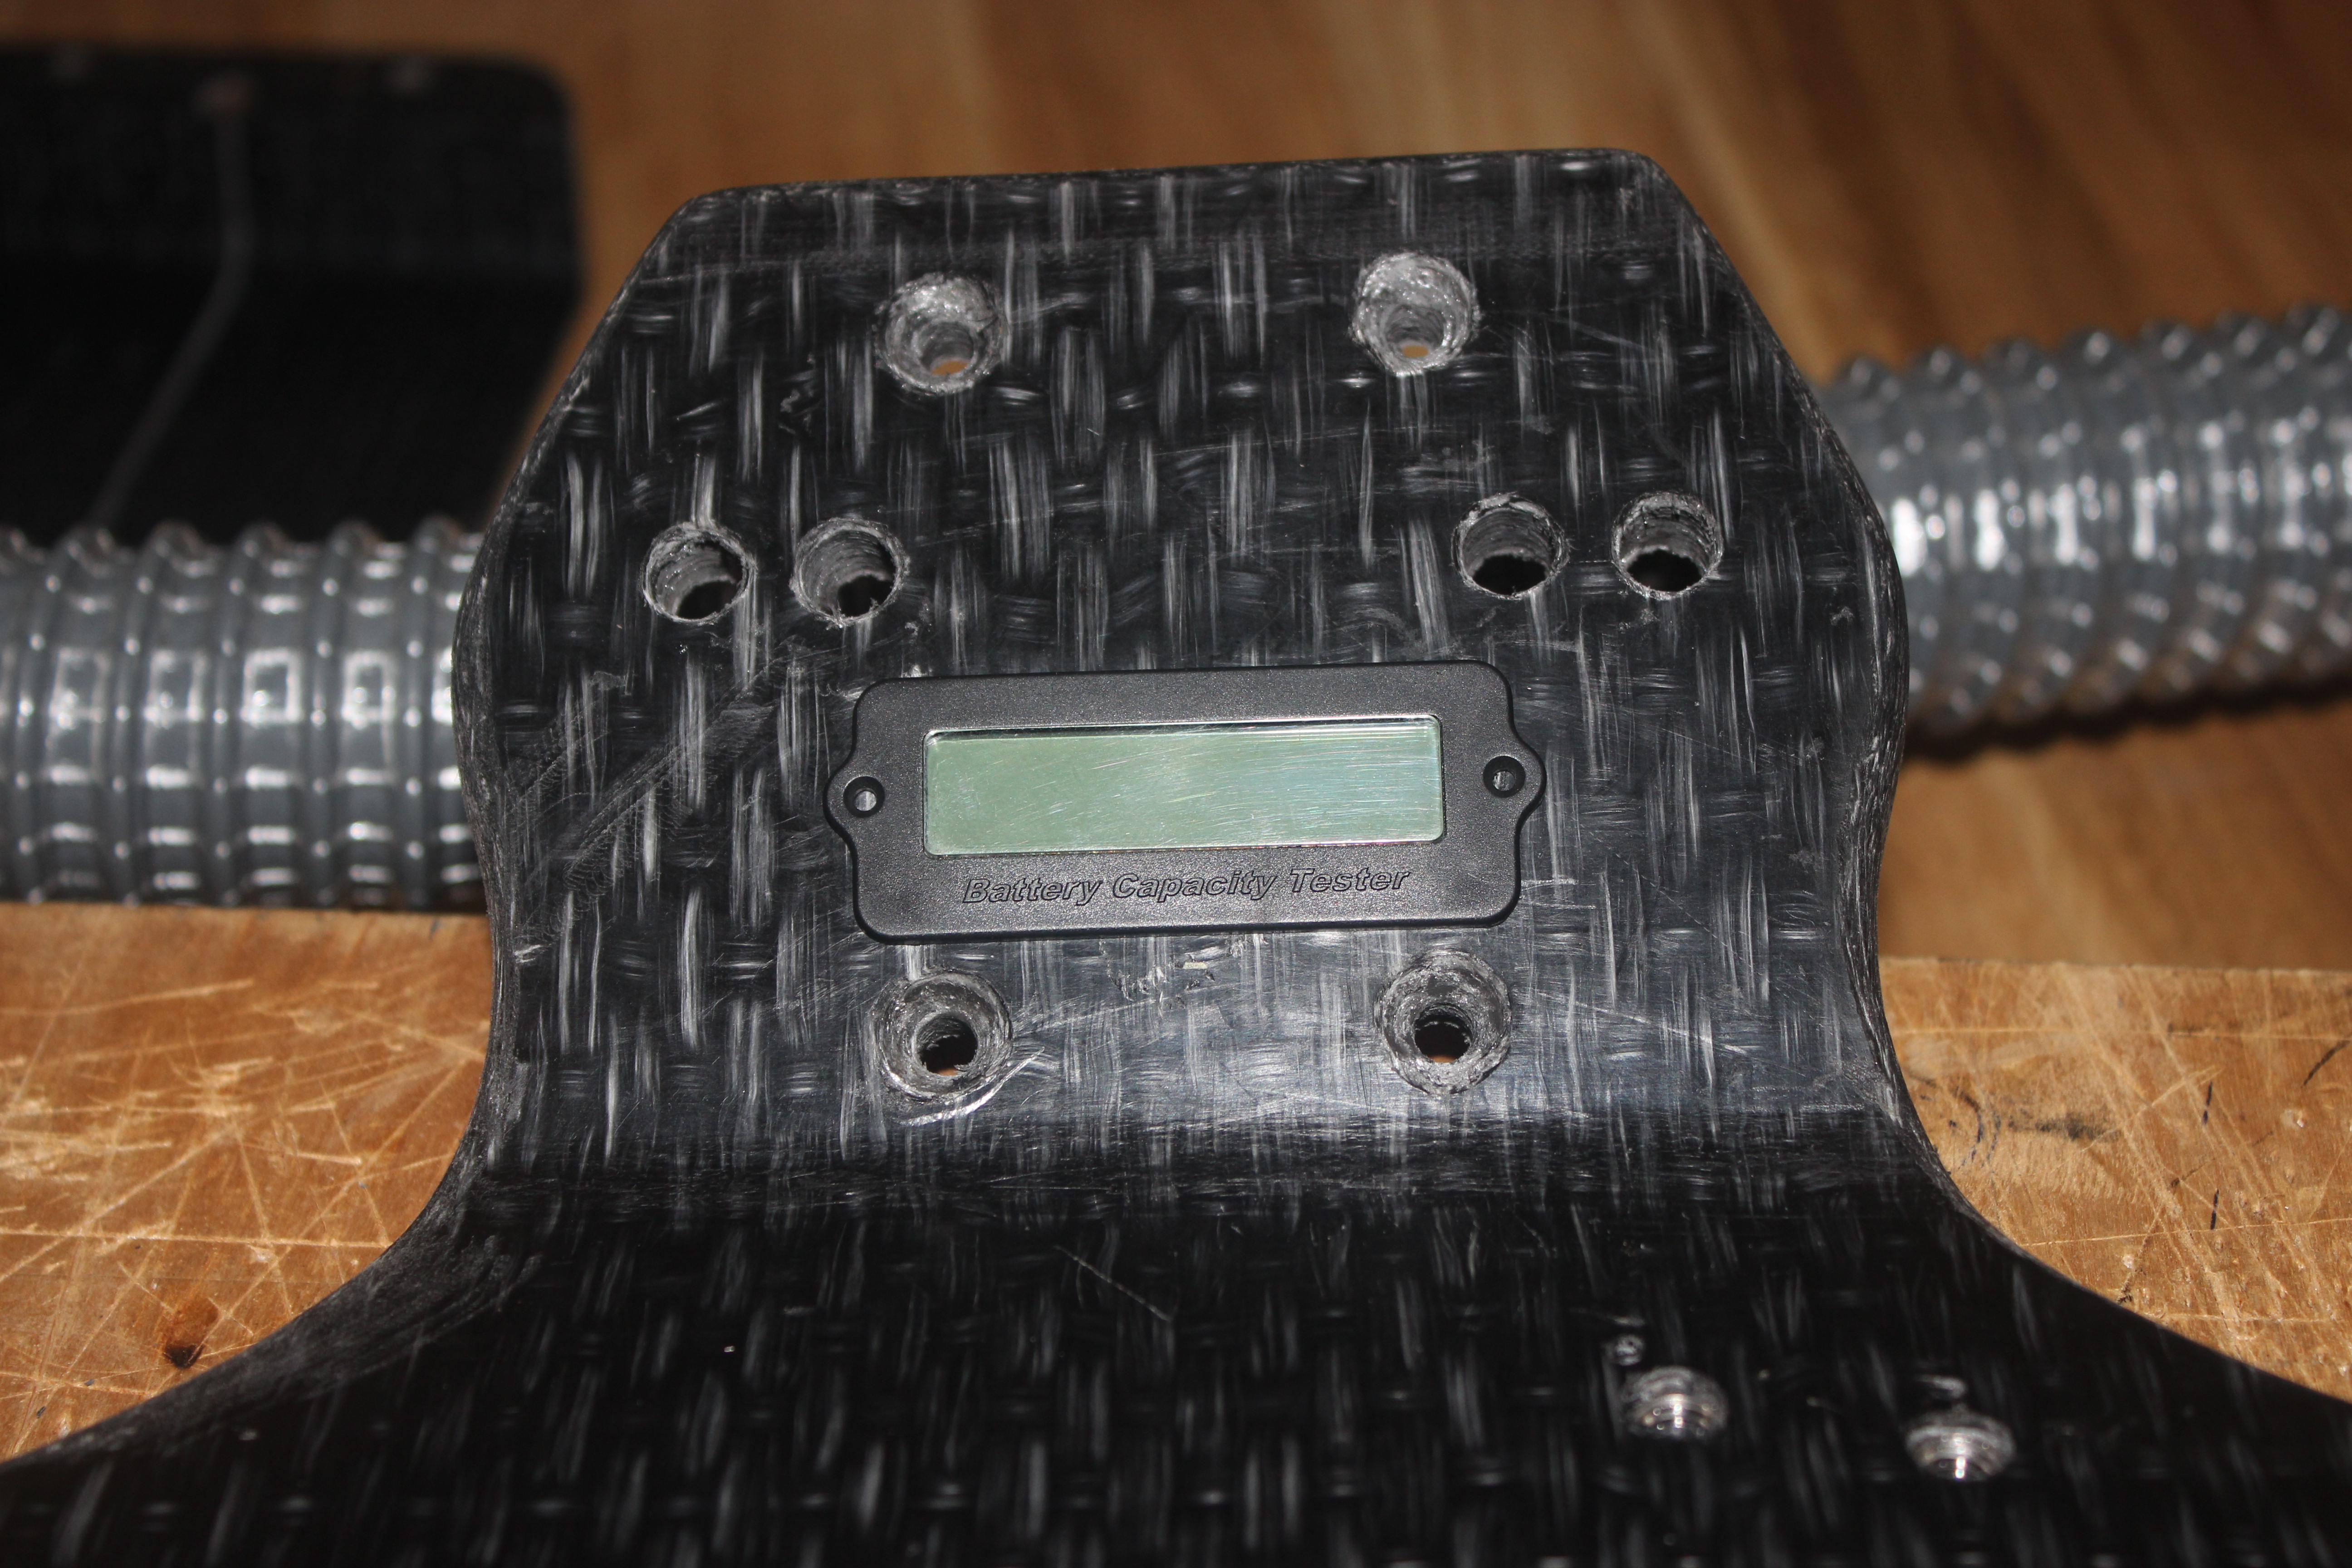
The voltmeter.

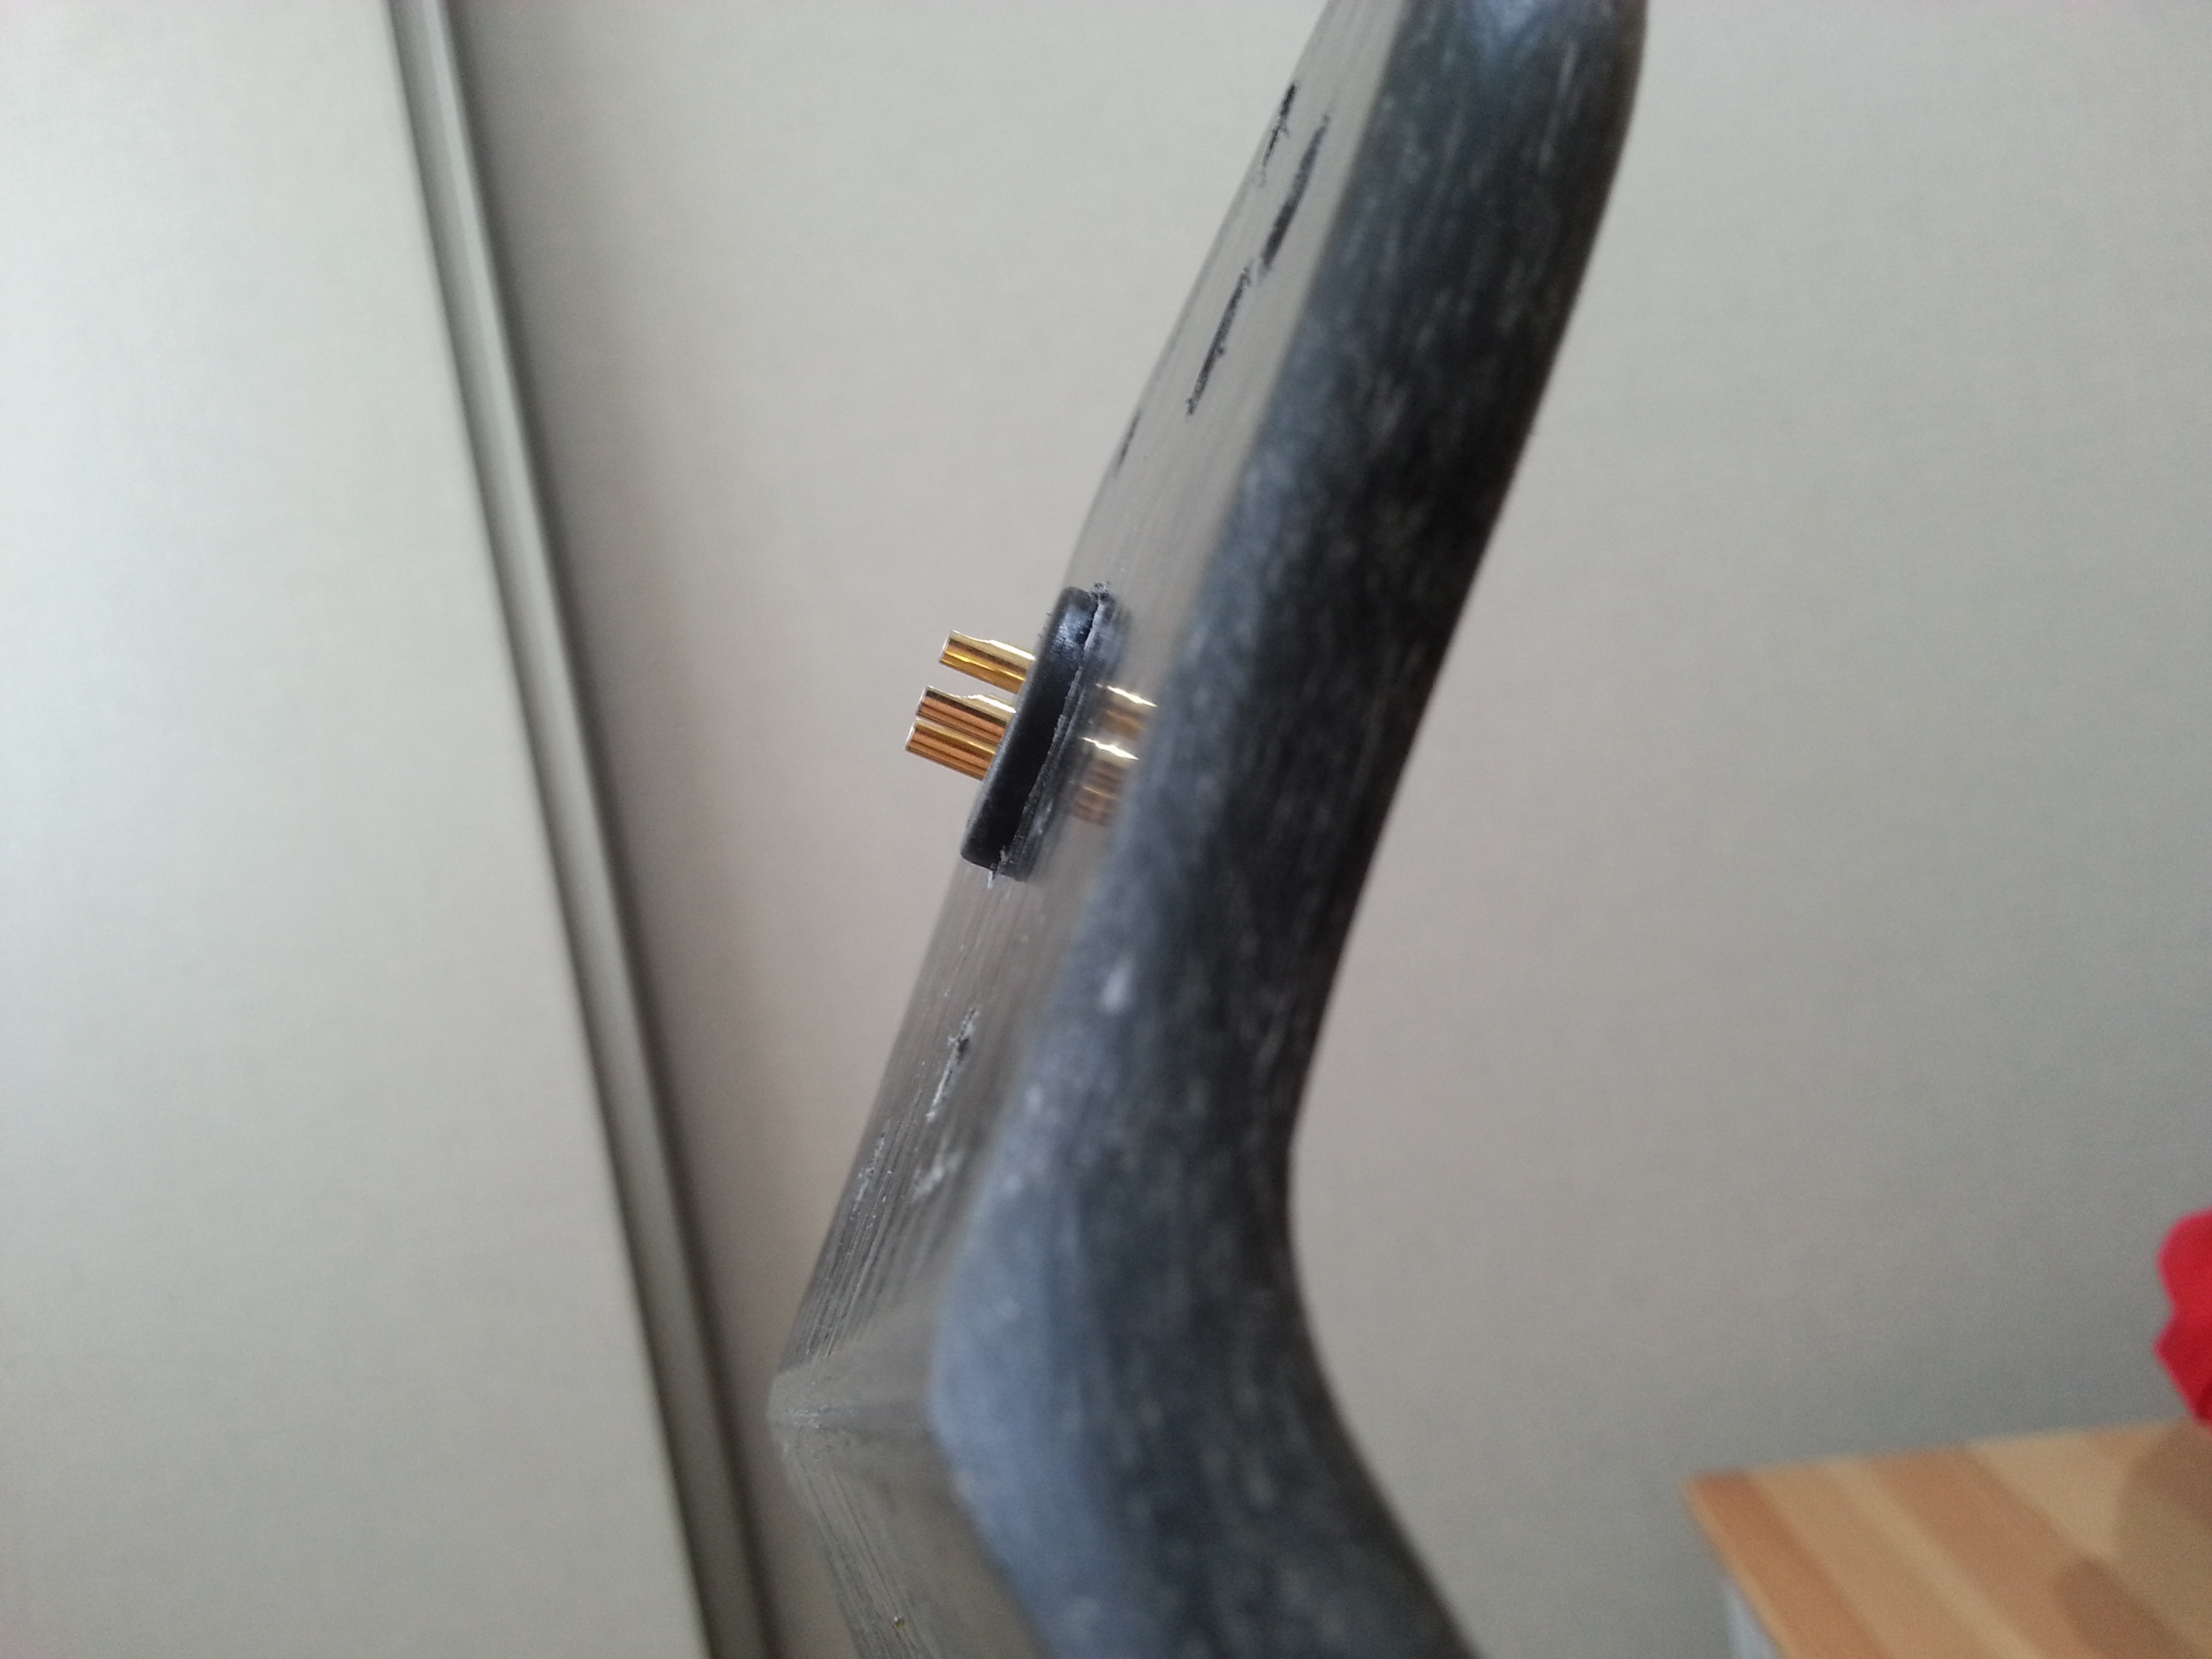
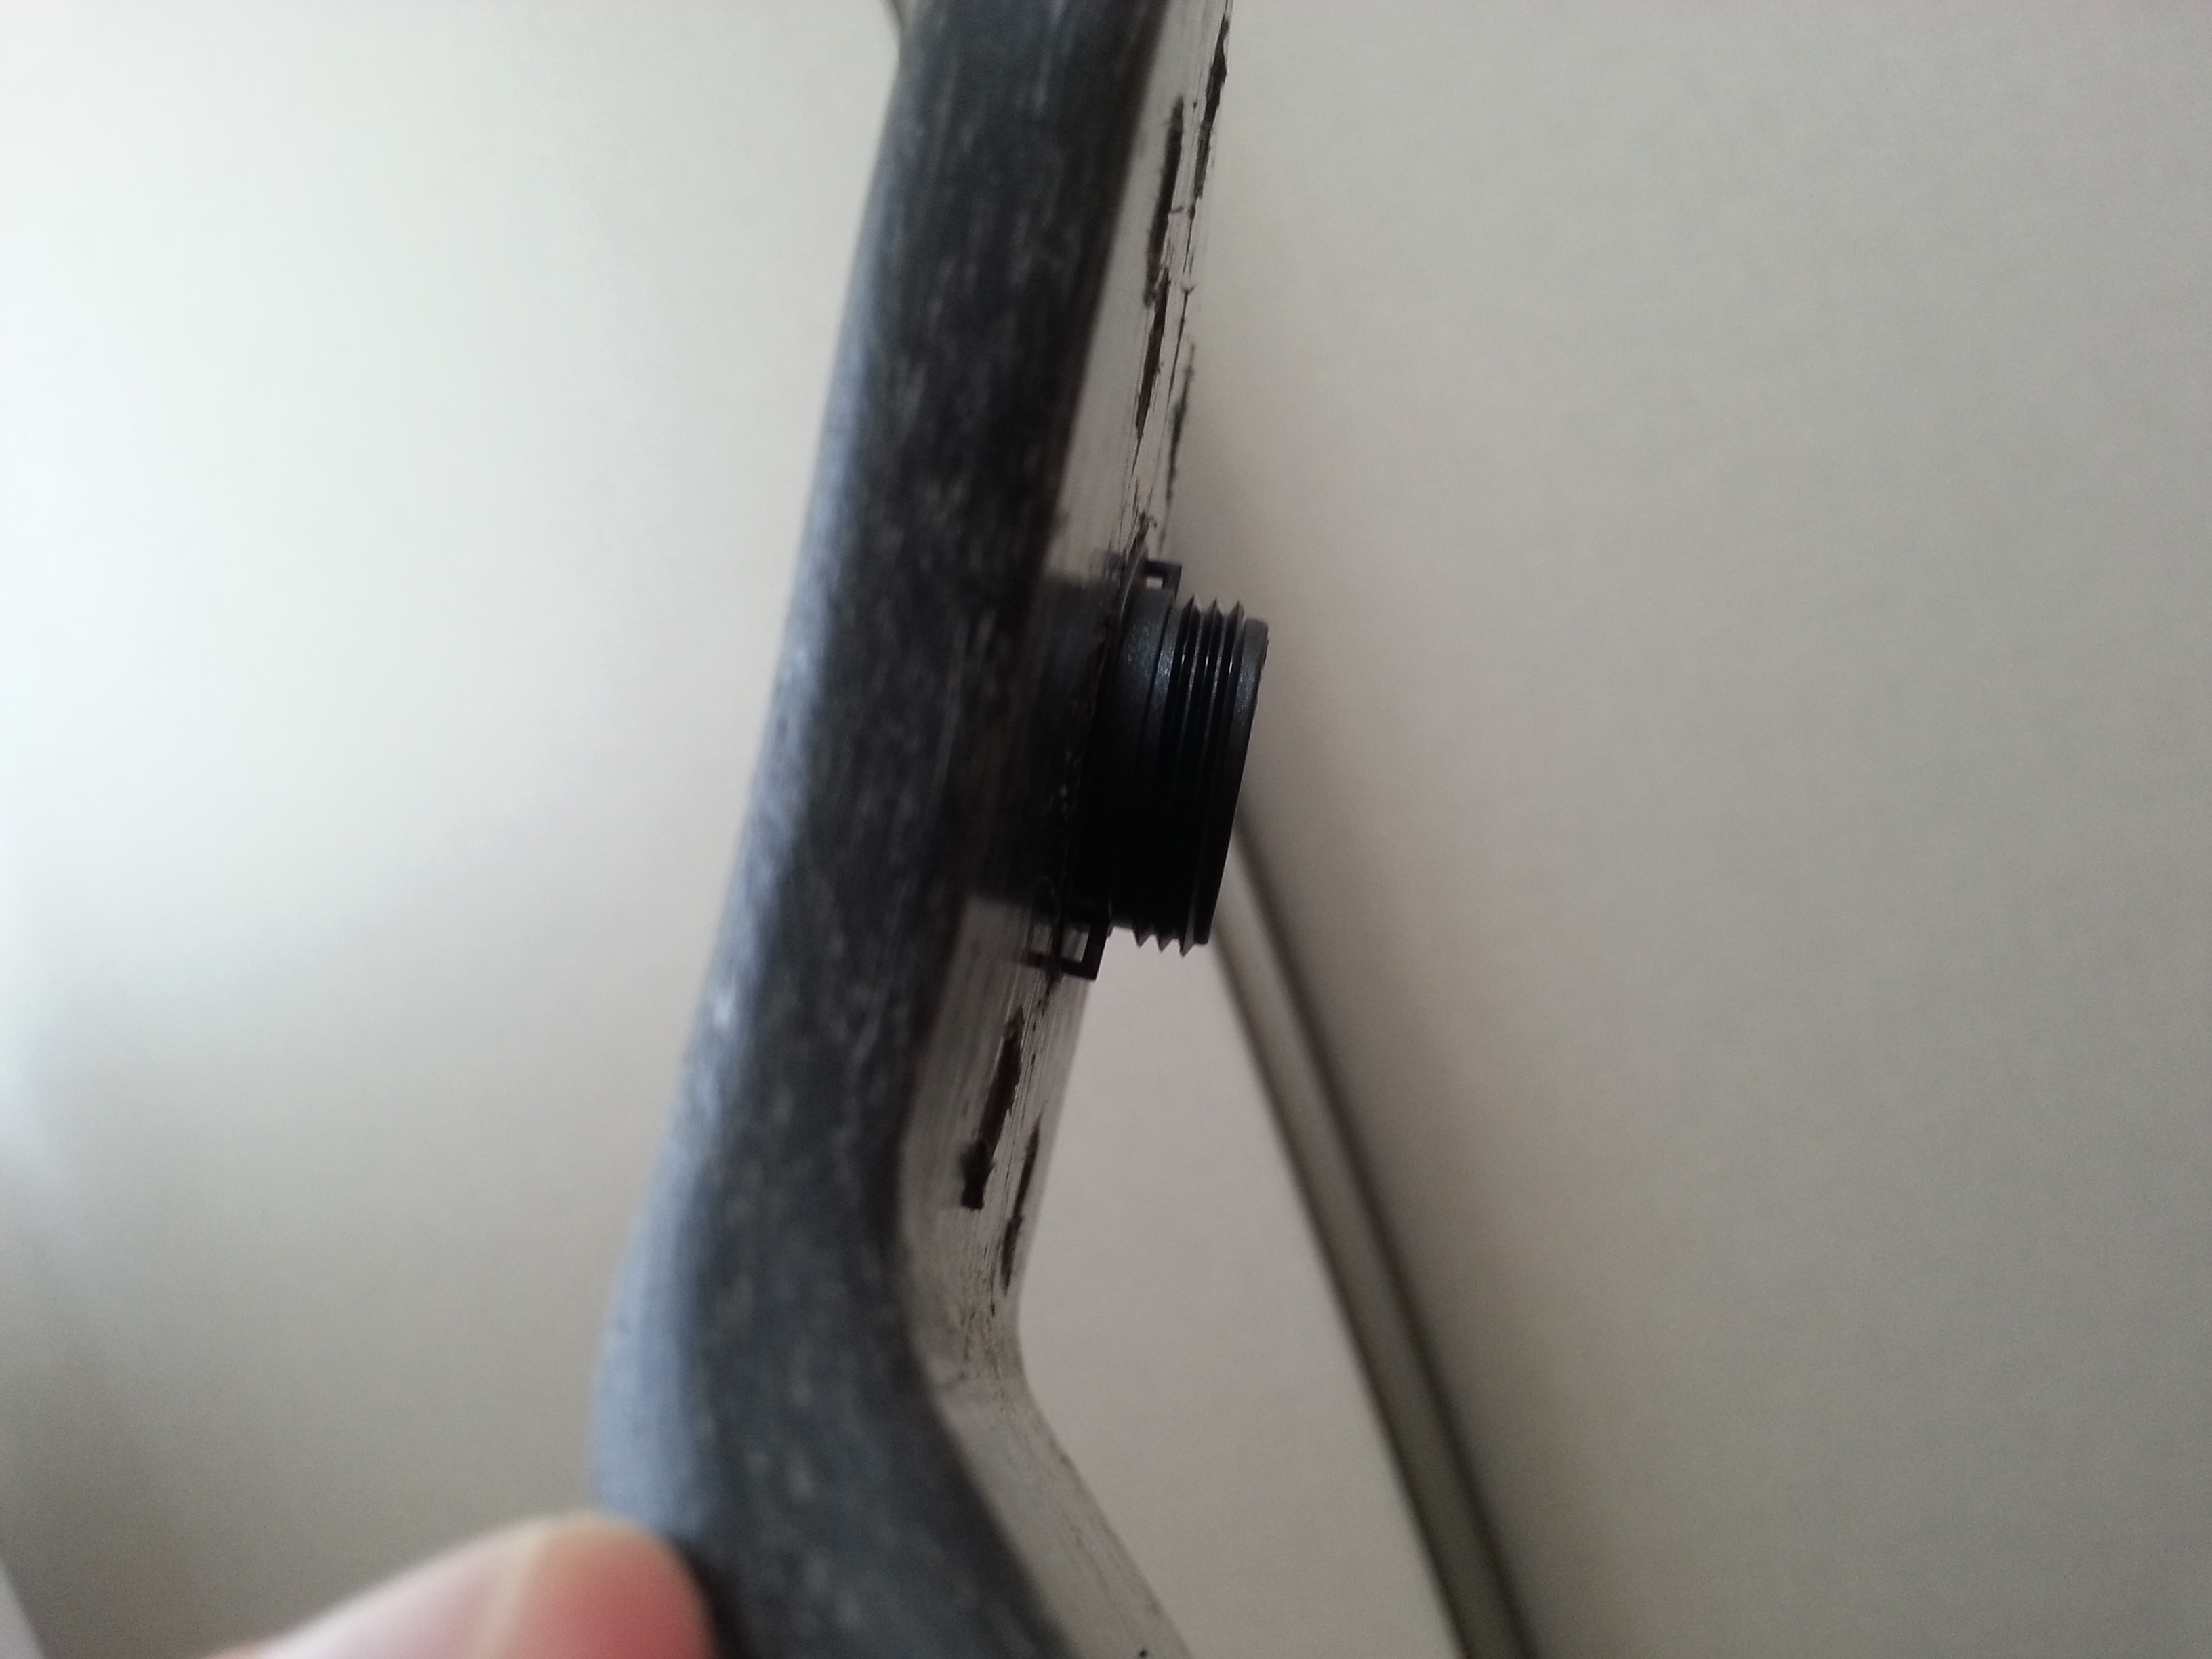
The remote control part of the process. A huge thank you to @sl33py for his walkathrough of it.

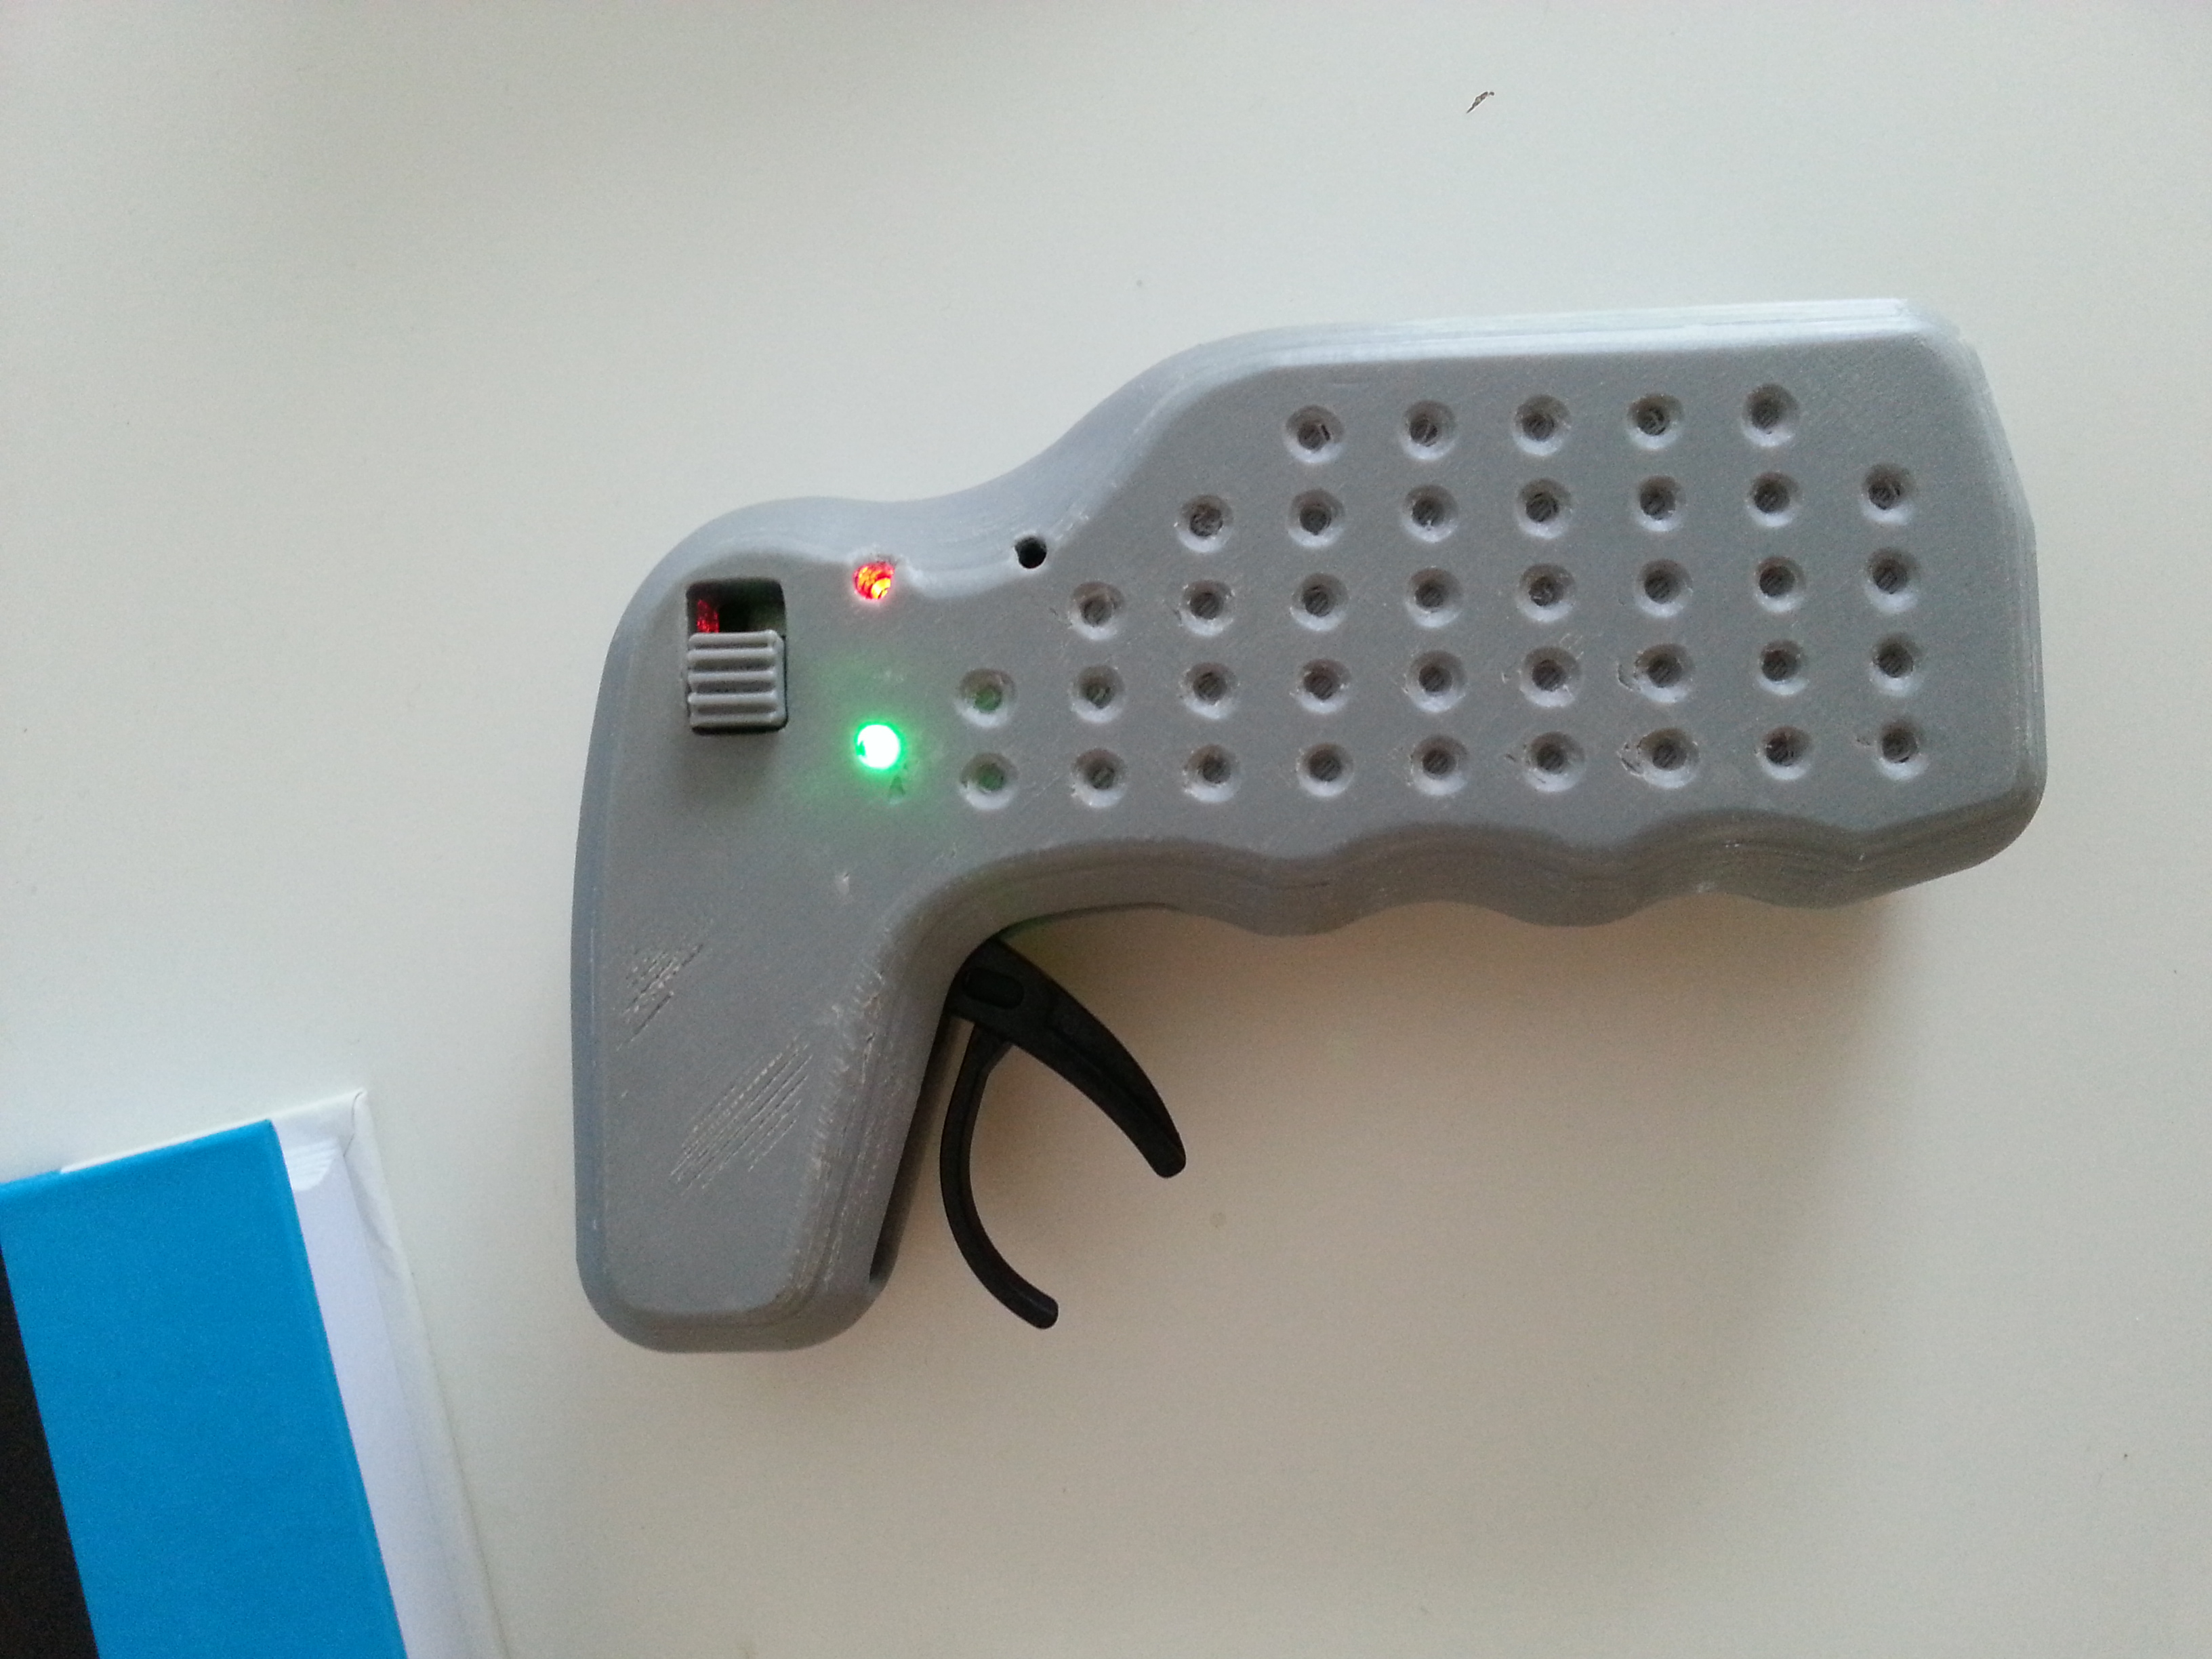
Spark ignition key as previously posted here: http://www.electric-skateboard.builders/t/how-to-anti-spark-xt-90-loop-key/204/33

"I really liked your design so I went the same way, @sl33py! :slight_smile:

Here’s my take on it:

Broken off the protruding crescent moon bits and the inner plastic ridges.

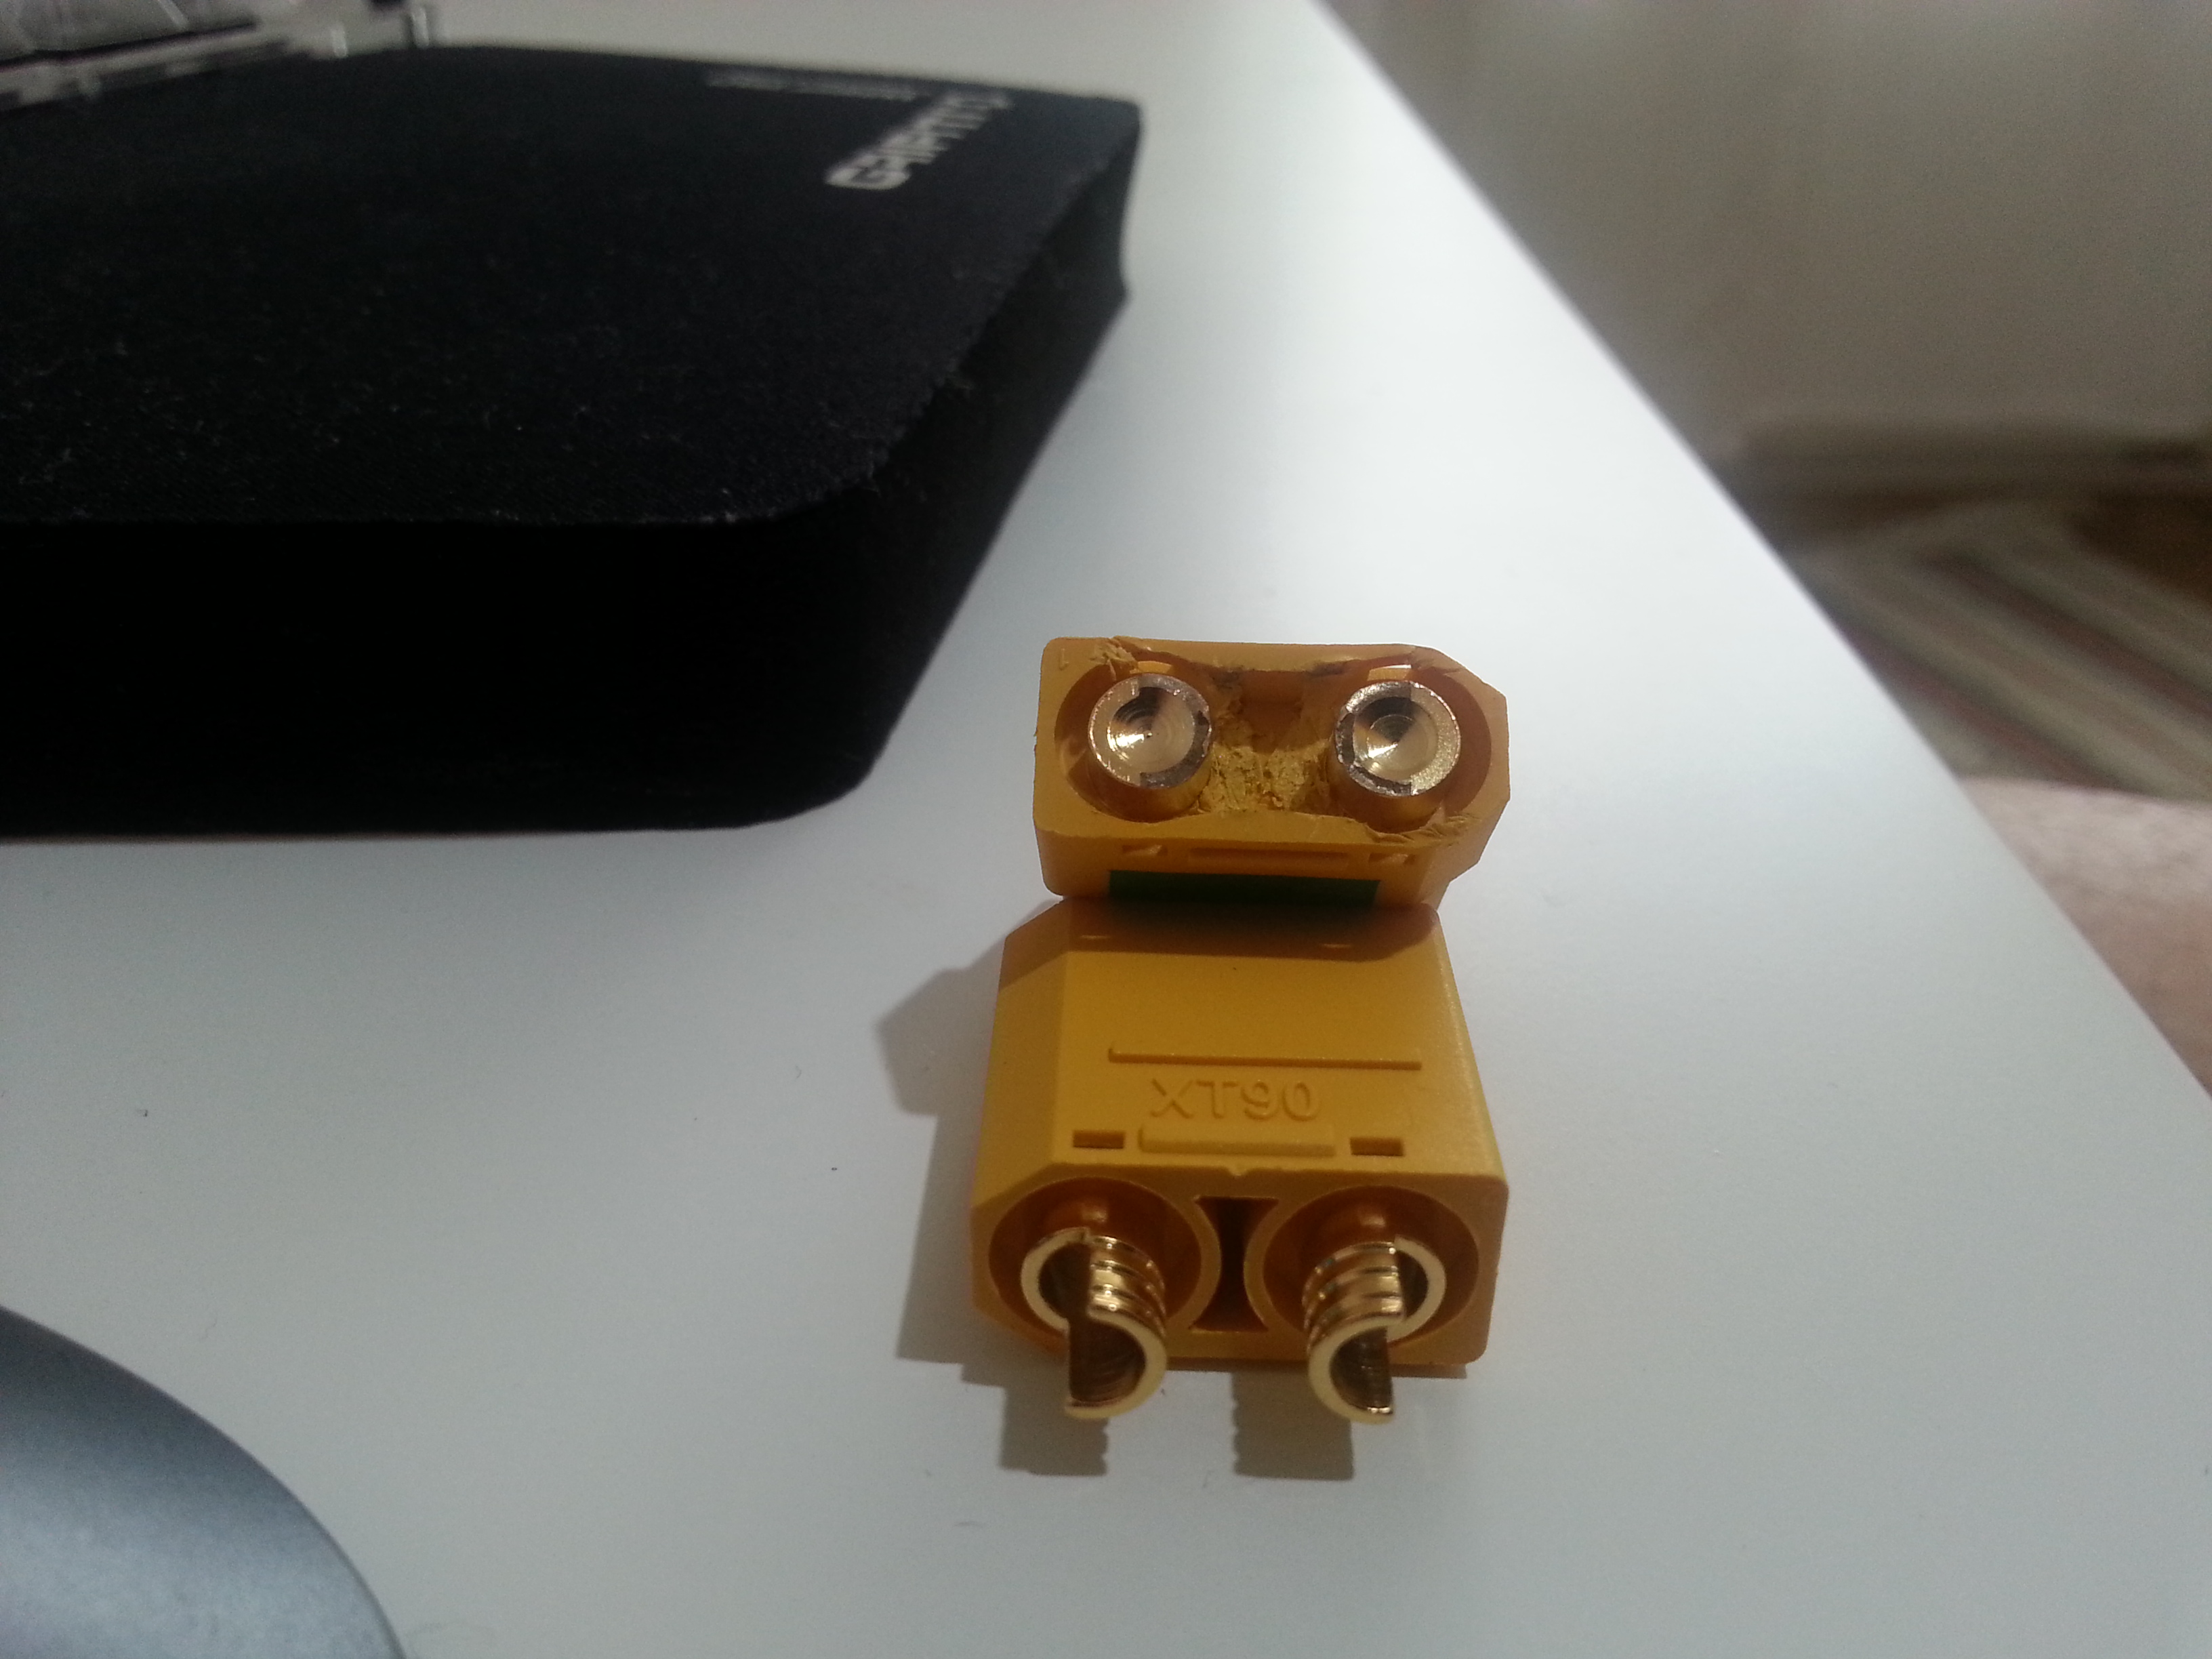
Soldered a bridge between the connectors like @sl33py did. I did it with two 2mm bullet connectors.

Pulled a bit of paracord underneath.

Shaved off about 2mm off of top of the cup and squeezed it into the connector with the paracord sticking through the opening.

Cut off a bit of leather off a belt…

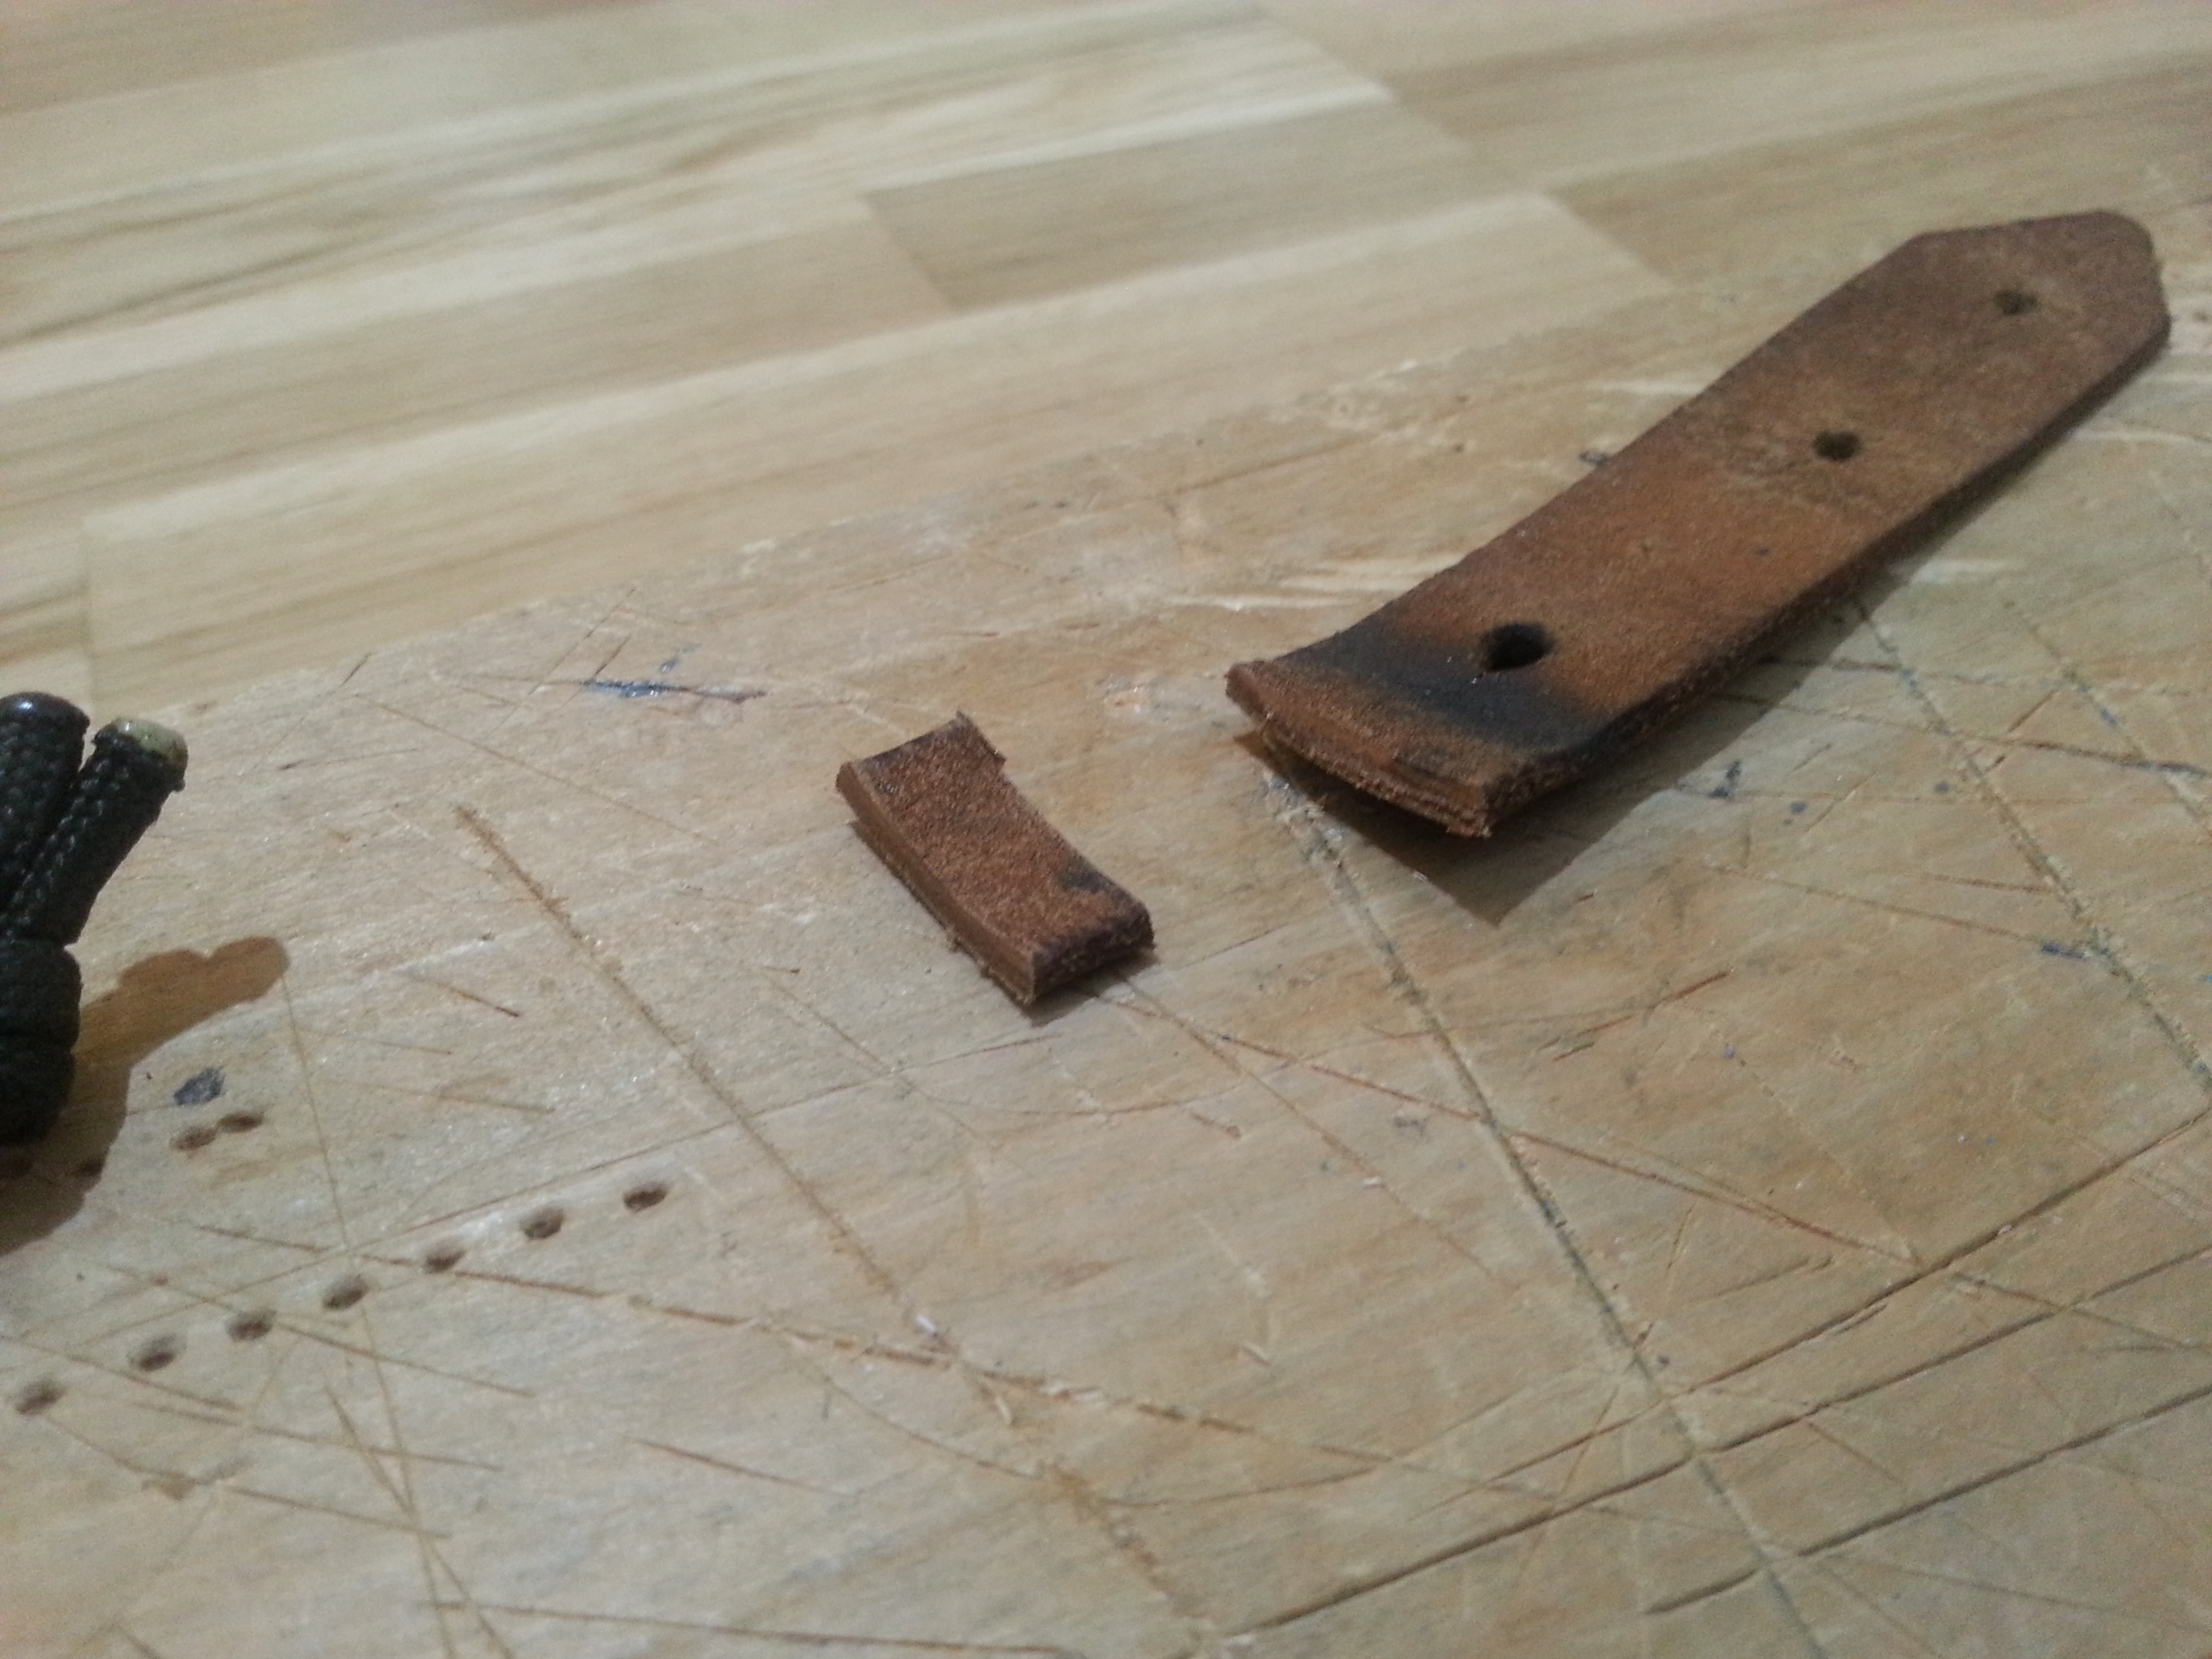
…shaped it into a tiny bone-shaped piece…

…and squeezed it between the paracord strands and into the opening of the connector cap.

Voila! :slight_smile:"

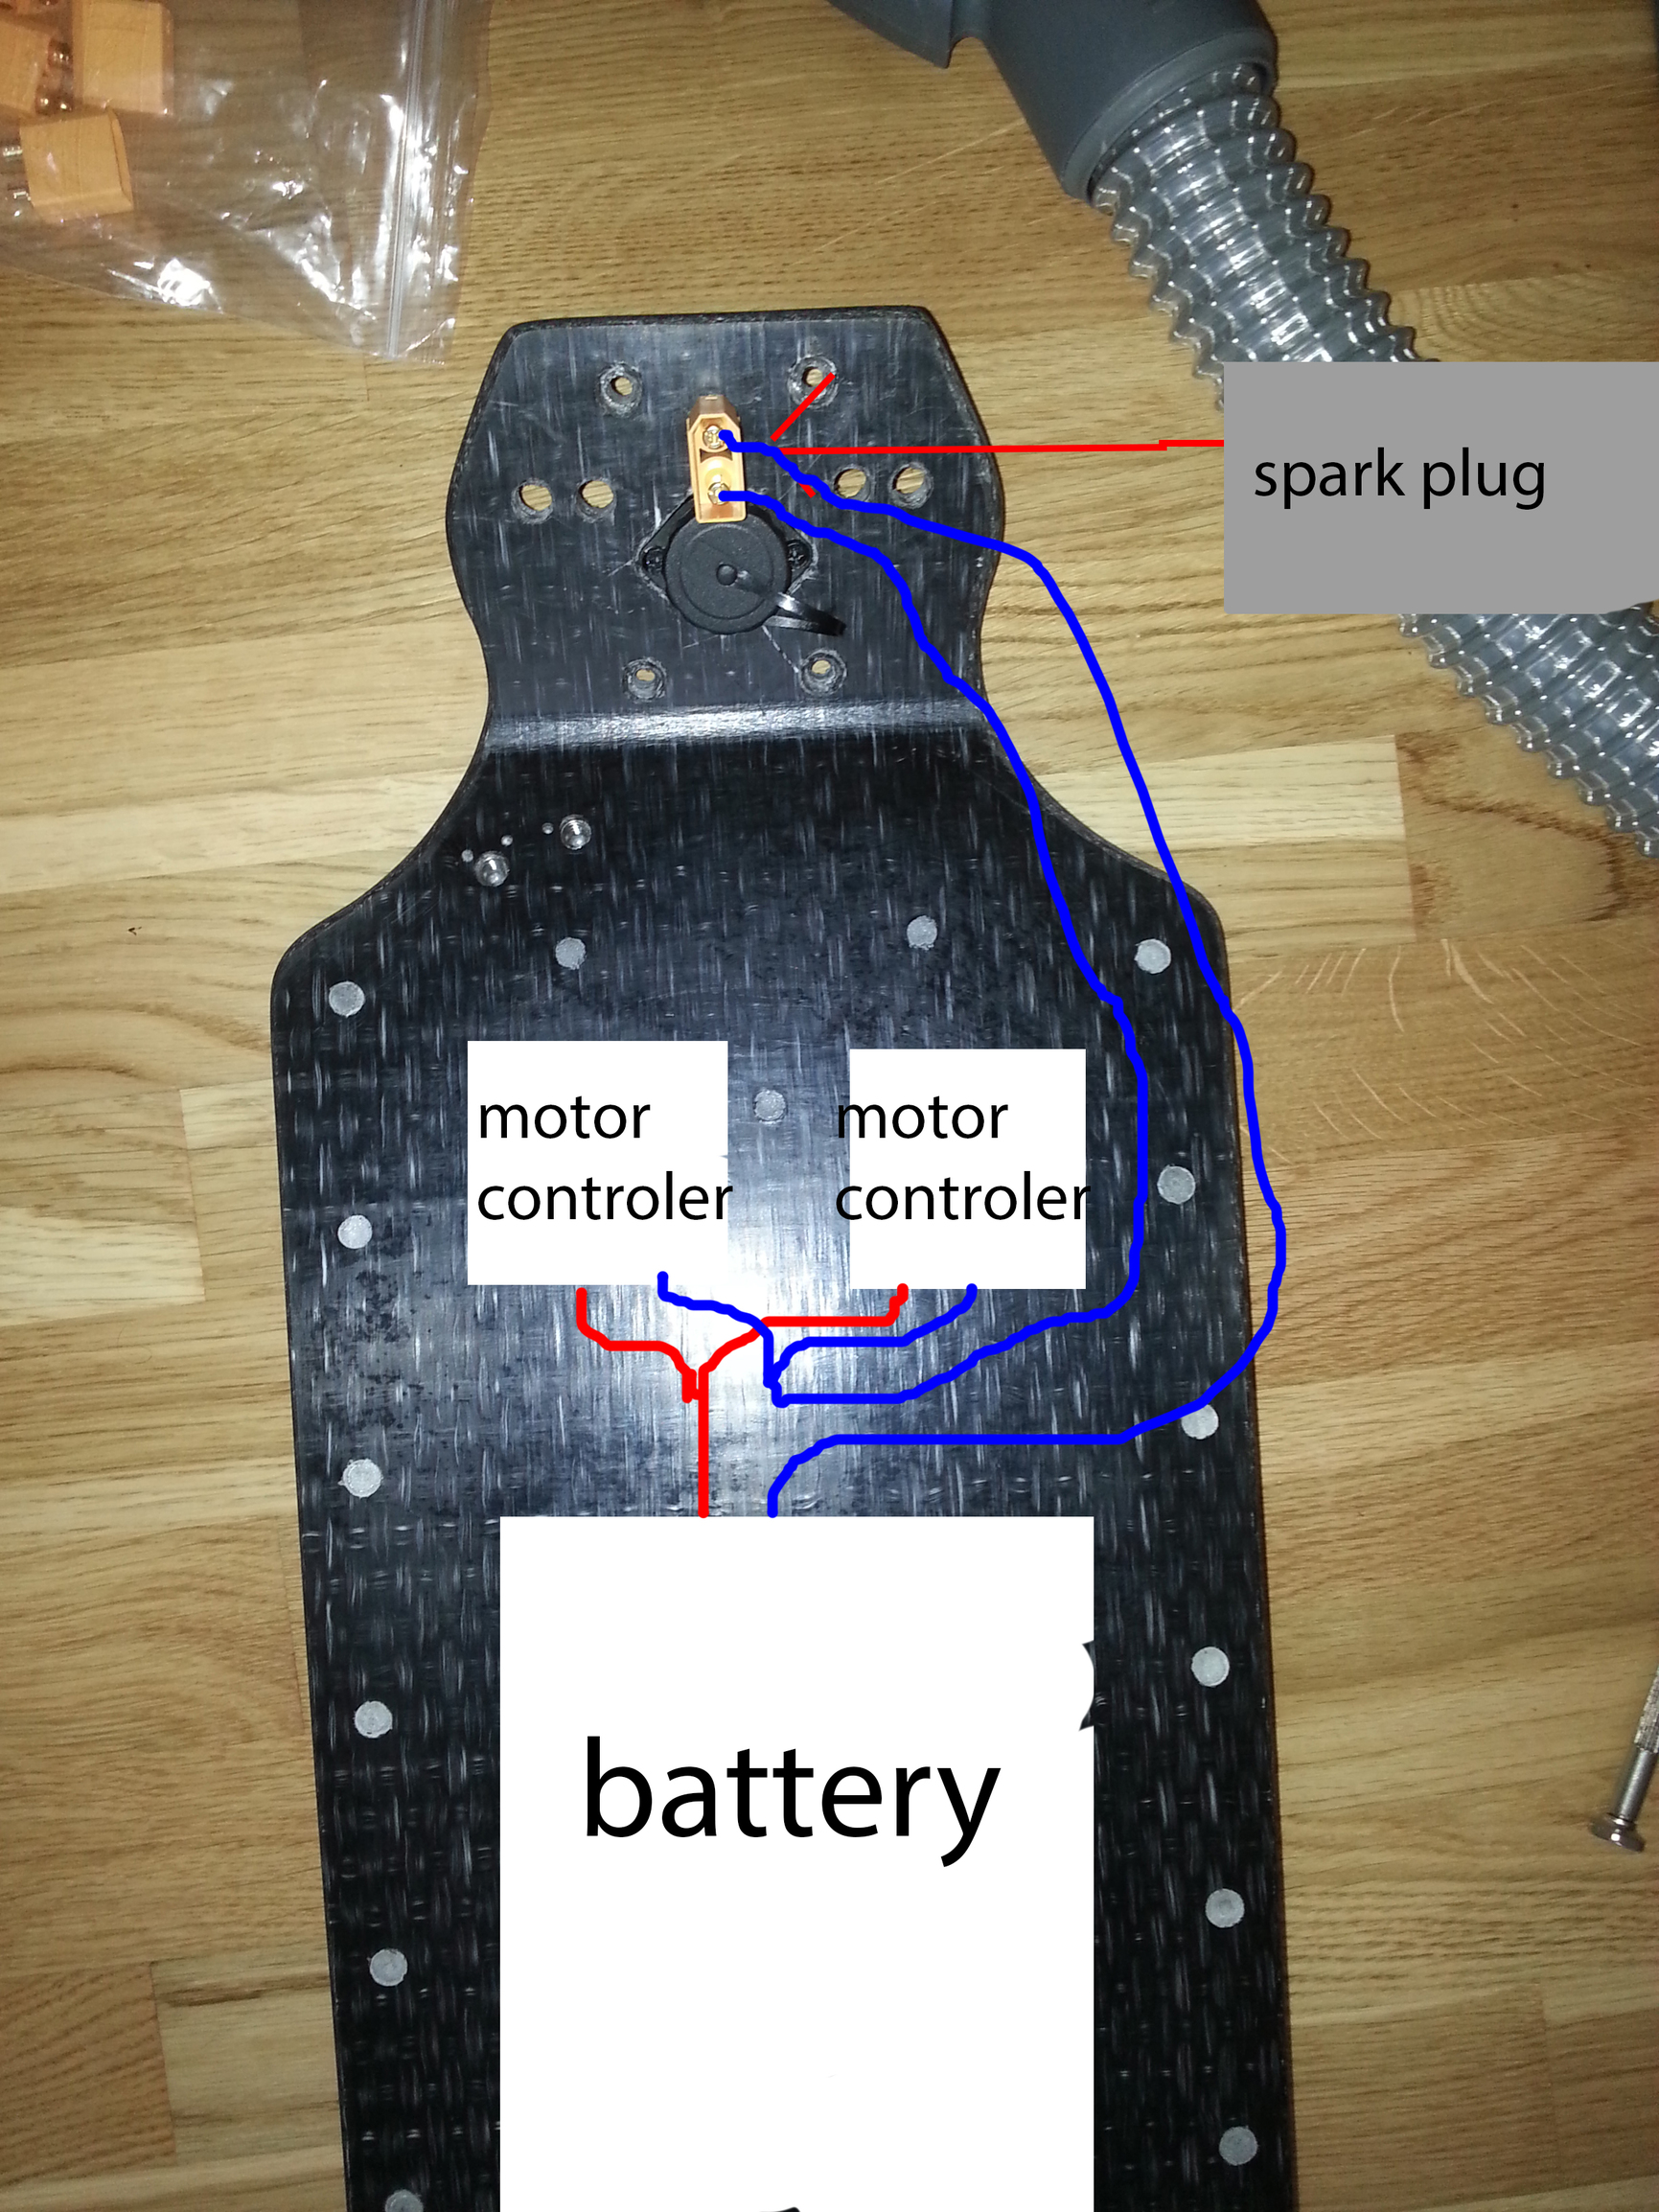
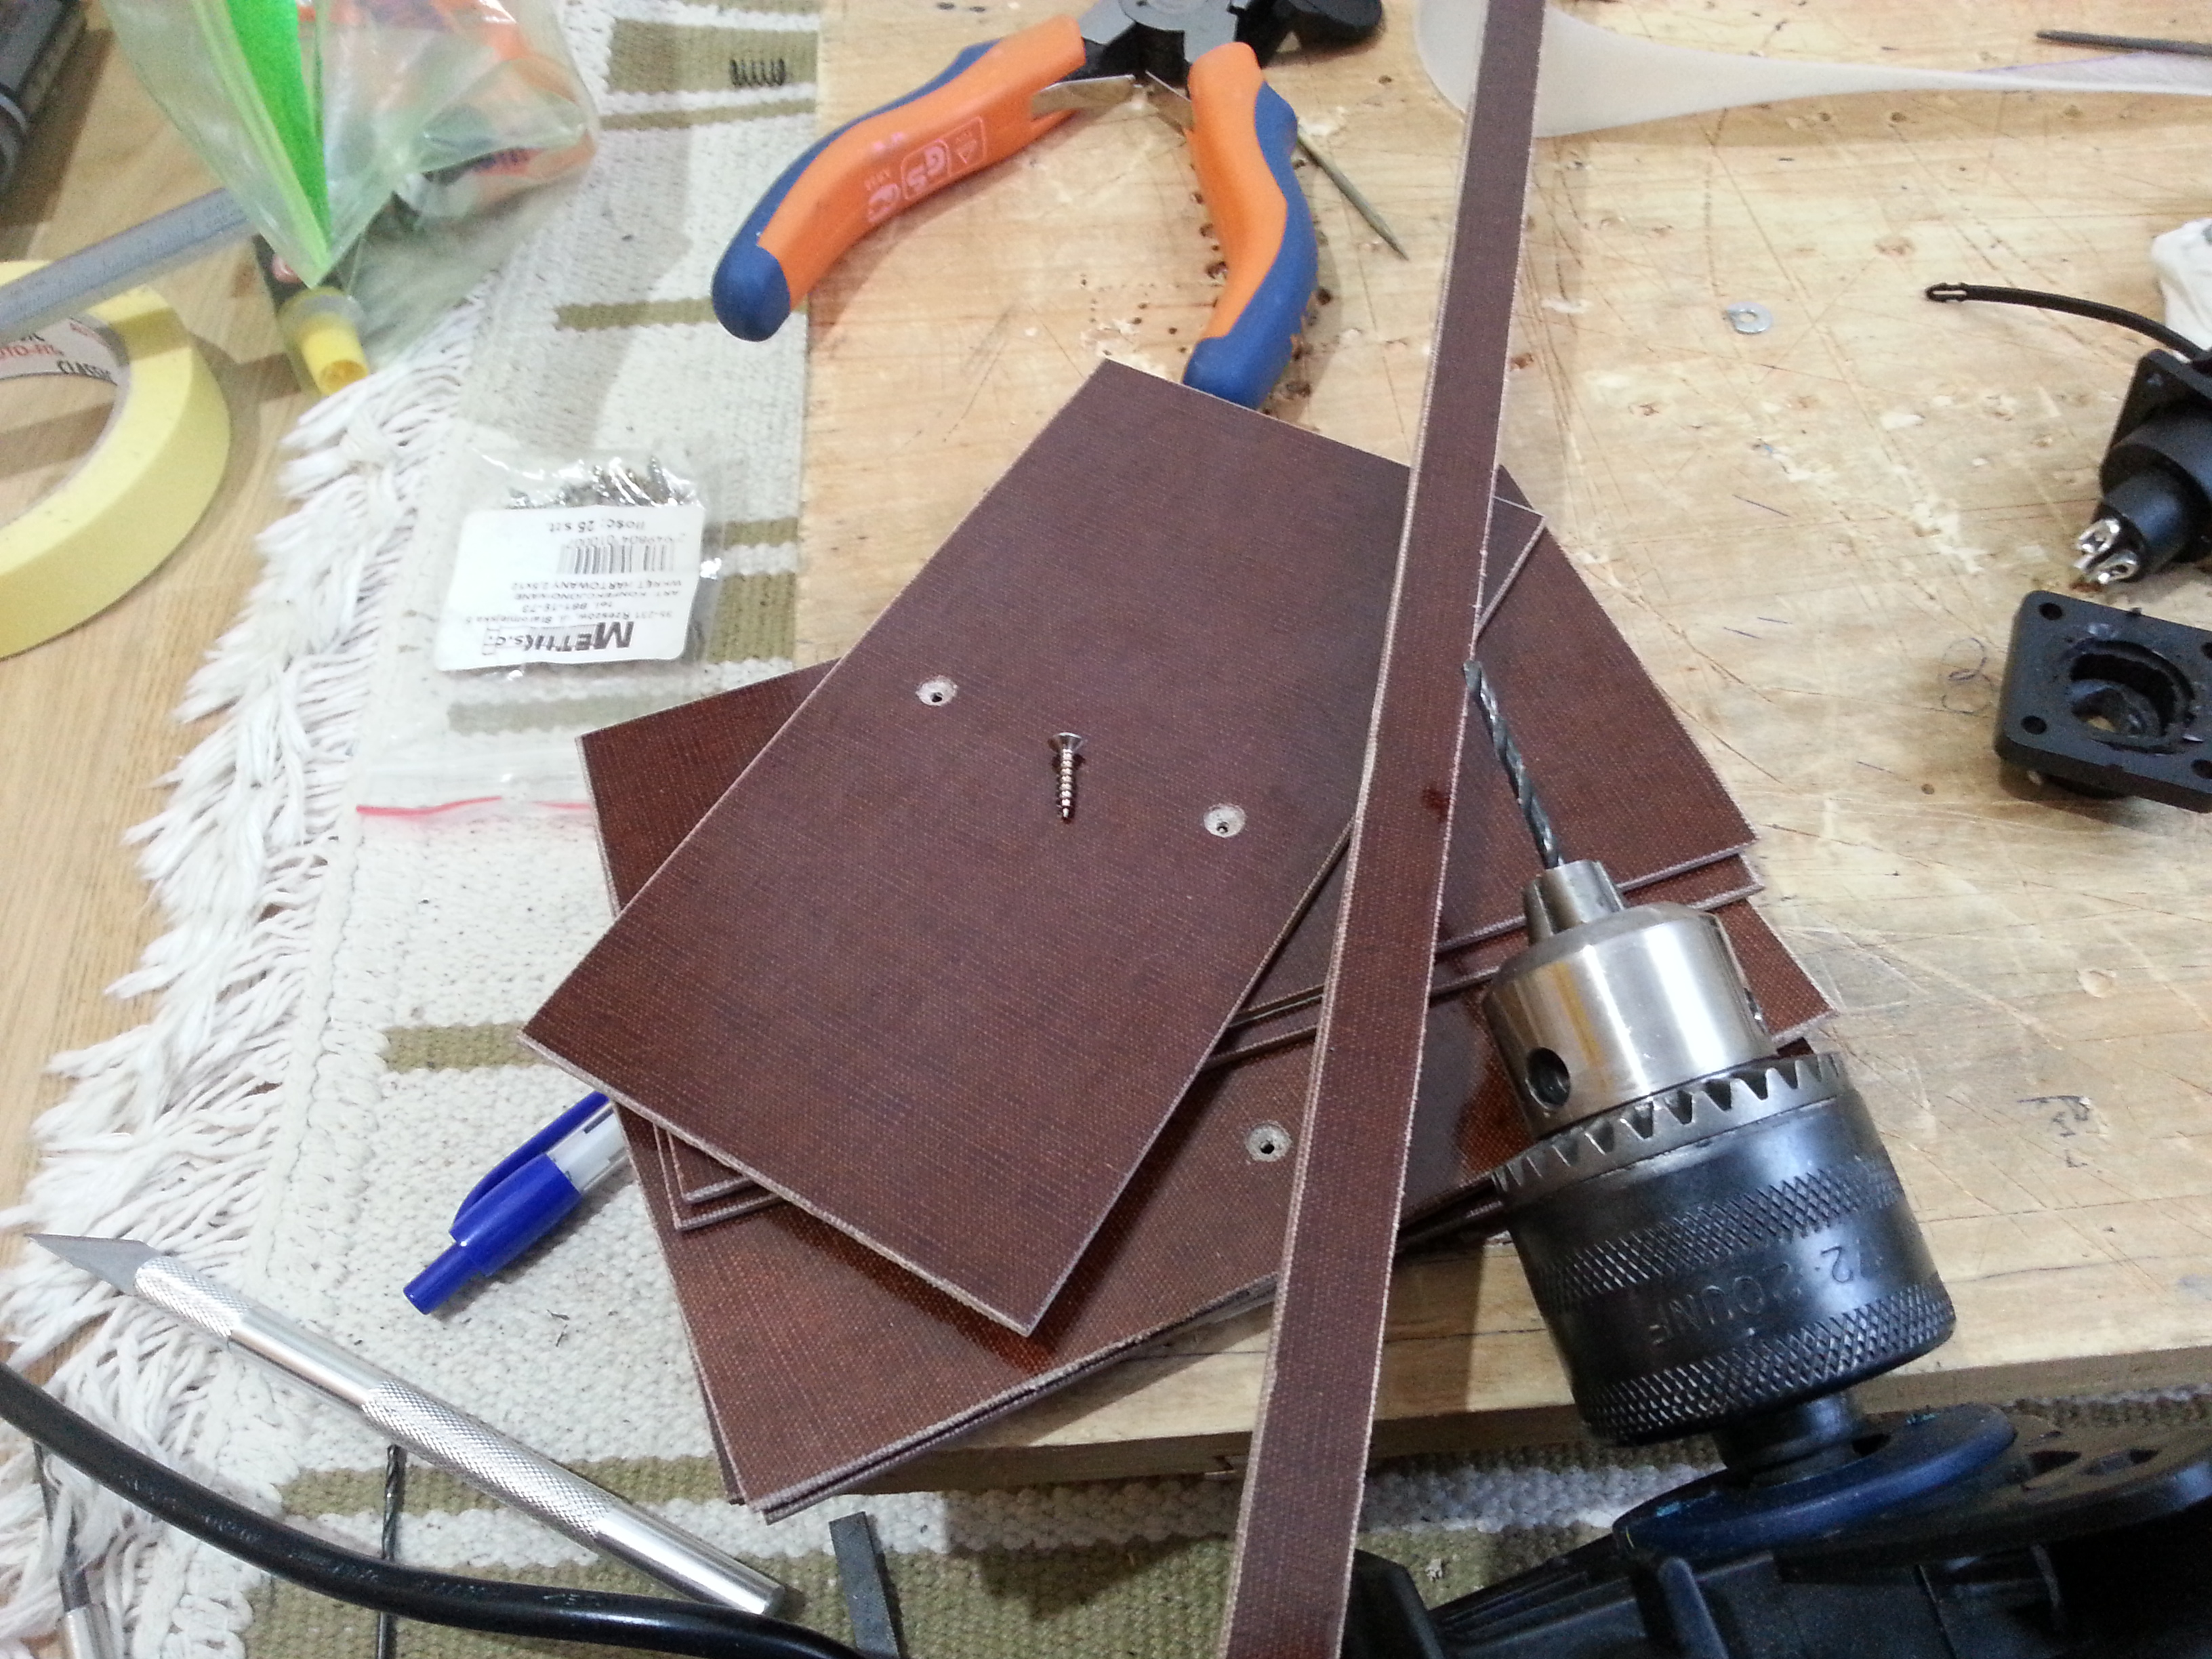
The “spine” as by our good old @trampa Frank :slight_smile: Thx for this awesome idea, mate! I’m making it with a slight mod though: apart from batteries’ compartments I’ve added two places for the BMS and two motor controllers, and the connecting plank is not made with wood but with tufnol instead. The wooden blocks are to be added soon - look out for it :wink:

The blocks are oaken.

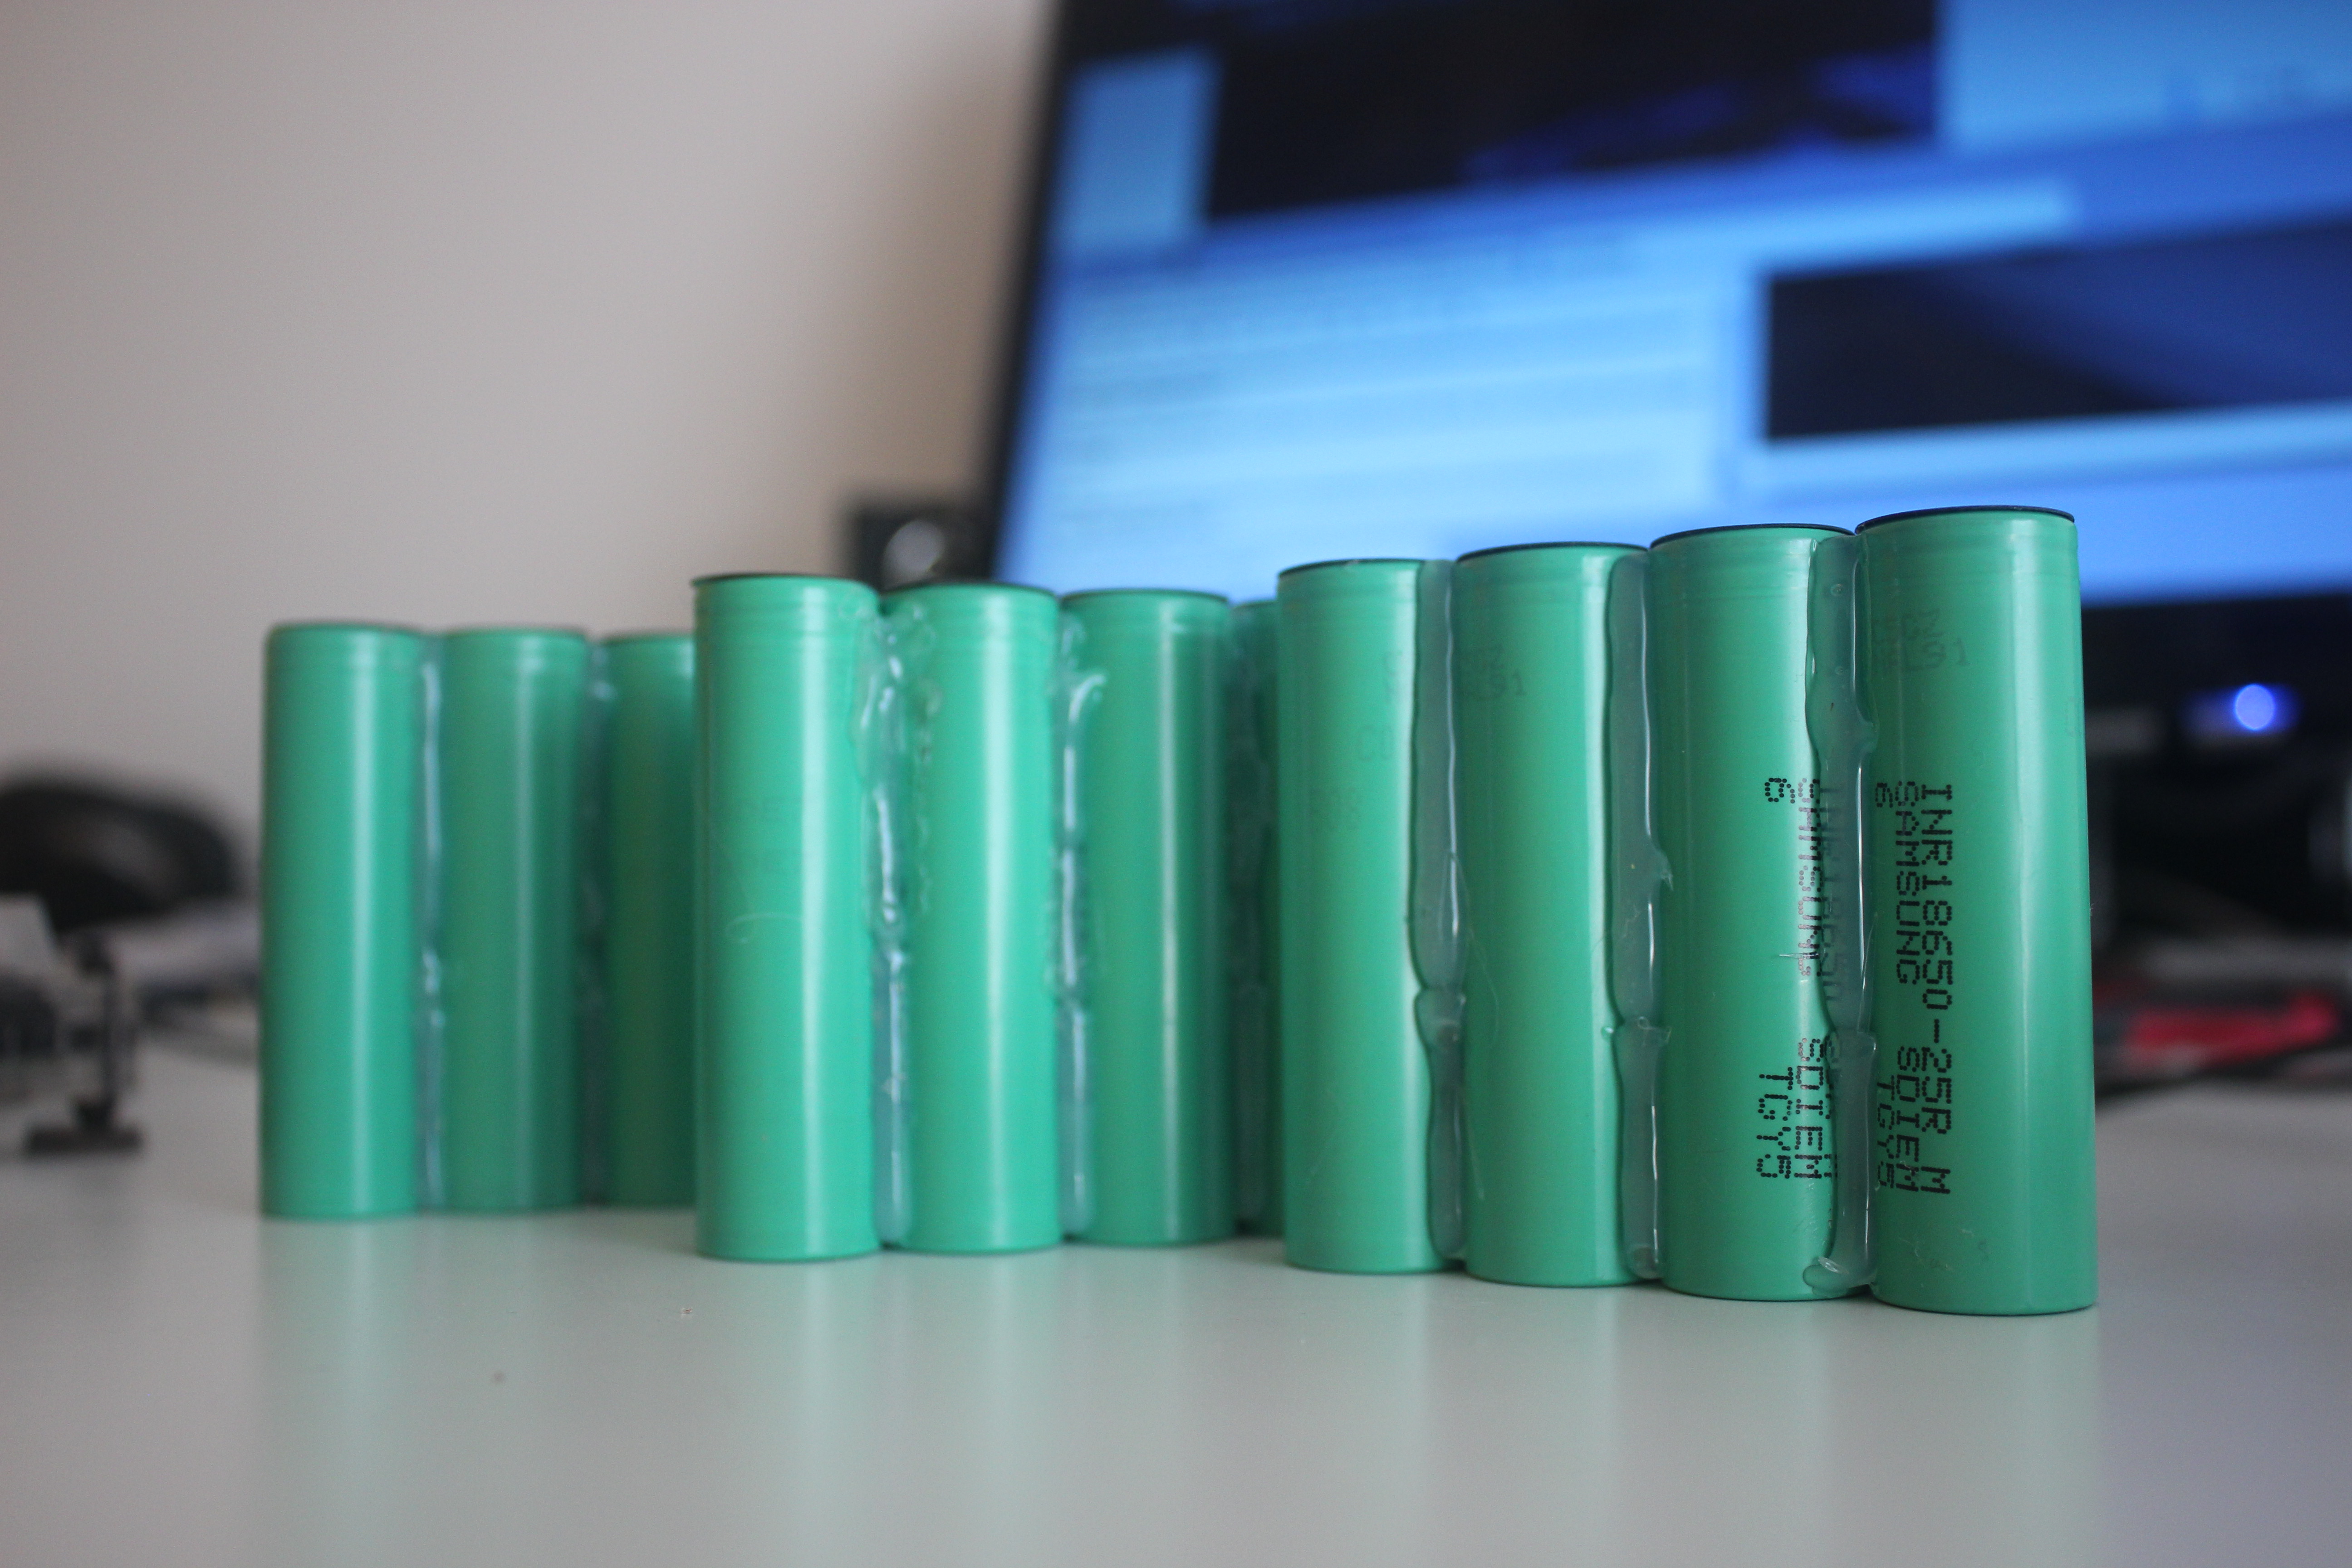
The 12s4p batterypack is on its way now.

Endpieces for the enclosure. Cut out from an aluminum profile with some carbon fibre patterned film on them.

The overly detailed part documenting cutting out the ‘20th Century Boys’ hole for the charging socket.

30 Likes

Yeah, I’m with you. Those motors need to be black.

1 Like

Wicked! 10char

2 Likes

OP updated, as it’s been daily since posting.

Baercoil inserts are designed to use in rethreading damaged internal threads in metal structures, by first enlarging the hole, than threading it with a threading tool, and then inserting the coil into the freshly threaded enlarged hole to make it the same size as it was before with the appropriately sized coil. If inserted into a not previously threaded hole, and just a drilled one, the spaces between coil’s internal thread’s leads have smaller spacing than the leads on the external thread of a screw of corresponding size and as in the case of having it inserted into a hole drilled in carbon, you end up pulling the coil upwards every time you try to screw in a screw. Even when epoxied from the receiving end of the coil.

Since the board’s gonna hopefully be a long-term companion of mine I decided to install and de-install the enclosure ten times and see how the coils perform… well, the didn’t.

If longevity is what you’re after, make sure to use solid steel inserts.

6 Likes

I have these for M4 screws 10mm Long. Do you think they Wil Work okay on a trampa Urban carver 15ply board ?

3 Likes

My deck is 15ply as well and my inserts were 10mm M4 too, so those of yours there should be just right. The diameter of my insets minus the thread was 6mm, and to screw them in without problems I had to drill 7mm holes (did try 6mm holes at first but the carbon proved to be to hard a material for the insert’s thread to penetrate without breaking the insert’s hexagonal recess for the allen key - that’s even more true for a split thread like yours).

1 Like

Why didn’t you thread the hole in the Deck with the Baercoil thread cutter? This works just fine. I use a bit of Epoxi and screw in the coil. The Baercoild cutter cuts a special thread, slightly different to M6.

Frank

To be absolutely honest it never occurred to me to thread a hole in anything else than solid metal. Still, knowing how many times I’ll prbbly be taking off and reinstalling the enclosure back on and knowing the carbon’s pliability - especially after my recent experience with it - I would never be able to completely trust a product claimed by its very producer to be made especially for use with metal. These wood insert I’ve tried, on the other hand, seem to work perfectly - especially since carbon is in this regard much more like wood, rather than like metal.

We thread our board and even use M screws without inserts. It’s not carbon! Our decks are made from a completely different material that we weave and mould ourselves. Carbon would be way to stiff. The Bearcoil inserts work a treat if you thread the deck.

Frank

@trampa Wow Are you saying that i can make M4 threads directly in my Urban carver board, for my trampa battery enclosure on the underside , and screv my M4 screws directly in the board without any inserts ?

You could, but you can’t use Loctite! You could also use screws meant to be screwed into plastic. I use the Bearcoil / Recoil inserts for perfection. When you ride an urban carve, vibrations do not occur, so that is a big bonus.

Frank

Oh, well… too late now anyways :stuck_out_tongue_winking_eye: I’ve got few more holes left to do though, so I’ll give a try going insertless and keep you guys posted on how it turned out. Still, I’m quite sceptical as to how it’d hold up against multiple screw removal and an extended period of time. We’ll see.

1 Like

No Problems! It works.

1 Like

OP’s updated.

1 Like

Hey, guys! I’d love your expertise here! I’ve put the charging port and a voltmeter on the top of the deck and I’d also love to do the same with my spark plug. But this’ll extend one of the wires between the battery and the motor controllers significantly. And here’s where a crucial questions sorta naturally arises: Can one of the wires be made this long? Or will this cause… unforeseen consequences? :wink:

2 Likes

Just make sure to use wire being thick enough. AWG 12 to AWG 10. Usually it’s best to keep everything as short as possible. Maybe you find a better solution for the loop key position.

Frank

2 Likes

my only concern with putting things over the truck area is weakening the structure around the truck bolts. But if that’s a non-issue then why the hell not. I’ve been wanting to put my volt meters over the front truck for a while now, and i might do it on this next build.

1 Like

@trampa and @longhairedboy Thanks a lot guys, I guess I’ll do that then. @longhairedboy I don’t think I’d be an issue to weaken the truck’s baseplate area of the deck cause Trampa themselves sell a deck option with a huge hole cut out there

2 Likes

LOL well i guess there’s your answer.

2 Likes